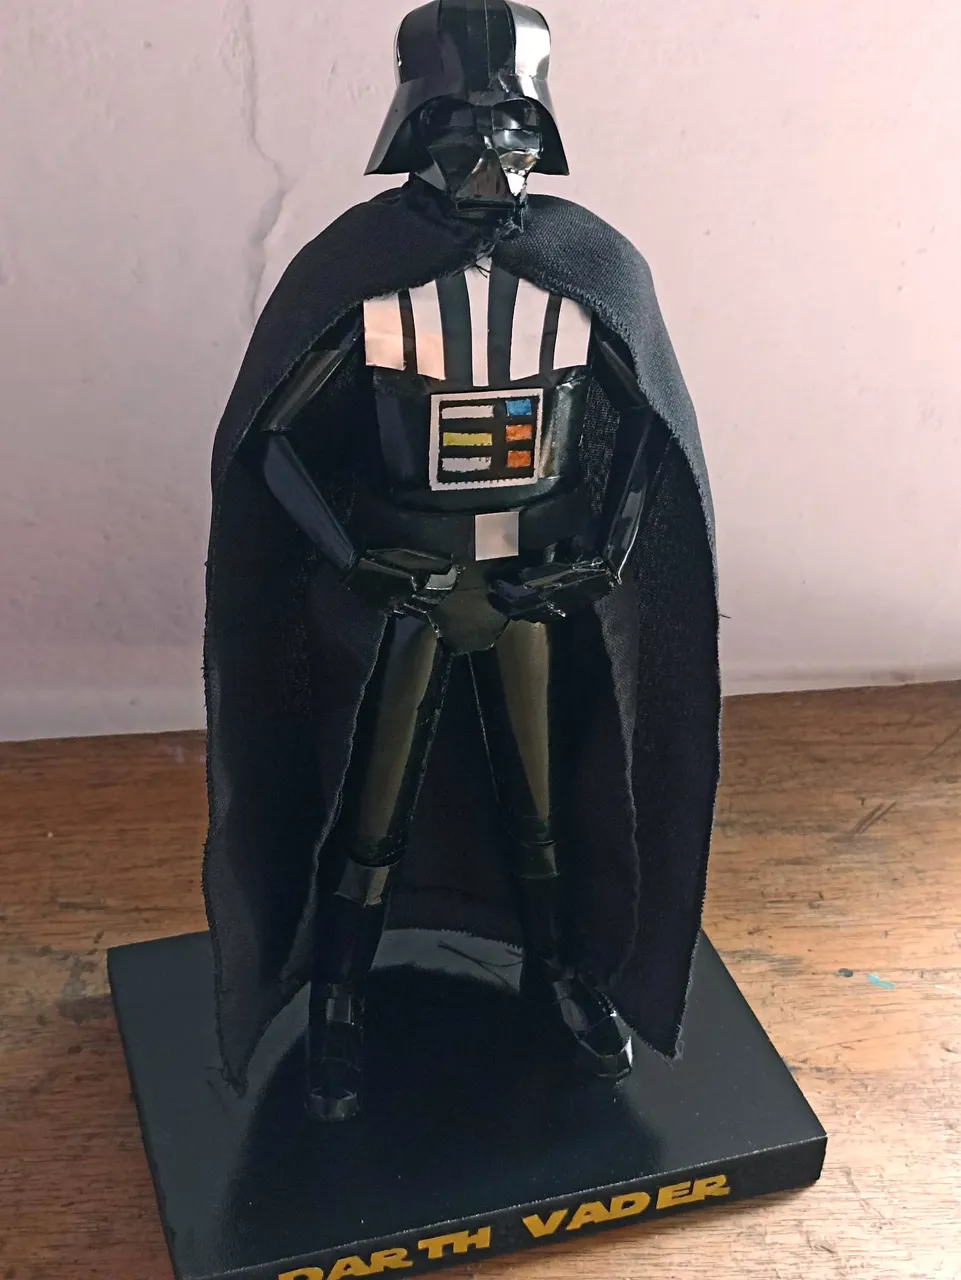
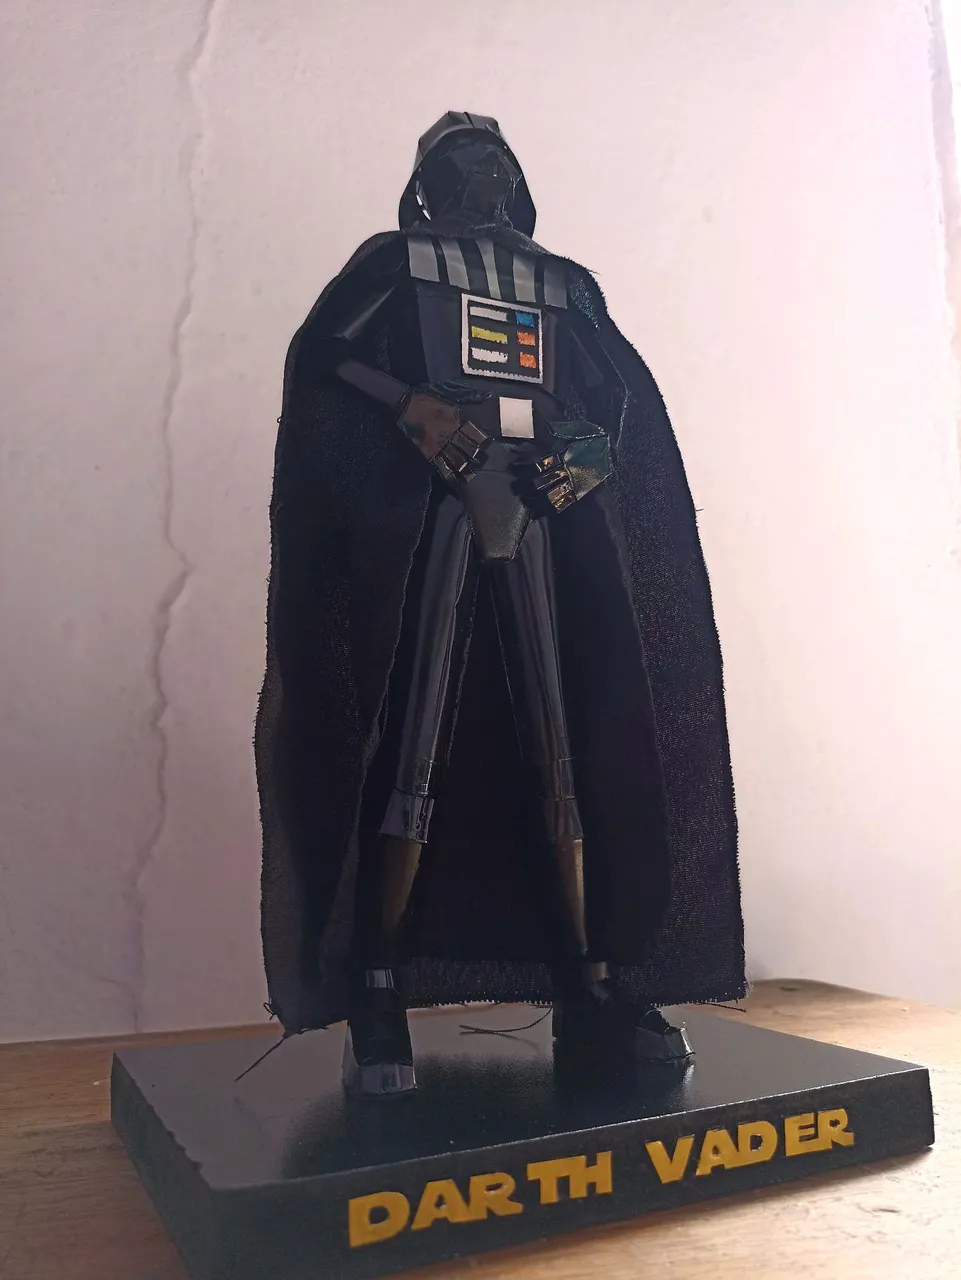
Hello friends, I hope you are in good health and making great creations with your hands, this time I present myself here to show the last thing I've been working on. I have made a Star Wars action figure, the most famous character of all, the dark lord Darth Vader, this figure is based on the design that appeared in Return of the Jedi, where Vader used to always appear in this position, I also took as a model Hot Toys figures that are one of the best known brands for making highly detailed figures. This small sculpture is made with recycled material from beer cans as well as cardboard and wood, I will explain how I did it below. Let's get started!
Hola amigos, espero que esten bien con mucha salud y haciendo grandes creaciones con sus manos, en esta oportunidad me presento por aquí para mostrar lo último que estuve trabajando. He realizado una figura acción de Star Wars, el personaje más famoso de todos, el señor oscuro Darth Vader, esta figura está basada en el diseño que hizo aparición en Retorno del Jedi, sonde Vader solía aparecer siempre en esta posición, también tomé como modelo las figuras de Hot Toys que son de las marcas más conocidas por hacer figuras muy detalladas. Esta pequeña escultura está hecha con material reciclado de latas de cerveza como también cartón y madera, a continuación les explicaré como lo hice. Comencemos!

 | |  |
|---|
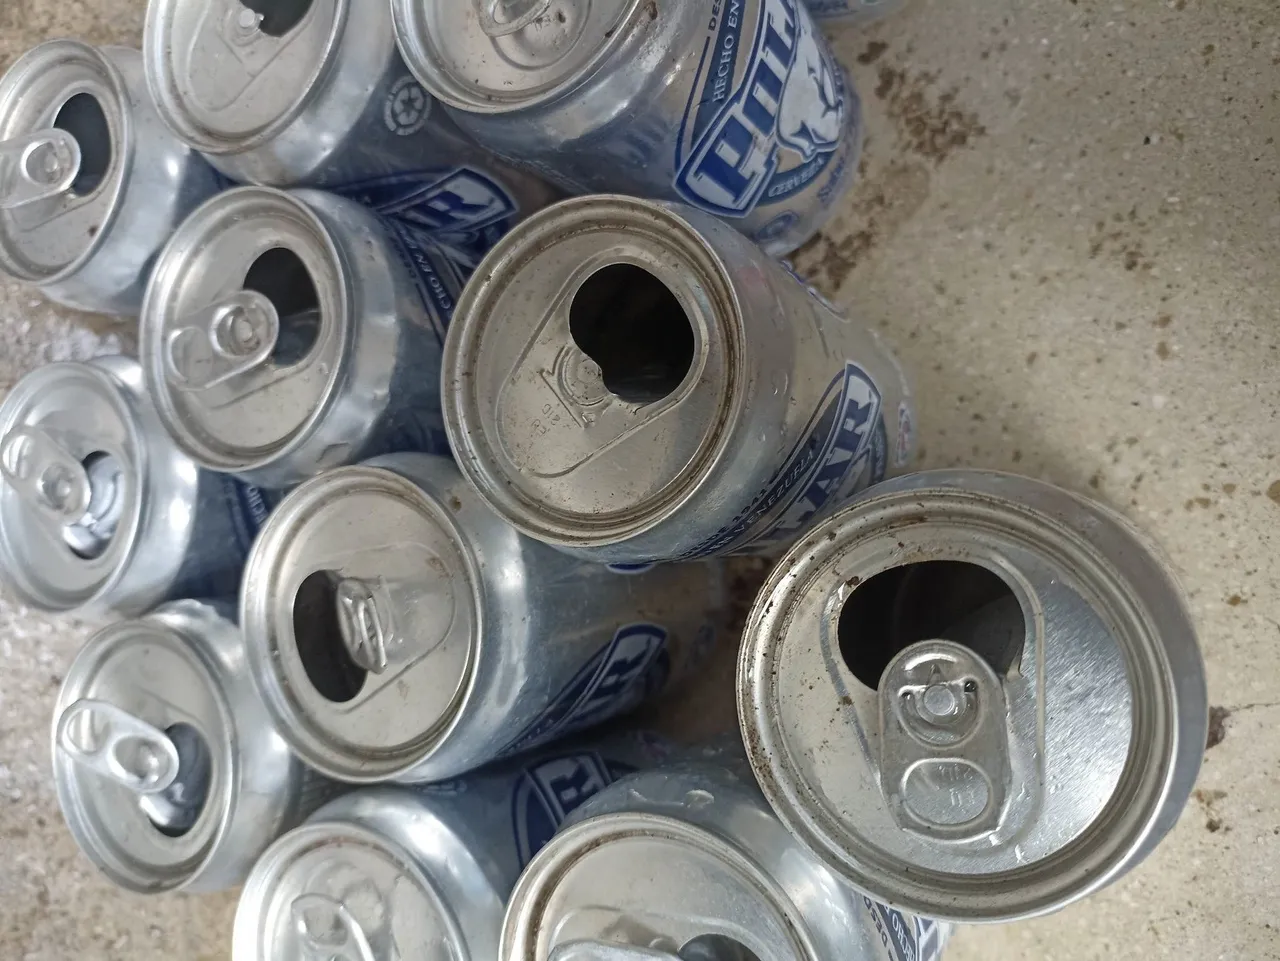
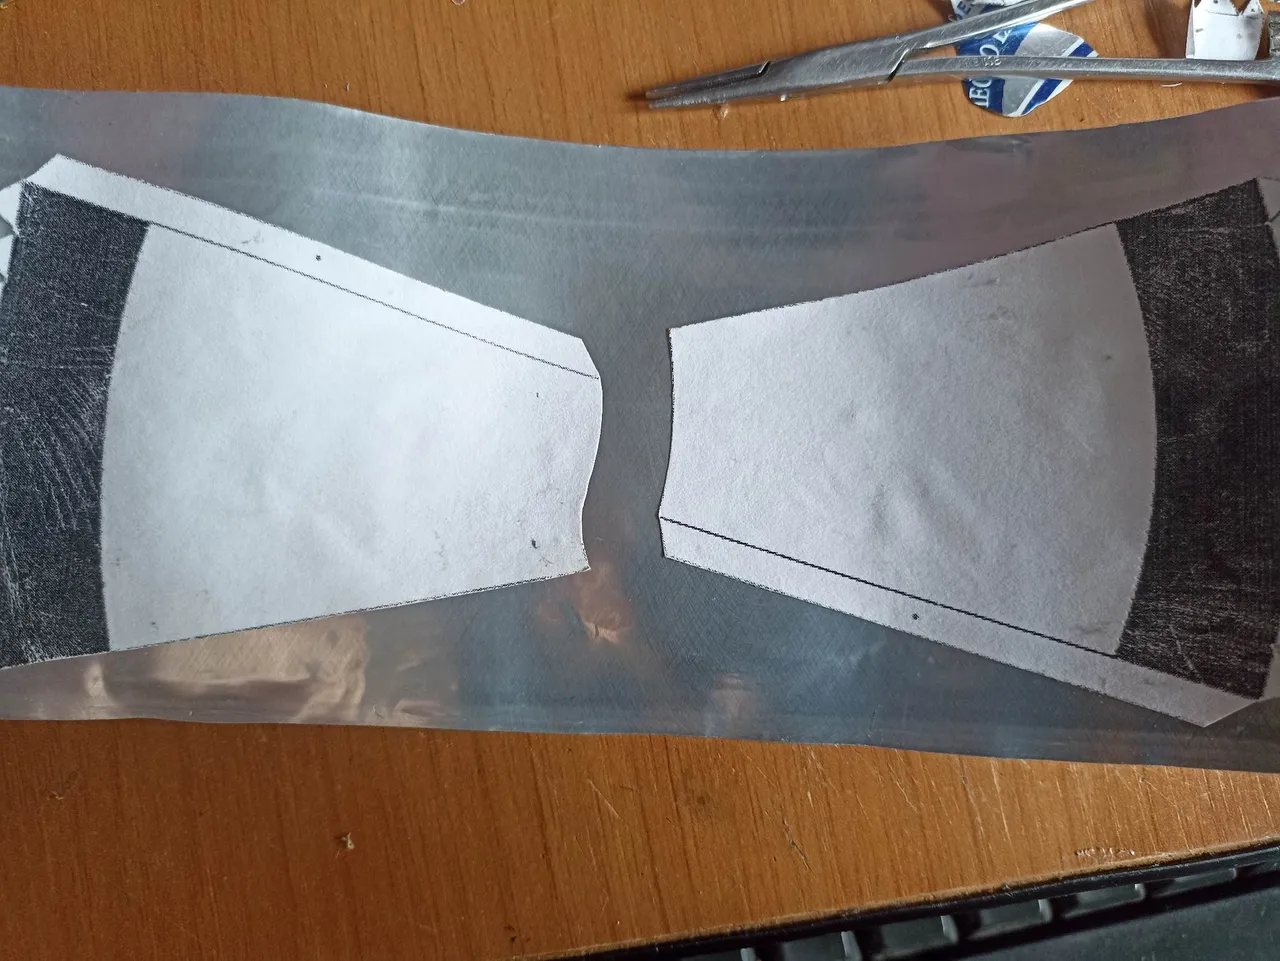
Since I already have experience making these sculptures, I already knew how many cans I was going to use, so I found 25 beer cans and cut them into thin sheets that, as you know, are super malleable to make any kind of figures, apart from that I also used a cereal cardboard box to make the torso and thus the figure is stronger and firmer. As templates I used the ones that were part of my previous Boba Fett figure but I made several modifications to make Darth Vader's body look better, you can see it in my previous posts if you wish!
Como ya tengo una expriencia haciendo estas esculturas, ya sabía cuantas latas iba a utilizar, así que busqué 25 latas de cerveza y las corté en finas láminas que como saben son super maleables para hace cualquier clase de figuras, a parte de eso tambien utilicé una caja de cartón de cereales para hacer el torso y así la figura quede más fuerte y firme. Como plantillas utilicé las que fueron parte de mi anterior figura de Boba Fett pero le hice varias modificaciones para que saliera mejor el cuerpo de Darth Vader, pueden verla en mis publicaciones anteriores si lo desean!
 |  |  |
|---|---|---|
 |  |  |
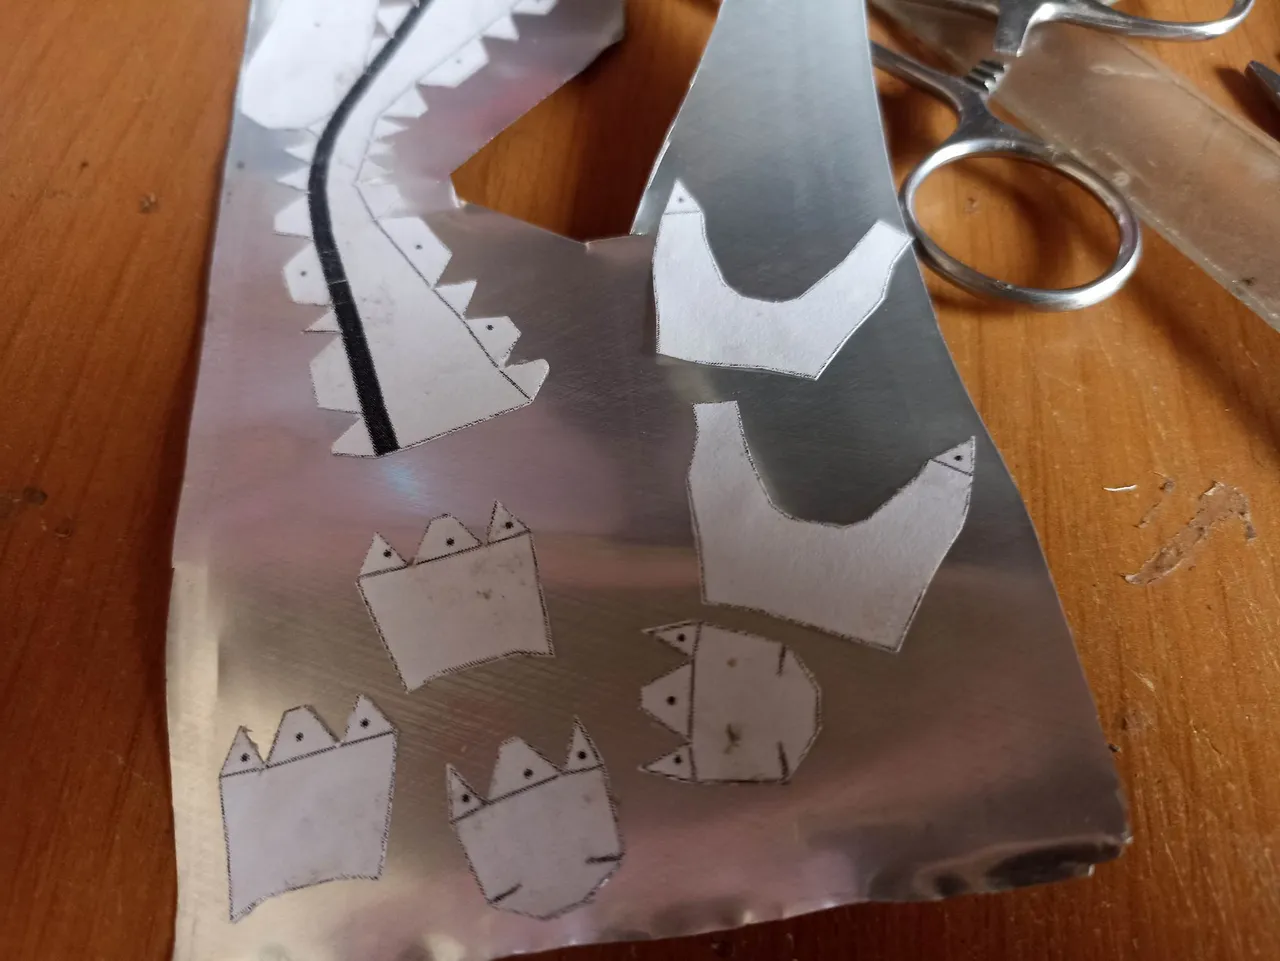
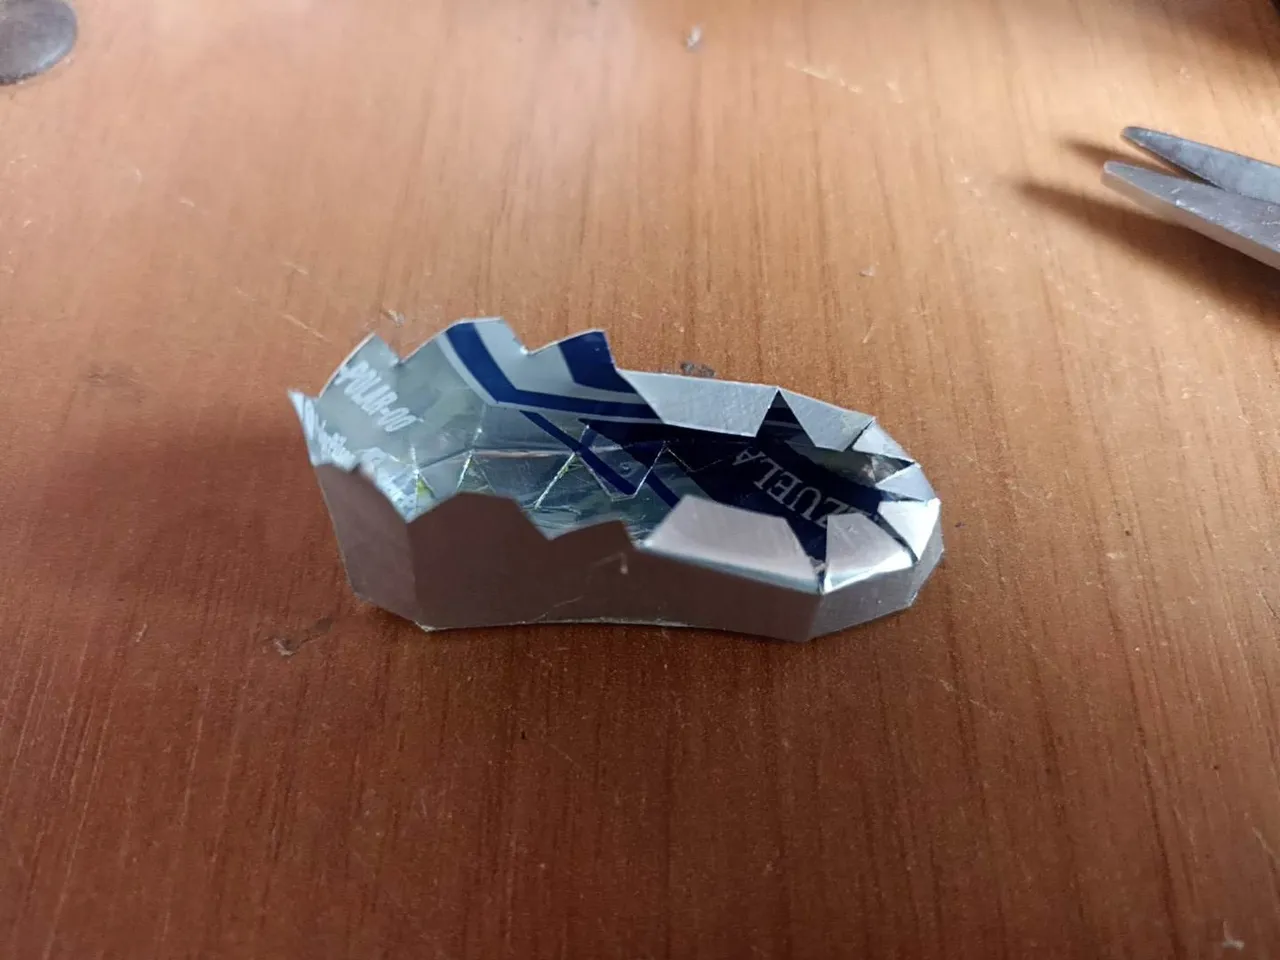
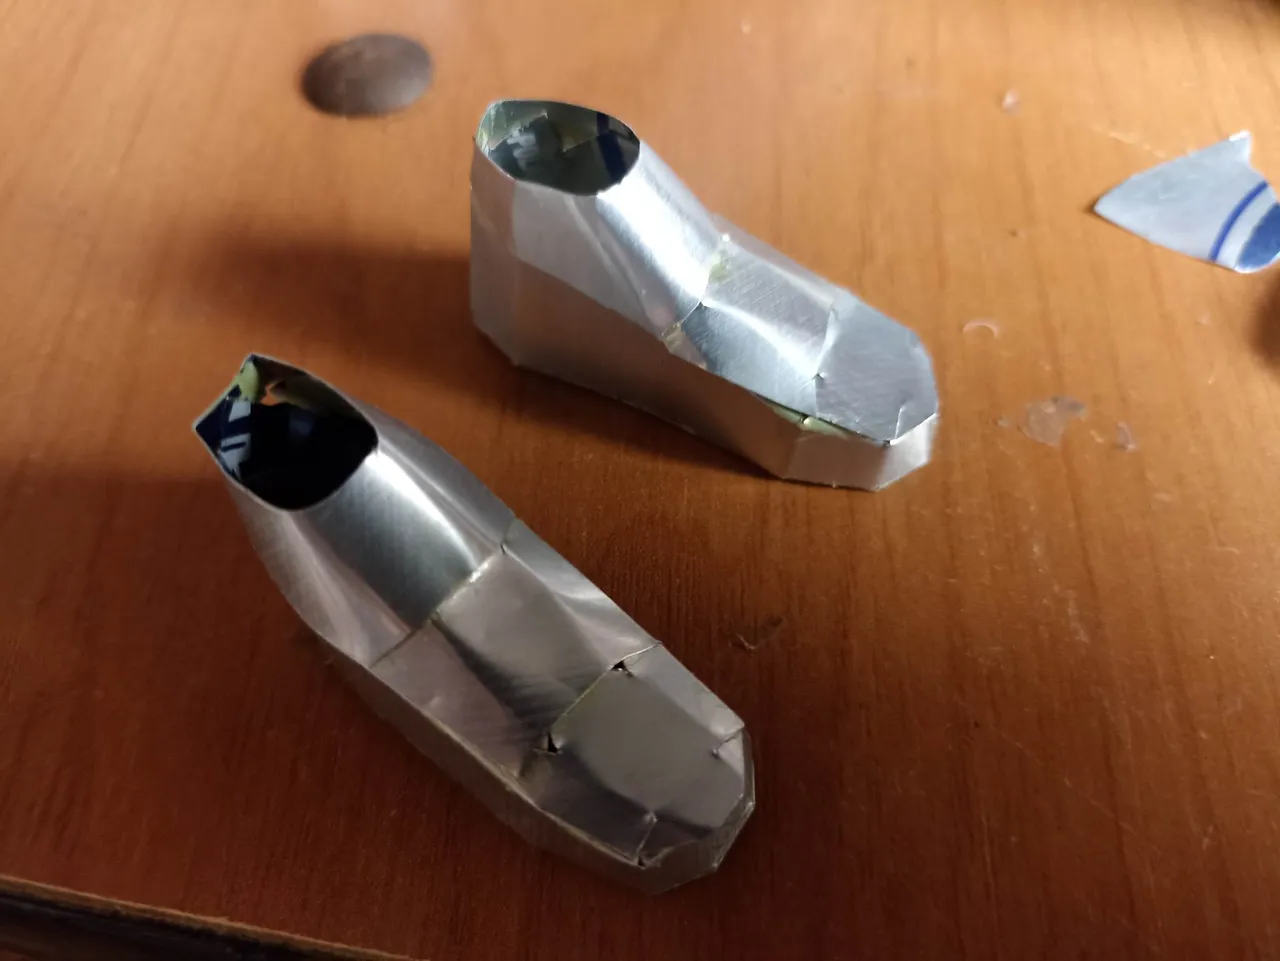
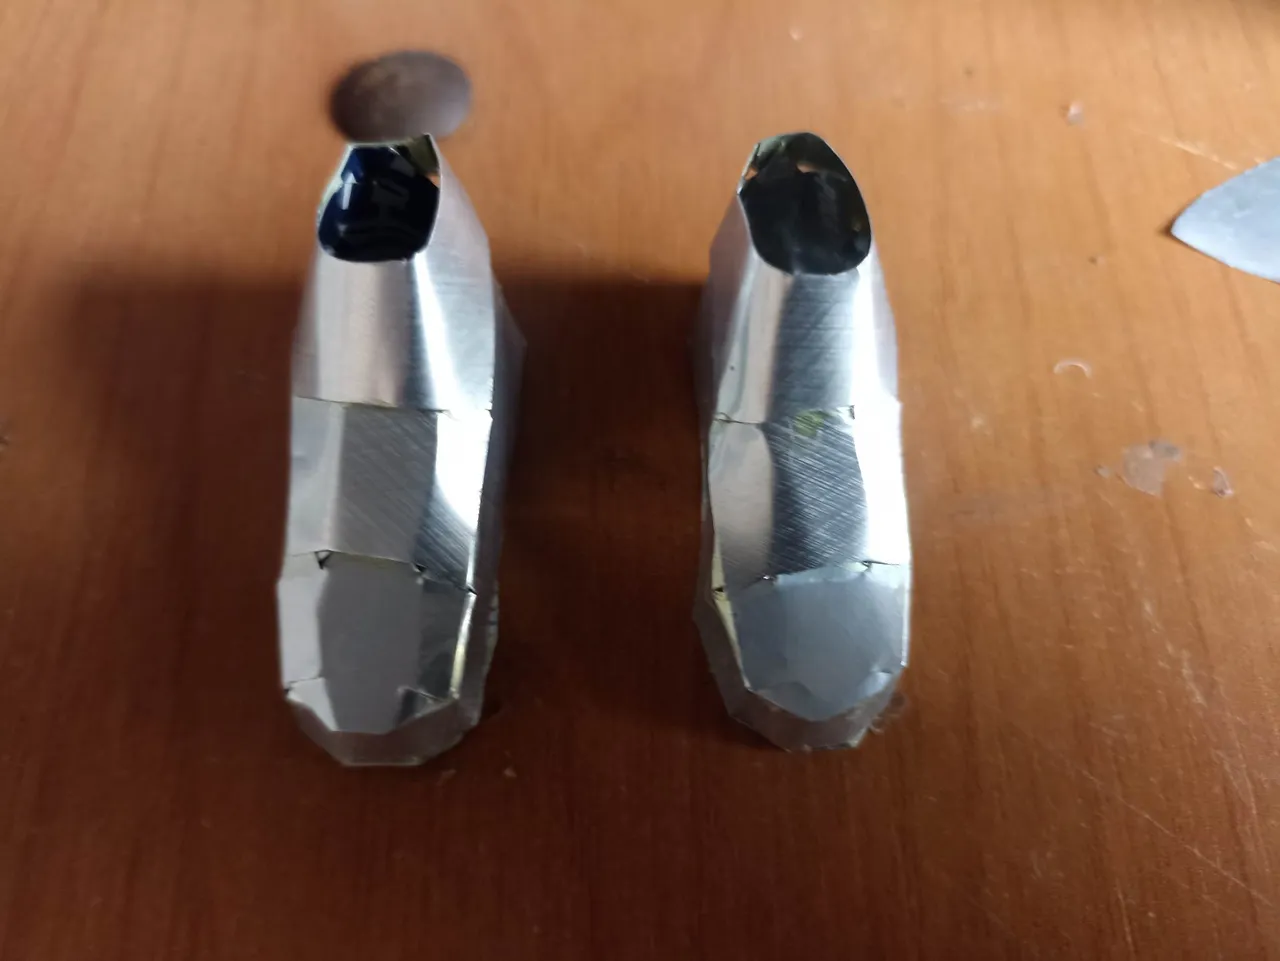
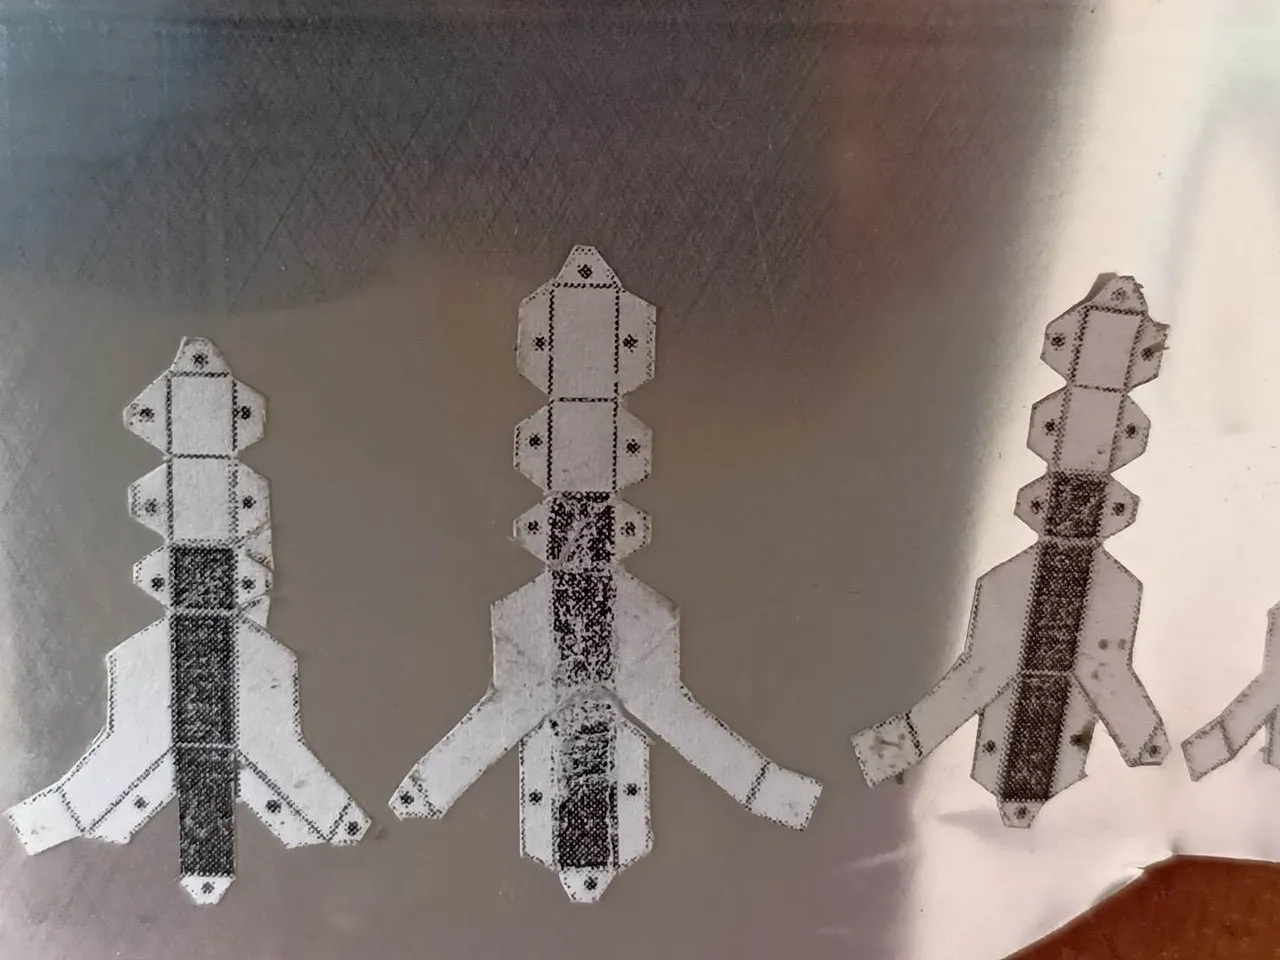
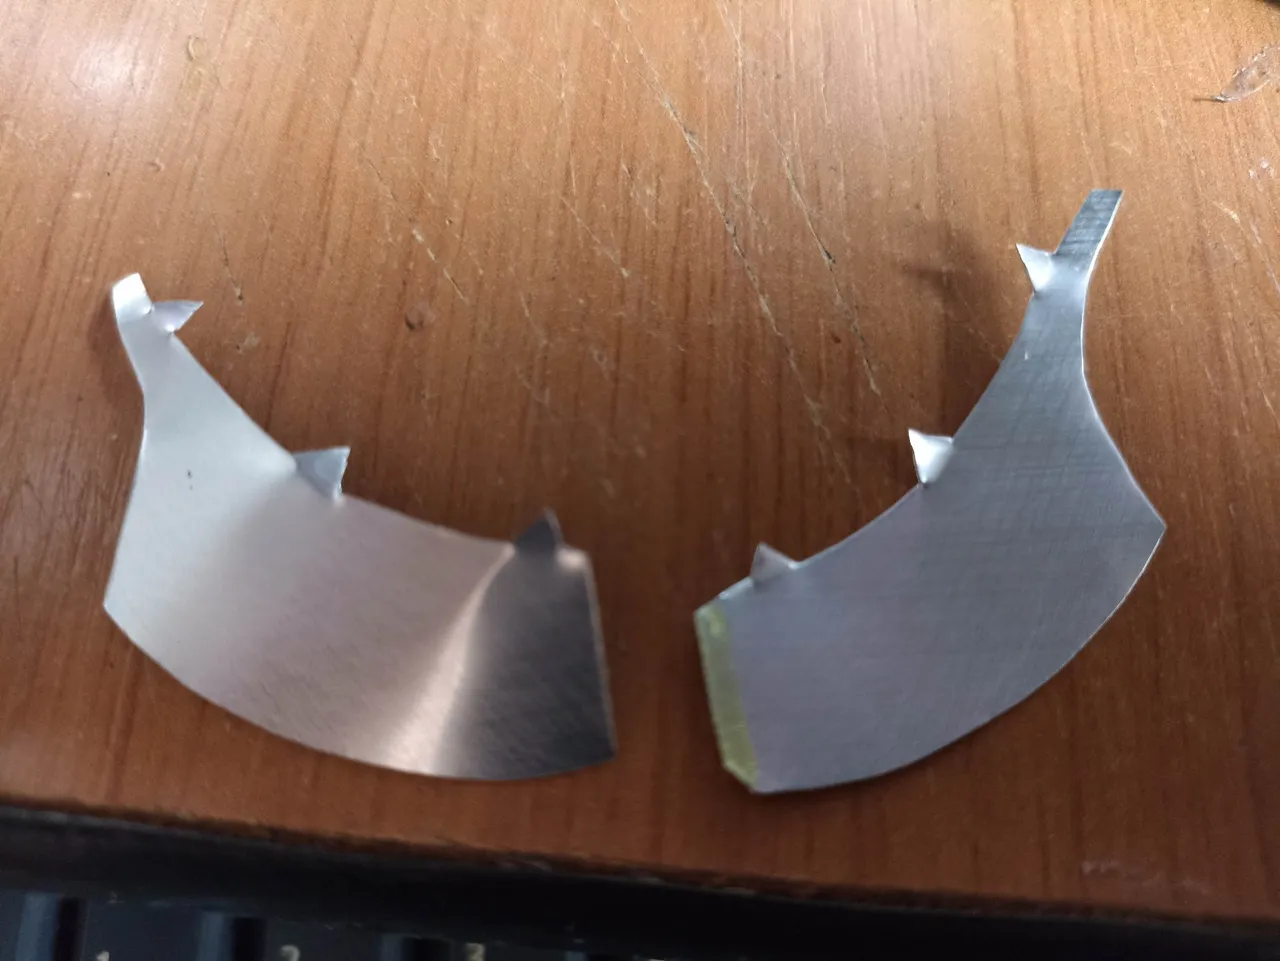
The first insoles to use are those for the extremities, starting with the shoes and from there to the legs. Let's remember that Anakin Skywalker, before he was Darth Vader, was cut in half and lost his legs, for which he was given a robotic prosthesis. as well as one of his arms, so one of the slight changes I made was to try to give them that look.
Las primeras plantillas en utilizar son las de las extremidades, comenzando por los zapatos y de ahí luego a las piernas, recordemos que Anakin Skywalker antes de ser Darth Vader fue cortado a la mitad y perdió sus piernas, por lo que le dieron una prótesis robóticas como también para uno de sus brazos, así que uno de los ligeros cambios que hice fue tratarde darles ese aspecto.
 |  |  |
|---|---|---|
 | 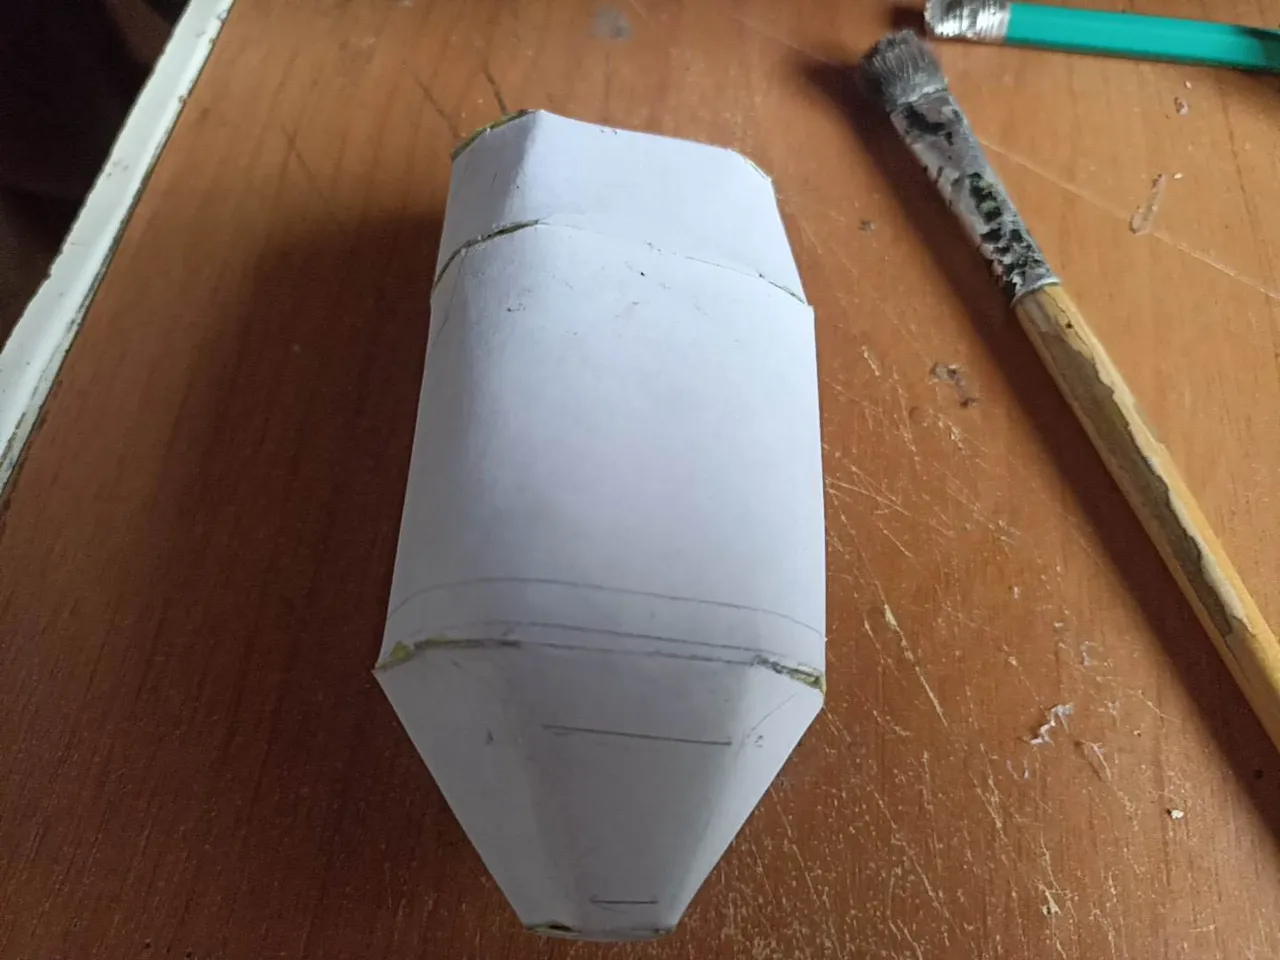 |
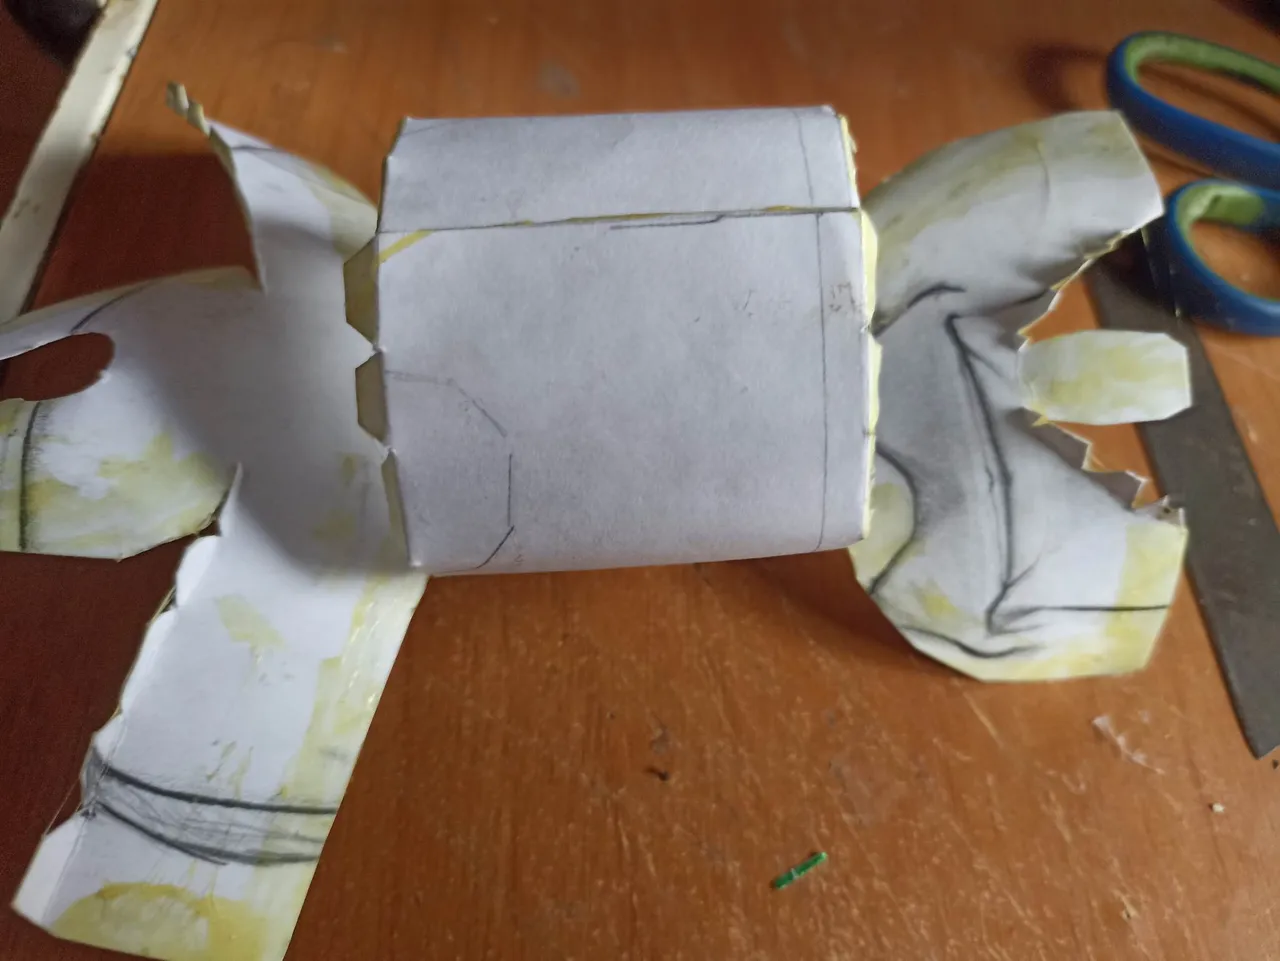
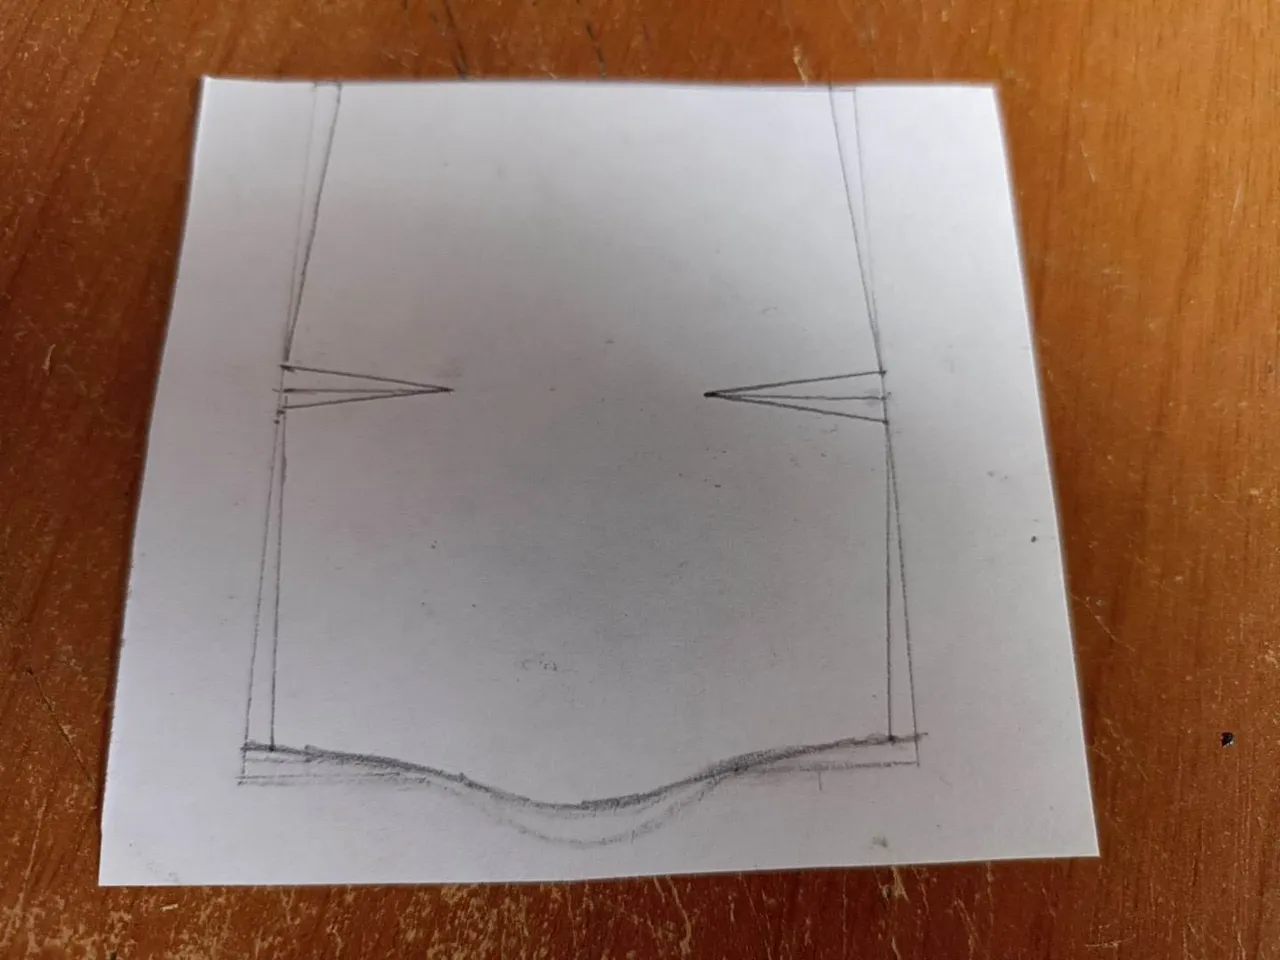
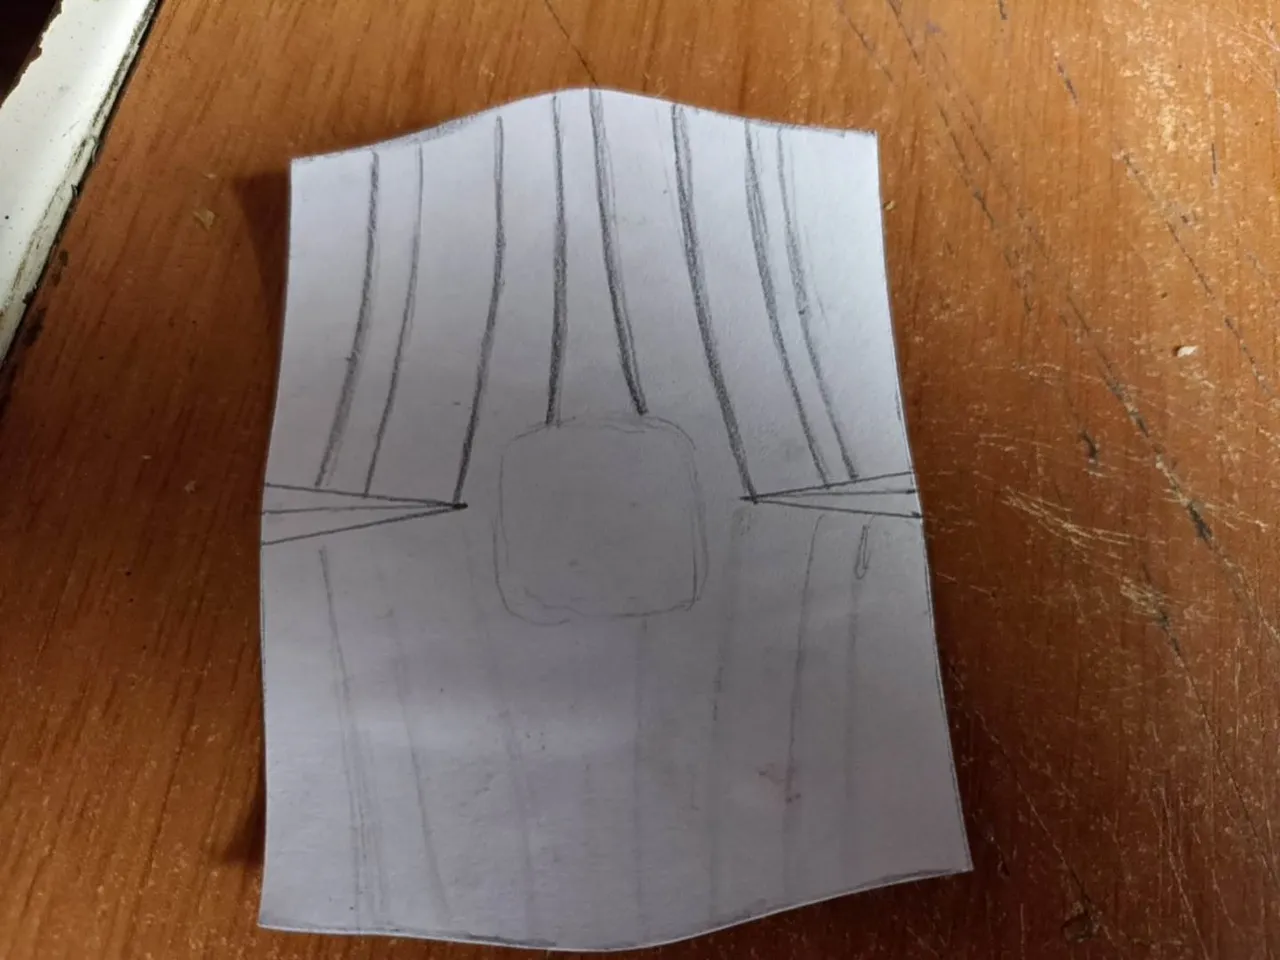
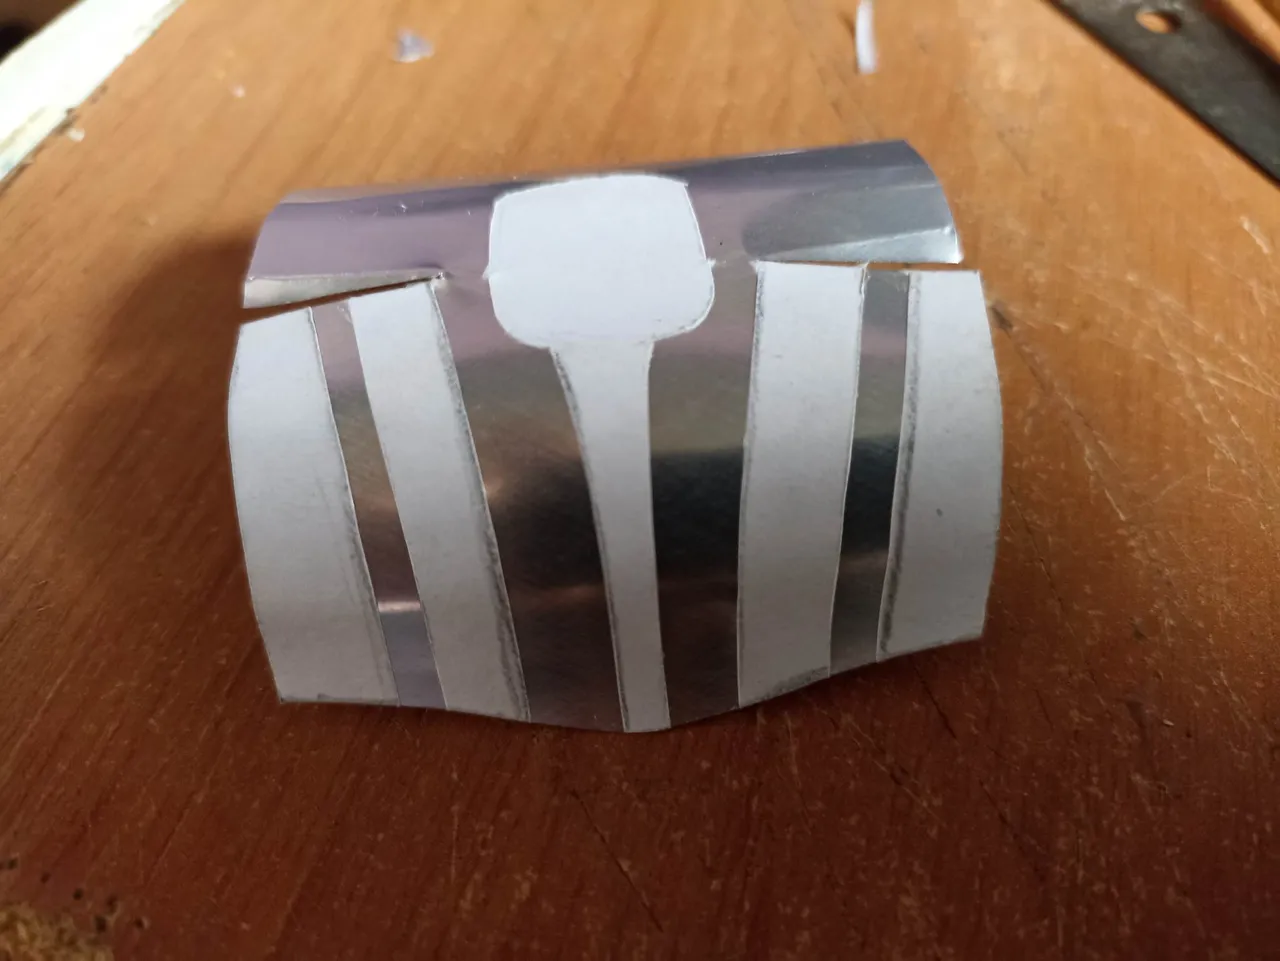
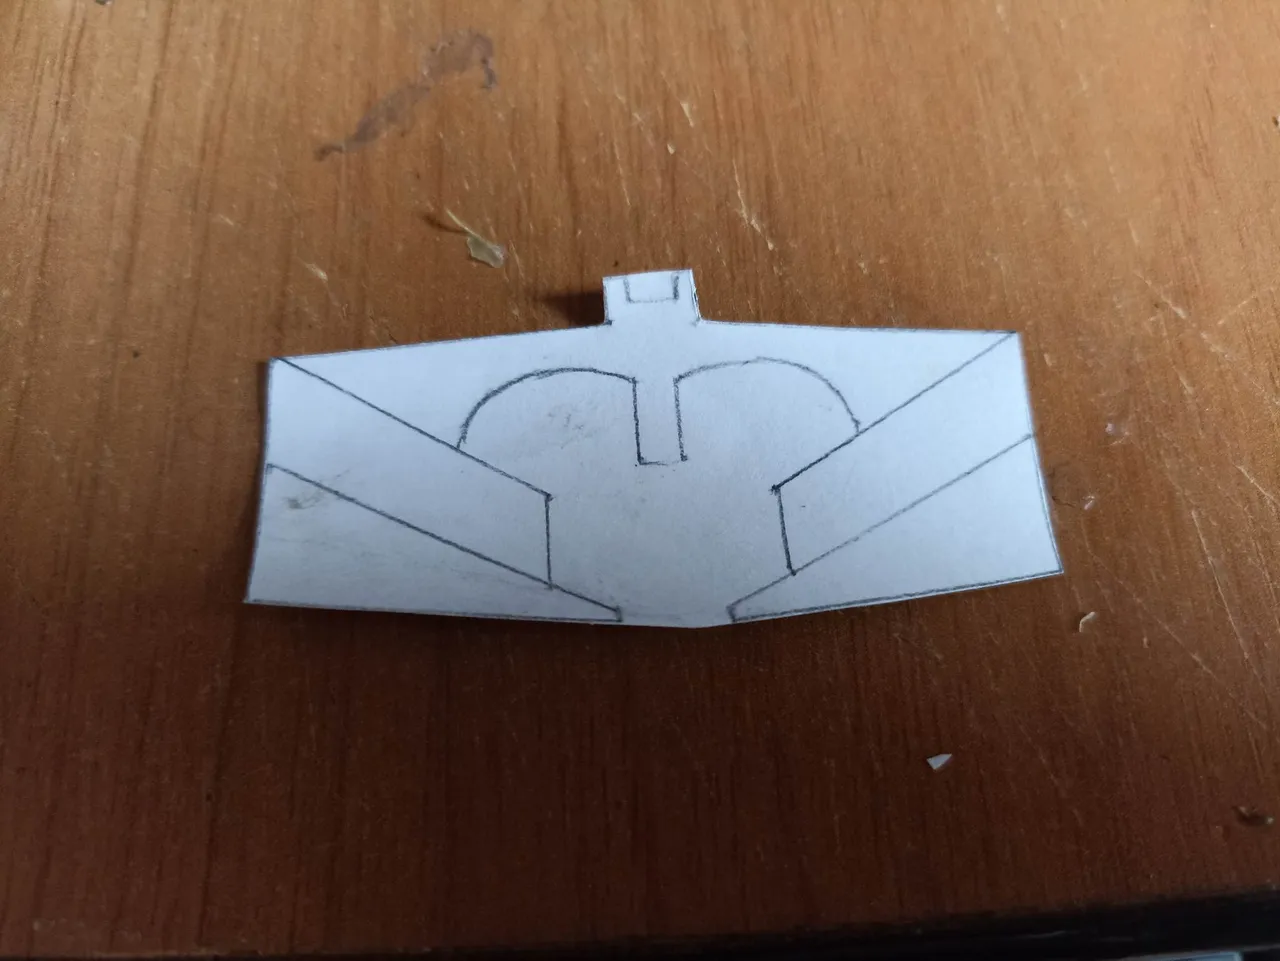
The next step was to make the torso, I didn't have this template so I had to draw it, it didn't look exactly the same but it helped me to make it more in line with Darth Vader's body. To have it ready, I cut it carefully since that piece is bigger, so I used the cereal cardboard to make it, after cutting it I put glue on it and little by little I was joining all the parts until I had the torso well armed, both for the part of the arms as the legs.
El siguiente paso fue hacer el torso, esta plantilla no la tenía así que tuve que dibujarla, no me quedó exactamente igual pero igual me sirvió para hacerlo más acorde al cuerpo de Darth Vader. A tenerla lista la corté cuidadosamente ya que esa pieza es más grande así que utilicé el cartón del ceral para hacerla, luego de cortarla le puse pegamento y poco a poco fui uniendo todas las partes hasta tener el torso bien armado, tanto para la parte de los brazos como de las piernas.
 |  |  |
|---|
 |  |
|---|
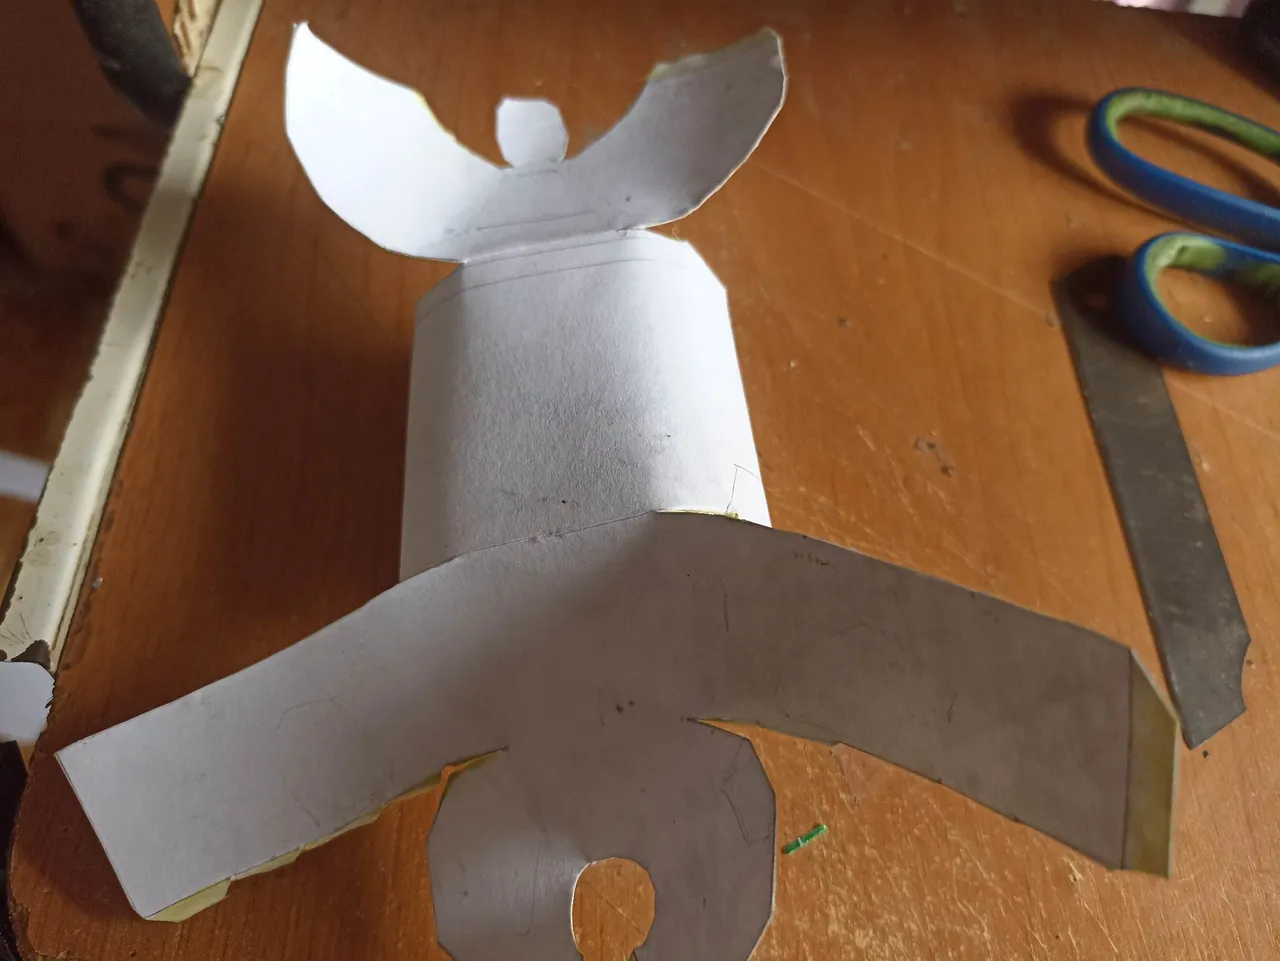
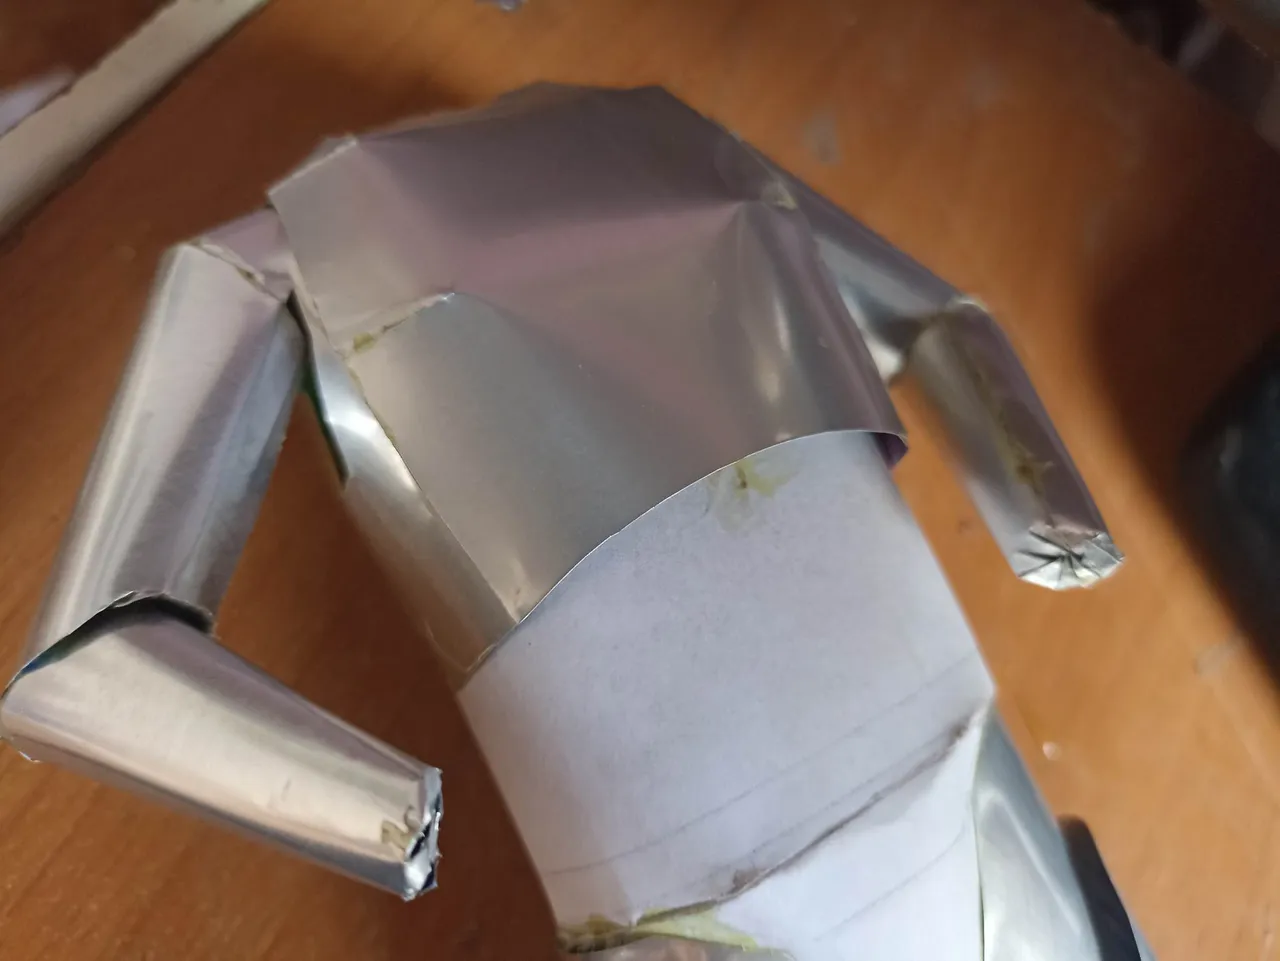
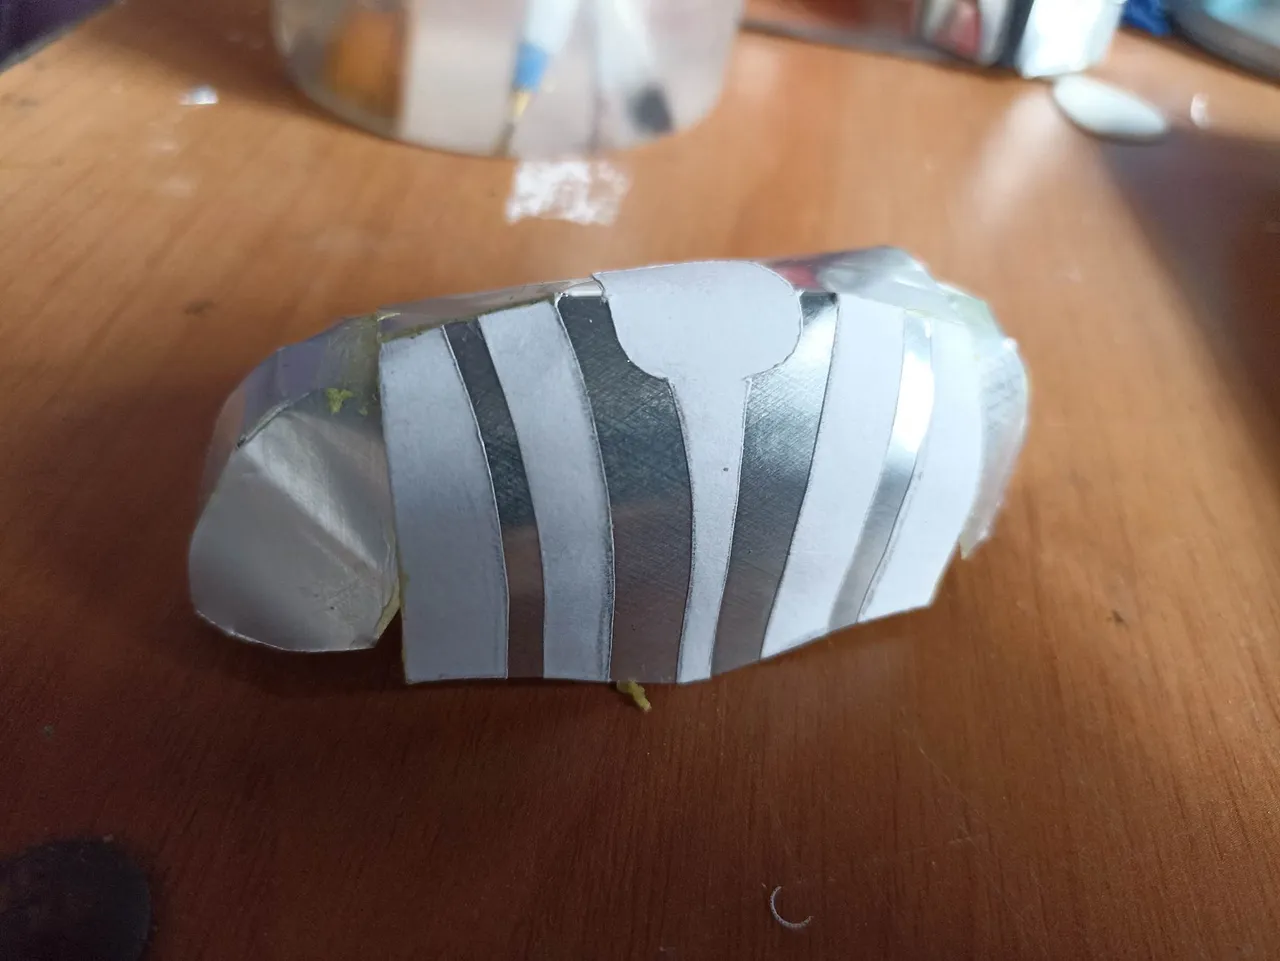
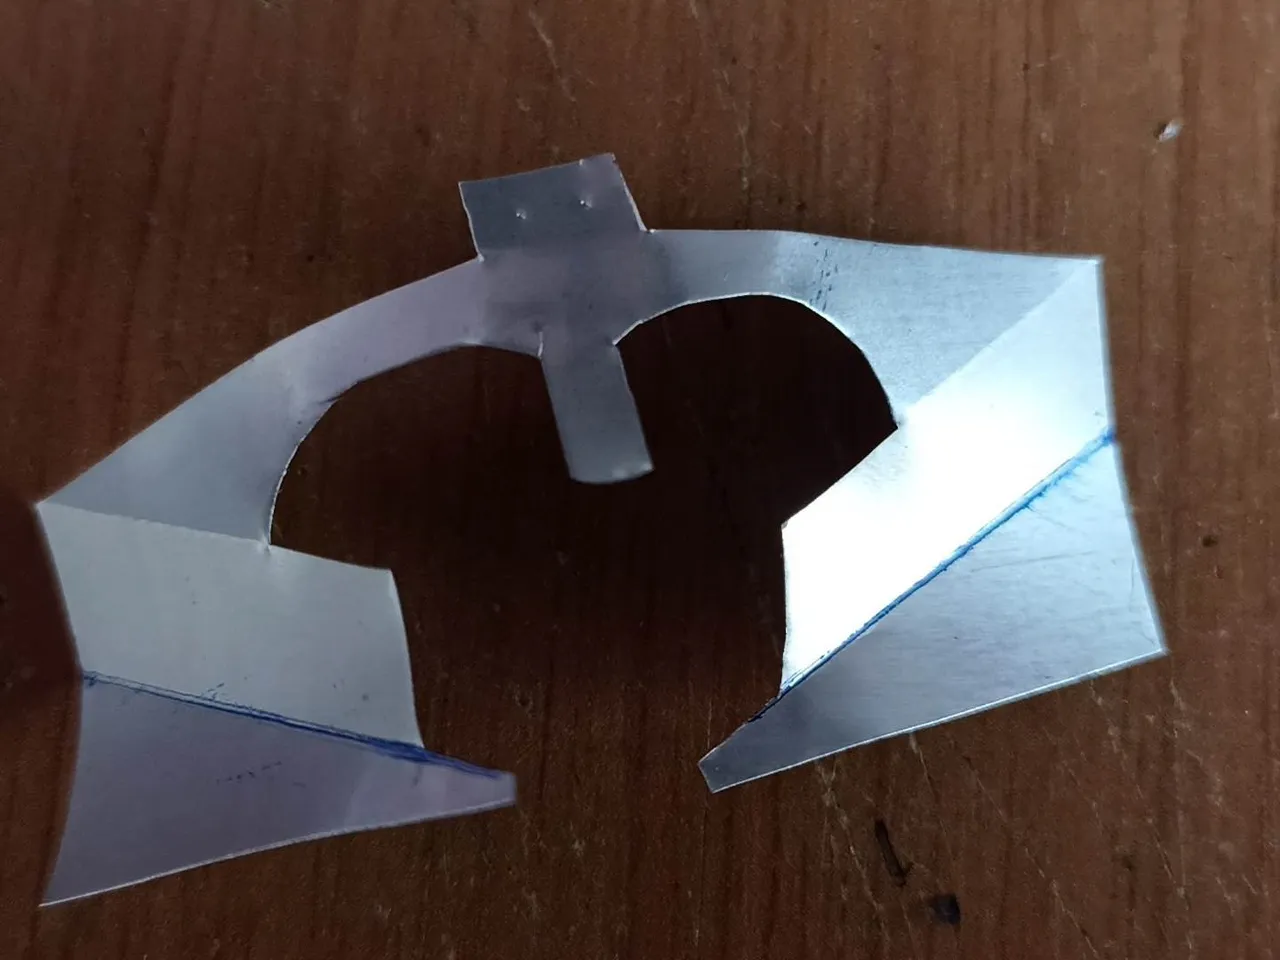
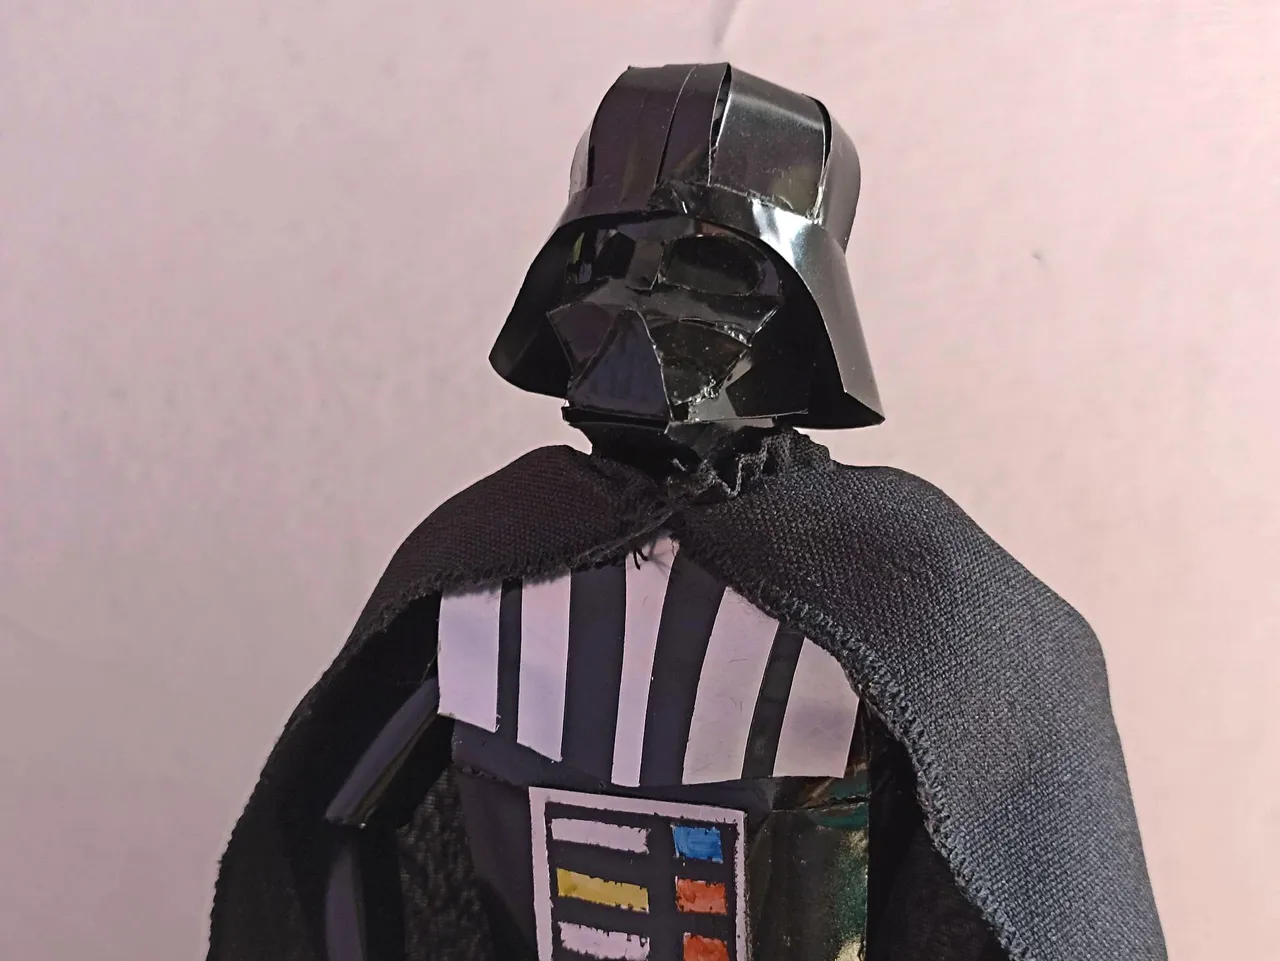
The next step was to make the upper part of the armor that protects the chest and holds Darth Vader's great cape, this template doesn't exist either so I had to draw it from Darth Vader images to get a better idea of how to make it. I also joined the parts that I had done previously, you can see how the arms turned out.
El paso siguiente fue hacer la parte superior de la armadura que protege el pecho y sostiene la gran capa de Darth Vader, esta plantilla tampoco existe así que tuve que dibujarla a partir de las imágenes de Darth Vader para tener una mejor idea de como hacerla. También uní las partes que había hecho anteriormente, se pueden apreciar como quedáron los brazos.
 |  |  |
|---|---|---|
 |  |  |
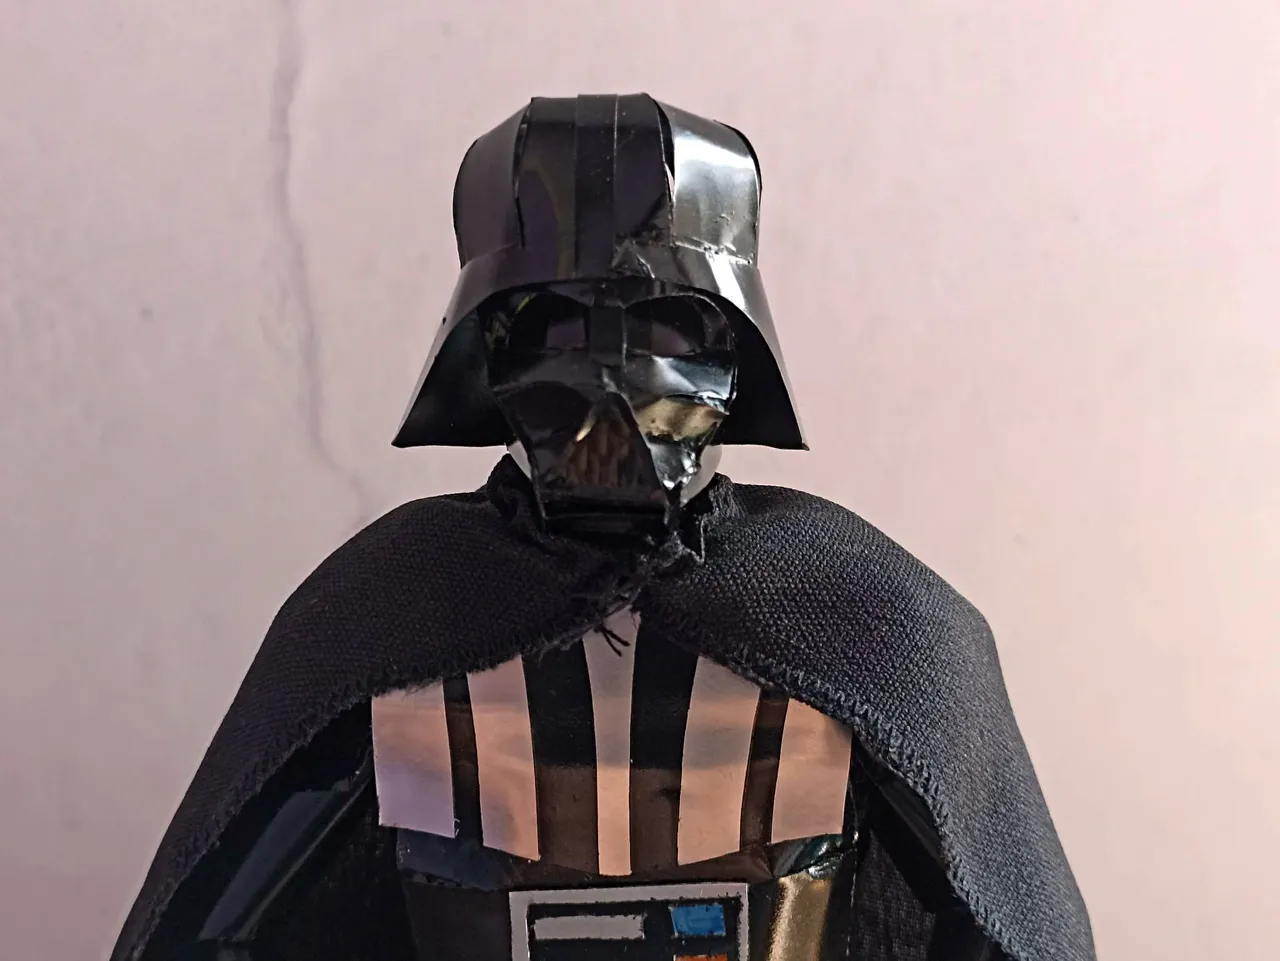
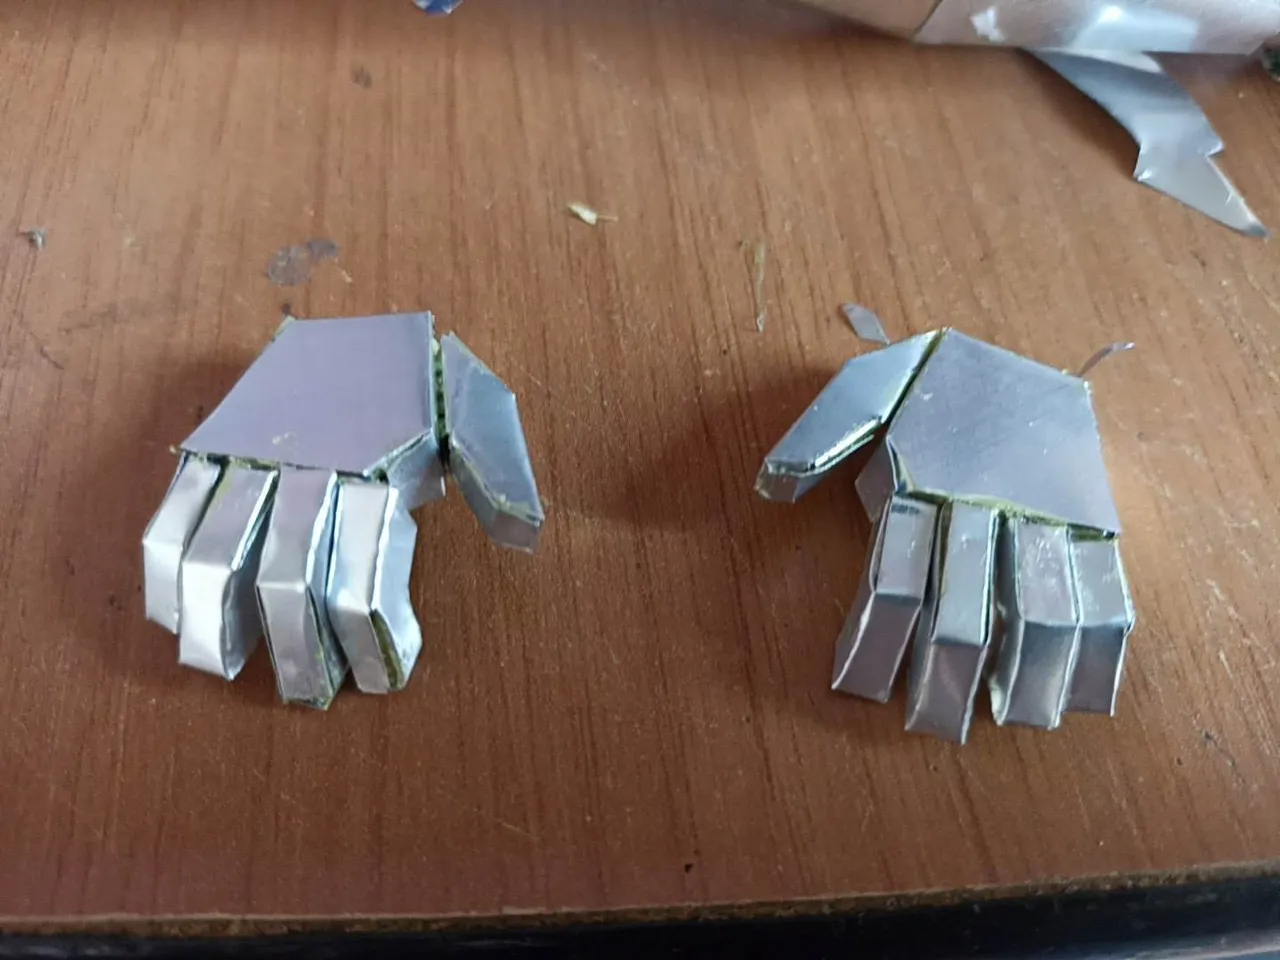
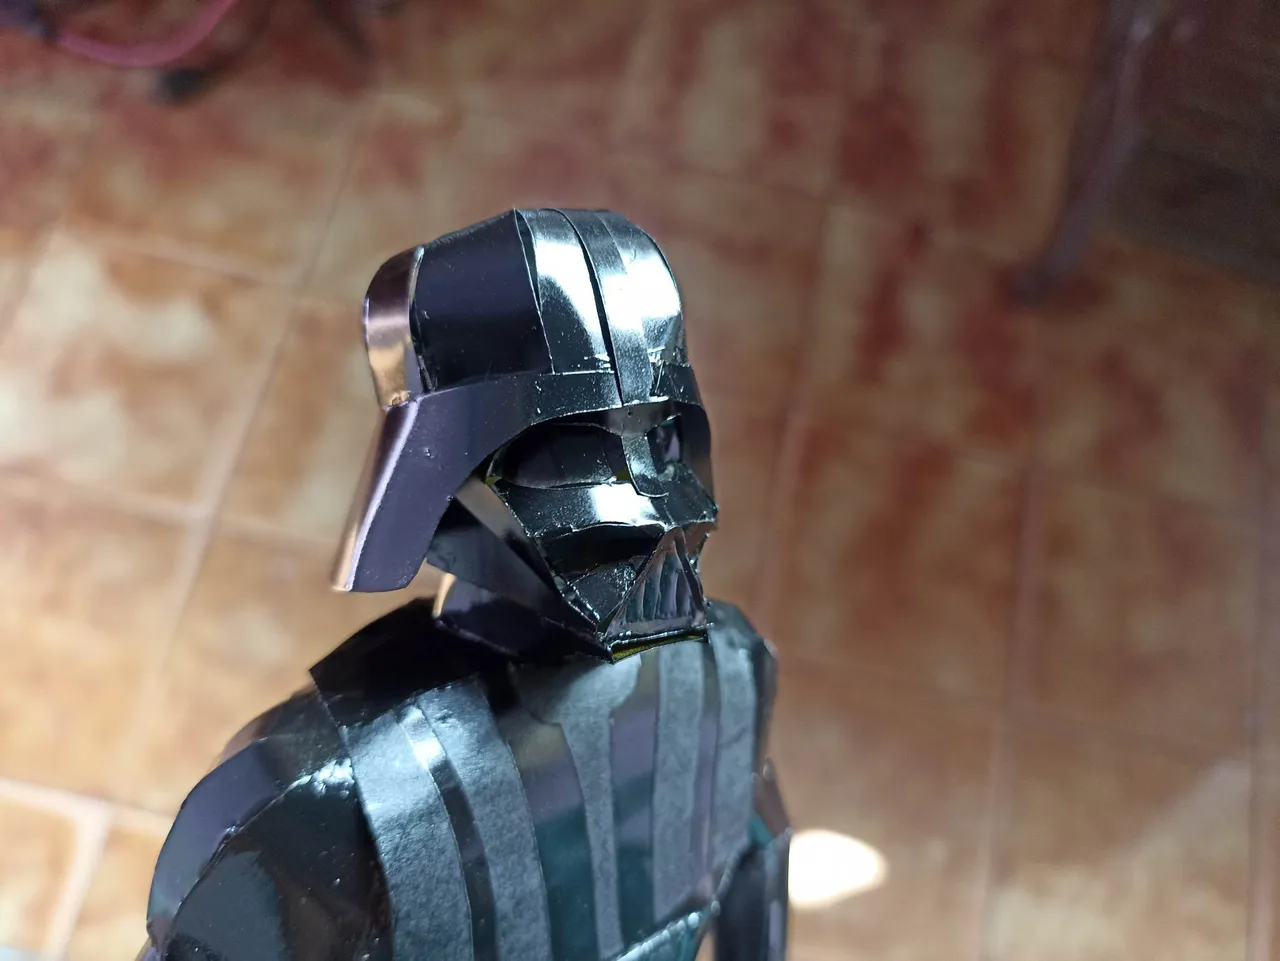
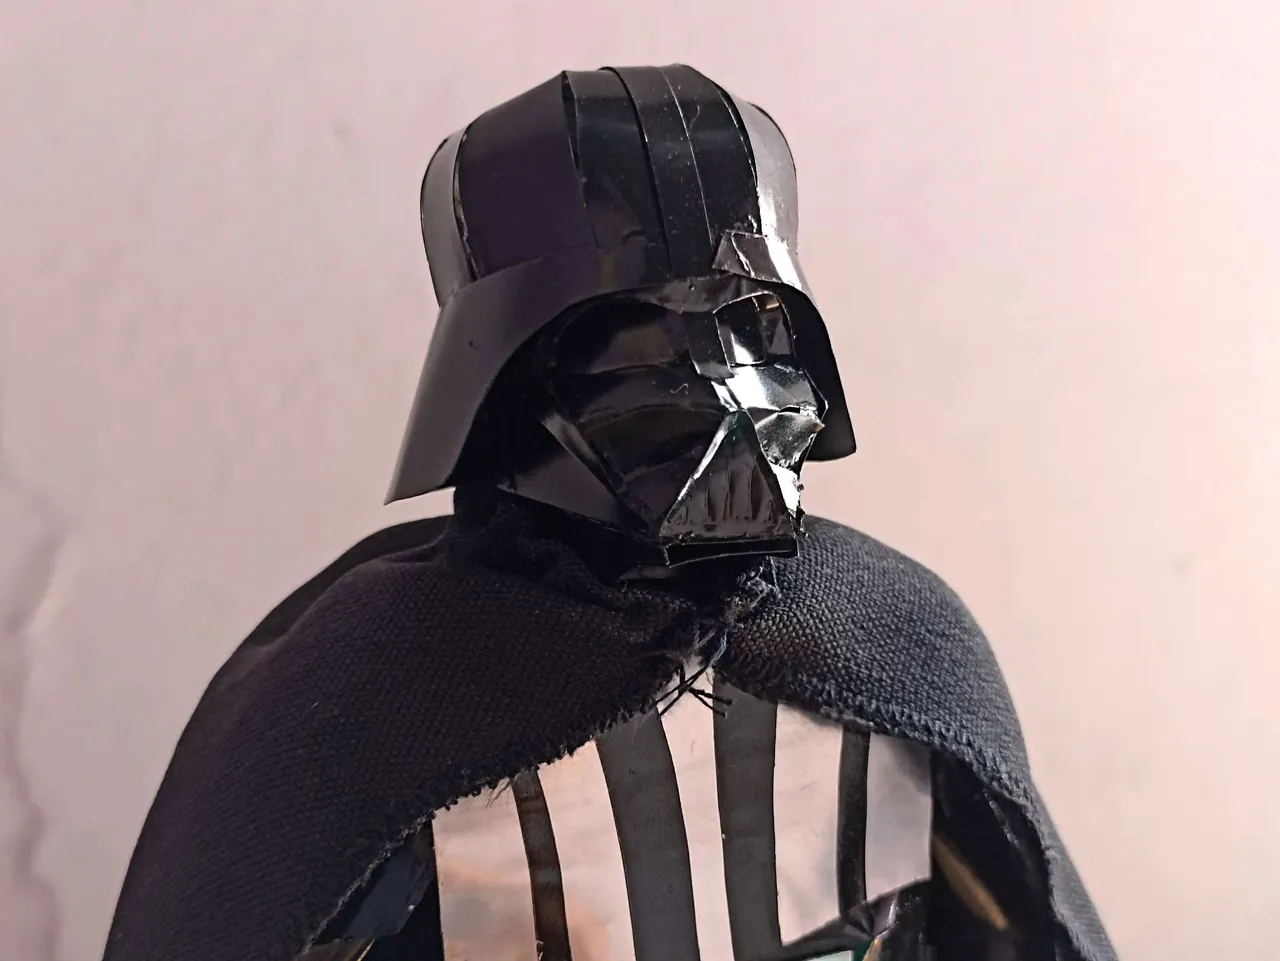
After this came the most difficult steps for me, making the hands and the helmet. I had problems with my hands since I couldn't find the complete pieces, some fingers were missing so I had to draw them and since they were small pieces they didn't fit the exact size so when I folded them with the pliers they were easily damaged, I had to draw 3 times until they came out perfect and I was able to put my hands together. Then there was the helmet, the larger pieces were no problem, but the center, everything that covers the face was a super difficult job, after two failed attempts I was able to mold it, then I put glue on all the pieces and with the help of a small clamp I was able to join them.
Despues de esto vinieron los pasos más difíciles para mi, hacer las manos y el casco. Con las manos tuve problemas ya que no encontré las piezas completas, algunos dedos me faltaron entonces tuve que dibujarlos y al ser piezas pequeñas estos no me quedaron con la medida excta así que cuando los doblaba con la pinza se dañaban con facilidad, tuve que dibujar 3 veces hasta que salieron perfectos y pude armar las manos. Luego fue el casco, las piezas más grandes no dieron problemas, pero el centro, todo lo que cubre el rostro fue un trabajo super dificil, después de dos intentos fallidos pude lograr moldearlo después puse pegamento en todas las piezas y con la ayuda de una pequeña pinza las pude unir.
 |  |  |
|---|
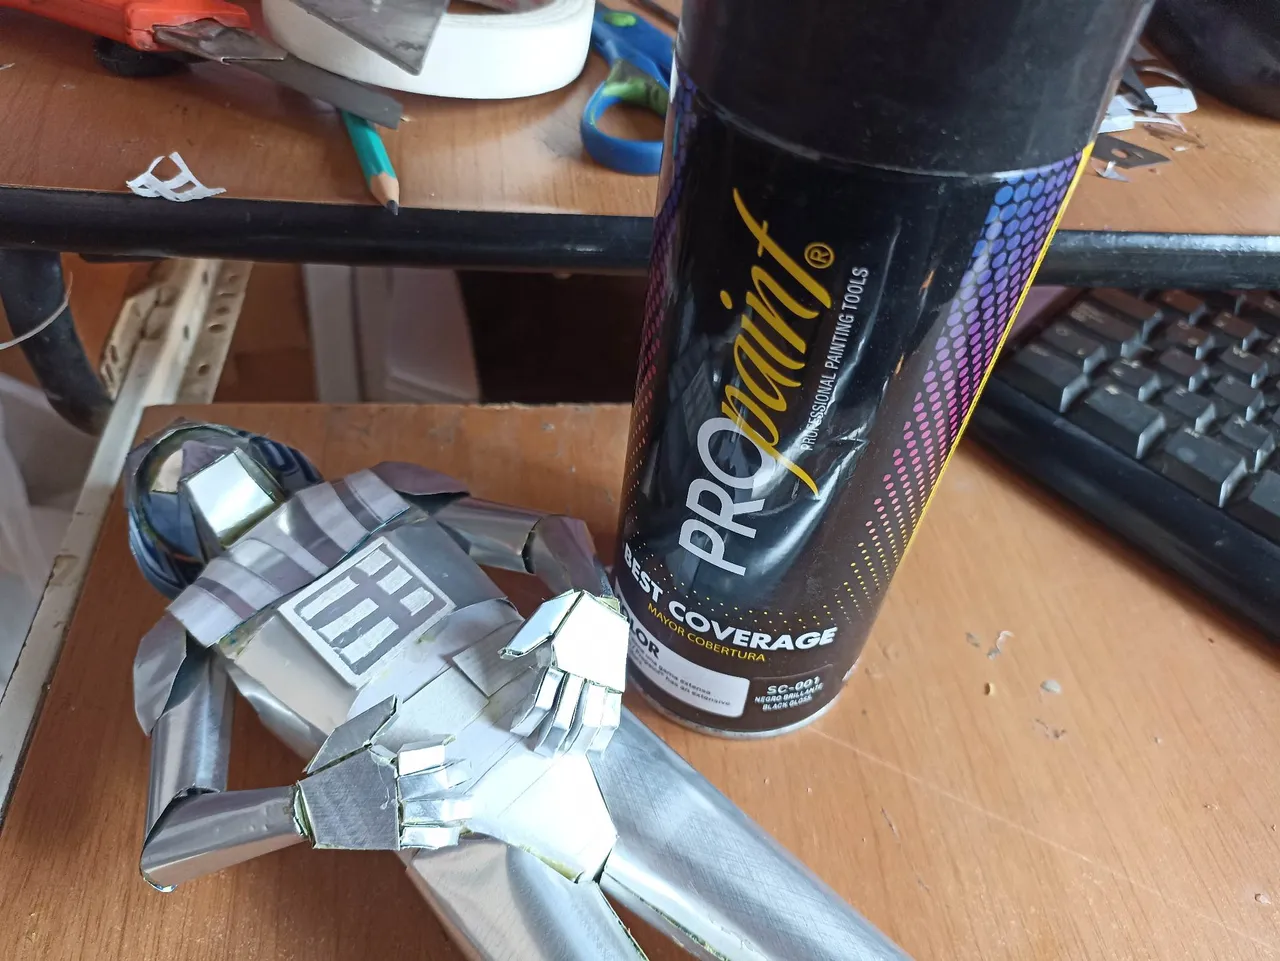
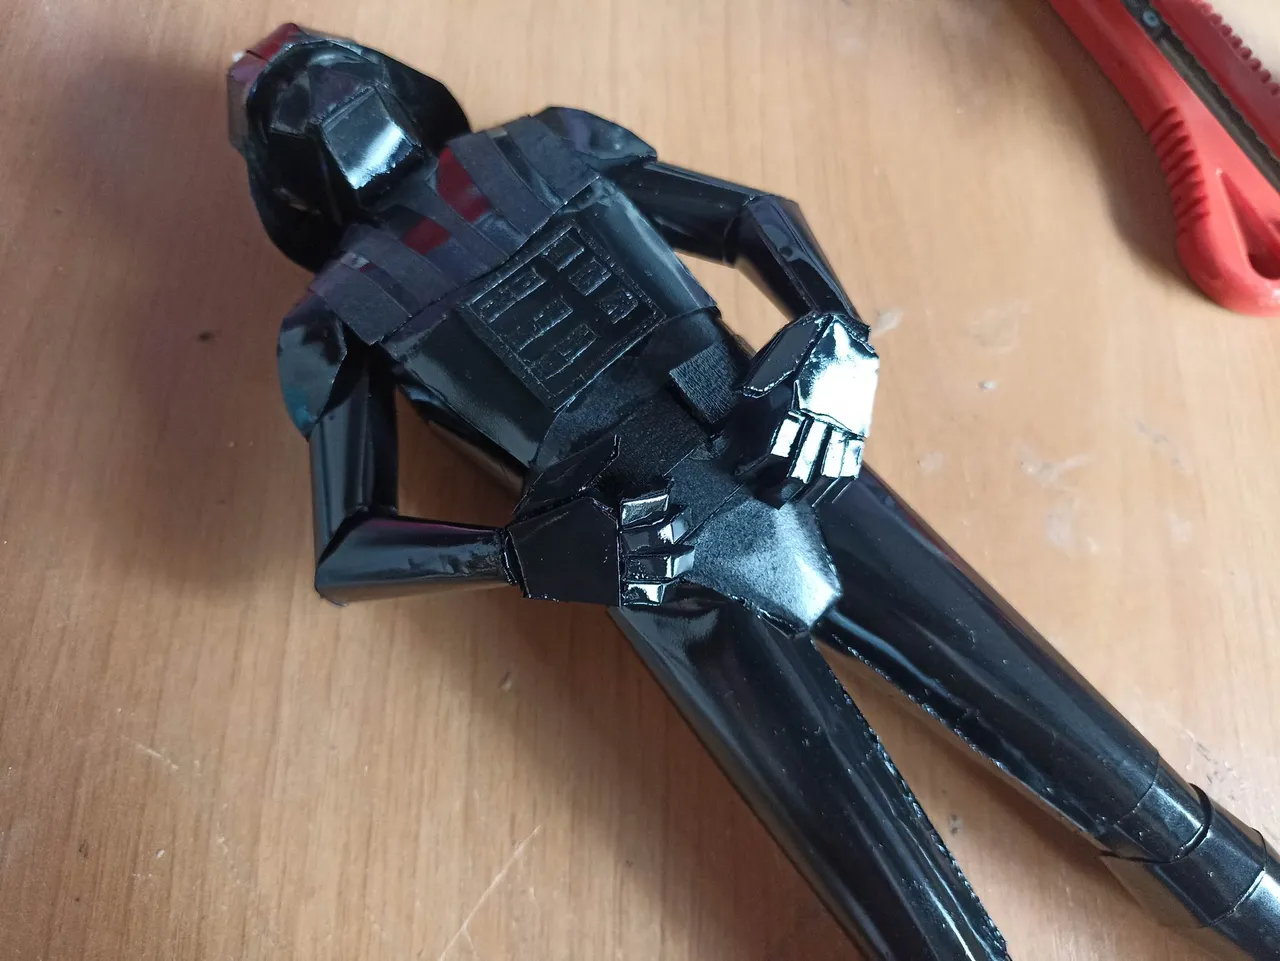
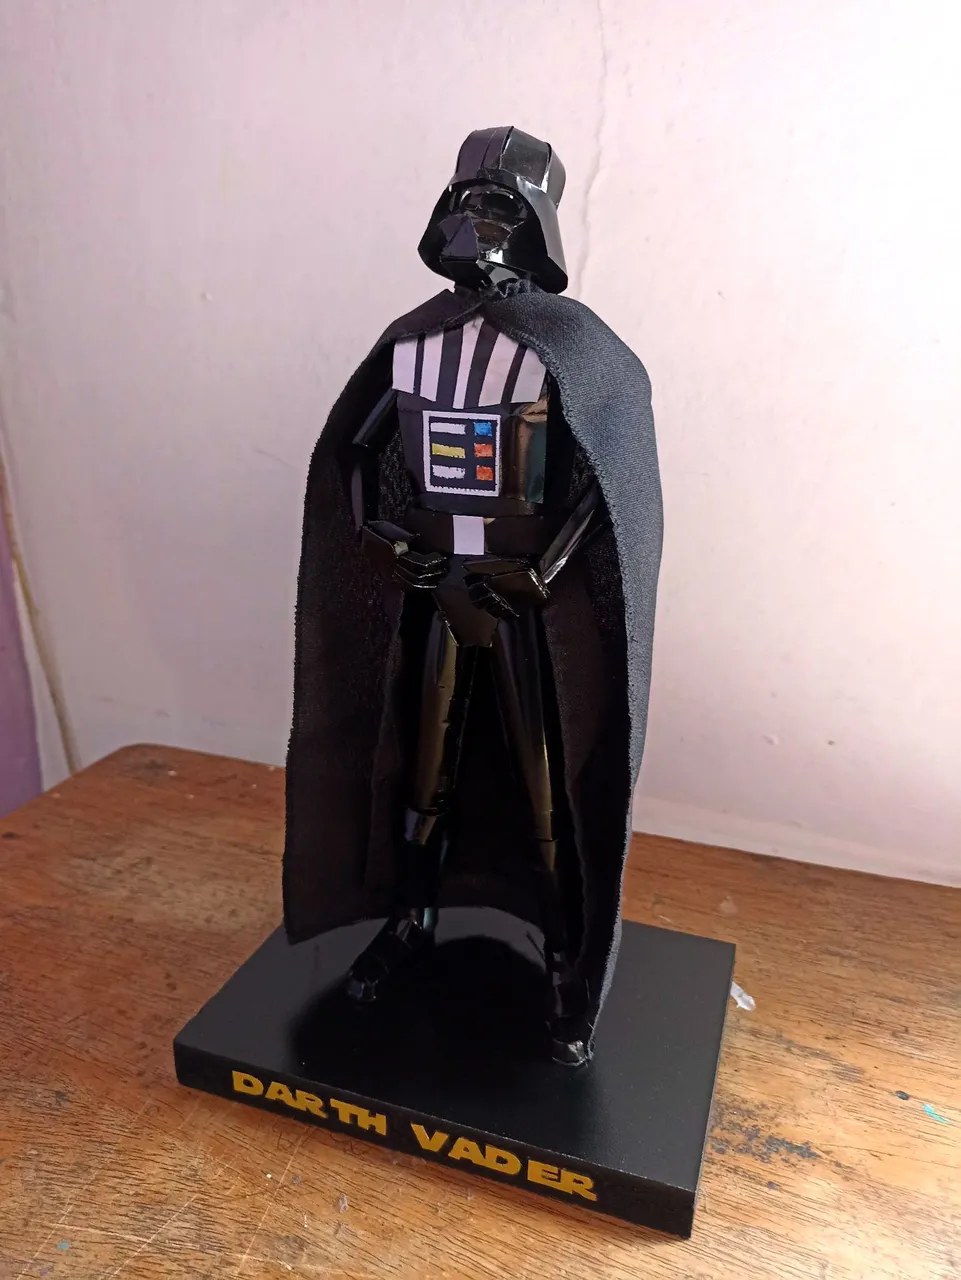
When I had the last pieces ready I proceeded to glue them, both the upper part of the armor, as well as the hands and the helmet, also all the part that has lights and goes on the abdomen. After I had it shaped, I applied 3 coats of glossy black spray paint to give it the black touch that characterizes Darth Vader, after letting it dry for a few hours the result was impressive.
Al tener las últimas piezas listas procedí a pegarlas, tanto la parte superior de la armadura, como las manos y el casco, también toda la parte que tiene luces y va en el abdomen. Después de tenerlo formado, apliqué 3 capas de pintura negra brillante en aerosol para darle el toque negro que caracteriza a Darth Vader, luego de dejarlo secar por unas horas el resultado fue impresionante.
 |  |  |
|---|---|---|
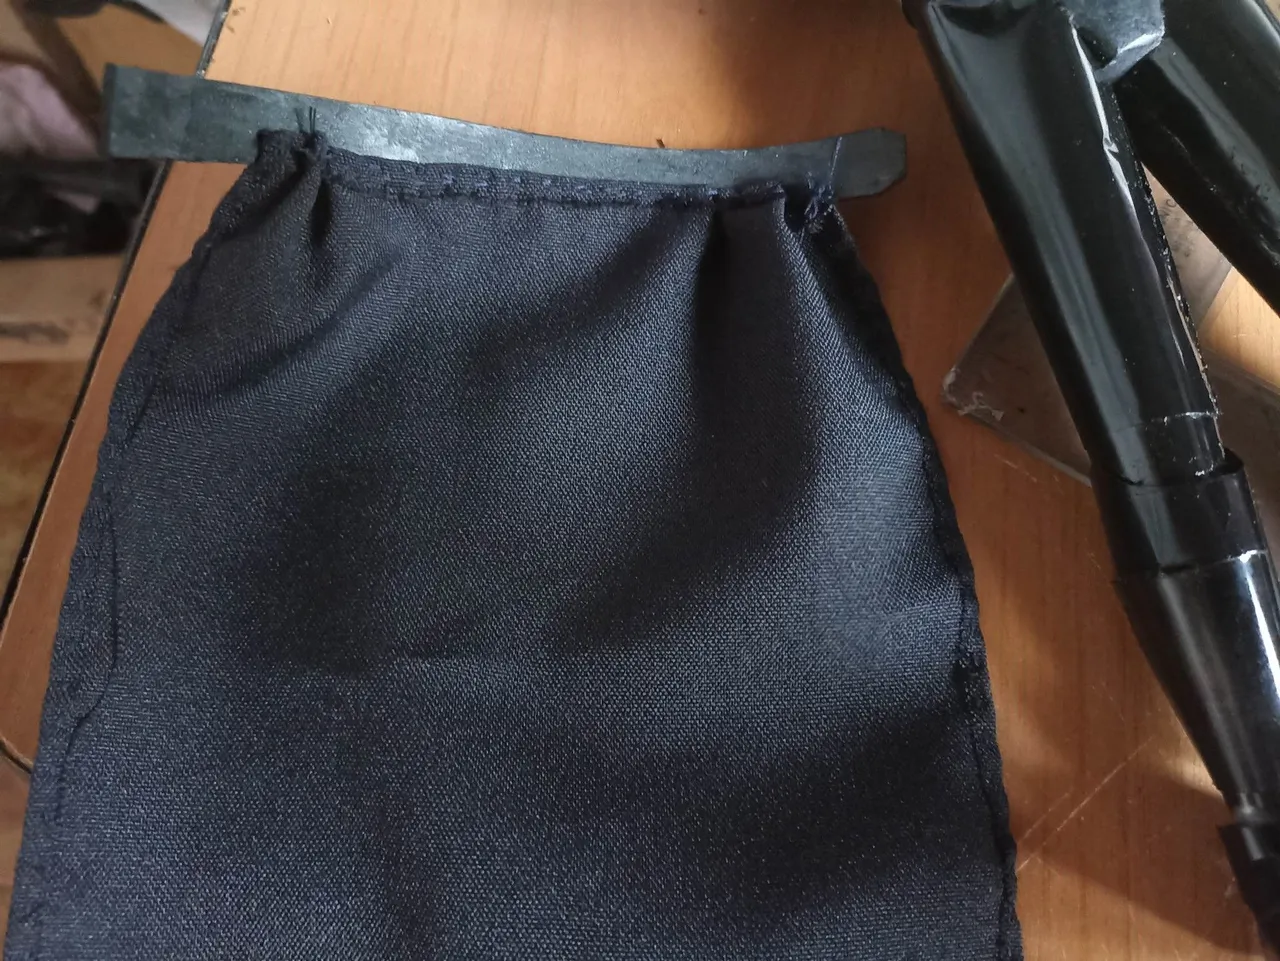 | 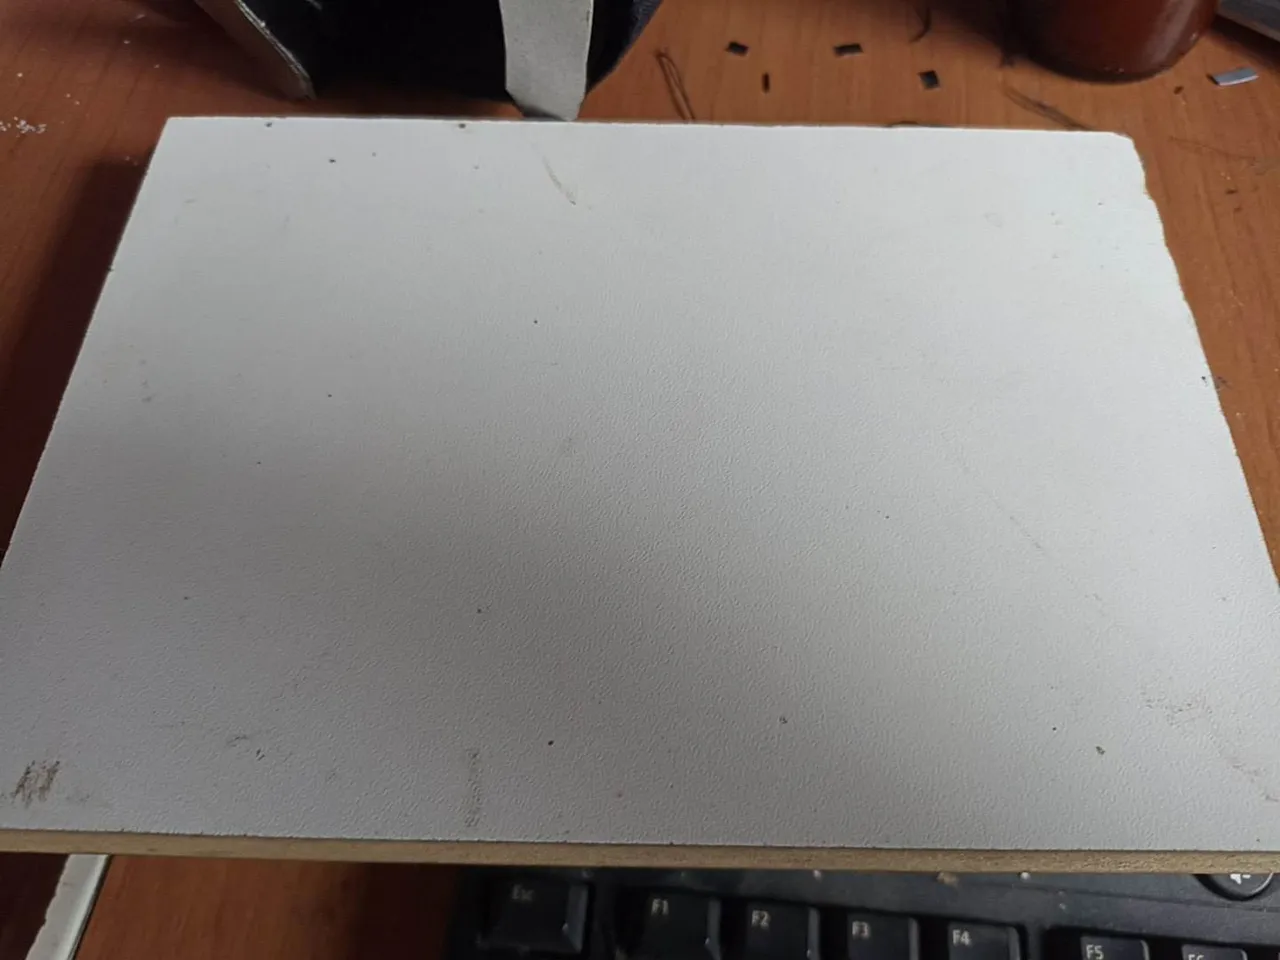 | 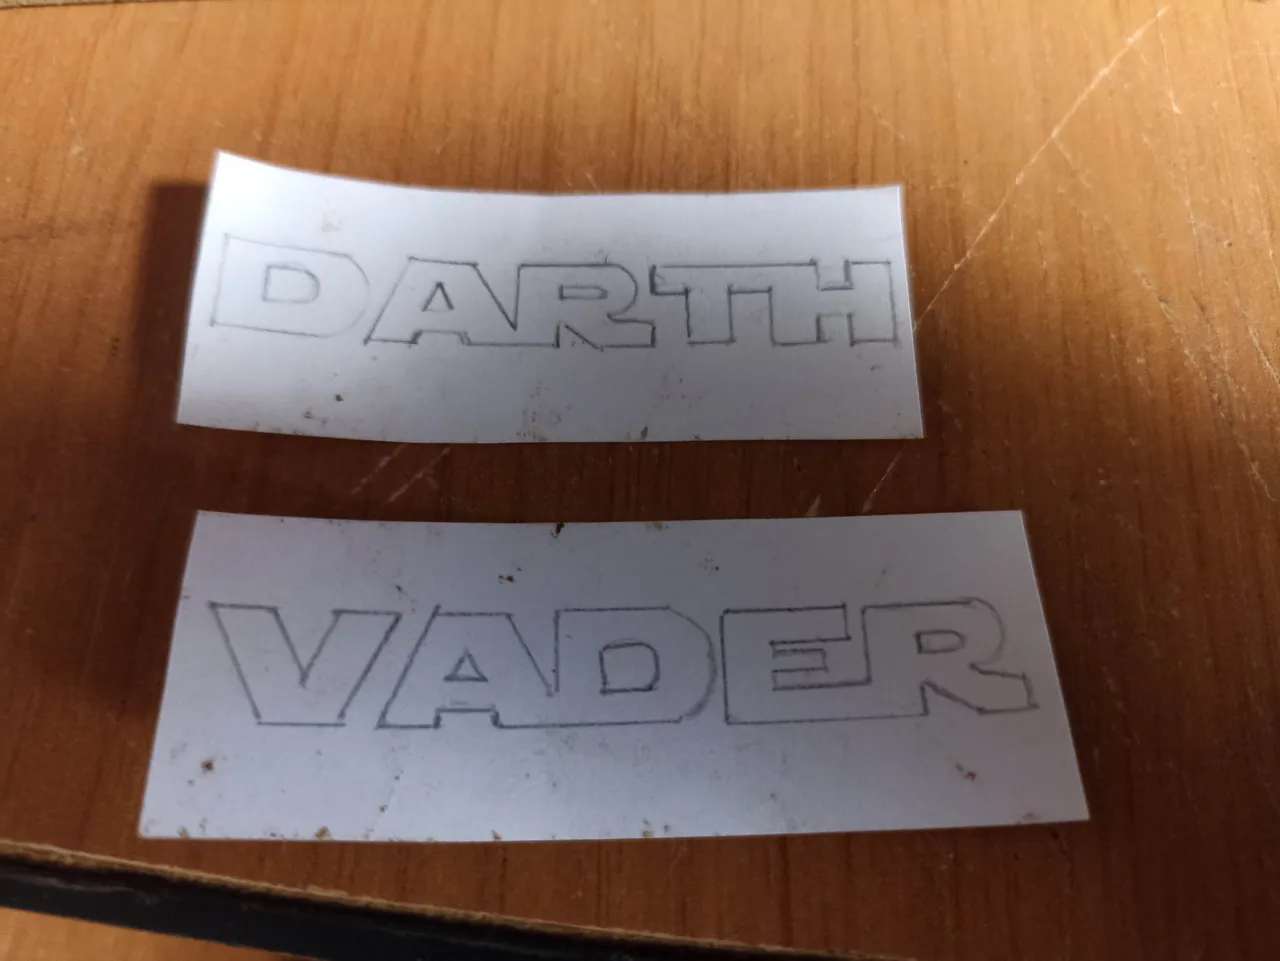 |
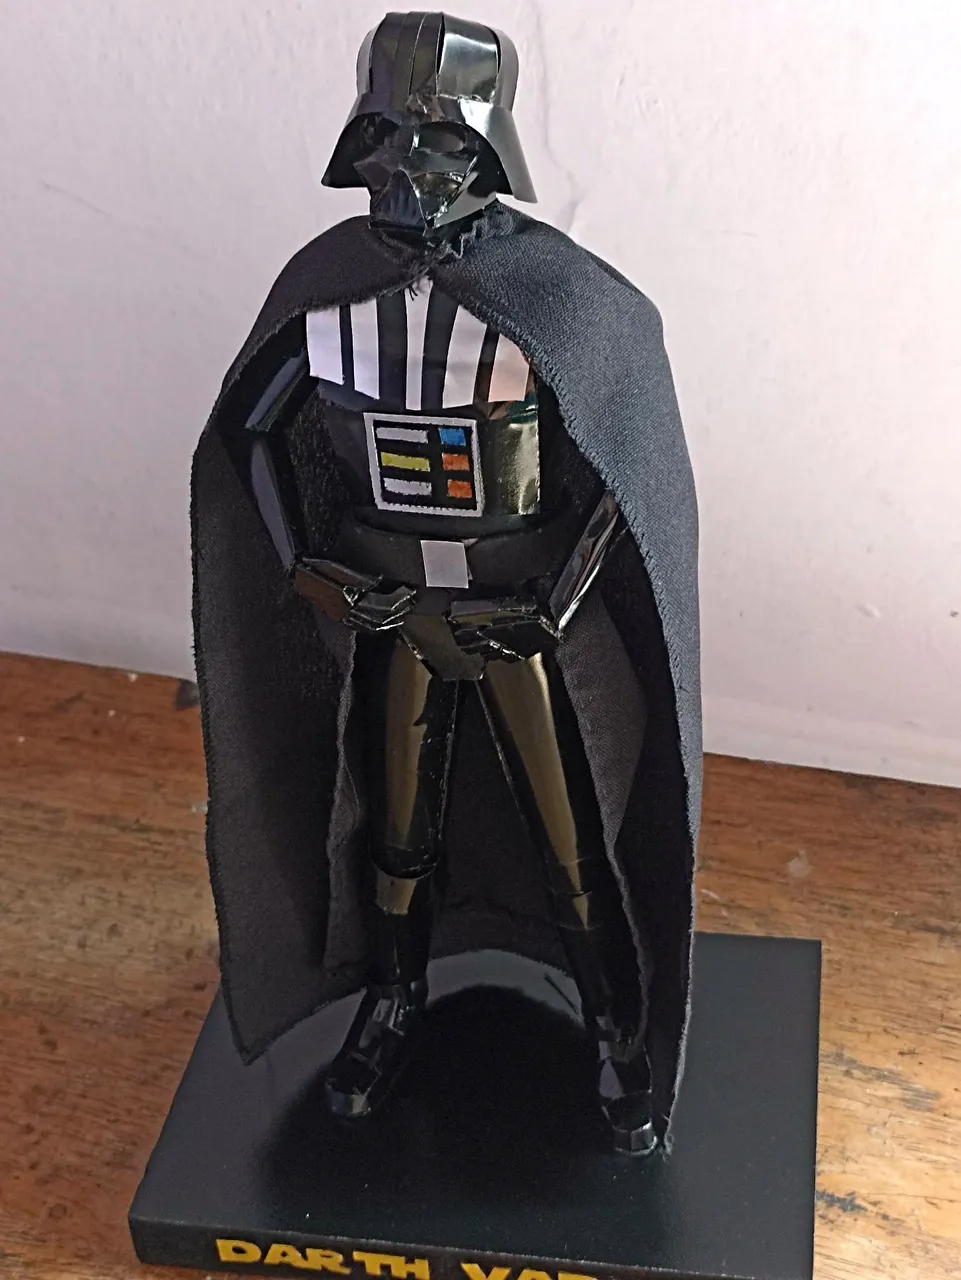
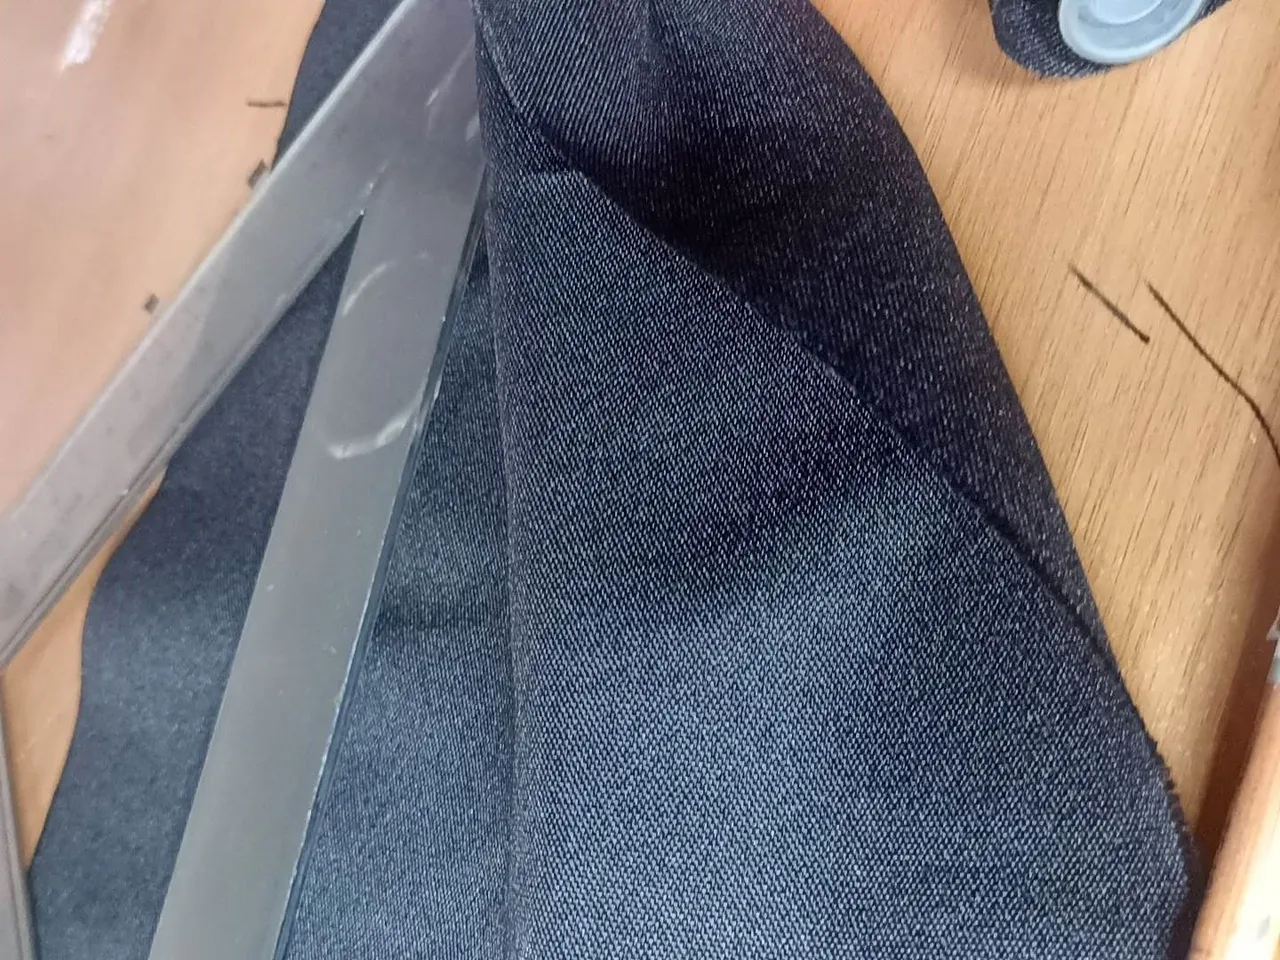
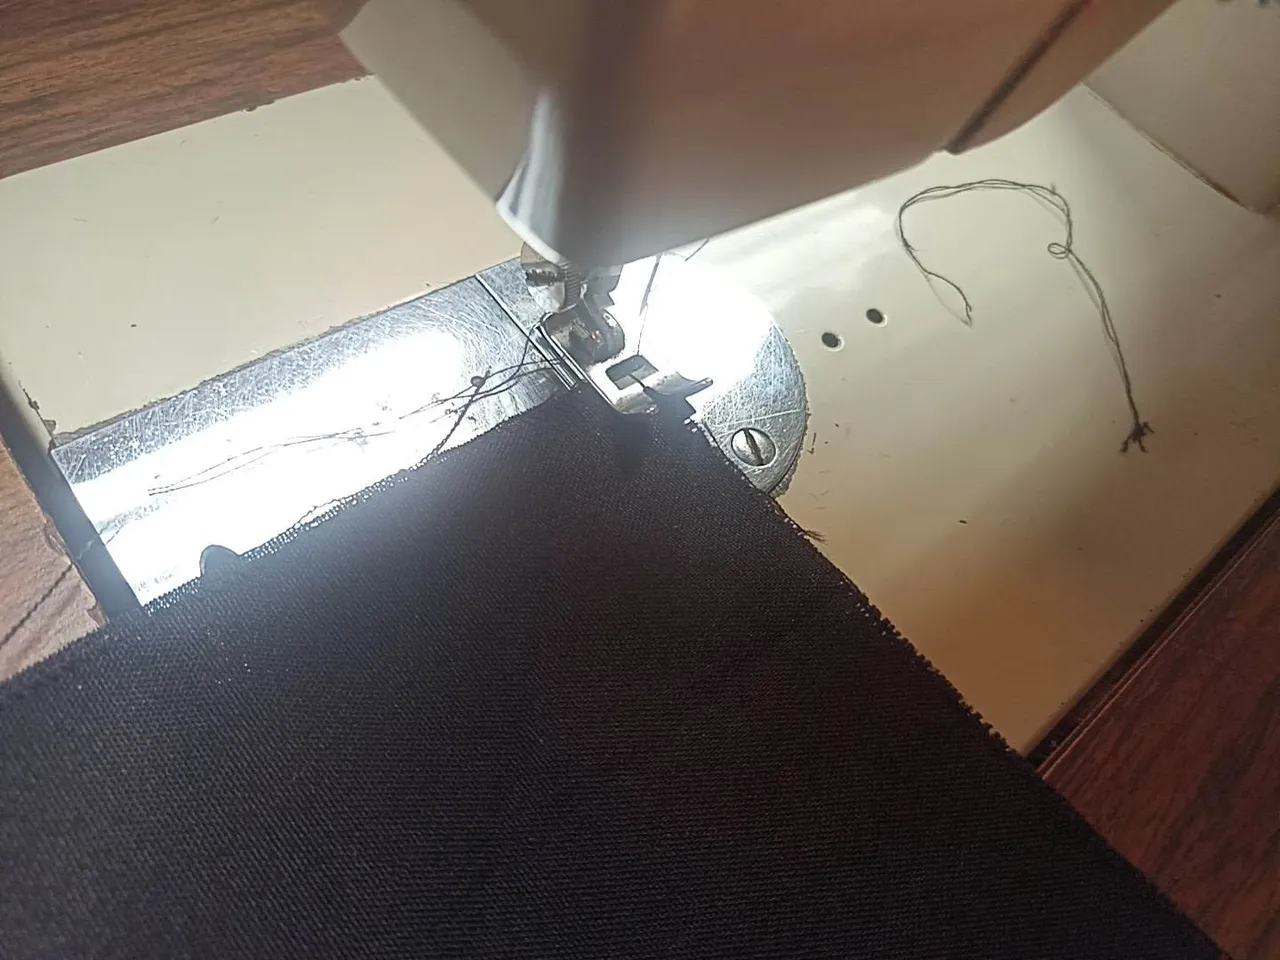
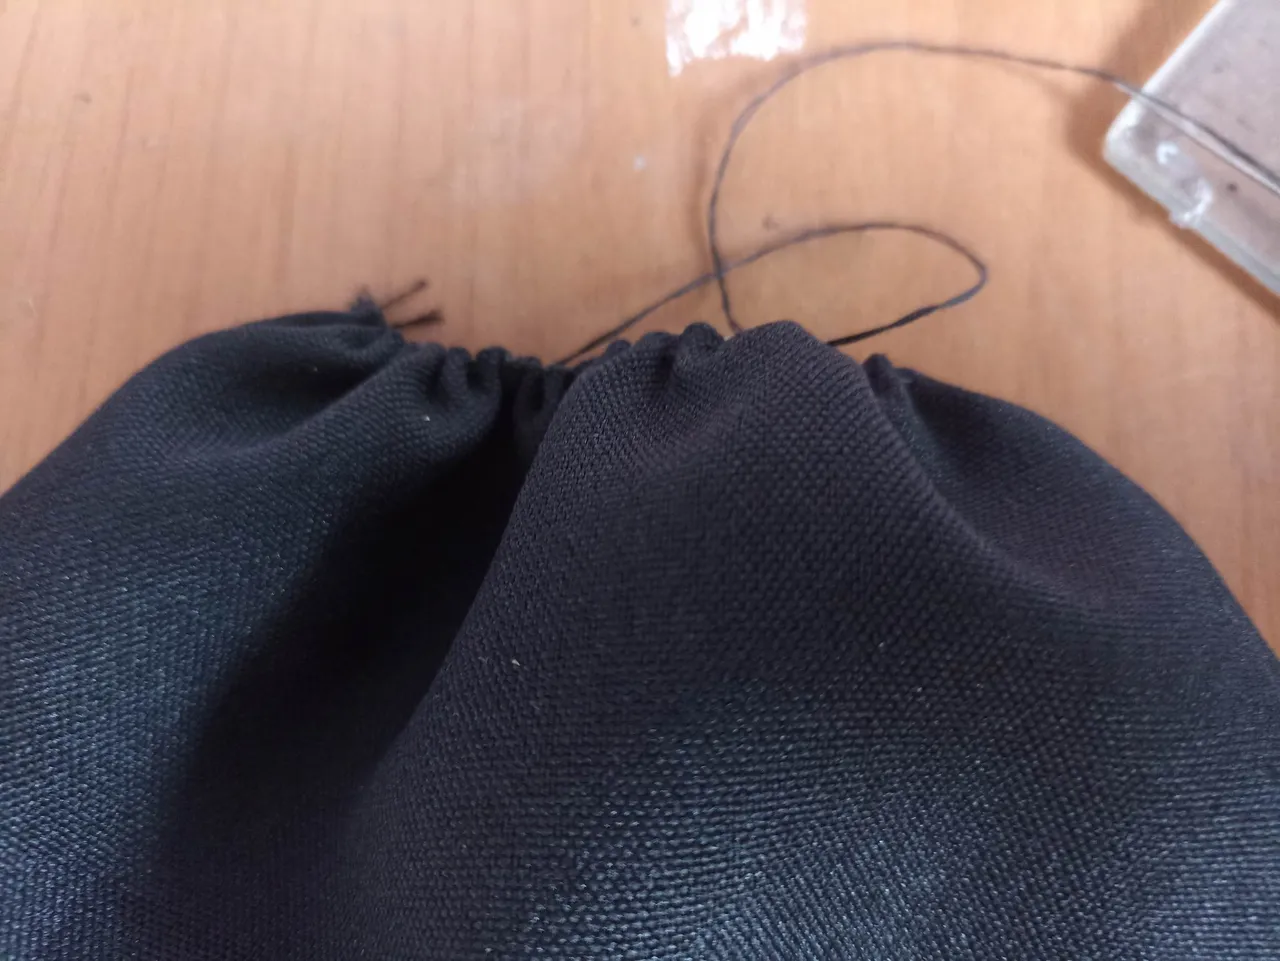
Then I made the missing details to finish this action figure, from a piece of gabardine fabric I took out the cape, I measured it to fit the figure, then with the sewing machine I sewed it to the edges since this fabric is the tissue comes out little by little. This is how I also made the belt that also has a kind of skirt that goes inside the cape from the waist to the feet. Finally I looked for a wooden board to use as a base, also painting it black and it is adorned with the name of Darth Vader in yellow, I made these letters in the style of the Star Wars logo using yellow tin, this way way the sculpture was finished.
Luego hice los detalles faltantes para terminar esta figura de acción, de un pedazo de tela de gabardina saqué la capa, la medí para que quedara acorde a la figura, después con la máquina de coser lo puse costura a los bordes ya que esta tela se le sale el tejido poco a poco. Así también hice el cinturpn que tambien tiene una especie de falda que va al interior de la capa desde la cintura hasta los pies. Por último busqué una tabla de madera para usarla como base, pintándola también de color negro y esta adornada con el nombre de Darth Vader en color amarillo, estas letras las hice con el estilo del logo de Star Wars utilizando lata de color amarillo, de esta manera quedó finalizada la escultura.
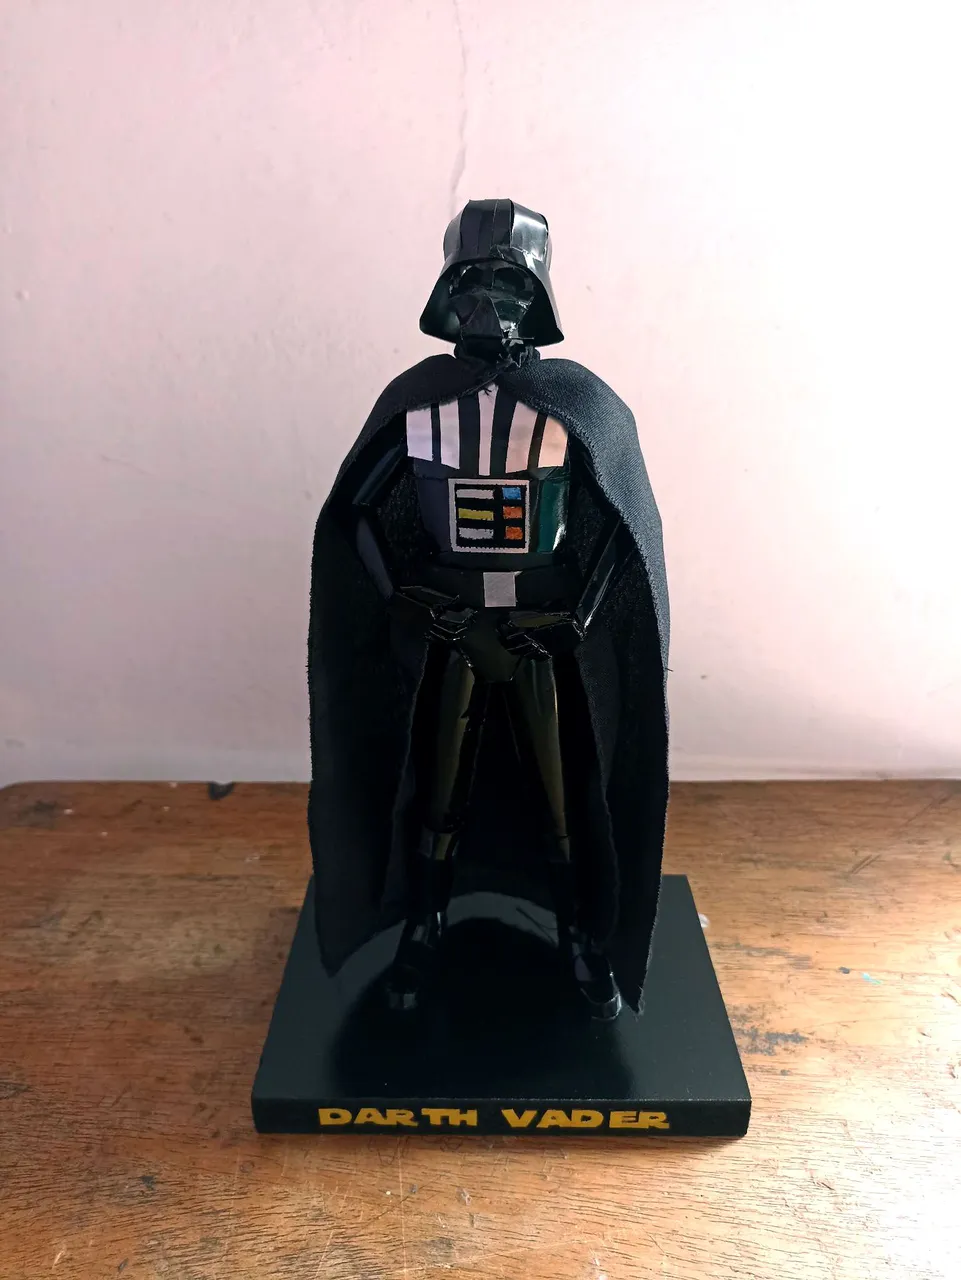
What do you think of this figure? Does it look like a well-known brand? hehehe, I only think one thing is missing, the sound of breathing and the imperial march. I had a lot of fun making this sculpture, each unsuccessful attempt was an invitation to move on. I was working on it for 3 weeks, since I had to take some breaks, at the same time that I was also drawing, I liked having dedicated all that time to it because when I see it I feel satisfied. A Hot Toys figure can cost more than 600 dollars depending on the figure in question, so Vader must be among the most expensive for being too popular a character. I say goodbye until a new opportunity, do not stop commenting on your opinions and suggestions. See you soon friend, and may the force be with you!
Que les ha parecido esta figura? luce como una de marca reconocida? jejeje solo creo que le falta una cosa, el sonid de la respiración y la marcha imperial.. Me divertí mucho haciendo esta escultura, cada intento infructuoso era una invitación a seguir adelante. Estuve trabajando en ella por 3 semanas, ya que tenía que hacer algunas pausas, al mismo tiempo que también estaba dibujando, me gustó haberle dedicado todo ese tiempo porque al verla me siento satisfecho. Una figura de Hot Toys puede llegar a costar más de 600 dolare dependiendo de la figura en cuestión, así que Vader debe estar entre las mas costosas por ser una personaje demasiado popular. Me despido hasta una nueva oportunidad, no dejen de comentar sus opiniones y sugerencias.. Hasta pronto amigos, y que la fuerza los acompañe!