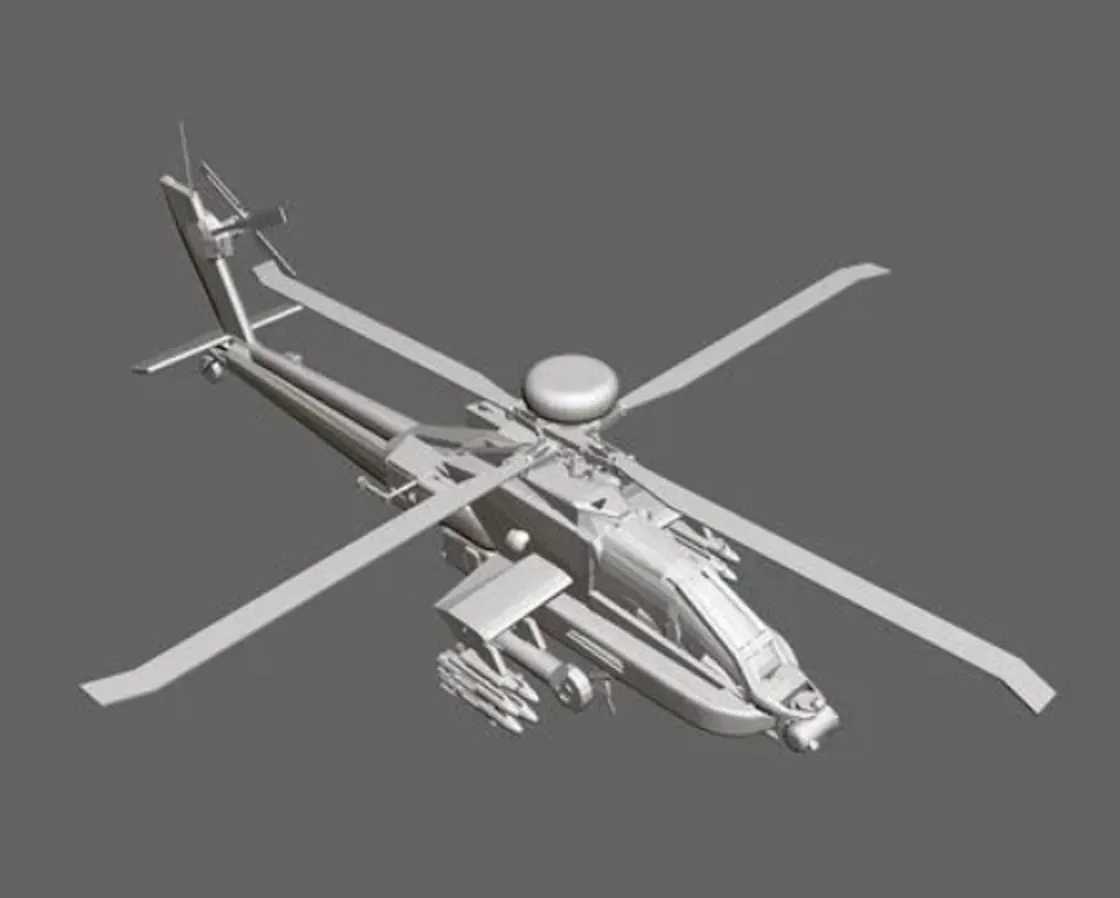
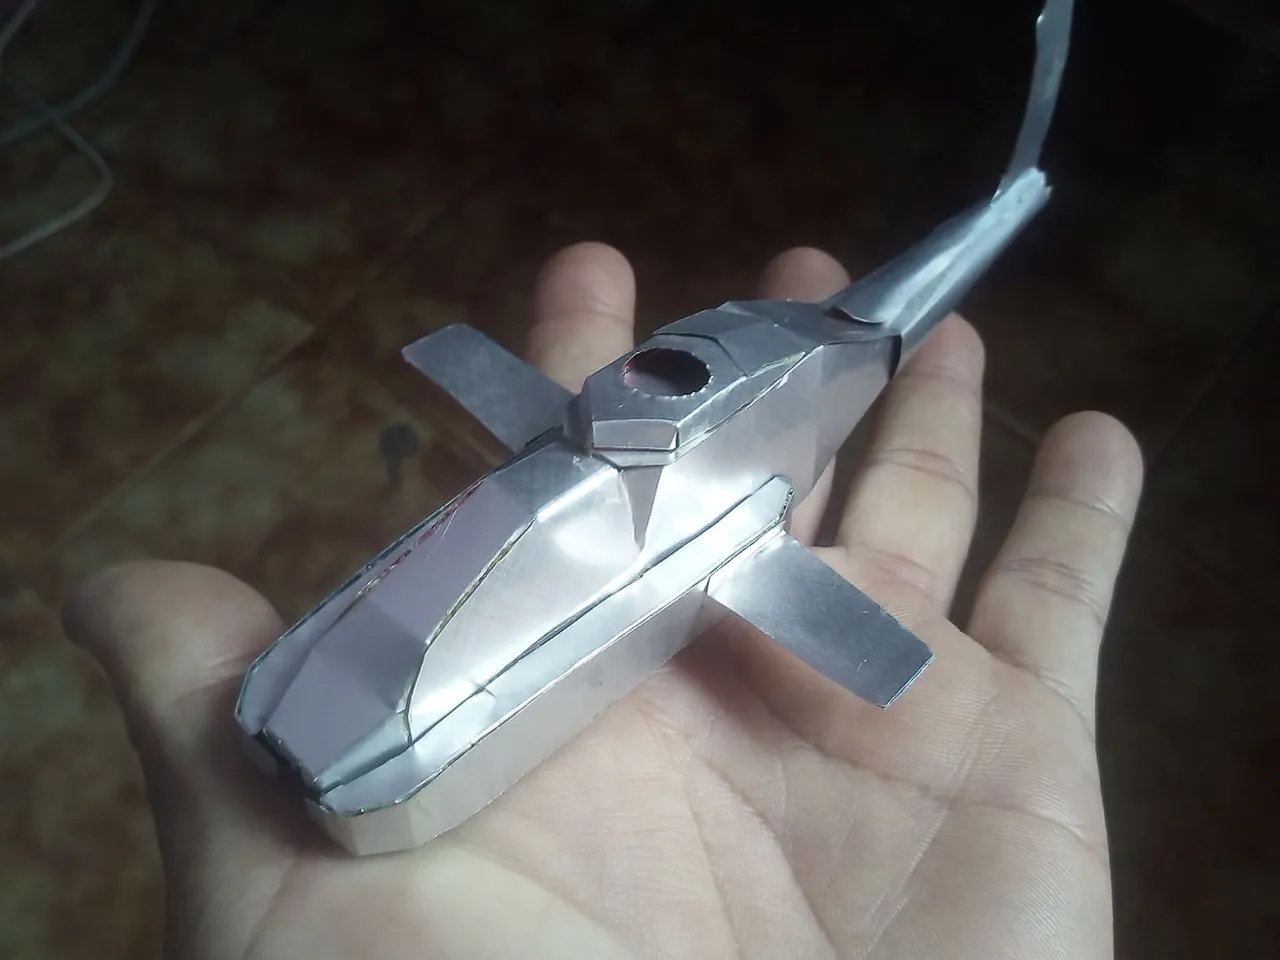
Hello friends I hope you are very well, I want to thank the moderators of the HiveDiy community for the "Designer" badge, it was a pleasant surprise to read it together with my username, as a thank you I promise to continue contributing with my tutorials to make crafts and miniatures. As in this opportunity I want to present my latest work. It is an Apache model combat helicopter, this model is based on a 3D image where most of the parts can be seen. I did not do it in such detail so that the tutorial would be easier and so it can be done in other materials such as paper or cardboard. Hope you like.
Hola amigos espero que se encuentren muy bien, quiero dar gracias a los moderadores la comunidad de HiveDiy por la insignia de "Diseñador" fue una sorpresa agradable leerlo junto a mi nombre de usuario, como agradecimiento prometo seguir contribuyendo con mis tutoriales para hacer manualidades y miniaturas. Como en esta oportunidad quiero presentar mi último trabajo. Se trata de un helicpotero de combate modelo Apache, este modelo está basado en una imagen en 3D donde puede verse la mayoría de las partes. No lo hice con tanto detalle para que el tuturial quedara más facil y así puede realizarse en otros materiales como papel o cartón. Espero que les guste.


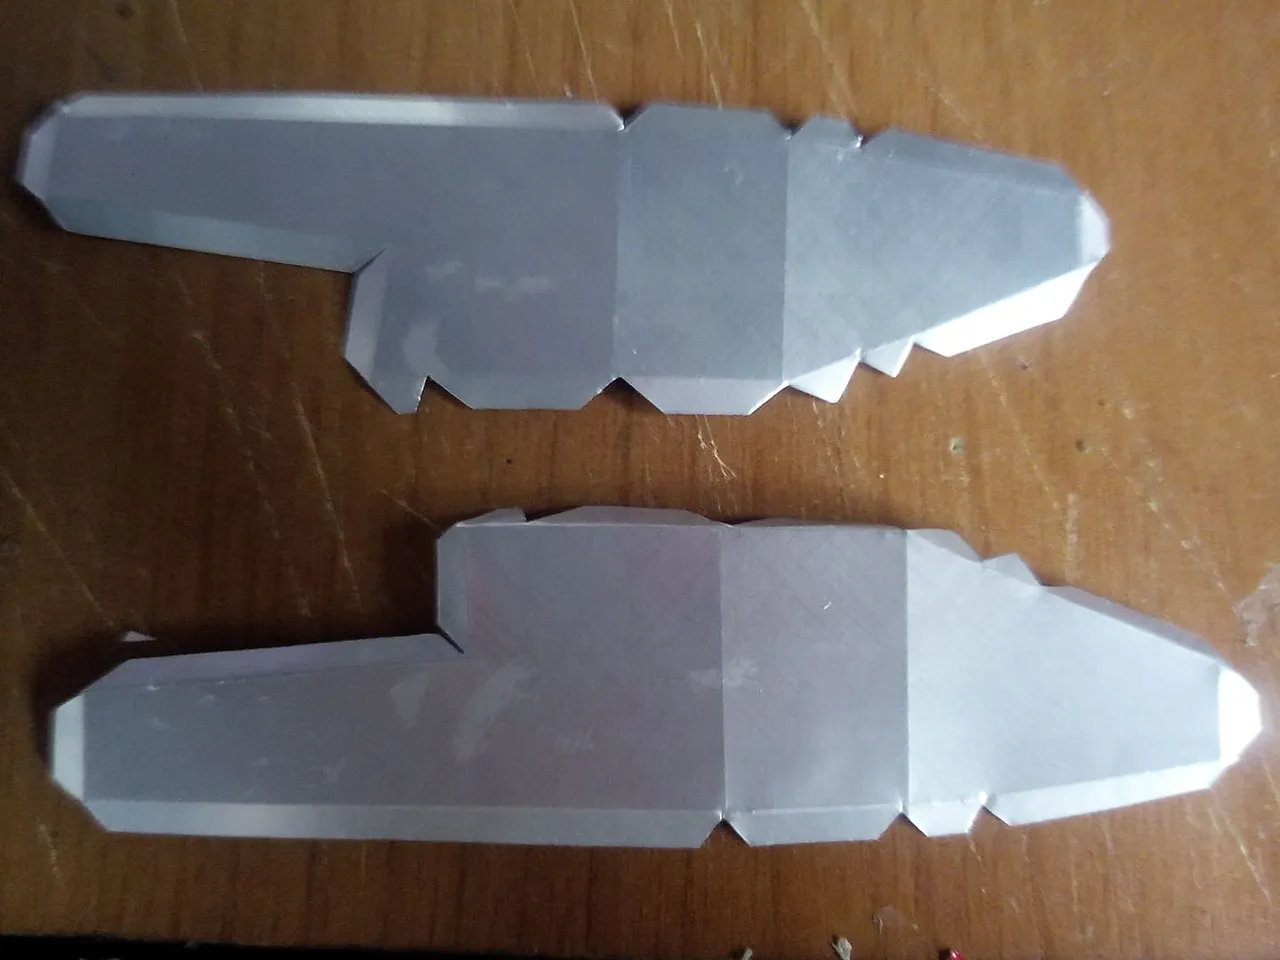
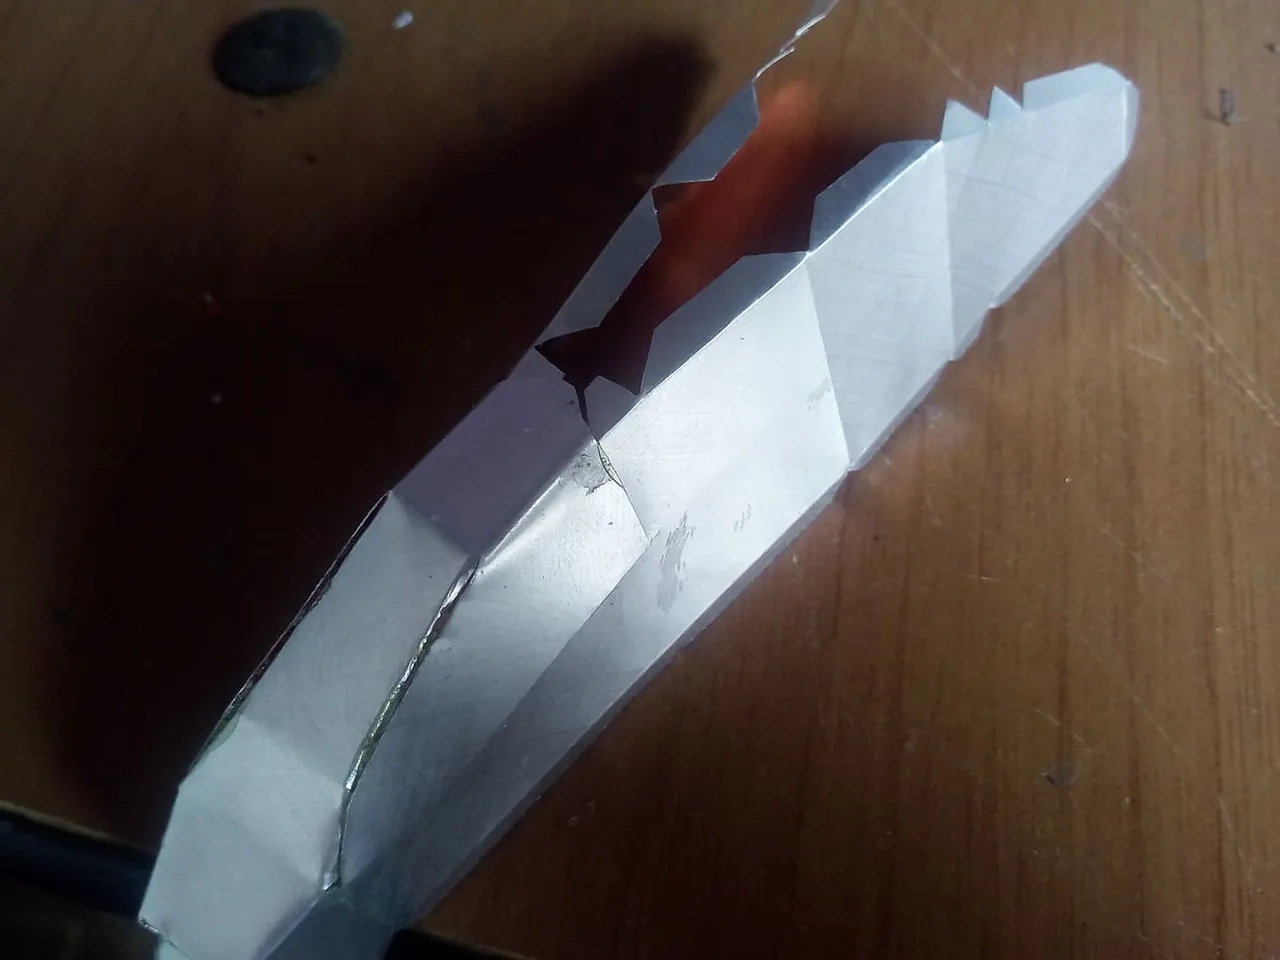
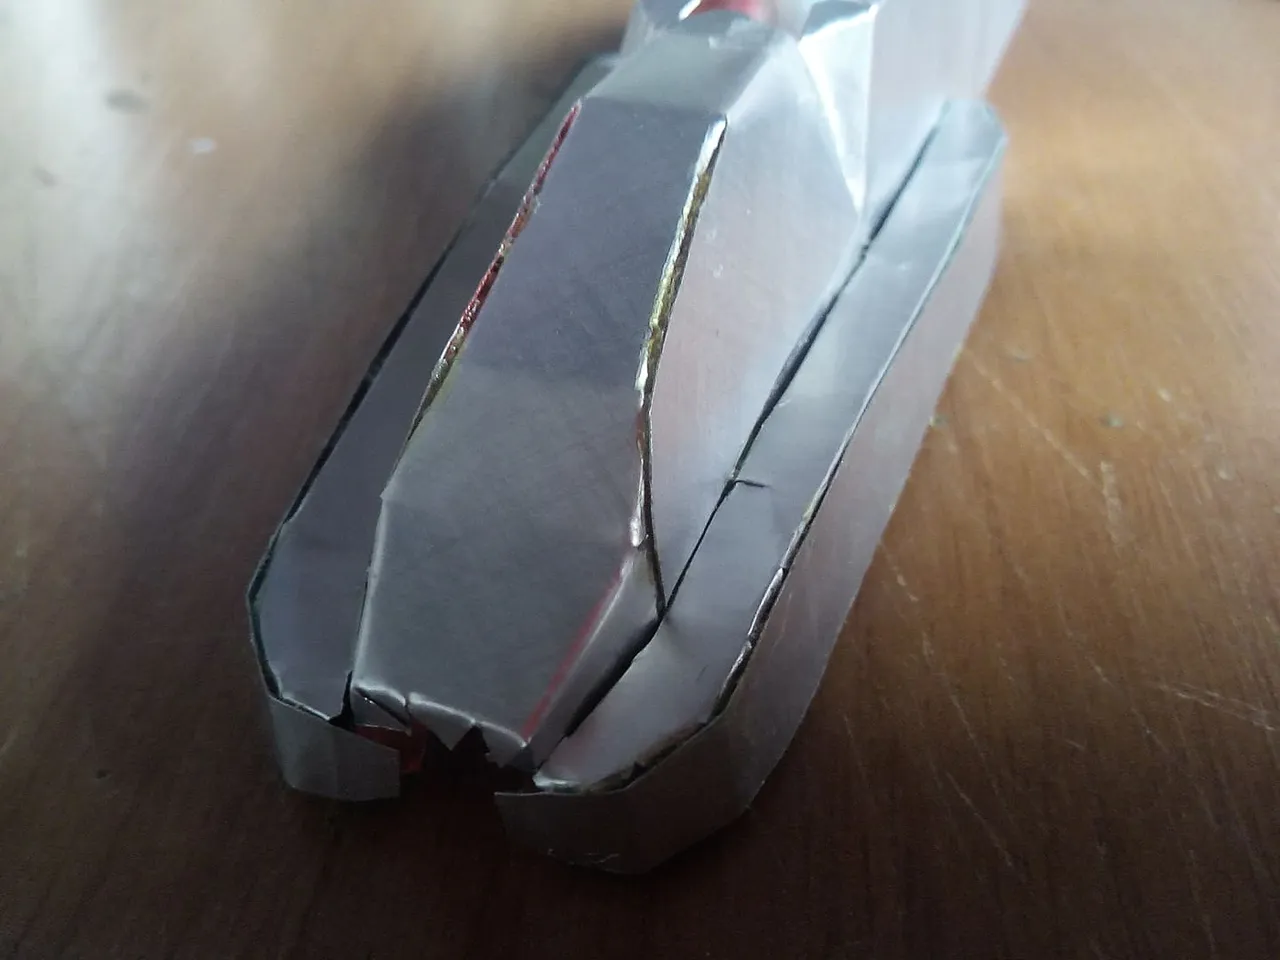
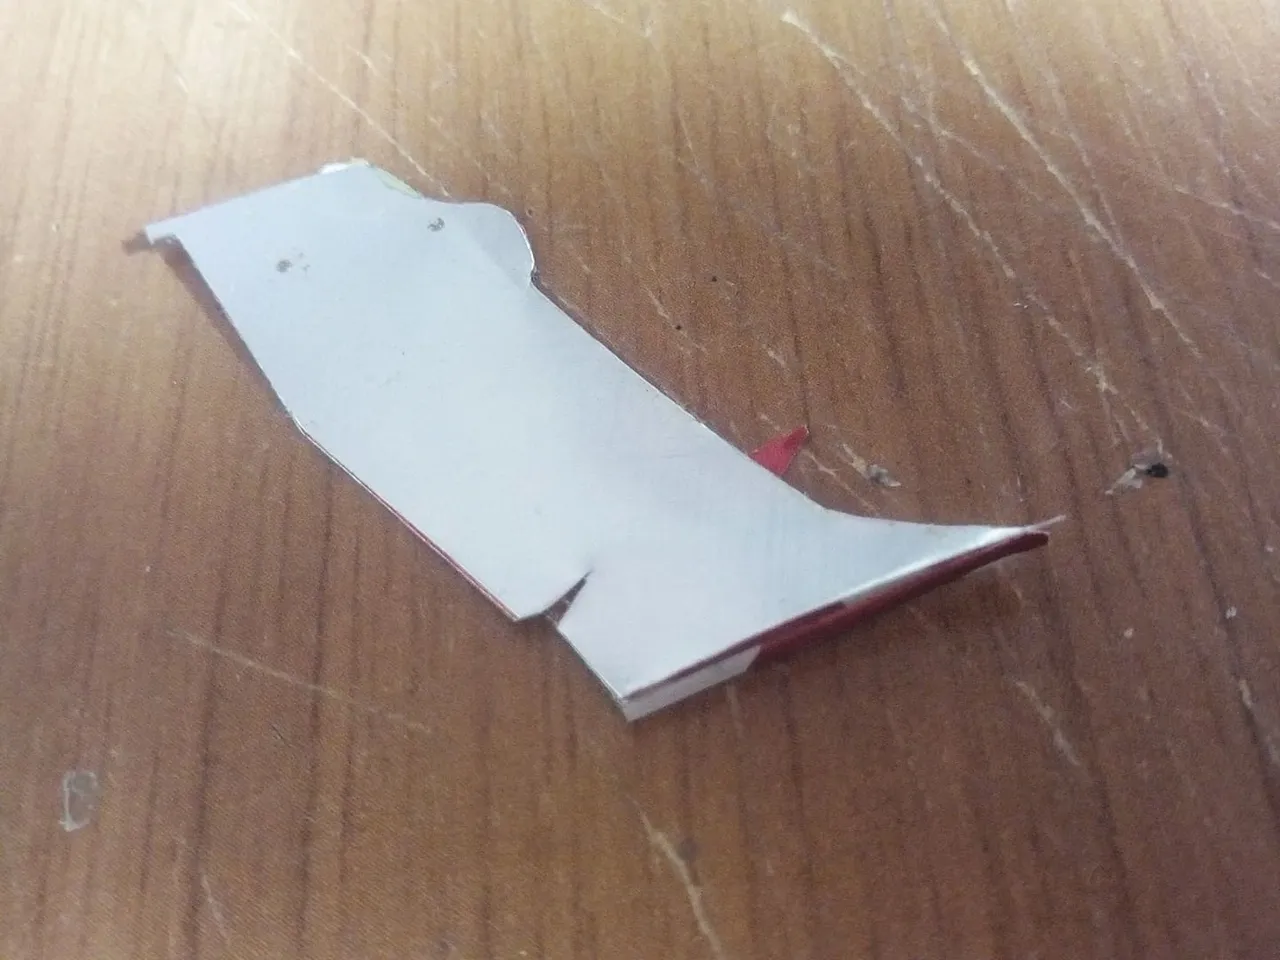
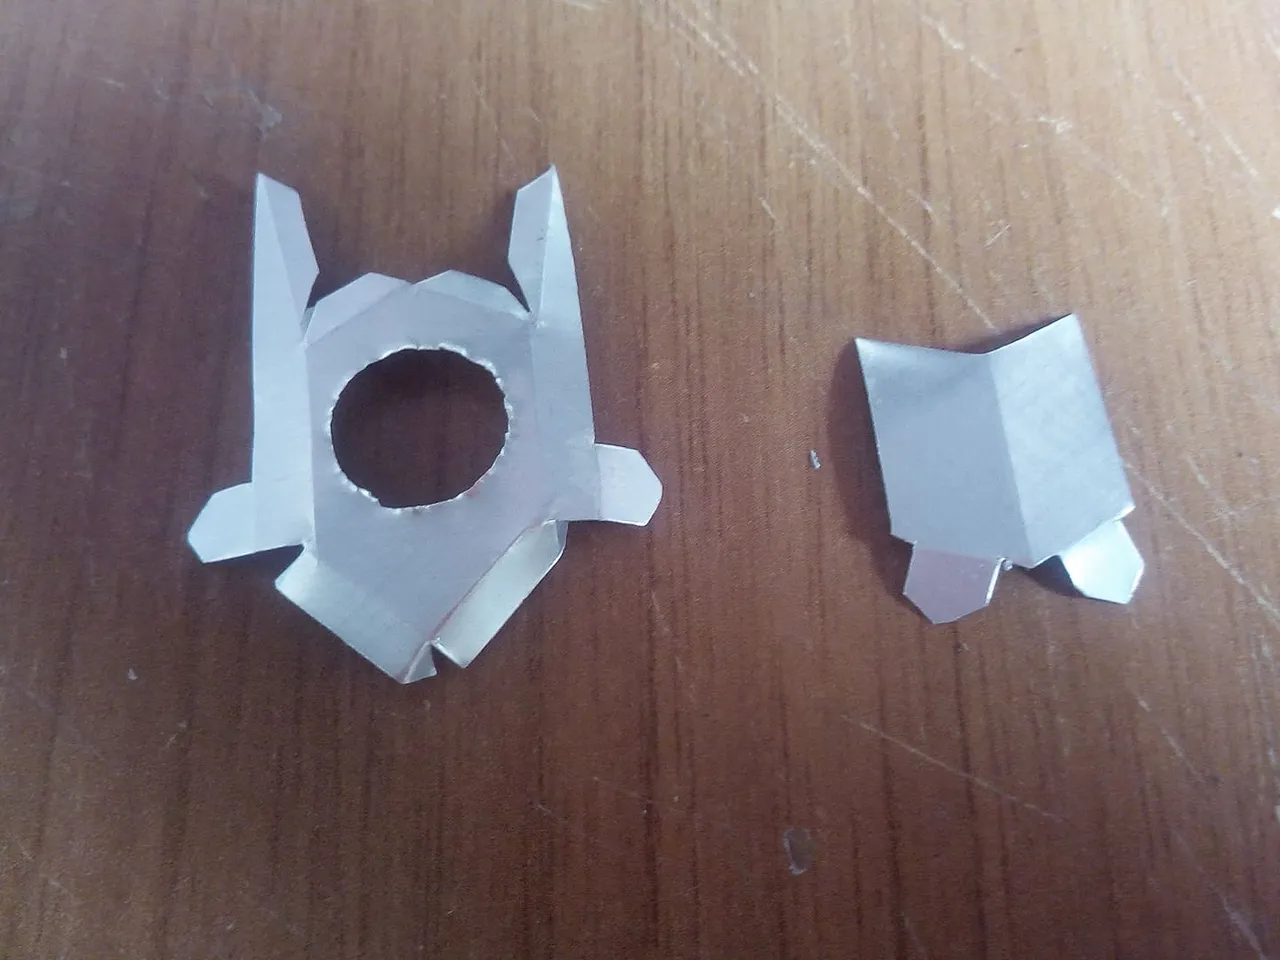
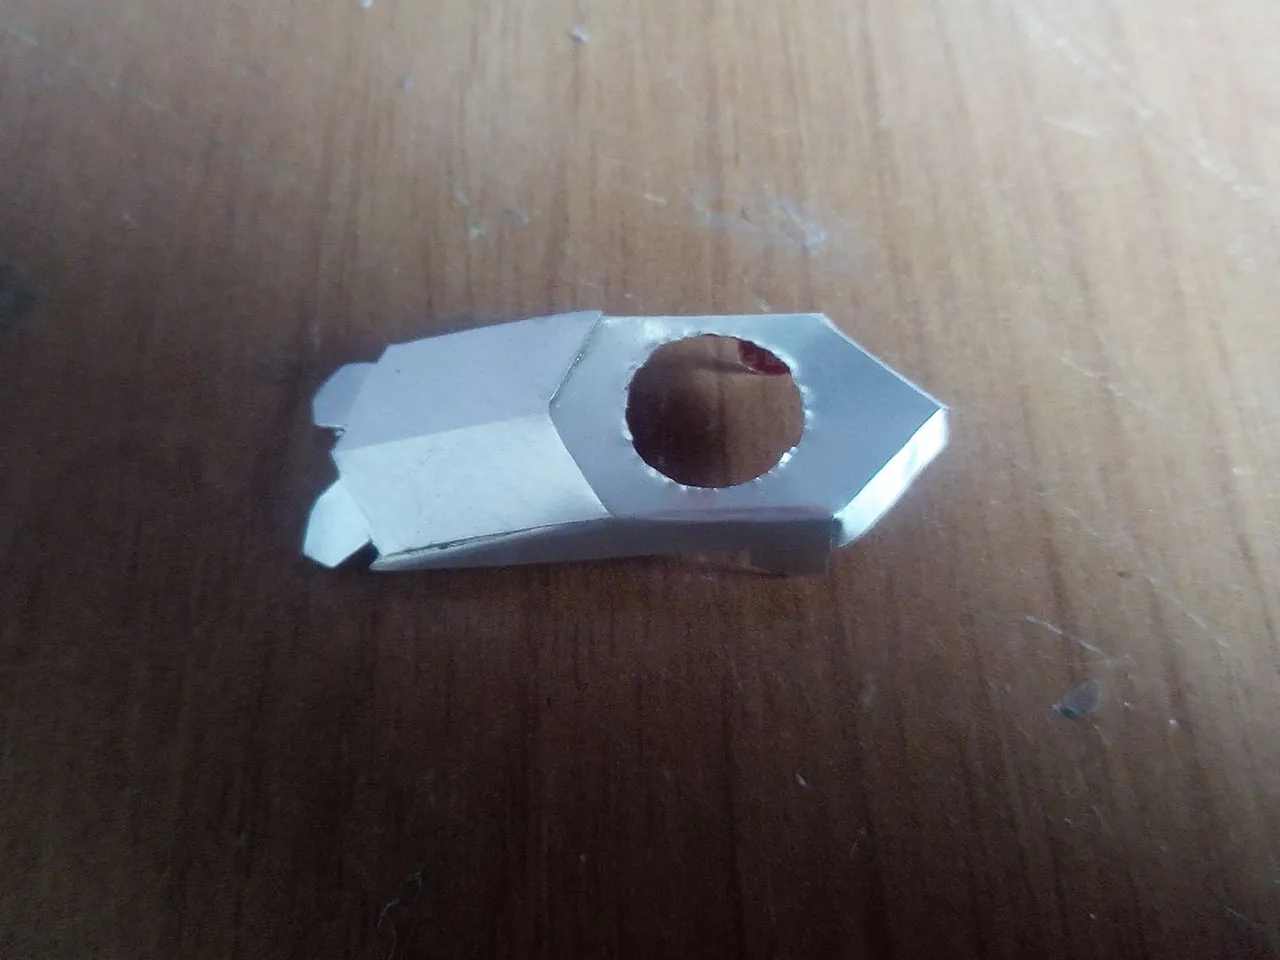
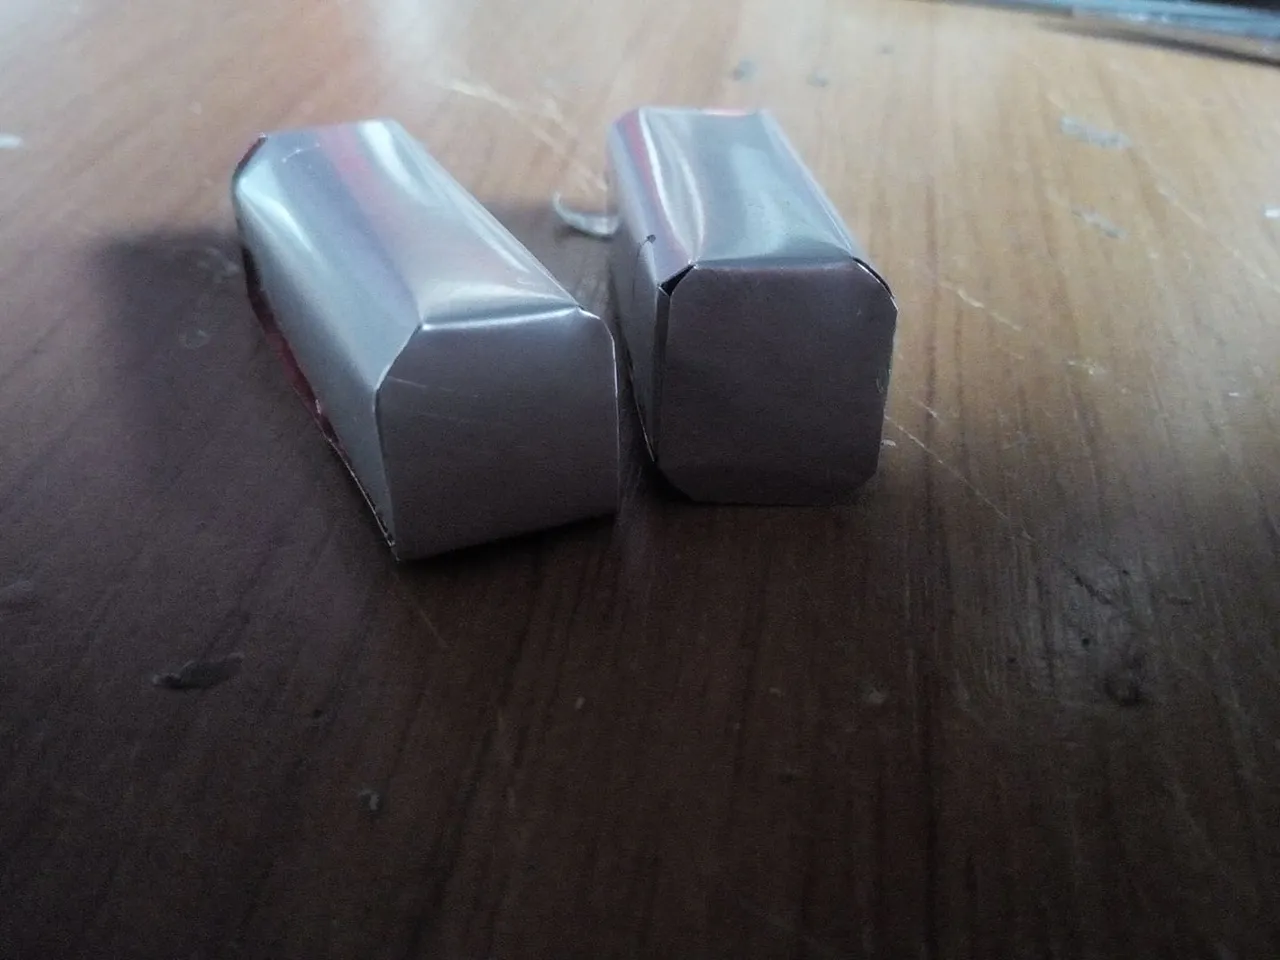
From a 3D model we can draw the parts of the helicopter in a puzzle style, always leaving in each piece that we draw an end where we can glue them with other pieces, thus we will complete the shape of the helicopter. To start we make the part of the cabin that is the front part, and in turn the part of the sides. We make the folds and we are going to glue each part at the ends using a good glue.
A partir de un modelo en 3D podemos ir dubujando las partes del helicoptero estilo rompe cabezas, siempre dejando en cada pieza que dibujemos uun extremo de donde podamos pegarlas con otras piezas, así completaremos la forma del helicóptero. Para comenzar hacemos la parte de la cabina que es la parte frontal, y a su vez la parte de los costados. Hacemos los dobleces y vamos a pegar cada parte por los extremos utilizando un buen pegamento.

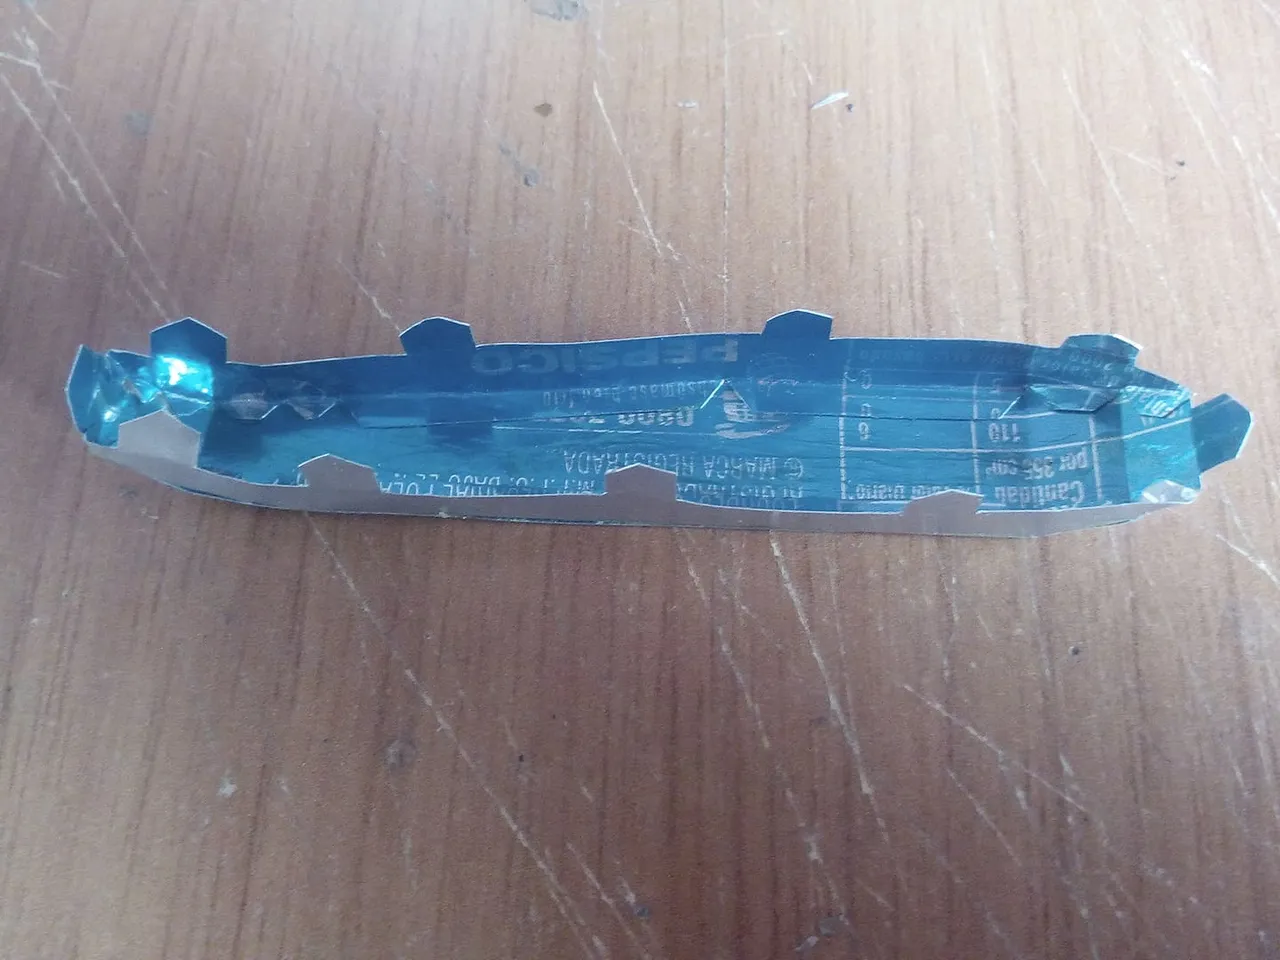
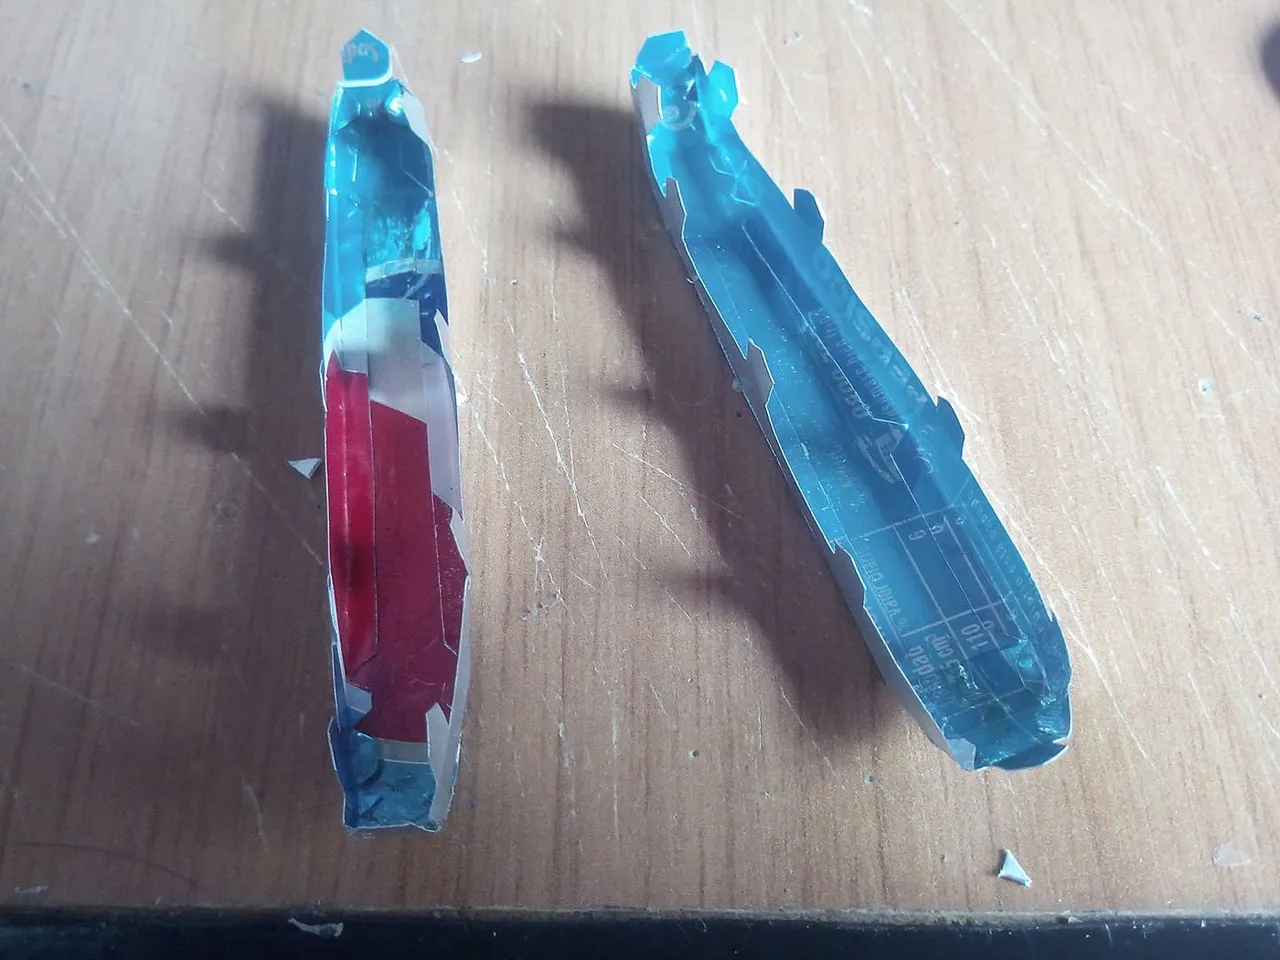
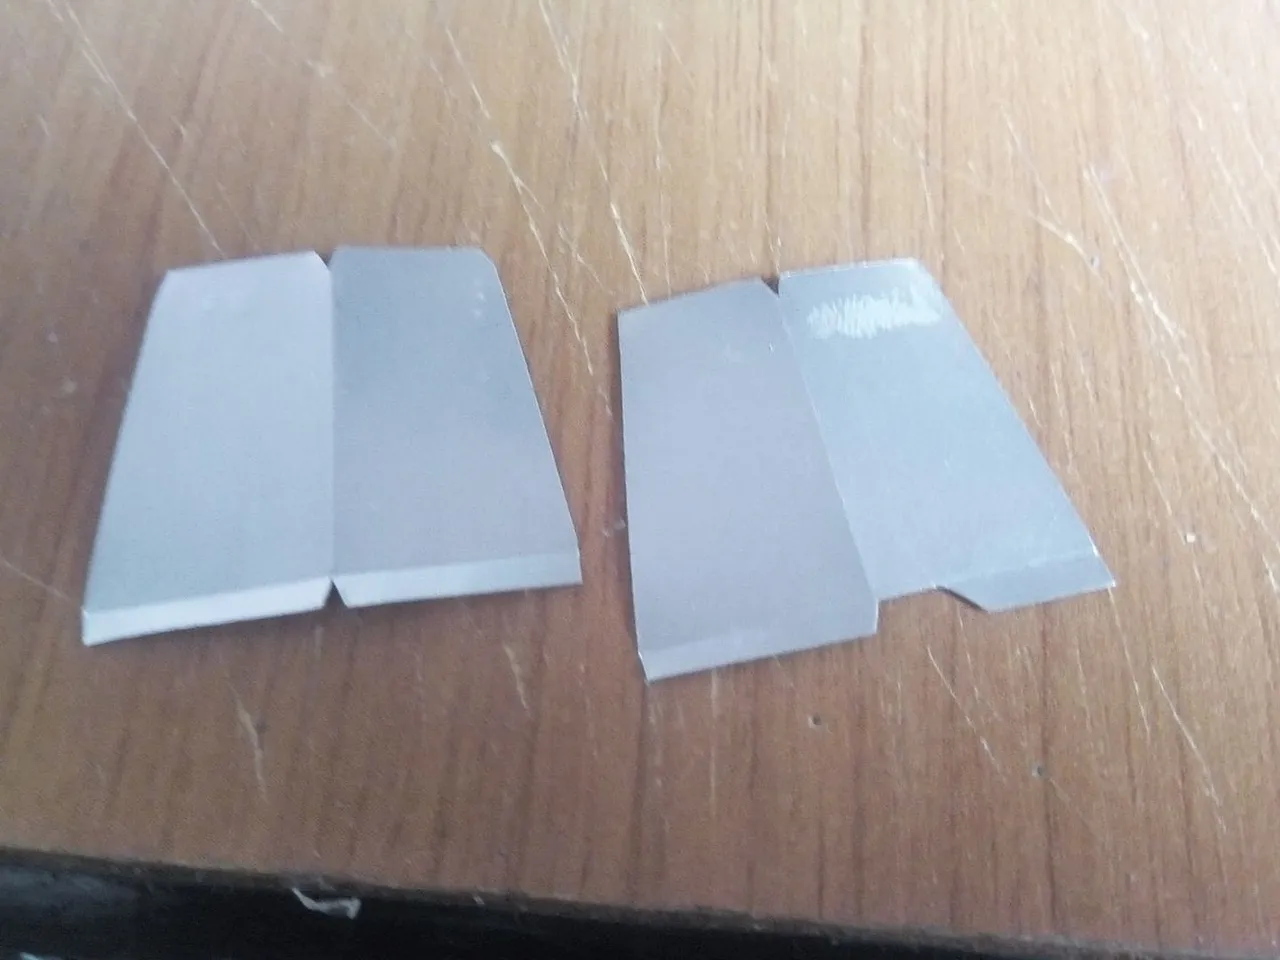
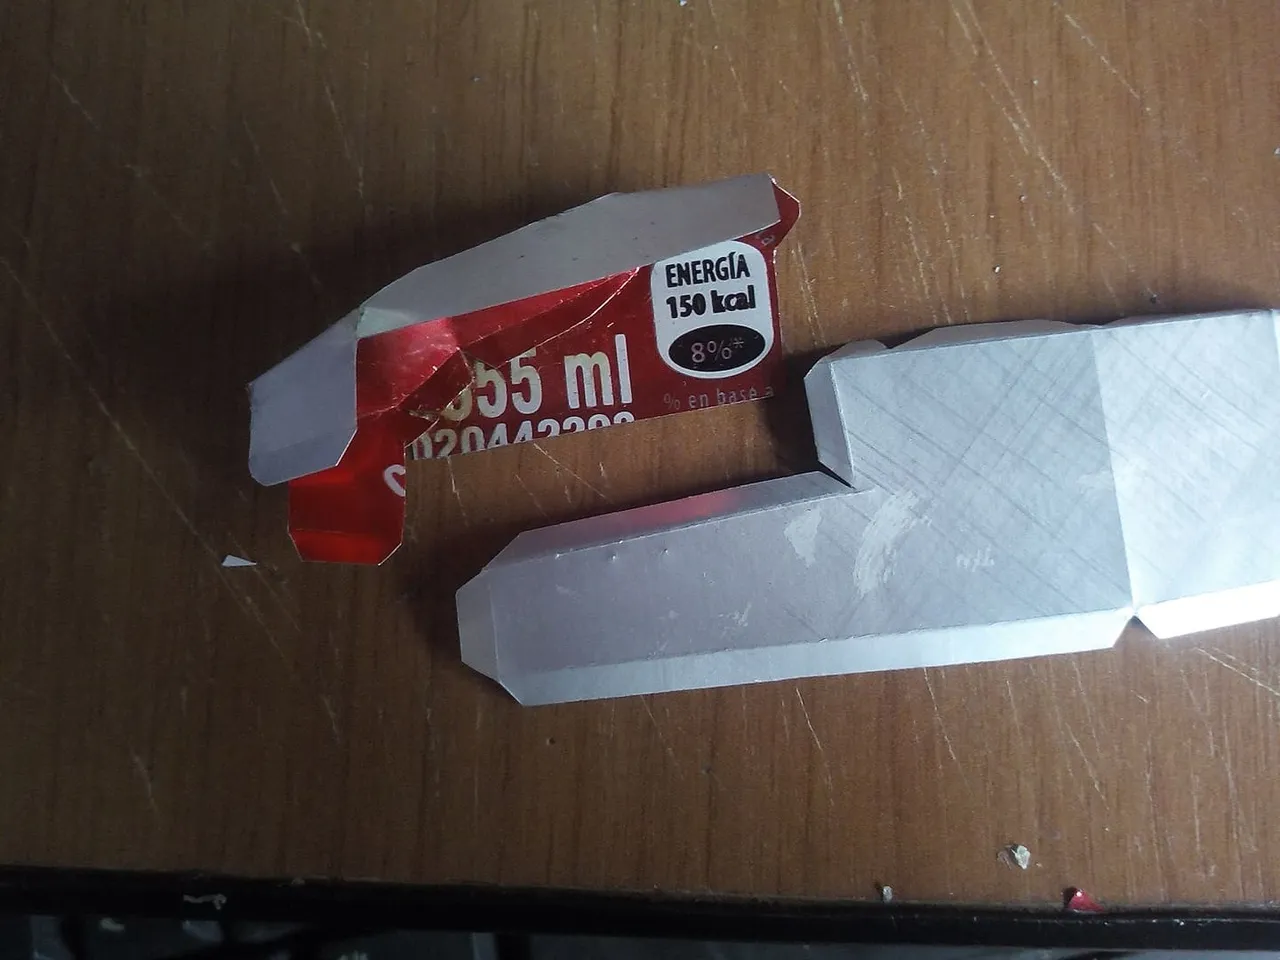
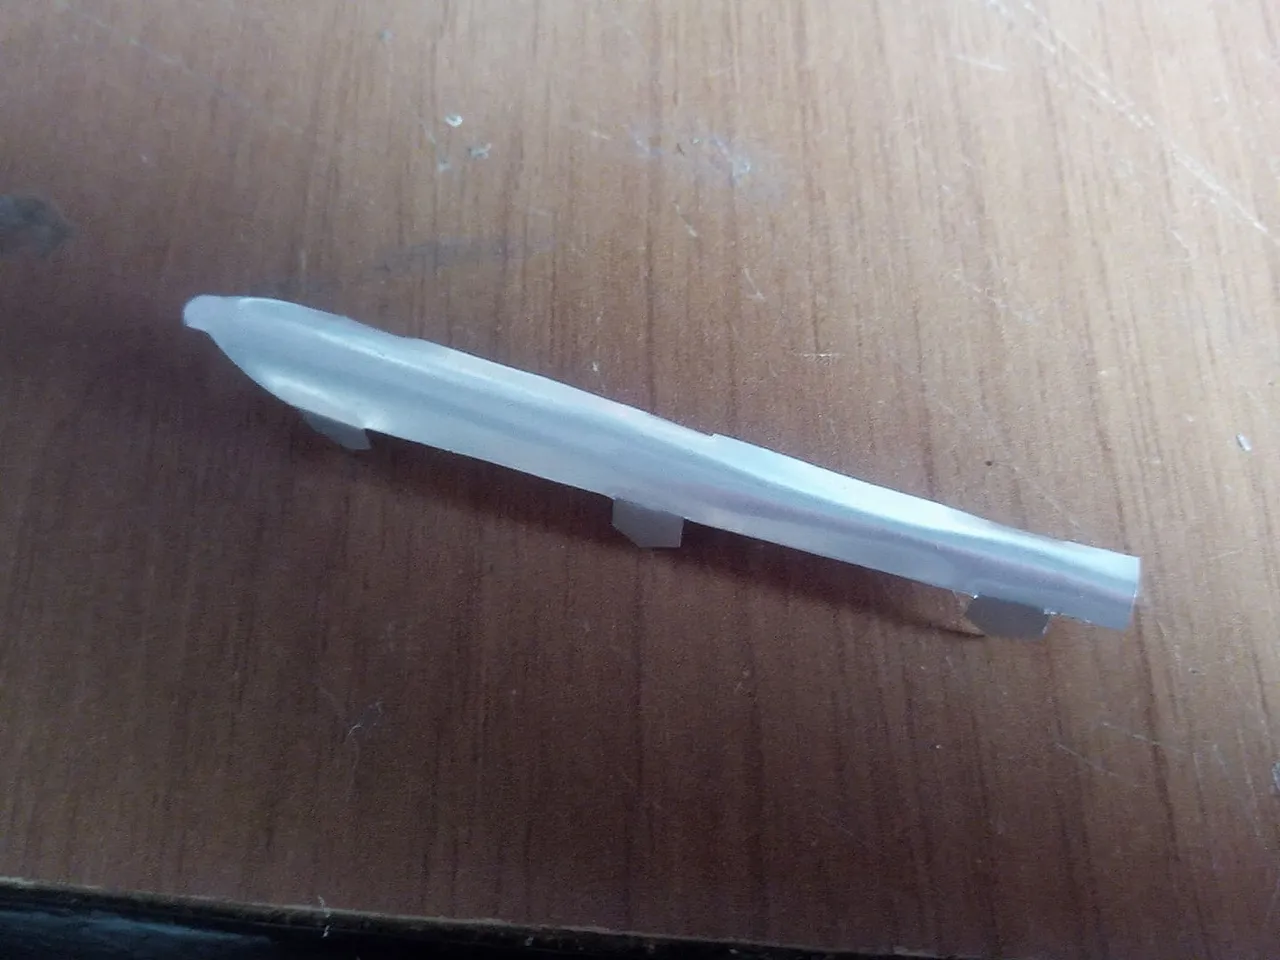
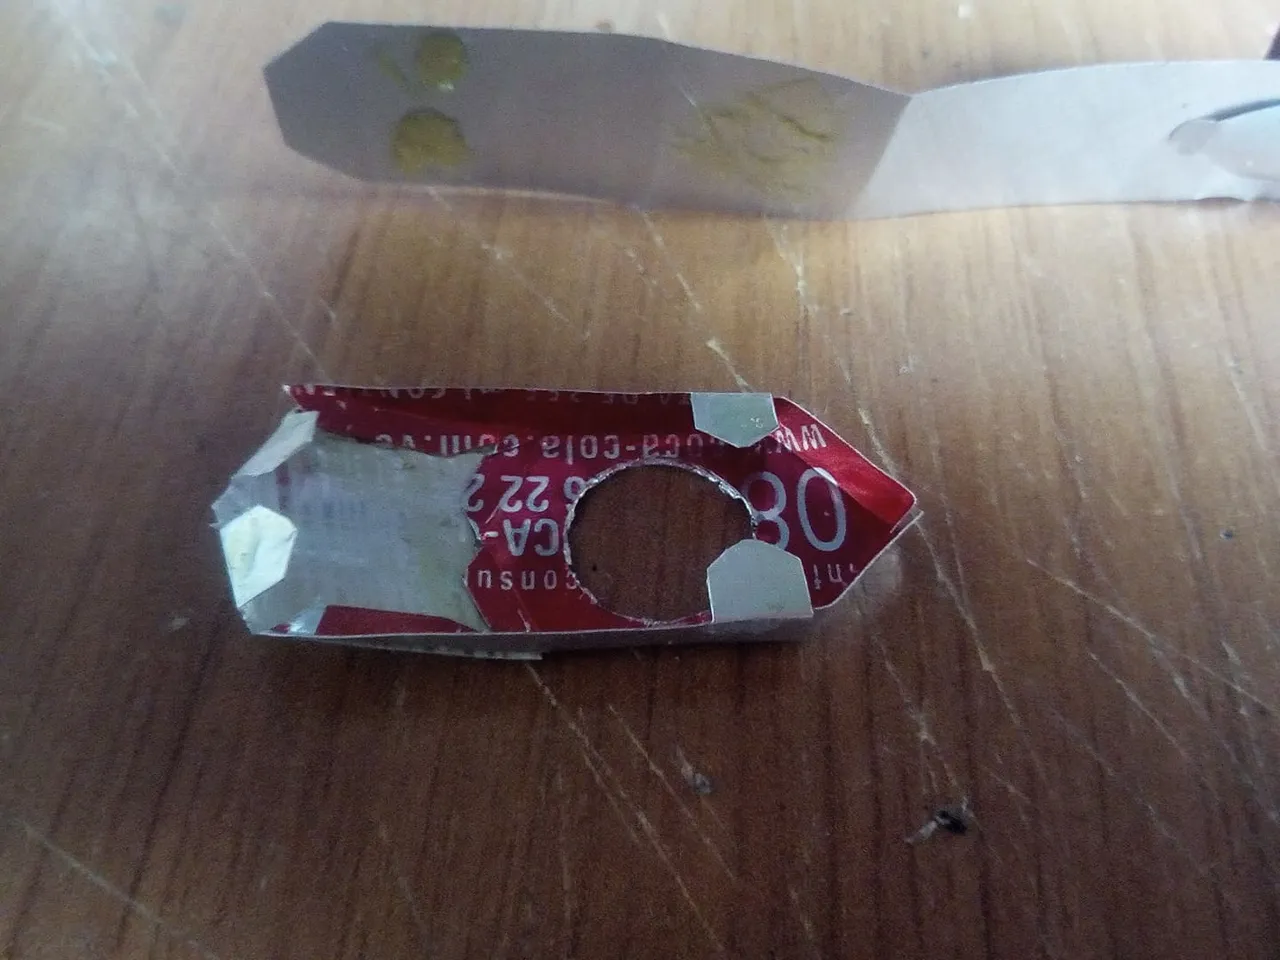
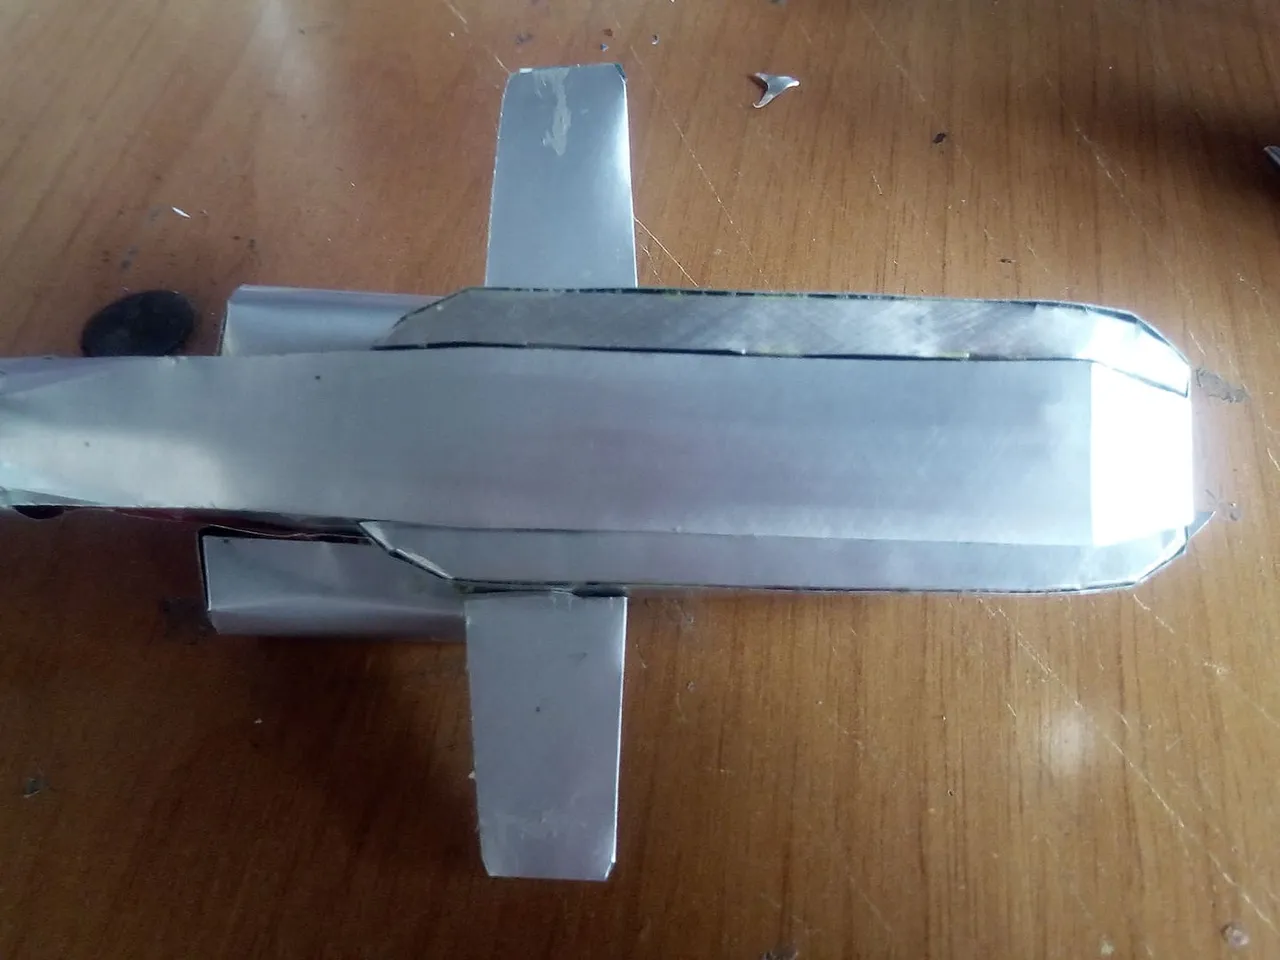
Next we will make the lower part of the fuselage of the helicopter, we can do two things, we draw on a piece of paper and then we paste it on the can and cut it out, or we make the line directly on top of the can. I made it directly on top of the can to save time so this piece has 3 parts and looks like a small boat. We join the 3 and make two pieces for each end and then glue them. Then we make the wings of the helicopter where it carries two machine guns.
Seguidamente haremos la parte inferior del fuselaje del helicoptero, podemos hacer dos cosas, dibujamos sobre un papel y luego lo pegamos en la lata y recortamos, o hacemos directamente el trazo encima de la lata. Yo lo hice directamente encima de la lata para ahorrar tiempo asi que esta pieza consta de 3 partes y parece un pequeño bote. las unimos las 3 y hacemos dos piezas para cada extremo y luego las pegamos. Despues hacemos las alas del helicóptero donde porta dos ametralladoras.
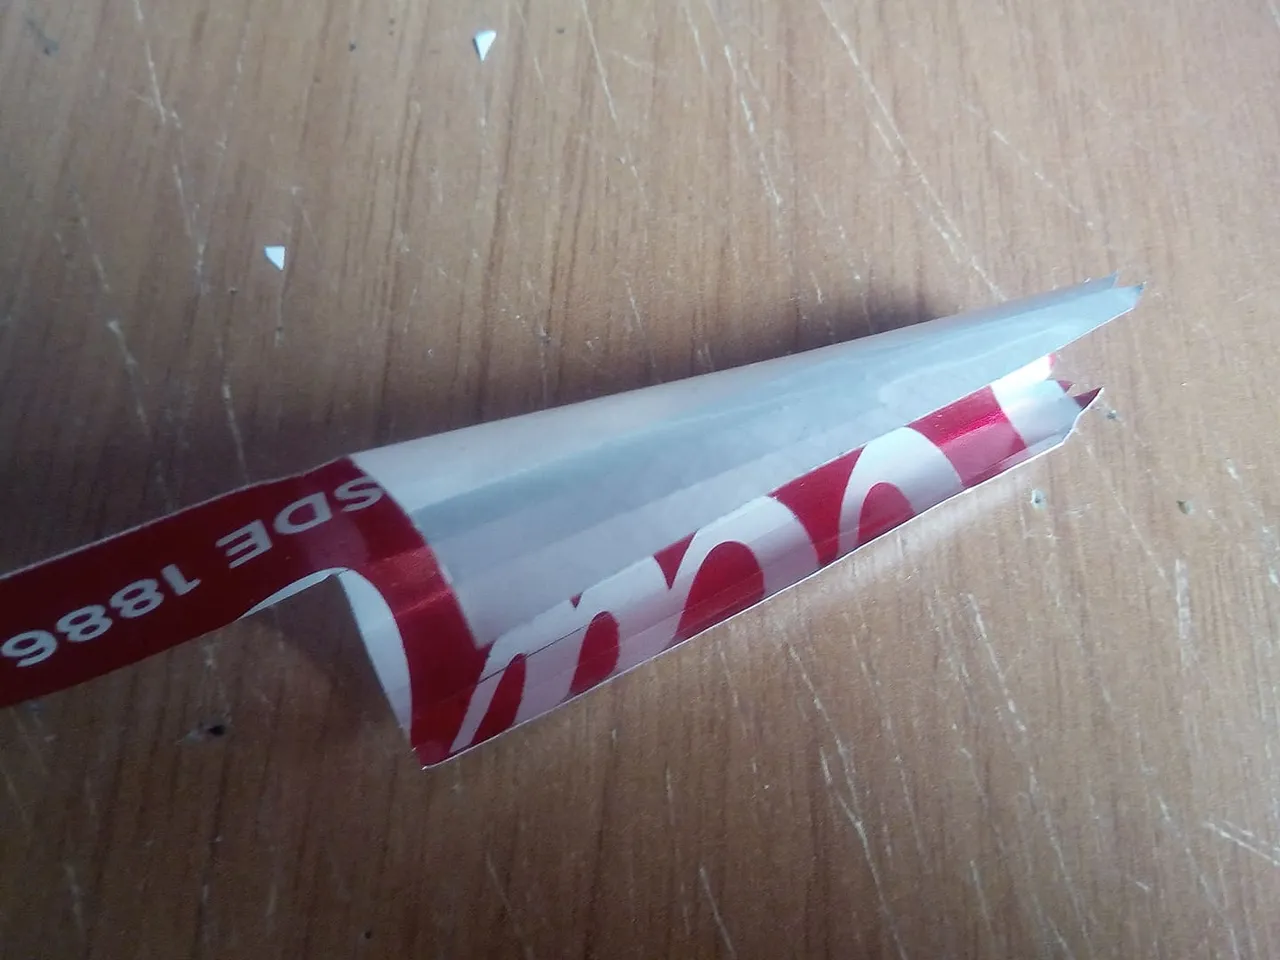
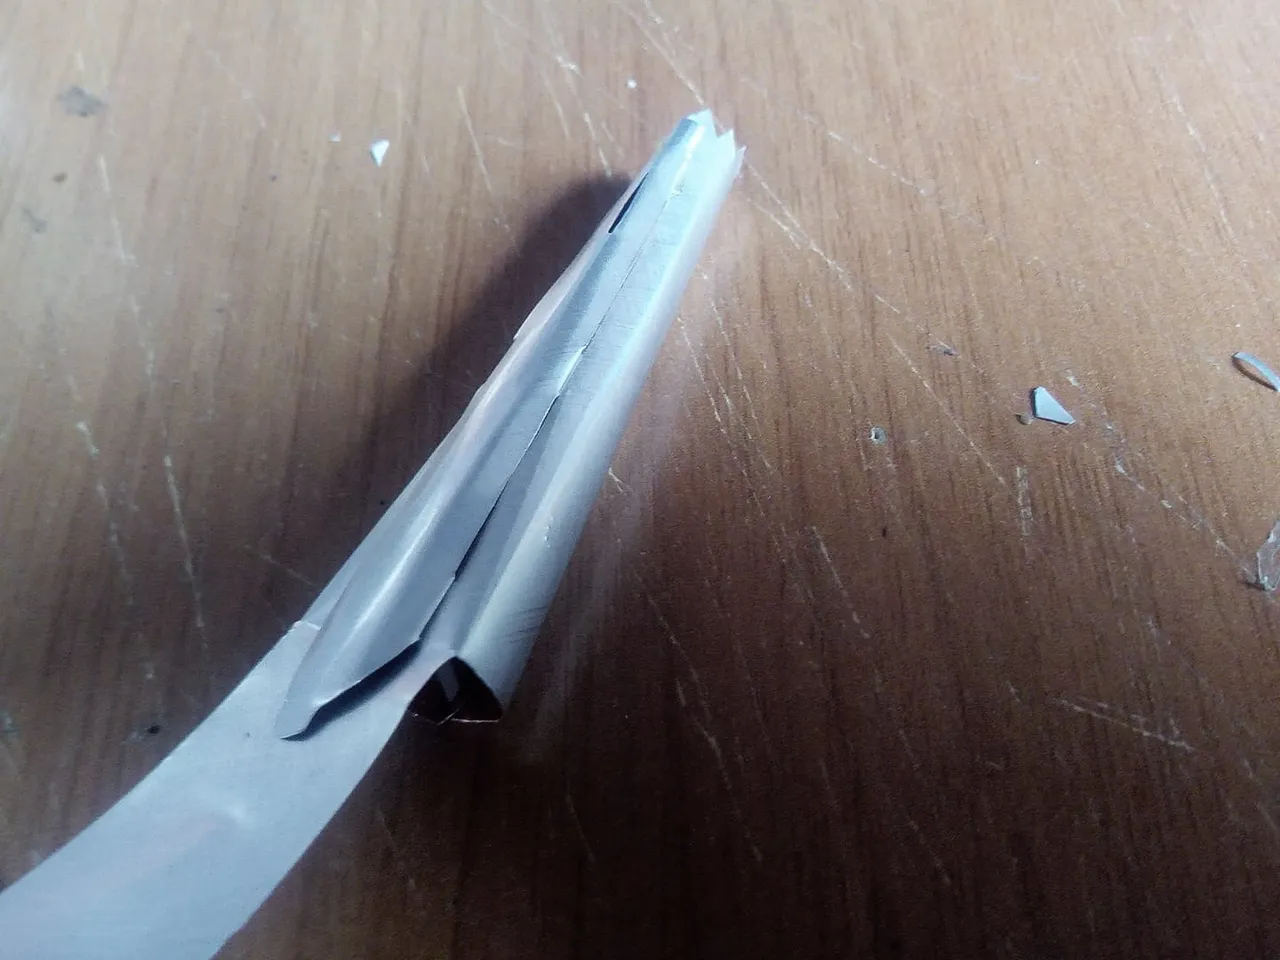
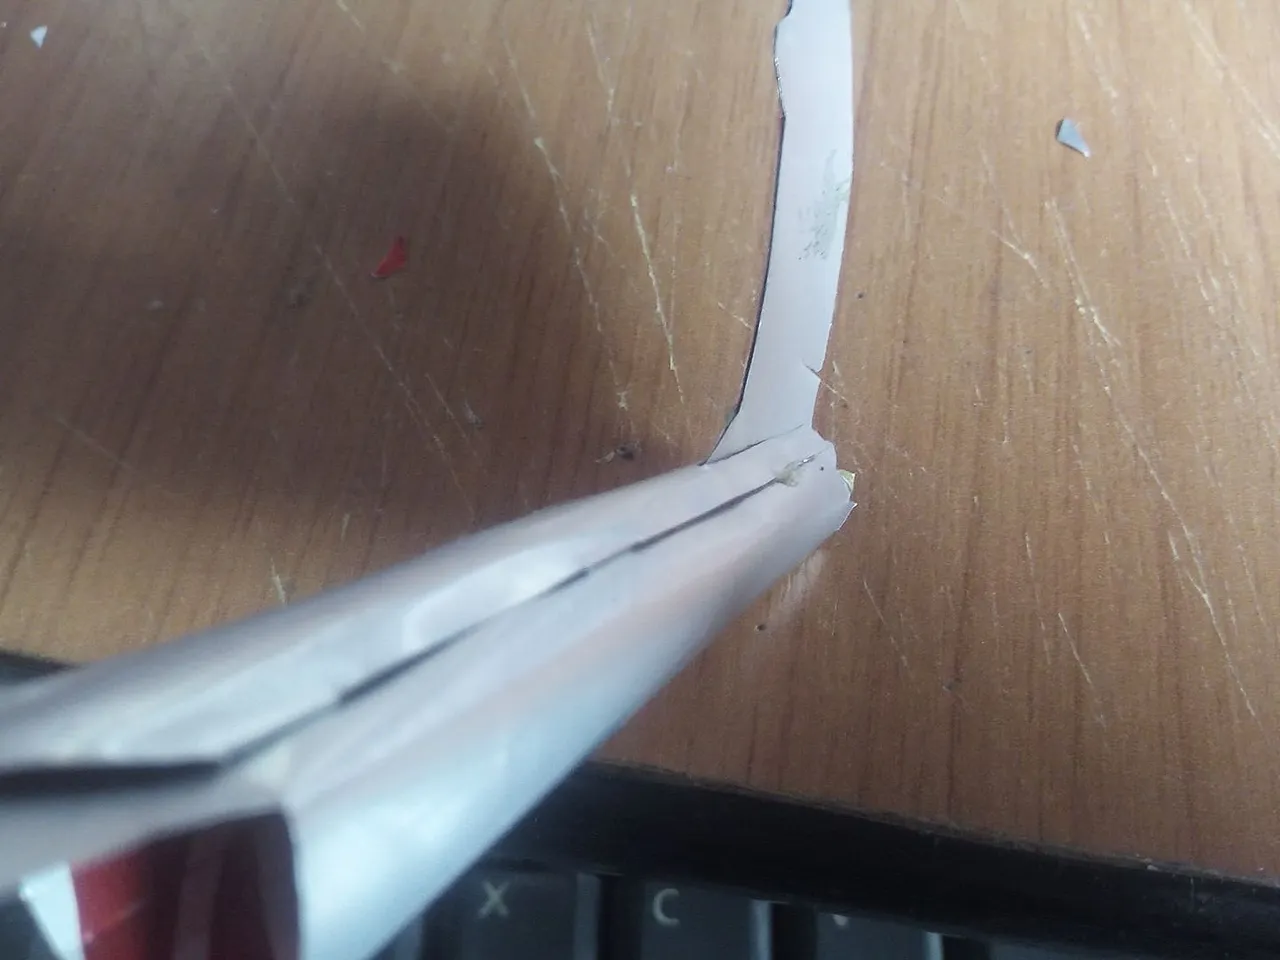
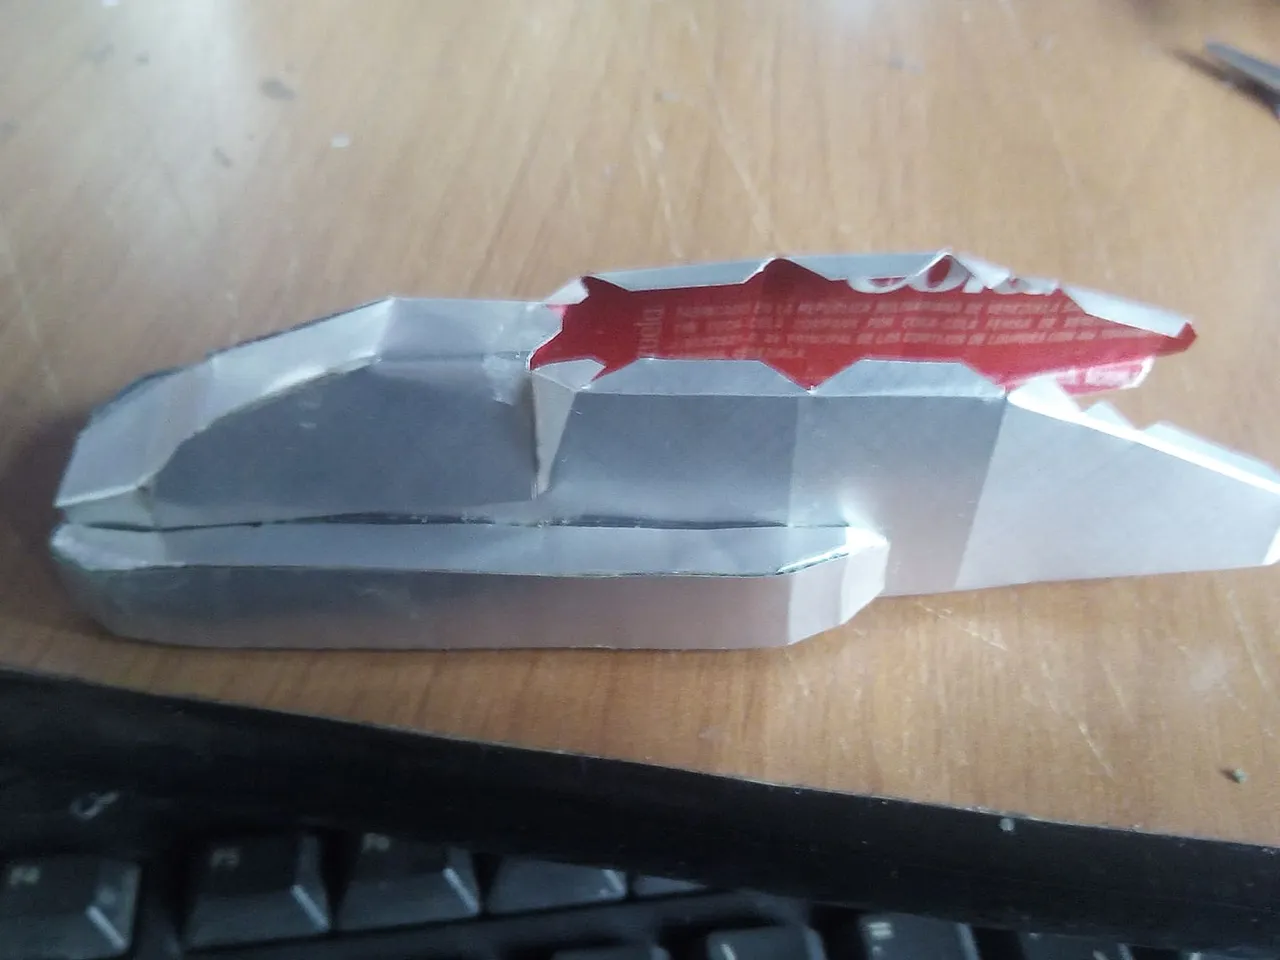
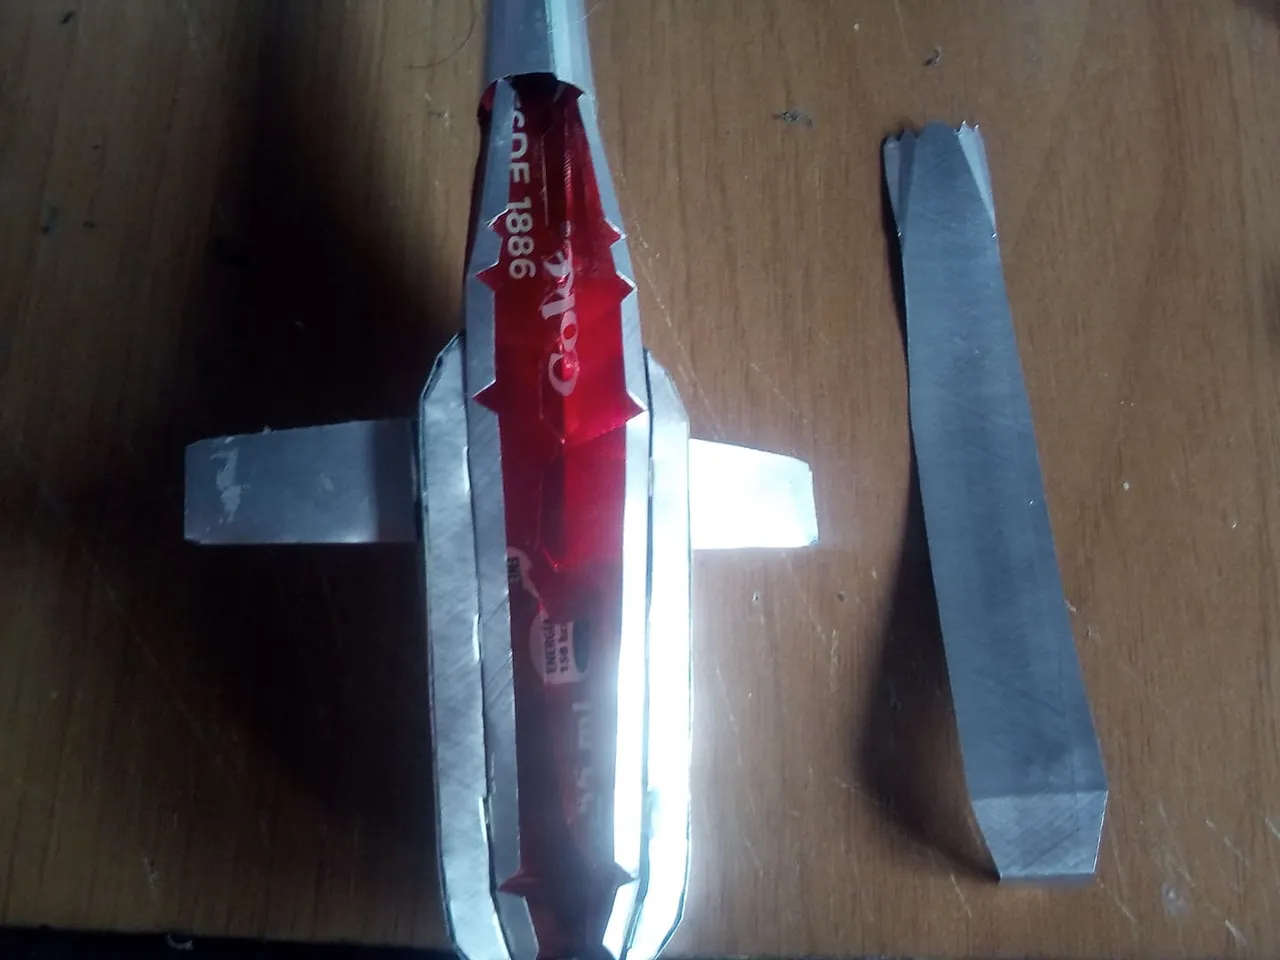
The next step is to make the tail of the helicopter. For that we draw the template and make it circular, like a conical cylinder. We put the accessories like the wings and then we join all the parts with glue.
El siguiente paso es hacer la cola del helicóptero. Para eso dibujamos la plantilla y la hacemos de forma circular, como un cilindro cónico. Le ponemos los accesprios como los alerones y luego vamos uniendo todas las partes con pegamento.
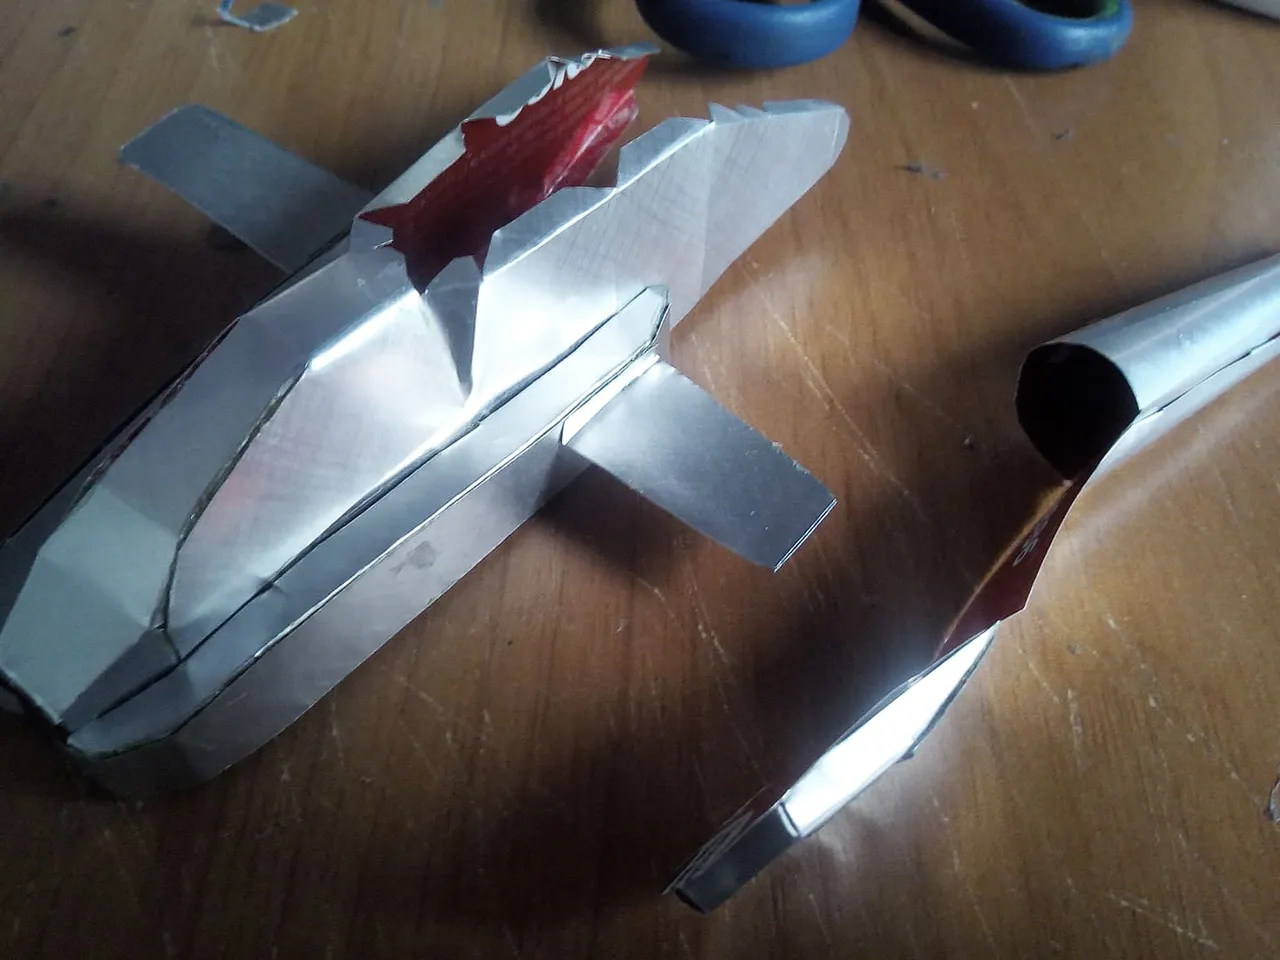
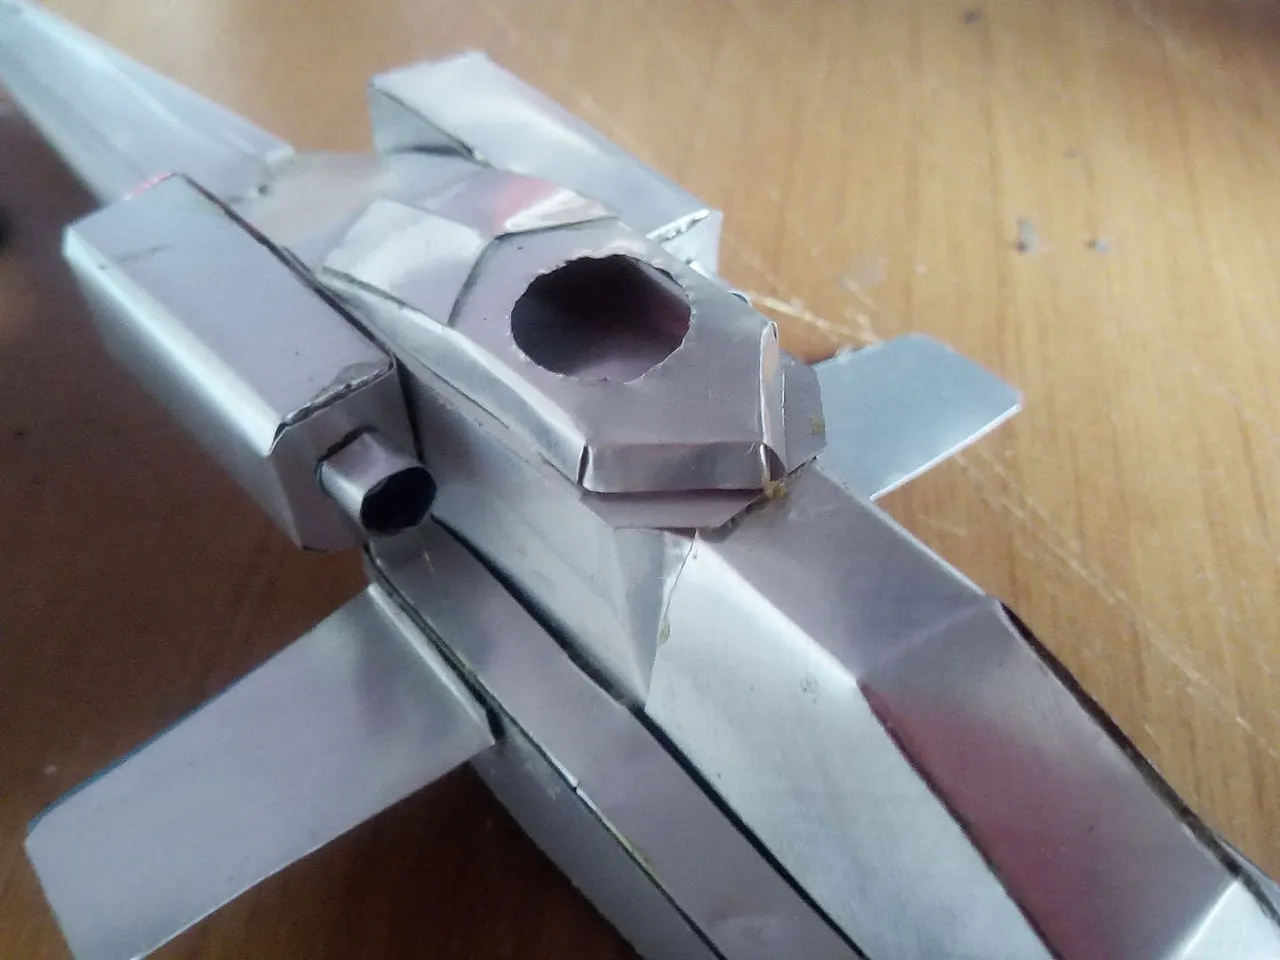

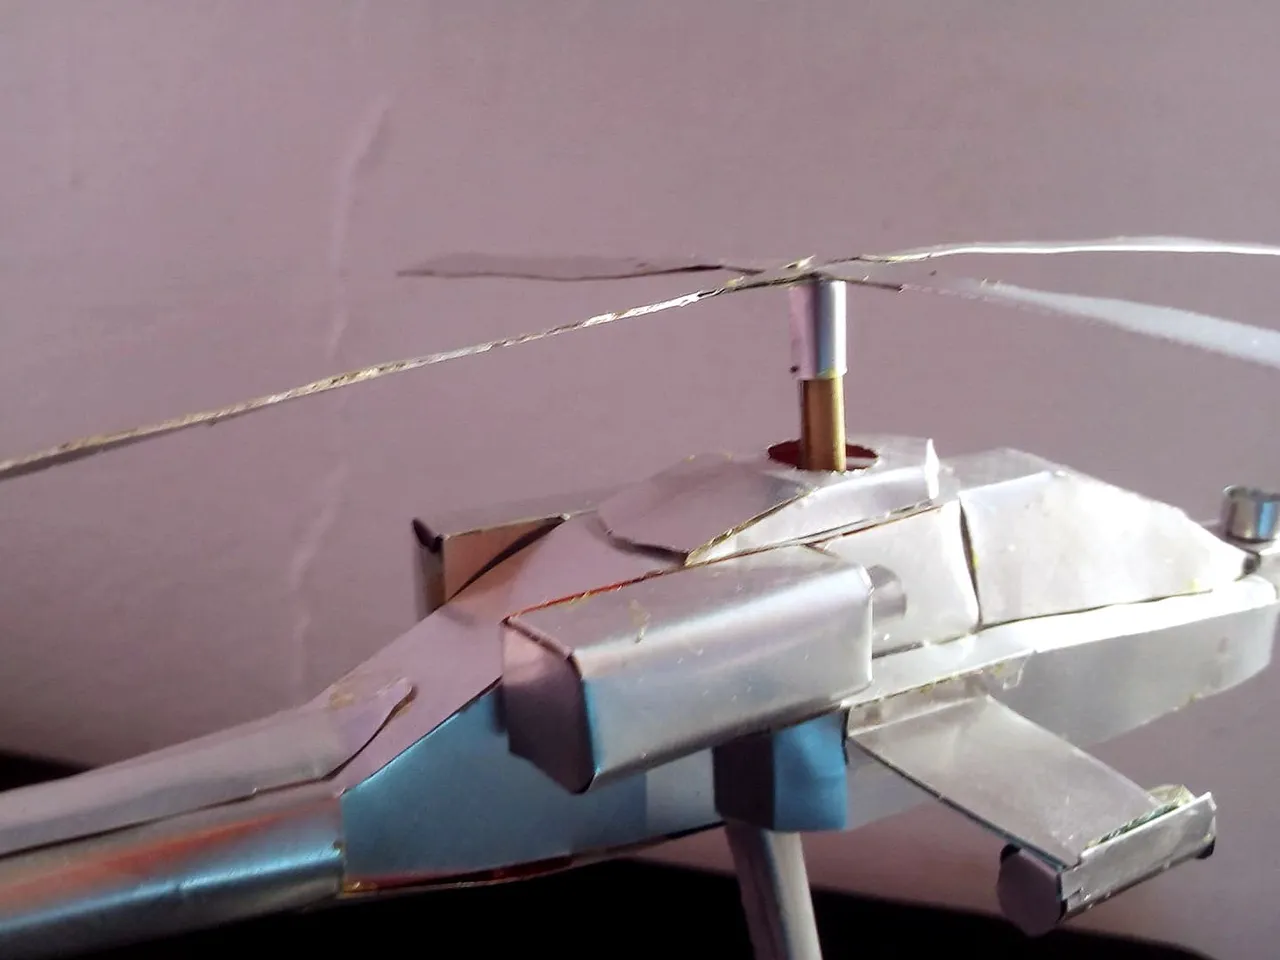
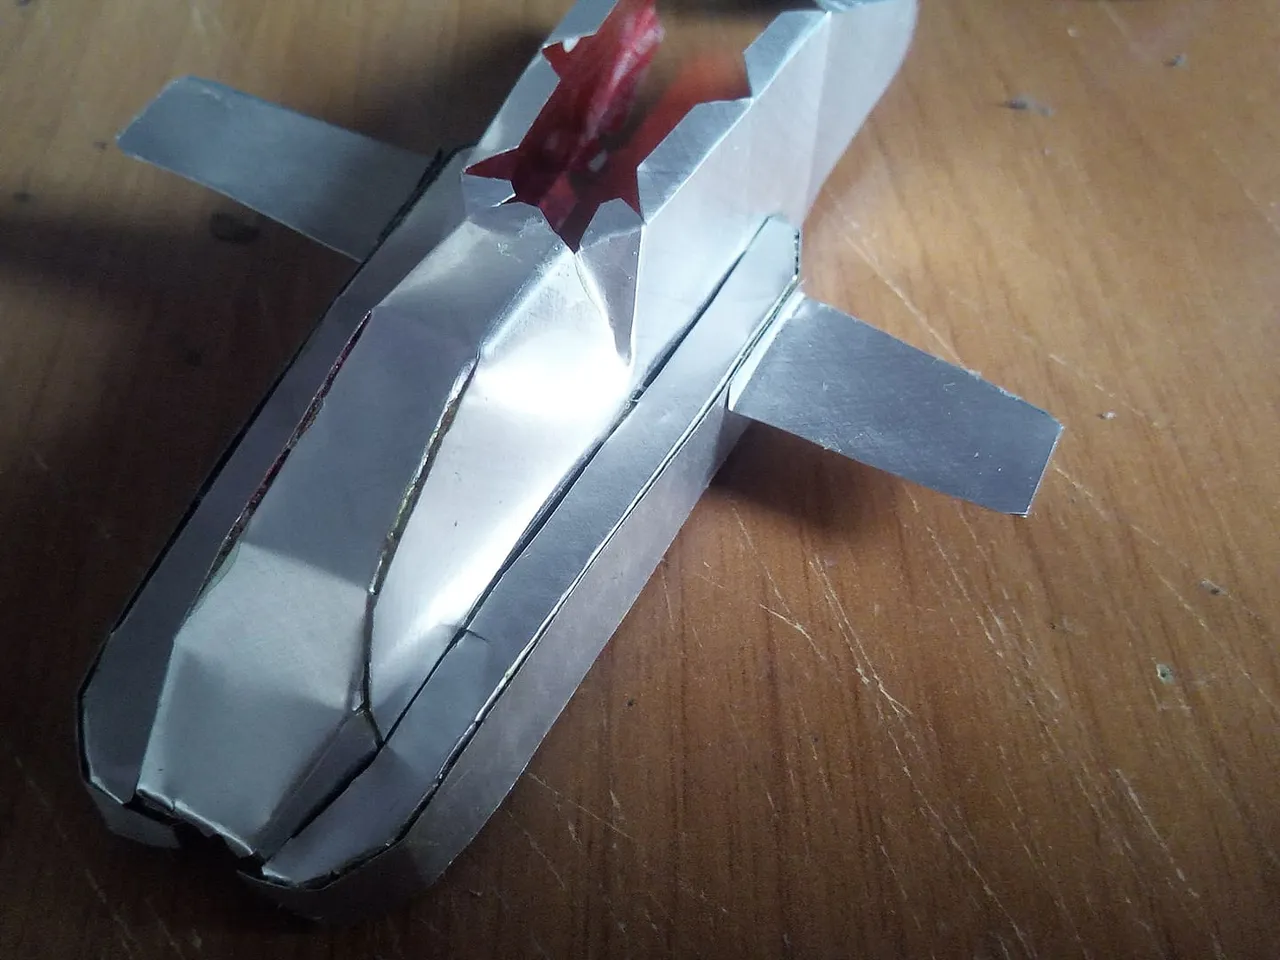
Now we can proceed to join the pieces that we have done so far, the cockpit and the tail of the helicopter. We join it very well with glue and then we will put two pieces that represent part of the operation of the helicopter and that go to the sides.
Ahora podemos proceder a unir las piezas que hemos hecho hasta ahora, la cabina y la cola del helicóptero. La unimos muy bien con pegamento y luego pondremos dos piezas que representan parte del funcionamiento del helicoptero y que van a los lados.
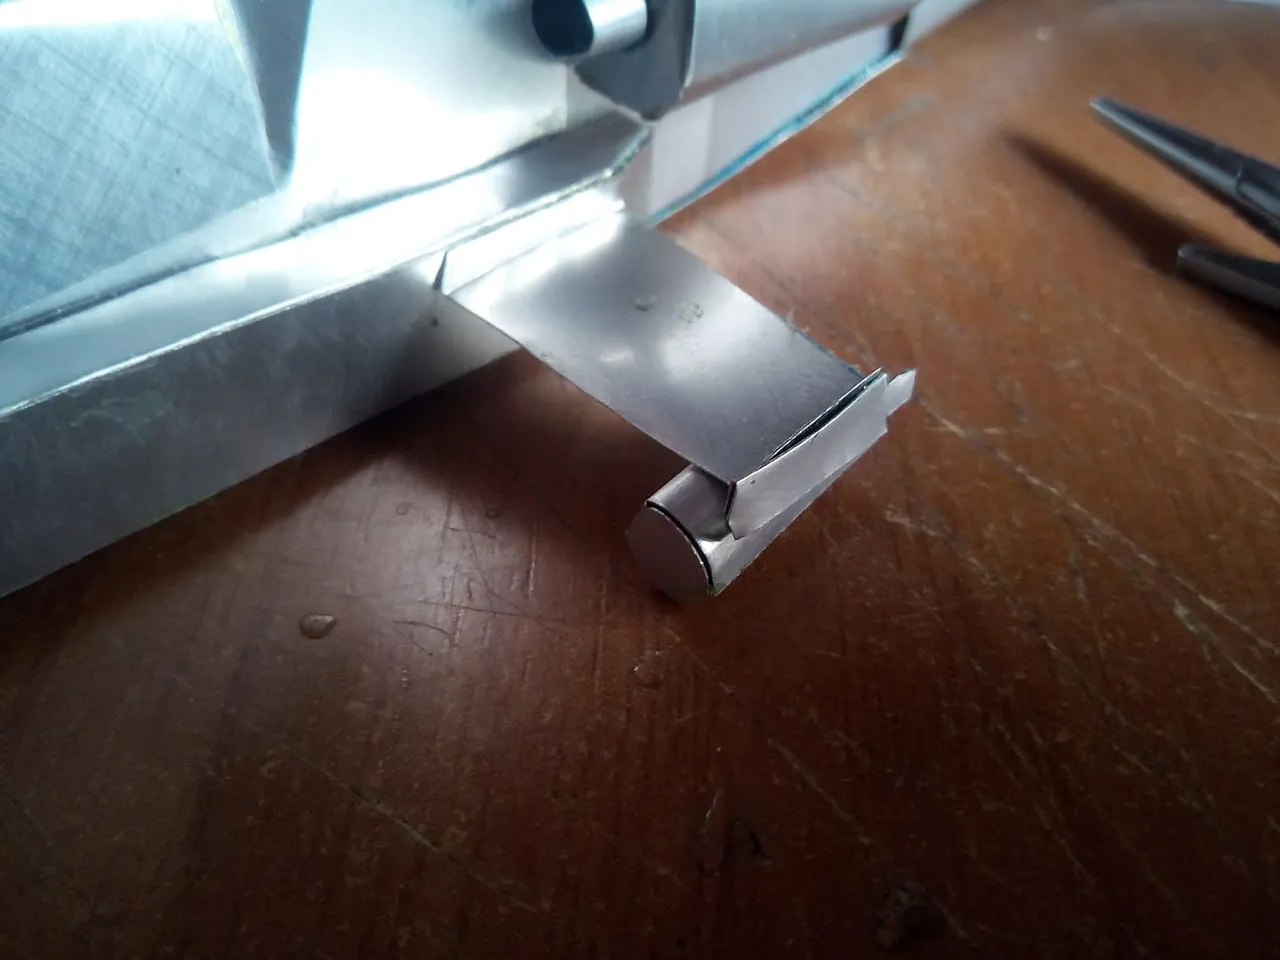
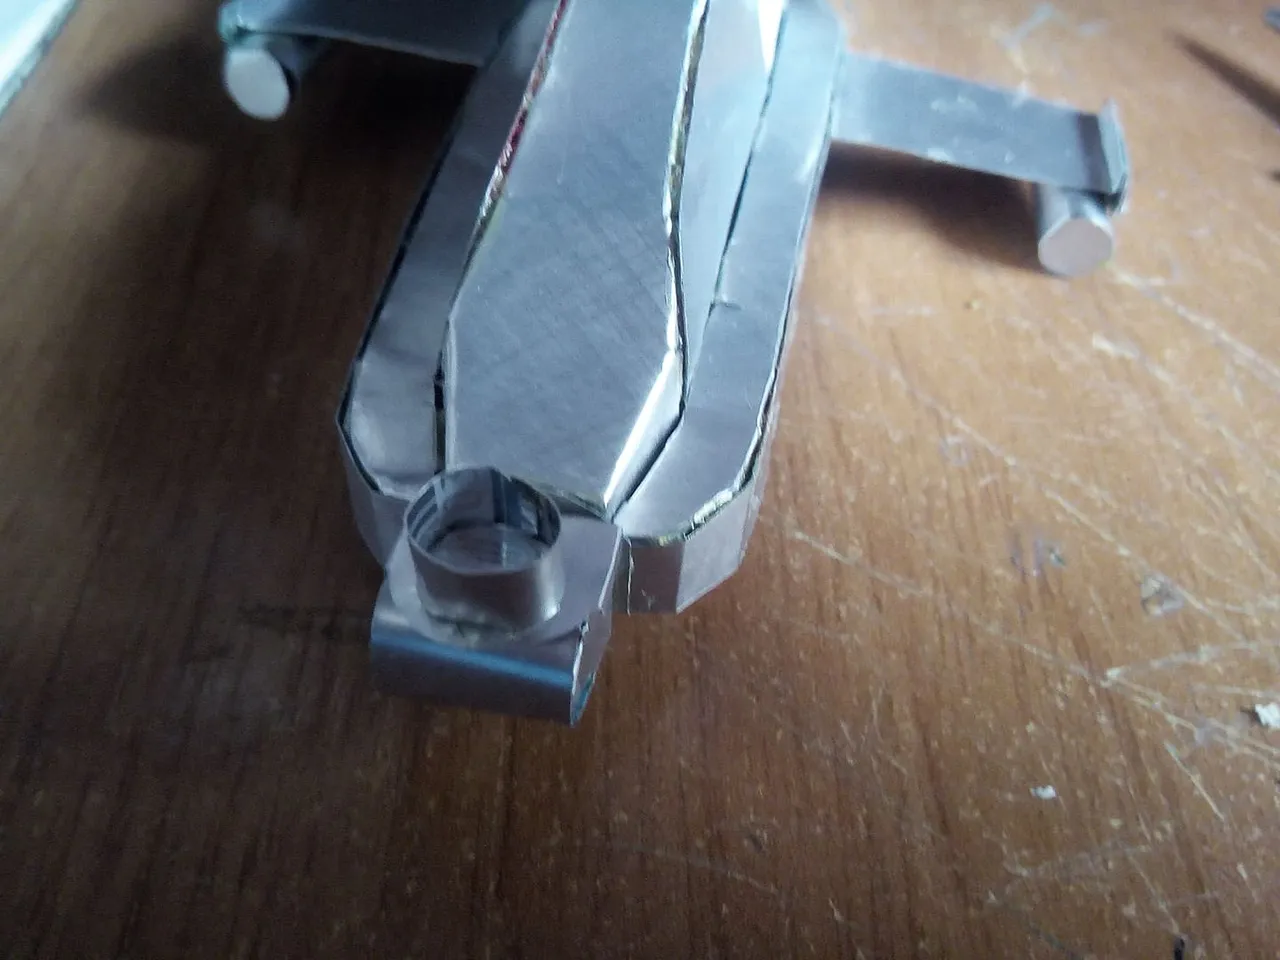
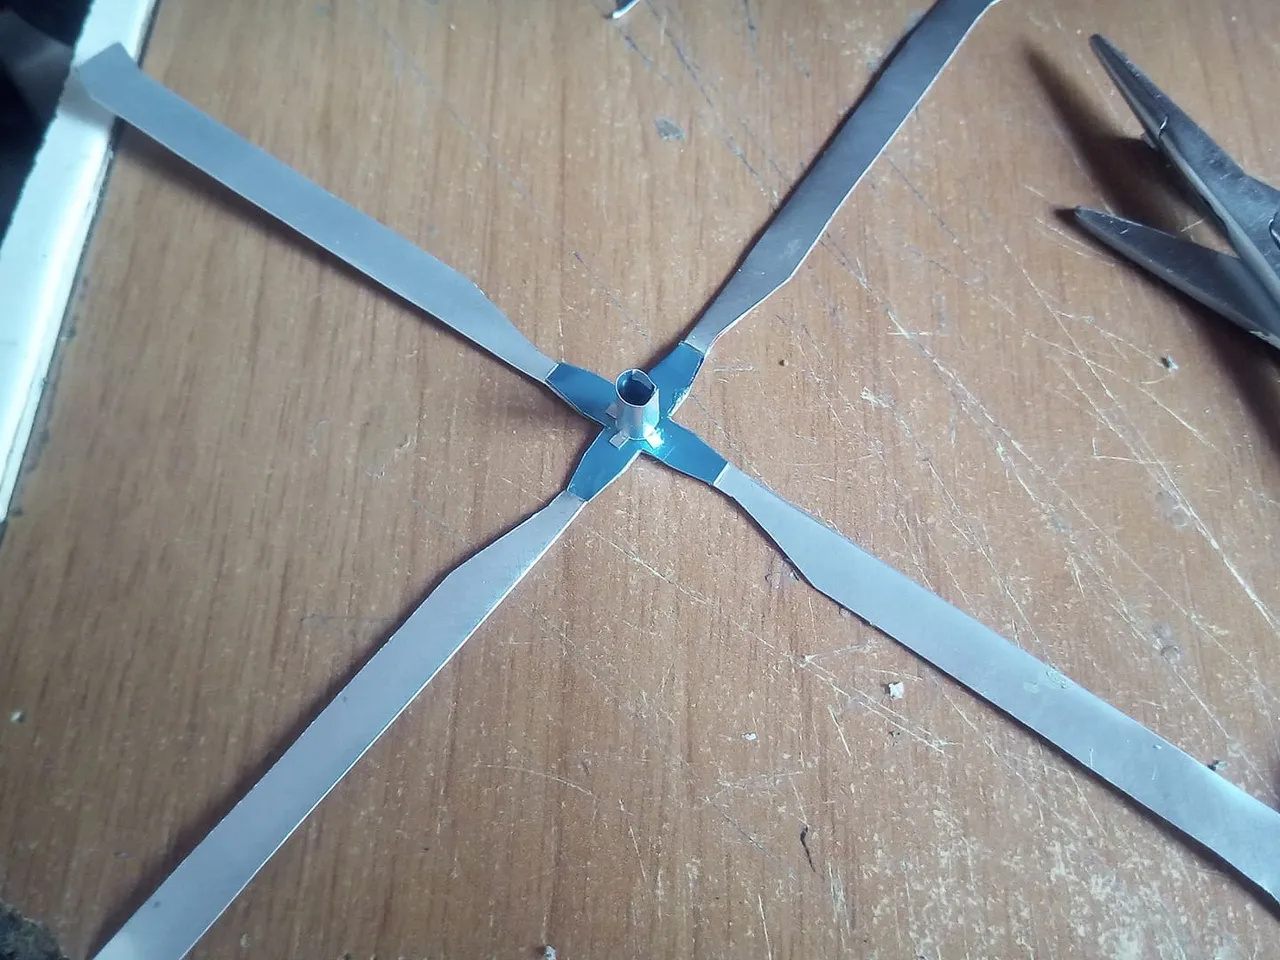
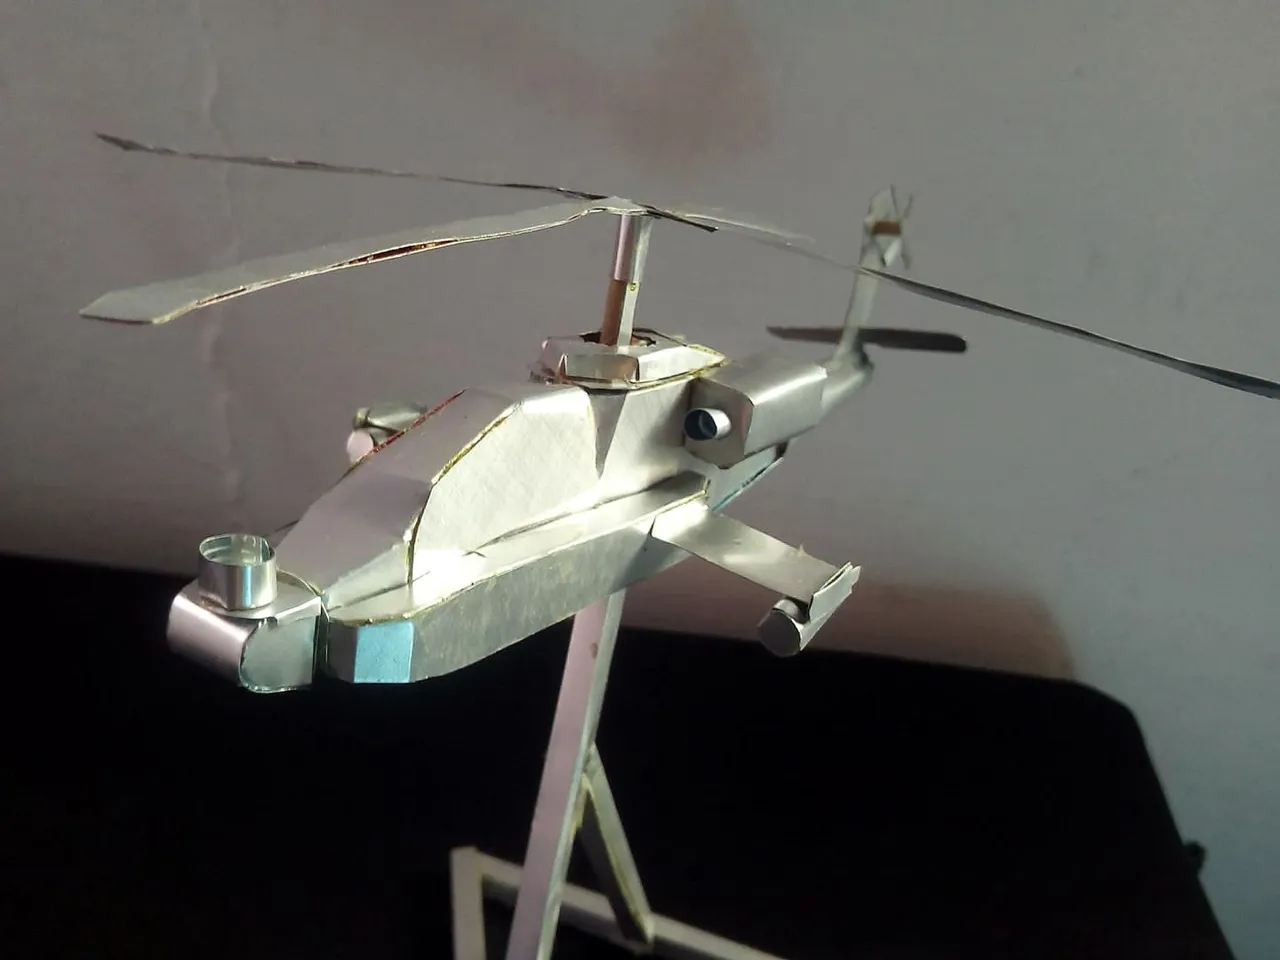
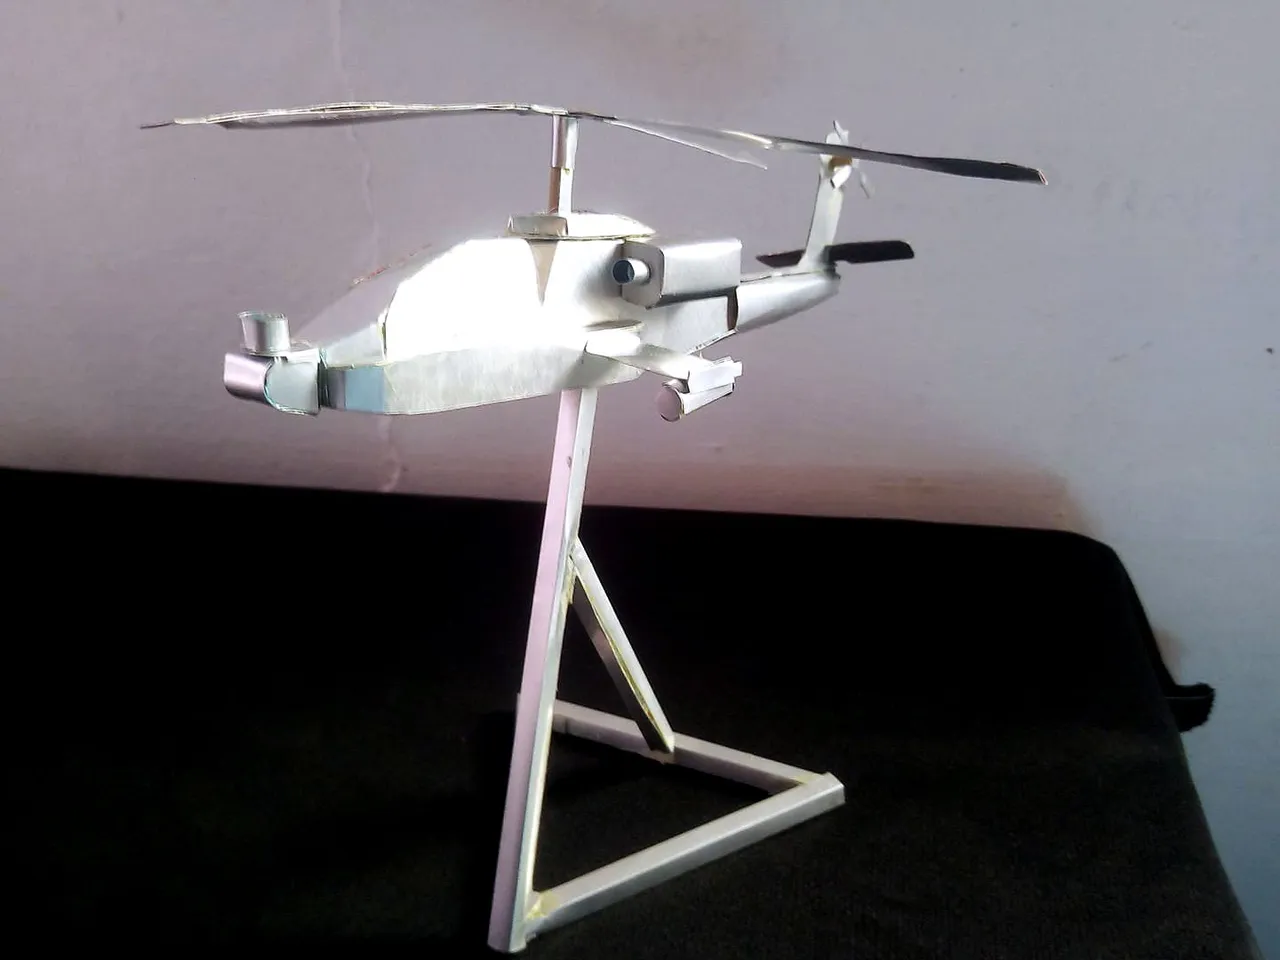
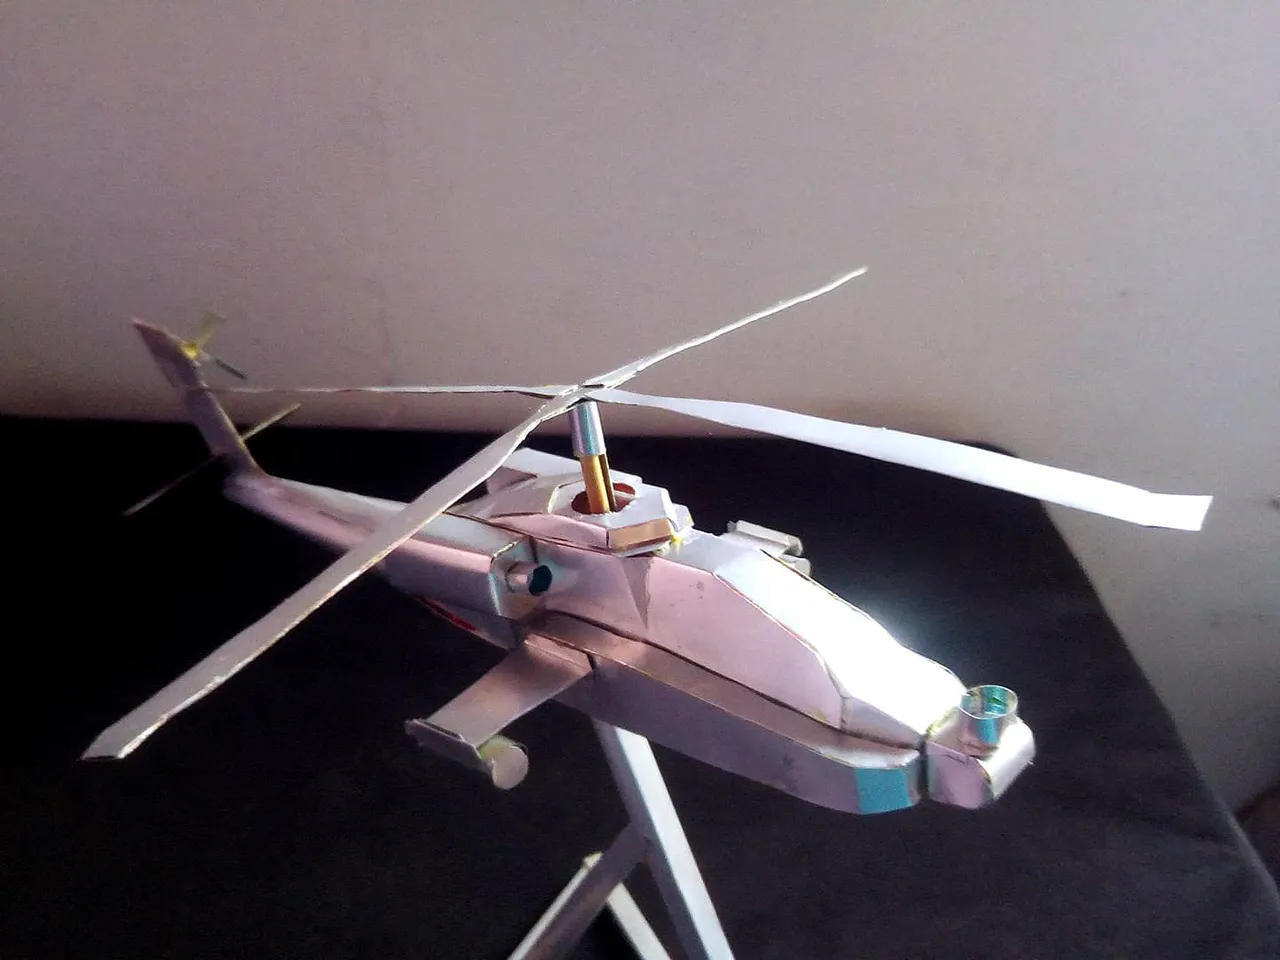
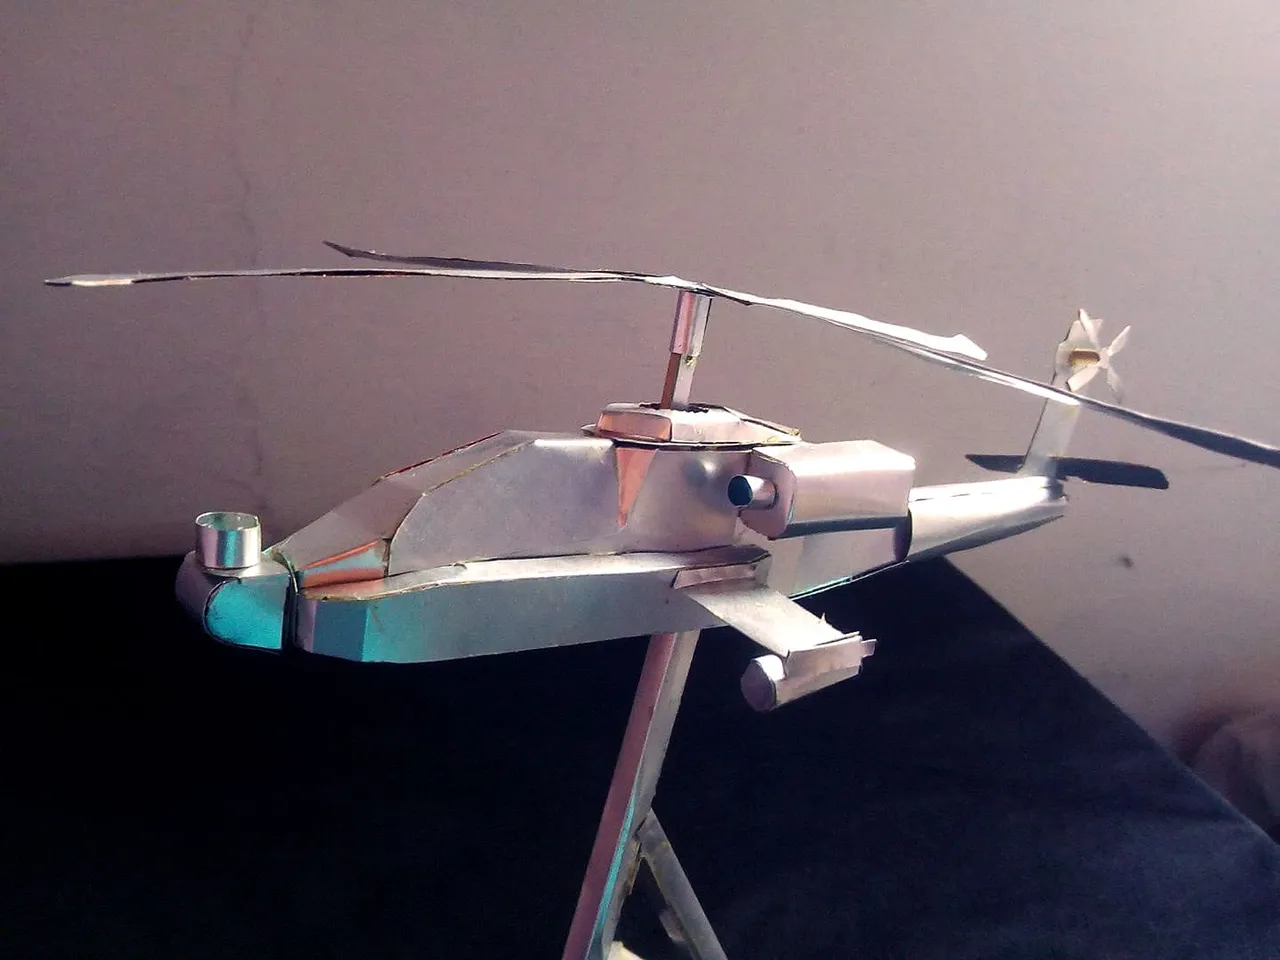
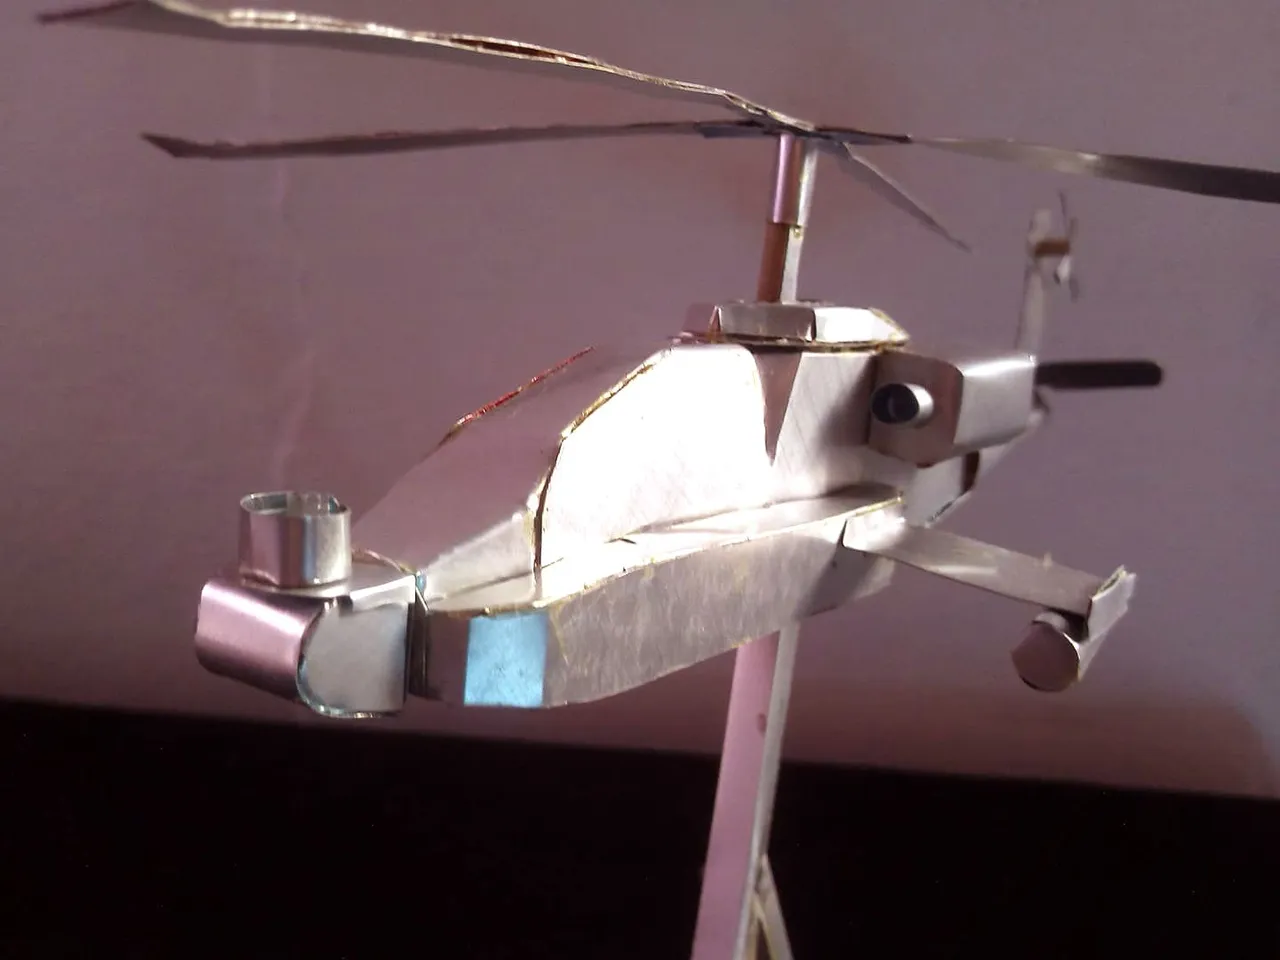
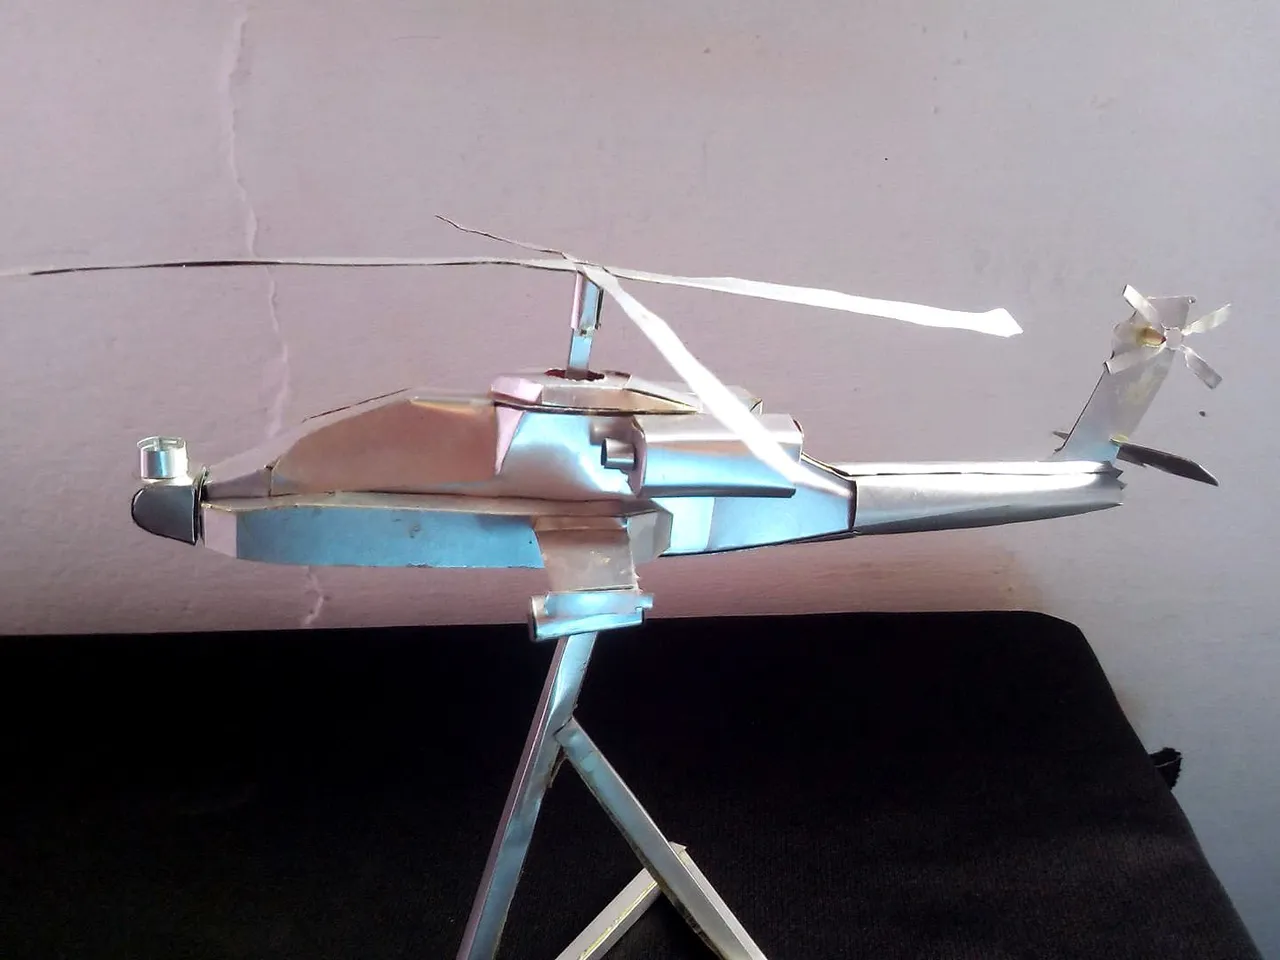
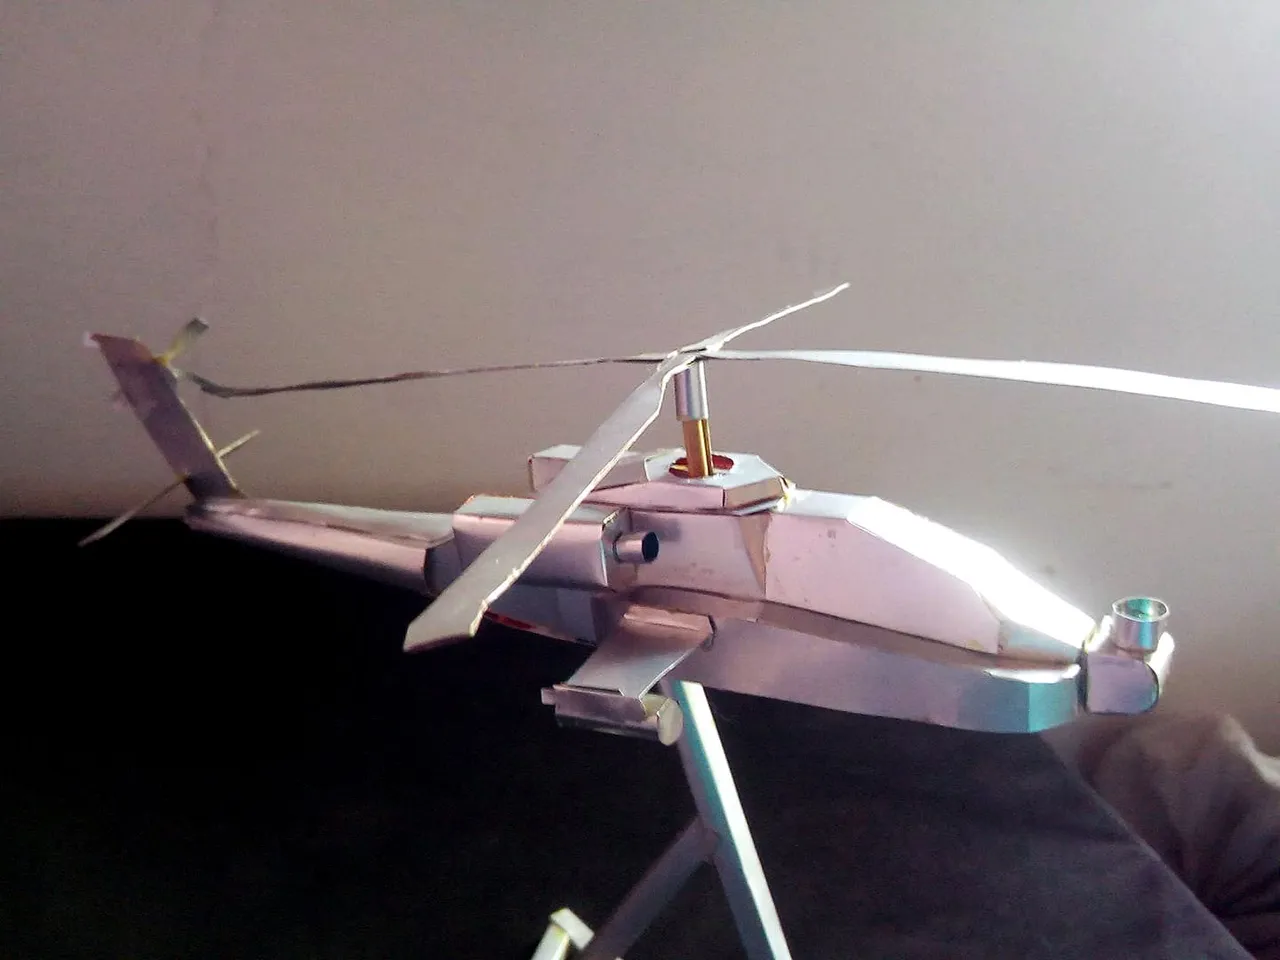
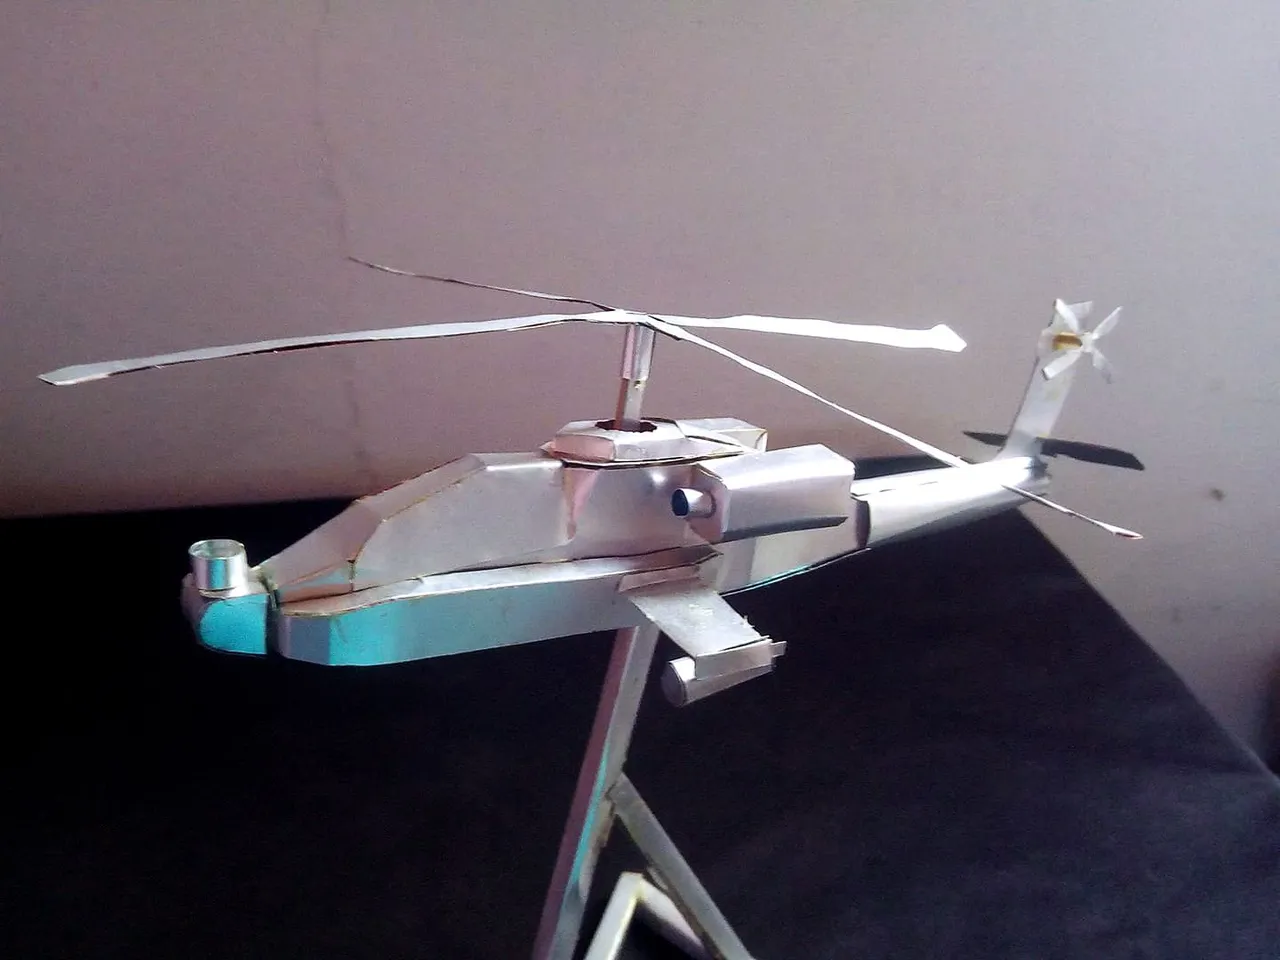
Then we can finish adding the last details. In the wings of the helicopter we will place the machine guns that this model uses, also in the front part of the cabin we will place an aerodynamic accessory that this combat helicopter has. We draw and cut out the main propellers and also those that go in the back and finally we make a base where to place the helicopter.
Luego podemos finalizar agregando los últimos detalles. En las alas del helicóptero colocaremos las ametralladoras que utiliza este midelo, tambien en la parte frontal de la cabina vamos a colocar un accesorio aerodinámico que posee este helicóptero de combate. Dibujamos y recortamos las hélices principales y tambien las que van en la parte trasera y por último hacemos una base donde colocar el helicoptero.