
¡Hola Chicos!
Quienes han seguido mi blog saben que guardo todo lo que puedo para reciclarlo. Una de esas cositas que siempre gastamos por montón y que generan tanta contaminación son los bombillos.
Este año me propuse guardar todos los que se fueran quemando en una bolsa para luego usarlos. Cuando les digo que tengo una bolsa llena de bombillos, la tengo 😂. No sé ni cuantos hay ahí, les prometo en el próximo post donde los use tenerles un conteo exacto.
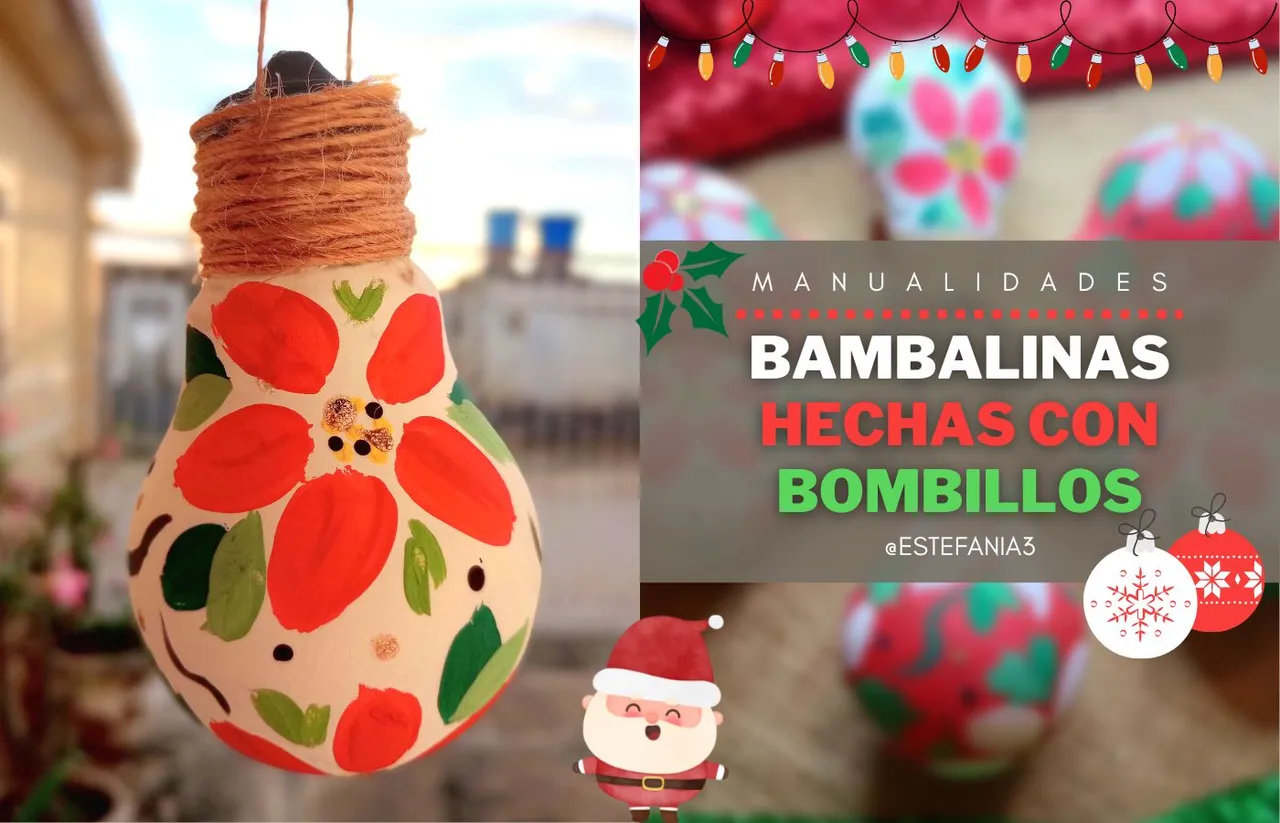
Al ver esta bolsa llena me di cuenta de que es momento de comenzar a usarlos y que mejor ocasión para hacerlo que la navidad, en la que podemos convertirlos en unas lindas bambalinas.
No es la primera vez que hago esto, desde hace varios años que me gusta pintar bombillos, pues quedan muy lindos.
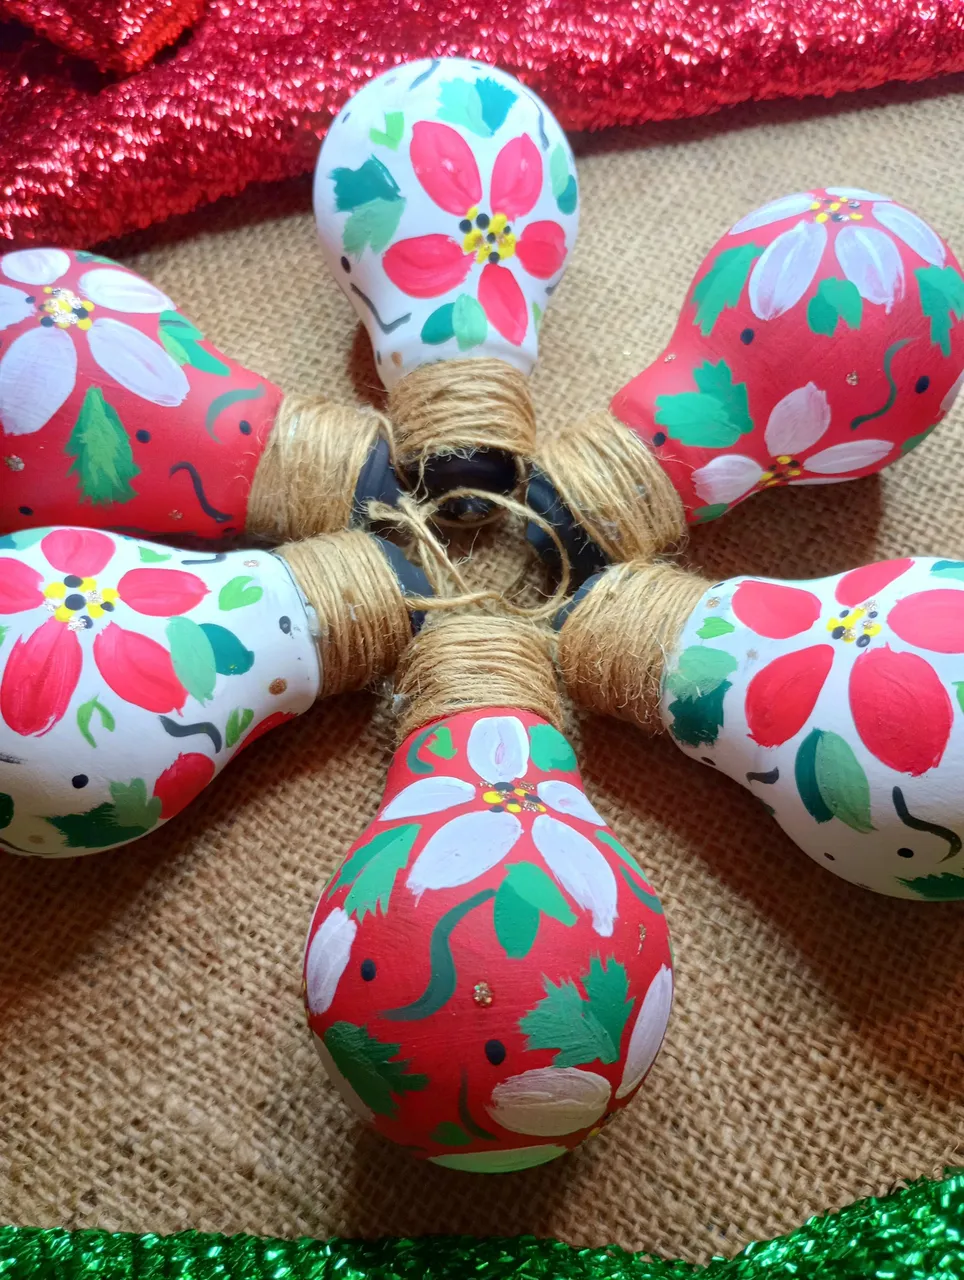
Esta vez me animé a hacer este lindo set de bambalinas floreadas, con el cual disfruté bastante al pintarlos y que ha quedado hermoso a mi parecer. ♥
Aún no sé donde las colgaré porque no tengo un arbolito navideño, a lo mejor se las regalaré a alguien ser querido o amigo. Sé que a donde sean que vayan lucirán increíble y hoy quise traerles a ustedes esta idea para que también puedan pintar las suyas y decorar sus casas o hacer un lindo regalo.
Así que bien, vayamos entonces a conocer el paso a paso para que puedan pintar y crear sus bambalinas hechas con bombillos. 😊
Hello Guys!
Those who have followed my blog know that I save everything I can to recycle it. One of those little things that we always spend a lot and that generate so much pollution are light bulbs.
This year I decided to save all the ones that were burning in a bag to use them later. When I tell them I have a bag full of light bulbs, I have it 😂. I don't even know how many there are, I promise to have an exact count in the next post where I use them.
Seeing this bag full I realized that it is time to start using them and what better time to do it than Christmas, in which we can turn them into some beautiful christmas spheres.
It is not the first time that I do this, for several years I like to paint light bulbs, because they are very beautiful.
This time I was encouraged to make this beautiful set of flowery Christmas spheres, with which I quite enjoyed painting them and which has turned out beautiful in my opinion. ♥
I still don't know where I'll hang them because I don't have a Christmas tree, maybe I'll give them to a loved one or friend. I know that wherever they go they will look amazing and today I wanted to bring you this idea so that you can also paint yours and decorate your houses or make a nice gift.
So good, let's go to know the step by step so that they can paint and create their Christmas spheres made with light bulbs. 😊
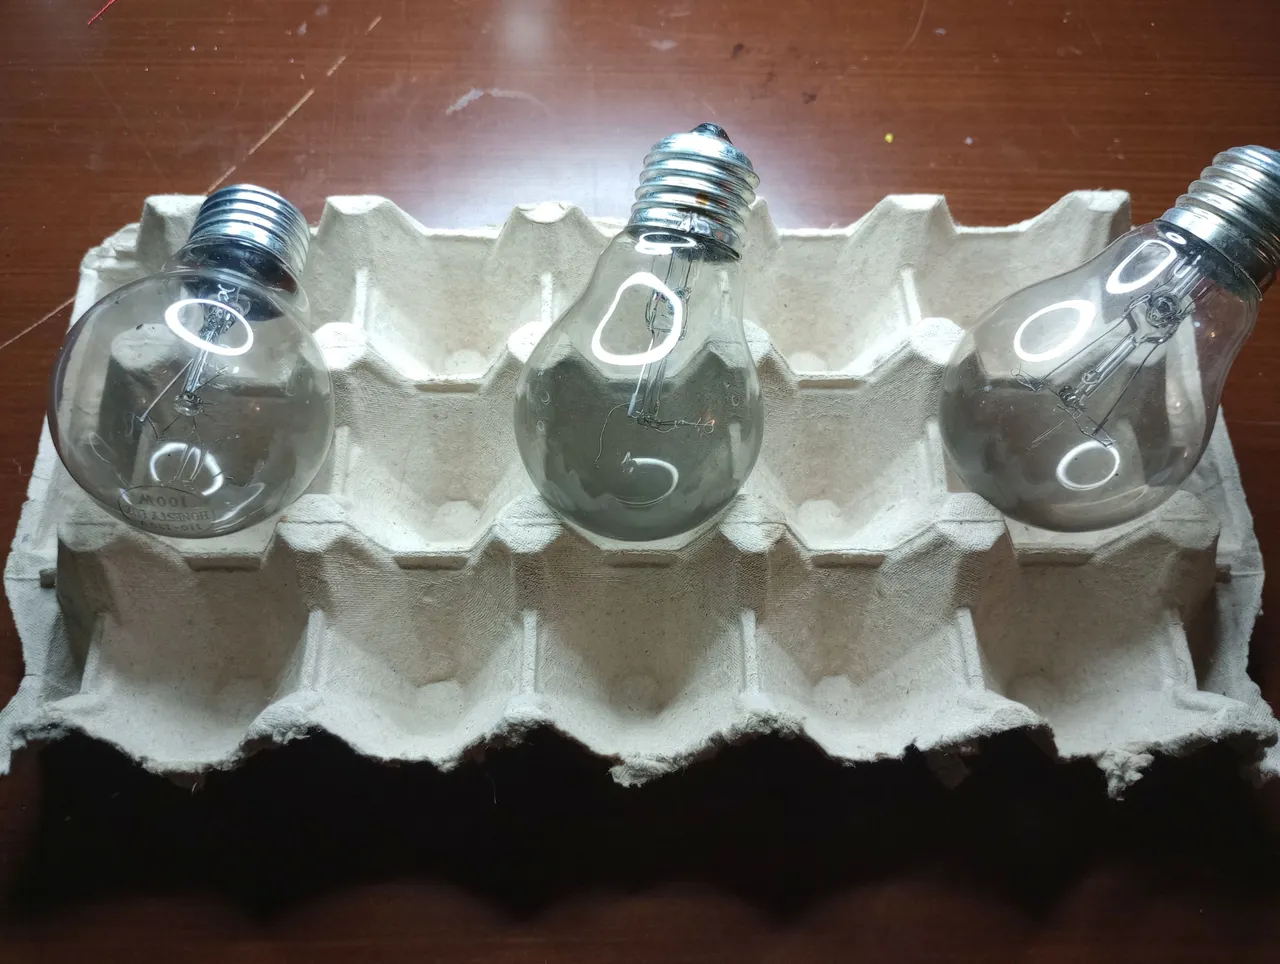
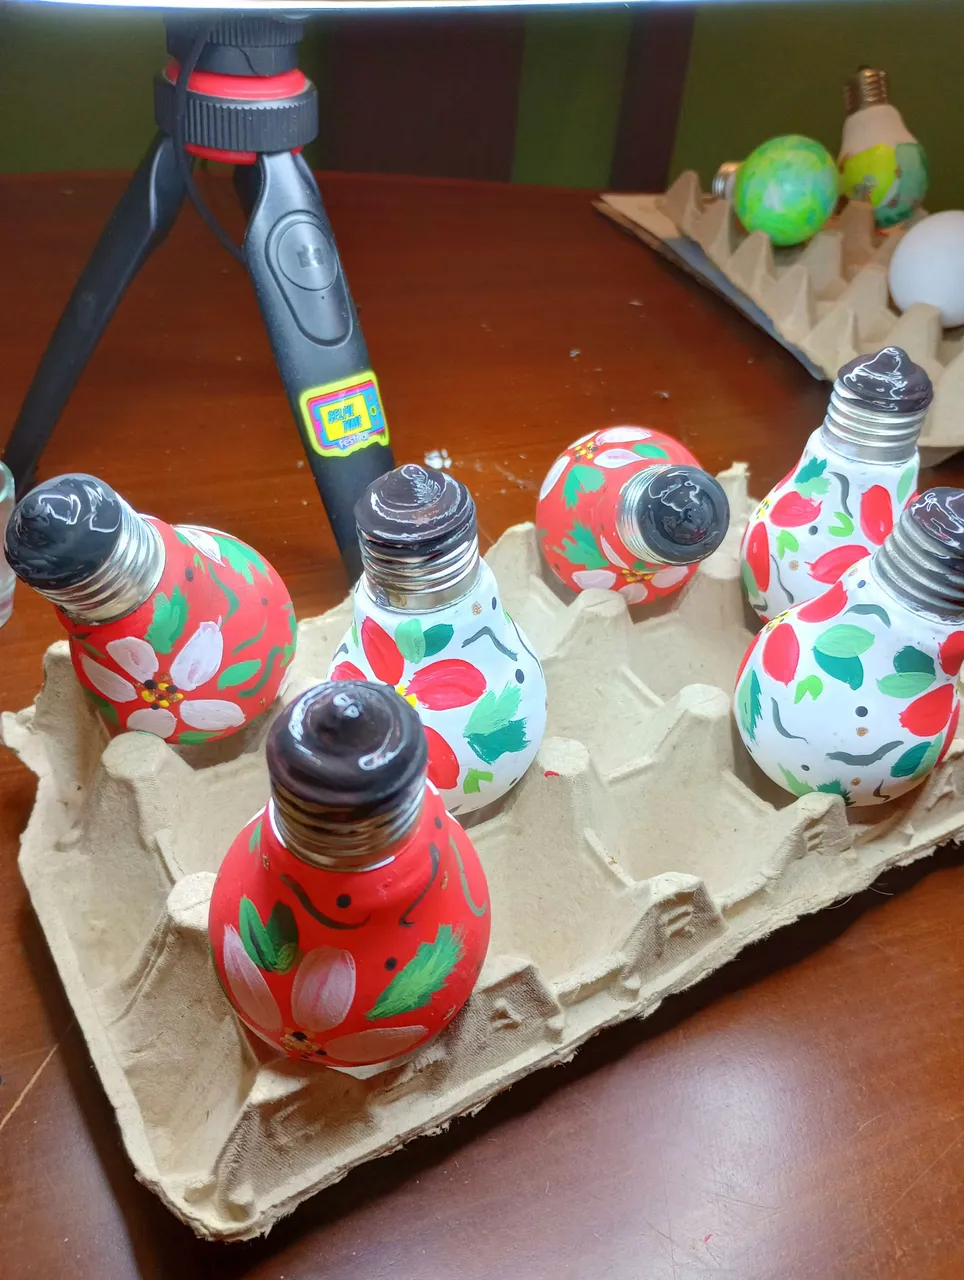
Primero tomé los bombillos que iba a pintar y los coloqué sobre un trozo de cartón de huevos, que me permitiría tener una base en la que pudieran ir secando sin estar rodando por la mesa (cosa que arruinaría el diseño).
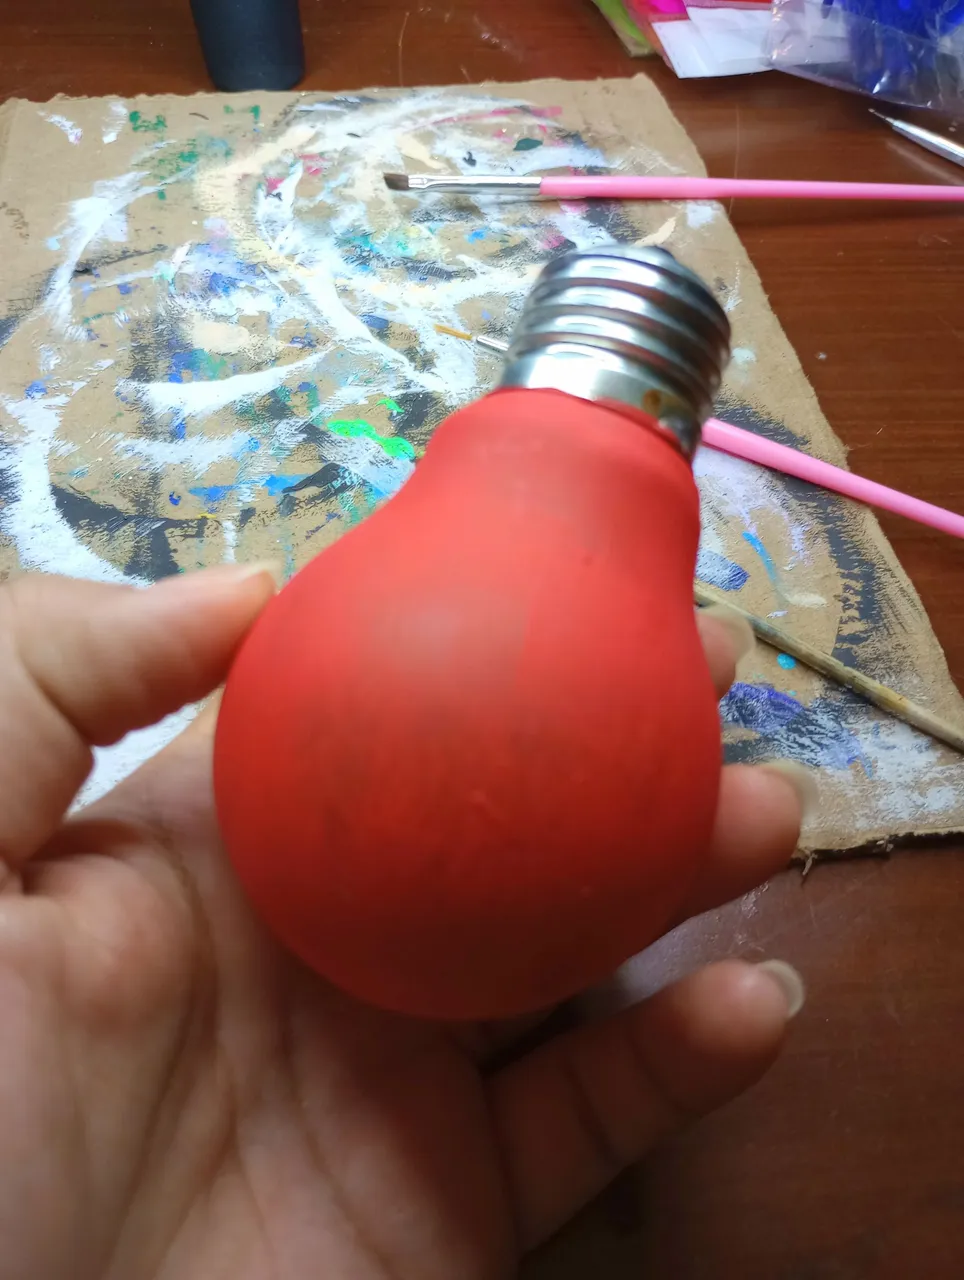
Primero se debe pintar una base sólida del color que elijas, en mi caso pinté 3 bombillos de color blanco y 3 de color rojo.
Se deben dar varias capas de pintura hasta lograr el color ideal. Recuerda que la superficie del bombillo es lisa, por lo que no absorberá pintura, por ello se deben dar dos o tres capas.
First I took the light bulbs that I was going to paint and placed them on a piece of egg carton, which would allow me to have a base where they could dry without rolling on the table (which would ruin the design).
First you must paint a solid base in the color you choose, in my case I painted 3 light bulbs white and 3 red.
Several coats of paint should be applied until the ideal color is achieved. Remember that the surface of the light bulb is smooth, so it will not absorb paint, so two or three coats should be applied.
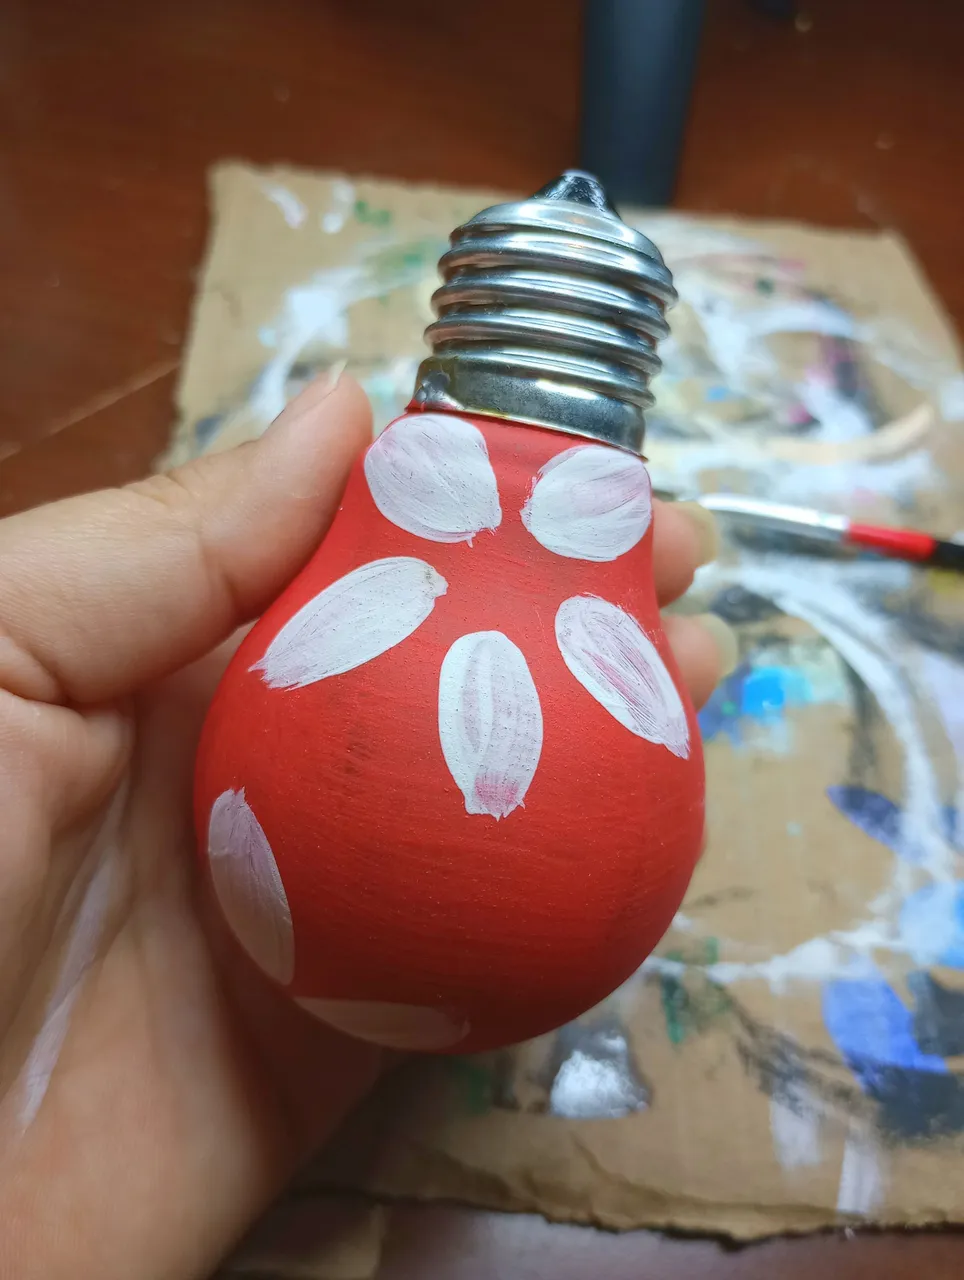
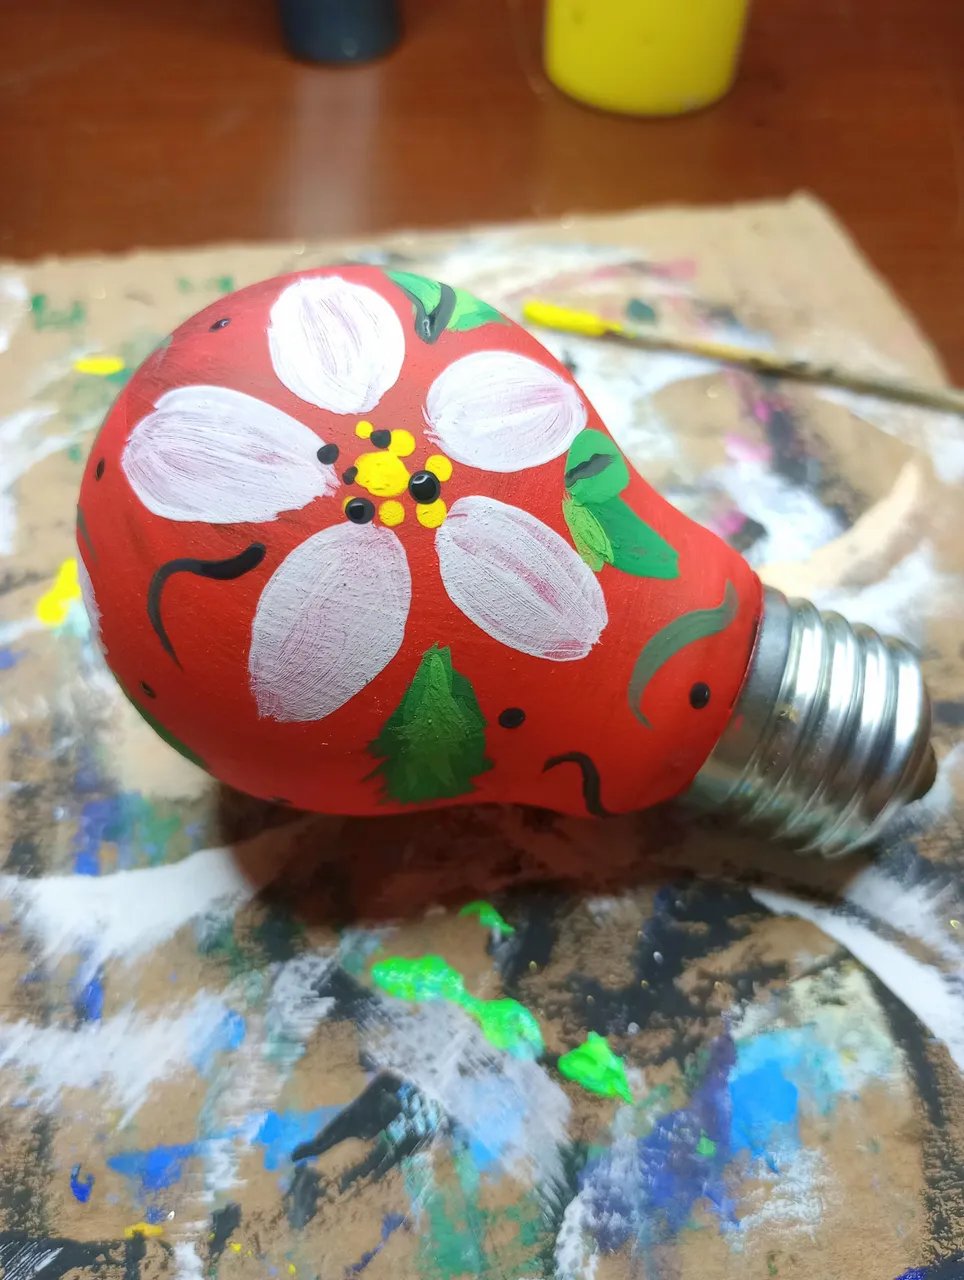
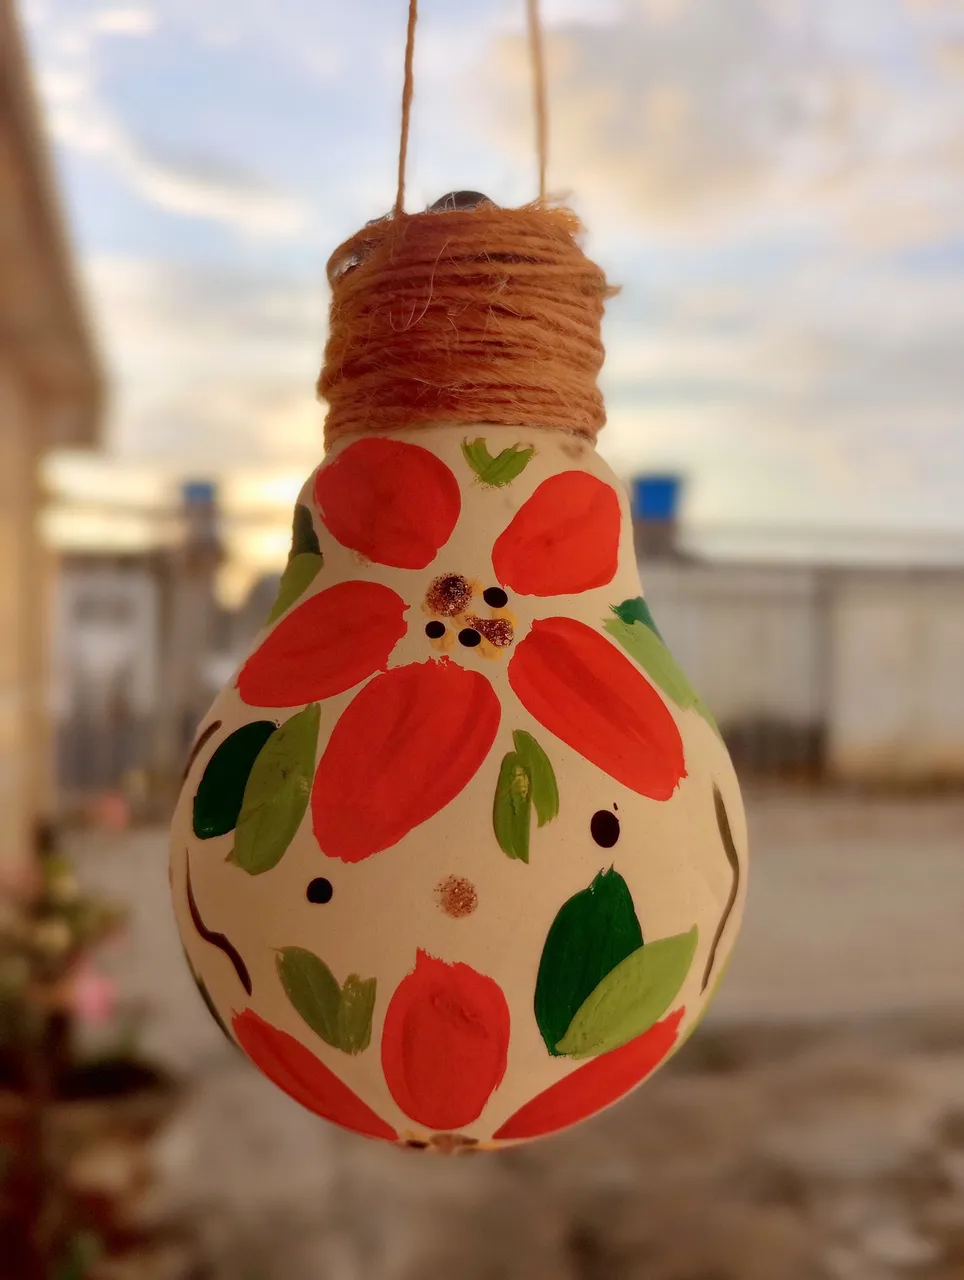
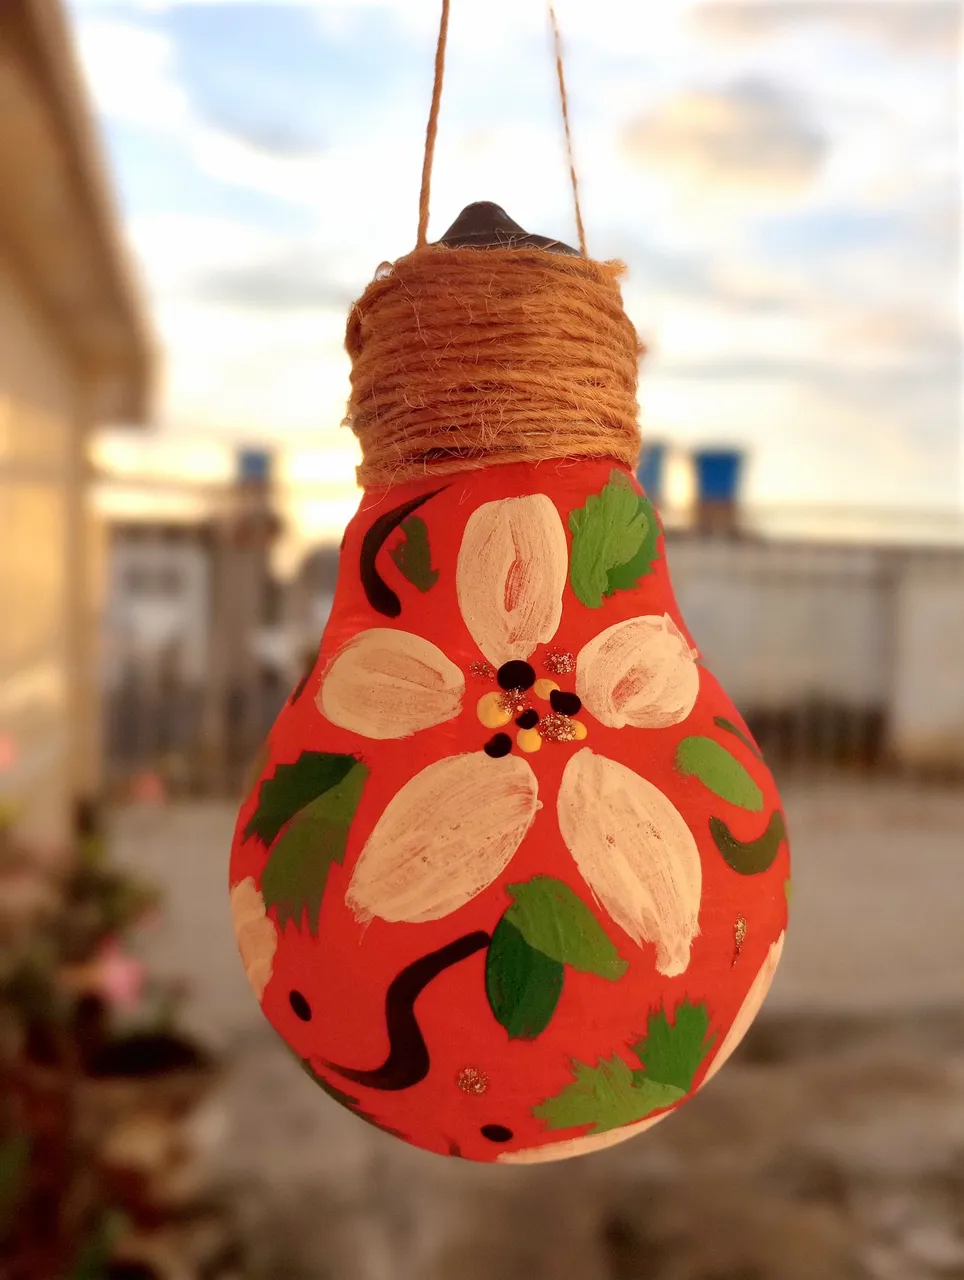
Para el diseño floreado, comencé pintando en los bombillos rojos 3 grandes flores blancas distribuidas lo más parejo posible.
Hice lo mismo en los bombillos blancos pero con flores rojas.
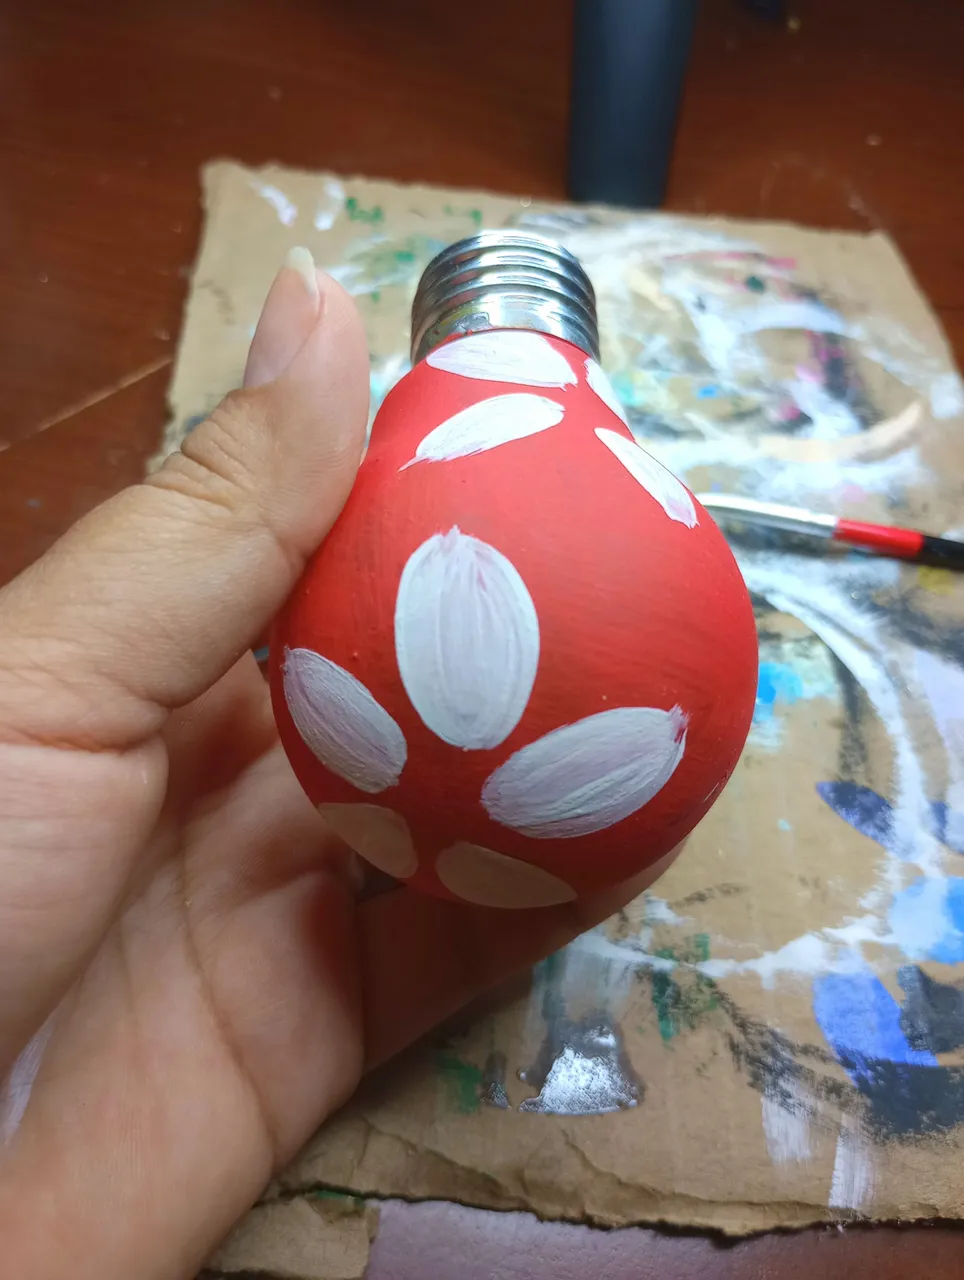
For the floral design, I started by painting 3 large white flowers on the red light bulbs, distributed as evenly as possible.
I did the same in the white light bulbs but with red flowers.
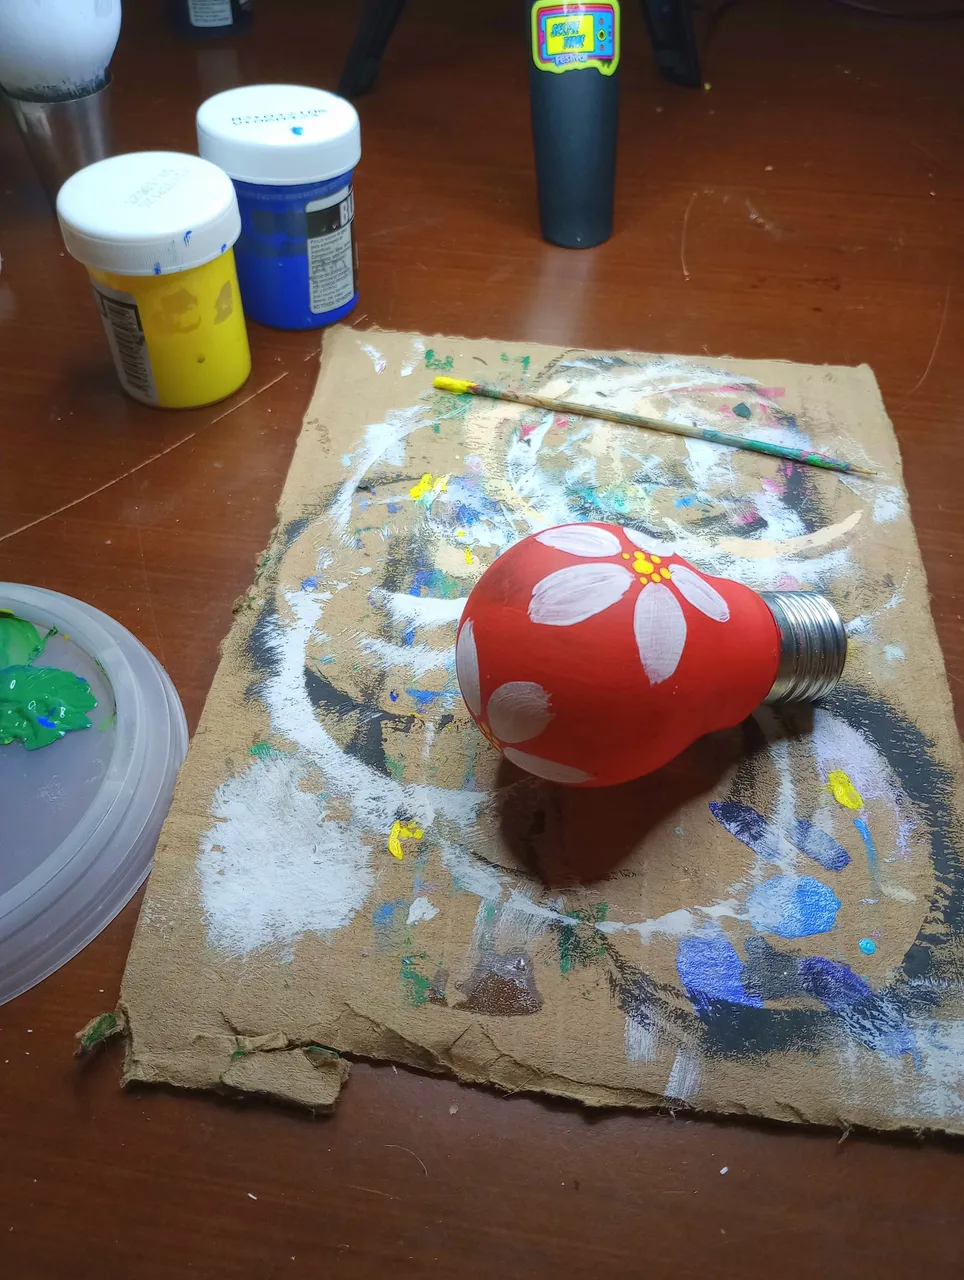
Al estar secas las flores, comencé a darle más detalles, pinté algunos puntos amarillos en el centro, también combiné amarillo y azul para crear 3 tonos de verdes con los que hice hojitas.
Y finalmente con negro agregué algunos puntos y detalles al diseño.
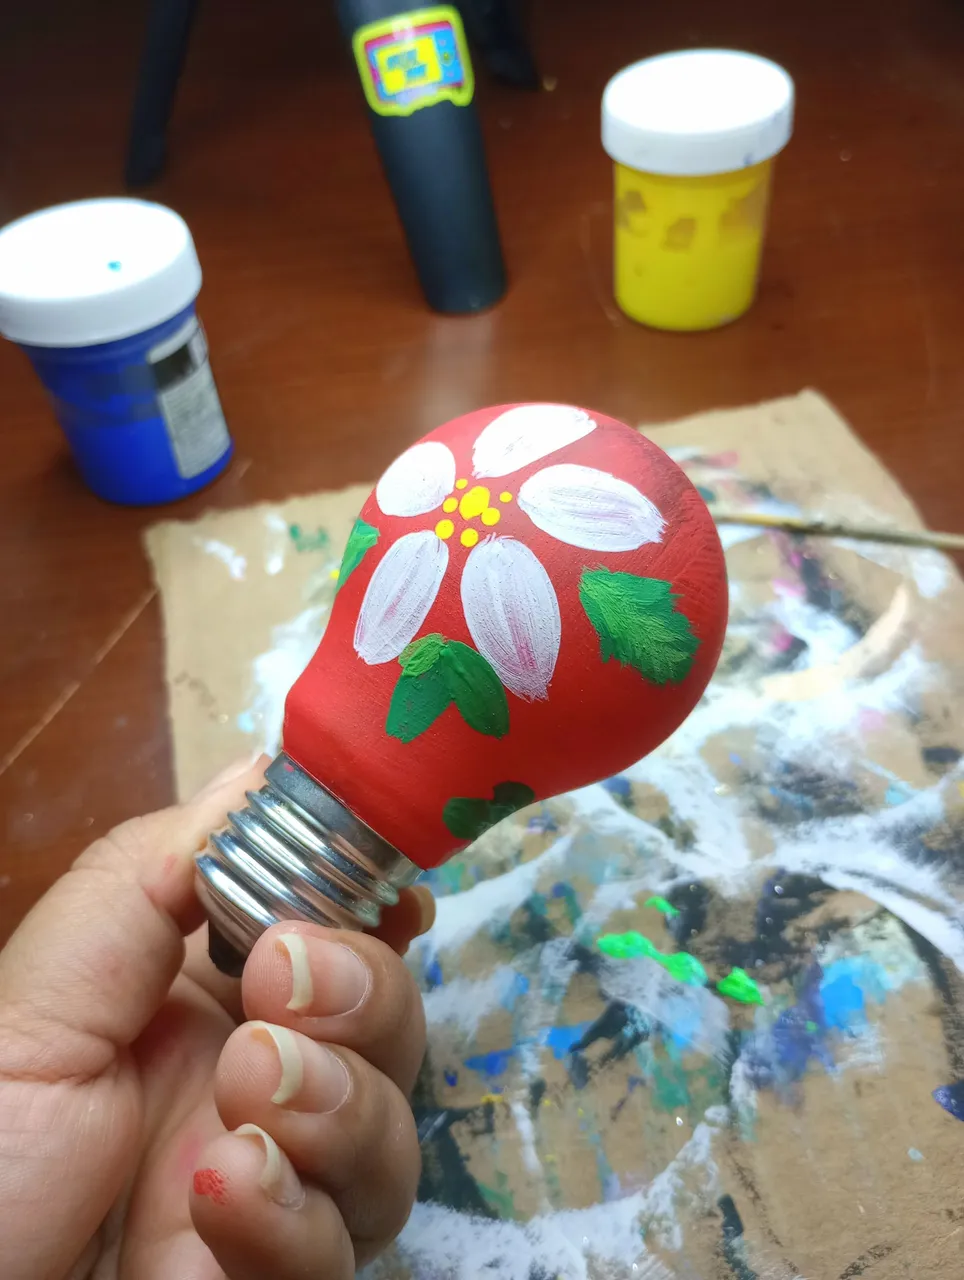
When the flowers were dry, I began to give them more details, I painted some yellow dots in the center, I also combined yellow and blue to create 3 shades of green with which I made little leaves.
And finally with black I added some points and details to the design.
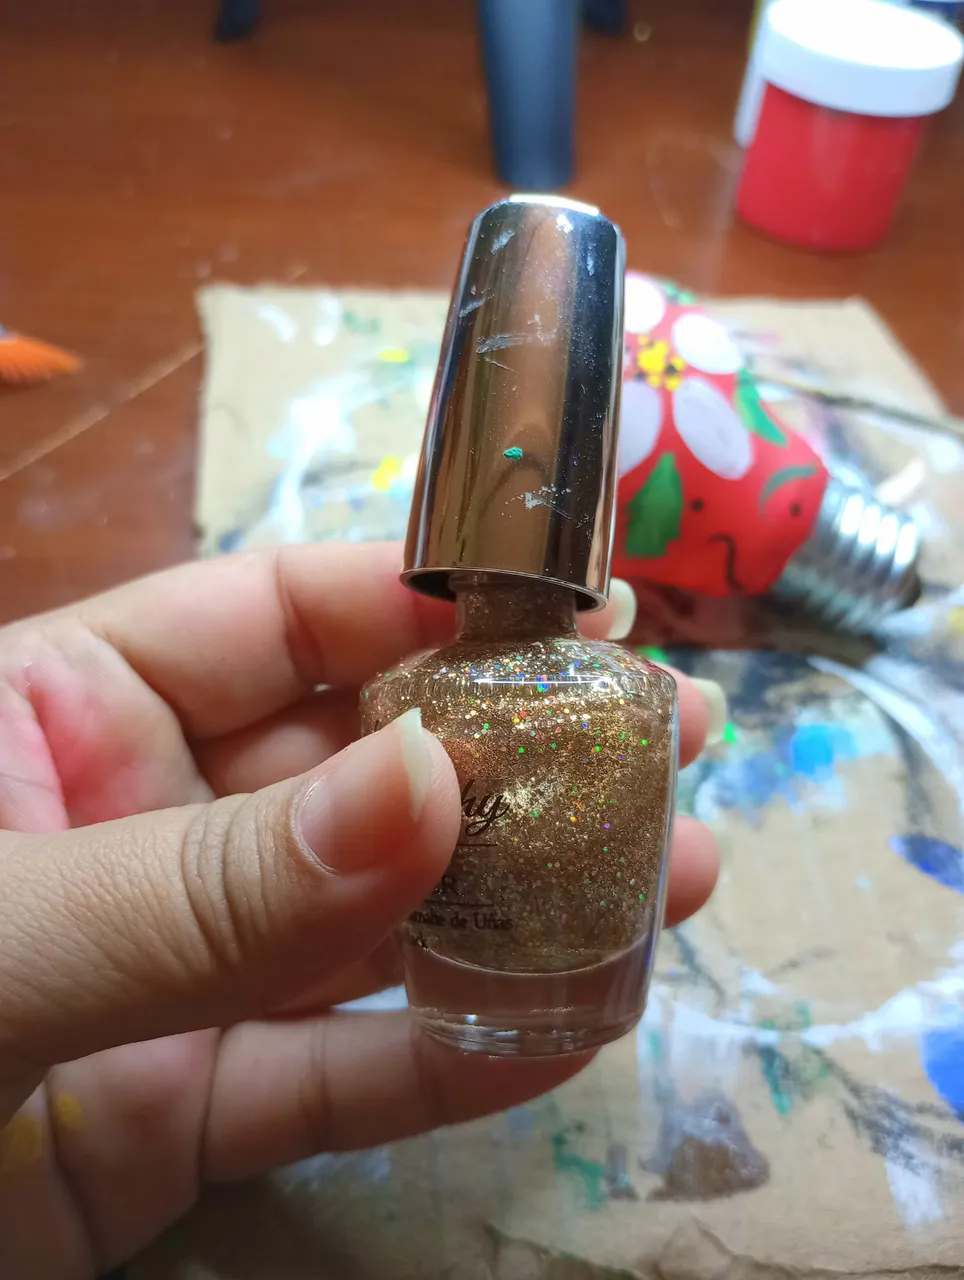
Quise darle un toque brillante, así que tomé un esmalte de uñas escarchado y agregué puntitos de pintura en el centro de las flores y en sus alrededores.
Ahora es momento de colgarlas, pinté la parte superior de todos los bombillos con pintura negra, pues quedarían expuestas y no quería que se viera plateado.
I wanted to give it a sparkly touch, so I took a frosty nail polish and added paint dots in and around the center of the flowers.
Now it's time to hang them, I painted the top of all the light bulbs with black paint, because they would be exposed and I didn't want it to look silver.
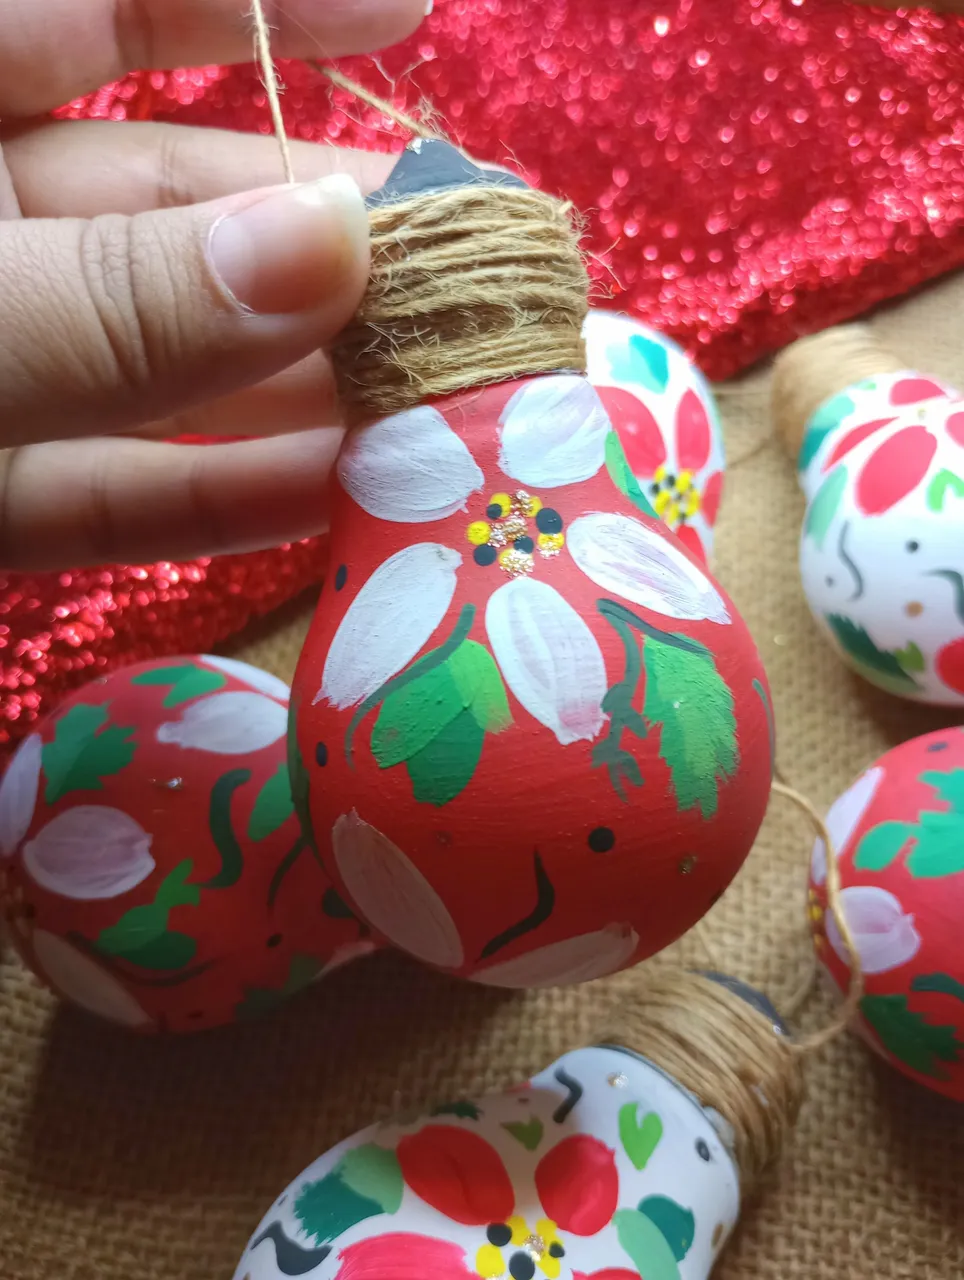
Para colgar cada bambalina, tomé hilo de yute y lo amarré en la parte superior. Primero pegué con silicón el aza donde se sujetaría y luego di varias vueltas para que quedara bien asegurada.
Así fue entonces como quedaron mis bambalinas hechas con bombillos reciclados.
El diseño ya queda de tu parte, si gustas puedes hacerlo así floreado o quizá algo diferente.
Yo pronto les estaré compartiendo otras ideas para que puedan inspirarse.
Nos leemos en una próxima manualidad. Los dejo con estas lindas fotos ♥
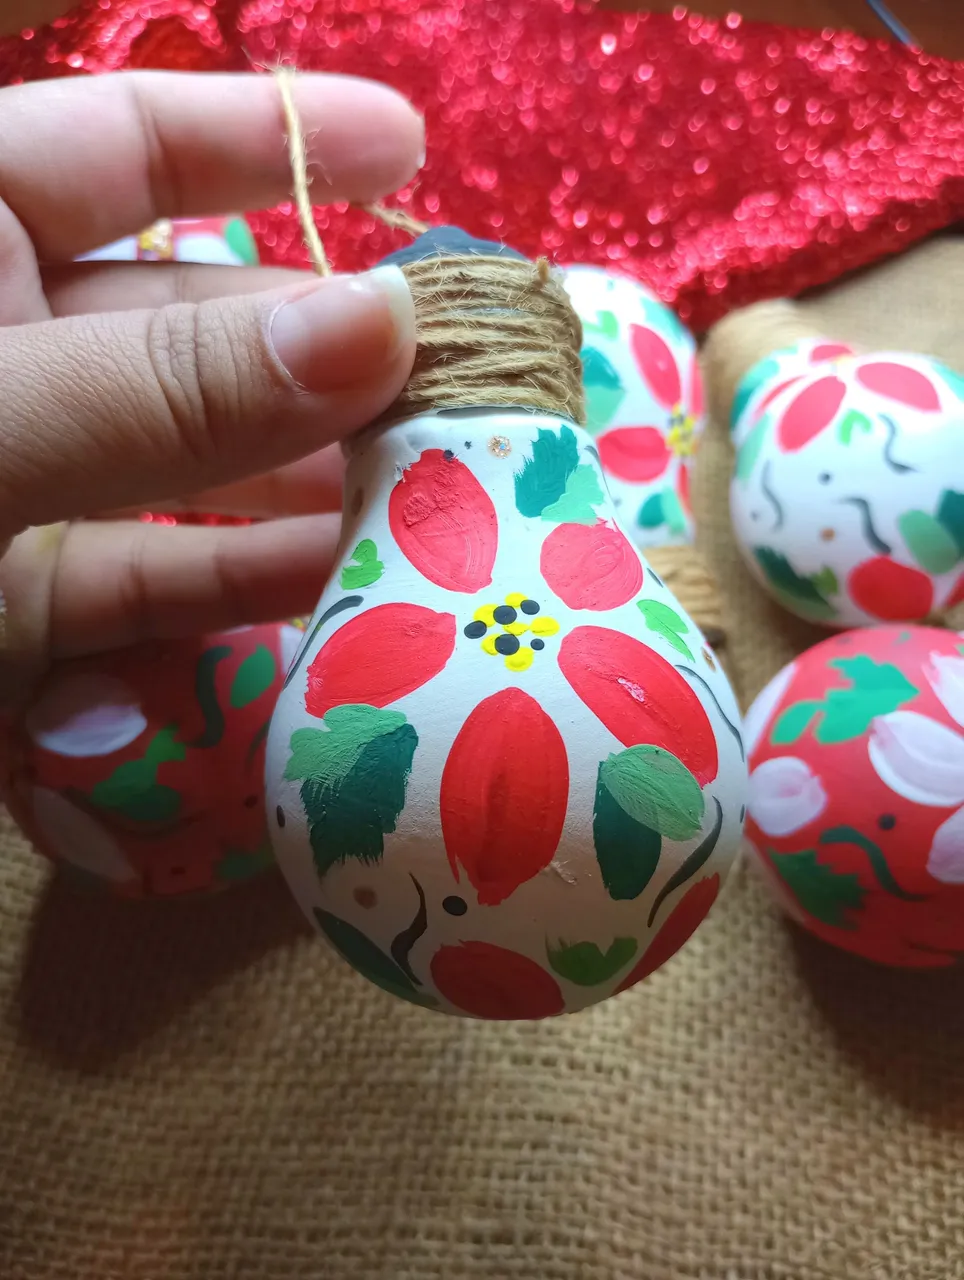
To hang each drapery, I took jute twine and tied it at the top. First I glued the blade where it would be attached with silicone and then I turned it several times so that it was well secured.
That was then how my scenes made with recycled light bulbs turned out.
The design is up to you, if you like you can do it like this flowery or maybe something different.
I will soon be sharing other ideas so that you can be inspired.
We read in a next craft. I leave you with these beautiful photos ♥


Espero haya sido de tu agrado y provecho.
Un gran abrazo a todos, y nos leemos en un próximo post
• Lakrearte en Hive •
Att: Estefania Garcia ♥
Imágenes y separadores de mi autoría
Portada editada en Canva
Fotografías tomadas con un Moto G31
Texto traducido en Google ImTranslate v.14.27