
[Esp]
¡Saludos desde mi taller creativo!
Espero se encuentren bien, inspirada en Feng Shui y cosas Zen, quise hacer una flor de loto, había hecho una ayer, peor no me gustó cómo quedó, volví a intentarlo hoy, me dije a mí misma que podía mejorarlo, así que lo intenté una vez más, corrigiendo algunas fallas que no me gustaron de la flor anterior, la que presento hoy, si me gustó, espero les guste también, es una linda decoración, hasta parece realista.
! [English version]
Greetings from my creative workshop!
I hope you are well, inspired by Feng Shui and Zen things, I wanted to make a lotus flower, I had made one yesterday, but I did not like how it turned out, I tried again today, I told myself that I could improve it, so I tried again, correcting some flaws that I did not like the previous flower, the one I present today, if I liked it, I hope you like it too, it is a nice decoration, it even looks realistic.
| Spanish | English | |
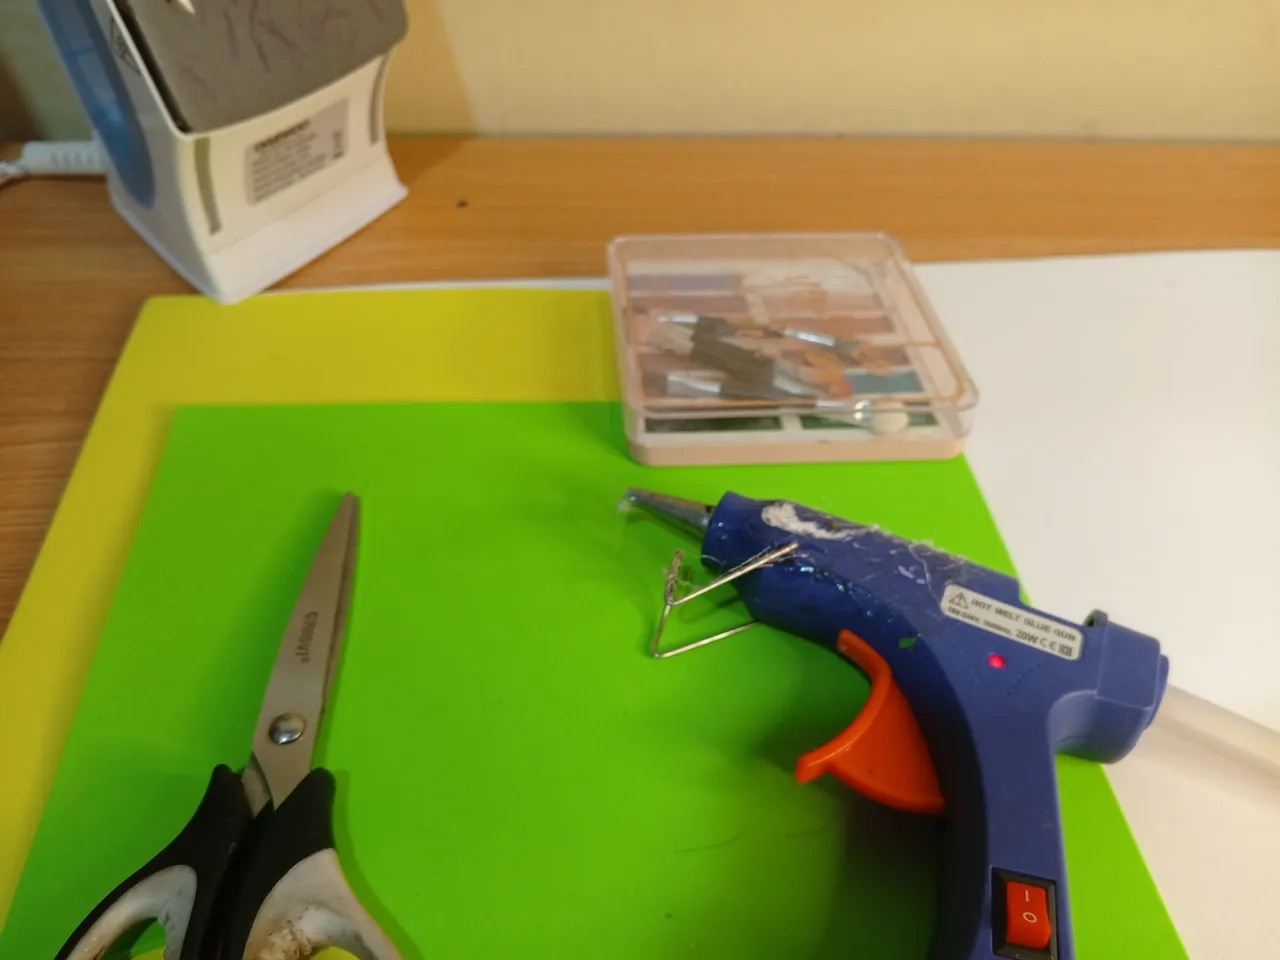
| Foami blanco, verde, amarillo | Foami white, green, yellow | |
| Sombras de maquillaje | Makeup shades | |
| Tijera | Scissors | |
| Pistola de silicón caliente | Silicone hot gun | |
| Plancha | Iron | |
| Lápiz, algún objeto redondo para usarlo como molde | Pencil, some round object to be used as a mold |
 |  |
[Esp]
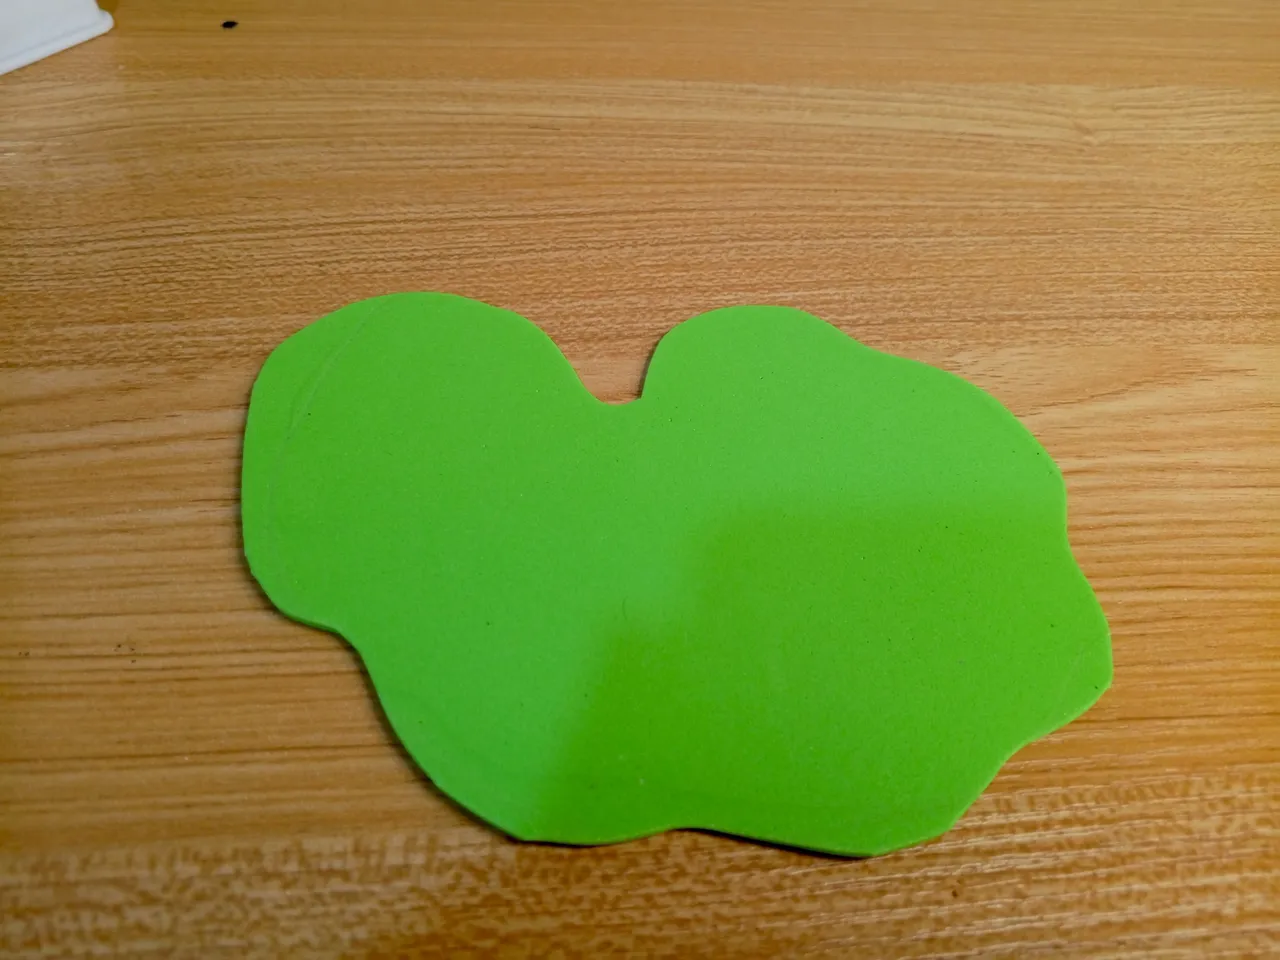
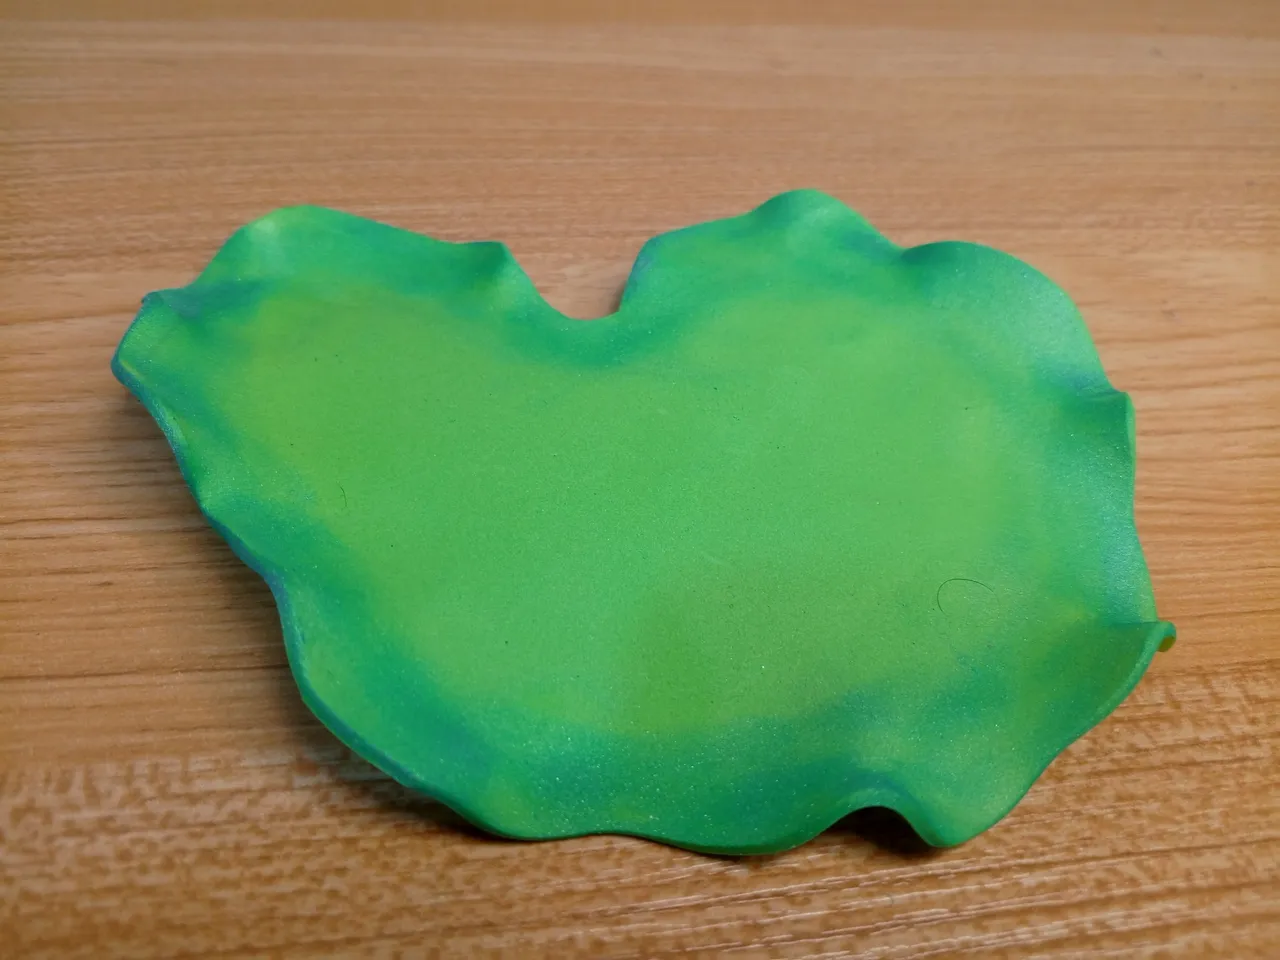
Con ayuda del lápiz traza la forma de una hoja en el foami color verde, recorta.
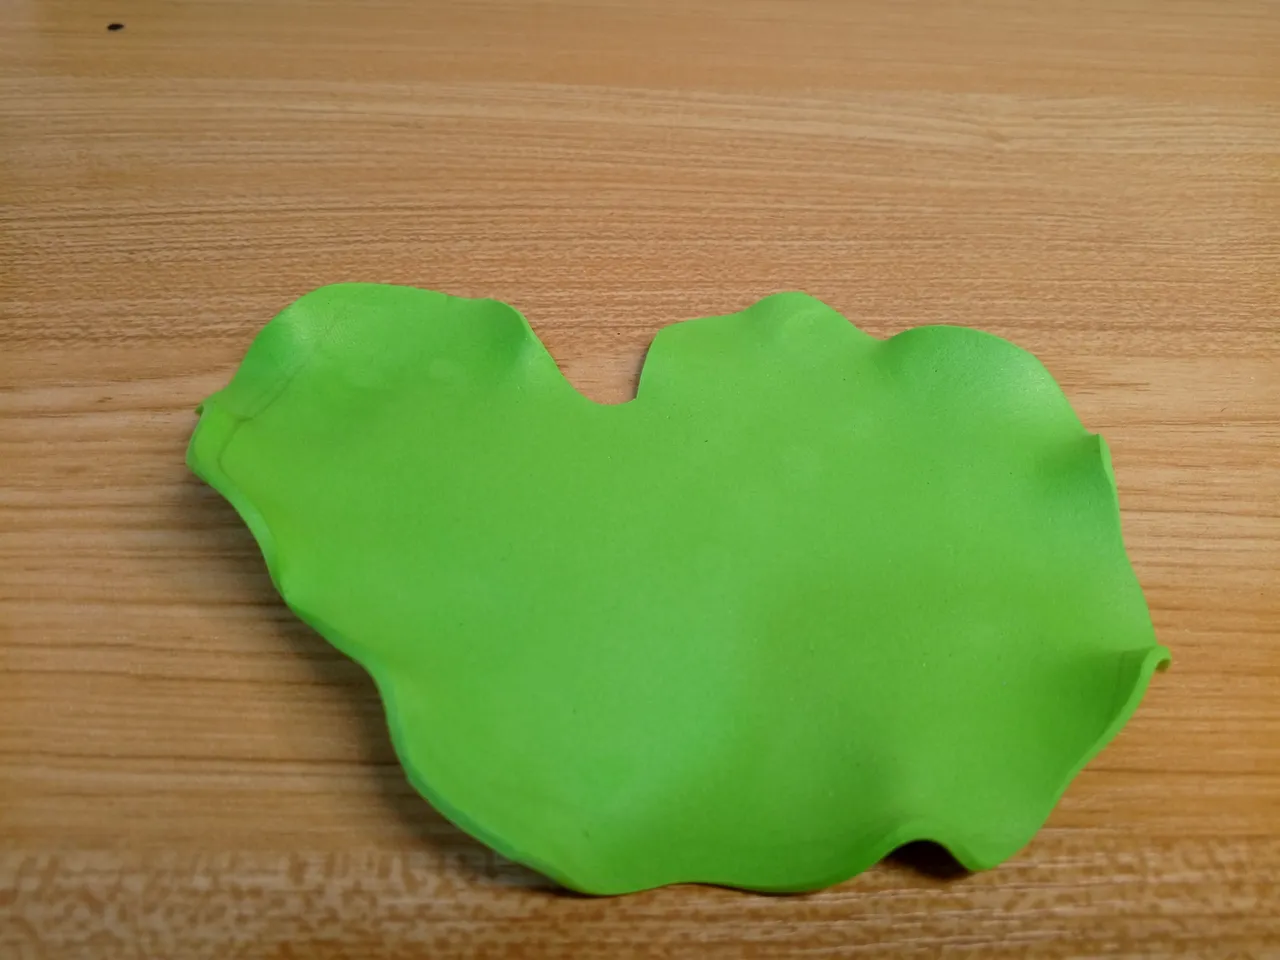
Termoforma la hoja, aplica un poco de calor con ayuda de la plancha a una temperatura que no signifique un peligro para quemarte, cuando la hoja esté caliente, dobla algunas pestañas de la hoja para que se vea más realista.
Aplica sombra de maquillaje de color verde por el borde de la hoja.
! [English version]
With the help of the pencil trace the shape of a leaf on the green foami, cut it out.
Thermoform the leaf, apply a little heat with the help of the iron at a temperature that does not mean a danger to burn yourself, when the leaf is hot, bend some eyelashes of the leaf to make it look more realistic.
Apply green make-up shadow around the edge of the leaf.
 |  |
[Esp]
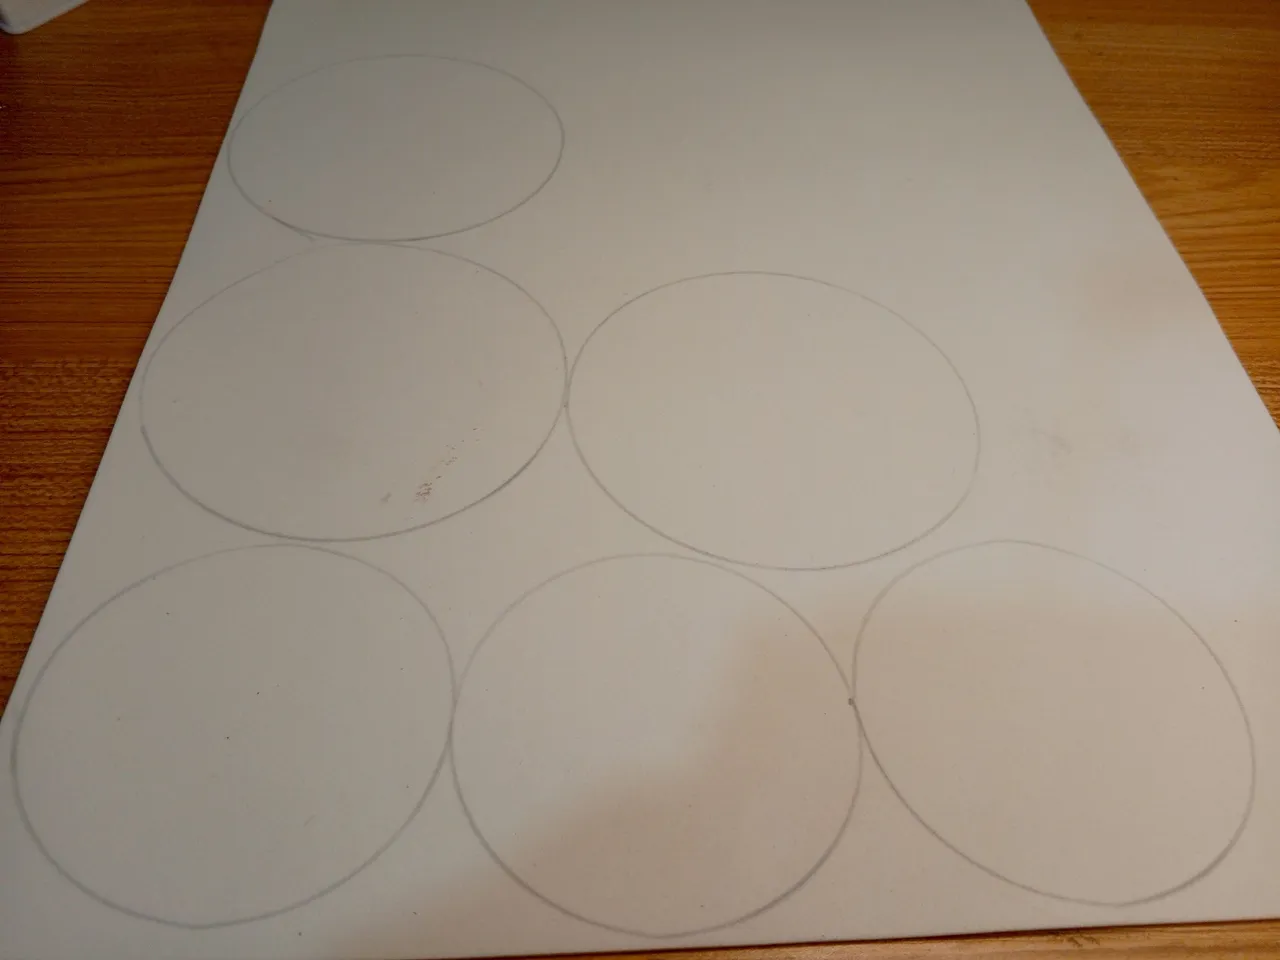
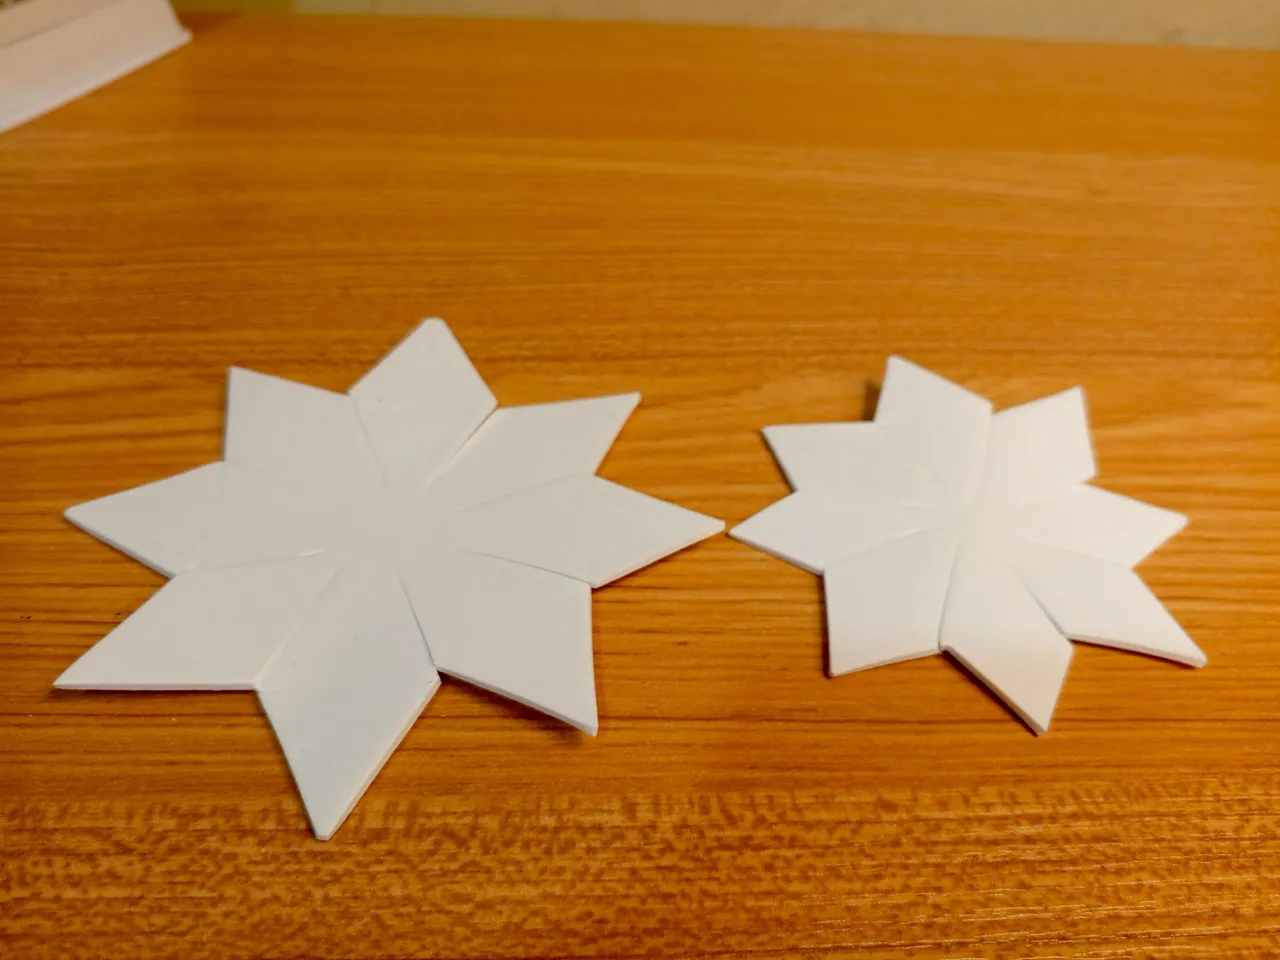
Con ayuda de un objeto redondo marca el foami blanco con el lápiz, necesitas: 3 círculos grandes y 3 círculos más pequeños.
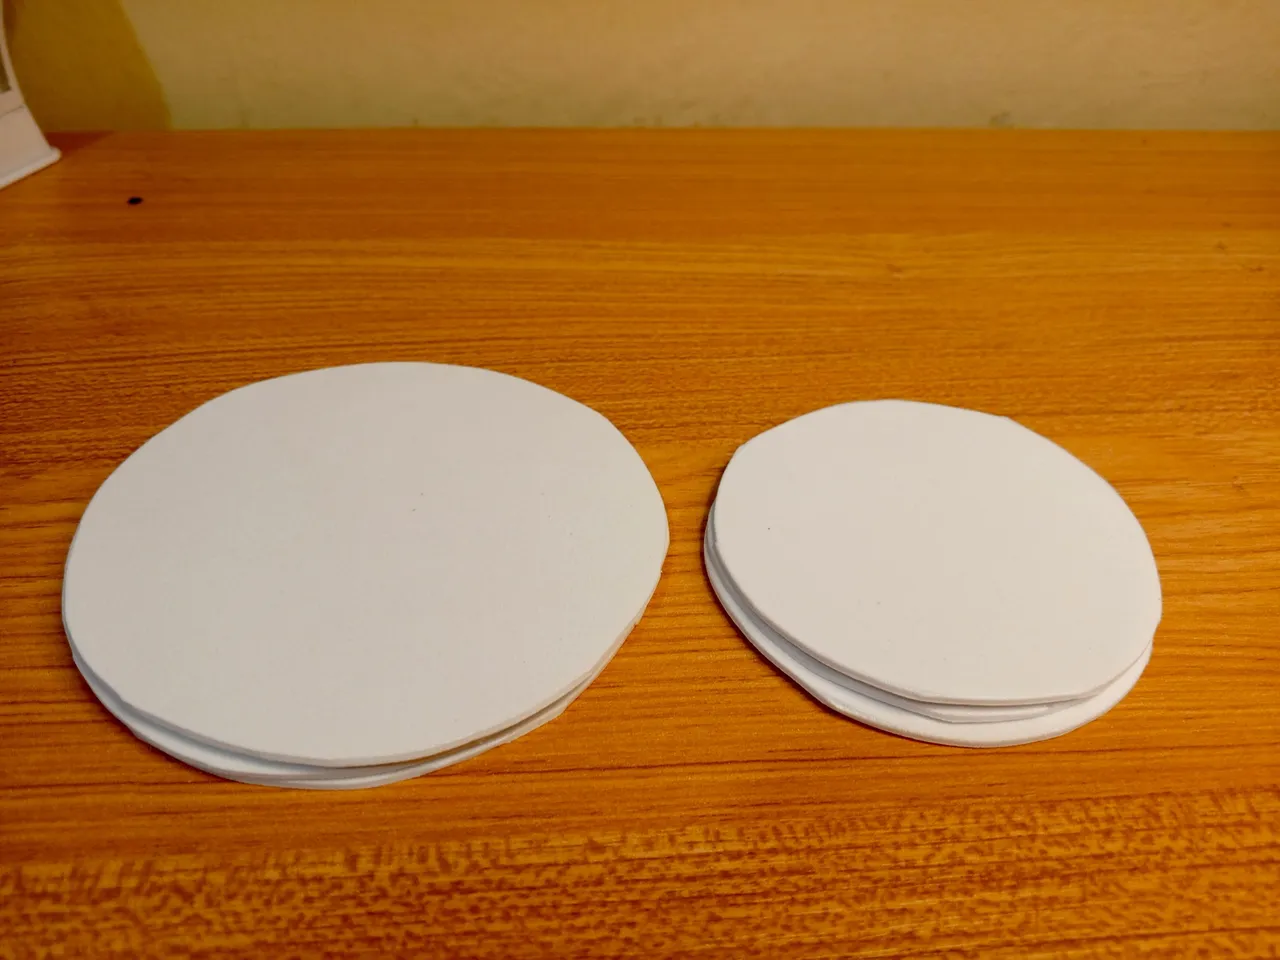
Recorta las figuras.
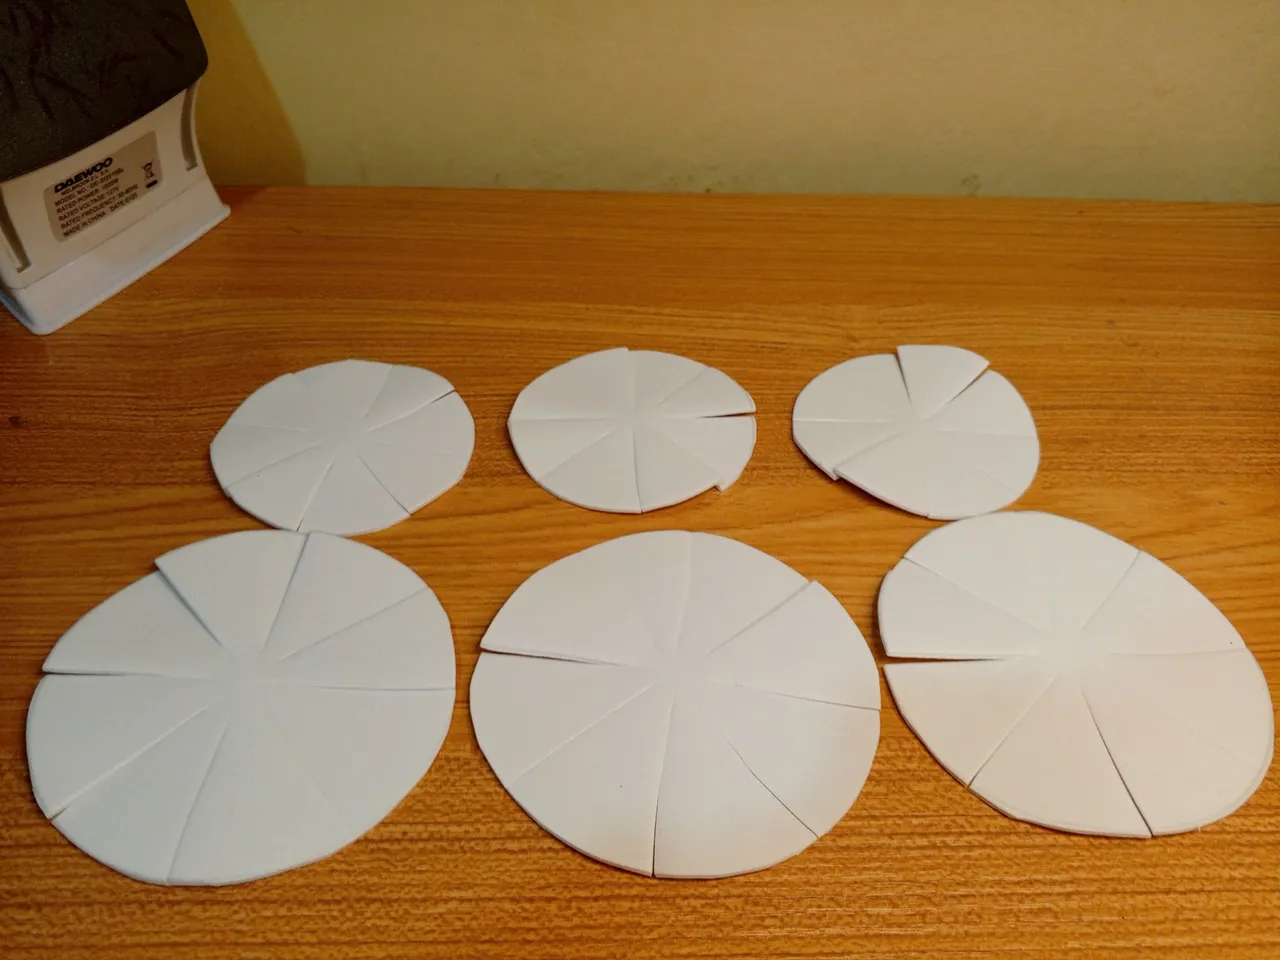
Dobla el foami por el centro y realiza dos cortes, luego dobla el foami nuevamente en el centro y realiza nuevamente dos cortes, luego corta en cada punto céntrico de cada corte como indica la última imagen.
! [English version]
With the help of a round object mark the white foami with the pencil, you need: 3 large circles and 3 smaller circles.
Cut out the figures.
Fold the foami in the center and make two cuts, then fold the foami again in the center and make two cuts again, then cut at each center point of each cut as shown in the last picture.
 |  | |
 |  |
[Esp]
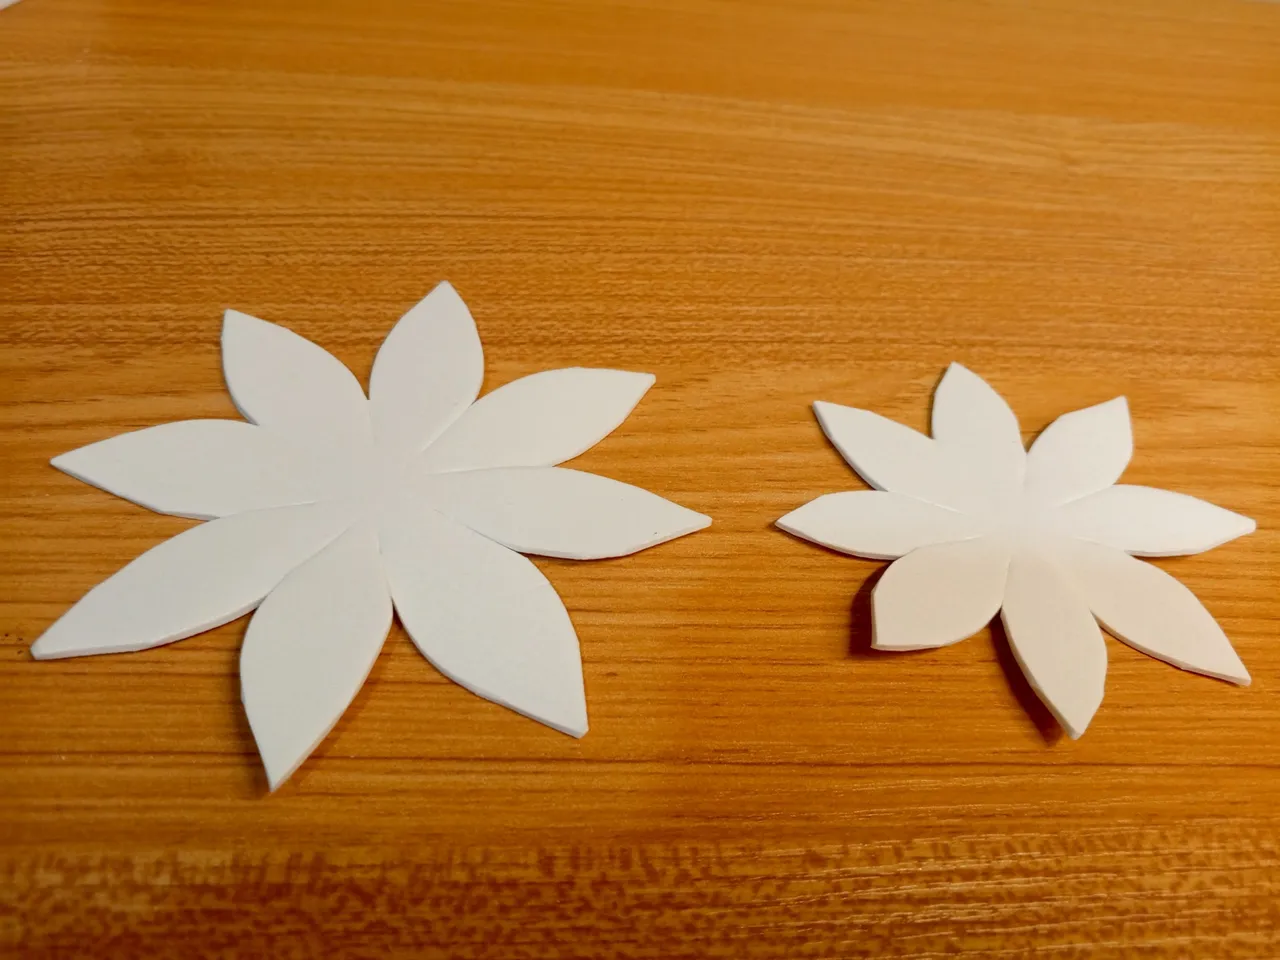
Toma un pétalo, coloca la tijera en medio, corta diagonal haciendo un pico, repite este paso en cada punta de pétalos, luego voltea la pieza y repite el mismo proceso.
Termoforma la pieza con la plancha, tratando de doblar los pétalos hacia a dentro.
Estos pasos lo repites en cada una de las piezas
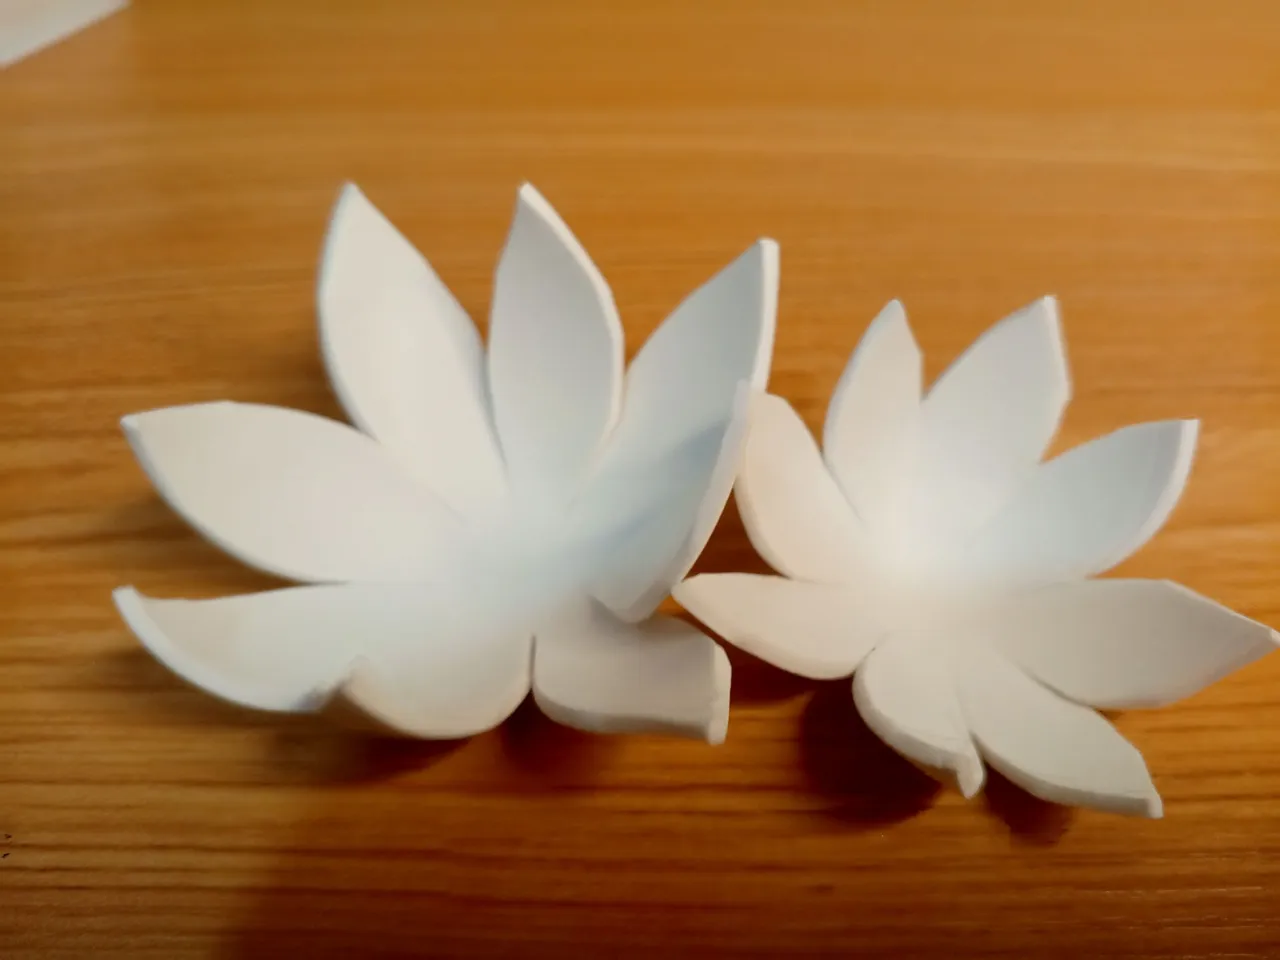
Aplica pegamento en el centro y pega dos de las piezas grandes.
! [English version]
Take a petal, place the scissors in the middle, cut diagonally making a peak, repeat this step on each petal tip, then turn the piece over and repeat the same process.
Thermoform the piece with the iron, trying to fold the petals inwards.
Repeat these steps for each of the pieces.
Apply glue in the center and glue two of the large pieces together.
 |  | |
 |  |
[Esp]
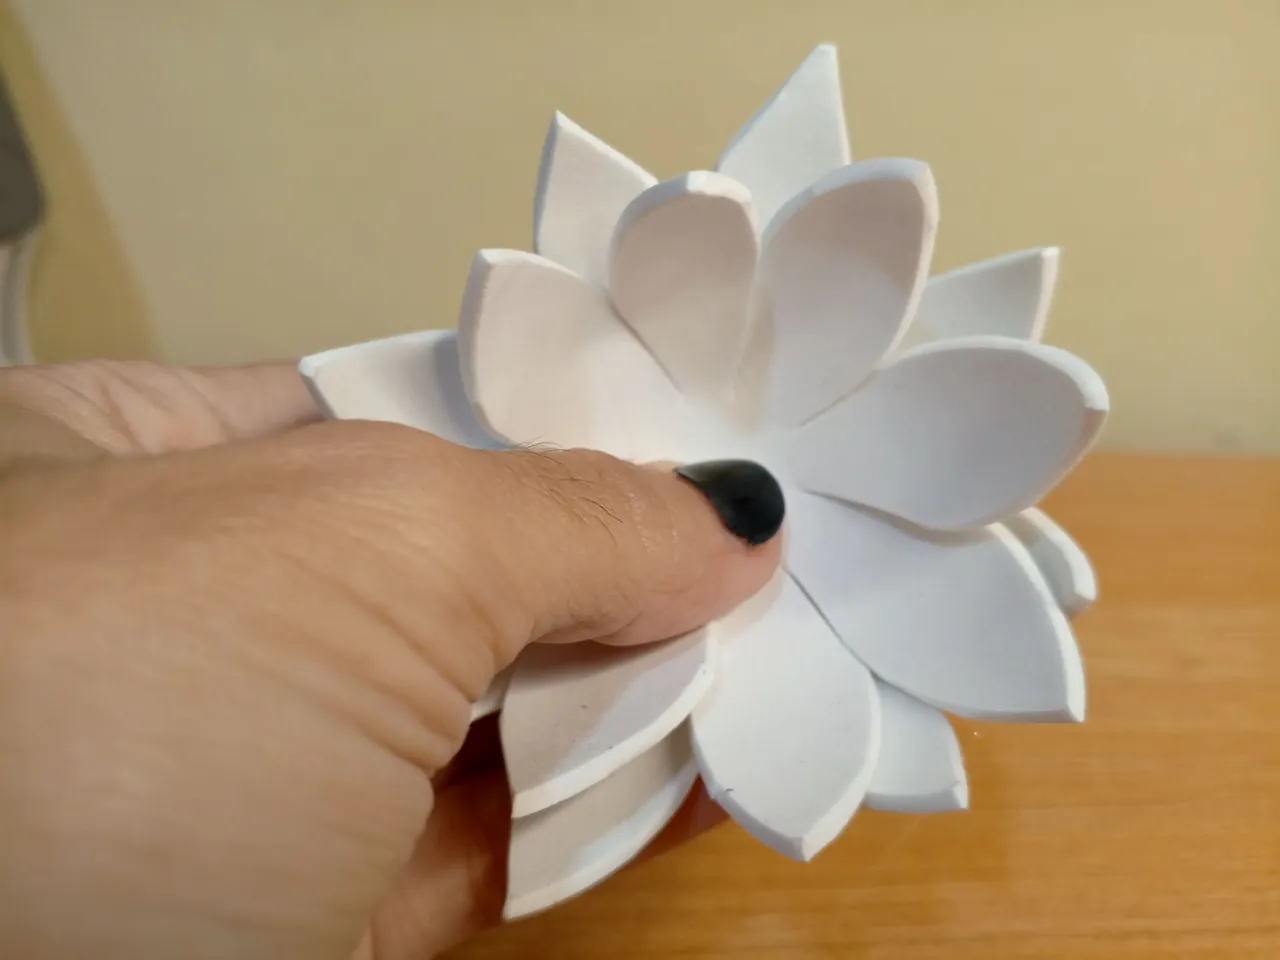
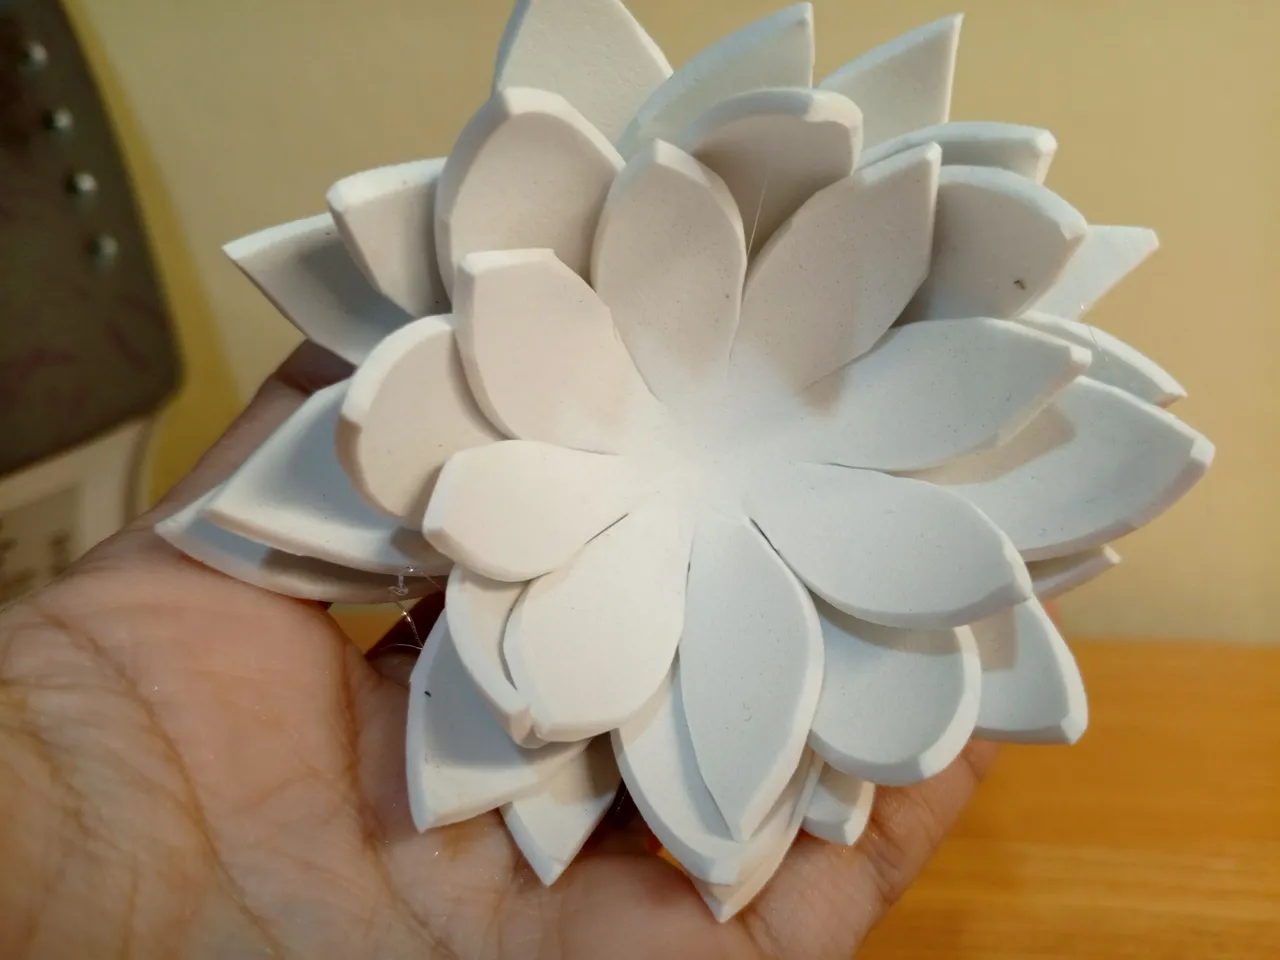
Pega las tres piezas grandes con un punto de pegamento en cada centro, una sobre la otra.
Repite este paso superponiendo las siguientes tres piezas pequeñas.
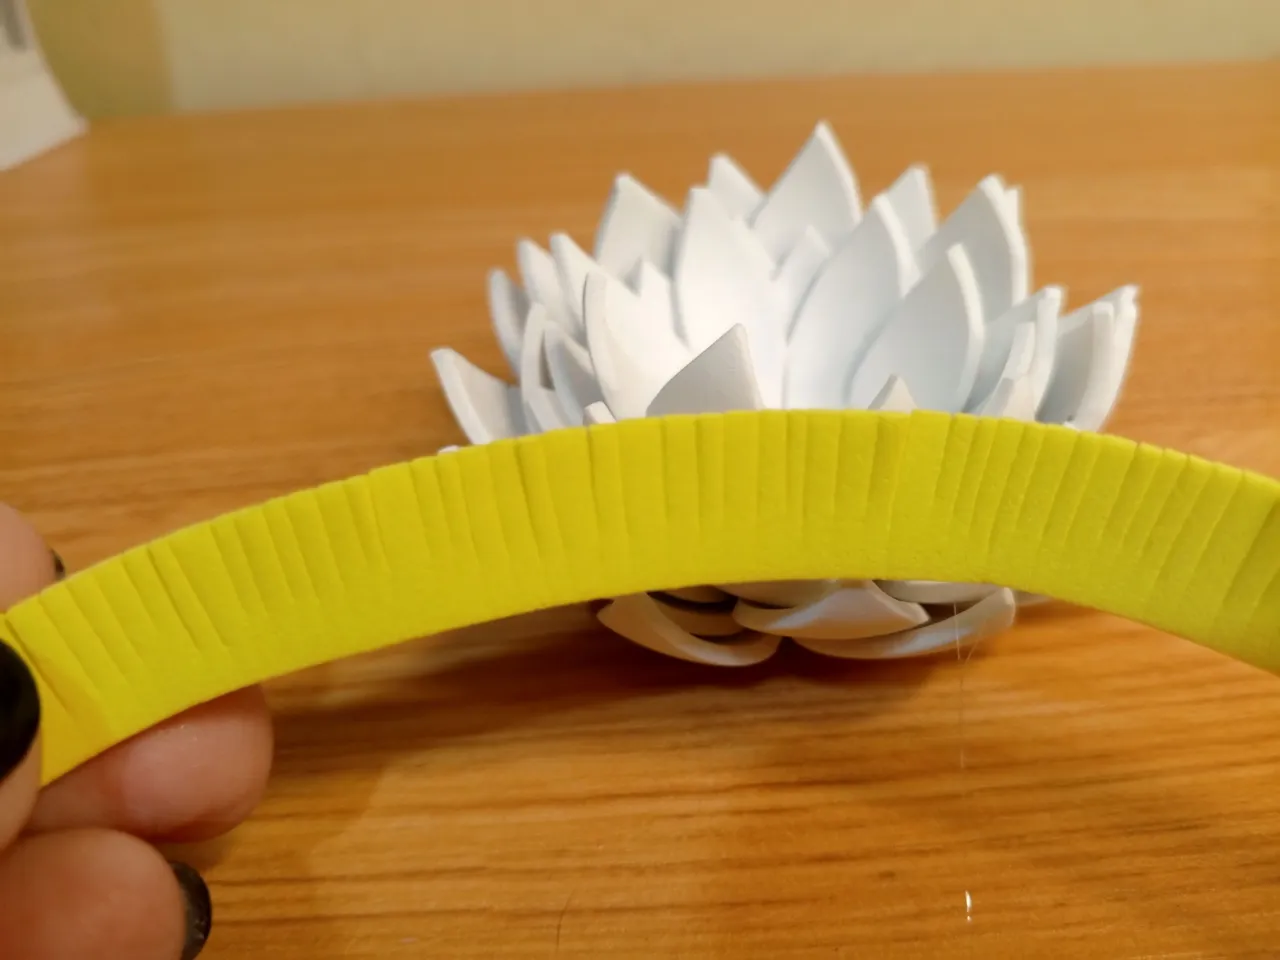
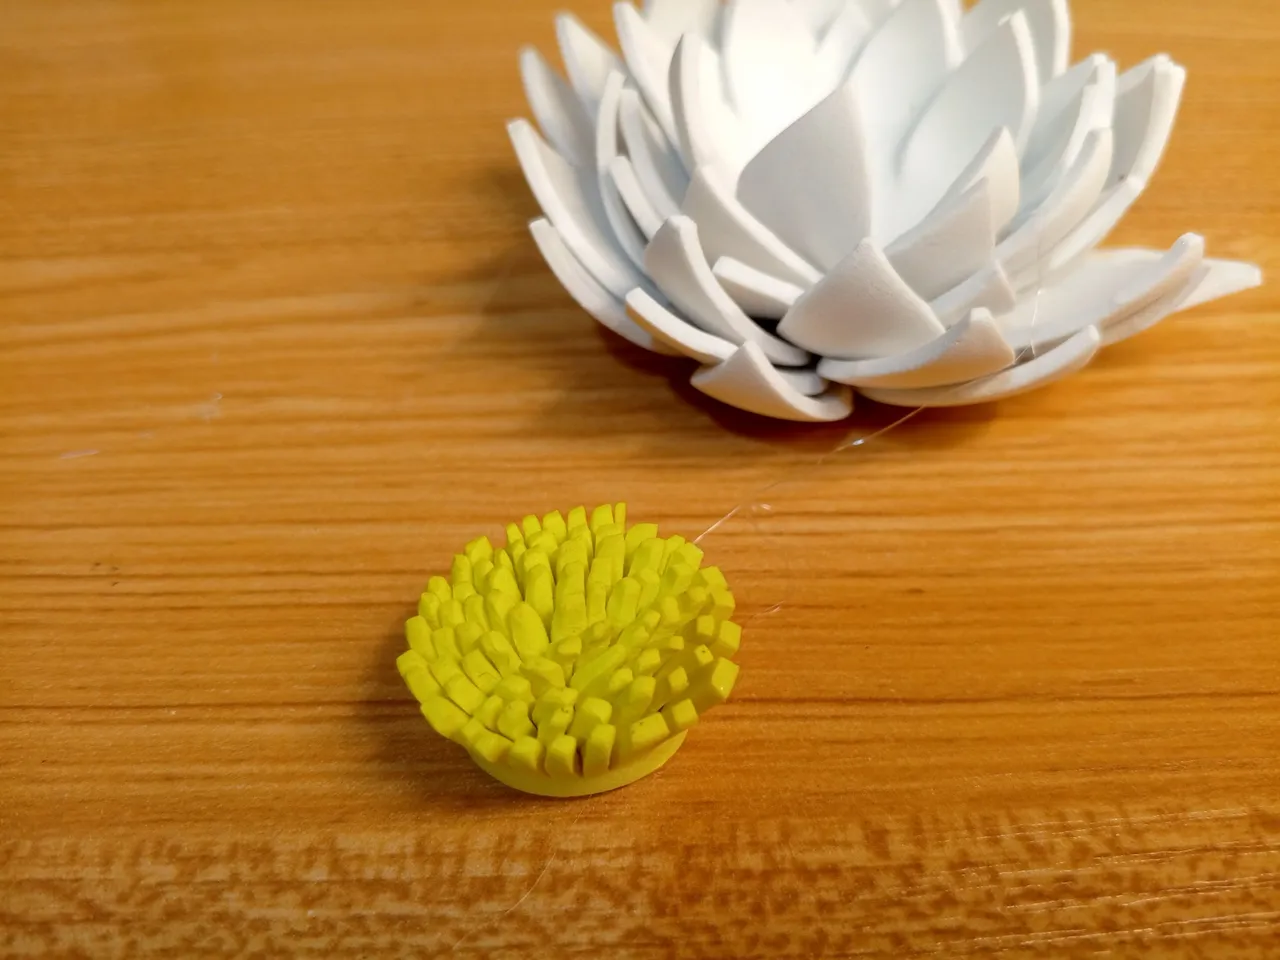
Toma un listón de foami color amarillo y realiza varios cortes con la tijera, muy juntos, sin llegar al final del listón.
Aplica pegamento en la parte que no tiene corte y enrolla, esto será el botón o los pistilos de la flor.
Termoforma la pieza céntrica de la flor con ayuda de la plancha.
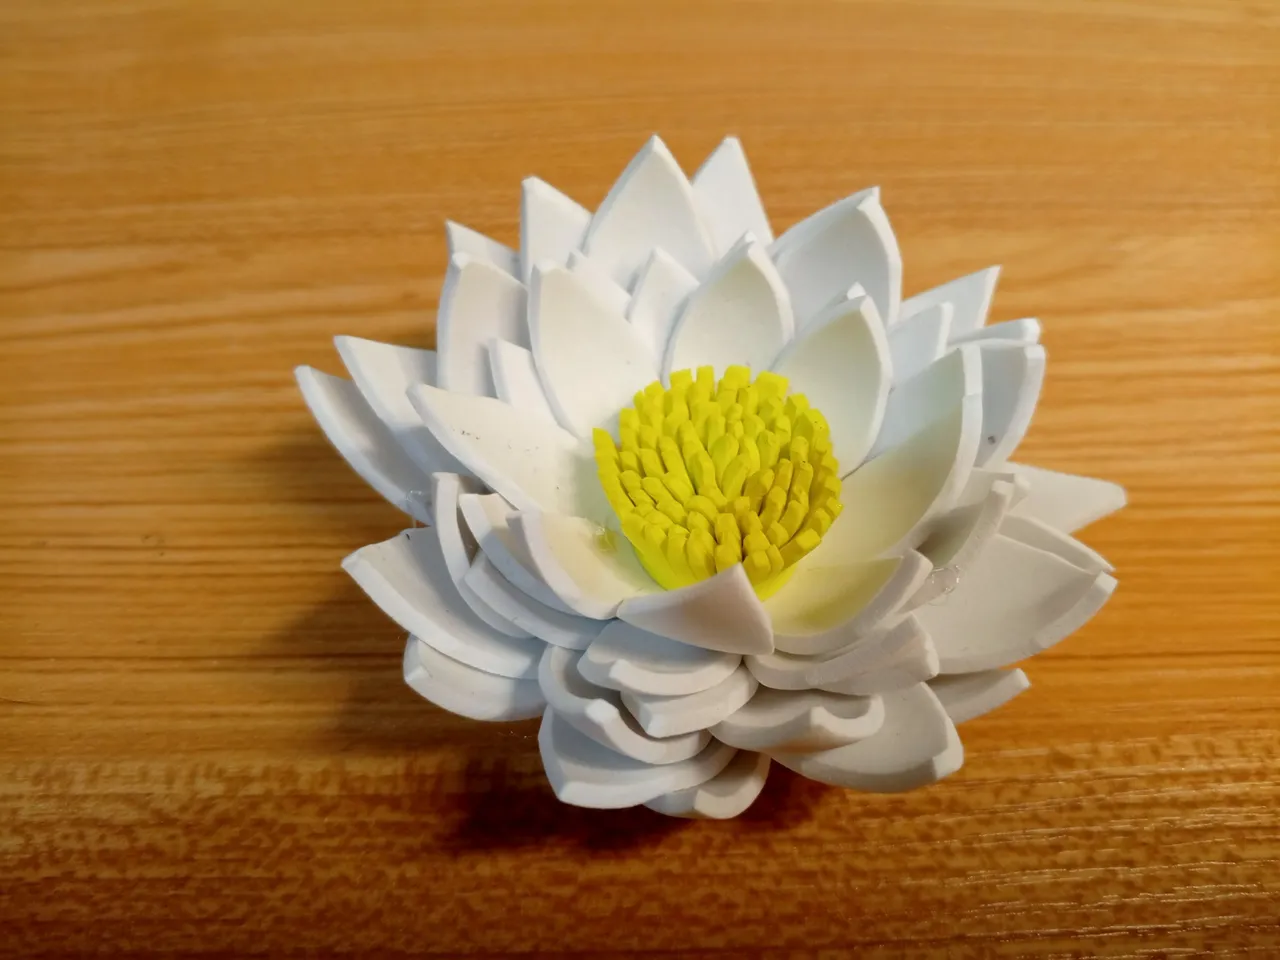
Pega la pieza en el centro de la flor.
! [English version]
Glue the three large pieces with a dot of glue in each center, one on top of the other.
Repeat this step overlapping the next three small pieces.
Take a yellow foami ribbon and make several cuts with the scissors, very close together, without reaching the end of the ribbon.
Apply glue on the part that has no cut and roll it up, this will be the button or the pistils of the flower.
Thermoform the center piece of the flower with the help of the iron.
Glue the piece in the center of the flower.
 |  | |
 |  |
[Esp]
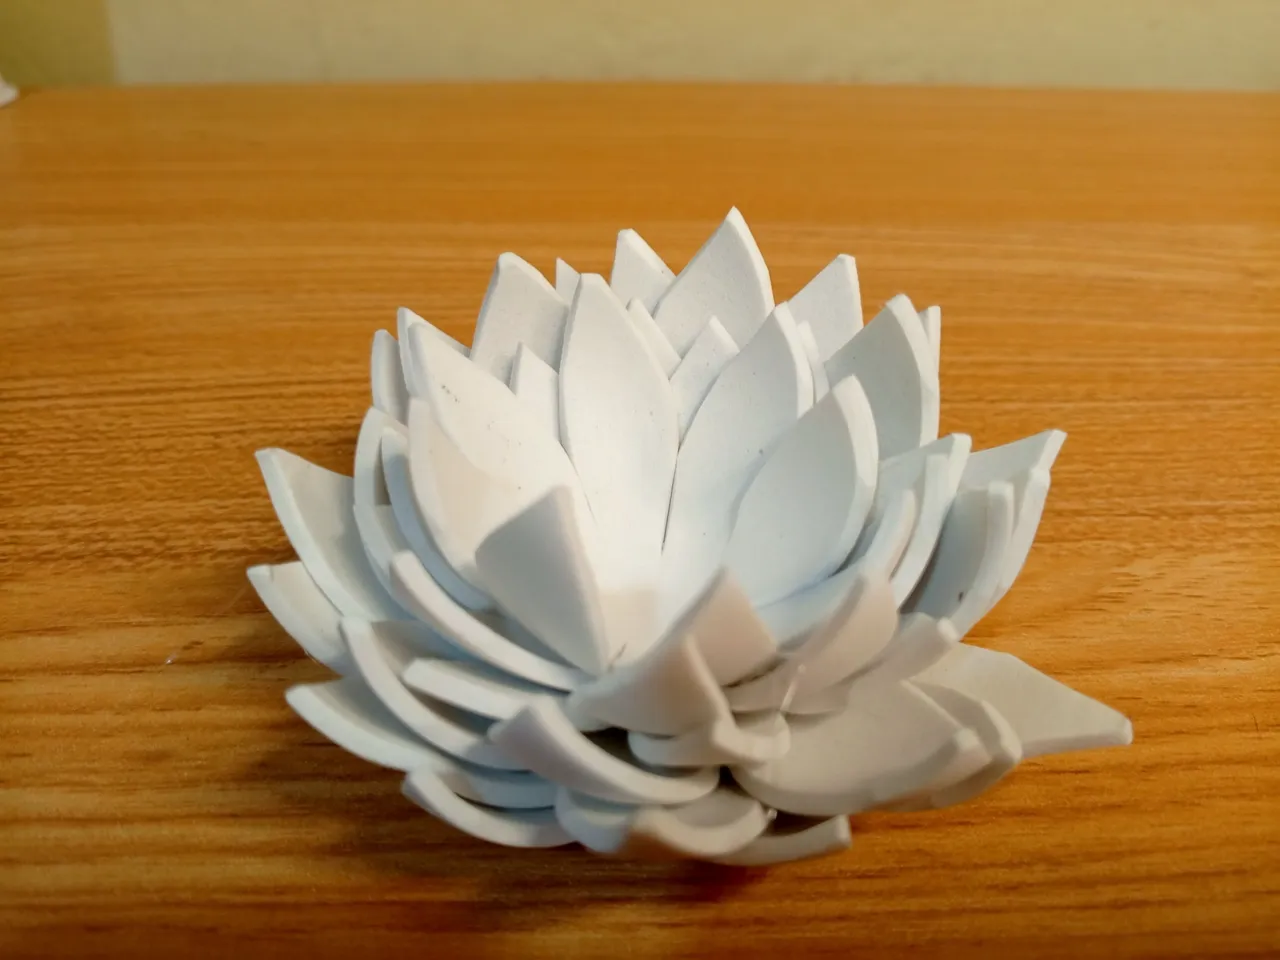
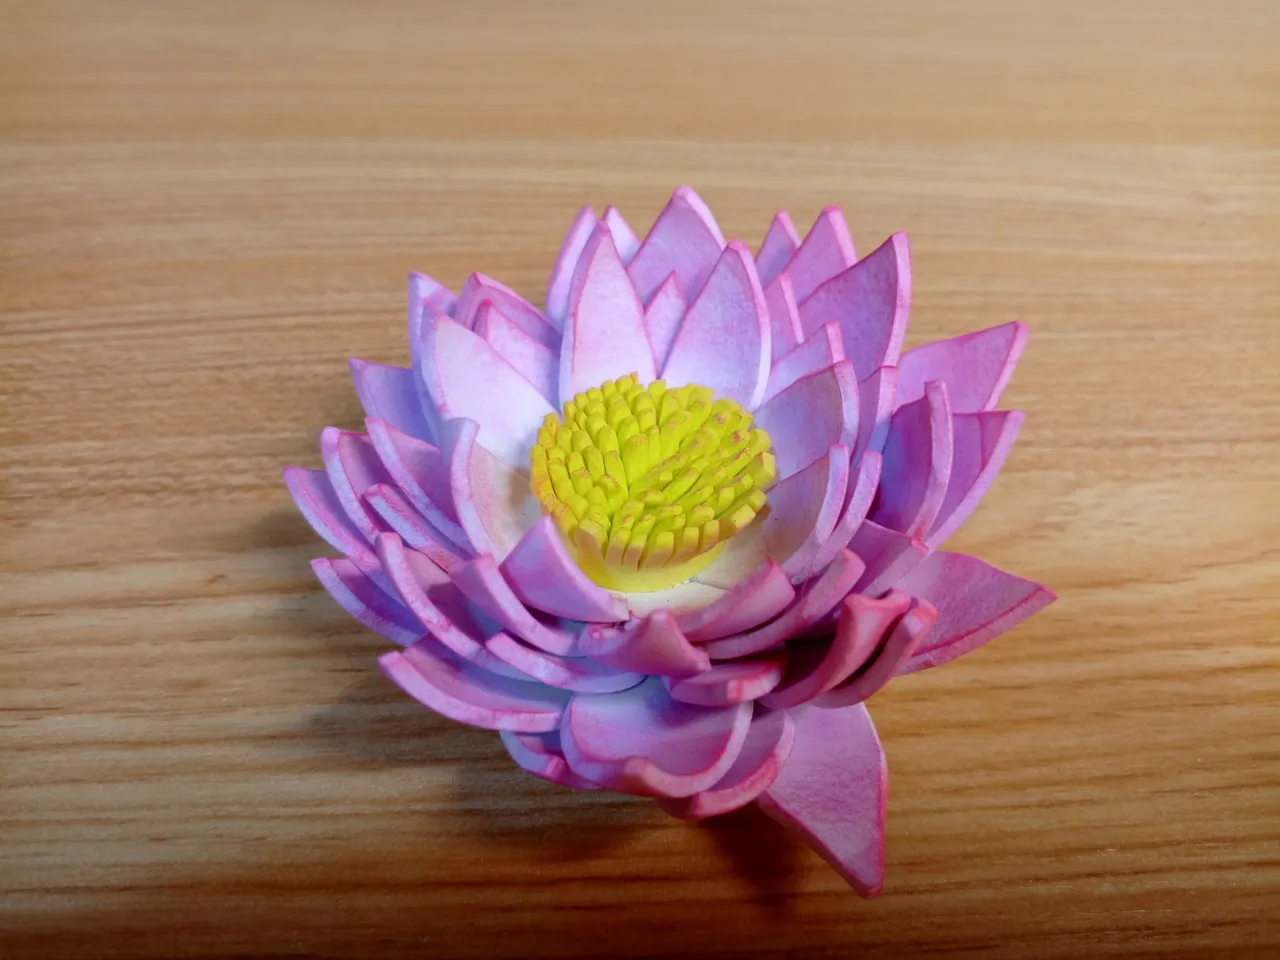
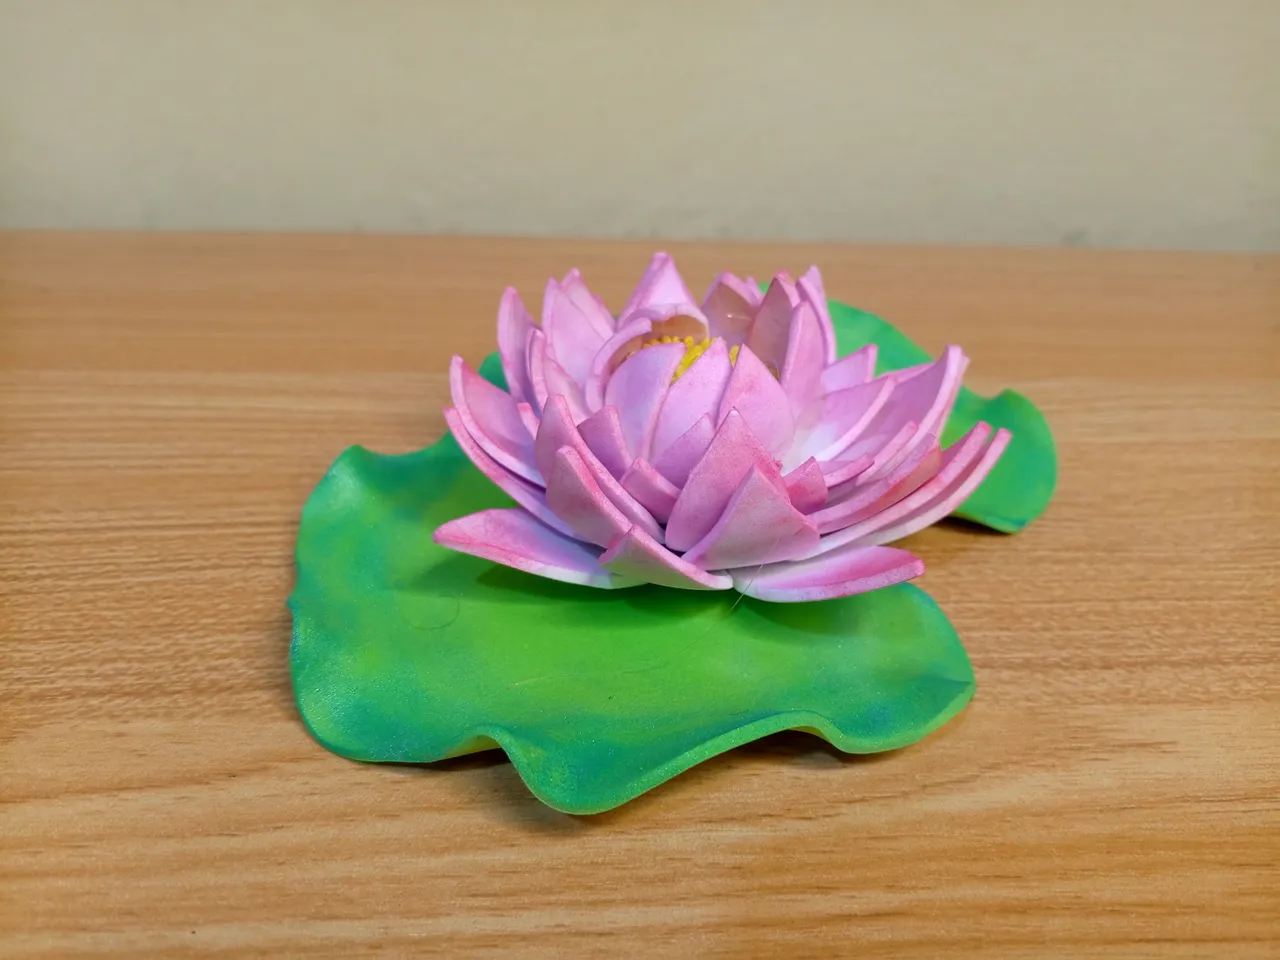
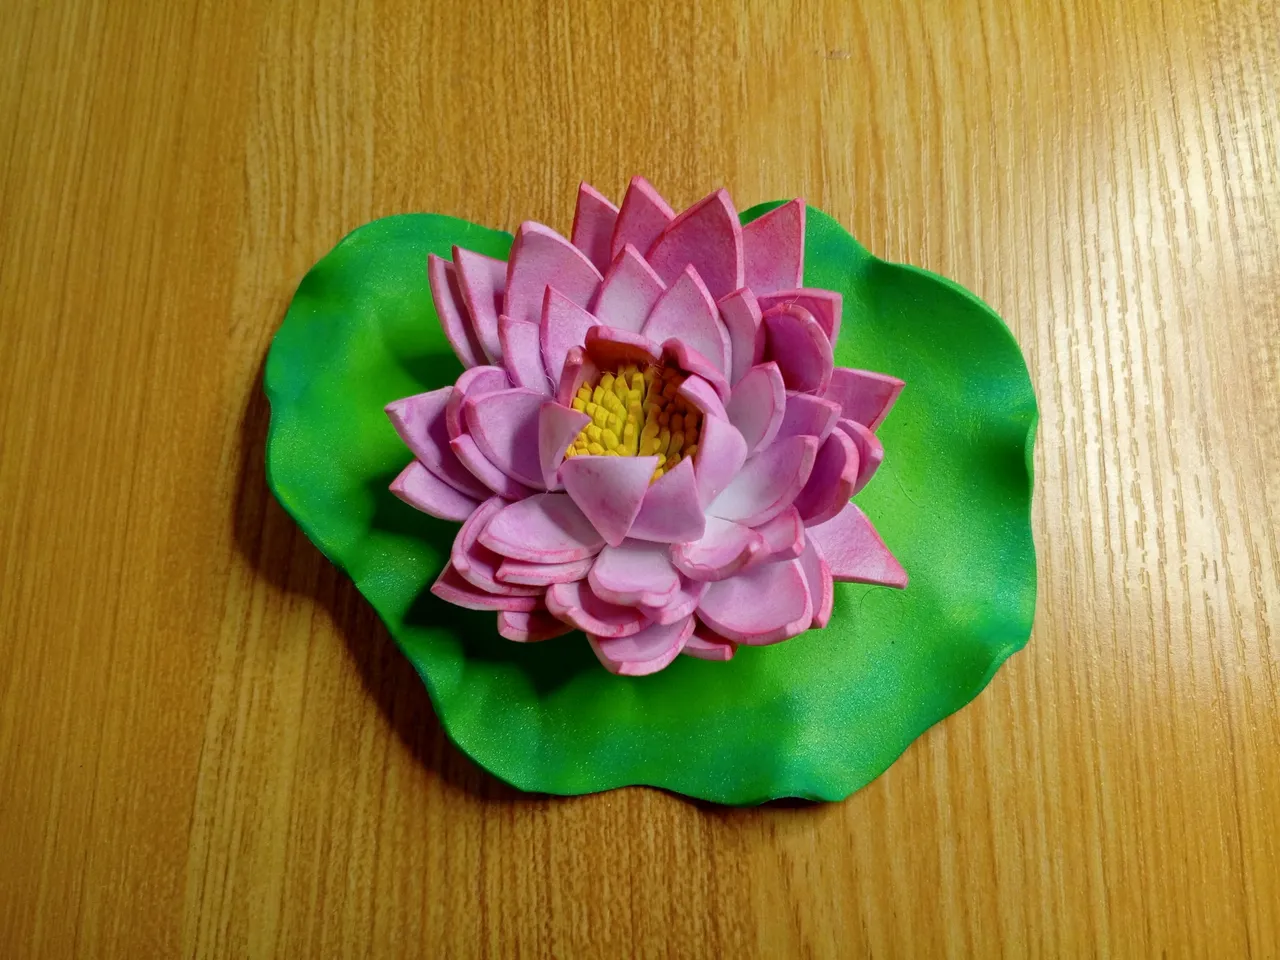
Con una brochita aplicamos sombra de maquillaje por las orillas de cada pétalo, por la parte delantera y trasera. Esto lo puedes sustituir por pintura.
Coloca pegamento en los pétalos cercanos a los pistilos y pégalos a él para que se vean más cerrados.
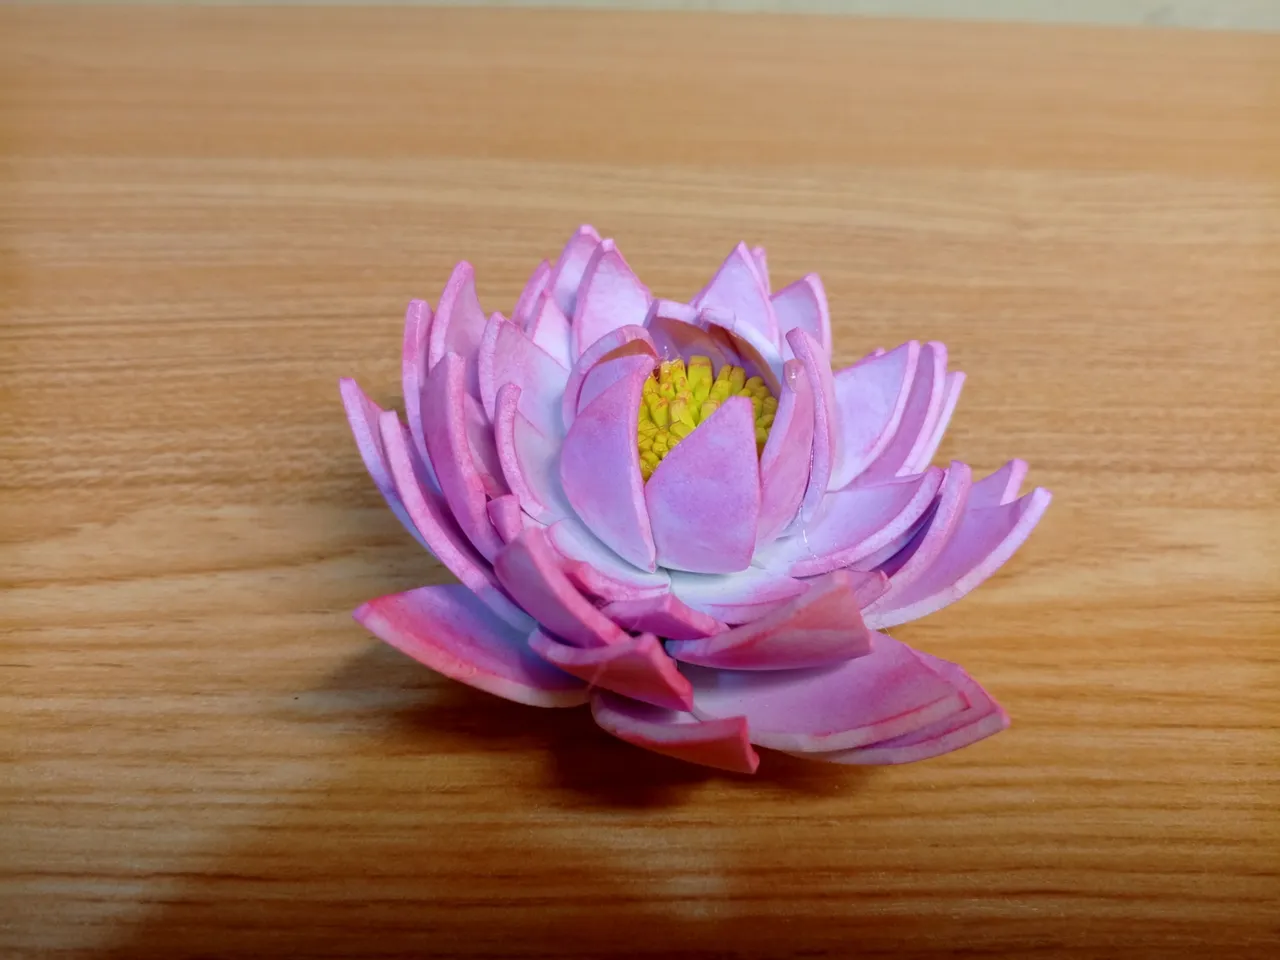
Pega la flor a la hoja.
! [English version]
With a brush we apply make-up shadow along the edges of each petal, on the front and back. You can substitute this with paint.
Put glue on the petals near the pistils and glue them to it to make them look more closed.
Glue the flower to the leaf.
[Esp]
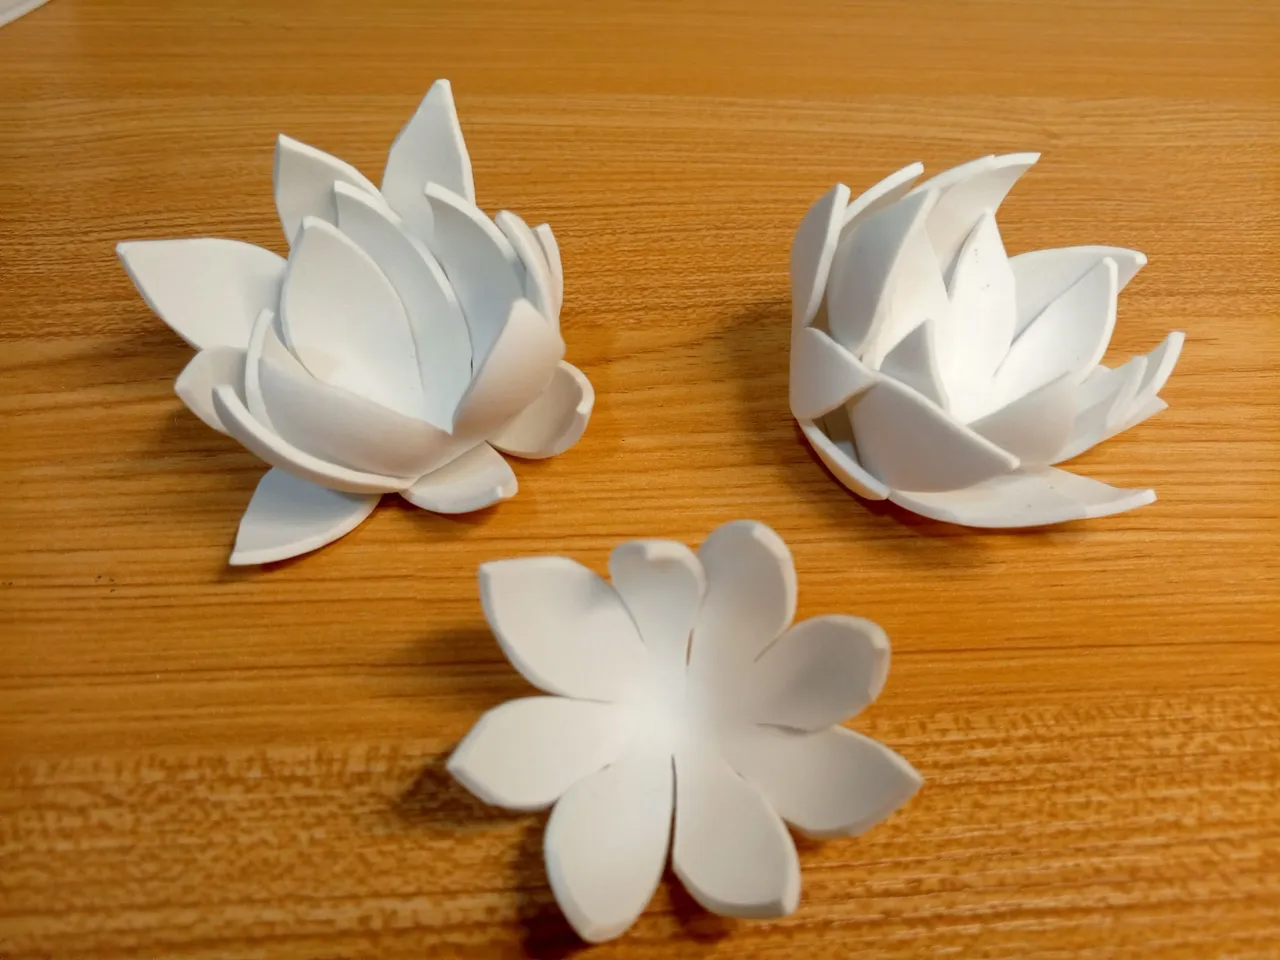
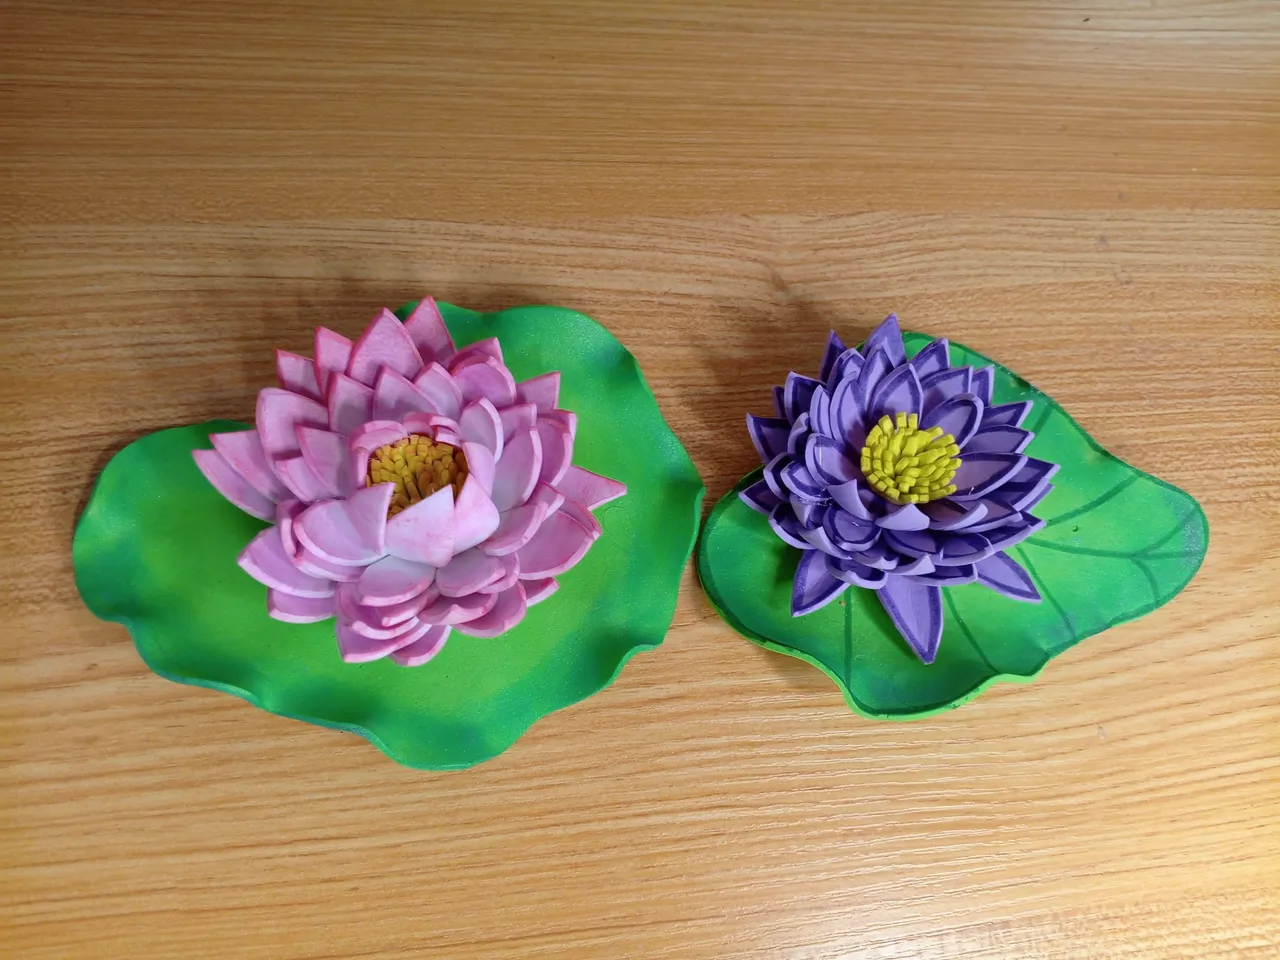
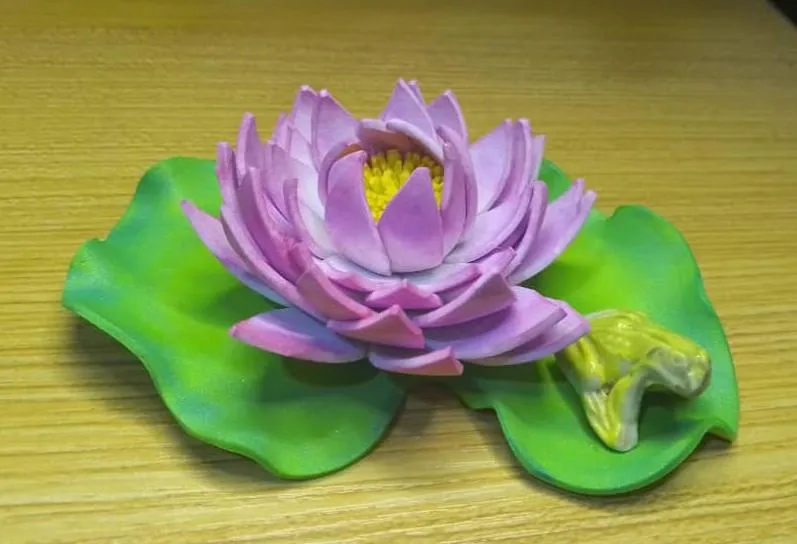
Como pueden ver, la otra flor no es muy agraciada, es la que hice primero, pero me sirvió de práctica.
Me divertí colándole un sapito de porcelana a la hojita.
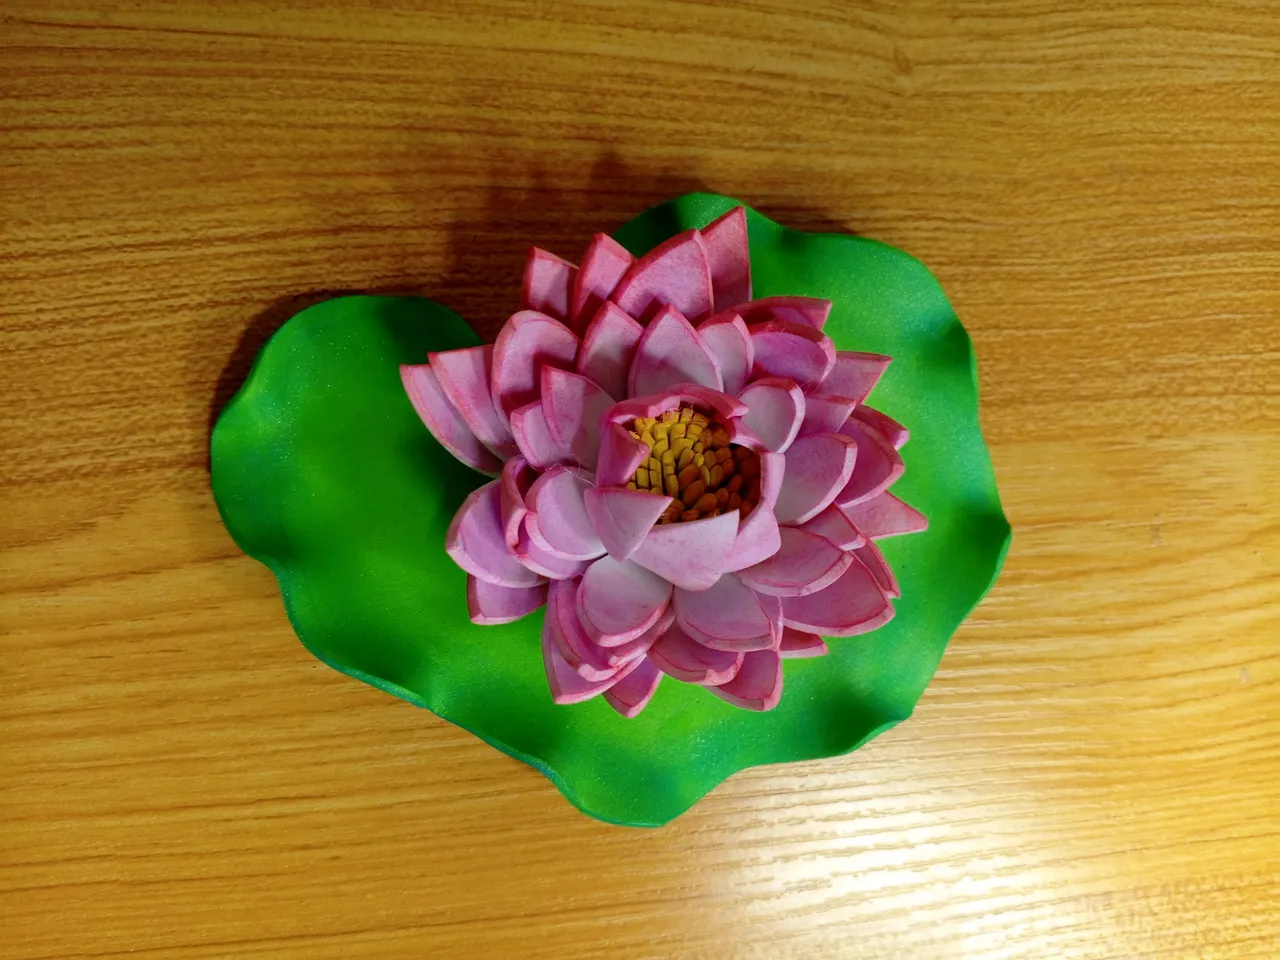
Espero les guste, ahora decora mi mesa de trabajo.
! [English version]
As you can see, the other flower is not very graceful, it is the one I made first, but it served as practice.
I had fun attaching a porcelain toad to the leaf.
I hope you like it, now it decorates my work table.


💜💜💜
![]() 👉
👉  👉
👉 ![]() 👉
👉 ![]() 👉
👉 
Here / Bríndame un café