Muy buenos días queridos amigo de esta gran Comunidad.
Nuevamente me siento muy feliz de poder compartir con ustedes mi publicación en este nuevo Concurso, realizando trabajos con Alambre.Existen muchos tipos:
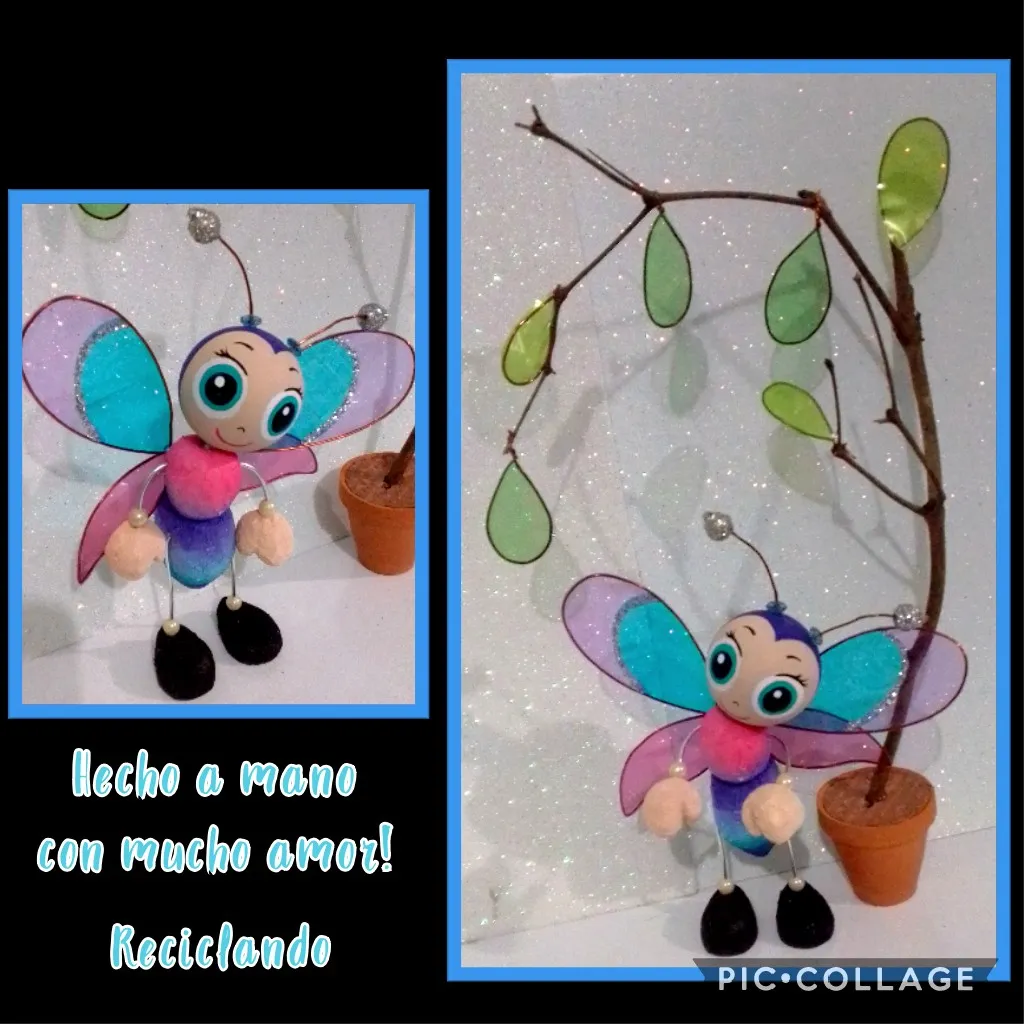
de plata, aluminio, hierro, cobre y otros, tienen un sin fin de usos, pero en mi paso a paso trabajé con alambre de bisutería y de cobre (de un motor de nevera dañado) con los que hice partes de mi manualidad, que es una Mariposita animada posando al lado de un arbolito, jejejeje, me encantan las figuras infantiles.
Me parece estar jugando! recuerdos muy viejos de mi niñez.
Entonces ya es hora de comenzar:
Los materiales son:
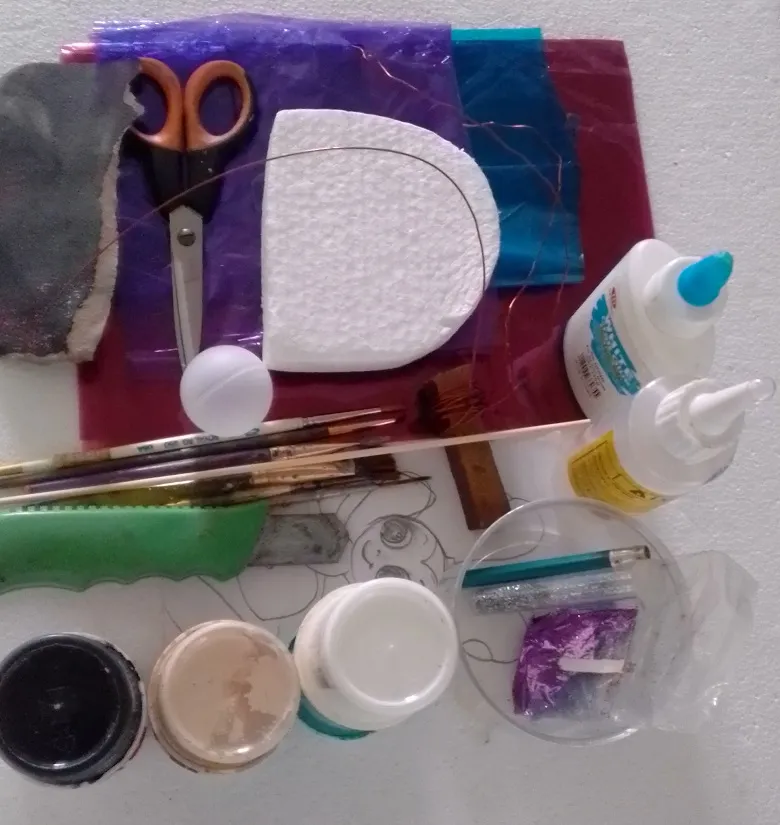
| Alambre de cobre y aluminio(Bisutería) | Papel celofán |
|---|---|
| Esfera de desodorante (reciclada) | Icopor pedazo |
| Pinturas y pinceles | Pega blanca y silicón liquido |
| Lija | Cuchilla |
| Escarcha | Lápiz |
| Perlitas | Matero |
| Tijera |
Seguimos con el Procedimiento:
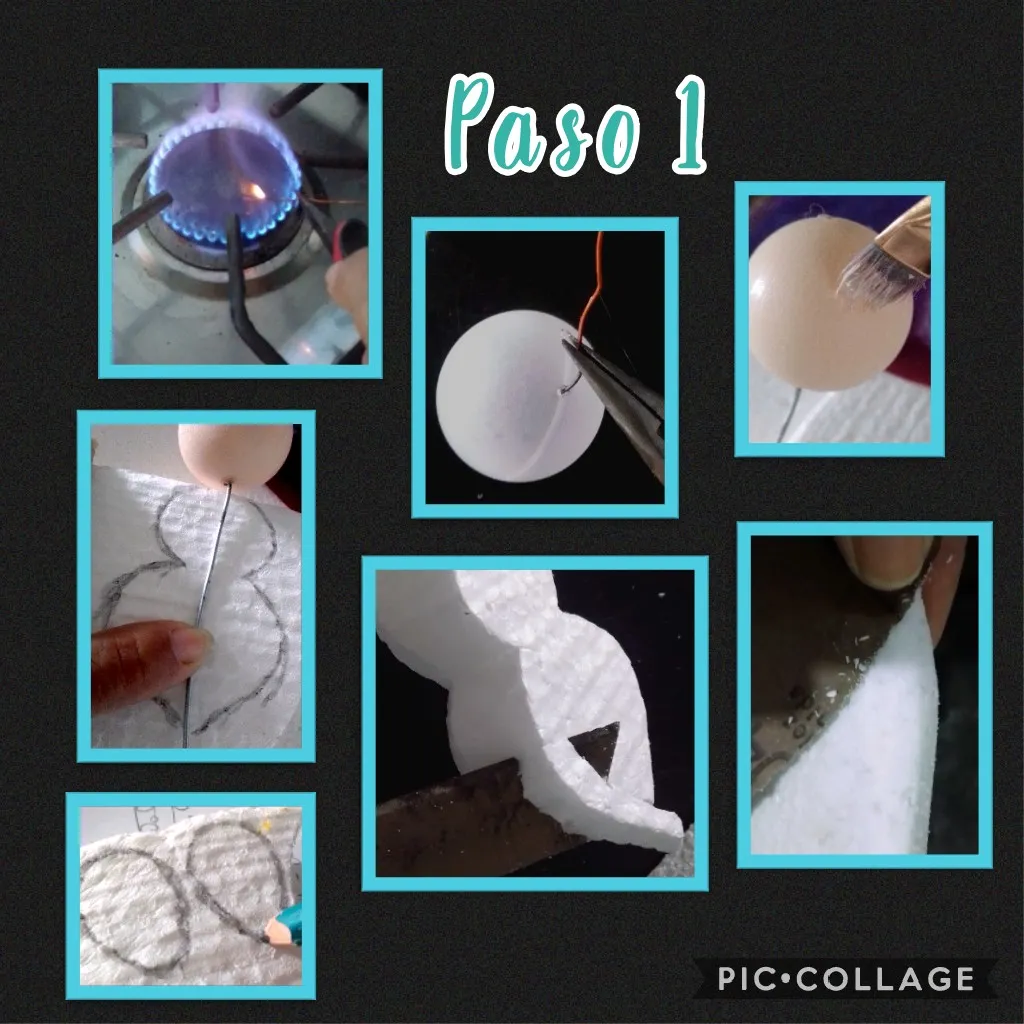
- Lo primero es perforar con el alambre caliente la esfera plástica (cabeza) y hacer tres (3) orificios, un orificio en el centro para el cuello y 2 en la parte de arriba para introducir las antenas.
- Ahora comienza a pintar con color piel, la cabeza, aplica una mano de pintura, dejas secar y luego la otra, luego marcas sobre el icopor o anime lo que será el cuerpo y los zapaticos en forma de gotas recorta la orilla con la cuchilla, y lija para dar un mejor acabado.

- Dibuja la forma de las alas en un papel y con el alambre de cobre has esa forma y al unir, entorcha con la ayuda de una pinza, recorta en papel celofán la forma del ala o un cuadrito, aplica pega blanca al alambre.

- Pega sobre el papel celofán y deja secar bien.(Puedes recortar el papel y forrar de un solo color o alternar, eso queda a tu imaginación)

- Comienza a pintar el cuerpo, puedes pintar de un solo color o puedes unir los colores como en este caso y deja secar.
- Recorta el exceso de papel pegado al alambre para formar terminar las alitas.
_ Luego recorta un círculo pequeñito, redondea las orillas y corta a la mitad, para sacar las manitos, pintas y dejas secar.

Como puedes ver son pasos muy sencillos pero de mucha paciencia...jajajaja...
- En este paso dibuja la forma de la carita de la mariposa, tomando como centro, los orificios para las antenas, aplica color morado, deja secar y repite.
- Pinta los zapatos de negro y deja secar.
- Recorta dos pedacitos de alambre e introduce en el zapatico y metes una perlita.
- Recorta 2 alambres y repite el mismo procedimiento pero con las manitos.
- Mide y dobla las puntas de los alambres de paticas y manitos para meter dentro del cuerpo aplicando silicón y pega también la cabeza. Así vas armando la mariposita.

- Ahora toca introducir las alas, bueno aplica primero silicón.
- Pega las dos (grandes primero) y deja secar, luego las dos pequeñas e igual dejas secar.
- Para terminar la mariposita, aplica silicón en la punta e introduce las antenitas, estas las hice con dos pedacitos de alambre de cobre, en los extremos pegué dos perlitas, le apliqué pega blanca y bañé con escarcha plateada.
Así ya queda terminada la mariposita.
- Ahora arma con alambre de cobre dando forma de gota unas hojitas, aplica pega blanca y pega sobre el papel celofán verde en dos tonos y deja secar.

Armar el arbolito:
- Recorta las hojas, aplica silicón y pega a la rama seca.
- Recorta en anime un conito y mete dentro del matero, pinta, deja secar y perfora un orificio en el centro e introduce la rama.
Ahora si quedaron listas estas dos sencillas pero creo muy bonitas piezas elaboradas con materiales reciclables y no reciclables.

Esta publicación esta editada con etiquetas HTML, las fotos capturadas con mi Blu G5 y editadas con Pic Collage y para traducir utilicé a DeepL.
Ahora me despido deseando buena suerte a todos y muy contenta de haber participado con este grupo de amigos creadores de bellezas.
Si te gusta mi publicación, espero me comentes.
Gracias por el apoyo y saludos...
Se les quiere.
Ingles:
Good morning dear friends of this great Community.
Once again I am very happy to share with you my publication in this new Contest, making works with Wire.There are many types:
silver, aluminum, iron, copper and others, they have endless uses, but in my step by step I worked with bijouterie wire and copper wire (from a damaged refrigerator motor) with which I made parts of my craft, which is an animated Butterfly posing next to a tree, hehehehehe, I love children's figures.
It seems to me to be playing! very old memories of my childhood.
So it's time to begin:
The materials are:
| Copper and aluminum wire (costume jewelry) | cellophane paper. |
|---|---|
| Deodorant sphere (recycled) | Icopor piece |
| Paints and brushes | White glue and liquid silicon |
| Sandpaper | Blade |
| Scark | Pencil |
| Perlitas | Matero |
| Scissors |
We continue with the procedure:
- The first thing is to pierce with the hot wire the plastic sphere (head) and make three (3) holes, one hole in the center for the neck and 2 at the top to introduce the antennas.
- Now begin to paint with skin color, the head, apply a coat of paint, let it dry and then the other, then mark on the foam or anime what will be the body and the slippers in the form of drops, cut the edge with the blade, and sand to give a better finish.
- Draw the shape of the wings on a piece of paper and with the copper wire make that shape and when joining, twist with the help of a tweezers, cut in cellophane paper the shape of the wing or a square, apply white glue to the wire.
- Glue on the cellophane paper and let it dry well (you can cut the paper and cover it with only one color or alternate colors, it is up to your imagination).
- Start painting the body, you can paint in one color or you can join the colors as in this case and let dry.
- Cut off the excess paper glued to the wire to form the finished wings.
Then cut out a small circle, round the edges and cut in half, to get the little hands, paint and let dry.
As you can see these are very simple steps but they require a lot of patience...hahahaha.......
- In this step draw the shape of the butterfly's face, taking as a center, the holes for the antennae, apply purple color, let dry and repeat.
- Paint the shoes black and let dry.
- Cut two small pieces of wire and insert into the shoe and insert a bead.
- Cut 2 wires and repeat the same procedure but with the little hands.
- Measure and bend the ends of the wires of the paws and hands to put inside the body applying silicone and glue the head as well. This is how you assemble the butterfly.
- Now it's time to introduce the wings, well first apply silicone.
- Glue the two (big ones first) and let them dry, then the two small ones and let them dry.
- To finish the butterfly, apply silicone on the tip and introduce the antennae, these I made with two pieces of copper wire, at the ends I glued two beads, I applied white glue and bathed with silver frosting.
This is how the butterfly is finished.
- Now make some leaves with copper wire in the shape of a drop, apply white glue and glue on the green cellophane paper in two tones and let it dry.
Assemble the tree:
- Cut out the leaves, apply silicone and glue to the dry branch.
- Cut out a small cone in anime and put it inside the pot, paint, let it dry and drill a hole in the center and insert the branch.
Now these two simple but beautiful pieces made with recyclable and non-recyclable materials are ready.
This post is edited with HTML tags, photos captured with my Blu G5 and edited with Pic Collage and for translation I used DeepL.
Now I say goodbye wishing good luck to all and very happy to have participated with this group of friends creators of beauties.
If you like my publication, I hope you comment me.
Thanks for your support and best regards....
You are loved.