Happy evening have all my hive panitas once again I want to present a work of crafts based on the theme of Halloween as during this month will celebrate these festivities is why during these days my work has been focused on that theme and today I present decorative ornament which we can decorate the doors and in some cases we can use them as a topper for cakes, so I invite you to join me during the development of this publication.
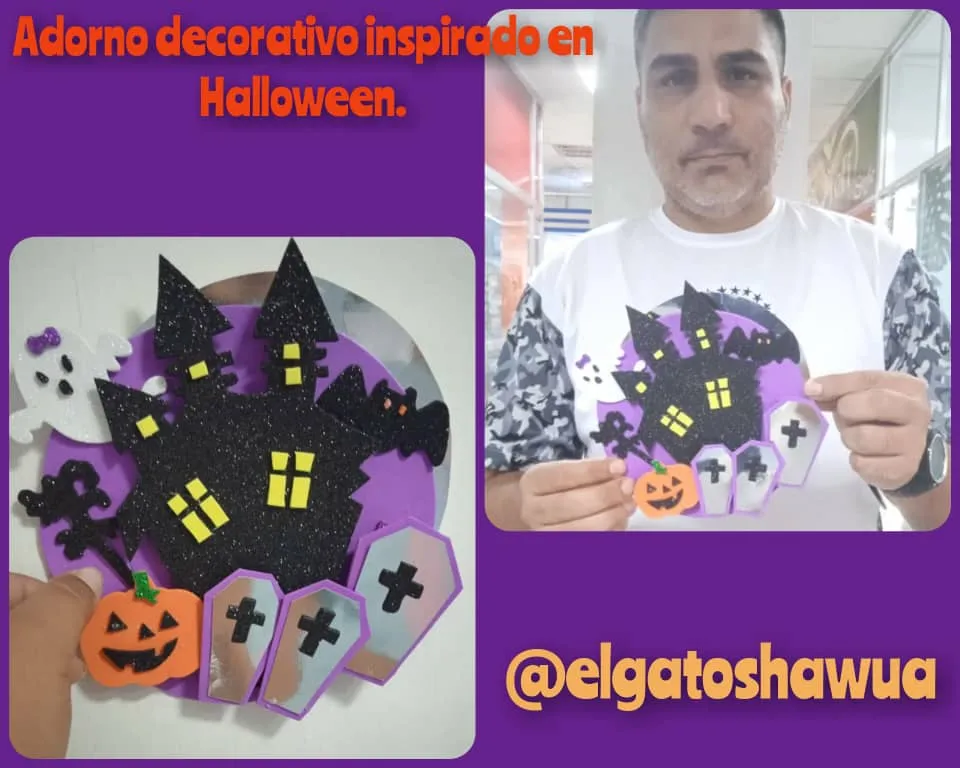
Feliz noche tengan todos mis panitas de hive una vez más quiero presentarle un trabajo de manualidades basada en la temática de Halloween ya que durante este mes se va a celebrar esas festividades es por eso que durante estos días mi trabajo ha estado enfocado en esa temática y el día de hoy les presento adorno decorativo la cual podemos decorar las puertas y en algunos de los casos podemos utilizarlos como topper para las tortas, así que los invito a que me acompañen durante el desarrollo de esta publicación.
Materials:
Purple/black/orange/orange/green/yellow/white foami, metallic cardboard, white sheet, pencil, scissors, silicone.
Materiales:
Foami morado /negro/ anaranjado/ verde/ amarillo /blanco, cartulina metalizada, hoja blanca, lápiz, tijera, silicón.
Step by step:
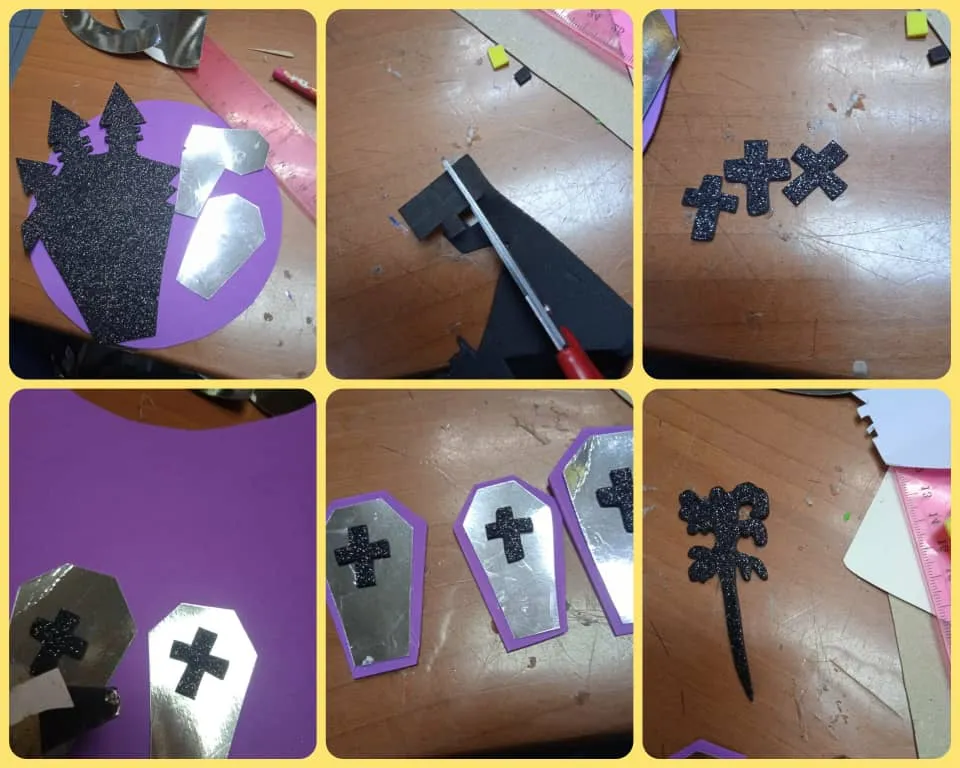
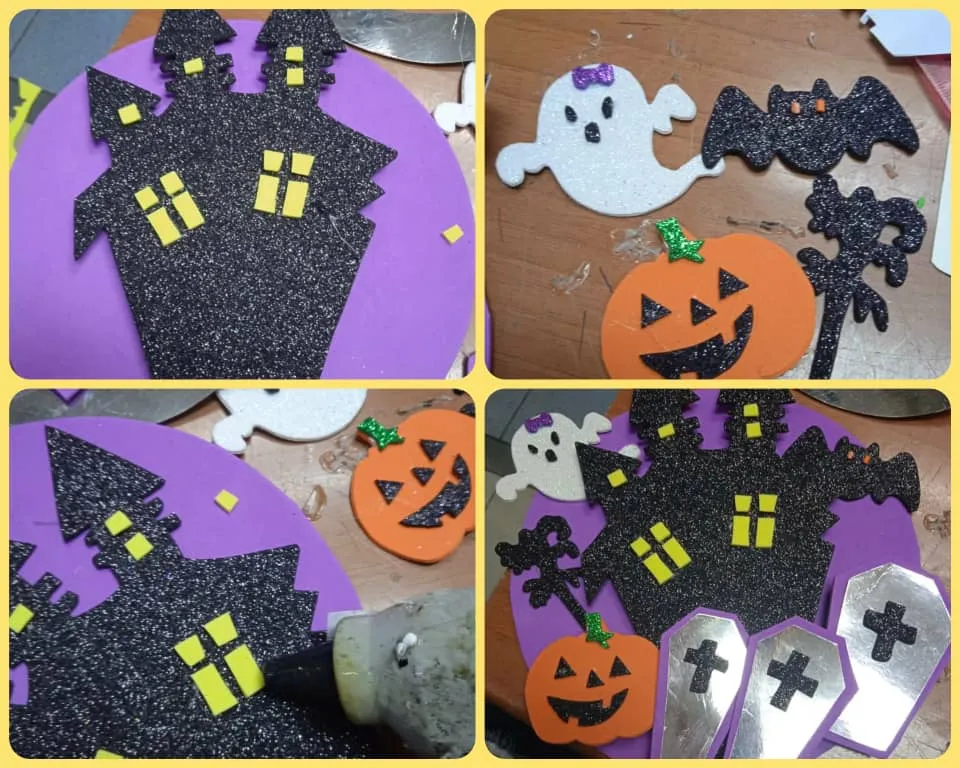
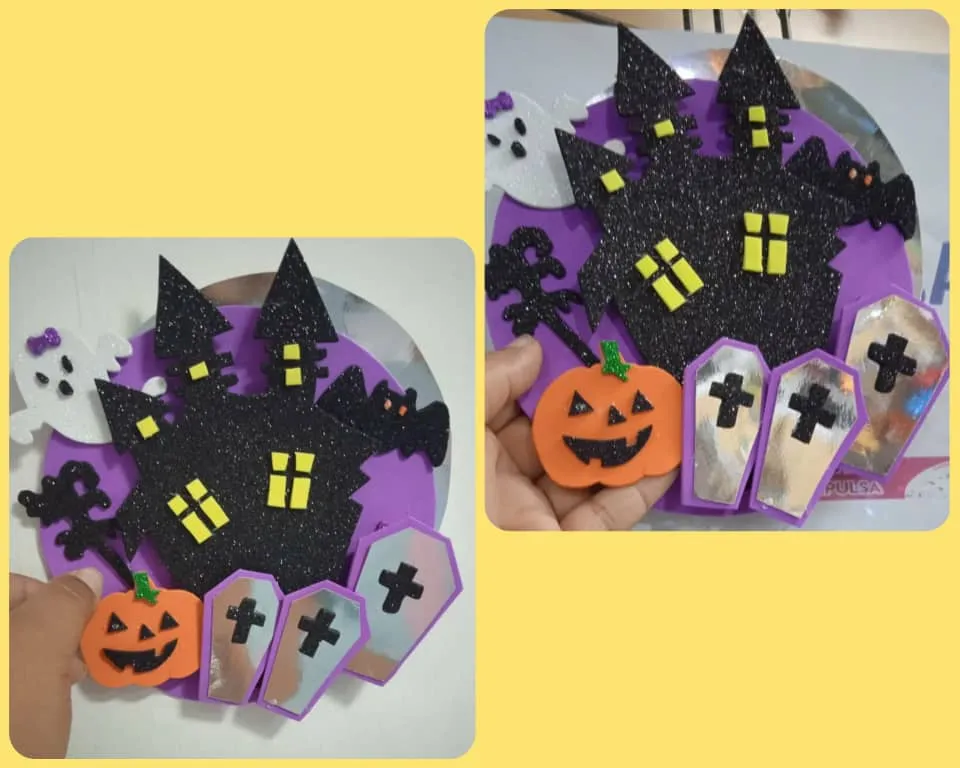
First of all with the help of a plastic circle we are going to mark a circle on the purple foami then sheet of paper we are going to design the sketches like the castle, the coffin, ghosts, pumpkin, bat then we are going to proceed to mark on each of the corresponding foamis how the pumpkin on the orange foami, the green and black for the eyes / nose / mouth when we have each of the pieces we proceed to assemble them then put purple foami we will cut out the coffins also with the metallic cardboard and will paste a cross on the front then the white foami we will cut out the little ghost and make the details with yellow foami, We continue now with the castle cut out the frosted black foami and we will glue some squares and rectangle to give it a better appearance and in this way when we have each and every one of the pieces we proceed to assemble our decorative ornament in the Halloween style, looking like the pictures show.
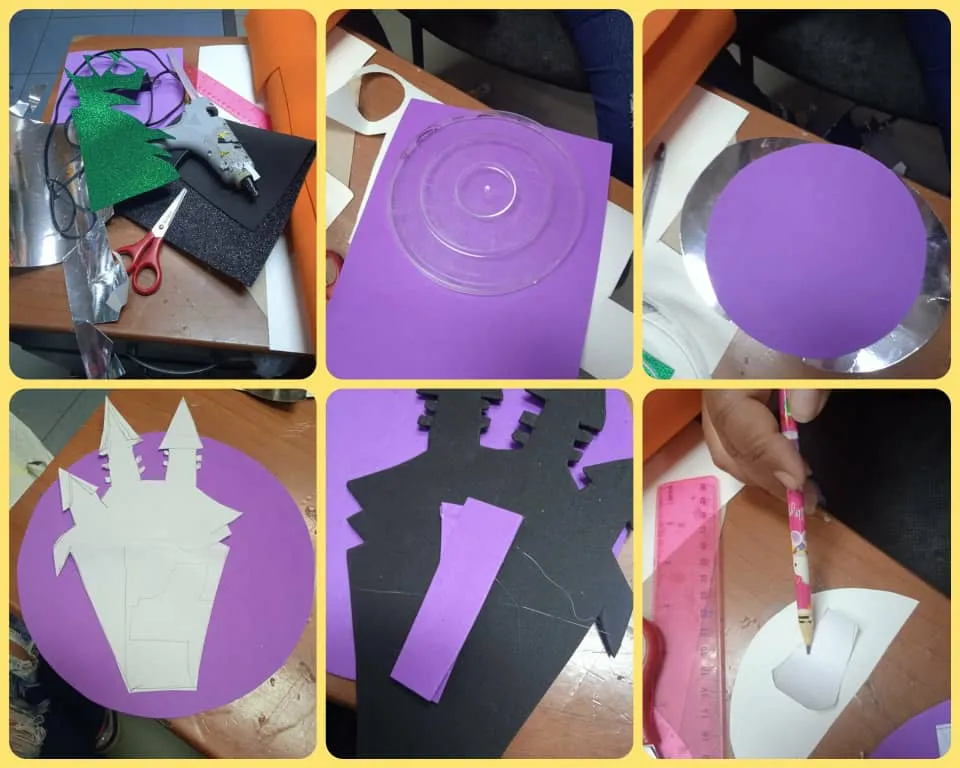
Paso a paso:
Primeramente con ayuda de un círculo de plástico vamos a marcar un círculo en el foami morado después hoja de papel vamos a diseñar los bocetos como el castillo, los ataúd, fantasmas, calabaza, murciélago seguidamente vamos a proceder a marcar en cada uno de los foamis correspondiente cómo la calabaza en el foami naranjado, el verde y el negro para los ojos/ nariz /boca al tener cada una de las piezas procedemos a armarlas luego poner foami morado vamos a recortar los ataúdes igualmente con la cartulina metalizada y se le pegaran una cruz en la parte del frente luego el foami blanco vamos a recortar el fantasmita y hacerle los detalles con foami amarillo, negro y procedemos a pegarlo continuamos ahora con el castillo recortado el foami negro escarchado ánimos se le van a pegar unos cuadritos y rectángulo para darle una mejor apariencia y de esta manera al tener todas y cada una de las piezas procedemos armar nuestro adorno decorativo al estilo Halloween, quedando así como muestran las fotos.
hank you for reading me and your valuable support, I'll see you another time.
Fotos de mi autoría @elgatoshawua.
Photos by me @elgatoshawua.
Translated with www.DeepL.com/Translator (free versión)