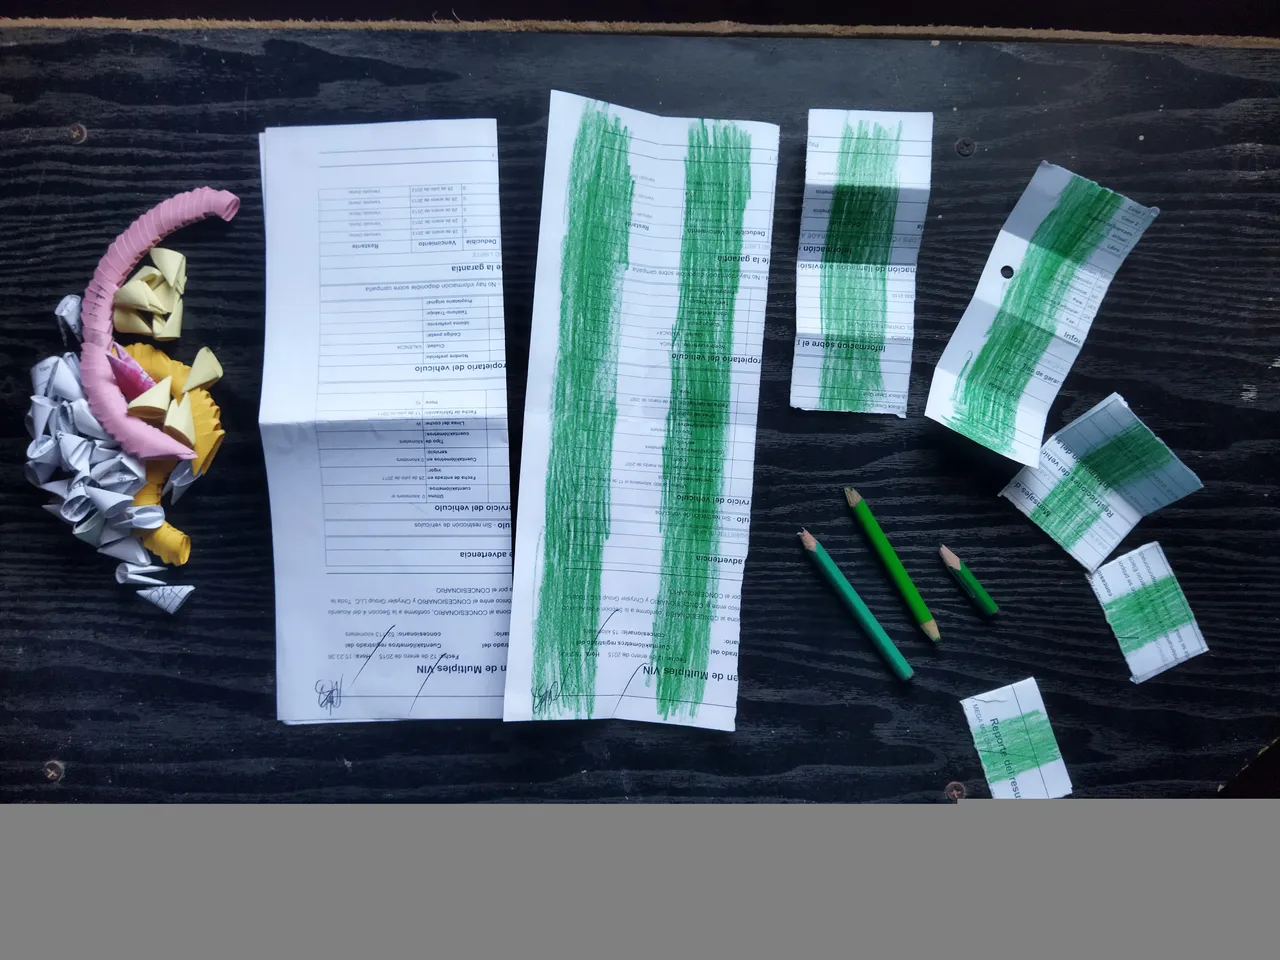
(2) Pieces:
I make the following folds to the page to start getting the pieces. • Starting with the shortest side of the paper at the bottom, I fold the paper in half 3 times. • I unfold the paper and tear it with the longest side on the bottom. I fold three more times.• I cut each of the lines to obtain 32 rectangles that I will then fold individually to obtain identical triangles
In this image I explain what folds must be made to the rectangles to make the pieces

(3) Construcción
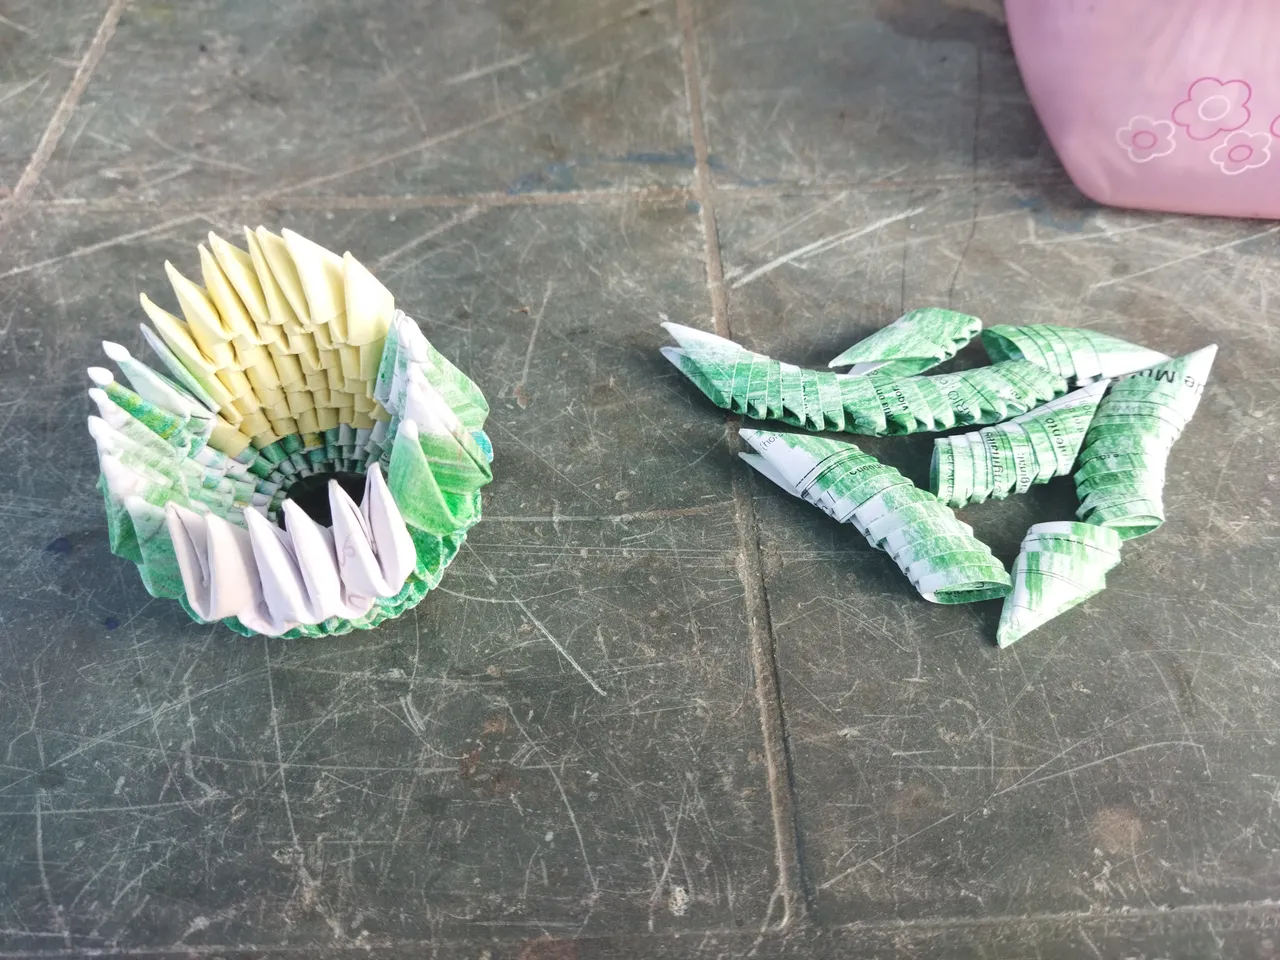
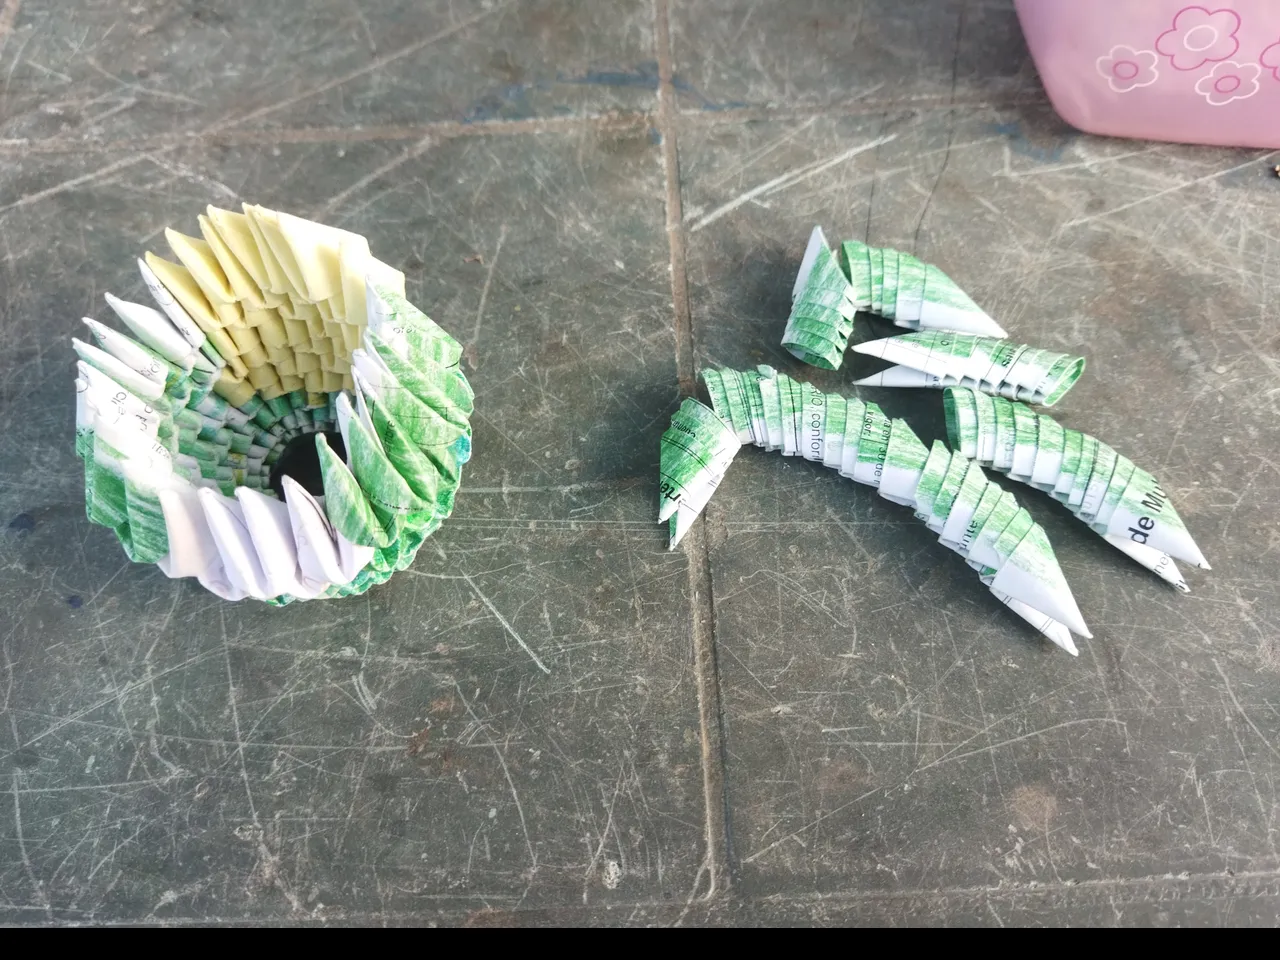
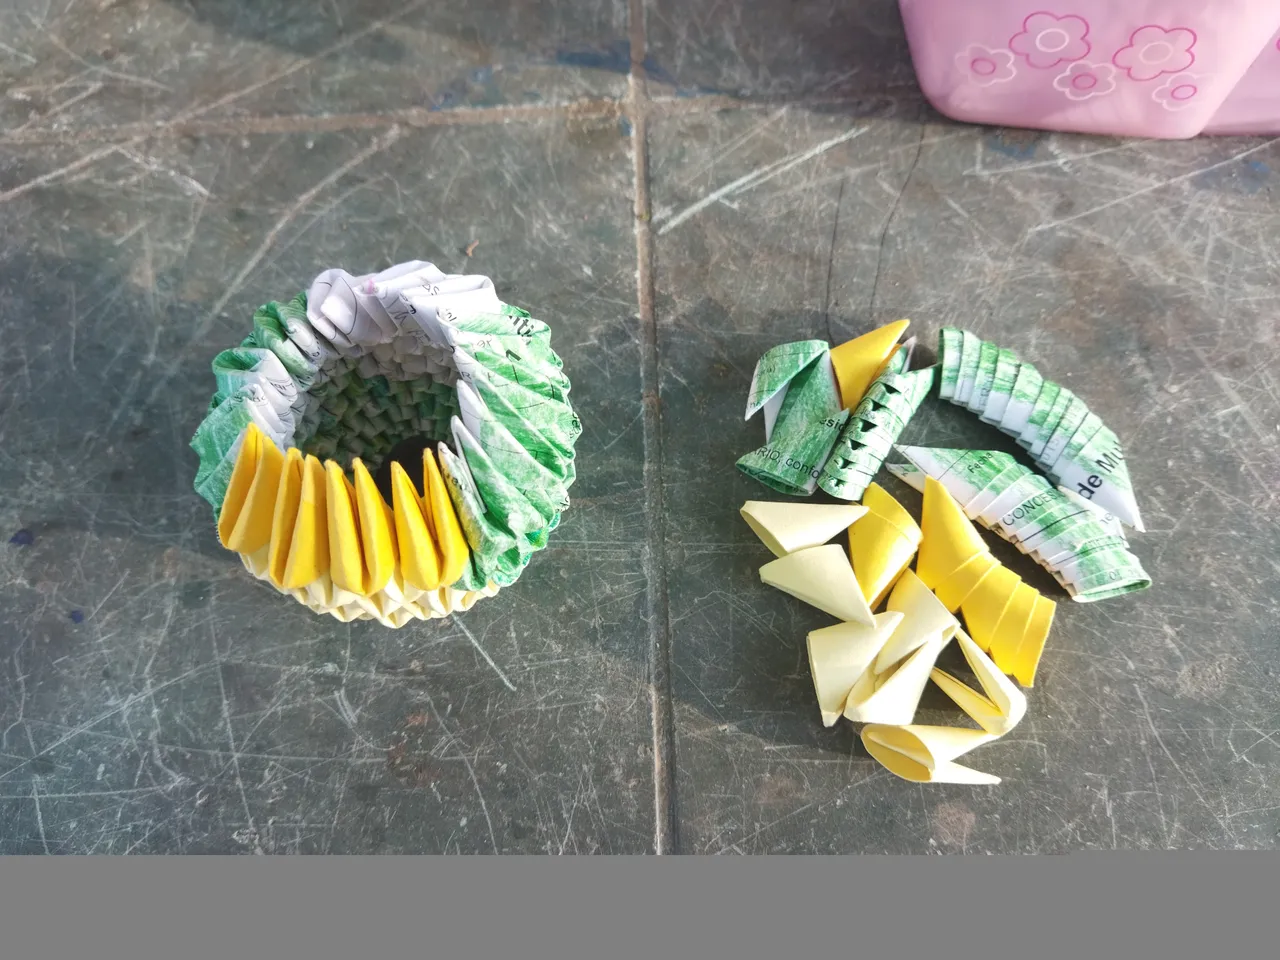
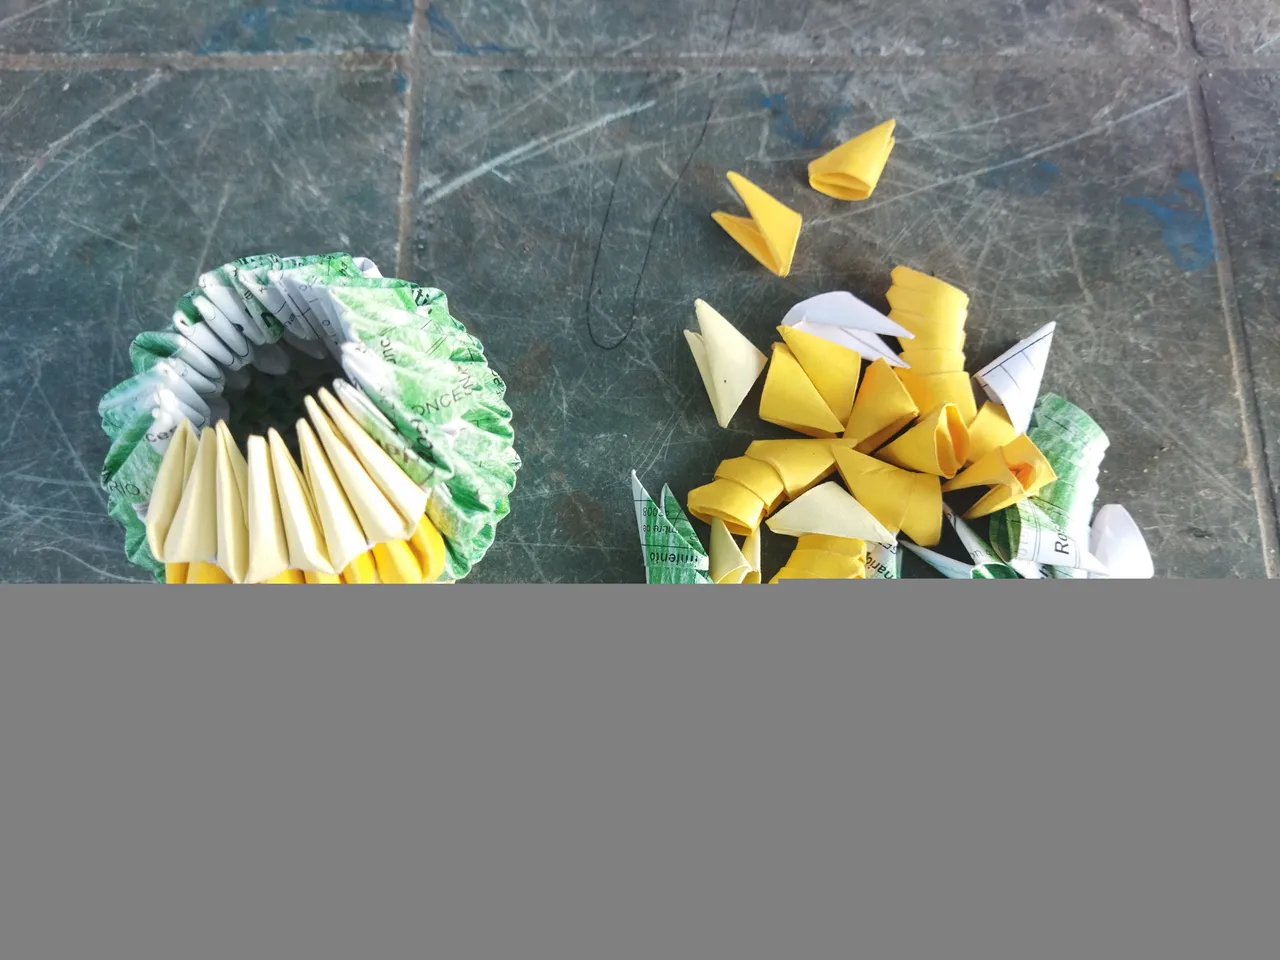
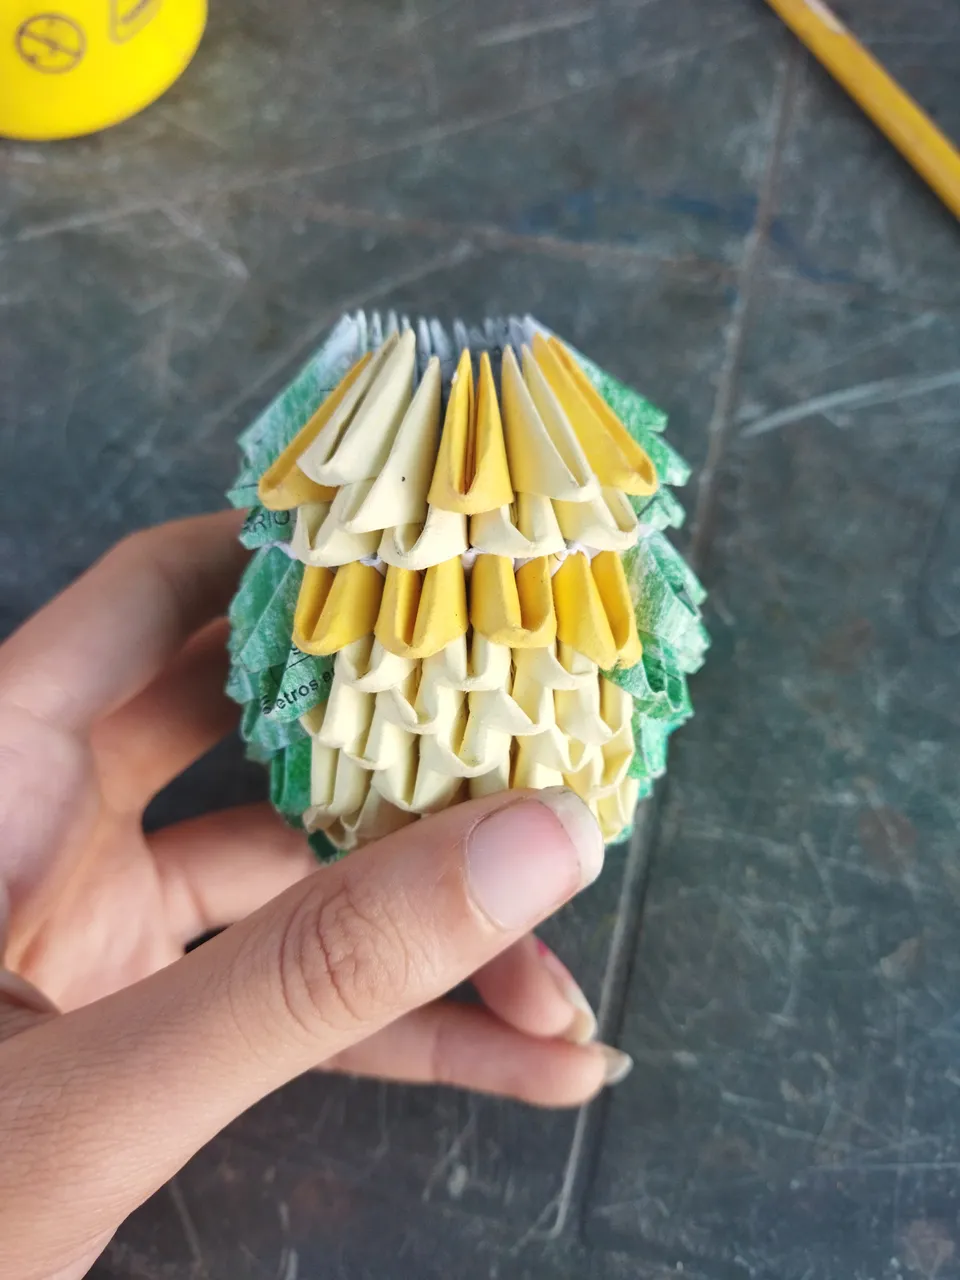
Una vez que ya tengo todas las piezas que necesito, ahora si empieza lo divertido<> comienzo juntando las piezas blancas con los las puntas expuestas hacia arriba y formando un círculo para la base de la espalda, agrego verdes para el cuerpo, y amarillas para la barriga. A medida que voy agregando más piezas, verán que la figura se ira cerrando cada vez más por la parte superior de En medio.
(3) building
Once I have all the pieces I need, now the fun begins<> I start by joining the white pieces with the exposed ends upwards and forming a circle for the base of the back, I add greens for the body, and yellow for the belly. As I add more pieces, you will see that the figure will be closing more and more at the top of the middle.
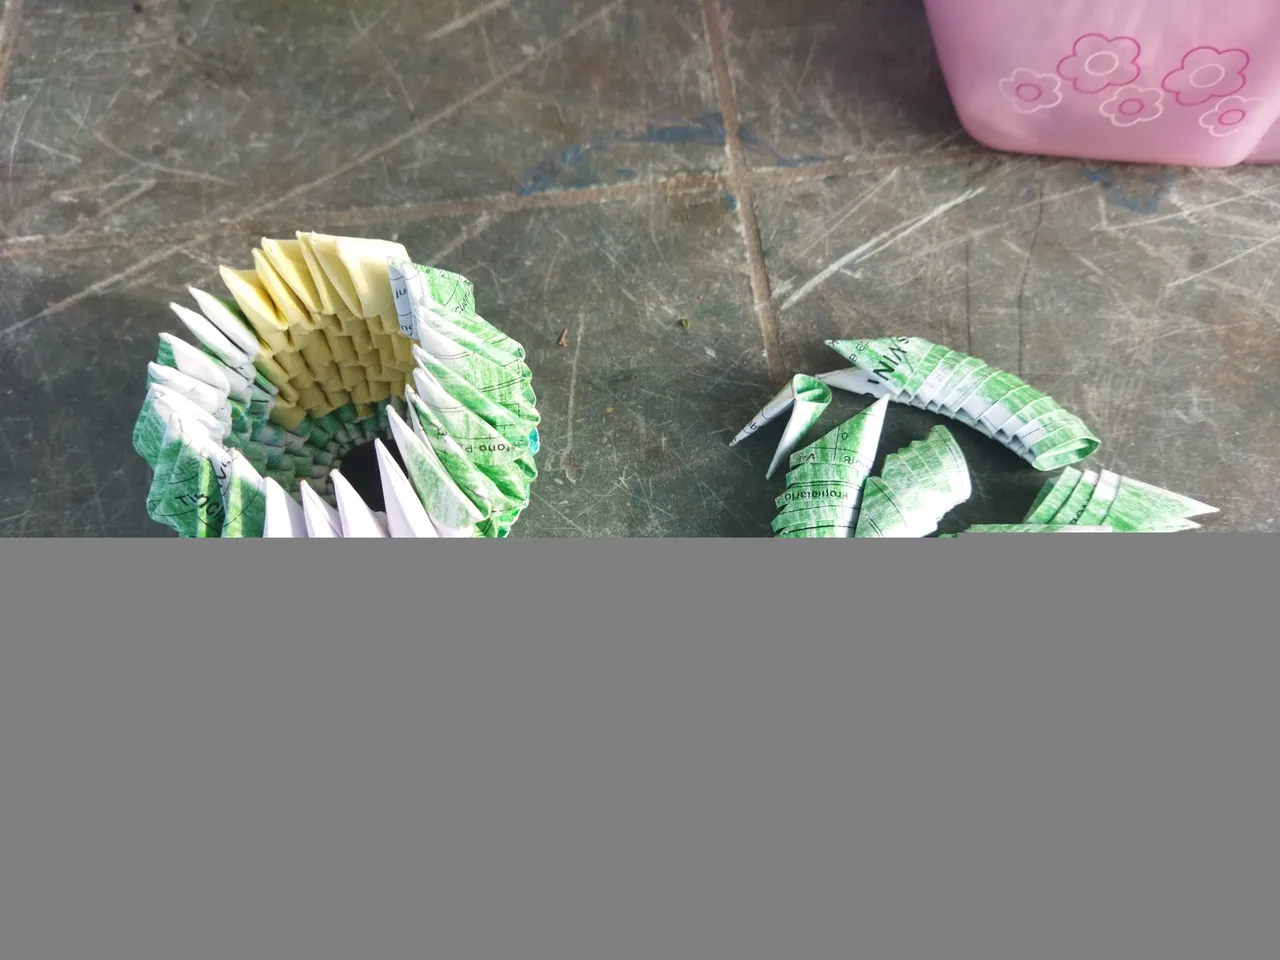
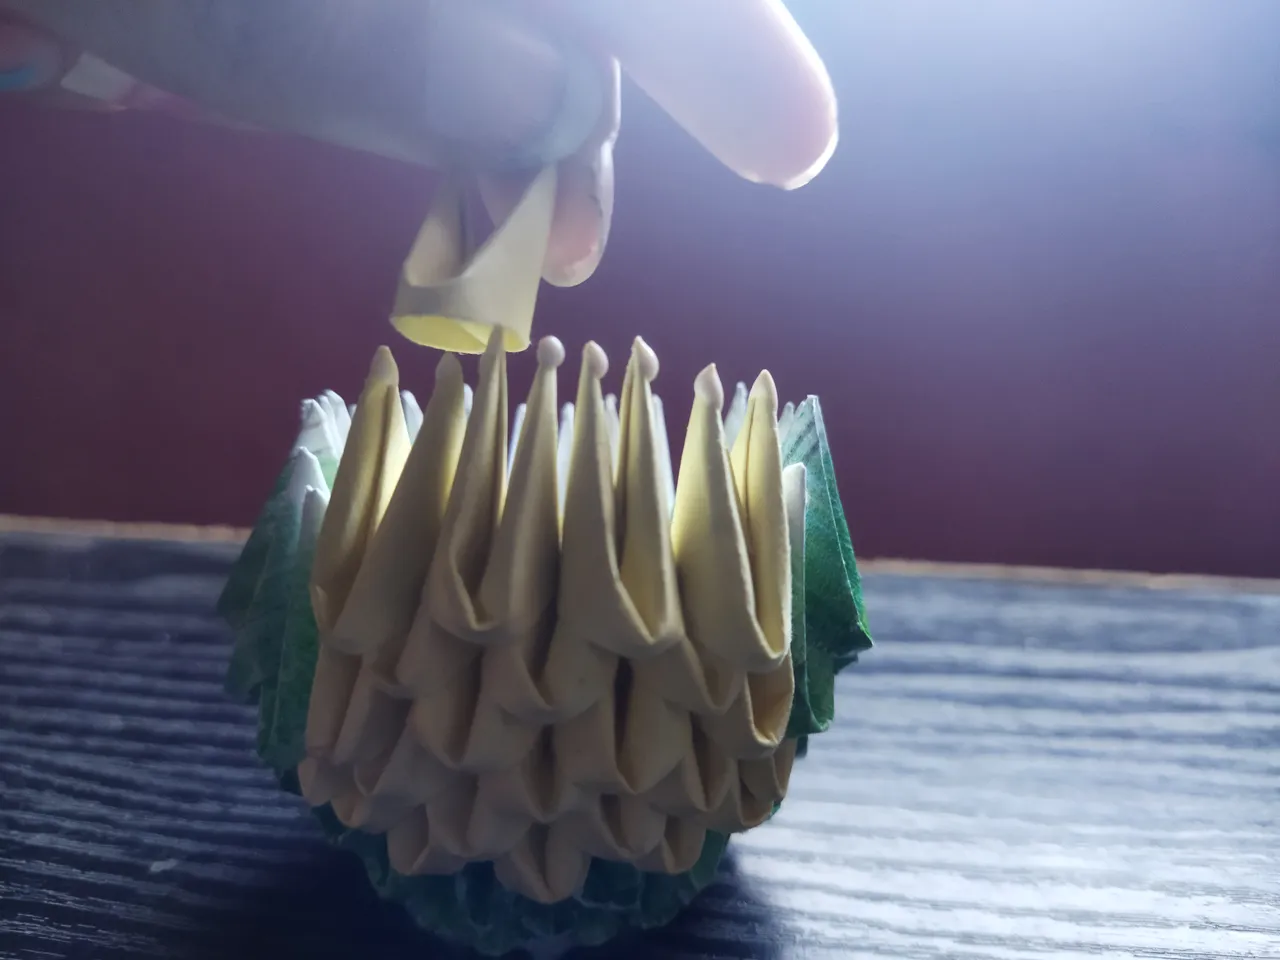
Aquí empecé a hacer la base de la cabeza volteando las siguientes piezas horizontalmente para que la figura no se siga cerrando y así seguir añadiendo más de ellas, además esto formara la separación de la cabeza y el cuerpo
Here I started to make the base of the head turning the following pieces horizontally so that the figure does not continue to close and thus continue adding more of them, in addition this will form the separation of the head and the body

Recomendacion: Yo sinceramente recomiendo pegar las piezas con pequeños puntos de pega en las puntas de cada una para que las figuras no corran el riesgo de desarmarse como me había pasado a mí con mis anteriores creaciones.
Recommendation: I sincerely recommend gluing the pieces with small points of glue on the ends of each one so that the figures do not run the risk of falling apart as it had happened to me with my previous creations.
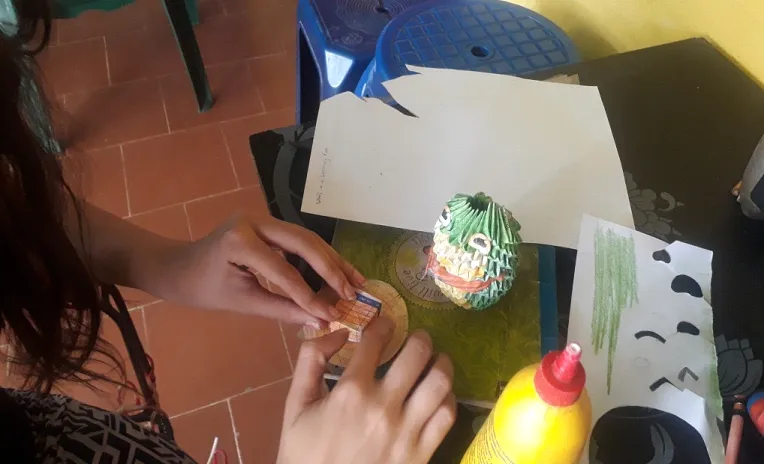
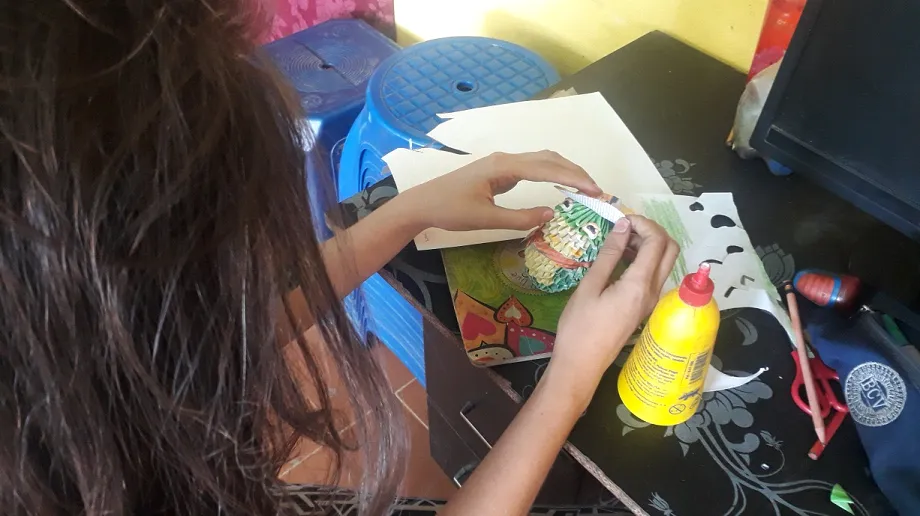
Cuando tengo la forma de la figura lista, empiezo a darle más personalidad haciendo los ojos, patas, un sombrero, pañuelo, y le hago unas pequeñas manos con piezas de origami de color marrón y verde. (descarte la boca que le había hecho)
I have the shape of the figure ready, I begin to give it more personality by making the eyes, legs, a hat, a scarf, and I make small hands with brown and green origami pieces. (discard the mouth that he had made)
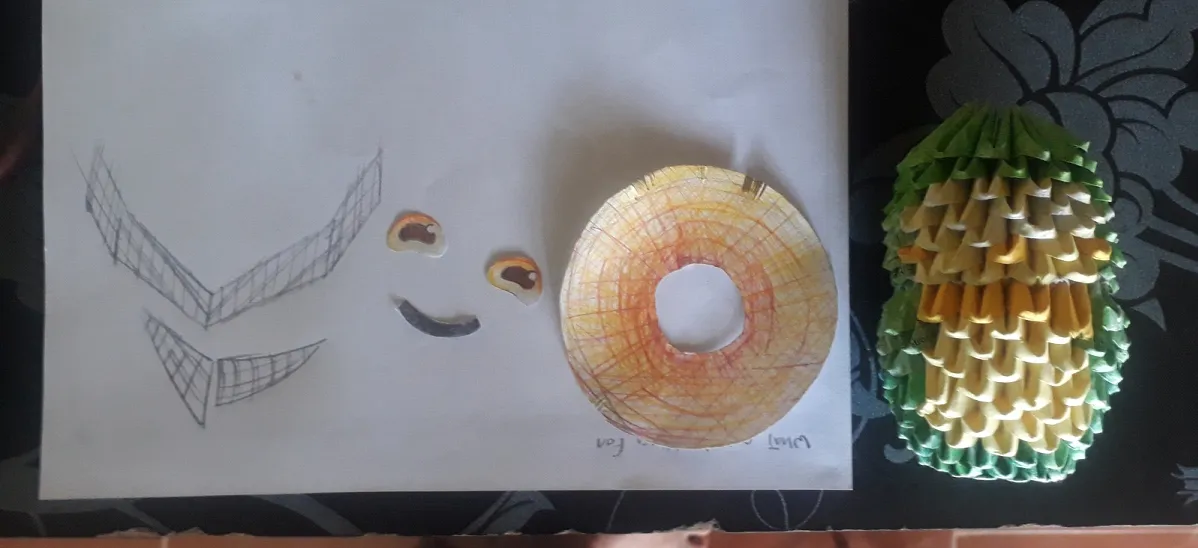
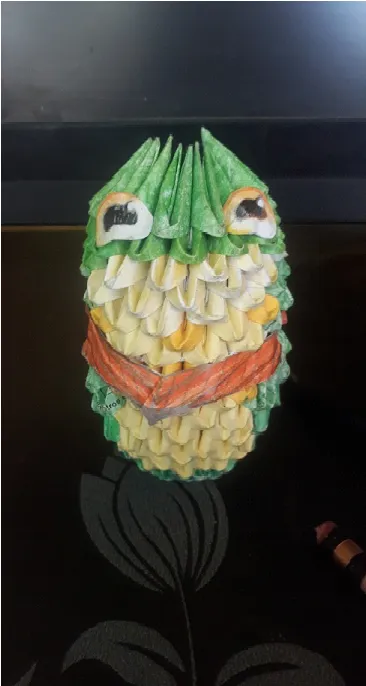

Resultado final/
Final result:


¡Y listo! En total su elaboración necesito +200 piezas, y todo el proceso duro alrededor de +5 horas y este amigos es el resultado, para mí fue una experiencia relajante y entretenida para despejar la mente y concentrarse, ese es uno de los beneficios de hacer origami para quien desee intentarlo. agradezco mucho a aquellos que llegaron a leer hasta el final de mi post, si les pareció interesante los invito a que prueben hacer su propia figura de origami 3D para explotar su creatividad, me ayudaría mucho su apoyo, espero poder regresar y poder compartir con ustedes más cosos nuevas en otra oportunidad, nos vemos!
And ready! In total, I needed +200 pieces to make it, and the whole process lasted around +5 hours and this, my friends, is the result. For me it was a relaxing and entertaining experience to clear my mind and concentrate, that is one of the benefits of making origami. for those who want to try it. I am very grateful to those who read until the end of my post, if you found it interesting I invite you to try making your own 3D origami figure to exploit your creativity, your support would help me a lot, I hope I can return and share with you more new things in another opportunity, see you!