Hola queridos amigos de esta comunidad, tenía tiempo que no pasaba por aquí, hoy les traigo un sencillo paso a paso de como hacer una ponquesera (base para ponques), es muy fácil de realizar y con materiales fáciles de conseguir y de verdad que el resultado fue súper hermoso, espero que les guste, esta ponquesera es súper práctica💜
Hello dear friends of this community, I had not been here for a long time, today I bring you a simple step-by-step on how to make a pancake pan (base for pancakes), it is very easy to make and with easy-to-find materials and really that the The result was super beautiful, I hope you like it, this pancake pan is super practical💜

Materiales:
• Anime.
• Pintura rosa y morada.
• Exacto para cortar.
• Pincel.
• Silicón caliente.
• Botella de plástico.
• Cartulina corrugada dorada y morada.
• Flores de foami para decorar.
• Globo de unicornio para decorar.
Materials:
• Anime.
• Pink and purple paint.
• Exact to cut.
• Brush.
• Hot silicone.
• Plastic bottle.
• Gold and purple corrugated cardboard.
• Foami flowers to decorate.
• Unicorn balloon to decorate.
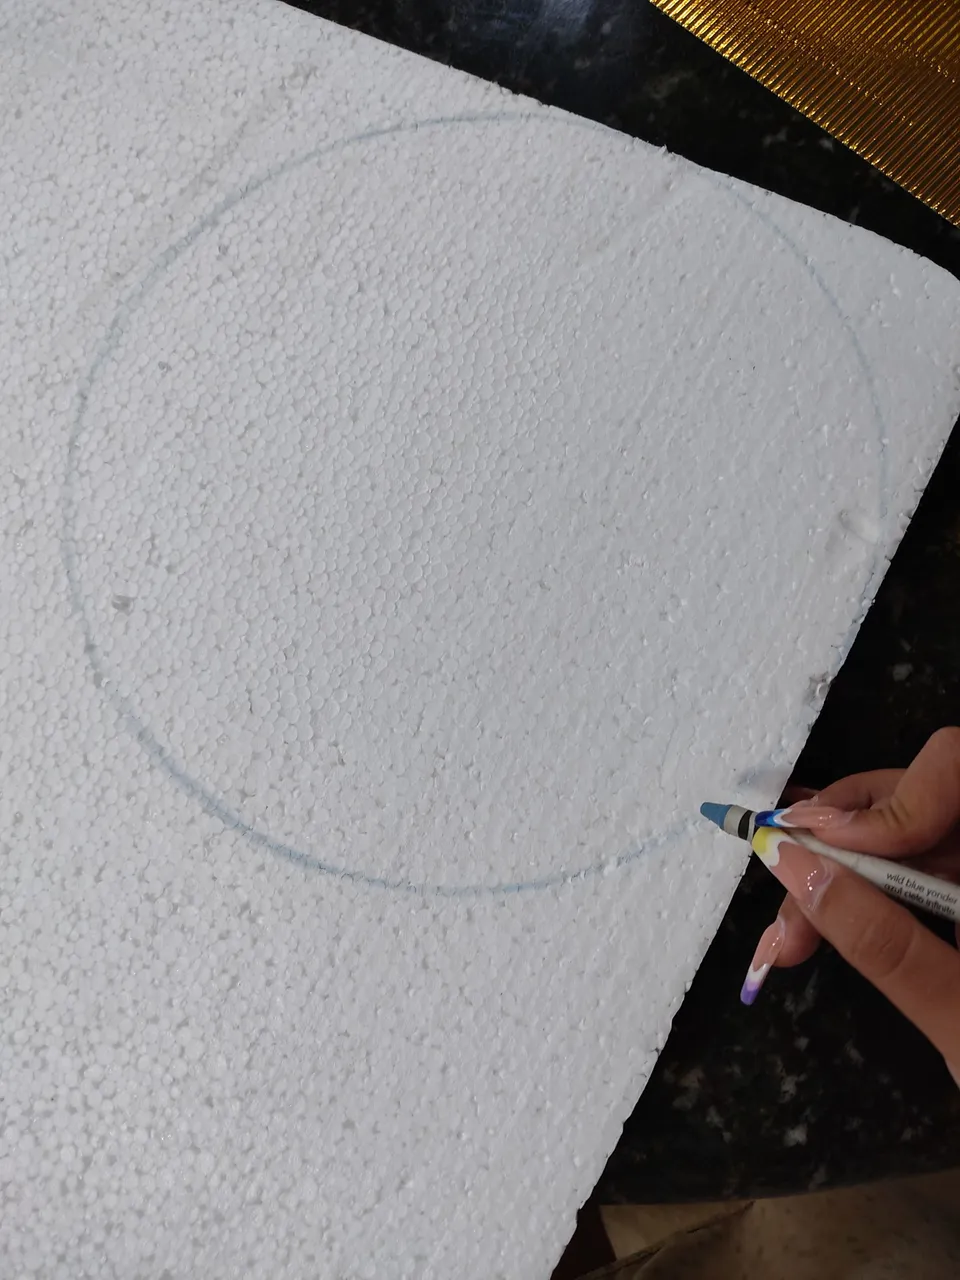
Paso 1: En el anime hacer un círculo, esta será la base más grande.
Step 1: In the anime make a circle, this will be the largest base.
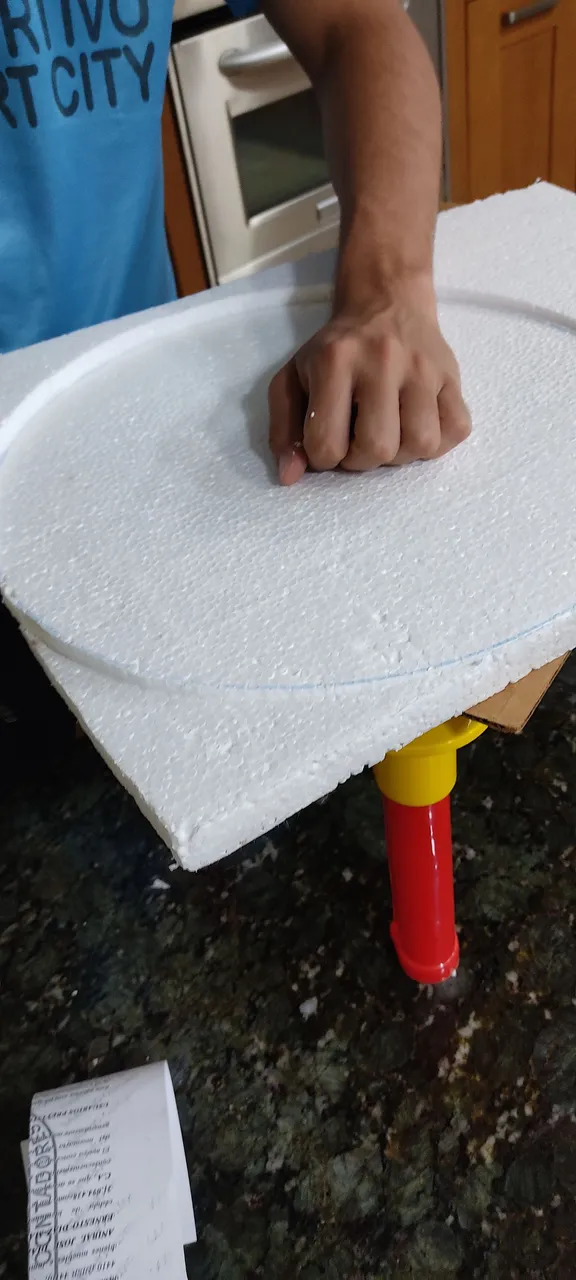
Paso 2: Cortar con un exacto y sacar la forma del círculo.
Step 2: Cut with an exact and take out the shape of the circle.
Paso 3: Pintarlo del color de tu preferencia en este caso lo hice de color rosa la base más grande.
Step 3: Paint it the color of your preference, in this case I made the largest base pink.
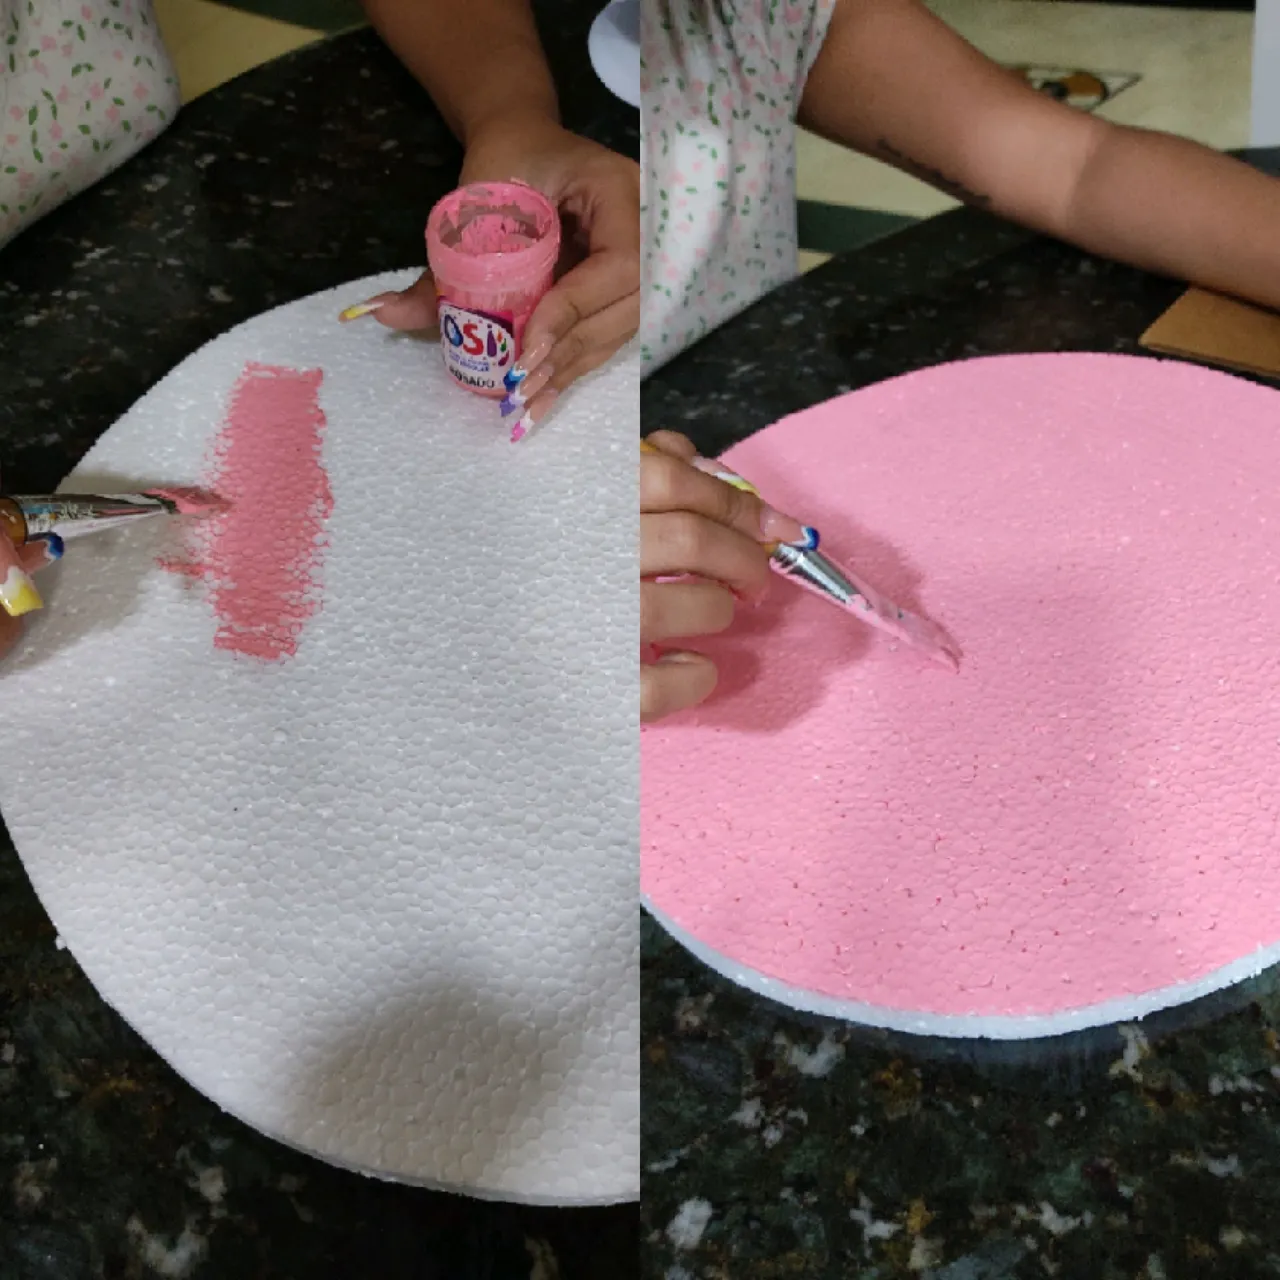
Paso 4: Luego hacer el mismo paso con la base más pequeña, a diferencia que la pinté de color morado.
Step 4: Then do the same step with the smaller base, unlike I painted it purple.

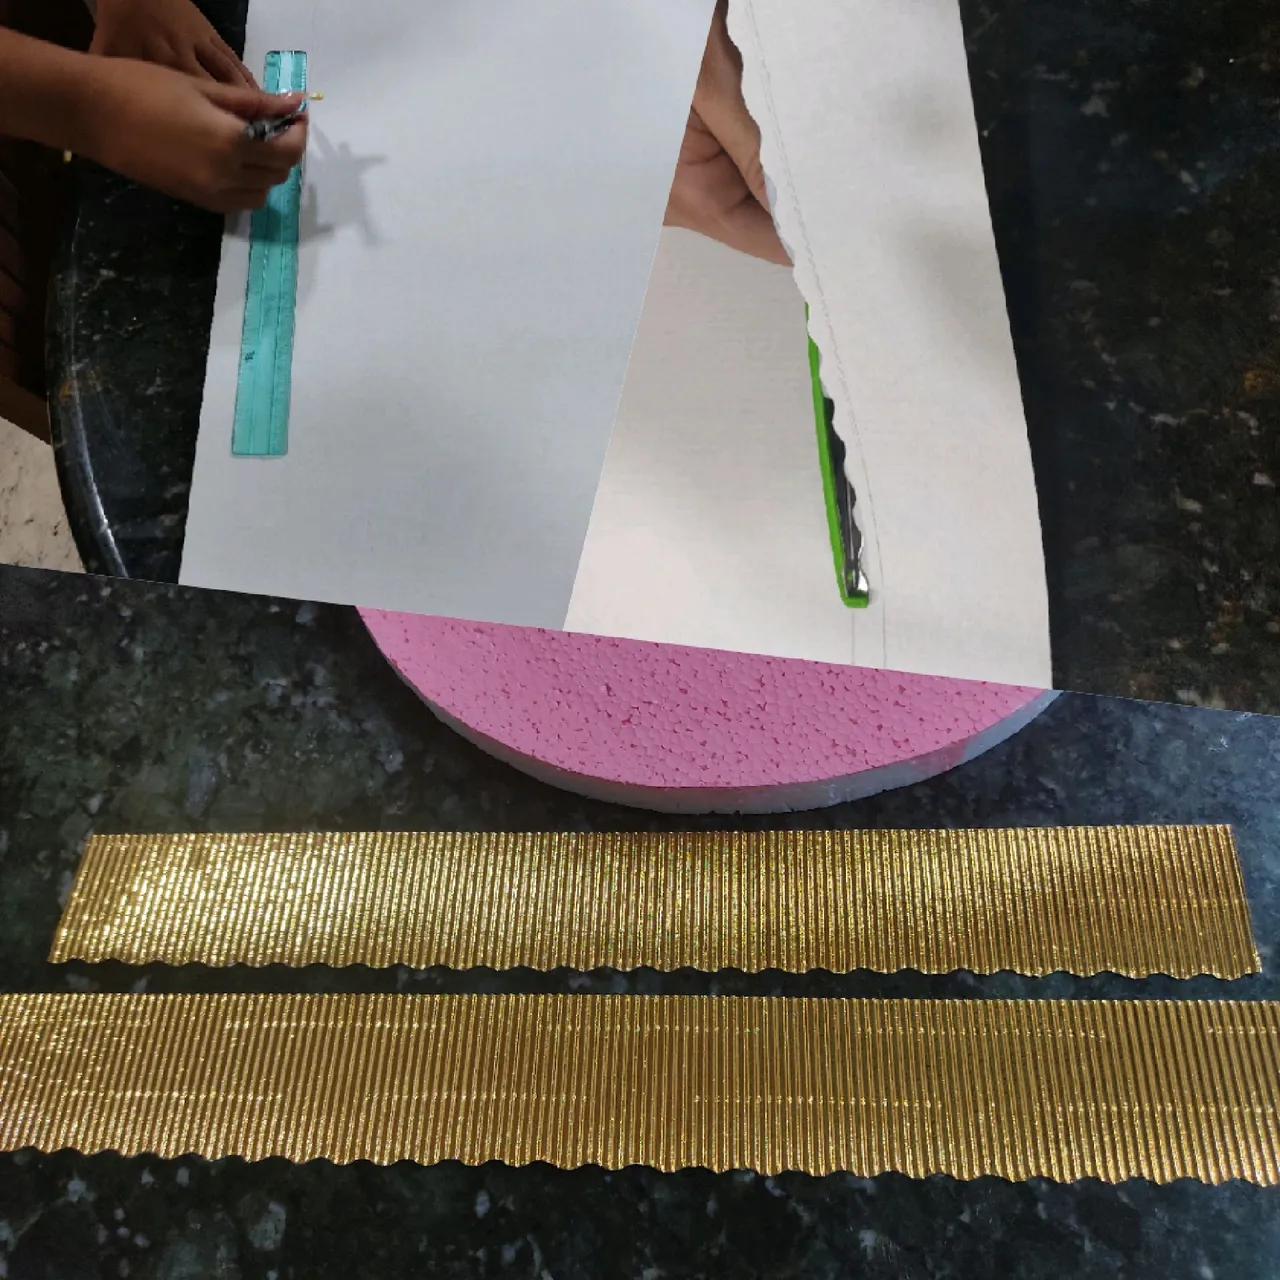
Paso 5: Con una cartulina corrugada dorada hacer tiras, marcar primero con un lapiz y luego cortar con una tijera que saca la forma ondulada, serán del tamaño de las bases.
Step 5: With a gold corrugated cardboard make strips, first mark with a pencil and then cut with a scissors that removes the wavy shape, they will be the size of the bases.
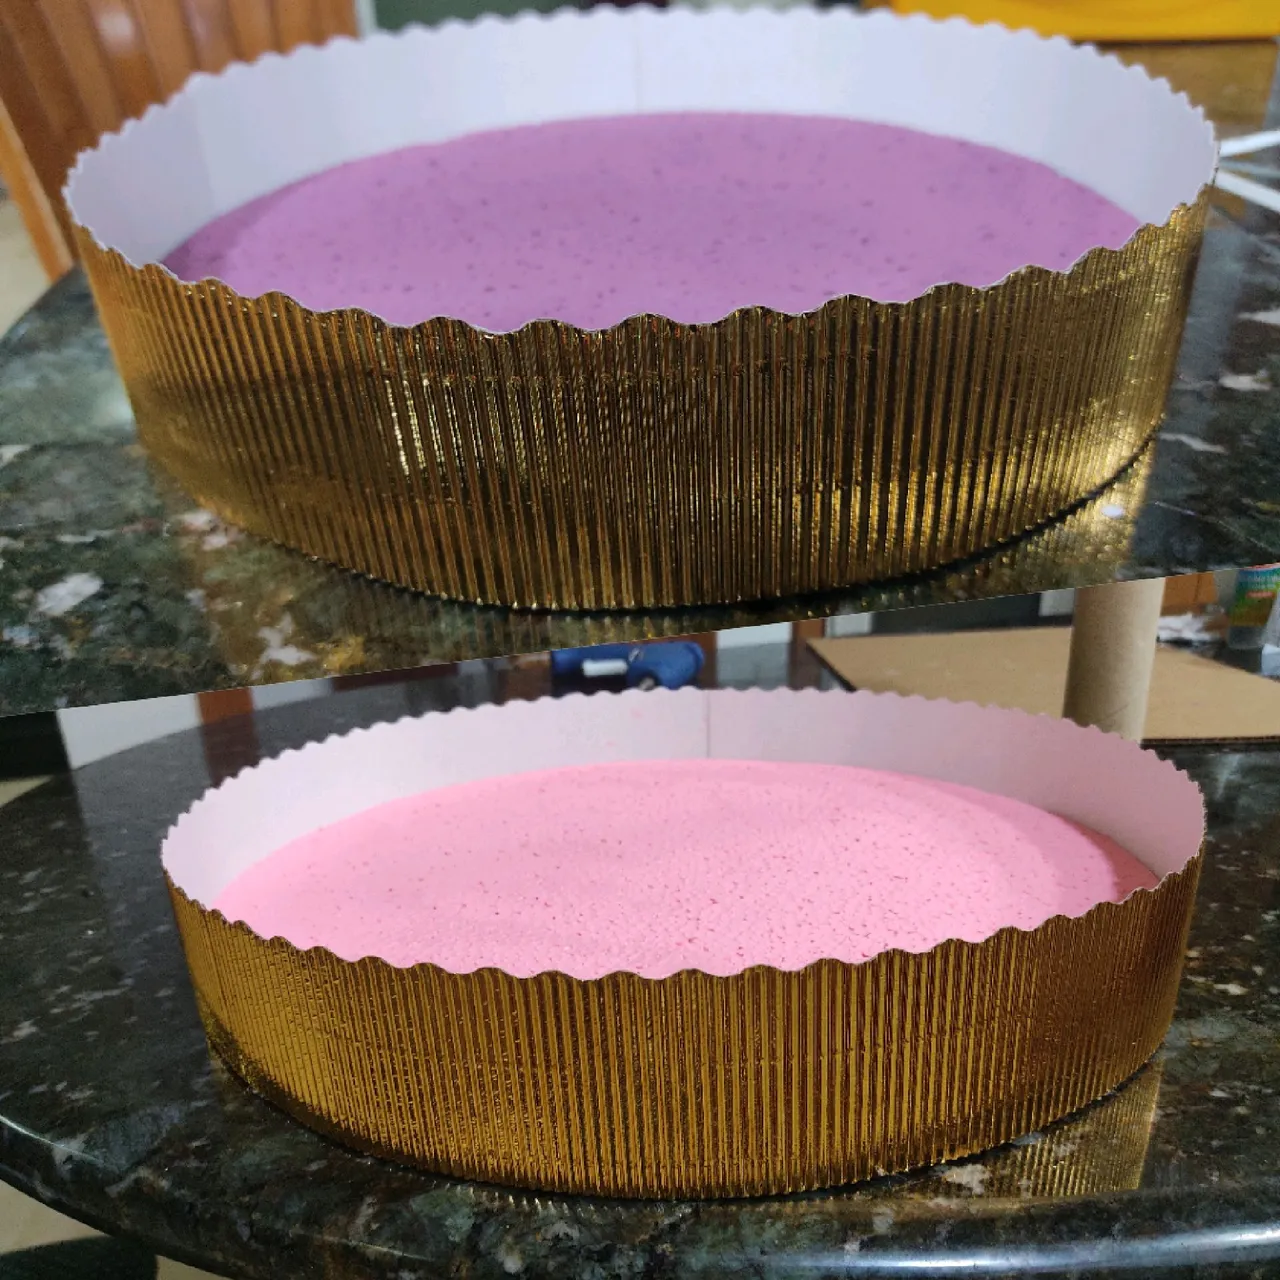
Paso 6: Pegar las tiras al borde de los círculos osea las bases con silicón caliente.
Step 6: Glue the strips to the edge of the circles bone the bases with hot silicone.
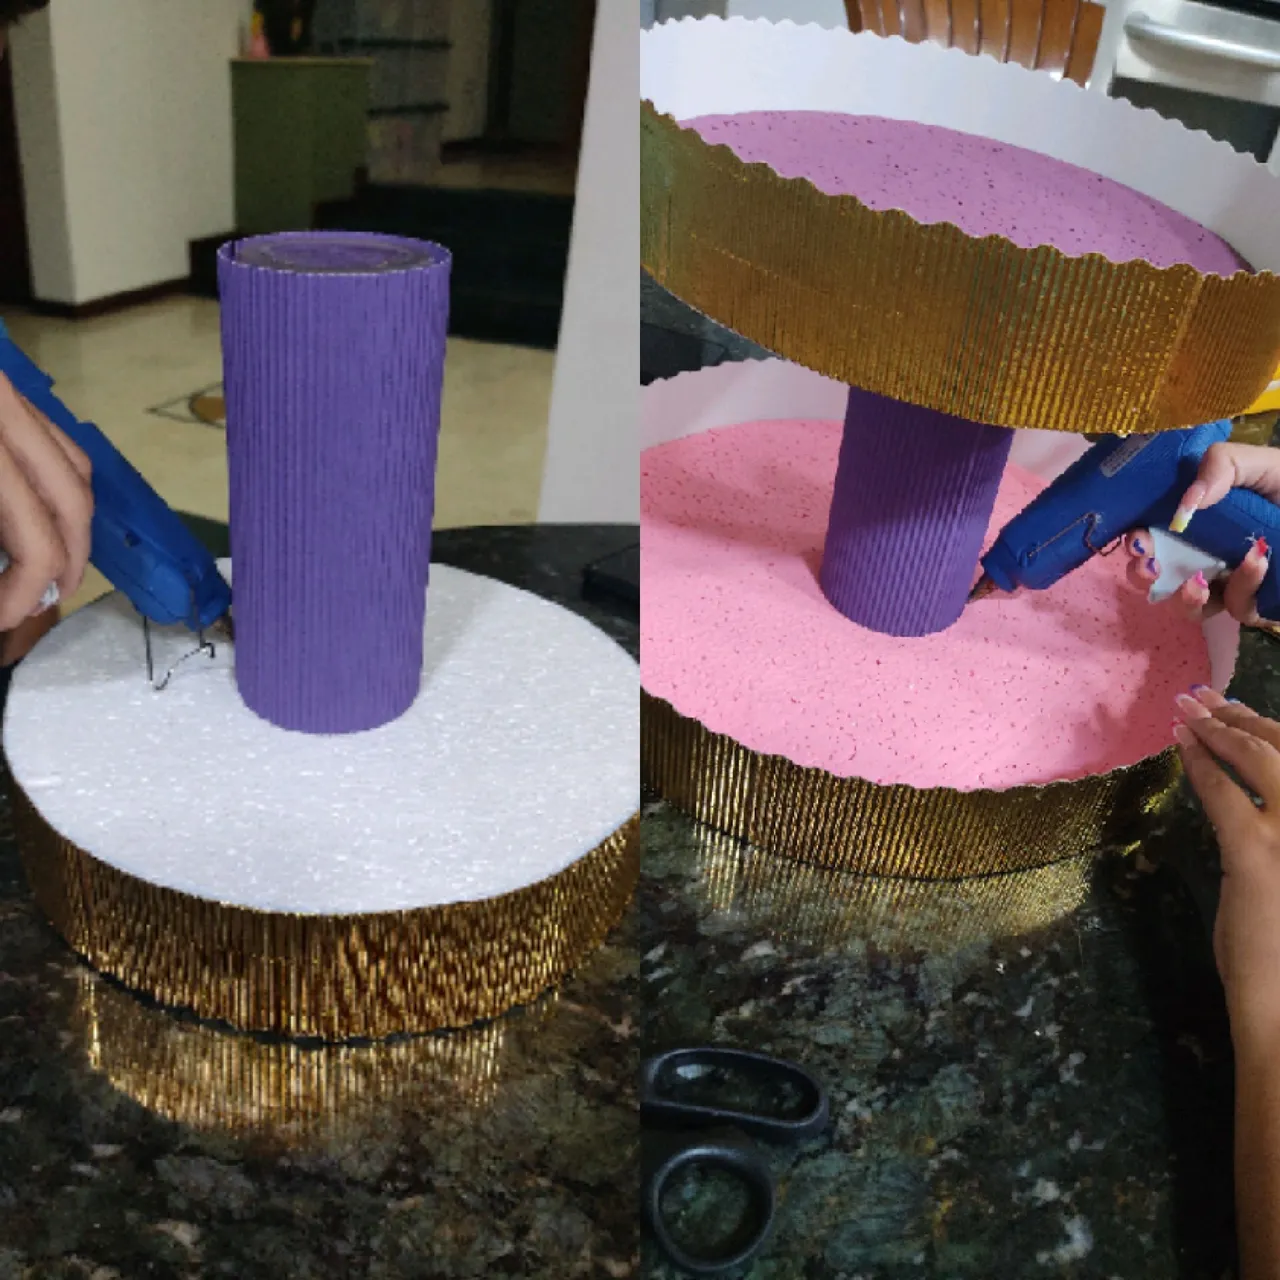
Paso 7: Cortar una botella de plástico y forrarla con cartulina corrugada morada,recuerden pegar con silicón.
Step 7: Cut a plastic bottle and line it with purple corrugated cardboard, remember to glue with silicone.

Paso 8: Pegar los dos círculos del cilindro con silicón caliente y debe quedar de esta manera.
Step 8: Glue the two circles of the cylinder with hot silicone and it should be this way.
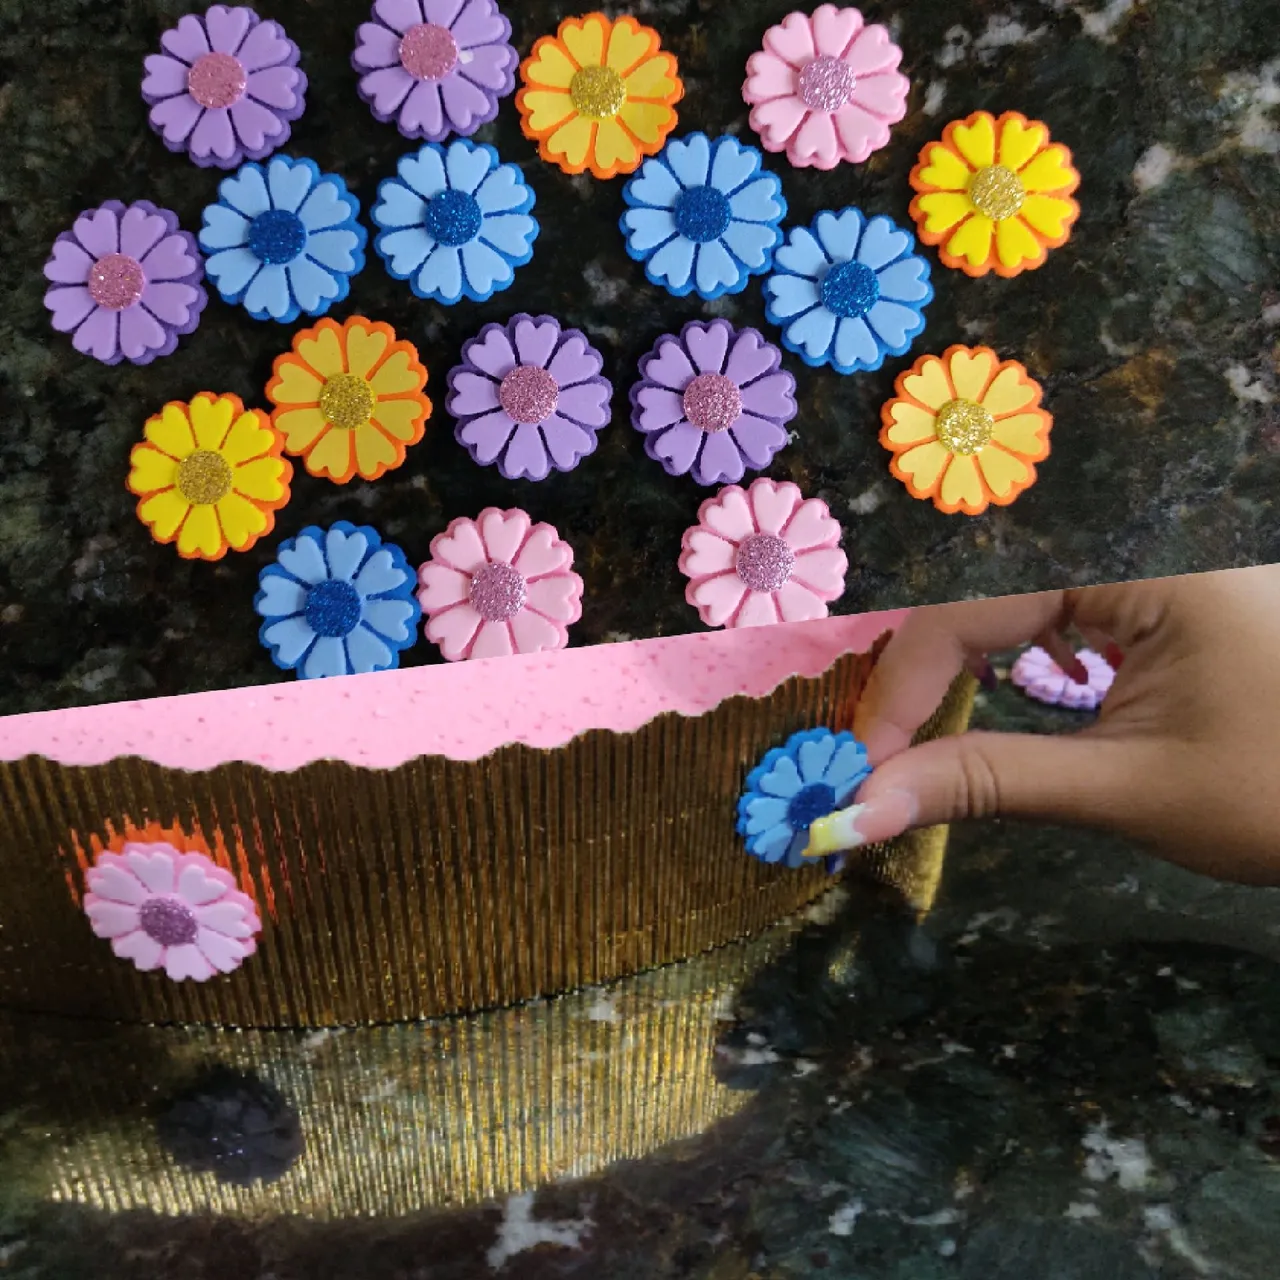
Paso 9: Luego de realizar estás hermosas flores, pegar con silicón por las tiras doradas que cubren las bases.
Step 9: After making these beautiful flowers, stick with silicone on the golden strips that cover the bases.
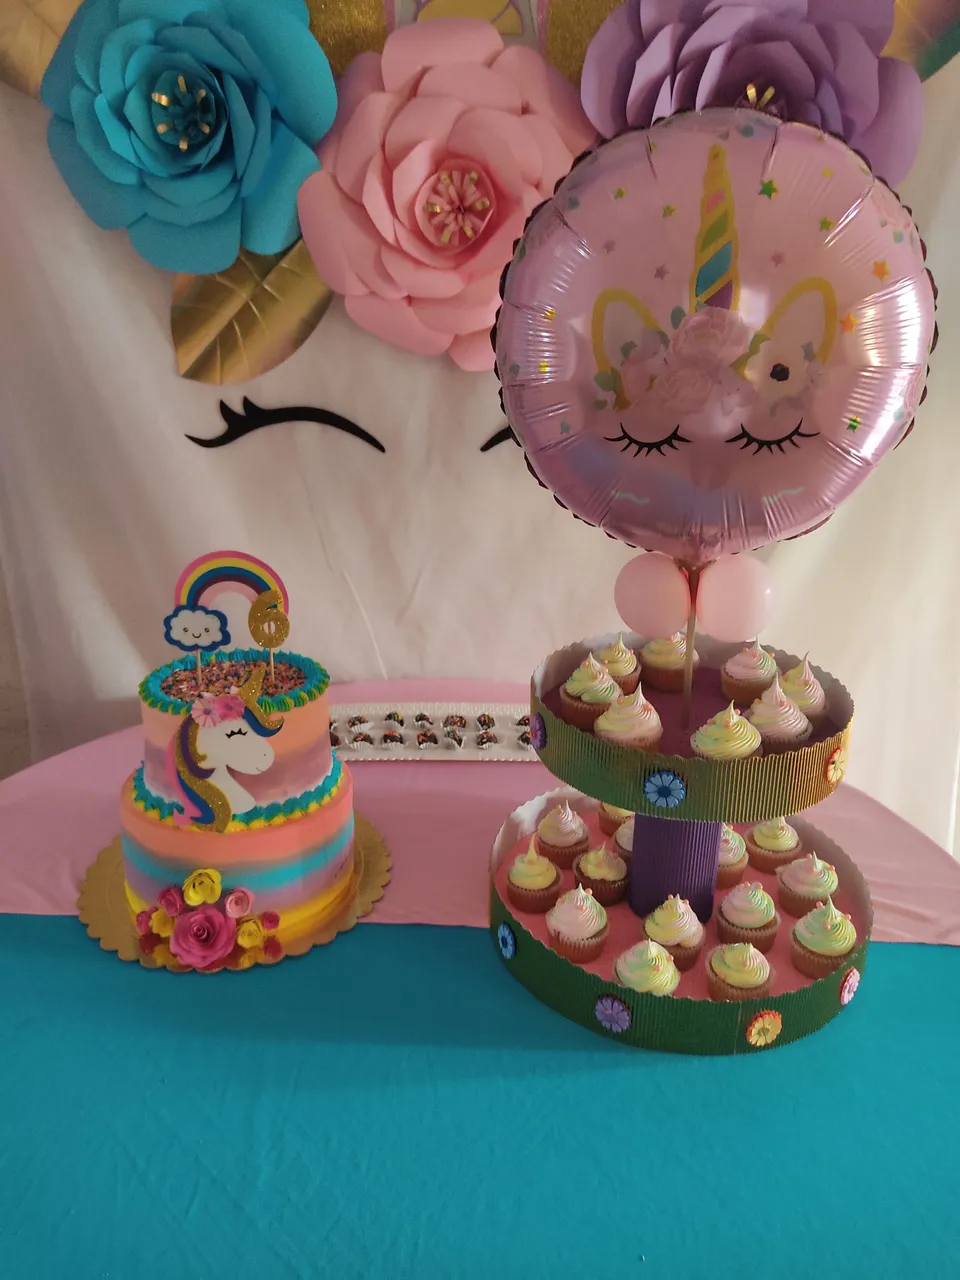
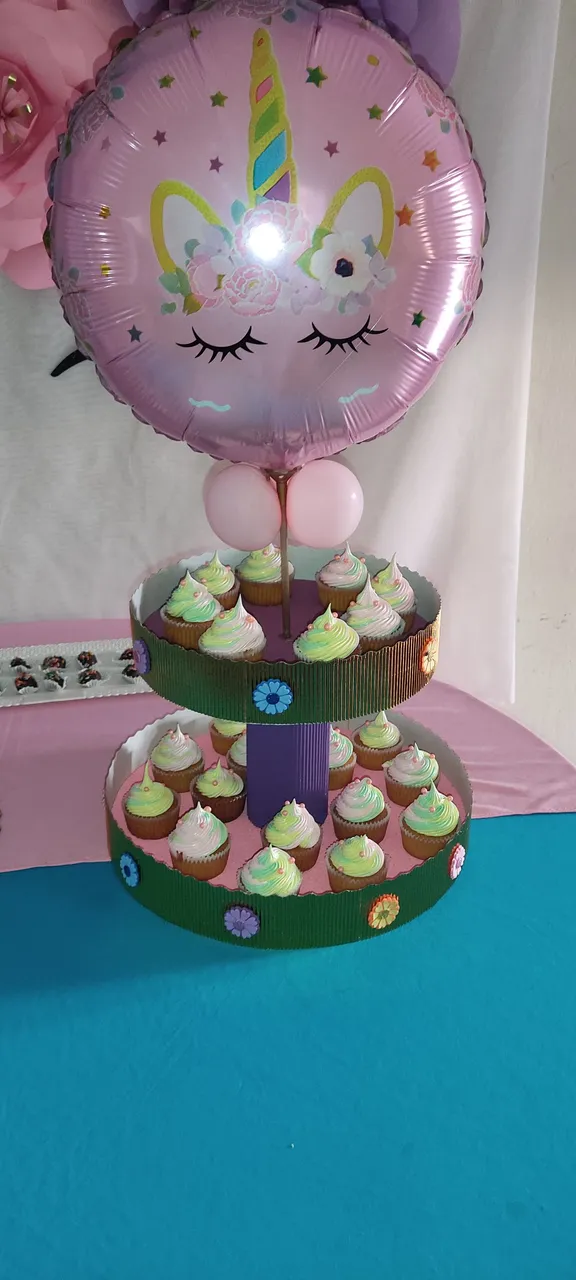
Y listo así de hermosa quedó la ponquesera (base para ponques), fascinada con el resultado, le coloqué un globo de unicornio ya que era el motivo de la fiesta. Espero que le haya gustado este post💜
And that's how beautiful the pancake pan (cake base) was, fascinated with the result, I placed a unicorn balloon on it since it was the reason for the party. I hope she liked this post💜