Welcome to my Blog.
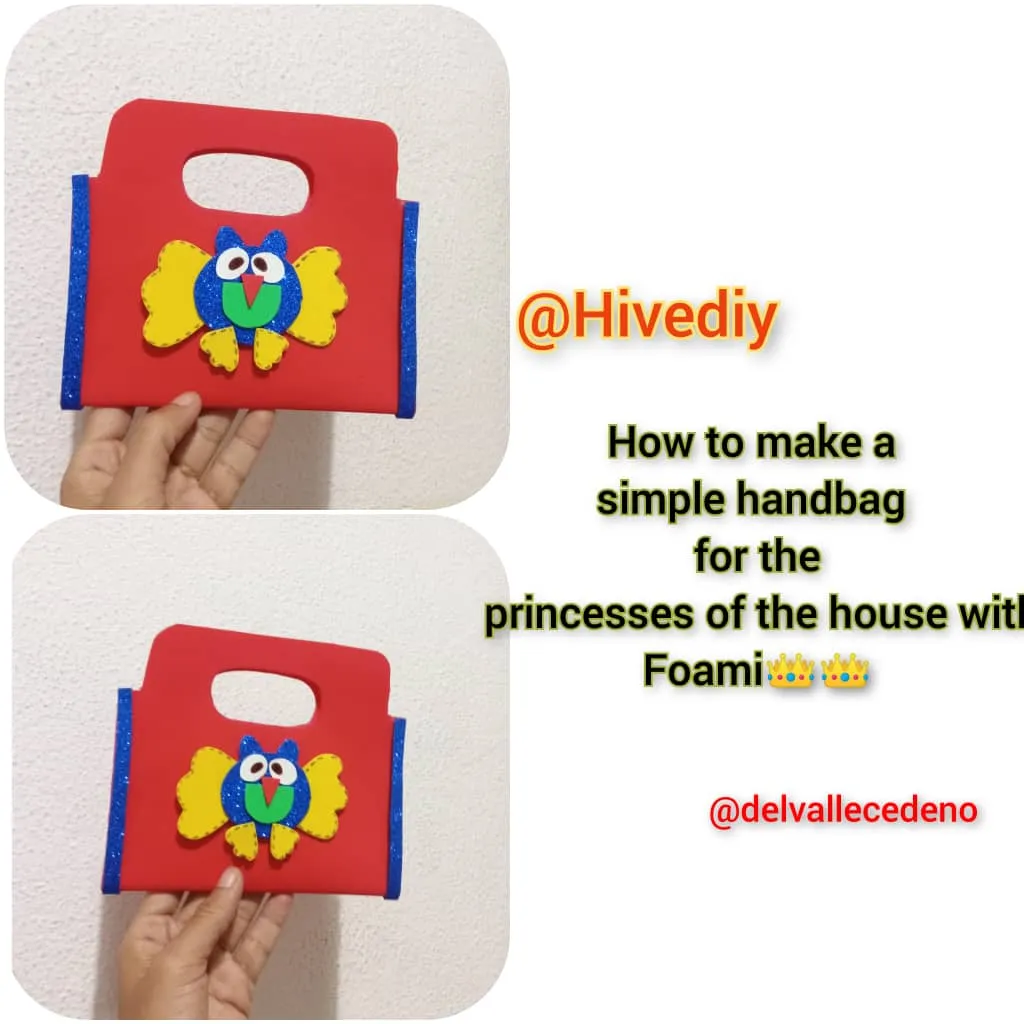
Buen día mis amigos que les encanta el mundo de las manualidades espero estén muy bien, Bendiciones para todos. Una vez más estoy aquí en esta hermosa comunidad de @Hivediy, para traer una Linda idea de cómo hacer un Bello bolso de mano para las princesas de la casa con foami🌼🌼🌼, espero les guste y se animen a intentarlo desde casa, además es muy sencillo al momento de armarlo. A continuación les explico los pasos a seguir:
Good morning my friends who love the world of crafts, I hope you are very well, Blessings to all. Once again I am here in this beautiful community of @Hivediy, to bring a nice idea of how to make a beautiful handbag for the princesses of the house with foami🌼🌼🌼, I hope you like it and are encouraged to try it from home, also It is very simple when putting it together. Here I explain the steps to follow:

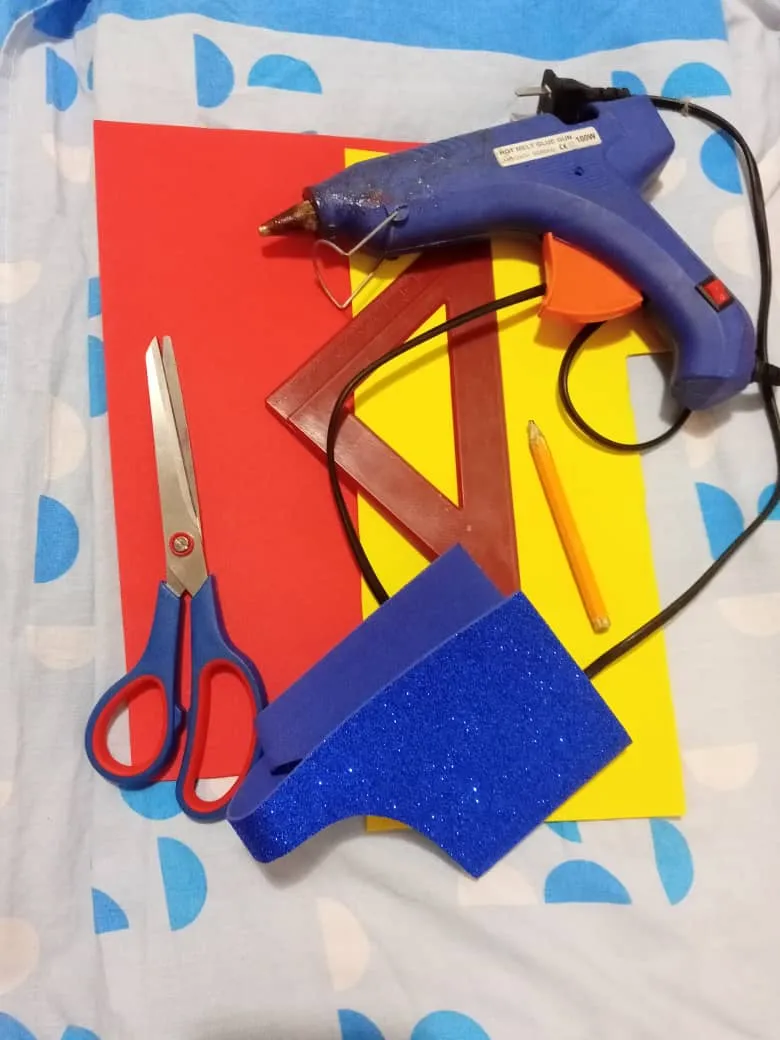
Materiales:
👑Foami rojo y amarillo.
👑Retazo de foami azul escarchado, verde liso y blanco.
👑Tijera.
👑Silicón caliente.
👑Marcador.
👑Regla.
👑Lápiz.
Materials:
👑Red and yellow foam.
👑Piece of frosted blue, smooth green and white foami.
👑Scissors.
👑Hot silicone.
👑Marker.
👑Ruler.
👑Pencil.
Step by Step || Pasó a paso:
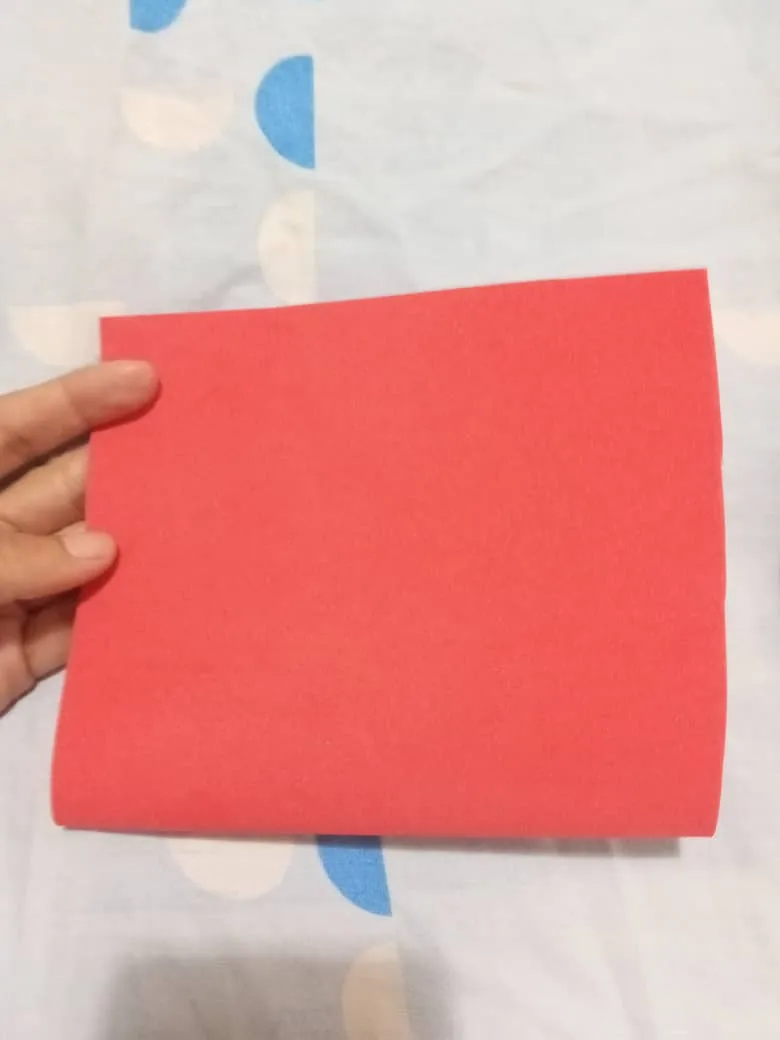
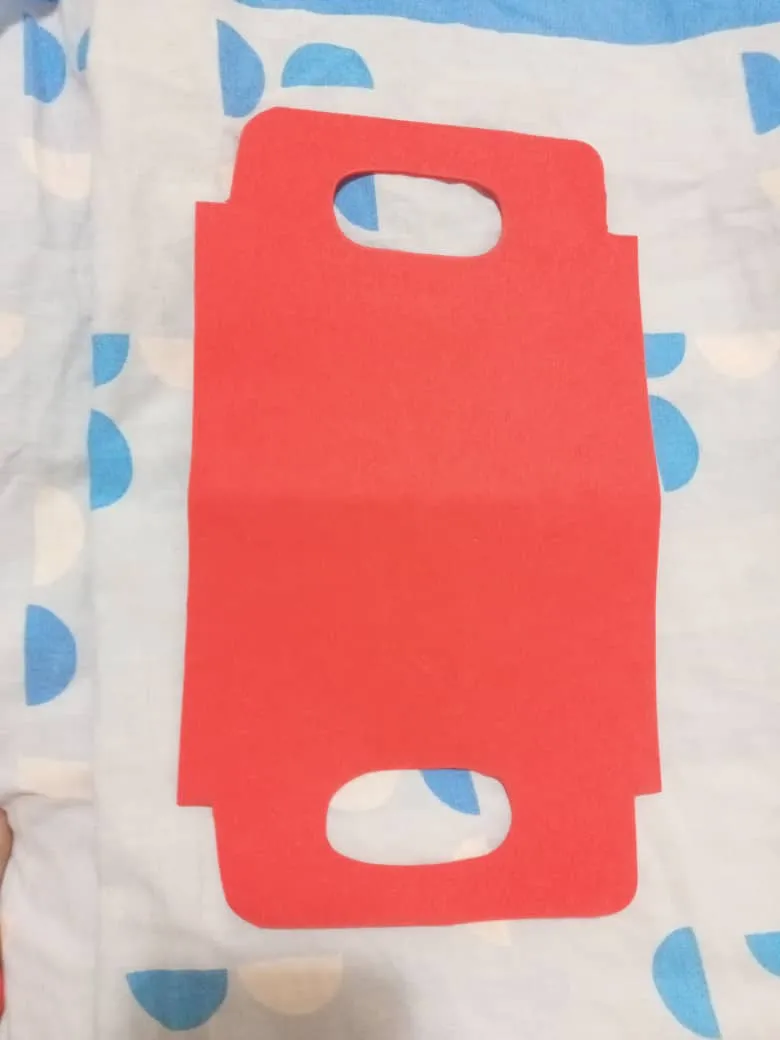
1er paso: Lo primero que haremos es cortar el foami rojo con ayuda de la tijera de la siguente manera 32cm de alto por 16cm de ancho como podemos observar en las imágenes mis amigos.
1st step: The first thing we will do is cut the red foami with the help of scissors in the following way 32cm high by 16cm wide as we can see in the images my friends.
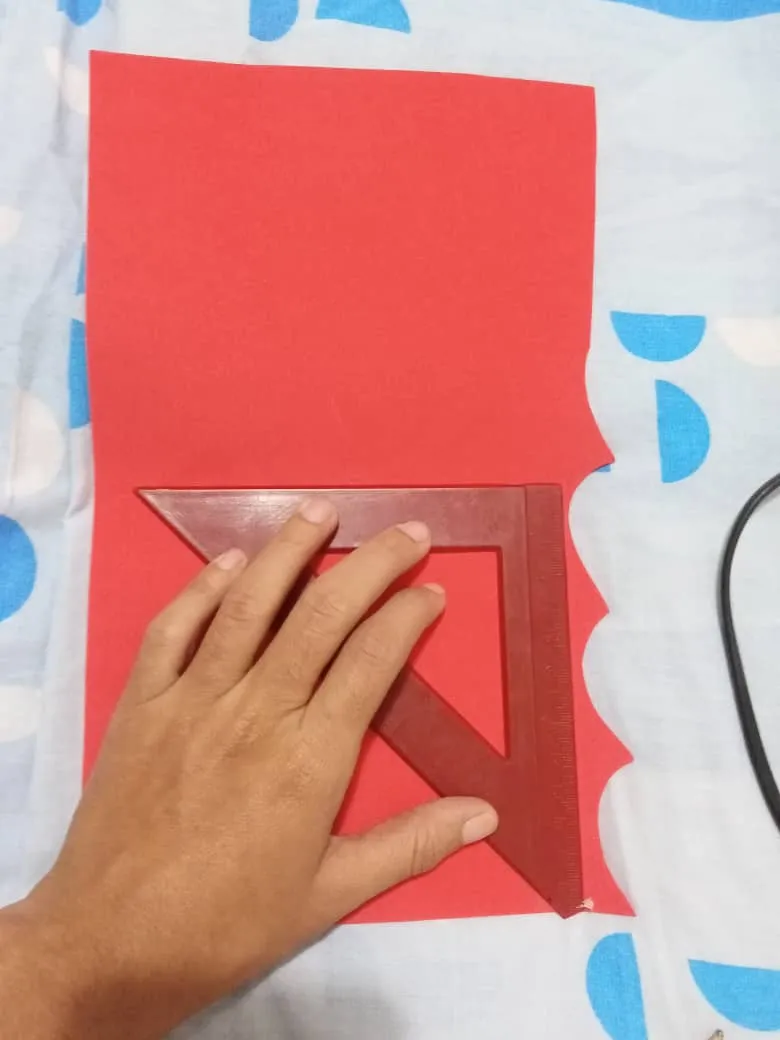
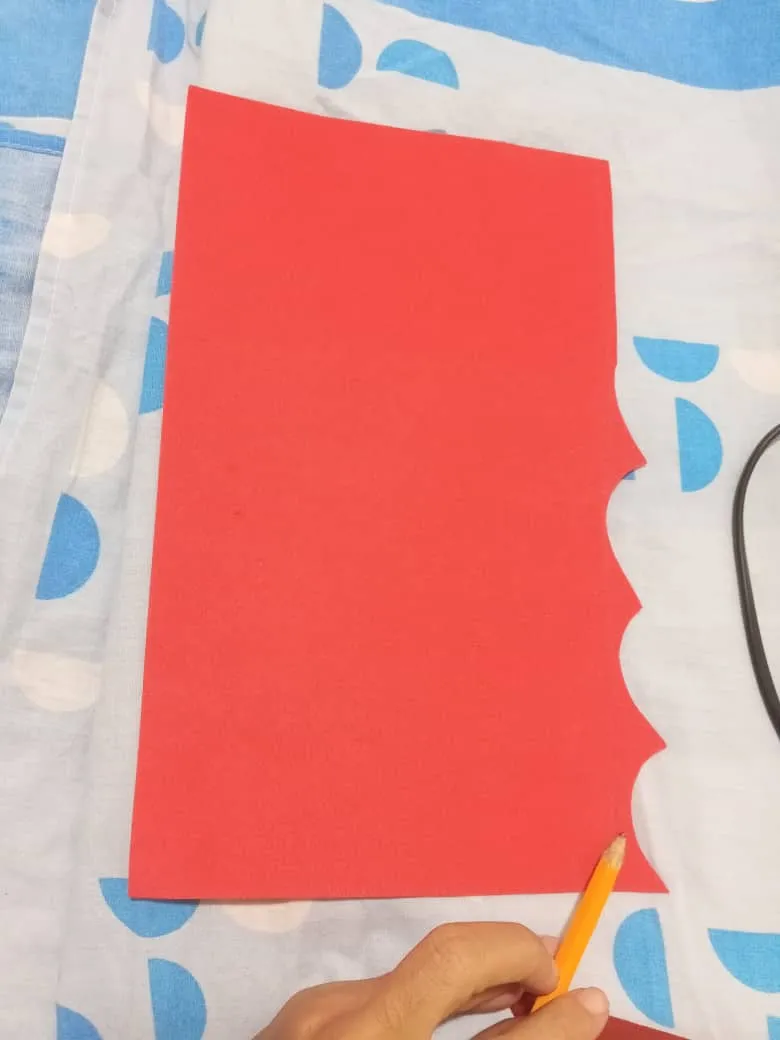
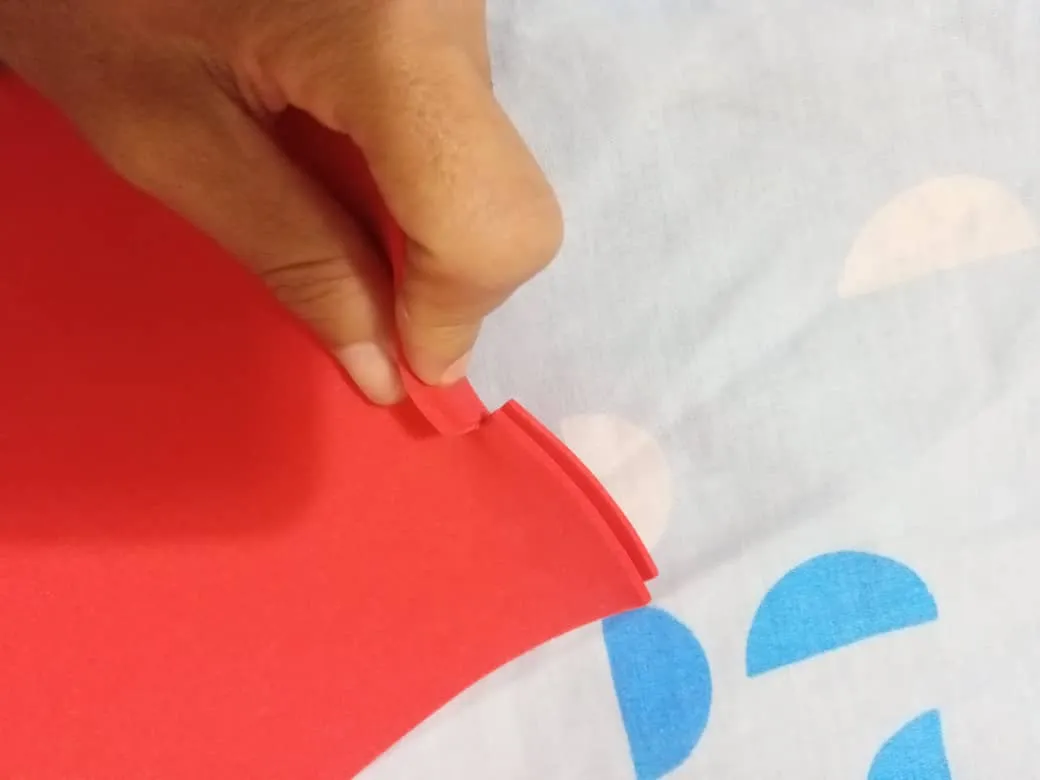
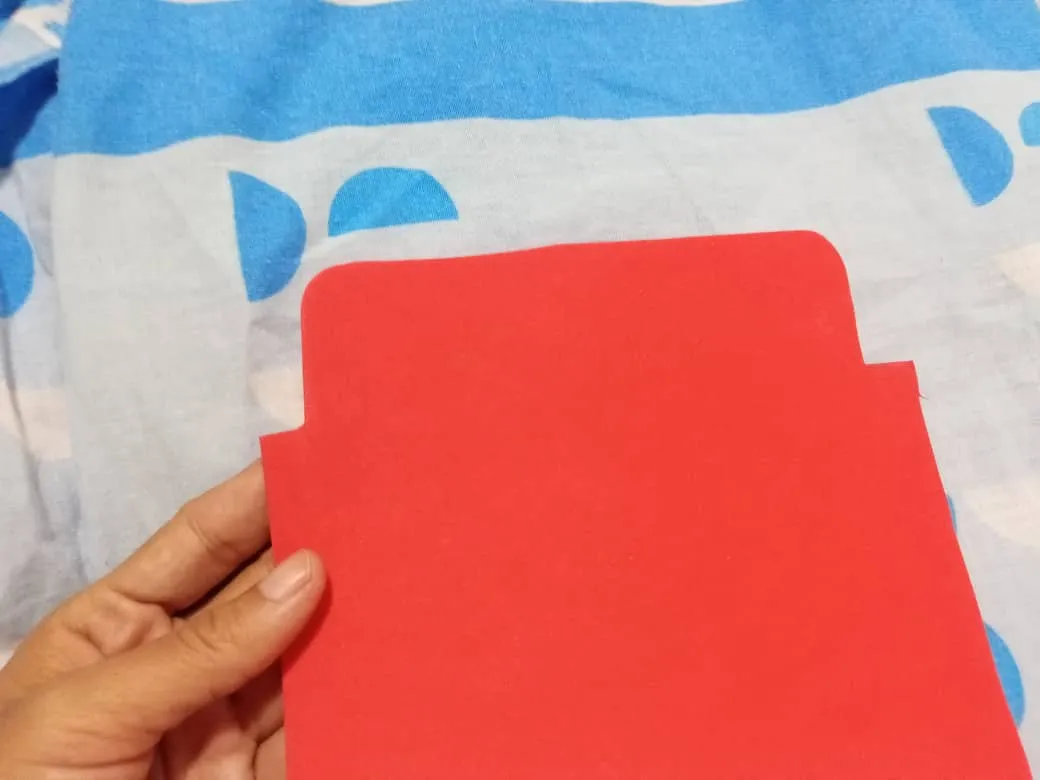
2do paso: Seguidamente procedemos a doblar a la mitad y en cada extremo dejar 2cm de ancho por 4cm de alto y cortar para hacer un pequeño corte semiovalado como se puede apreciar.
2nd step: Next we proceed to fold in half and at each end leave 2cm wide by 4cm high and cut to make a small semi-oval cut as you can see.
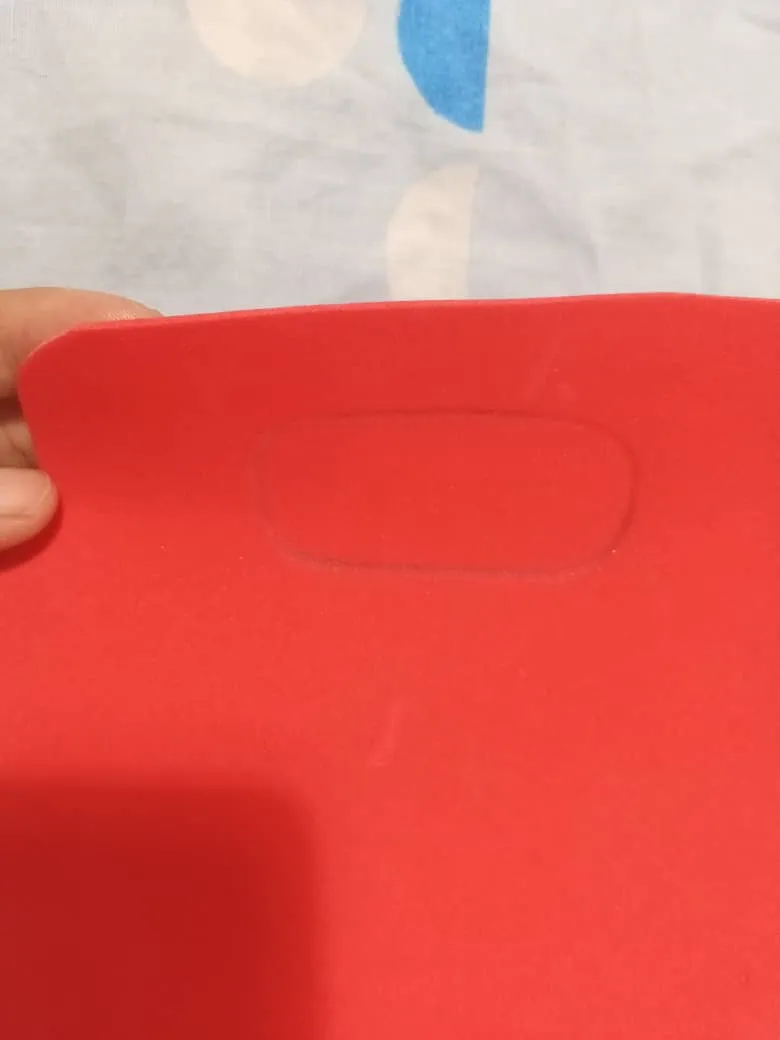
3er paso: Luego procedemos a realizar un pequeño corte en la parte superior dejando 3cm de alto en el medio del bolso para hacer un orificio que será la agarradera como se puee observar.
3rd step: Then we proceed to make a small cut in the upper part, leaving 3cm high in the middle of the bag to make a hole that will be the handle as you can see.
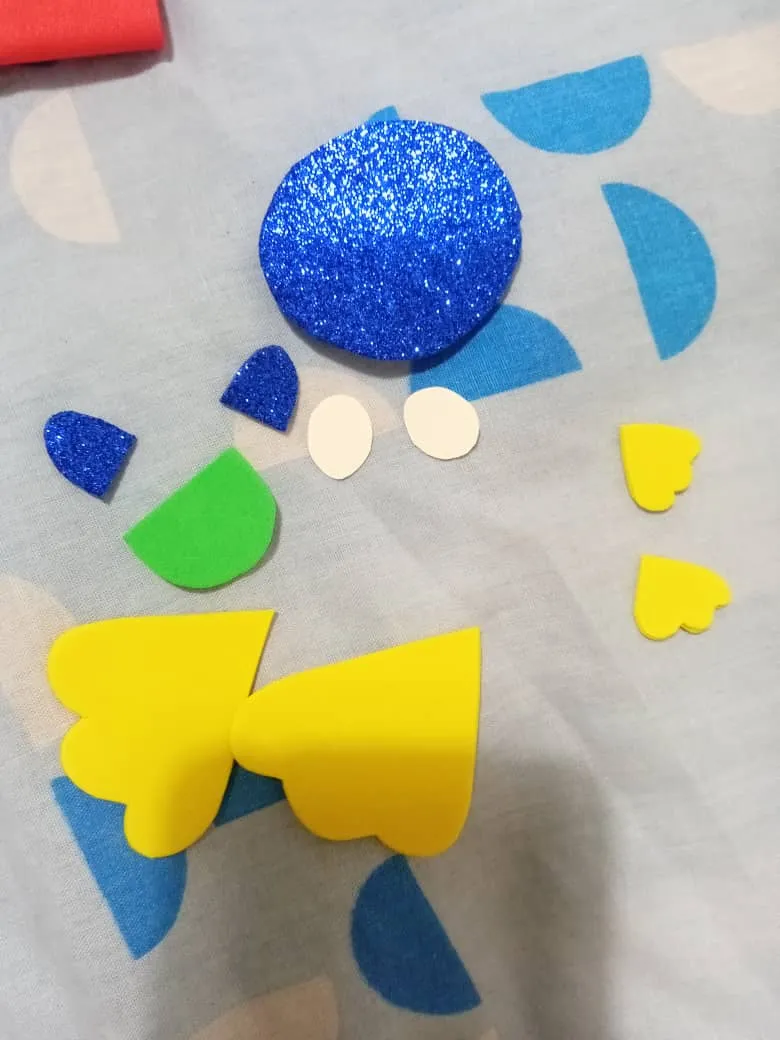
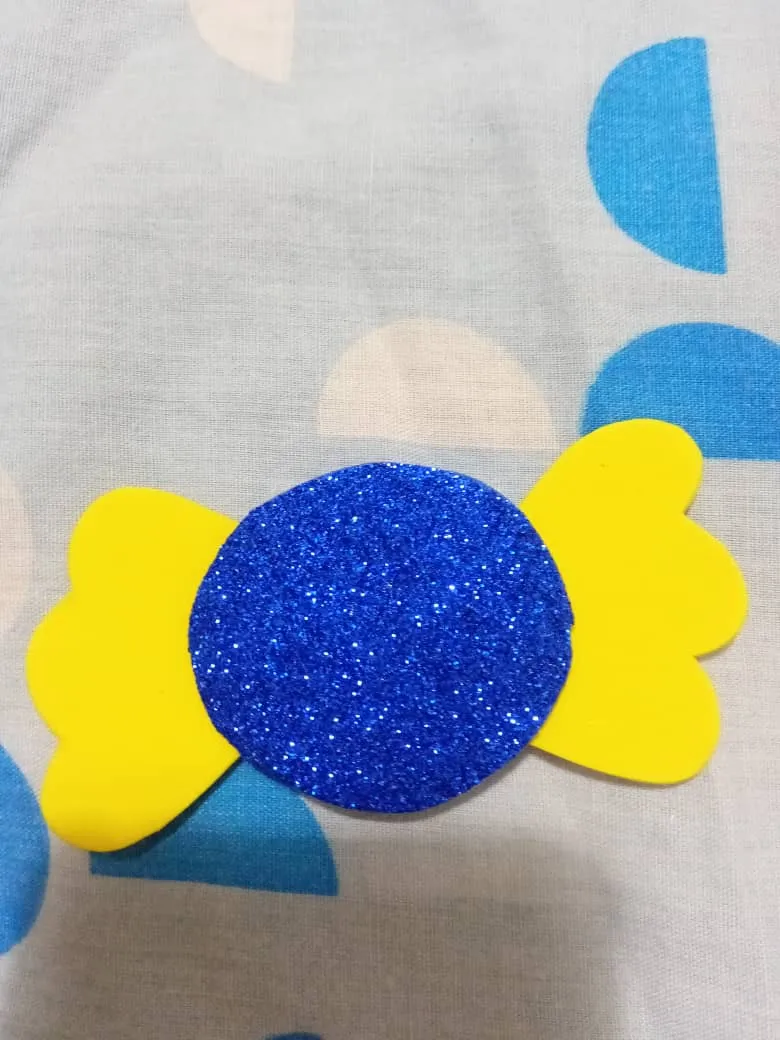
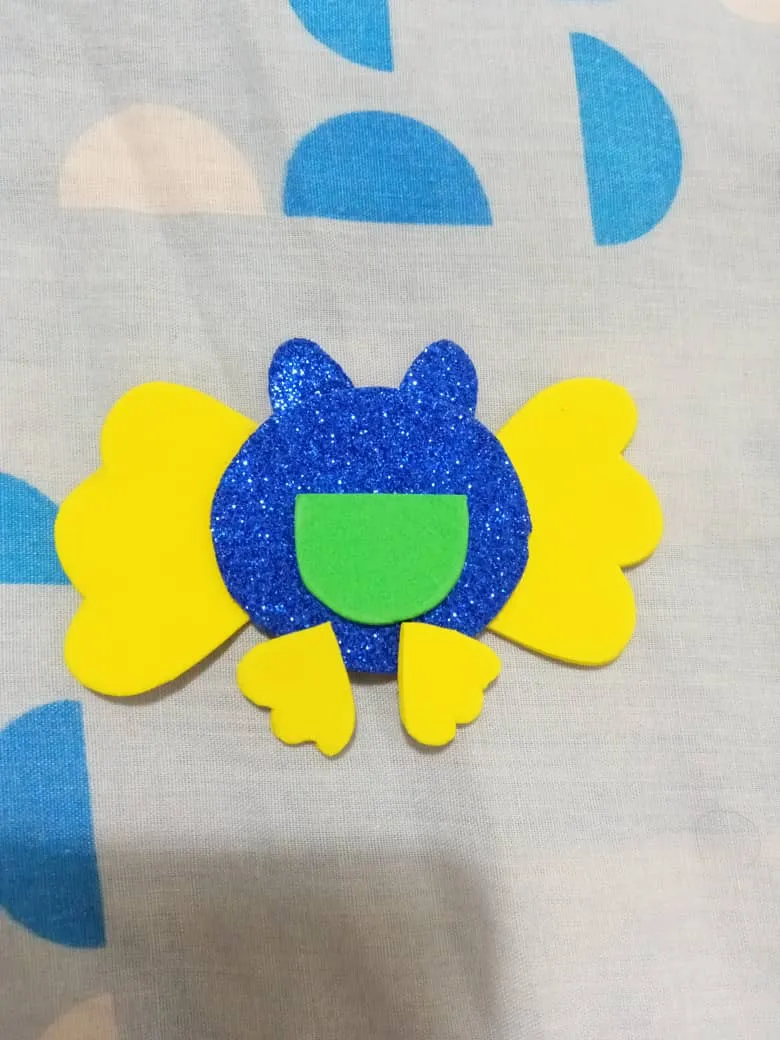
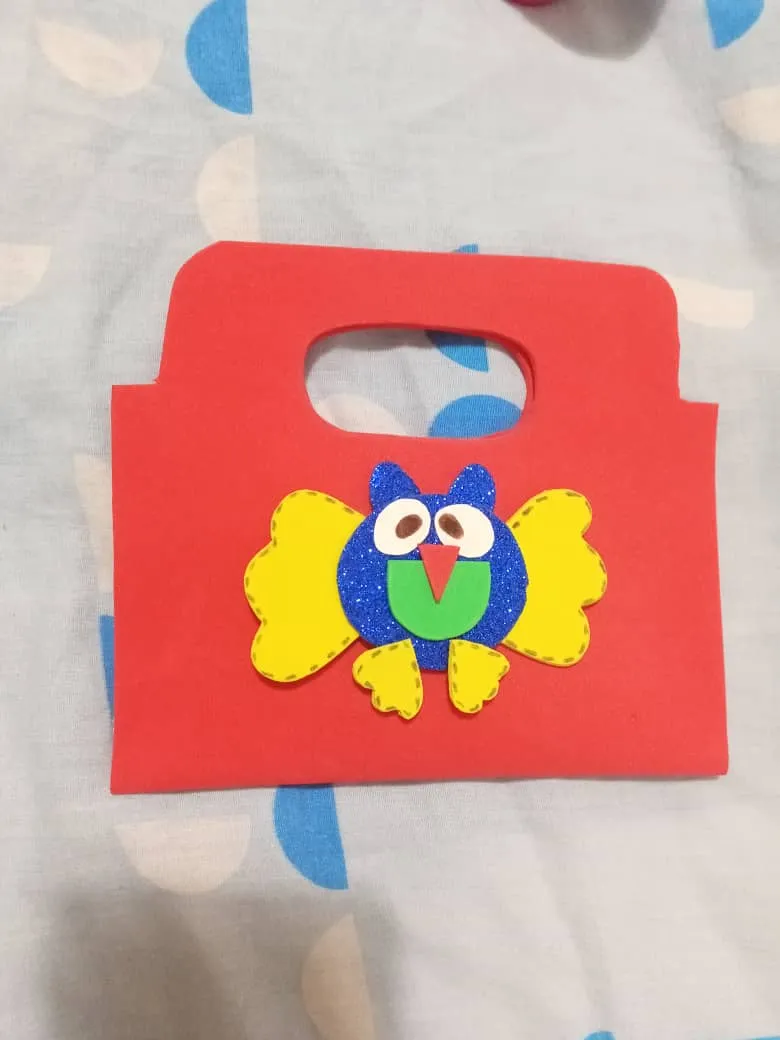
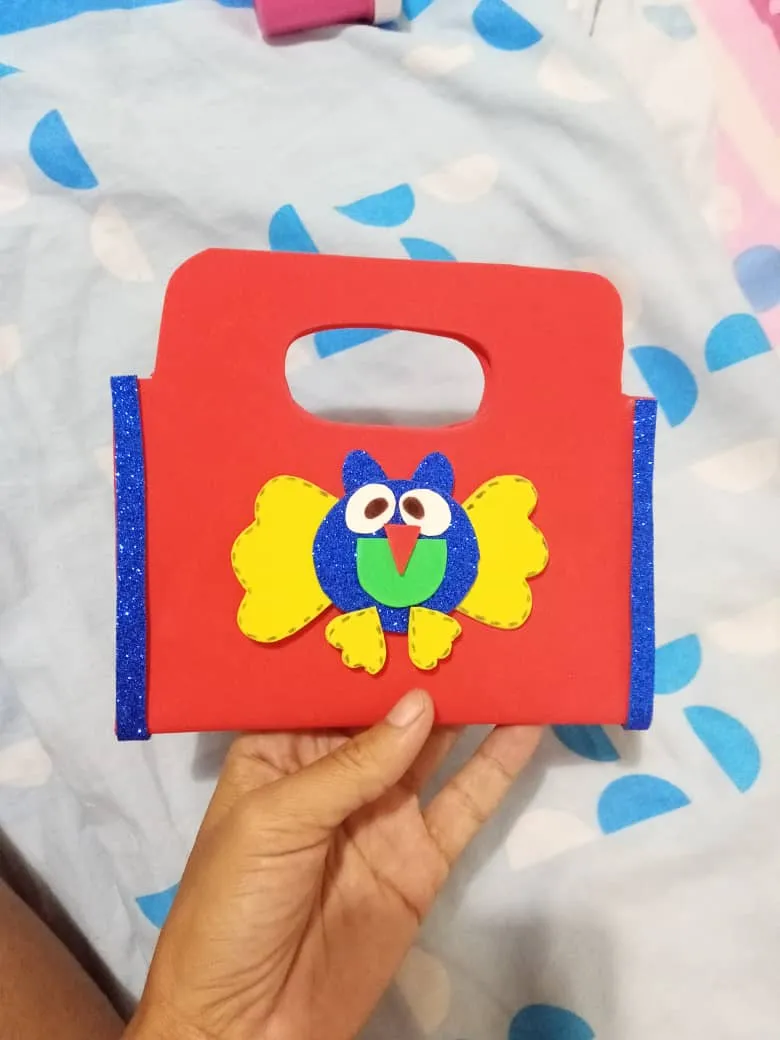
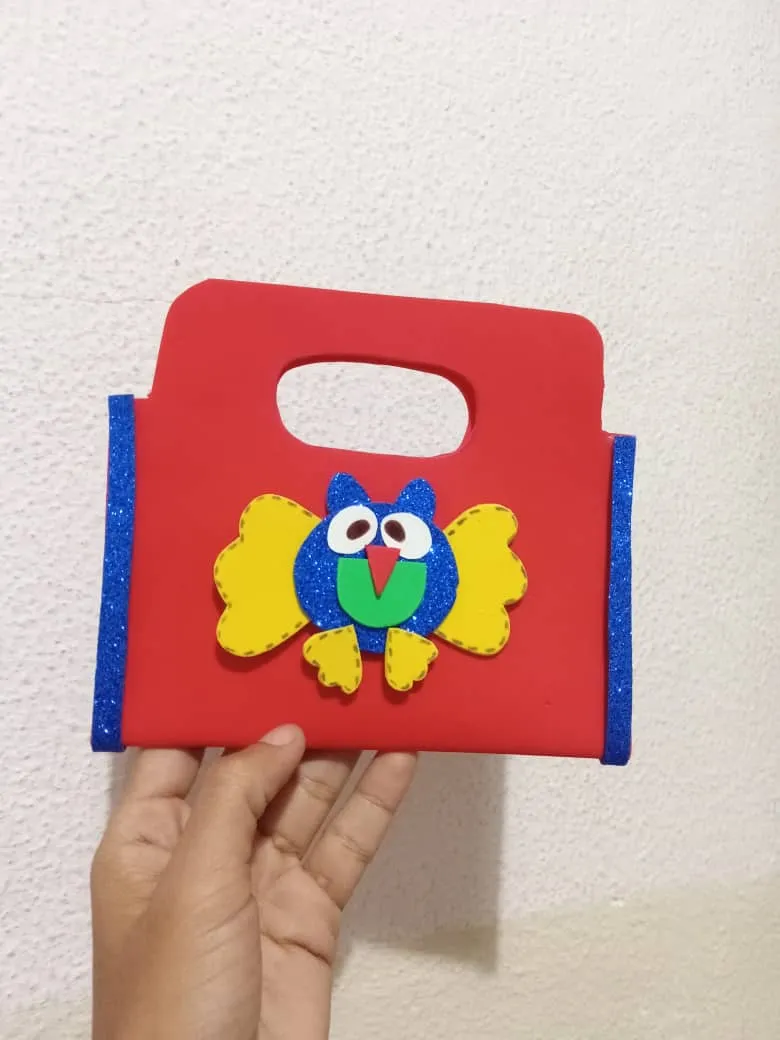
4to paso: A continuación mis amigos vamos a marcar y cortar las piezas de un pequeño buho, usted puede elegir el de su preferencia, pegamos y añexamos al bolso con unos detalles en las orillas y listo mis amigos manualista así de lindo quedó.
4th step: Next, my friends, we are going to mark and cut the pieces of a small owl, you can choose the one of your preference, we glue and attach it to the bag with some details on the edges and that's it, my manualist friends, it was so cute.

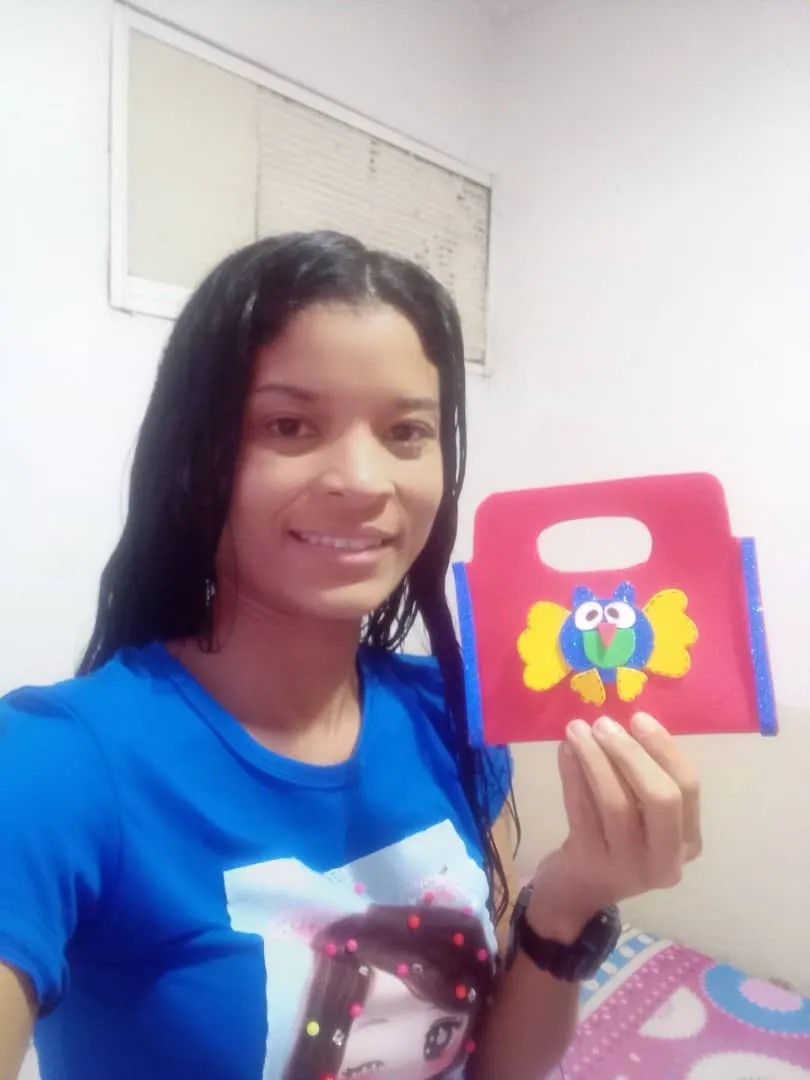
Espero les haya gustado mi trabajo del día de hoy y se animen a realizarlo para consentir a las princesas de sus hogares, lindos detalles con pocos materiales. Les envío un fuerte abrazo. Bendiciones 🌼🌼🤗🤗👑👑
I hope you liked my work today and are encouraged to do it to pamper the princesses of your homes, beautiful details with few materials. I send you a big hug. Blessings 🌼🌼🤗🤗👑👑
Muchas gracias por visitar mi Blog
Thank you very much for visiting my Blog.