Welcome to my Blog.
Buenas noche mis queridos hivers espero esten muy bien y con buena salud, un fuerte abrazo para todos los que forman parte de esta hermosa familia muy en especial a los de esta maravillosa comunidad de @Hive diy. Hoy quiero compartir un Lindo cuadro ideal para adornar nuestros hogares sin grandes gastos económicos. pasos a seguir:
Good night my dear hivers I hope you are very well and in good health, a big hug for all who are part of this beautiful family, especially those of this wonderful @Hive diy community. Today I want to share a beautiful picture ideal to decorate our homes without great financial expenses. steps to follow:

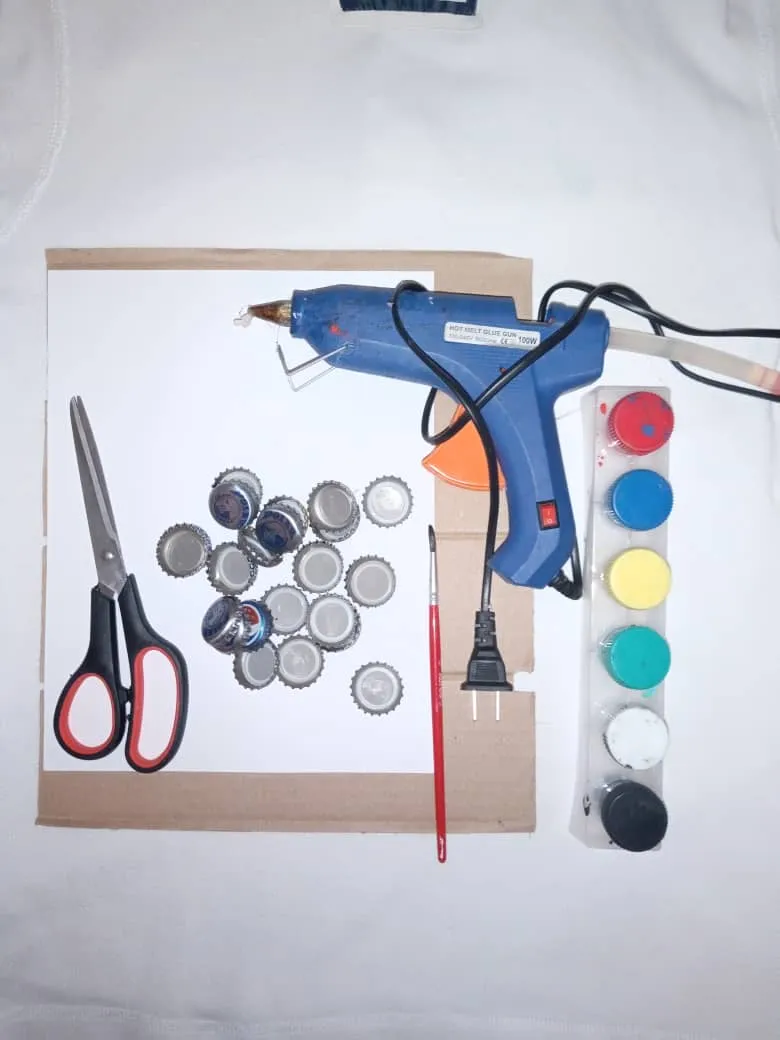
Materials:
- Chapas.
- Tijera.
- Pincel.
- Cartón.
- Hoja reciclada.
- Silicón caliente.
- Palillo de altura.
Materiales:
- Veneers.
- Scissor.
- Brush.
- Paperboard.
- Recycled sheet.
- Hot silicone.
Step by Step || Pasó a paso:
*1er paso: Lo primero que haremos es forrar el cartón con nuestra hoja reciclada para armar nuestra base del cuadro a trabajar. *
1st step: The first thing we will do is line the cardboard with our recycled sheet to assemble our base of the painting to work.

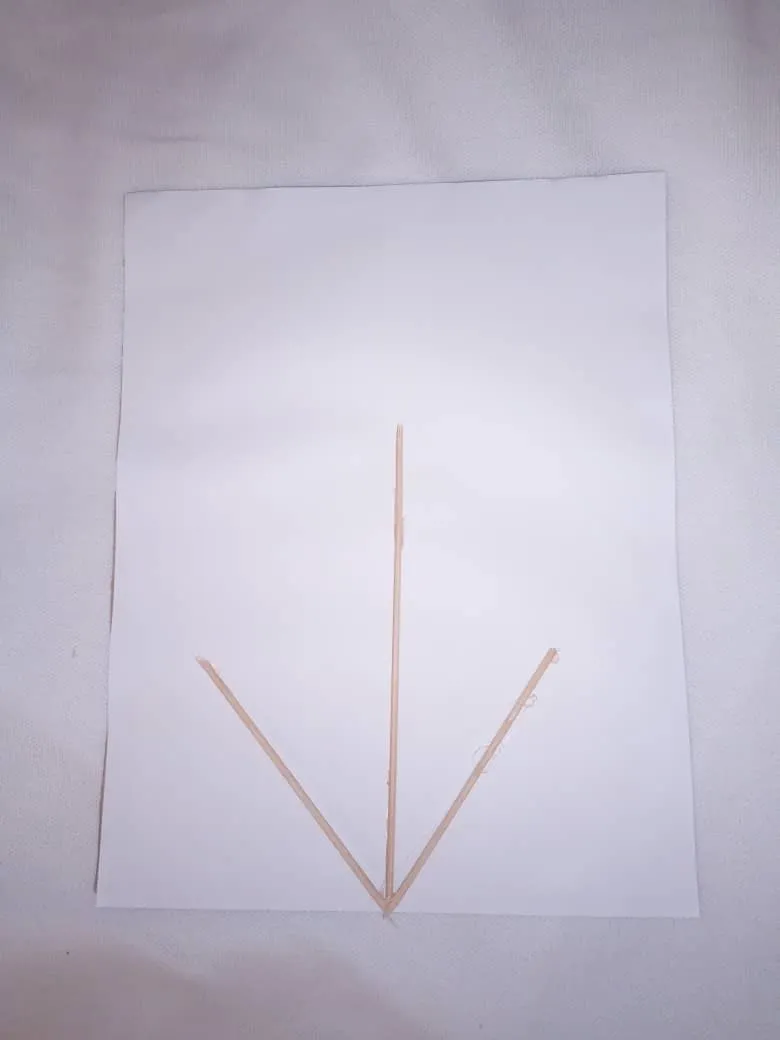
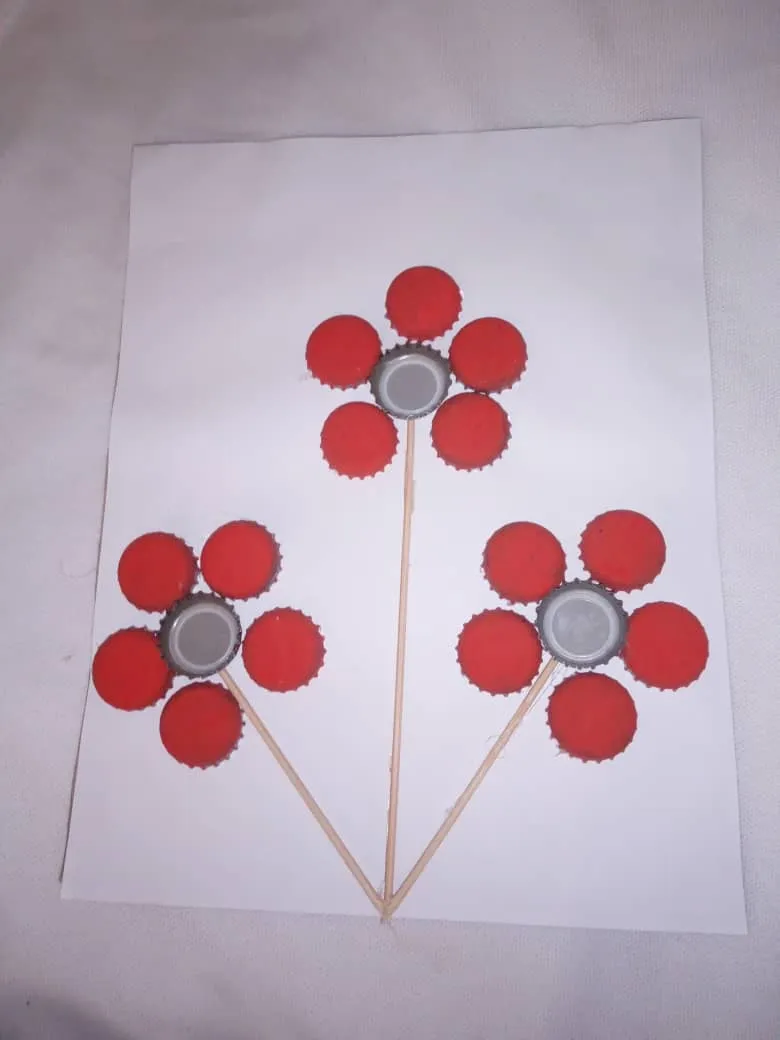
2do paso: Luego pegamos tres palillos de la siguiente manera.
2nd step: Then we glue three toothpicks as follows.
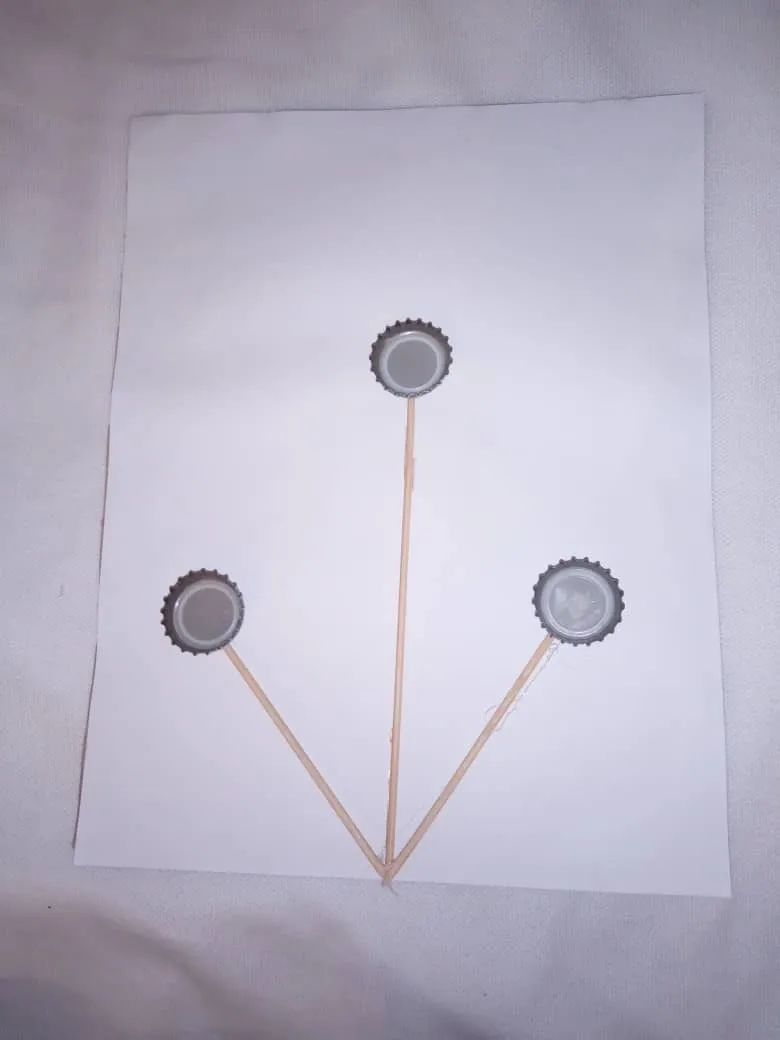
3er paso: Seguidamente pegamos tres chapas al revés lo que será el centro de nuestras flores.
3rd step: Next we glue three plates upside down which will be the center of our flowers.
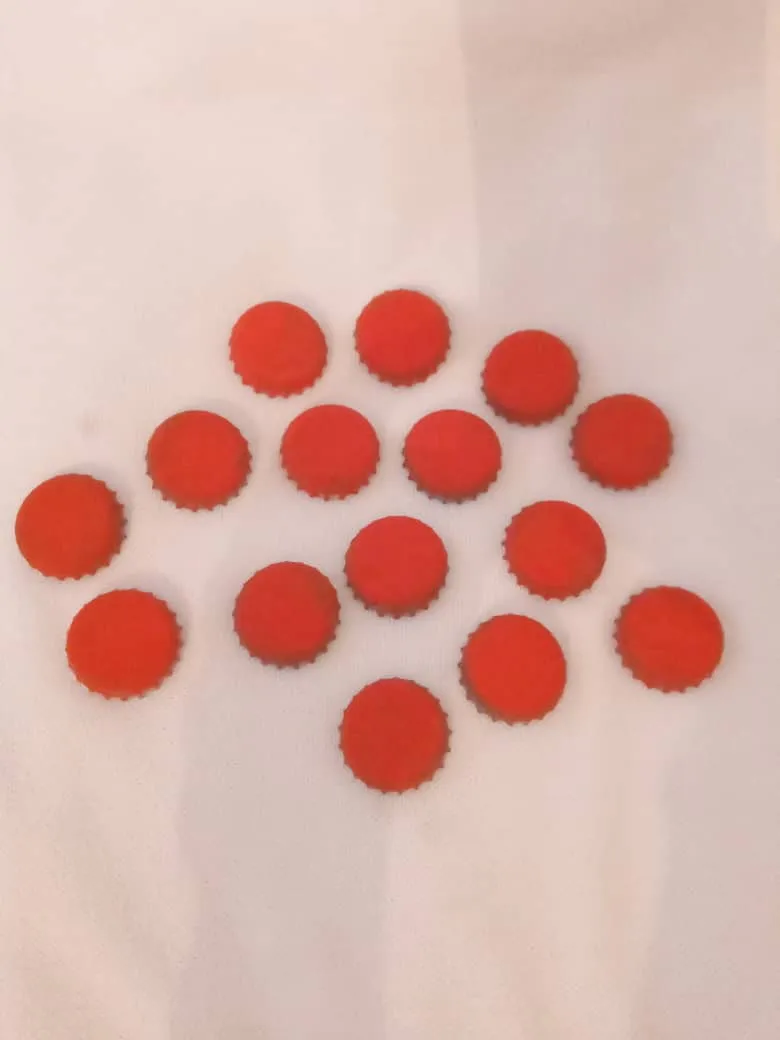
4to paso: Pintamos 15 chapas de color rojo que seran los pétalos y pegamos.
4th step: We paint 15 plates of red color that will be the petals and glue.
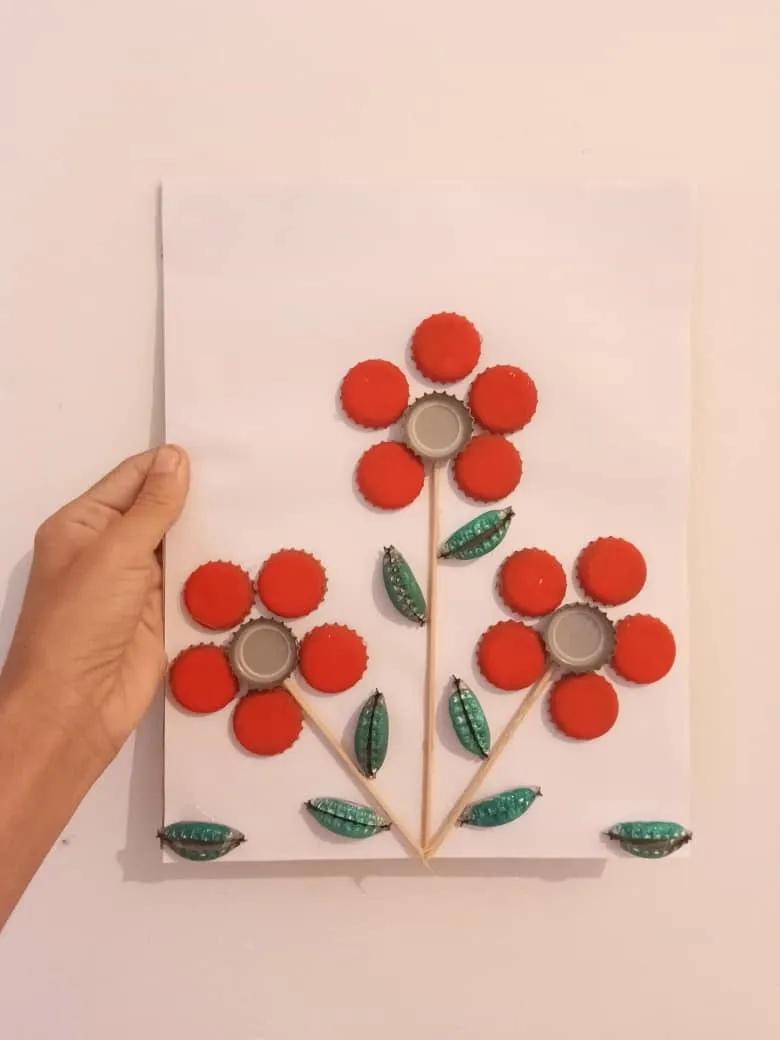
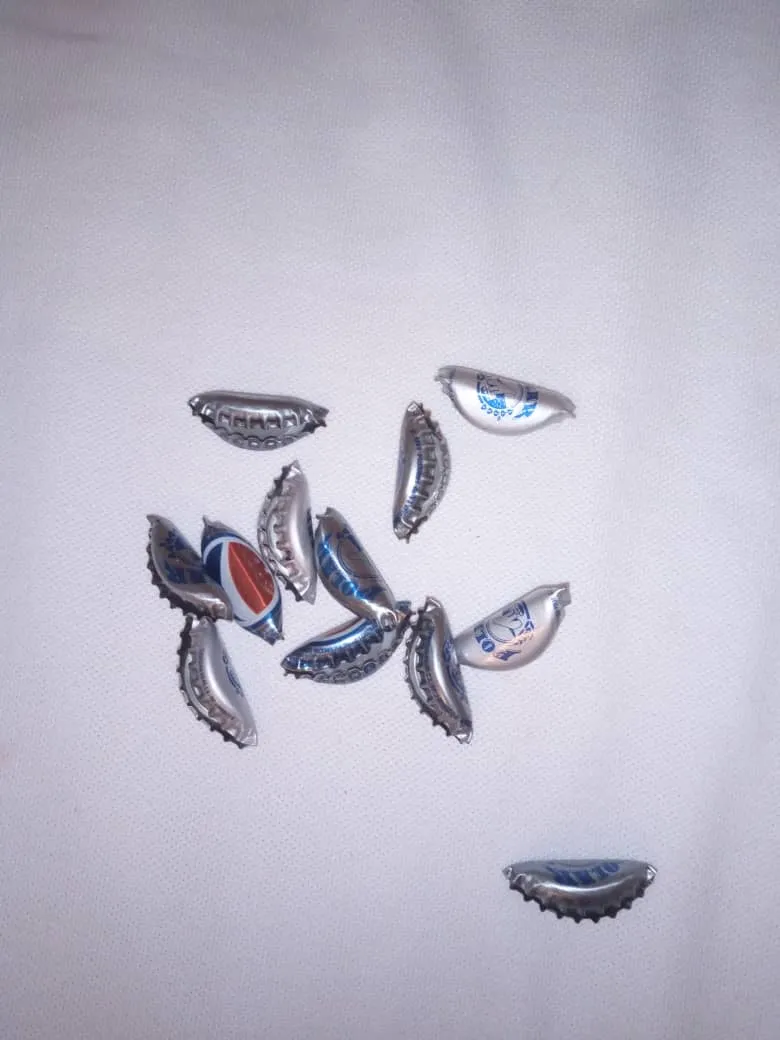
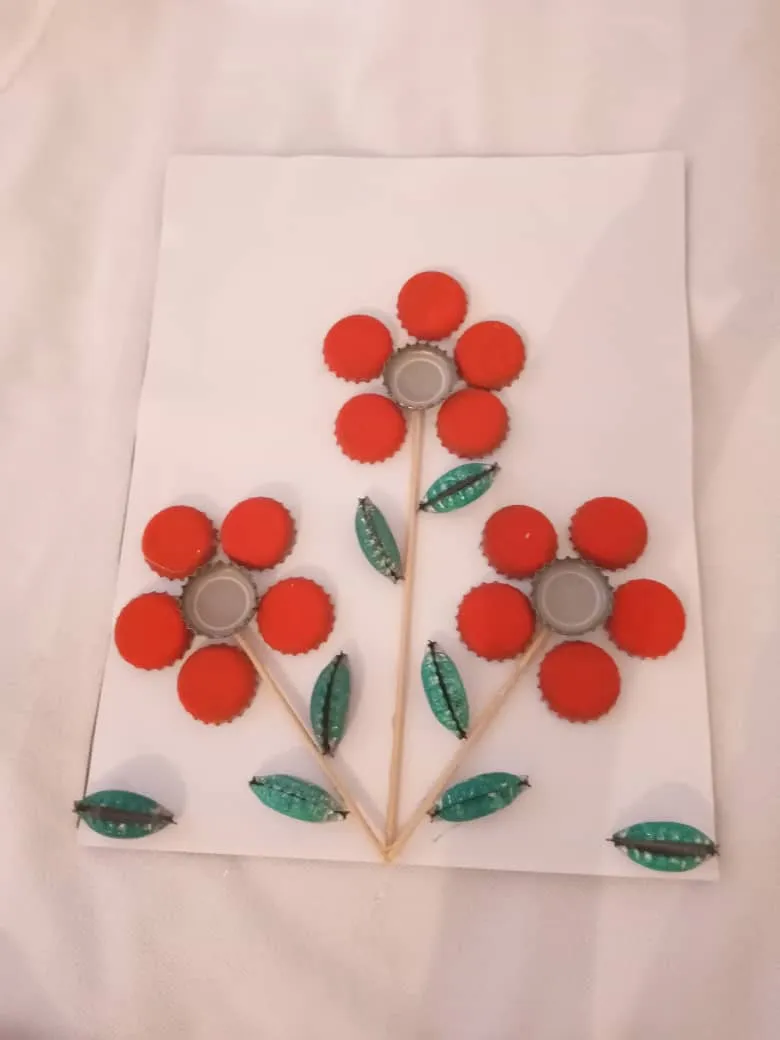
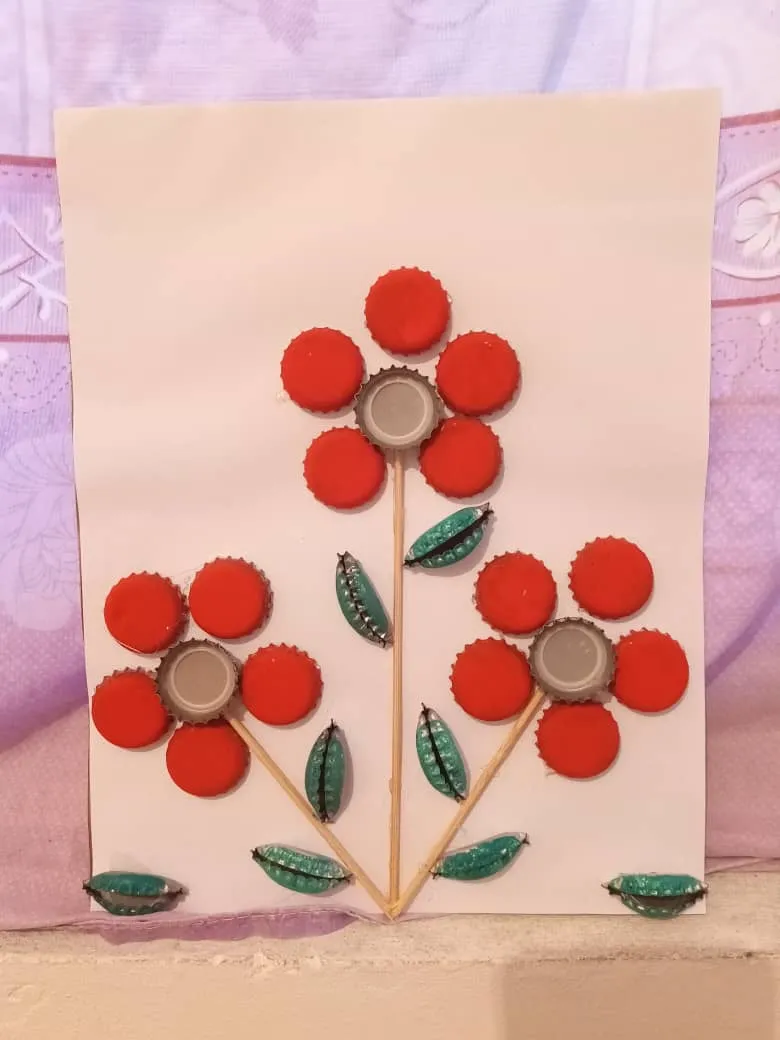
*5to paso: Para finalizar doblamos las chapas de la siguiente manera con alguna herramienta pintamos y anexamos a nuestro cuadro y listo mis amigos. *
5th step: To finish, we fold the sheets as follows with a tool, paint and attach them to our painting and that's it, my friends.

Muchas gracias por visitar mi Blog
Thank you very much for visiting my Blog.