Welcome to my Blog.
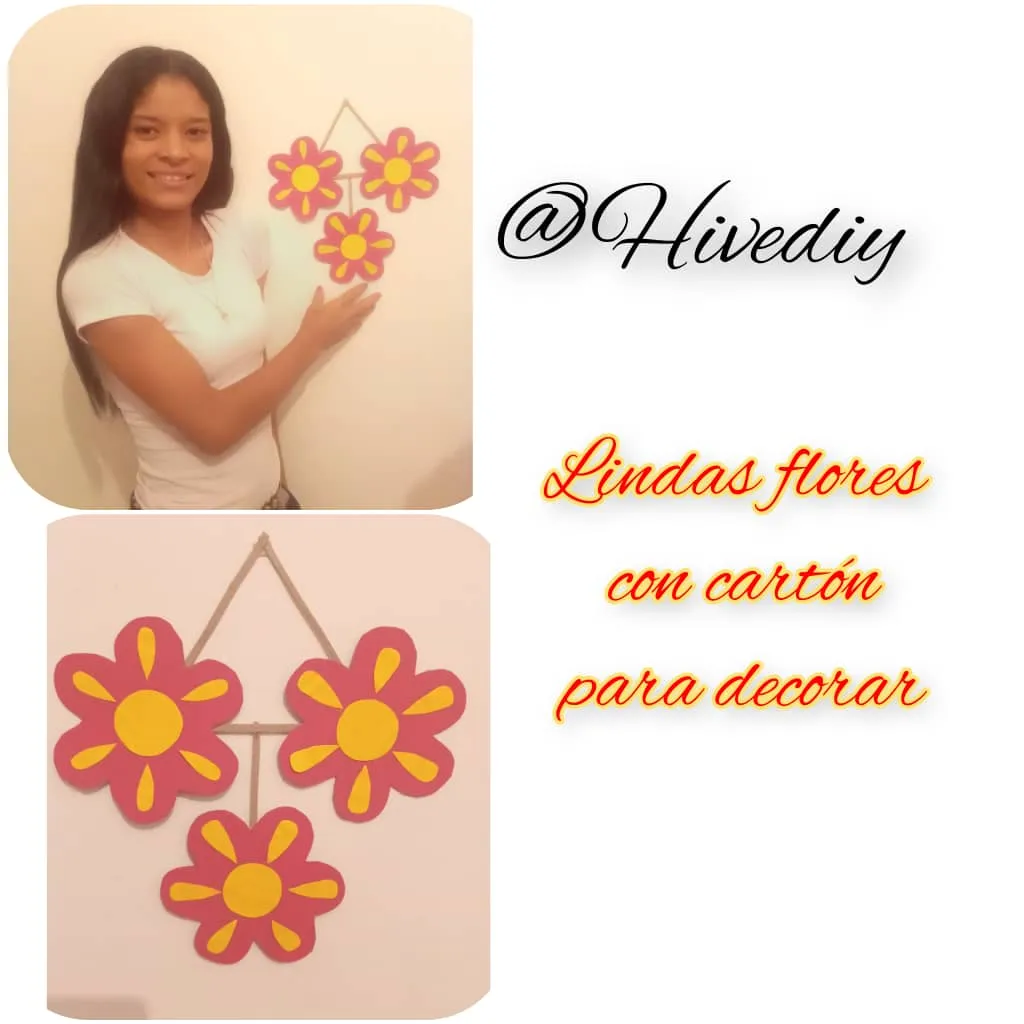
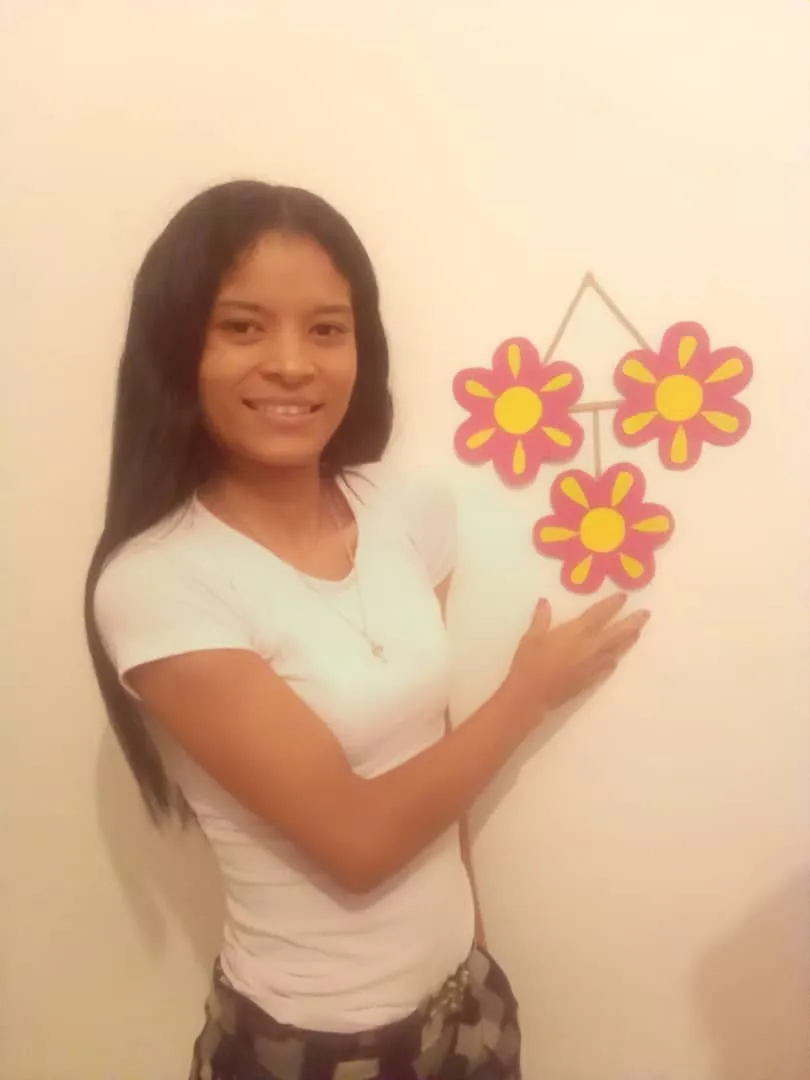
Hola amigos de esta aparecida comunidad de @Hivediy, Feliz noche para todos un fuerte abrazo y espero esten muy bien. Hoy quiero compartir con ustedes la elaboración de un Hermoso adorno de pared para el hogar, se trata de una bellas flores elaboradas con Cartón reciclado, espero sea de su agrado amigos. A continuación pasos a seguir:
Hello friends of this appeared community of @Hivediy, Happy evening to everyone, a big hug and I hope you are doing well. Today I want to share with you the elaboration of a Beautiful wall ornament for the home, it is a beautiful flowers made with recycled cardboard, I hope you like it, friends. Here are the steps to follow:

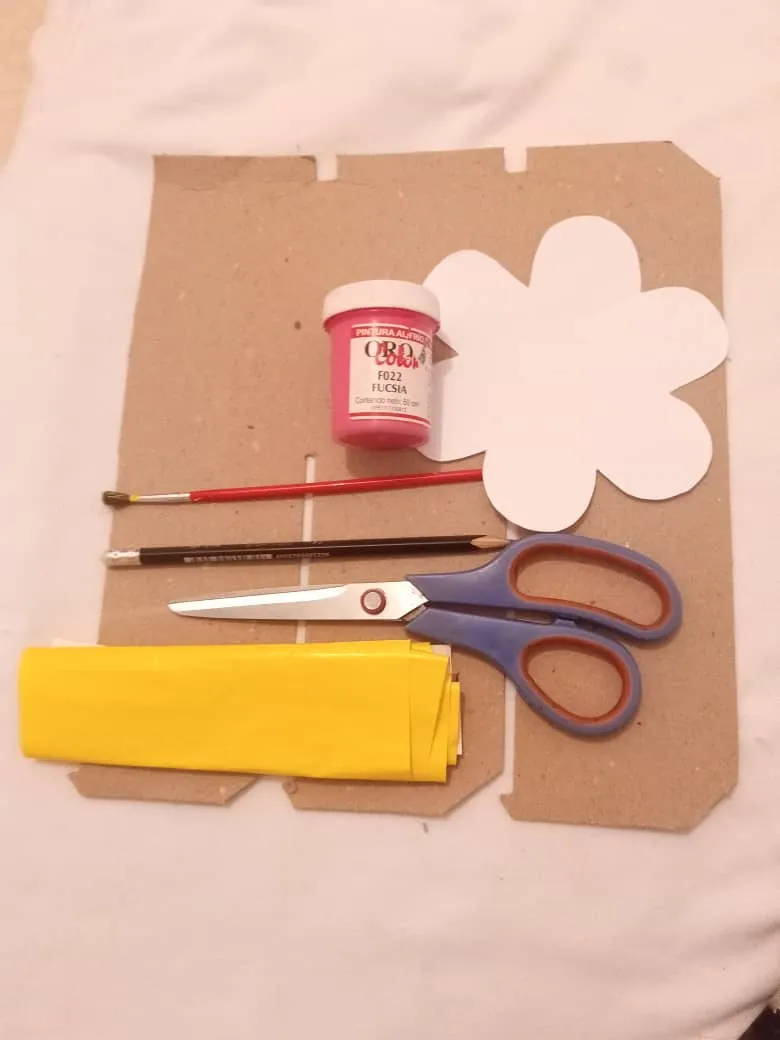
Materiales:
- Cartón Reciclable.
- Pintura fucsia.
- Papel Lustrillo amarillo.
- Lápiz.
- Pincel.
- Patrón.
- Tijera.
- Pegamento.
Materials:
- Recyclable Cardboard.
- Fuchsia paint.
- Yellow glossy paper.
- Pencil.
- Brush.
- Pattern.
- Scissor.
- Glue.
Step by Step || Pasó a paso:
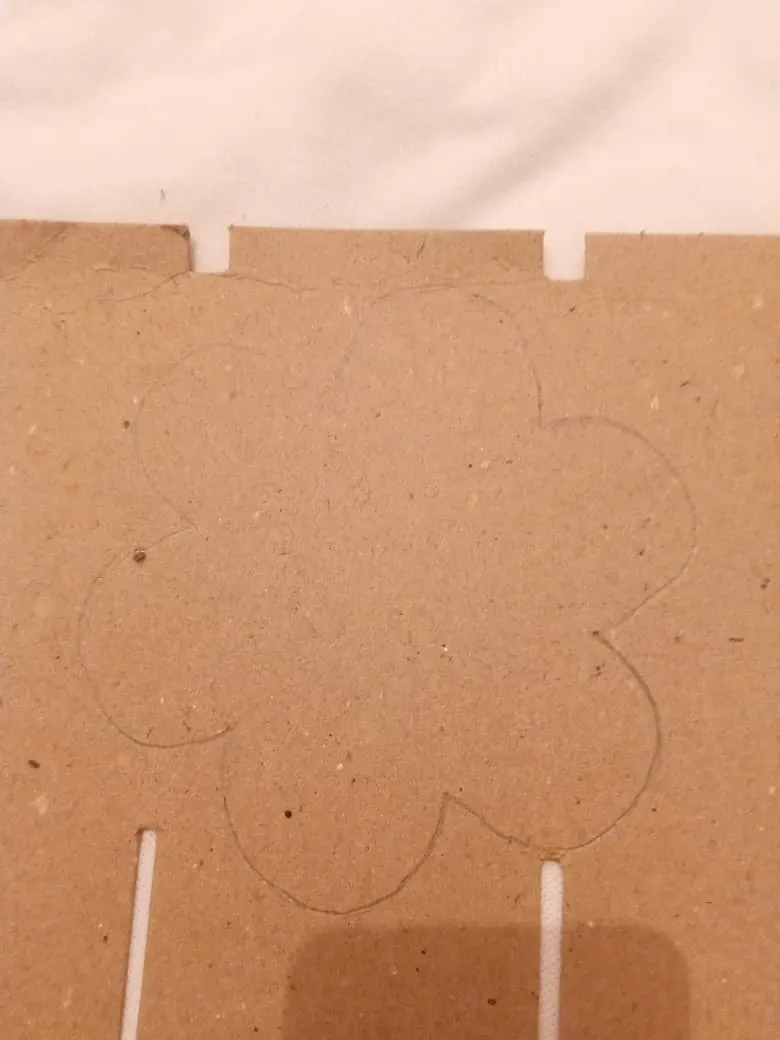
1er paso: Lo primero que haremos, es dibujar en el cartón reciclado con ayuda del lápiz y el patrón, la forma de una flor.
1st step: The first thing we will do is draw on the recycled cardboard with the help of the pencil and the pattern, the shape of a flower.
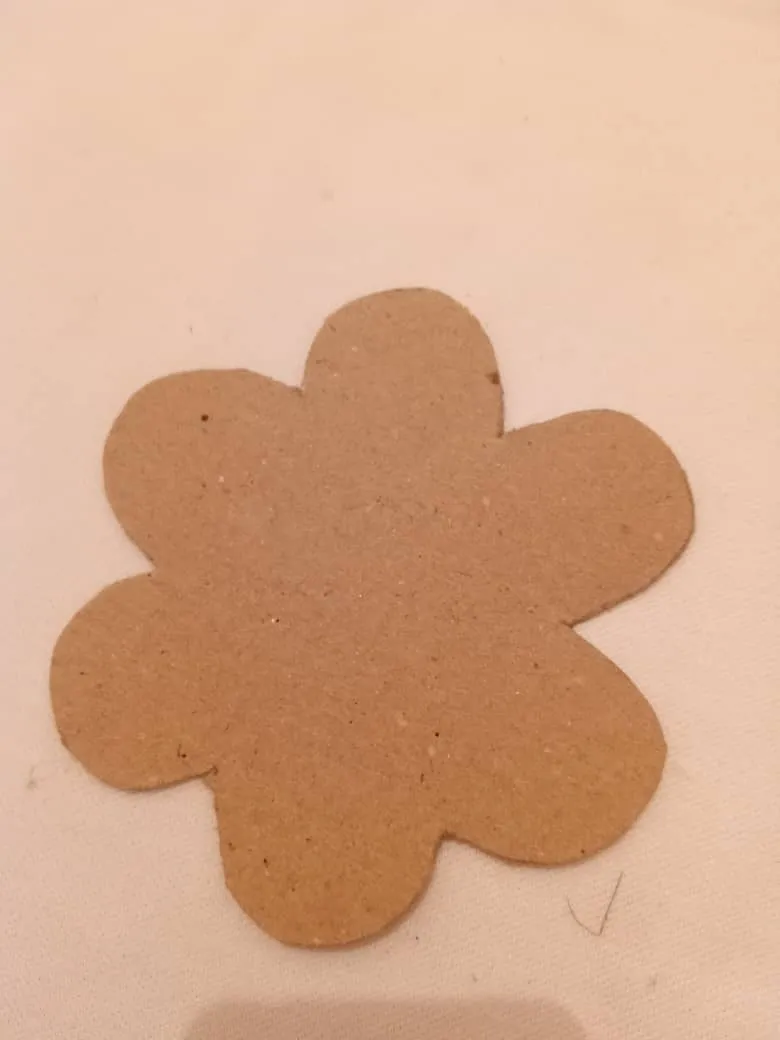
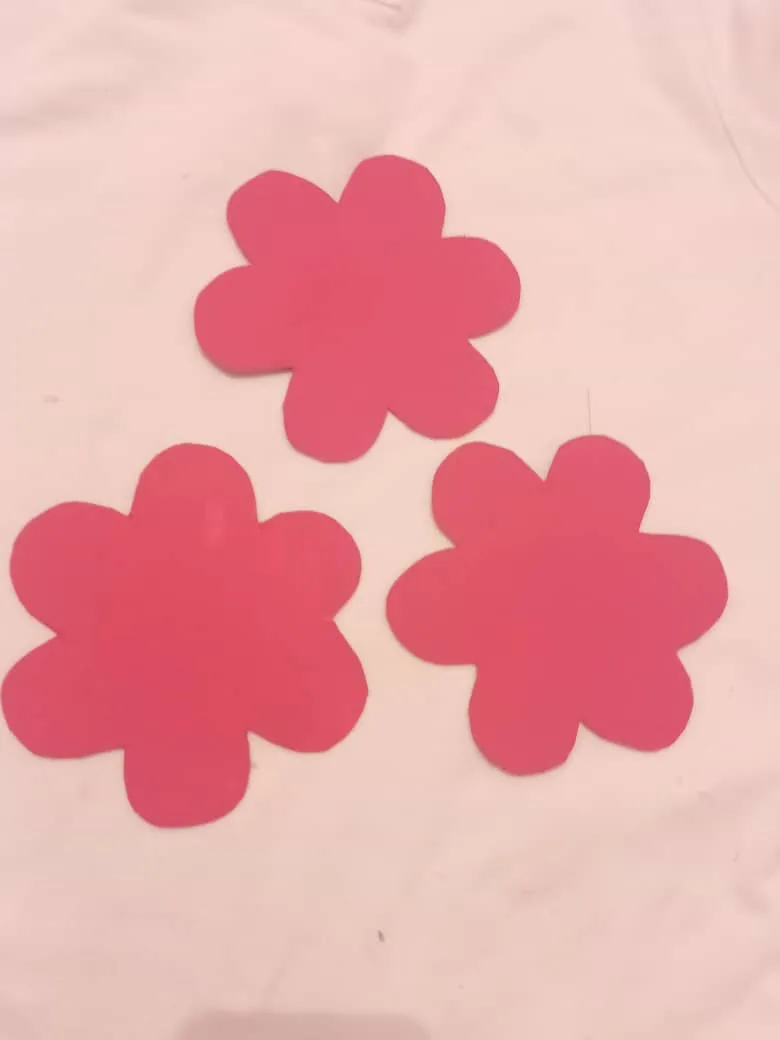
2do paso: Seguidamente vamos a marcar 2 flores mas en el cartón, con ayuda de la tijera la cortamos y vamos a pintar de fucsia.
2and step: Next we are going to mark 2 more flowers on the cardboard, with the help of the scissors we cut it and we are going to paint fuchsia.
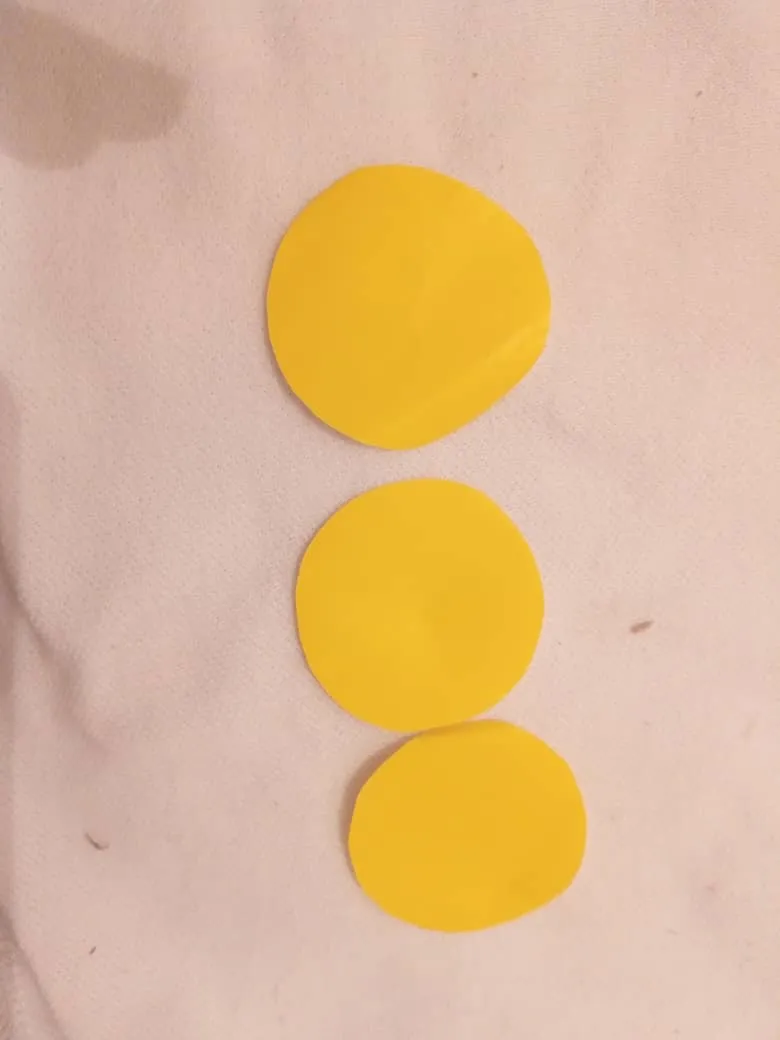
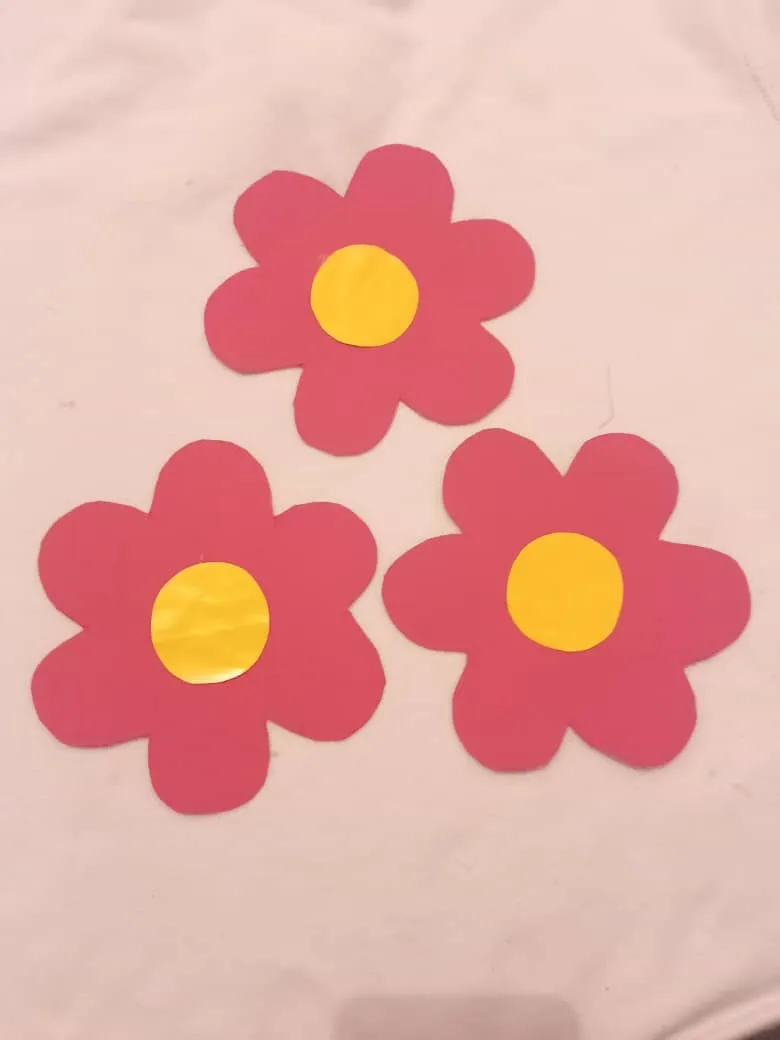
3er Paso: Luego vamos a realizar tres círculos en el papel Lustrillo amarillo, cortamos y pegarlos en el centro de nuestras flores.
3rd Step: Then we are going to make three circles on the yellow lustrillo paper, cut it and stick them in the center of our flowers.
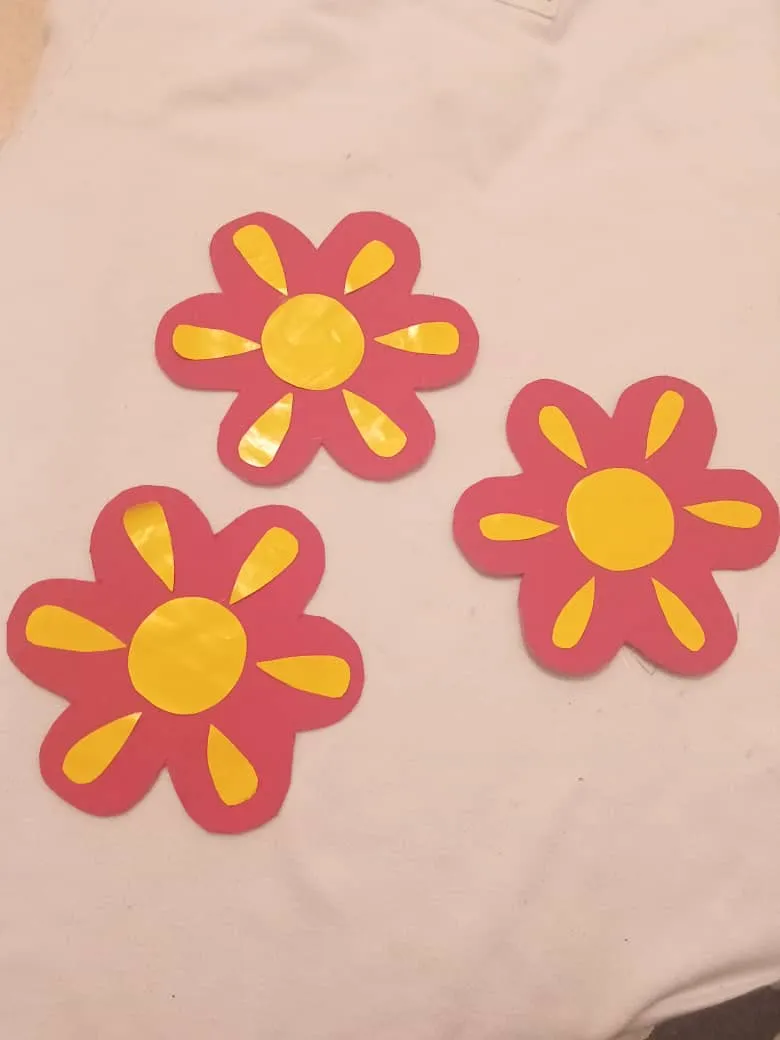
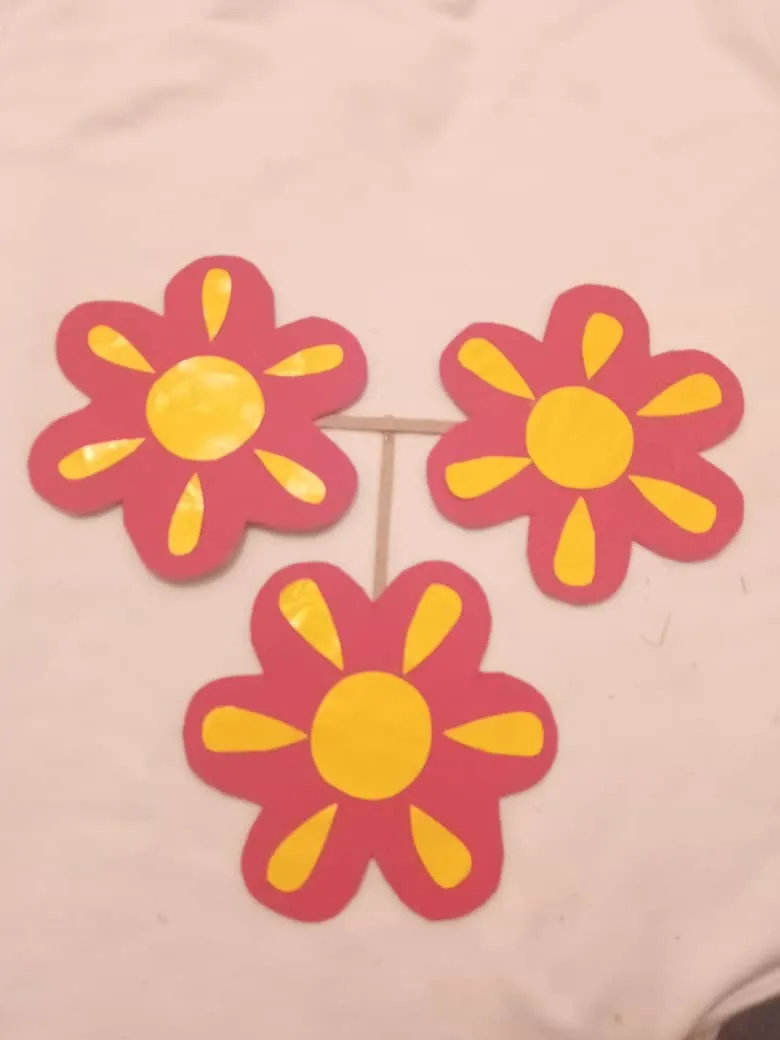
4to paso: A continuación, nuevamente con el papel Lustrillo amarillo vamos a cortarlo en forma de pequeños pétalos y pegamos a la flor.
4th step: Next, again with the yellow Lustrillo paper we are going to cut it into small petals and glue it to the flower.
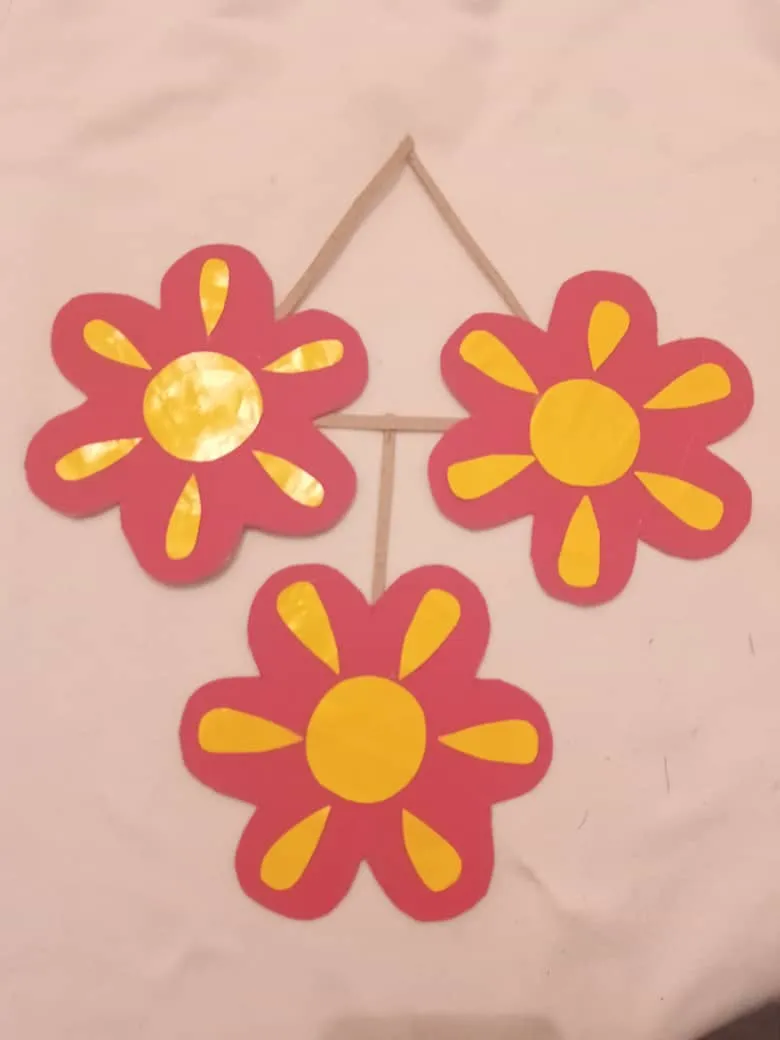
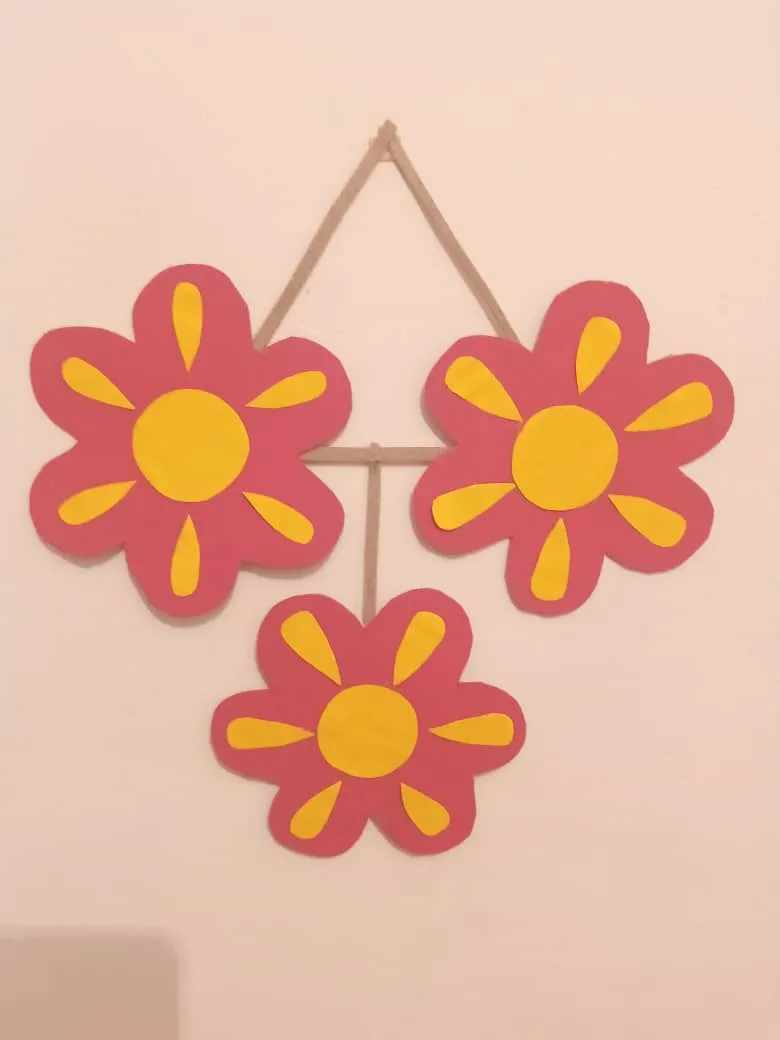
5to paso: Por último realizamos con pequeñas tiras de Cartón un marco para colgar nuestro adorno y listo amigos.
5th step: Finally we make a frame with small cardboard strips to hang our ornament and ready friends.
Muchas gracias por visitar mi Blog
Thank you very much for visiting my Blog.