First of all, I would like to greet all the wonderful people of this community. It's been a while since I last posted over here, so it was time to come back.
Previously I have told you I am that mom thats always asked to do stuff for my daughter's school, like projects and decorate.
Surprisingly it was a long time until they asked again for something, but that ended a couple of days ago when they requested a portrait for a school event, and now a little cardboard clock. That is because they're working with riddles and my girl was selected and she had to say:
"I have needles and I can't sew. I have numbers and I can't read."
And to say the answer she had to show the clock. So I made a very easy and simple clock, so she could bring ot to her classroom.
So, here's the list of materials I used:
- Cardboard.
- Cutter.
- Different colors of craft paint.
- Silicon based glue.
- Wooden stick.
Primero que nada, un cordial saludo a esta maravillosa comunidad. Hace un tiempo que no publicaba por acá, así que ya era hora de volver.
Anteriormente les he comentado que soy mama, de hecho, soy esa mamá a la que constantemente le piden elaborar proyectos y decoraciones para la escuela de mi pequeña.
Sorprendentemente hace un buen tiempo que no me habían pedido nada, pero esa racha acabo hace poco cuando me pidieron un retrato para un evento escolar, y ahora un pequeño hablador en forma de reloj. Esto se debe a una actividad sobre adivinanzas y mi hija fue una de las nenas seleccionadas y debía decir lo siguiente:
"Tengo agujas, y no se coser. Tengo Números, y no se Leer."
Luego para dar la respuesta, debía mostrar el reloj. Así que elaboré un reloj sumamente Sencillo para que ella llevara ese día a su salón de clases.
Para esto he utilizado:
- Cartón corrugado.
- Cuchilla.
- Pintura de manualidades en diferentes colores.
- Pegamento a base de silicón.
- Paleta de madera.
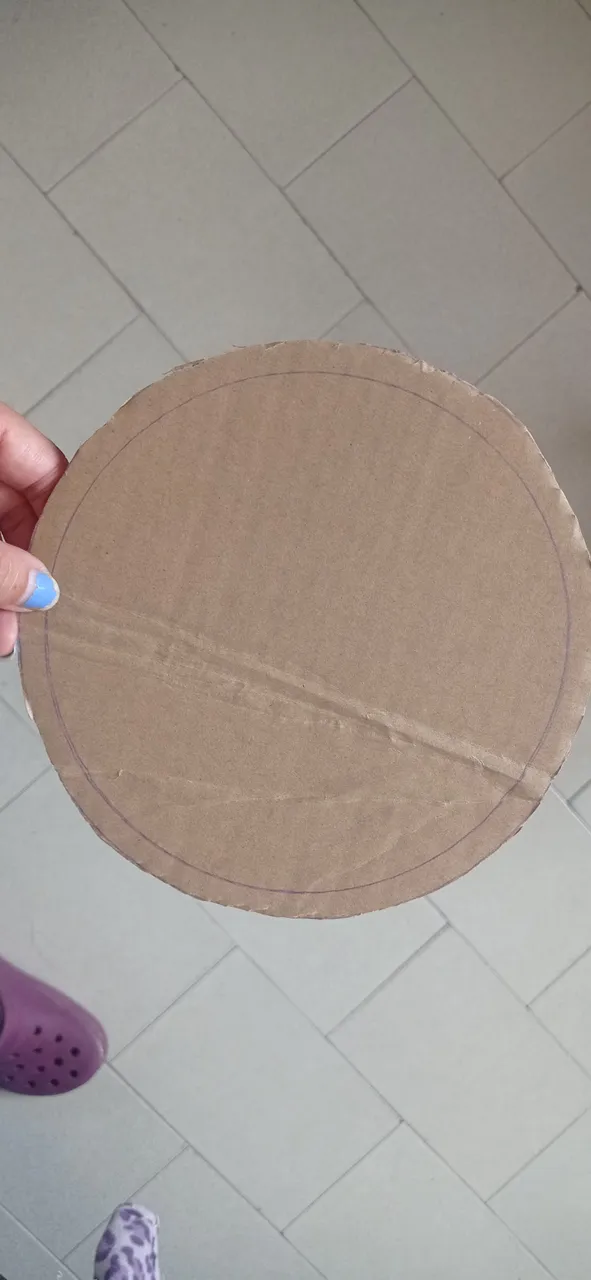
Luckily I have a bunch of cardboard at home for my use on every single project, so I simply took a piece and with the help of a circular lid, I traced shape and cutted it bery carefully with the cutter.
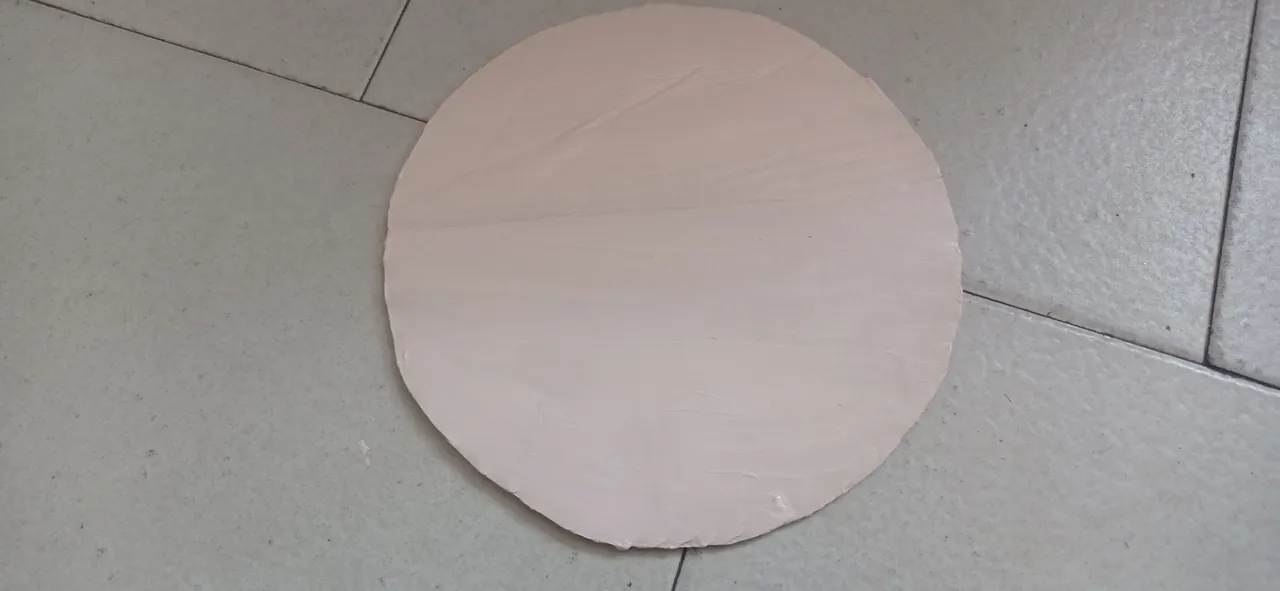
Once I had the cardboard circle, I painted it cream color, because I didn't really have timy to go and buy white paint. For that purpose I used craft paint, and applied four layers to achieve a more even coñor because this kind of paint is usually too liquid, so it is pretty clear.
Afortunadamente tengo un montón de cartón en casa enteramente a mi disposición para cada uno de los proyectos, así que simplemente tome un trozo de cartón corrugado y con la ayuda de una tapa circular, trace la forma del reloj y corté cuidadosamente con una cuchilla.
Teniendo mi círculo de cartón procedí a pintarlo de un color crema, ya que no tenía color blanco y no tendría tiempo de salir a comprar. Para esto utilicé pintura para manualidades, y apliqué un total de cuatro capas para lograr obtener una cobertura más pareja pues este tipo de pintura suele ser demasiado líquida, y por ende tiene a transparentar un poco.
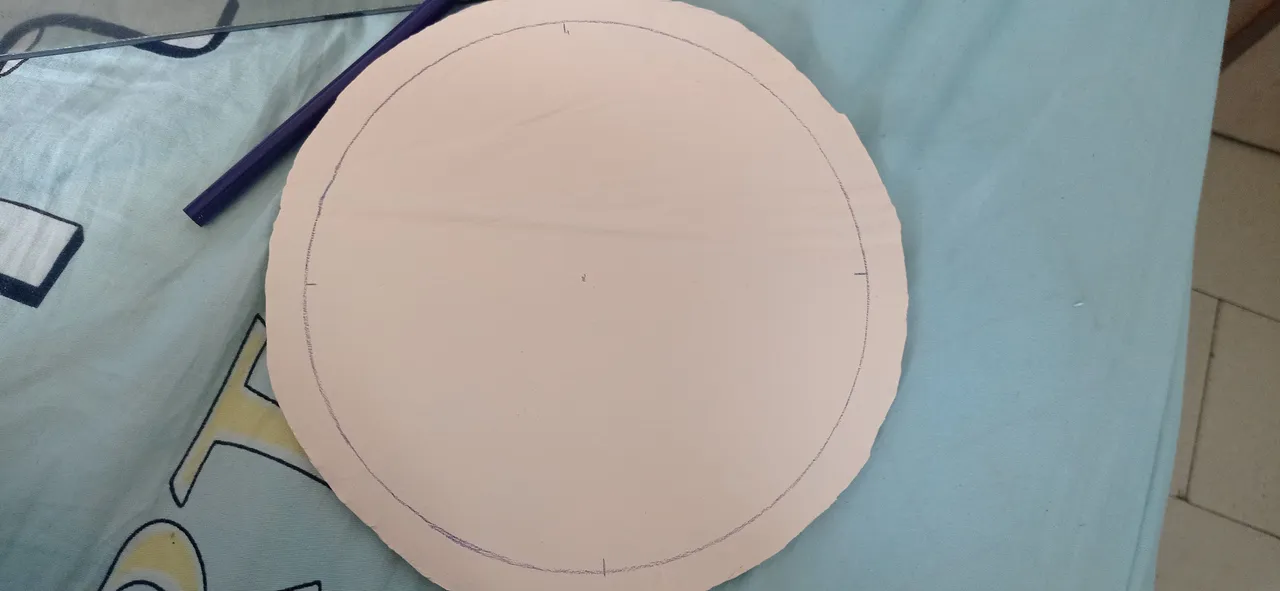
When the paint was completely dry, I used a pencil crayon to trace a smaller circle with the help.of a smaller lid. And using a ruler I marked where I was going to place the numbers, and a dot on the center where the needles were to be drawn on.
Luego de que la base estuviera seca, con un creyon trace un círculo más pequeño con ayuda de otra tapa de menor tamaño. Y con una regla marqué dónde colocaría los números del reloj, y un punto en el centro de dónde partirian las dos agujas.
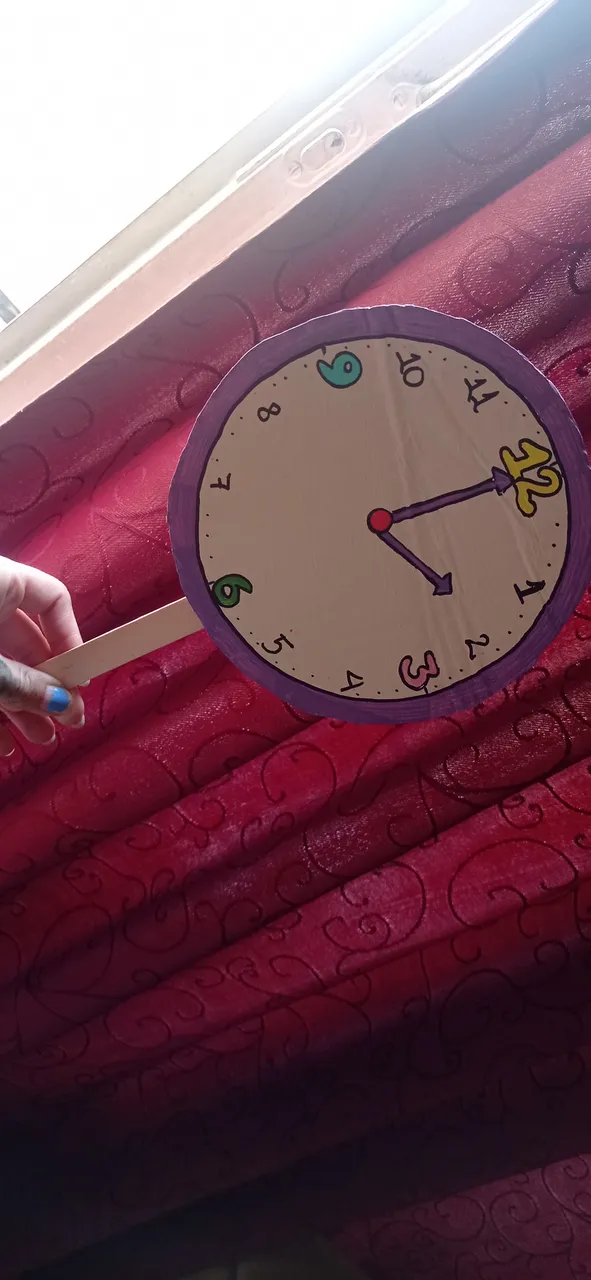
Now I used a thin brush to paint the numbers 12, 3, 6 a d 9 in different colors, because of the size I decided I was going to only paint those. Then I painted the arrows and the small dot joining them, and let it dry completely to later paint the edge of the circle with two layers of paint, letting it dry on between layers.
Ahora con un pincel delgado me dispuse a pintar los números 12, 3, 6 y 9 en distintos colores, por el tamaño decidí solo resaltar estos números. Luego de esto pinté las dos flechas y el pequeño punto que las une y lo deje secar completamente, para luego pintar cuidadosamente el borde del circulo con dos capas de pintura, dejando secar completamente cada capa antes de continuar pintando.

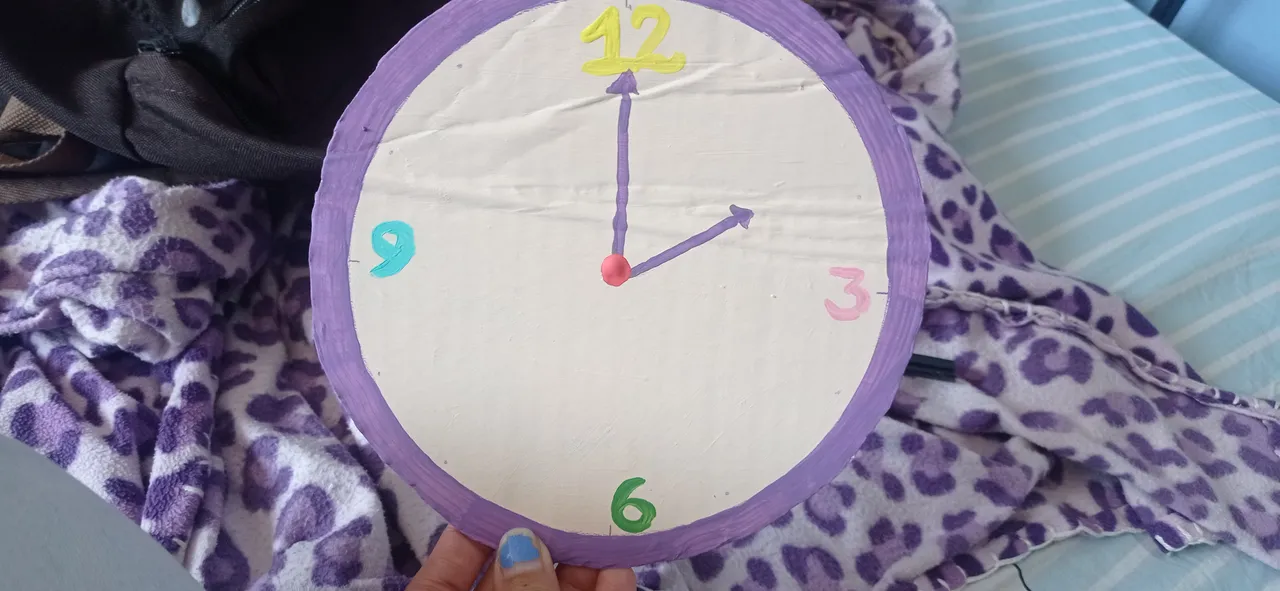
When it was dry, I took a black round tip marker and I outlined the numbers, arrows, circle and I draw on the rest of numbers and details that were still missing.
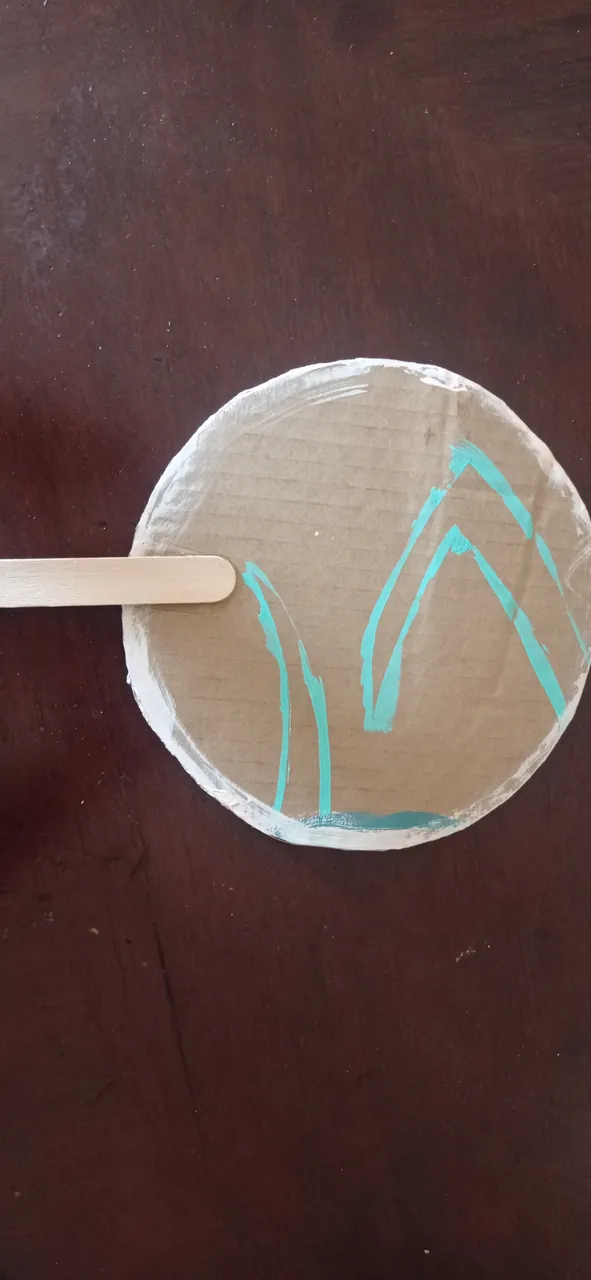
Then it was time to flip tht circle, keeping in mind where it was the bottom part to put some silicon based glue and attach the wooden stick that's going to allow an easy grip.
Al estar todo seco, tomé un marcador negro de punta redonda y marque el contorno de los números, flechas, círculo y dibuje los números y detalles faltantes.
Finalmente llegó el momento de voltear el círculo, teniendo en cuenta cuál es la parte interior para colocar un poco de pegamento a base de silicón y colocar así la paleta de madera que servirá para poder agarrar el reloj.

And that's it, when it was completely dry it was done. It is super easy and simple, specially for a last minute school project, and it is done in record time.
Once again I thank you for reading me. Every picture was taken with my Xiaomi Redmi Note 9 cellphone.
Y esto es todo, ya al haber secado está completamente listo el reloj. Es súper fácil y sencillo especialmente para esos proyectos de último momento, además de que está listo en tiempo récord.
Una vez más les agradezco por leerme. Todas las fotografías me pertenecen y fueron tomadas por mi con mi teléfono Xiaomi Redmi Note 9.