This content was deleted by the author. You can see it from Blockchain History logs.

Te cuento como elaboré una silla de madera sin ser carpintero 🔨🪑 // I tell you how I made a wooden chair without being a carpenter 🔨🪑.

Hola amigos de la comunidad de #Diy saludos cordiales; sean todos bienvenidos a mi blog.

IMG-20240131-WA0015.jpg

Hello friends of the                   
#Diy community, cordial greetings; you are all welcome to my blog.
Hoy es primera vez que publico en esta grandiosa comunidad y les traigo un proyecto muy bonito; se trata de un pequeño tutorial de cómo puedes elaborar una silla con solo tener conocimientos de carpintería.
Today is the first time I post in this great community and I bring you a very nice project; it is a small tutorial on how you can make a chair with only carpentry skills.
Me considero un hombre versátil de conocimientos, me gusta aprender y crear; siempre y cuando tenga en ese momento los materiales que necesitaré para mi proyecto.
I consider myself a versatile man of knowledge, I like to learn and create; as long as I have at that moment the materials I will need for my project.
Trabajar con la madera realmente me llama la atención y lo que he logrado crear con la ayuda de unos cuantos trozos de madera y viendo algunos tutoriales de internet me da satisfacción de ver lo que soy capaz de crear con mis propias manos.
Working with wood really catches my attention and what I have managed to create with the help of a few pieces of wood and watching some internet tutorials gives me satisfaction to see what I am able to create with my own hands.
Sin más les mostraré los materiales que necesitaremos para crear esta linda silla.
Without further ado, I will show you the materials we will need to create this beautiful chair.
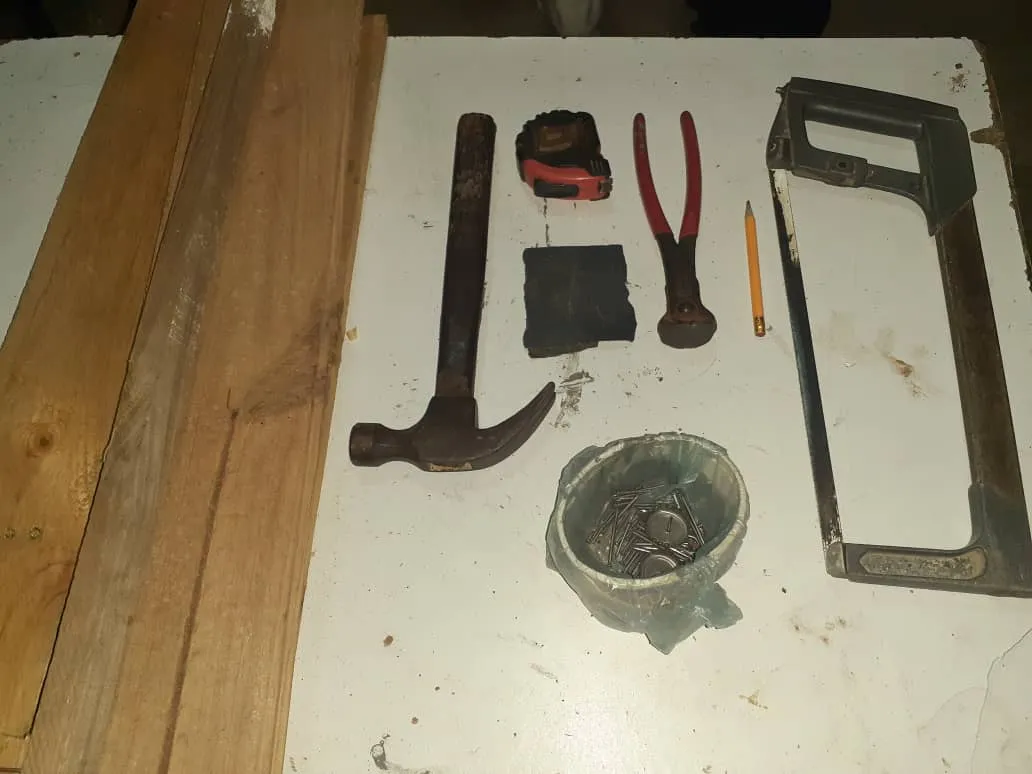
IMG-20240130-WA0054.jpg


1 Segueta
1 Martillo
1 Tenaza o pinza
Clavos de 1" y 1/2
Lápiz para marcar
Metro o cinta métrica para medir
Lija

1 Saw
1 Hammer
1 Pincers or pliers
1" and 1/2" nails
Pencil for marking
Measuring tape or tape measure
Sandpaper


Paso/Step 1:
Lo primero que haremos será medir lo que formará parte del alto del espaldar de la silla, que son 2 listones de 70cm x 4cm x 1cm para el espaldar y 2 listones de 35cm x 4cm x 1cm hasta el nivel del asiento delantero; las cuales iremos lijando de una vez.
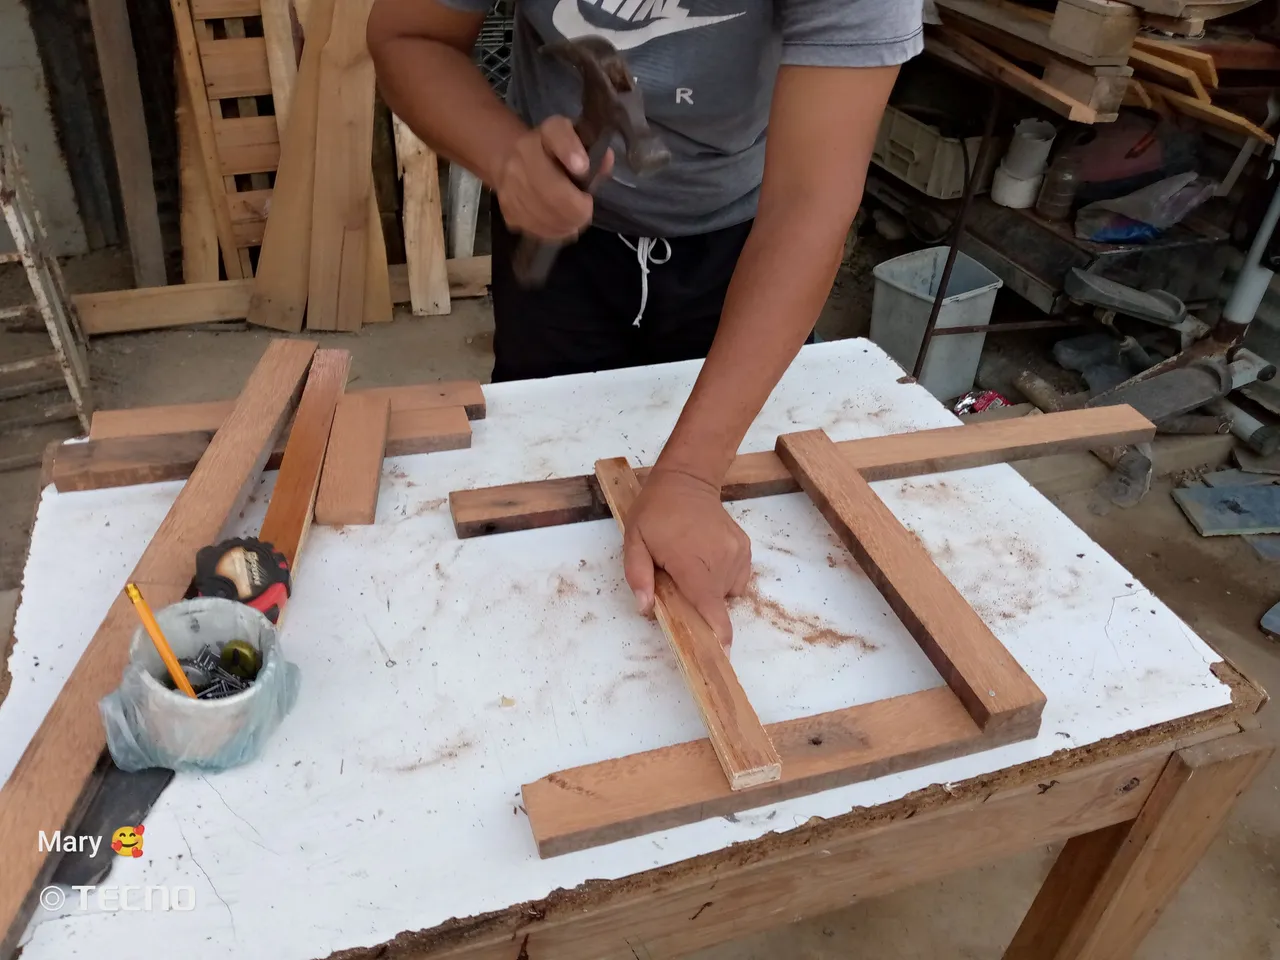
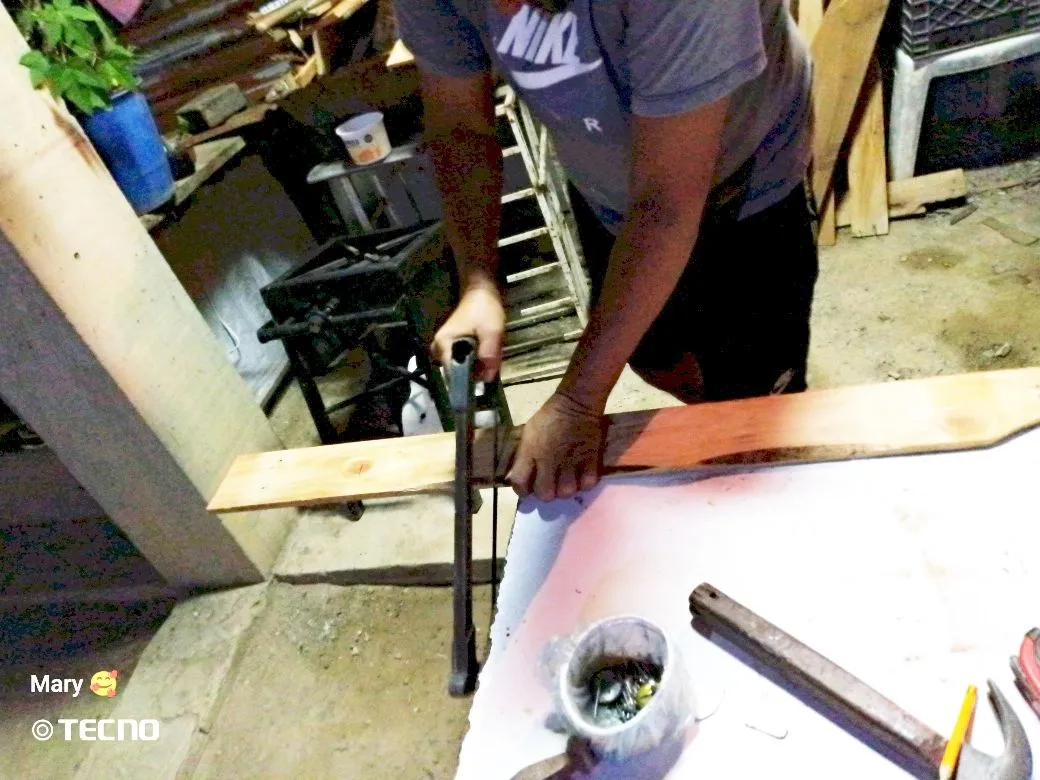
The first thing we will do is to measure what will be part of the height of the back of the chair, which are 2 strips of 70cm x 4cm x 1cm for the back and 2 strips of 35cm x 4cm x 1cm up to the level of the front seat; which we will sand at once.

1706671110291.jpg


Paso/Step 2:
Ahora vamos con lo que será el ancho de nuestra silla, cuyas medidas son 2 listones de 40cm x 4cm x1cm que formarán las patas de la silla y que éstas no se abran.
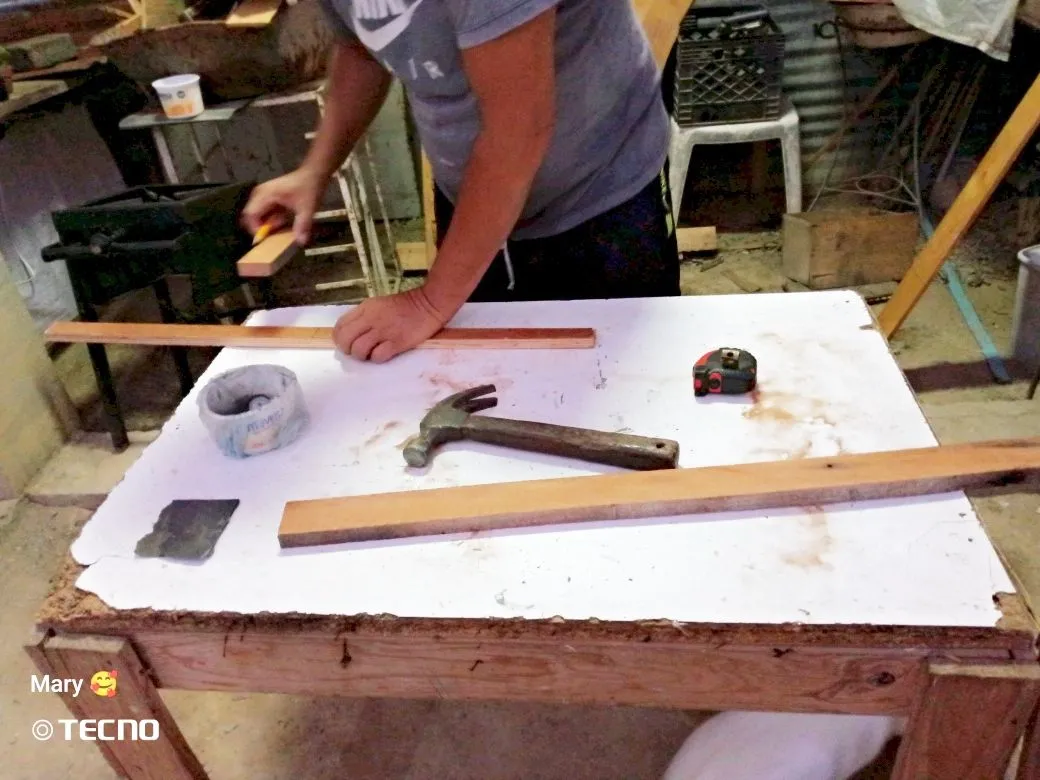
Now we go with what will be the width of our chair, whose measures are 2 slats of 40cm x 4cm x 1cm that will form the legs of the chair and that these do not open.

IMG_20240130_181114_364.jpg


IMG_20240130_181330_119.jpg


Paso/Step 3:
Hacemos el mismo procedimiento con el otro lateral de la Silla; una vez que tenemos ambos laterales listos los medimos para verificar que estén de la misma altura.
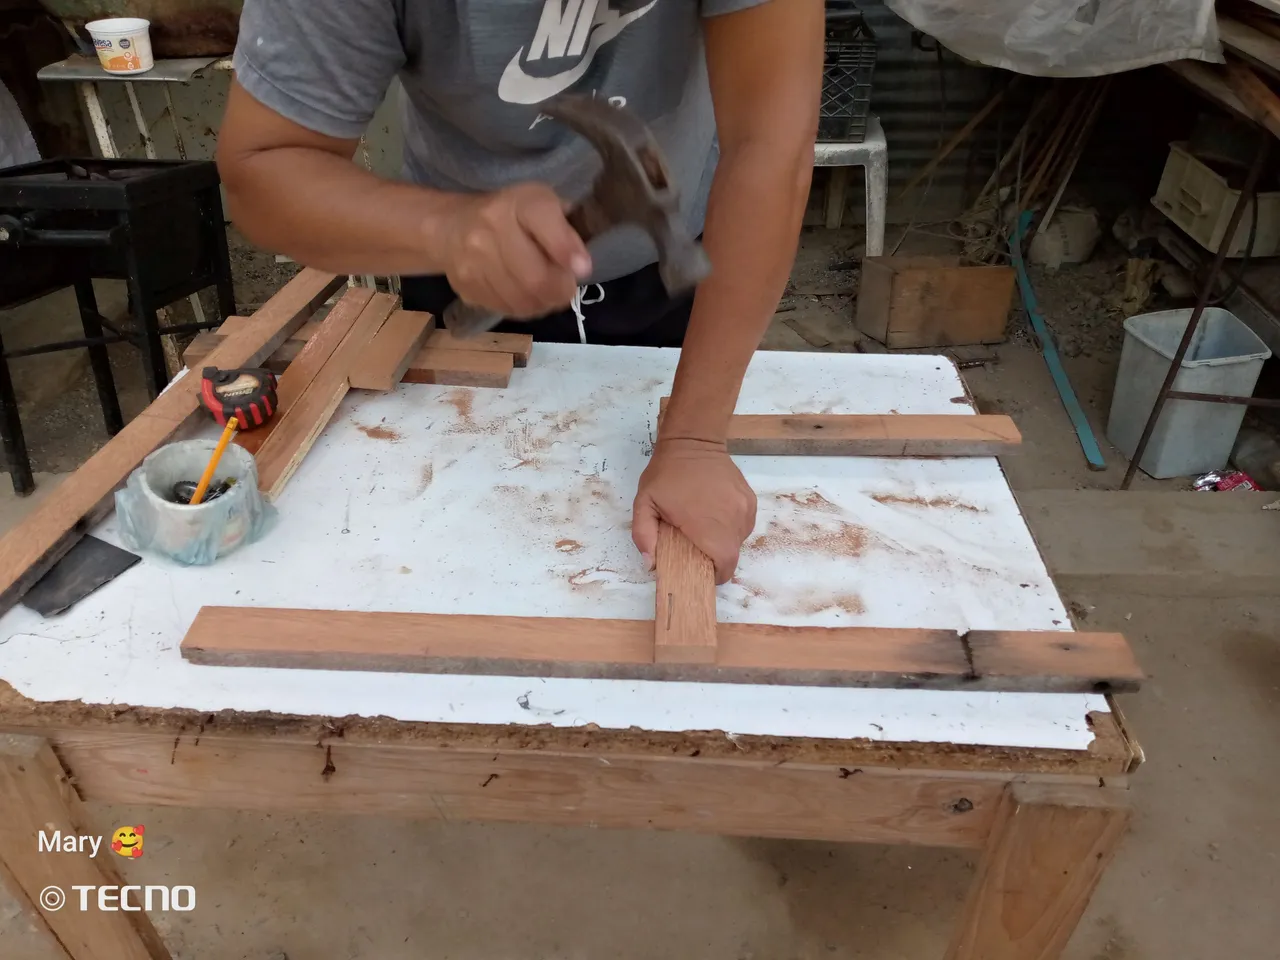
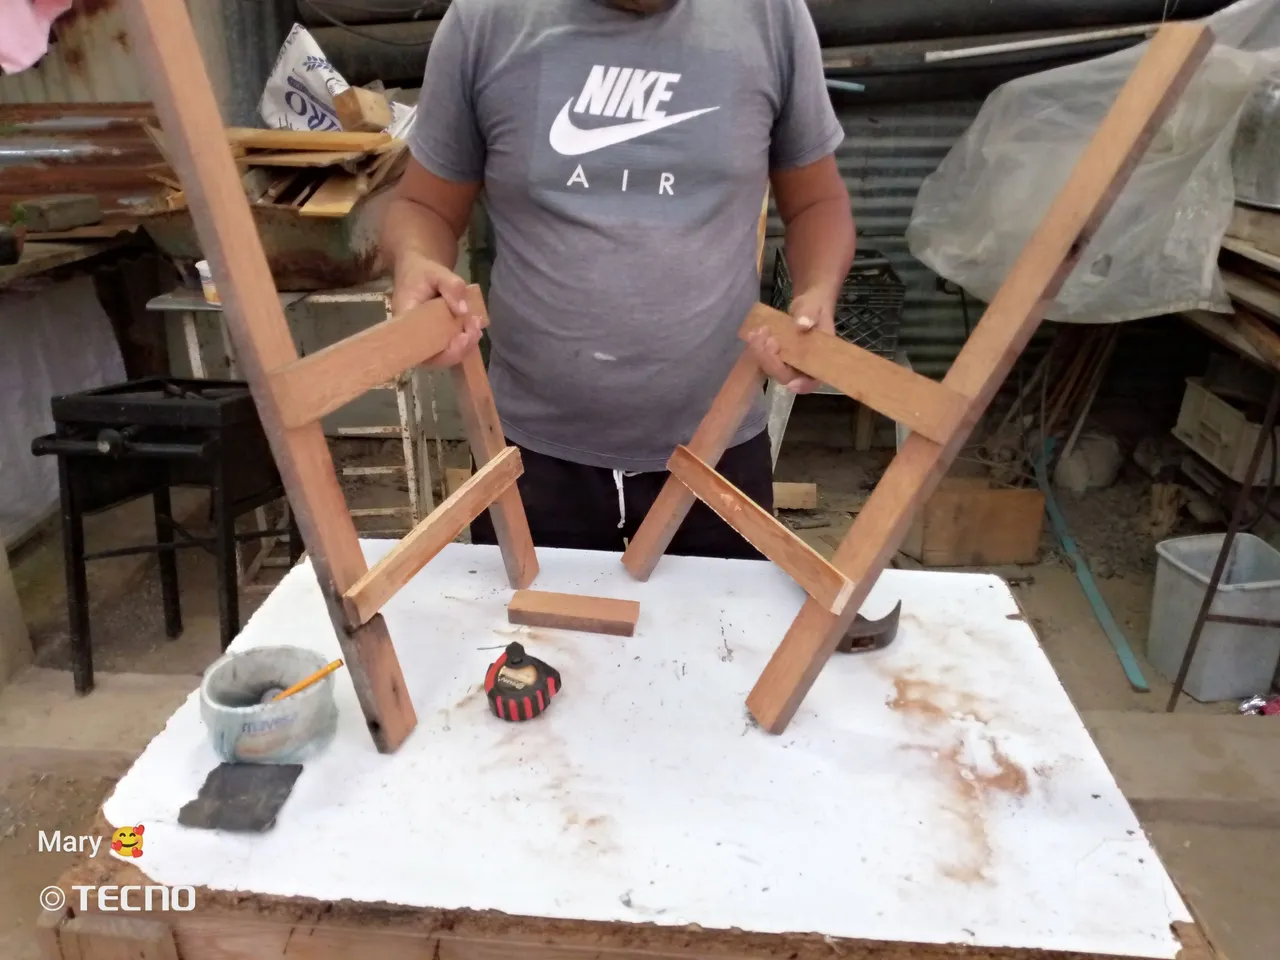
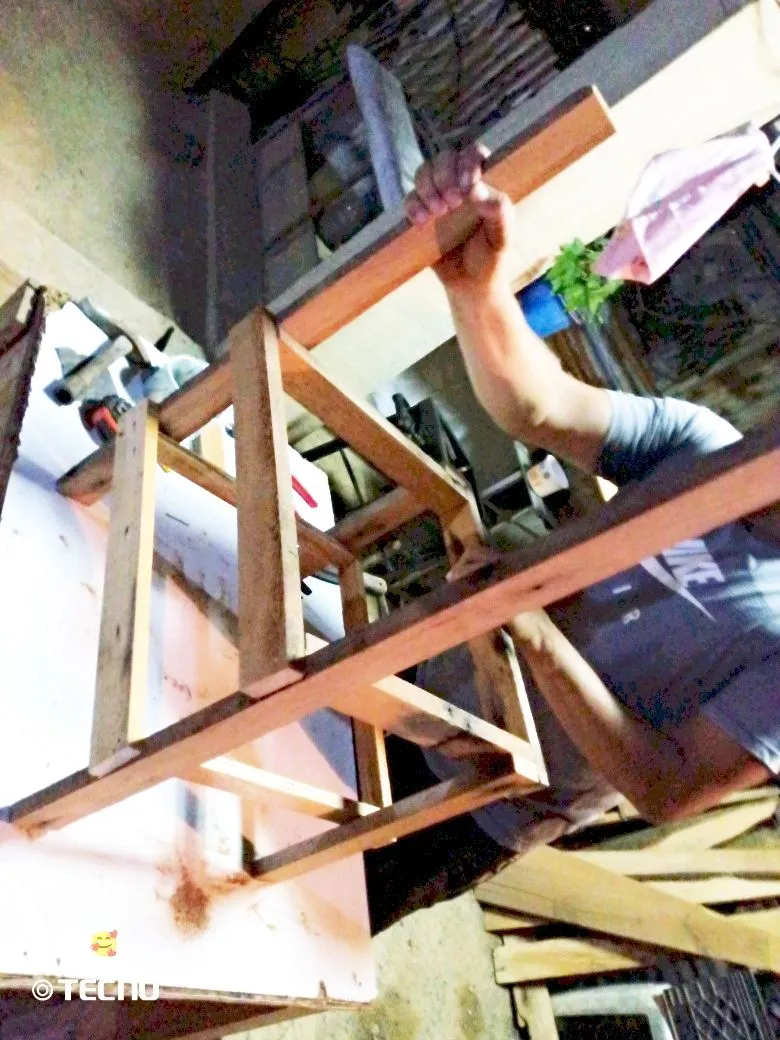
We do the same procedure with the other side of the Chair; once we have both sides ready we measure them to verify that they are of the same height.

IMG_20240130_182548_705.jpg


IMG_20240130_182541_350.jpg


Paso/Step 4:
Procedemos a colocar los listones que darán el ancho de nuestra silla; que son 4 listones de 40cm x 4cm x 1cm, los cuales se ubicarán en la parta delantera de nuestra silla y 2 más para la parte trasera.
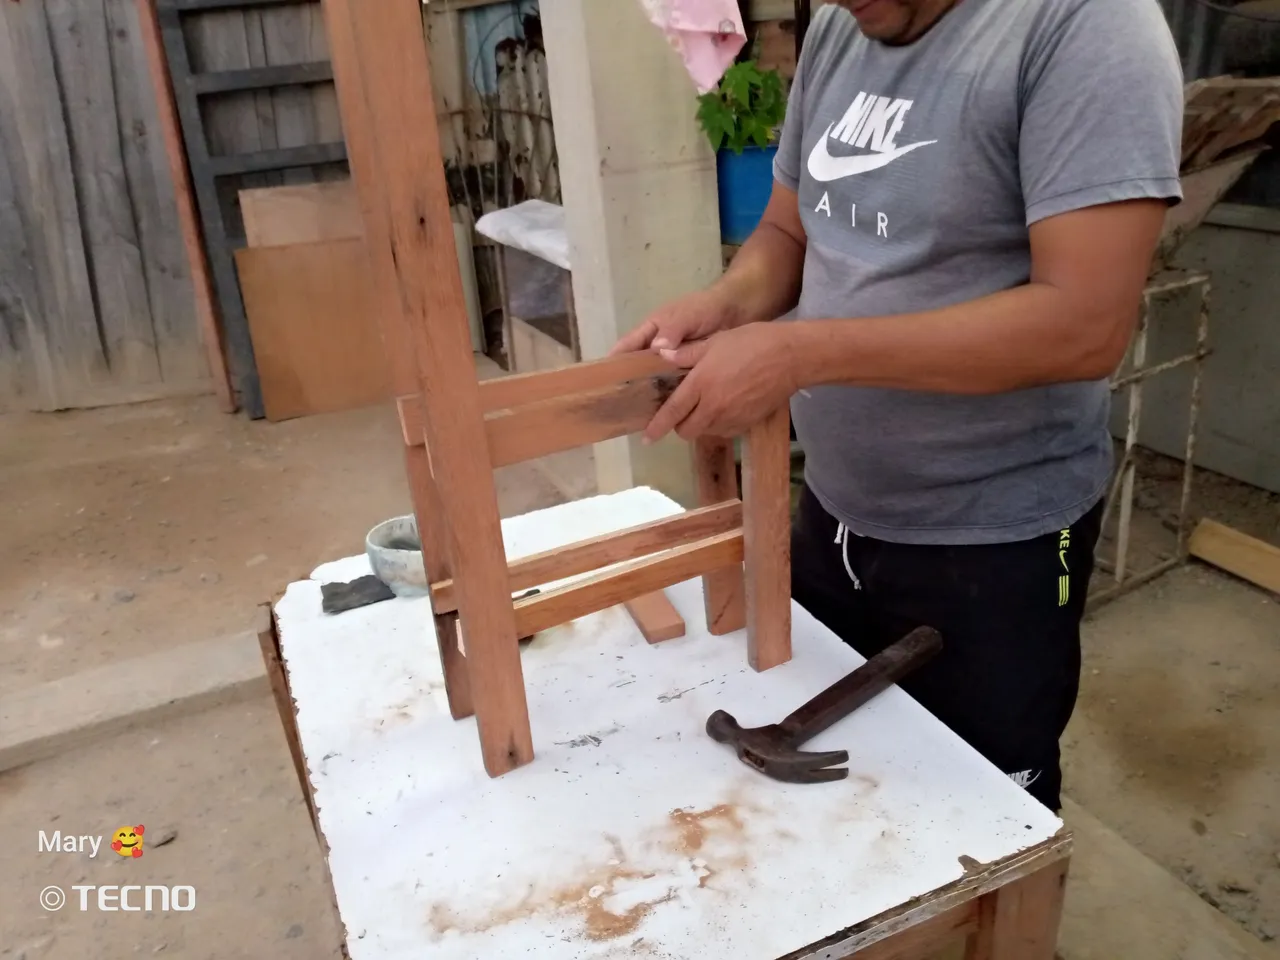
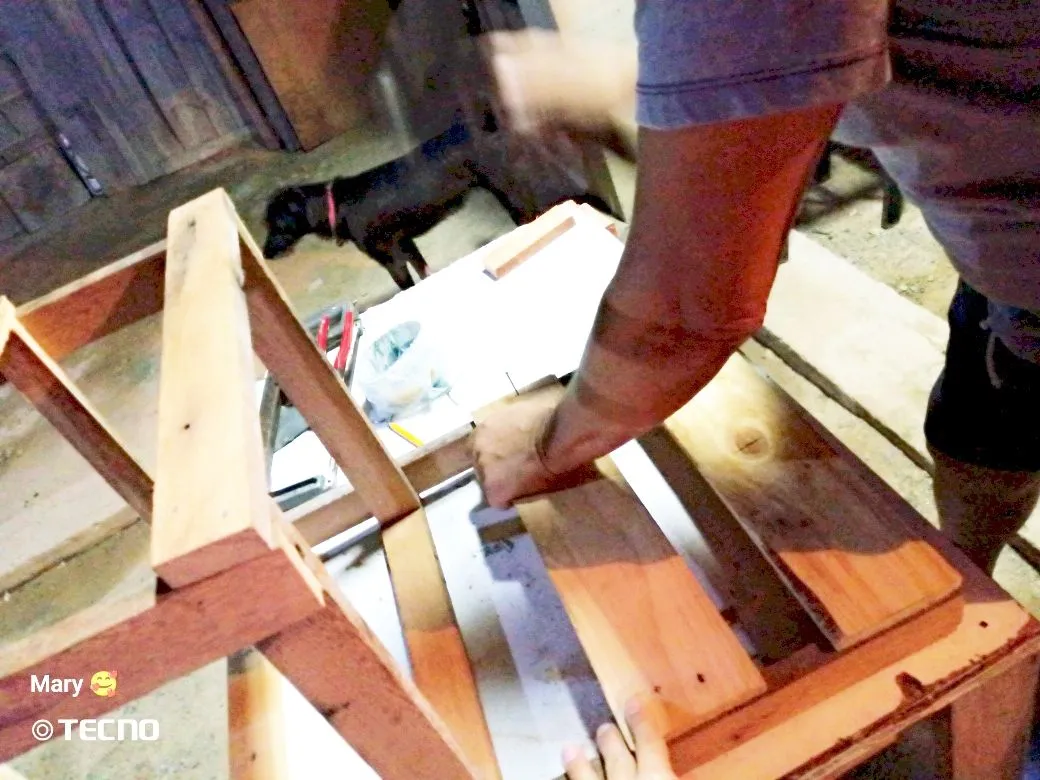
We proceed to place the slats that will give the width of our chair; which are 4 slats of 40cm x 4cm x 1cm, which will be located in the front of our chair and 2 more for the back.

1706671068267.jpg


1706671148285.jpg


1706671179020.jpg


Paso/Step 5:
Cuando ya terminemos de colocar todos los clavos para ensamblar nuestras piezas; nos quedará este armazón.
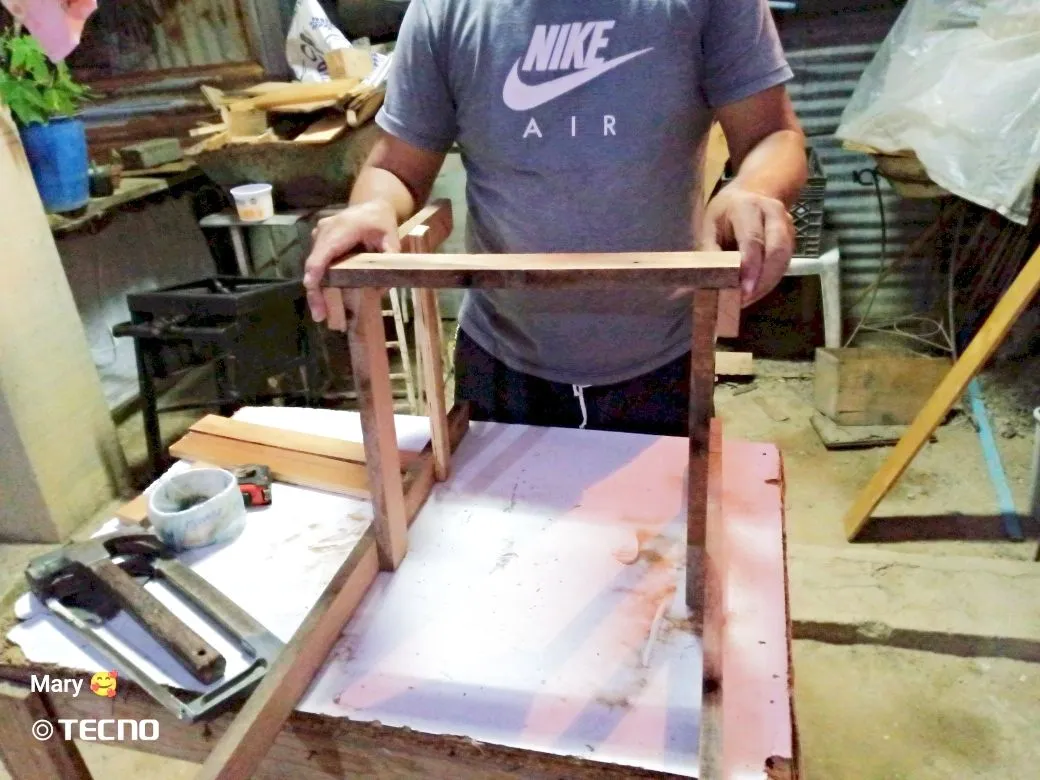
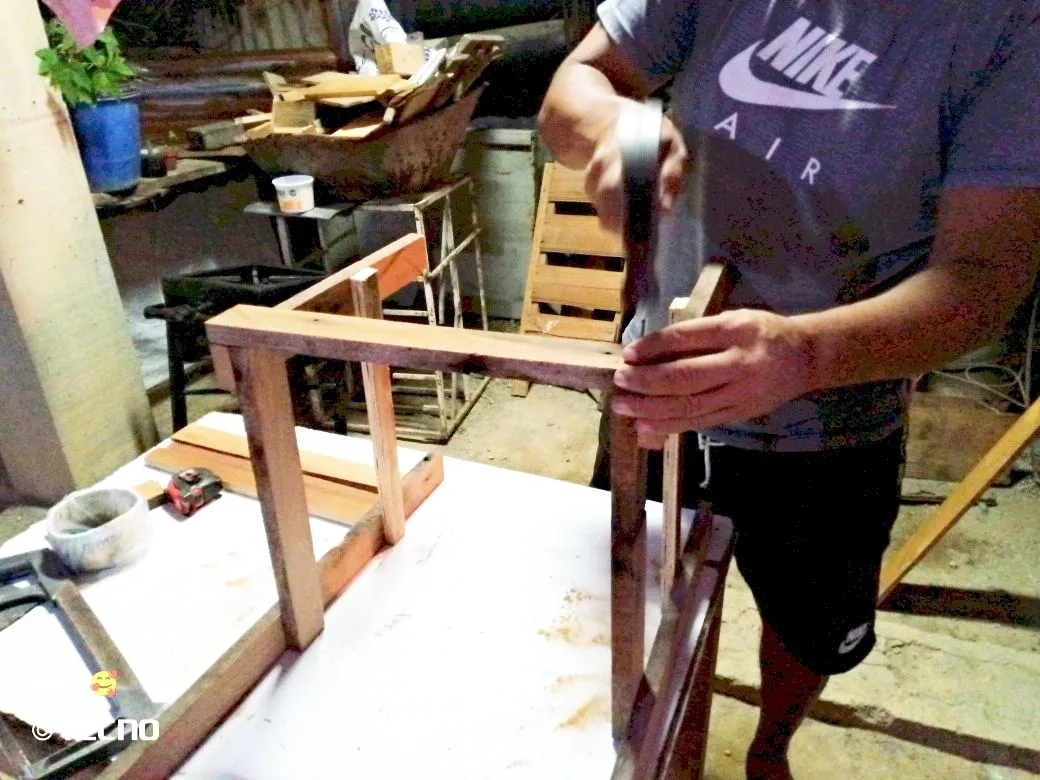
When we finish placing all the nails to assemble our pieces, we will have this frame.

1706671216345.jpg


Paso/Step 6:
Luego pasaremos a medir y cortar lo que formará el espaldar de la silla; para esto utilizaremos 2 tablas de 40cm x 10cm x 1/2cm, las cuales le colocaremos con 5cm de separación.
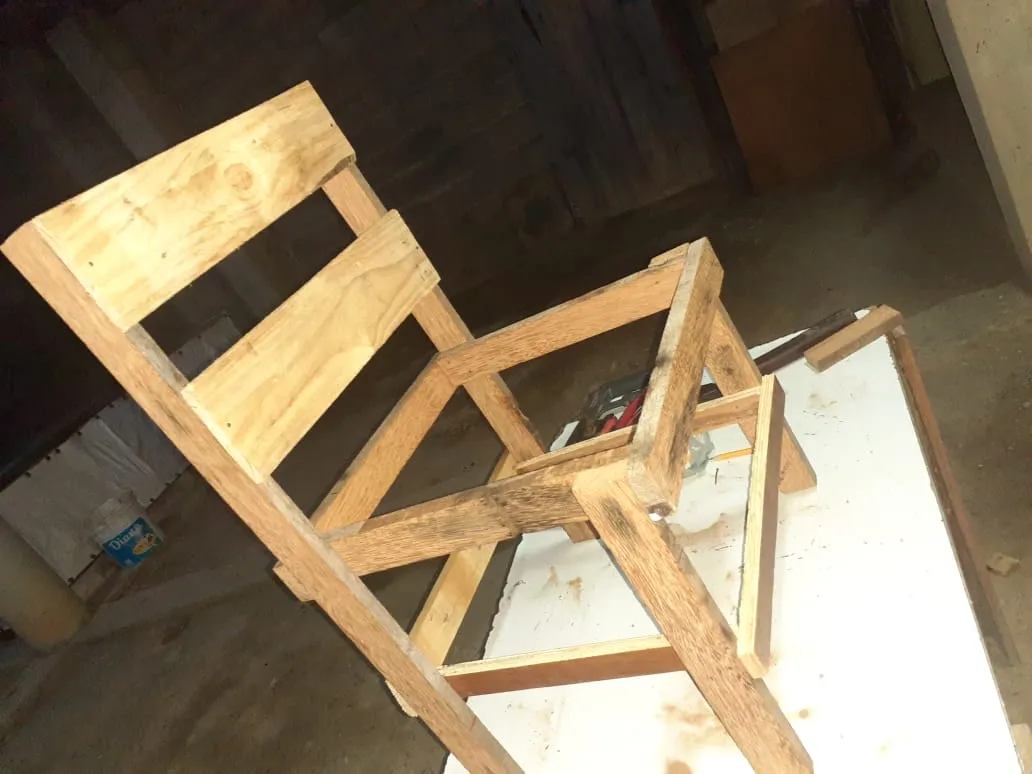
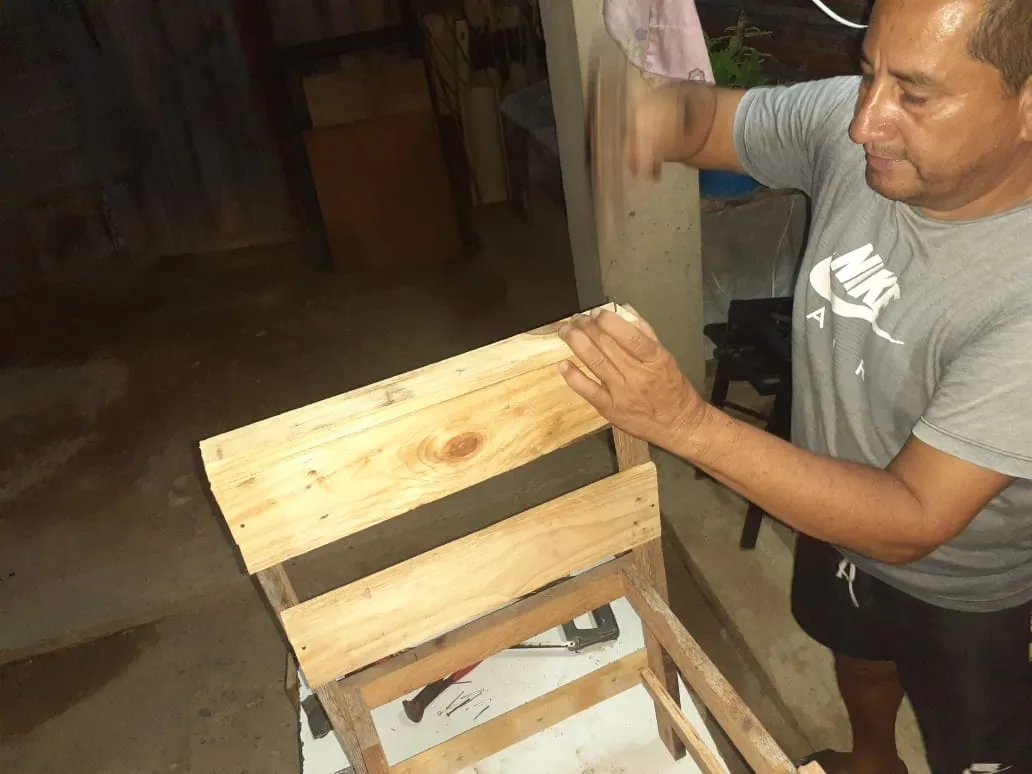
Then we will measure and cut what will form the back of the chair; for this we will use 2 boards of 40cm x 10cm x 1/2cm, which we will place 5cm apart.

1706671273081.jpg


1706671298575.jpg


1706671325800.jpg


Paso/Step 7:
Por último procedemos a colocar 3 tablas de 40cm x 10cm x 1/2cm en la parte del asiento y 1 liston de 40cm x 4cm x 1cm que dará el último detalle a nuestro espaldar.
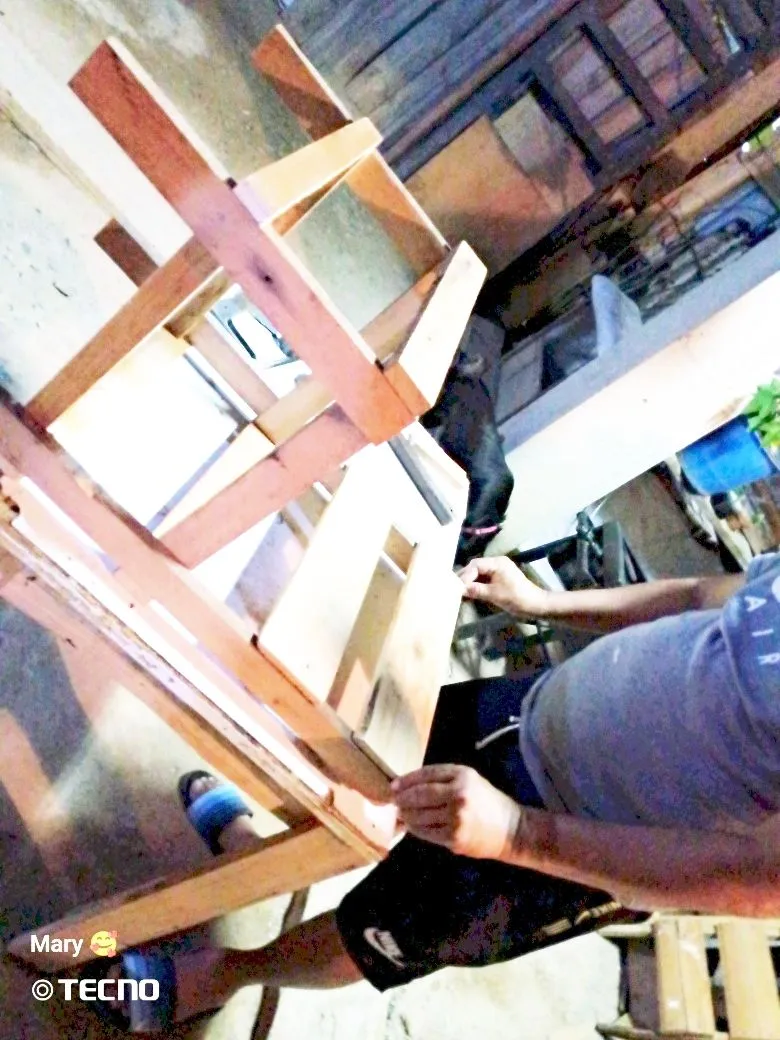
Finally we proceed to place 3 boards of 40cm x 10cm x 1/2cm in the part of the seat and 1 slat of 40cm x 4cm x 1cm that will give the last detail to our backrest.

IMG-20240130-WA0050.jpg


IMG-20240130-WA0051.jpg

Y así ha quedado mi proyecto ya terminado, una linda silla que puede ser utilizado tanto grandes como pequeños; ya que la construí con resistencia para el peso.

IMG-20240130-WA0052.jpg


IMG-20240130-WA0048.jpg

Cabe resaltar que la podemos dejar así, en madera natural ya que está completamente lijada o también podemos agregarle barniz para un mejor acabado; eso es a gusto de la persona.
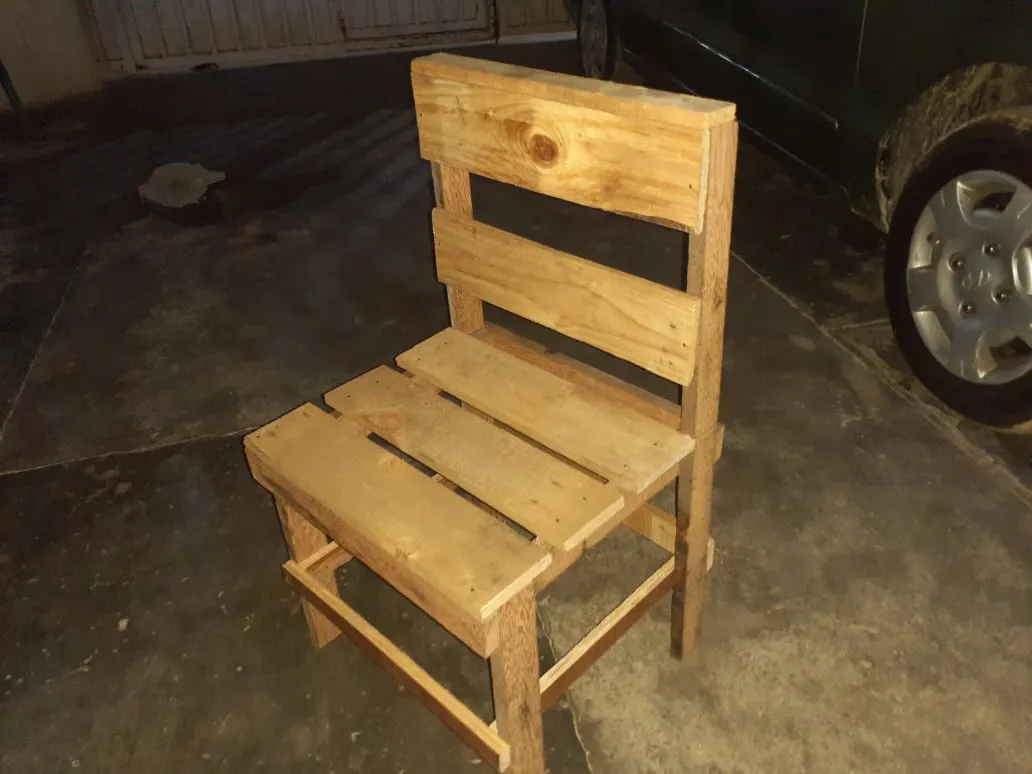
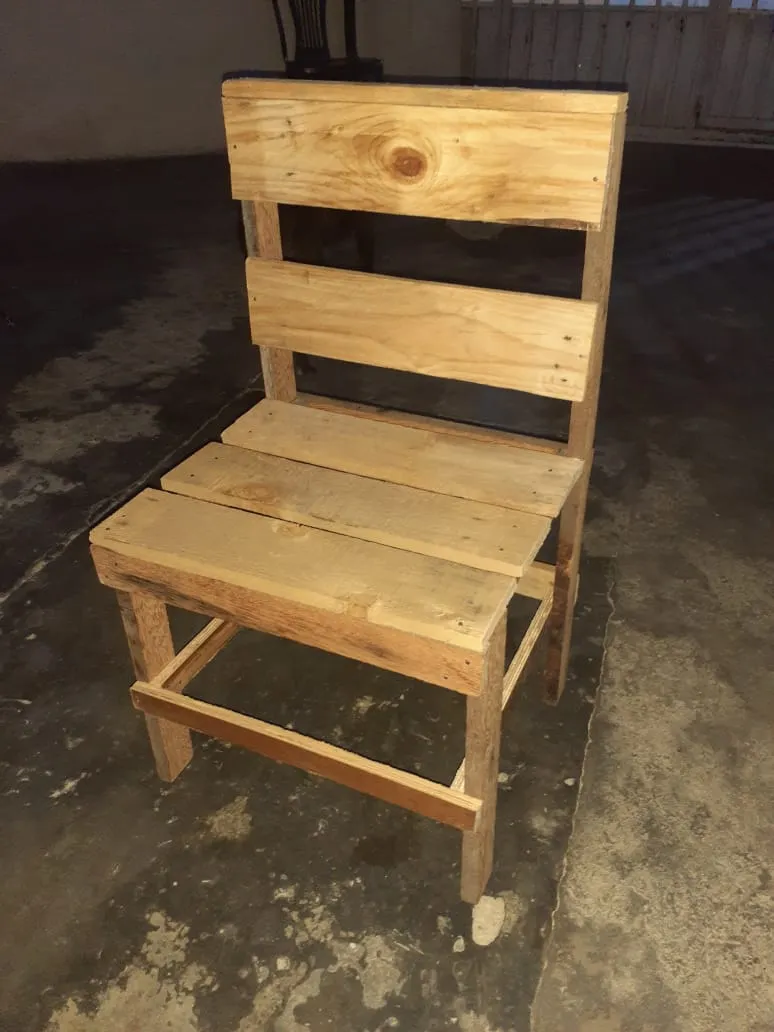
It should be noted that we can leave it like this, in natural wood since it is completely sanded or we can also add varnish for a better finish; that is to the taste of the person.

Les mostraré unas fotos de unas piezas que ya había elaborado antes de entrar a la plataforma; solo con la ayuda de tutoriales por internet.

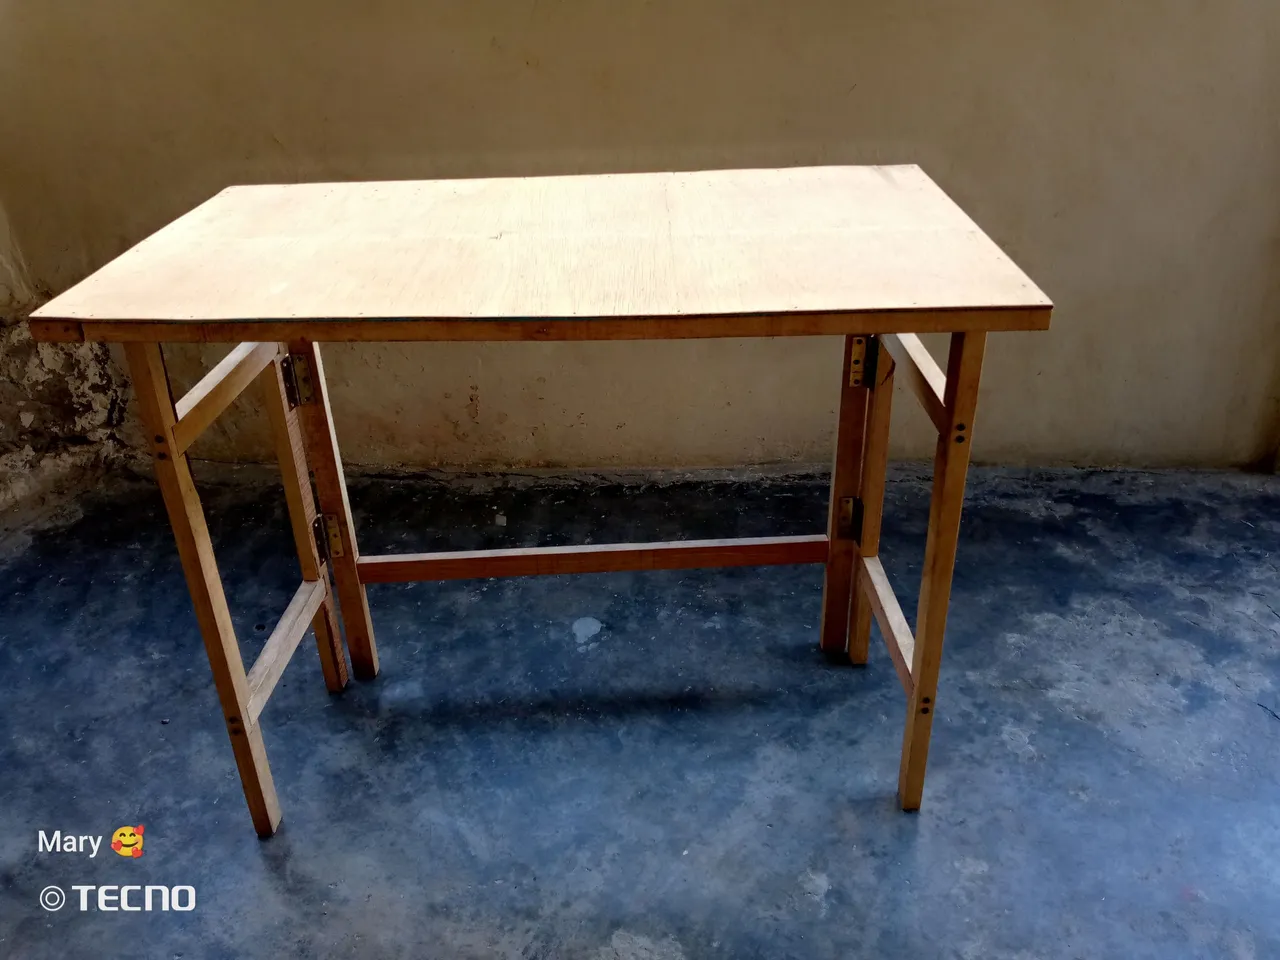
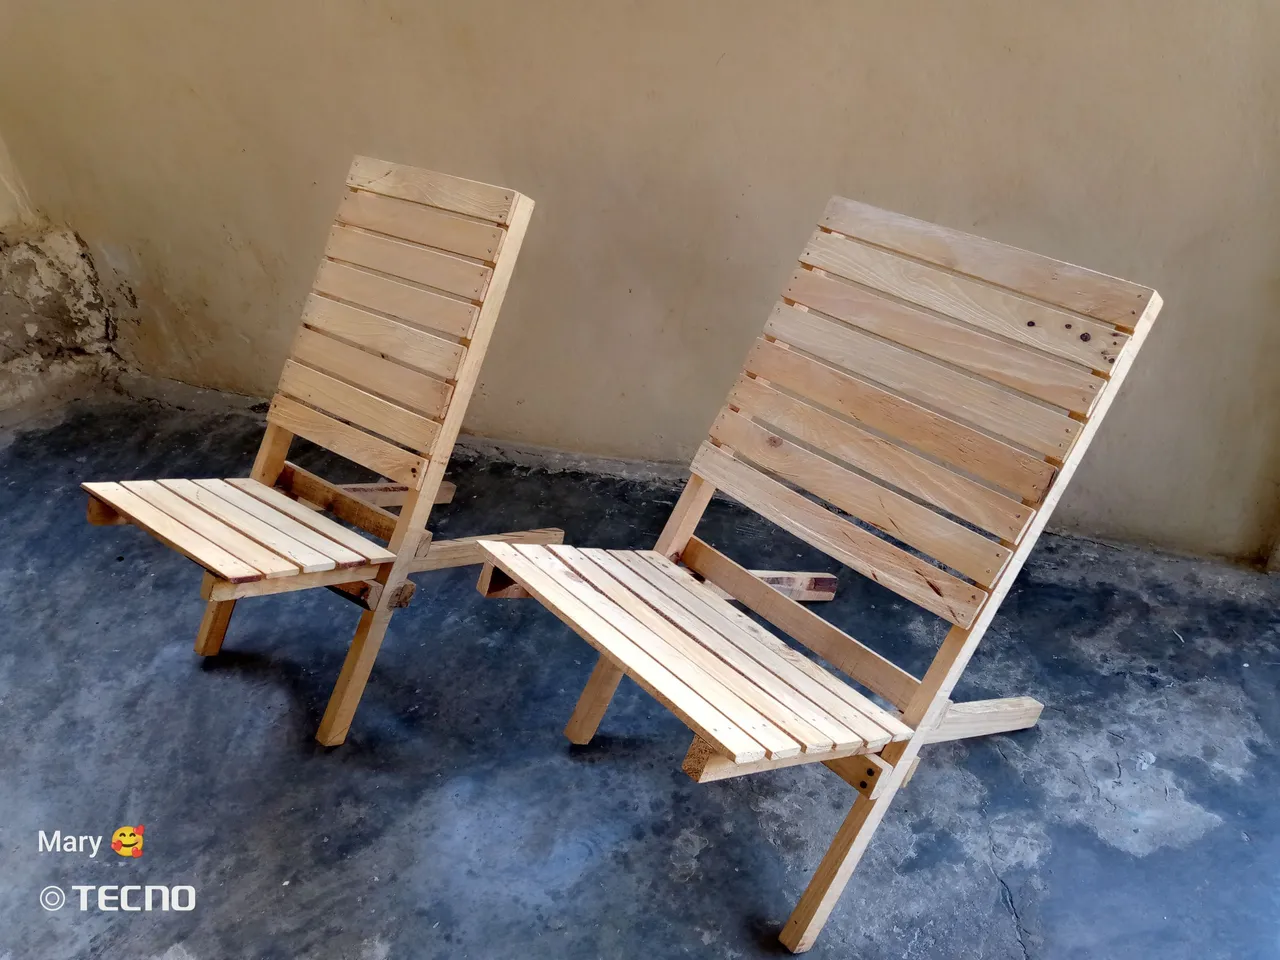
I will show you some pictures of some pieces that I had already made before entering the platform; only with the help of online tutorials.

IMG_20240131_075649_708.jpg


IMG_20240131_075743_790.jpg


El tutorial es de mi autoría
Las fotos fueron tomadas con mi teléfono Samsung A20 y con el Tecno GO 2023
Traductor utilizado DeepL

The tutorial is authored by me
The photos were taken with my Samsung A20 phone and the Tecno GO 2023.
Translator used DeepL