Hola querida comunidad hoy quiero compartir unos lindos portavasos que elaboré con bolsas plásticas.
Hello dear community, today I want to share some cute cup holders that I made with plastic bags.


Uno de los materiales que contamina mucho el ambiente y tarda bastante en degradarse es el plástico por eso en casa tratamos de usar este material muy poco. Sin embargo con las compras navideñas me encontré que tenía varias bolsas así que decidí realizar objetos utilitarios para así darle un uso más apropiado en lugar de botarlas o tenerlas arrimadas en cualquier rincón de la casa.
One of the materials that pollute the environment and take a long time to degrade is plastic so at home, we try to use this material very little. However, with the Christmas shopping, I found that I had several bags, so I decided to make utilitarian objects to give them a more appropriate use instead of throwing them away or having them lying in any corner of the house.
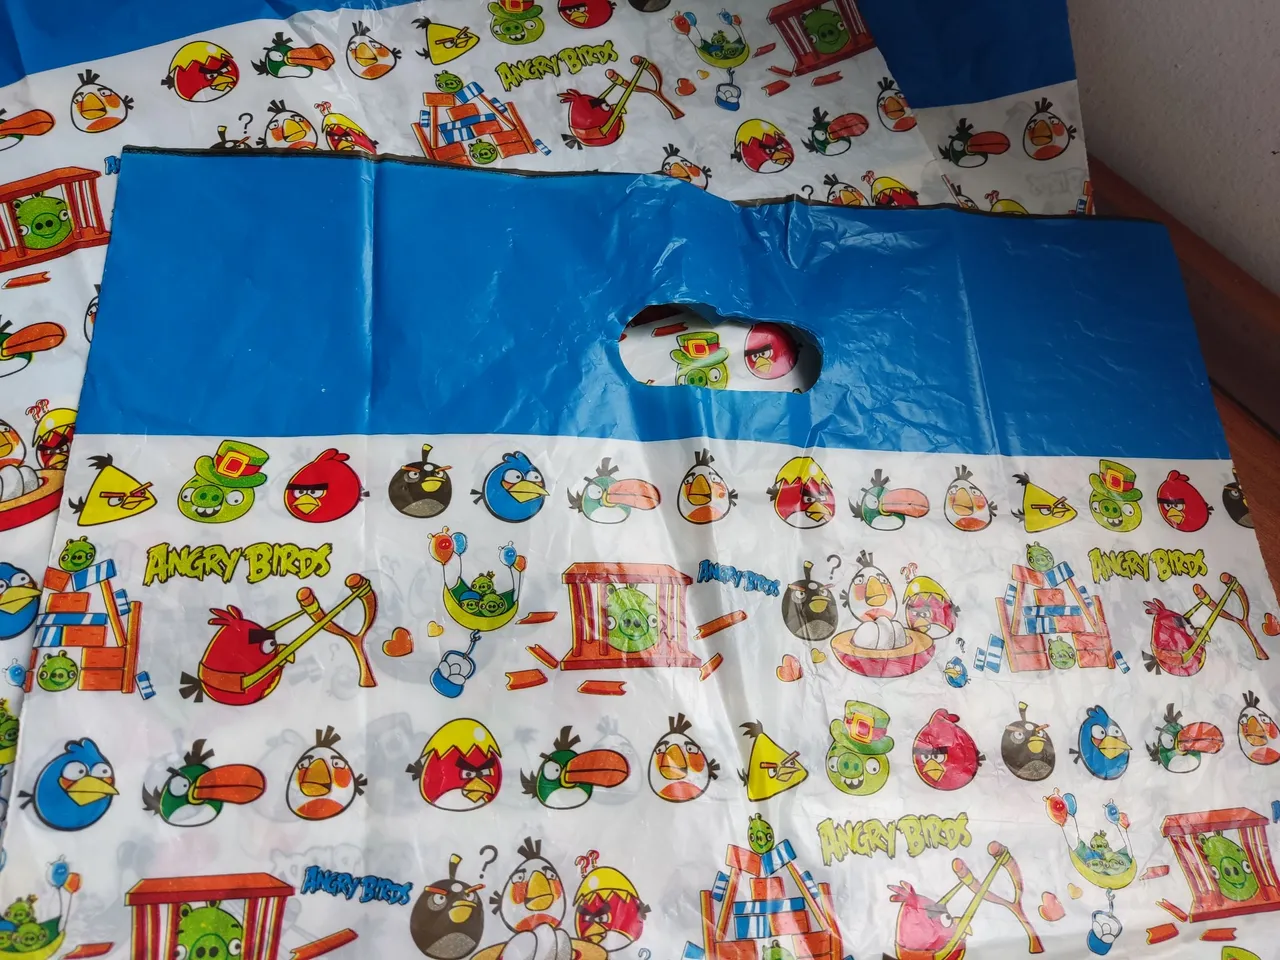
Una de las cosas fundamentales de reciclar es que con poco o casi nada de gasto, puedas hacer algo fabuloso. En mi caso no gasté nada ya que entre los materiales que utilcé estaban las bolsas que me las dieron en las tiendas y lo demás lo tenía en casa como las tijeras, aguja punta roma para lana y crochet Nº 000.
One of the fundamental things about recycling is that with little or almost nothing to spend, you can make something fabulous. In my case I didn't spend anything since among the materials I used were the bags that I got from the stores and the rest I had at home such as scissors, blunt needle for wool, and crochet Nº 000.
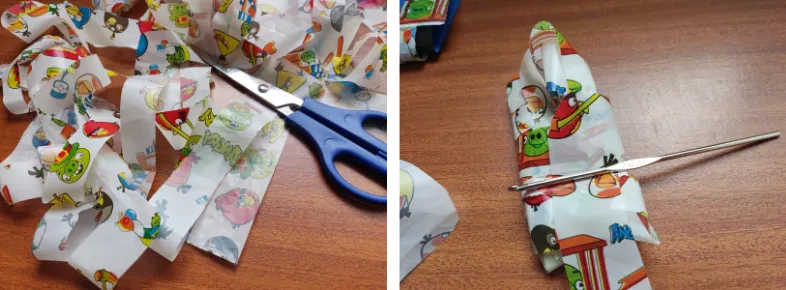
Lo primero que hice fue cortar las bolsas en una larga tira contínua que no pasara de un centímetro de ancho. Luego formé la especie de ovillo para evitar que se enredara. Posteriormente procedí a formar un círculo de base y comencé a tejer con el crochet con punto bajo. Esto me permitió decidir de cuántas vueltas quería mi portavasos. Al irlo elaborando ví que el tamaño propio era de 4 tramos. A continuación te muestro cómo lo elaboré.
The first thing I did was to cut the bags into a long continuous strip no more than a centimeter wide. Then I formed a kind of ball to avoid tangling. I then proceeded to form a base circle and began to crochet with a single crochet stitch. This allowed me to decide how many rows I wanted in my cup holder. As I was making it, I saw that the proper size was 4 sections. Here is how I made it.
Debemos empezar realizando un círculo con la cinta de la bolsa y comenzar a colocar los puntos que serán la base de nuestro tejido. Observa cómo:
We must start by making a circle with the ribbon of the bag and start placing the stitches that will be the base of our knitting. Watch how:
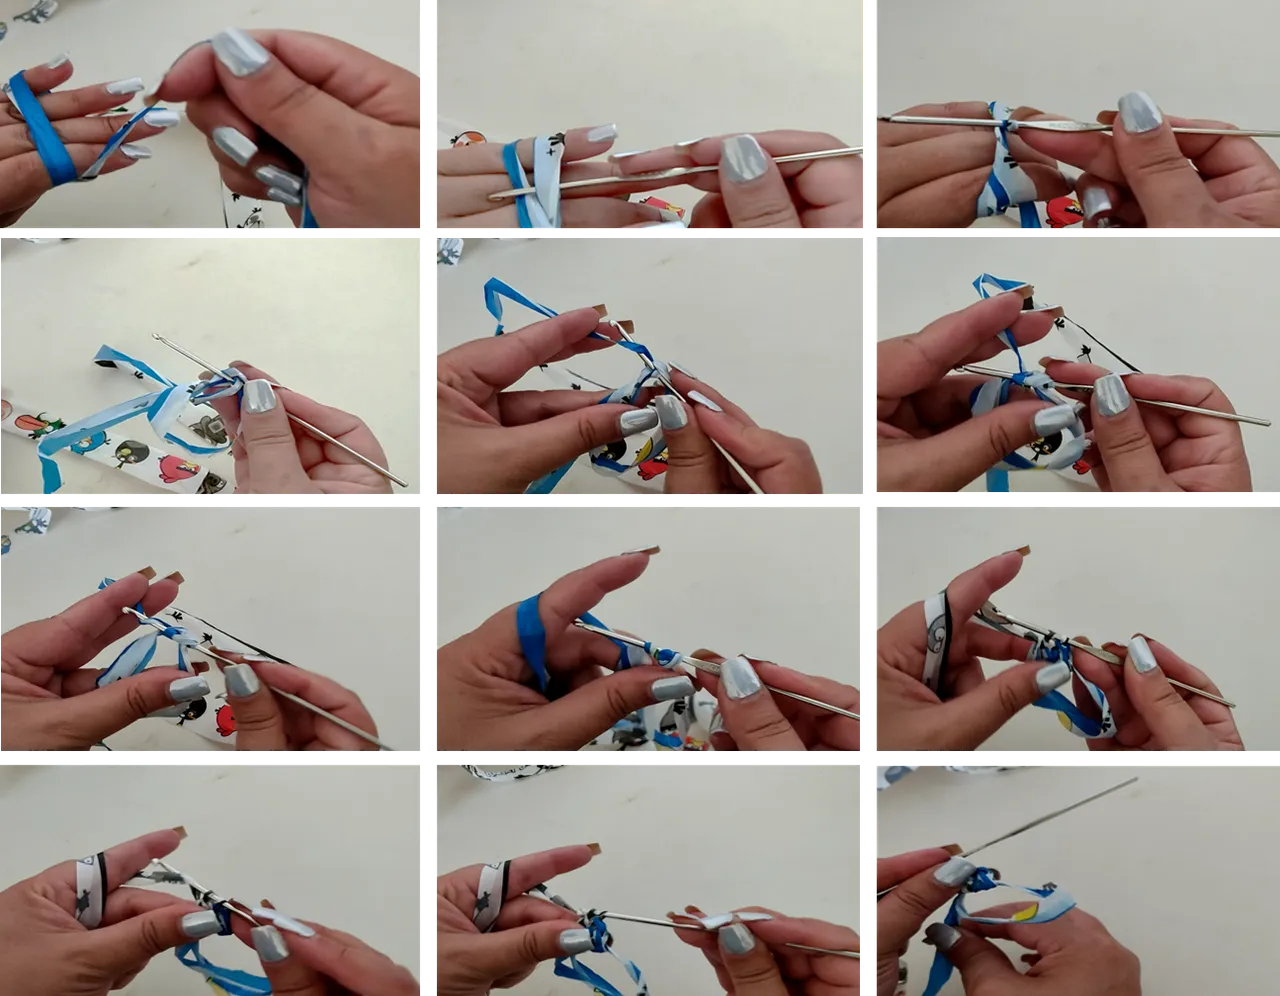
Tomamos la cinta y damos una vuelta en el dorso de la mano, tomamos el ganchillo del crochet y enhebramos para poder obtener el primer punto. Luego precedemos a enlazar la cinta alrededor del círculo principal y vamos realizando todos los demás puntos. Cuando casi llegues al final del círculo jala con cuidado la tira que quedó suelta, esto hará que los puntos se junten hasta poder cerrar tu círculo. Así habremos realizado el primer tramo.
Take the ribbon and make a turn on the back of the hand. Take the crochet hook and thread it to obtain the first stitch. Then we proceed to loop the ribbon around the main circle and go on making all the other stitches. When you almost reach the end of the circle, carefully pull the strip that was left loose, this will make the stitches come together until you can close your circle. This way we will have completed the first section.
Para los demás tramos te invito a ver el video para que veas cómo vamos realizando los puntos:
For the rest of the sections, I invite you to watch the video to see how we make the stitches:
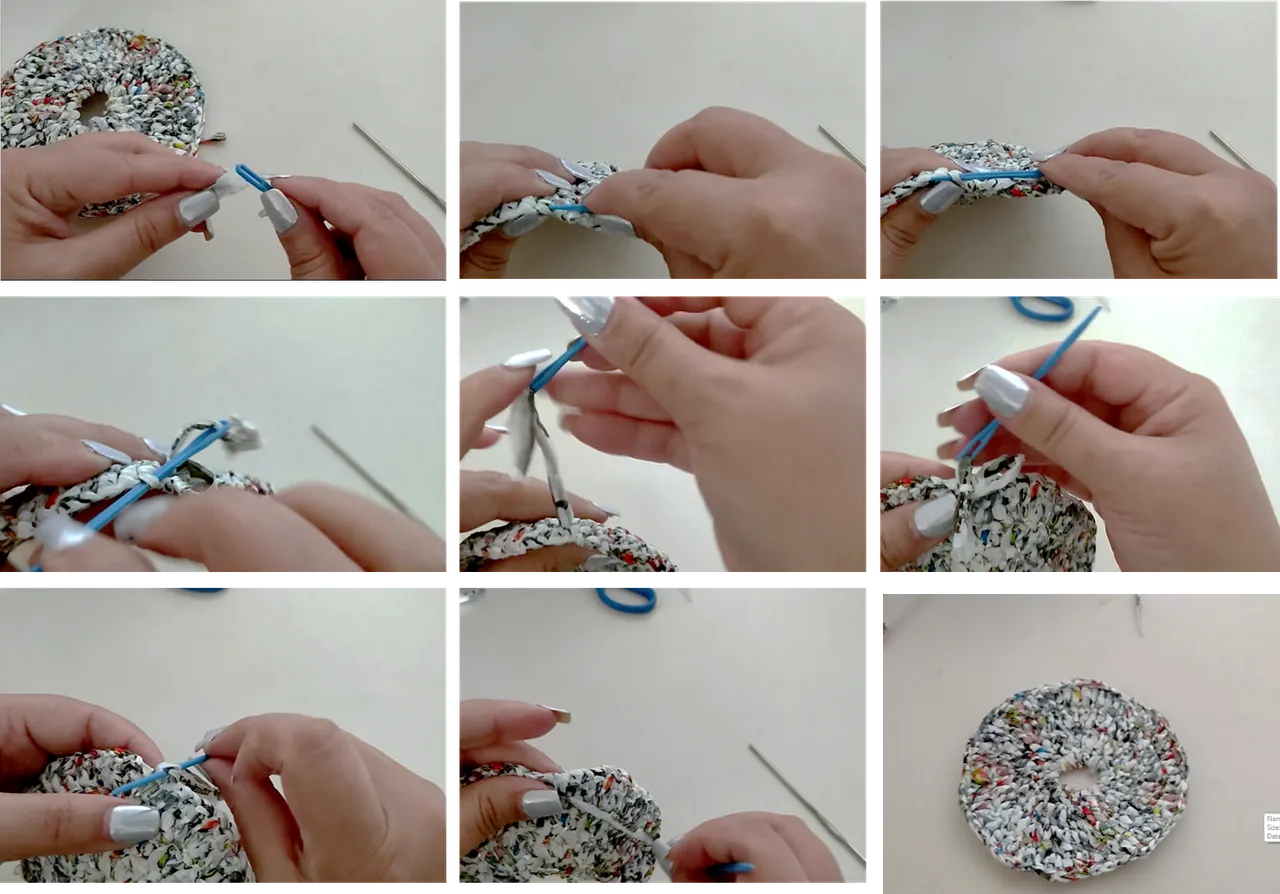
Para darle una buena terminación debemos cerrar nuestro círculo con ayuda de una aguja punta roma. A continuación te muesro en imágenes el paso a paso:
To give it a good finish, we must close our circle with the help of a blunt needle. Below I show you in pictures the step by step:
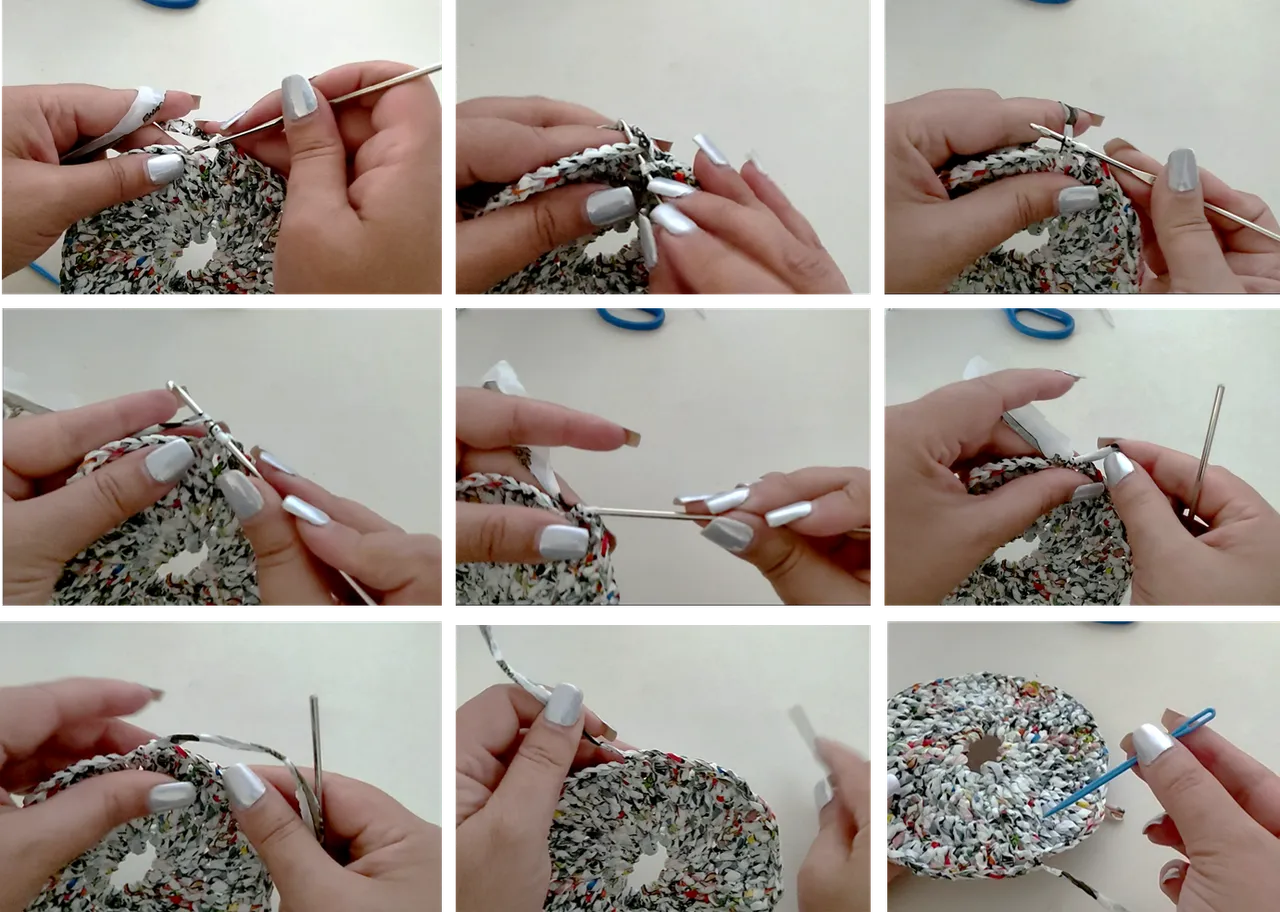
Cuando llegues al último punto, realiza el punto bajo que hemos venido realizando en toda la manualidad y enlaza con el otro extremo con un punto sencillo, luego jala la cinta y corta a una distancia que te permita enhebrar la cinta sobrante en una aguja punta roma. Con cuidado introduce la aguja en la parte del punto superior contiguo y haz una puntada que puedas anudar fácilmente.
When you reach the last stitch, make the low stitch that we have been doing throughout the craft and link to the other end with a single stitch, then pull the ribbon and cut to a distance that allows you to thread the excess ribbon on a blunt needle. Carefully insert the needle into the side of the top adjoining stitch and make a stitch that you can easily knot.
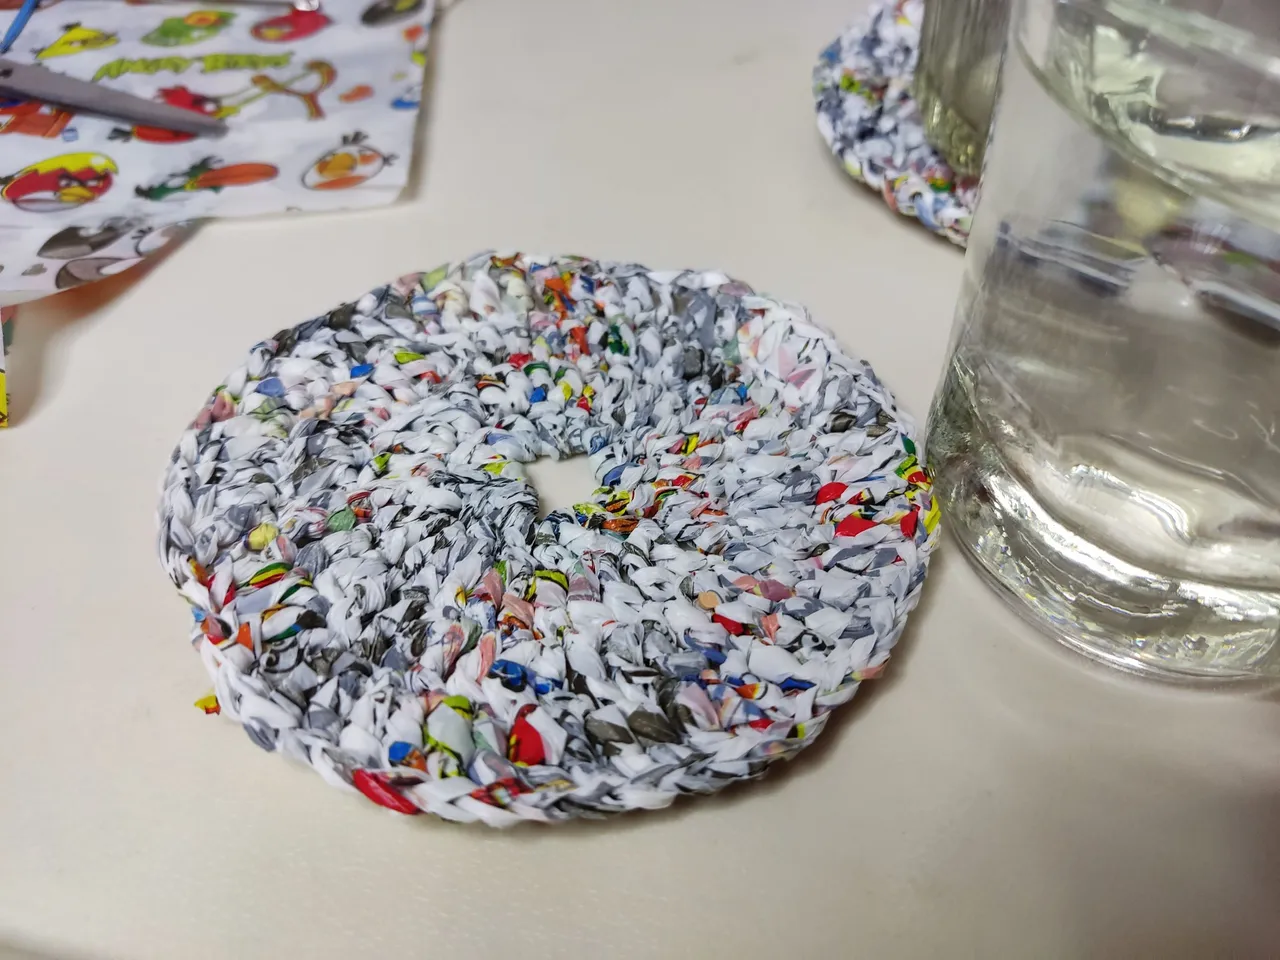
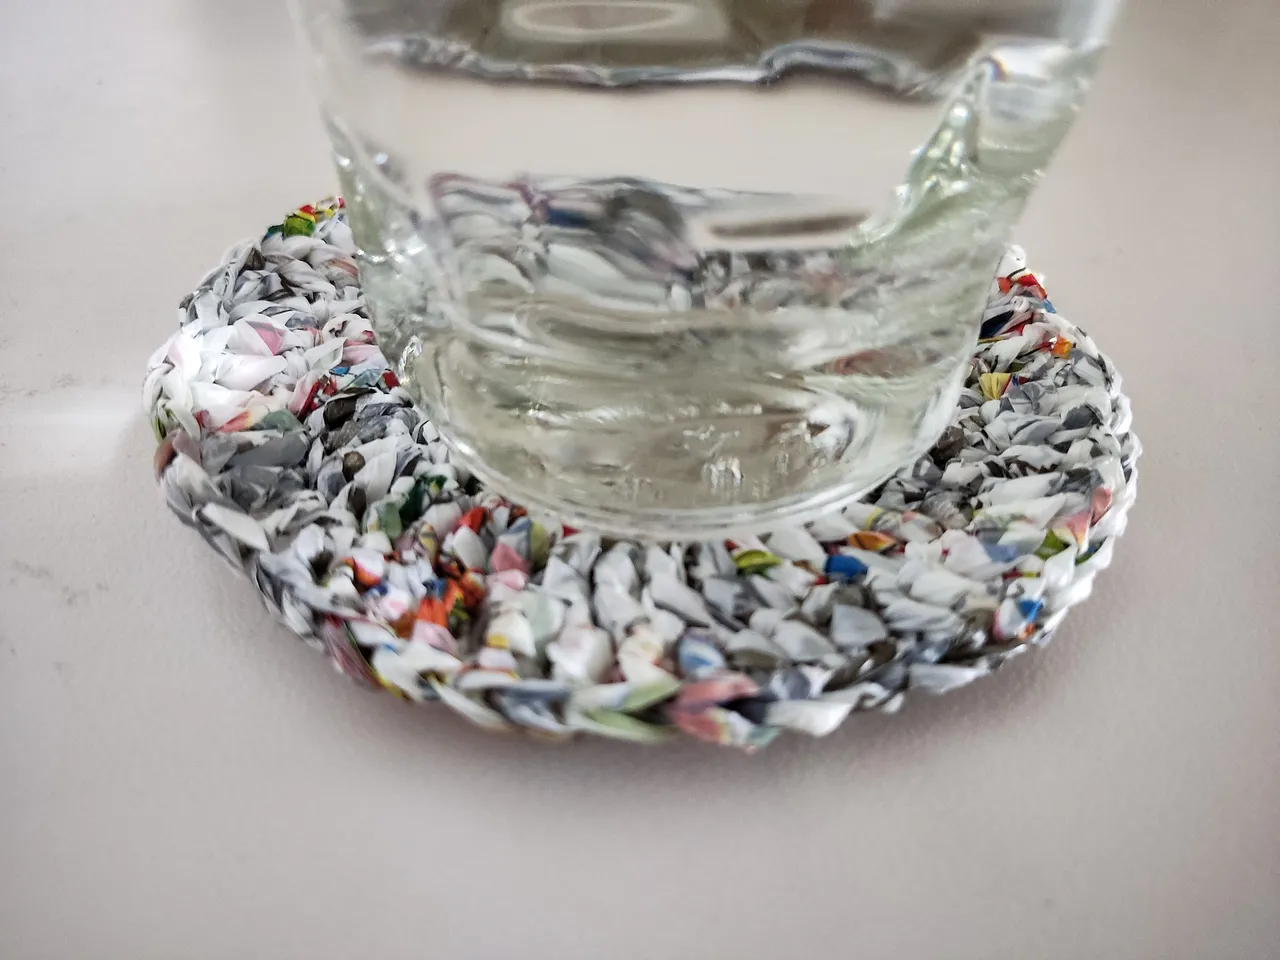
Como puedes observar queda bien cerrado y puedes empezar a realizar los próximos portavasos. Esta es una manualidad que te permite darle un uso diferente a las bolsas de plástico, al menos en mi casa ya no tendré que estar pendiente que los vasos manchen las mesas o muebles donde a veces se apoyan. Espero que te haya gusta mi publicación, si gustas dejarme un comentario y con gusto lo leeré.
As you can see, it is well closed and you can start making the next cup holders. This is a craft that allows you to give a different use to plastic bags, at least in my house, I will no longer have to be aware that the glasses stain the tables or furniture where they sometimes rest. I hope you liked my publication. If you like leave me a comment, and I will gladly read it.
Todas las fotografías son propiedad de la autora
La música para elaborar el video es de libre uso del portal fiftysounds
Thanks for reading. See you in a future post!.
All photographs are property of the author
The music for the video is free to use from the portal fiftysounds