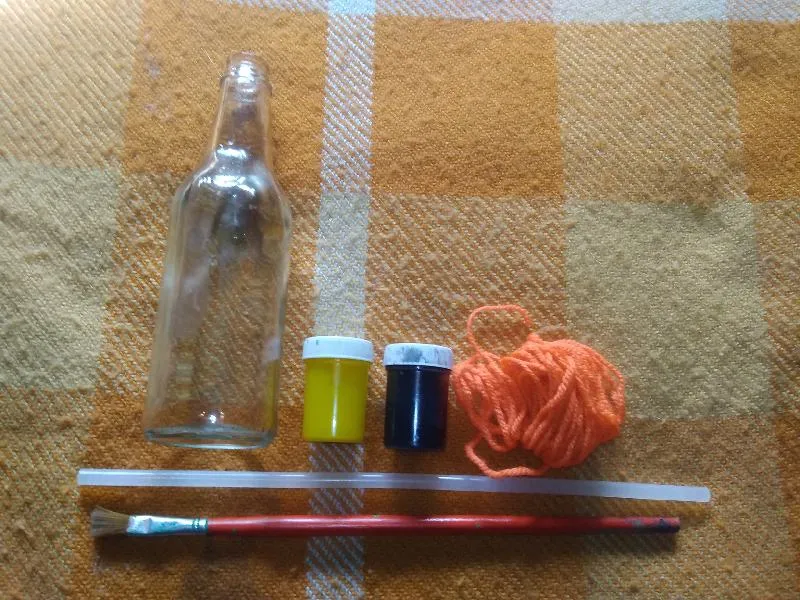
Crystal World: Botella Decorada. || Decorated bottle:
Materiales:
- 1 Botella de Vidrio
- Estambre color naranja
- Tempera color negro y amarilla
- 1 Silicón
- 1 Tijera
- 1 Pincel
Materials:
- 1 Glass Bottle
- Orange stamen
- Black and yellow tempera
- 1 Silicone
- 1 Scissors
- 1 Brush
Paso 1 :
Se coloca un punto de silicón y pegamos la punta del estambre y luego comenzamos a enrollar en la punta de la botella, al final la sellamos con el silicón.
Step 1 :
A point of silicone is placed and we glue the tip of the yarn and then we begin to roll it on the tip of the bottle, at the end we seal it with the silicone.
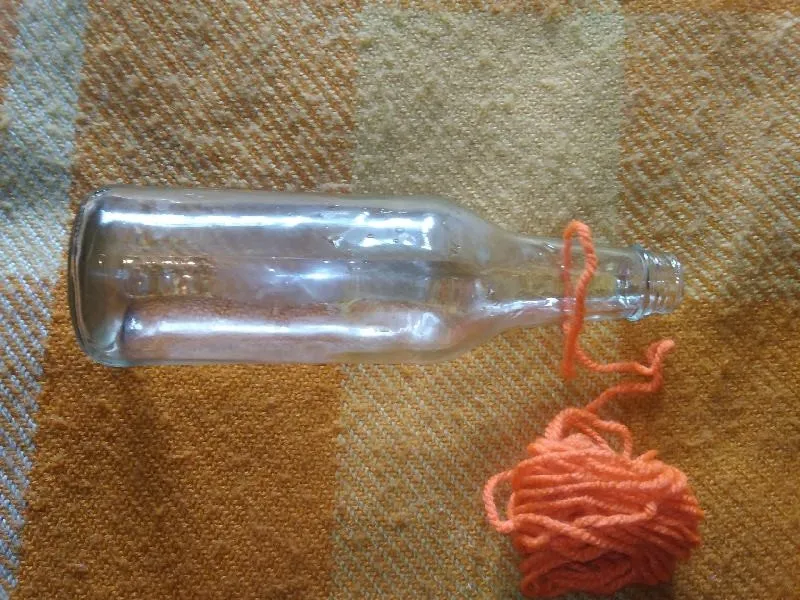
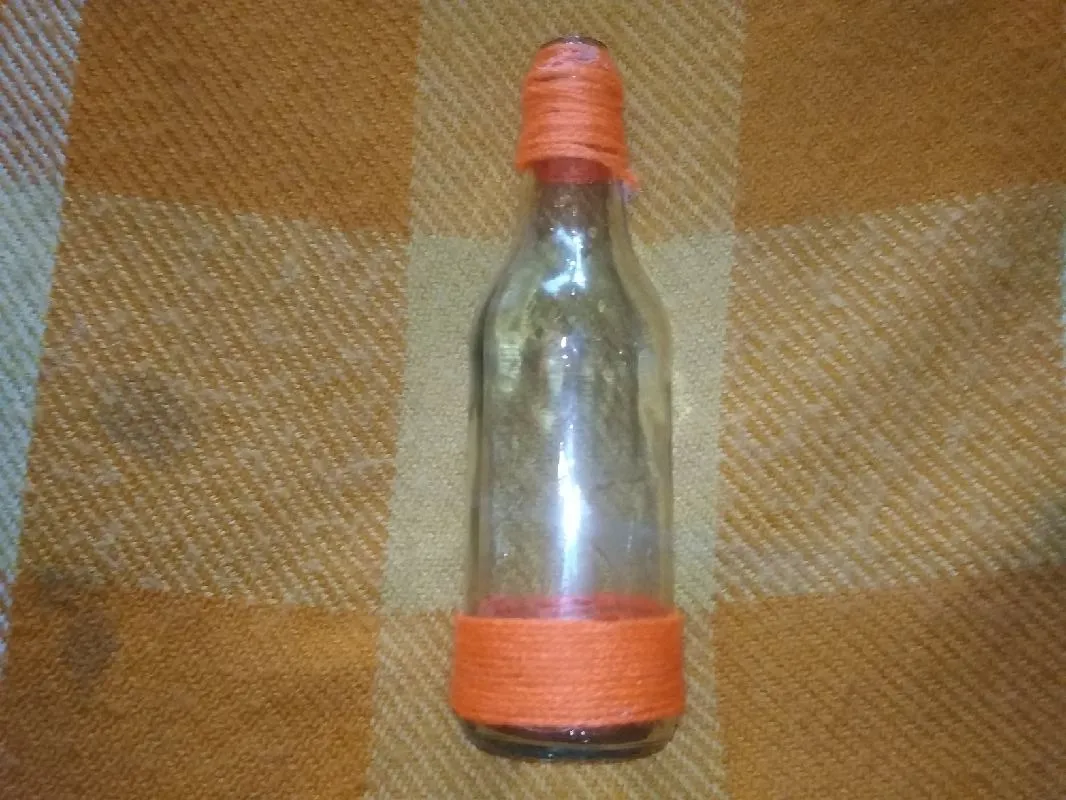
Así nos queda esta parte de la botella forrada.
So we have this part of the lined bottle.
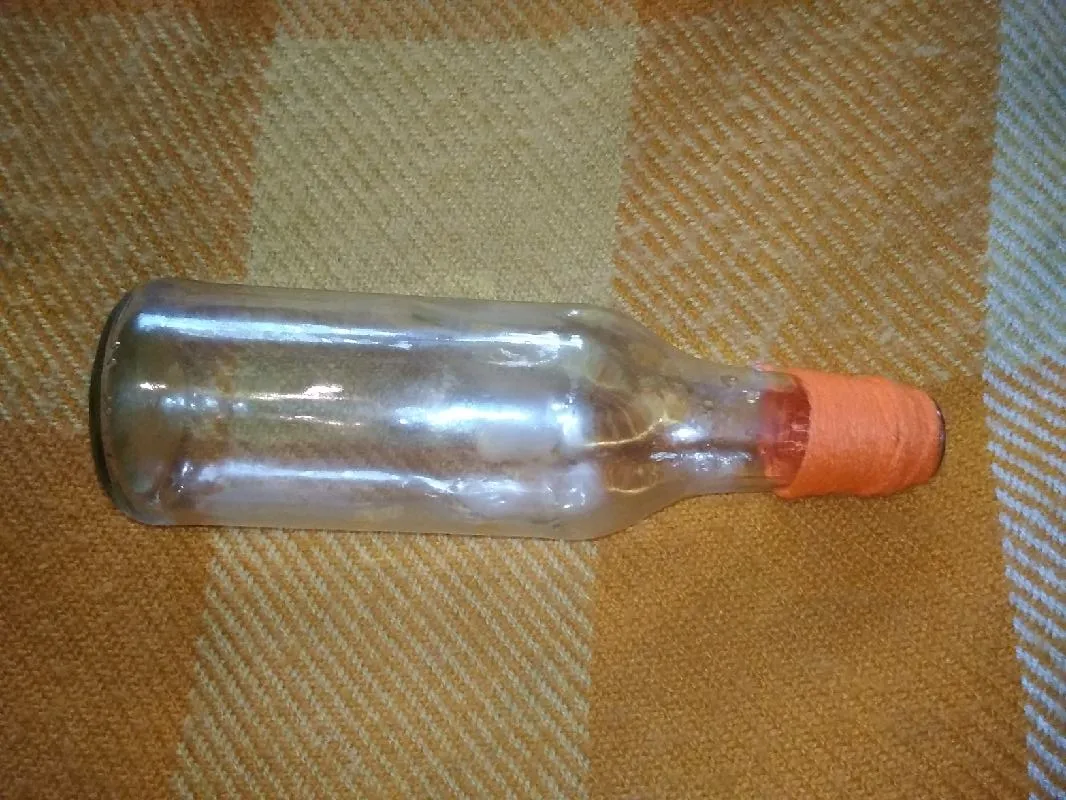
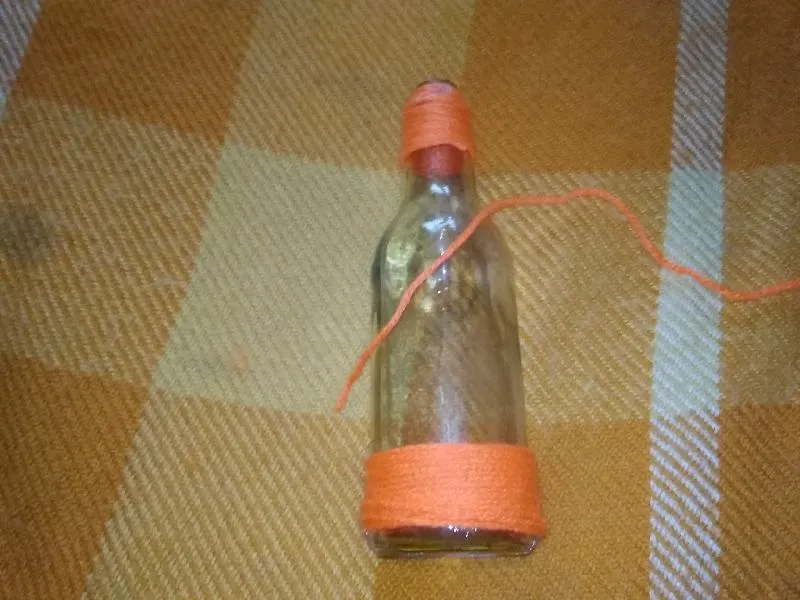
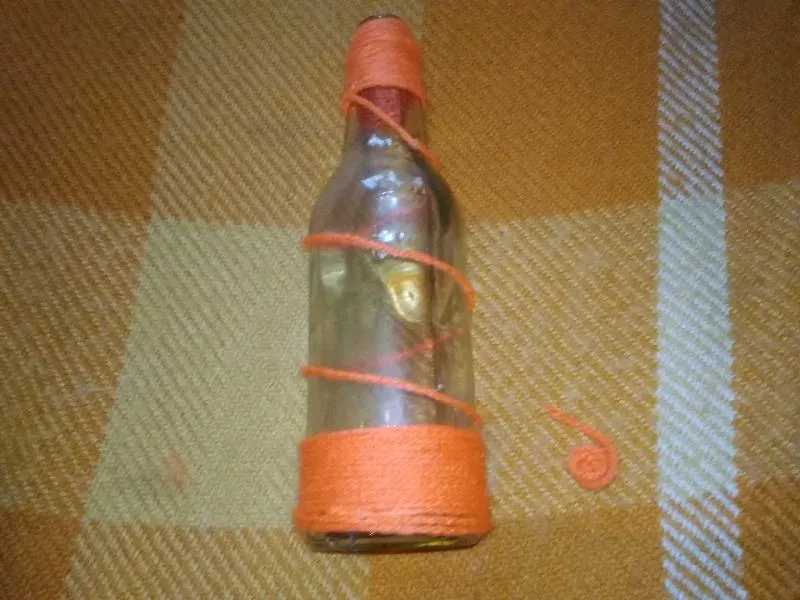
Paso 2:
Nuevamente enrollamos el estambre en la parte inferior de la botella y la sellamos con el silicón.
Step 2:
Again we roll the yarn around the bottom of the bottle and seal it with the silicone.
Quedando así:
Being that way:
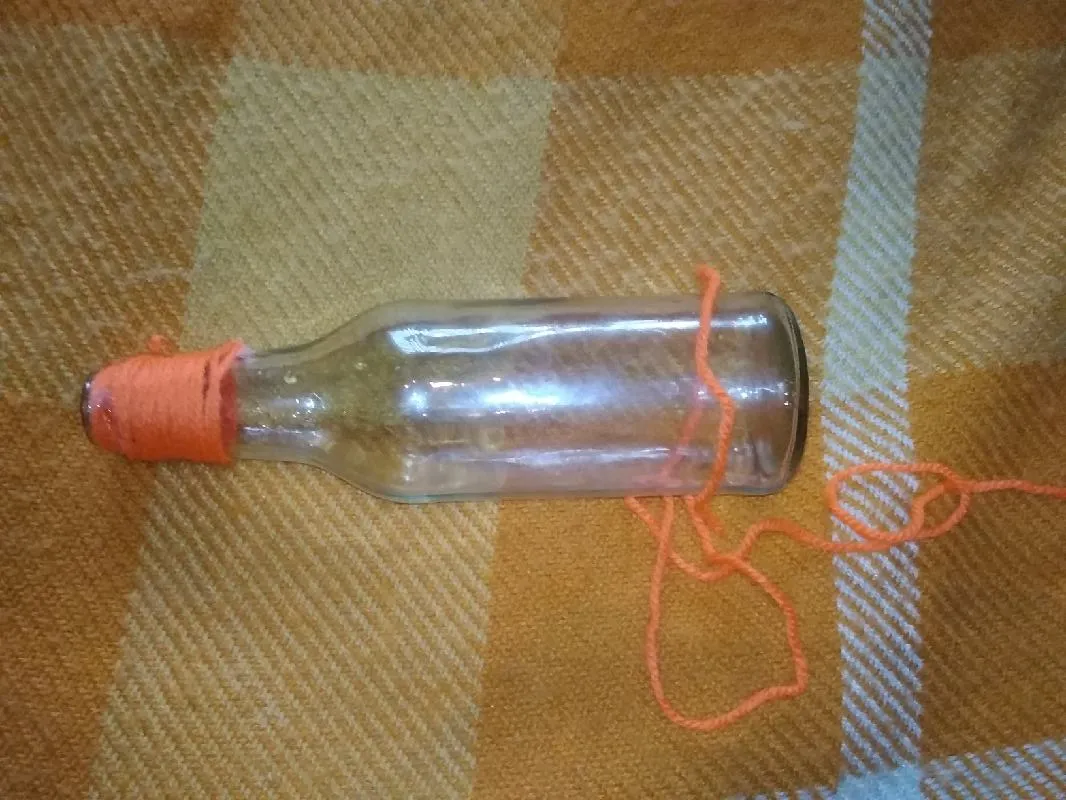
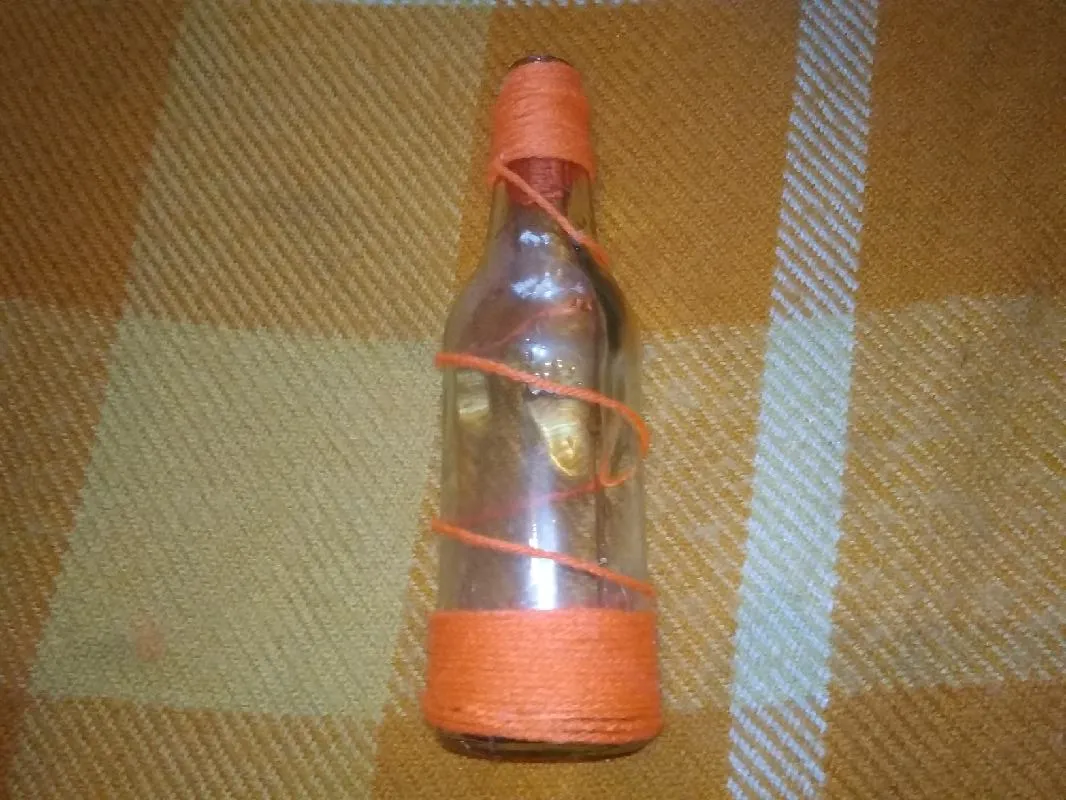
Paso 3:
Se pega una punta del estambre con el silicón y los vamos pegando en forma de zig zag.
Step 3:
One end of the yarn is glued with the silicone and we are gluing them in a zig zag shape.
Quedando así:
Being that way:
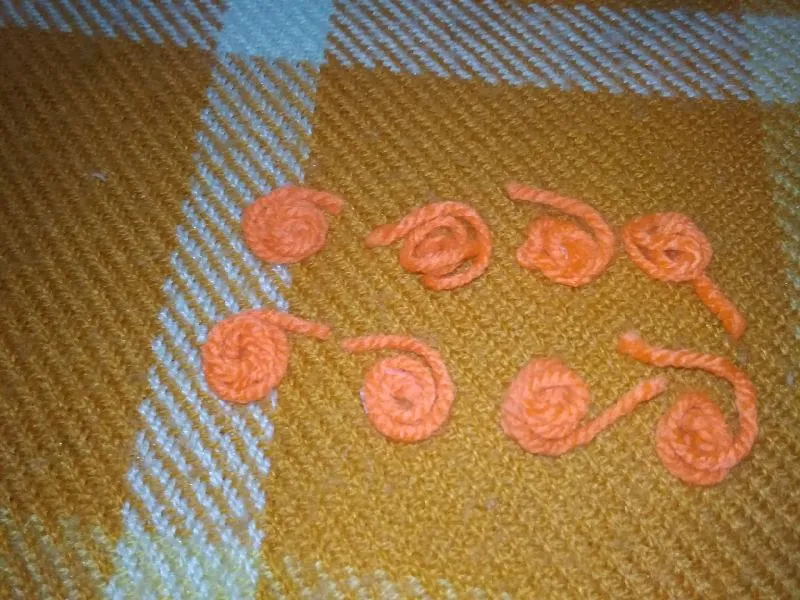
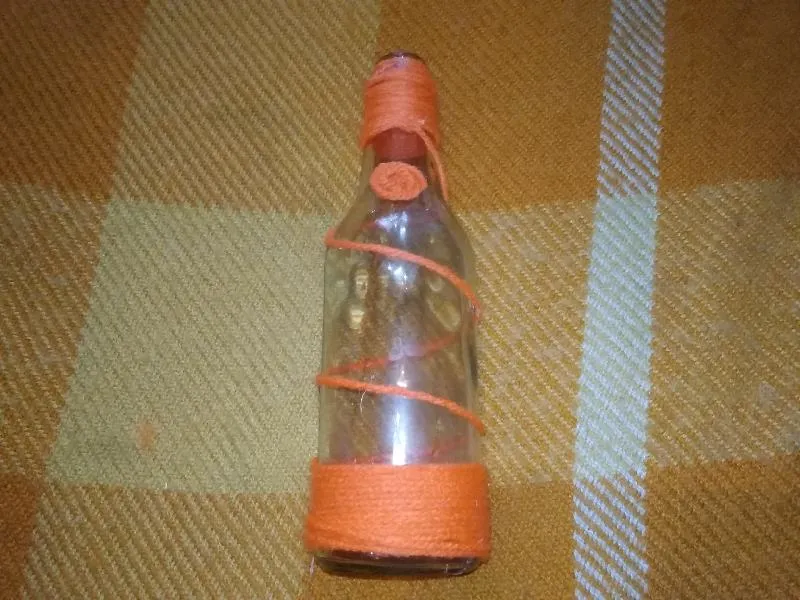
Paso 4:
Se recorta el estambre y lo enrollamos para crear esta forma, y sellamos con el silicón al final.
Step 4:
The yarn is cut out and we roll it to create this shape, and we seal with the silicone at the end.

Aquí tenmos las figuras lista.
Here we have the figures ready.
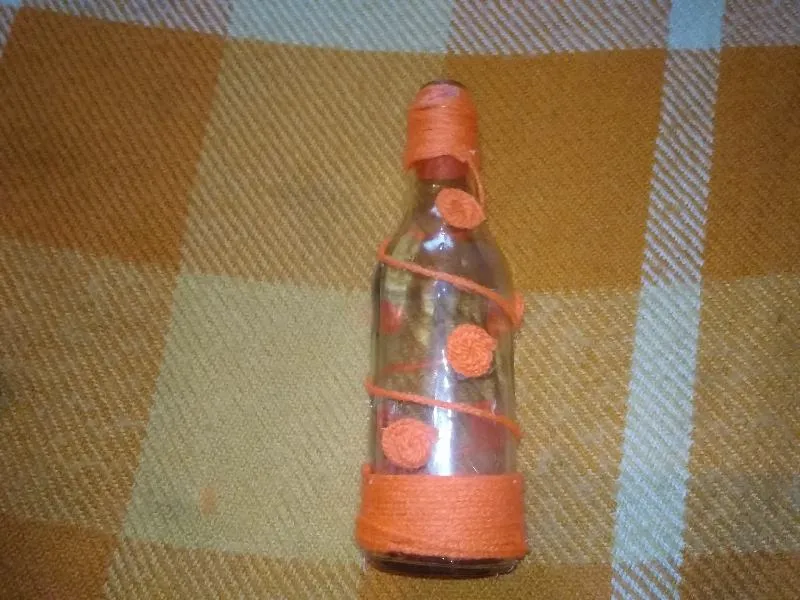
Paso 5:
Se pegan las figuras en la parte de arriba y el centro sobre la botella.
Step 5:
The figures are glued at the top and the center on the bottle.
Quedando así:
Being that way:
Paso 6:
Continuamos pegando las figuras en el resto de la botella.
Step 6:
We continue gluing the figures to the rest of the bottle.
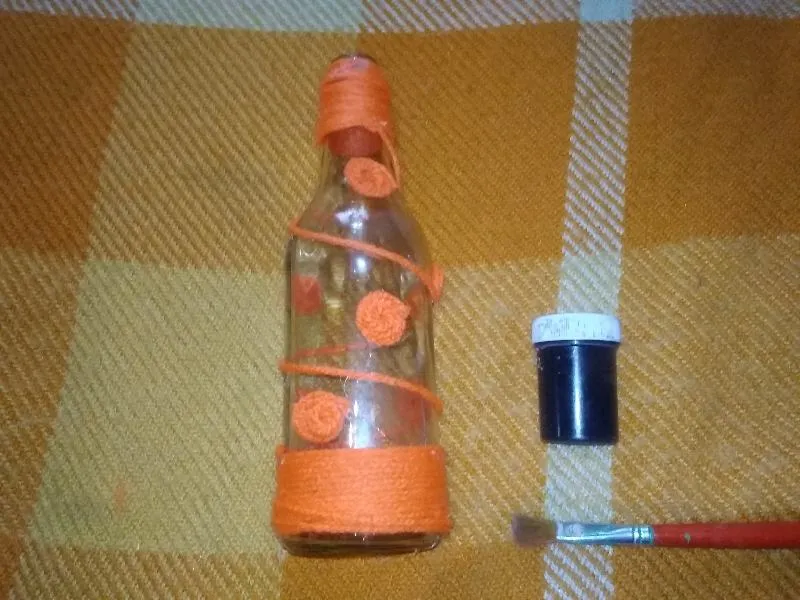
Paso 7:
Se pinta un círculo negro con el pincel en el centro de cada una de las figuras.
Step 7:
A black circle is painted with the brush in the center of each of the figures.
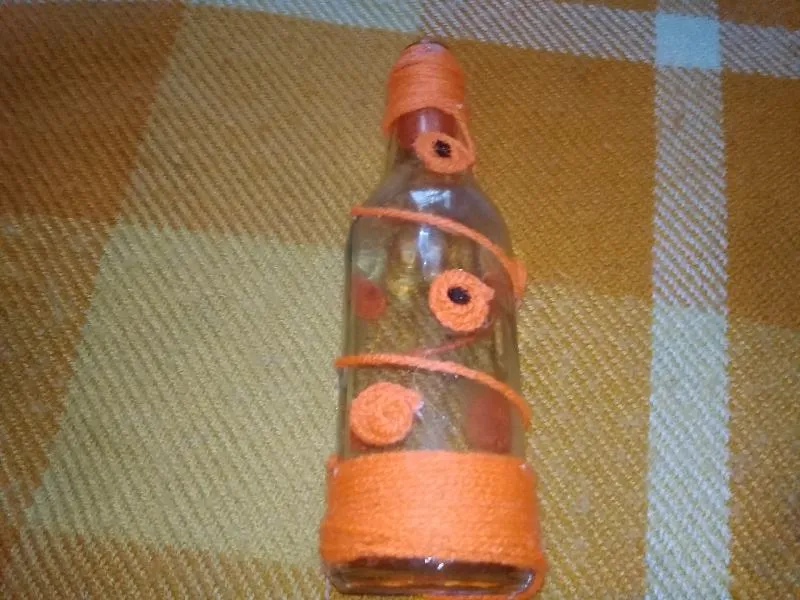
Así quedando la botella:
Thus leaving the bottle:
Paso 8:
Se pinta unos punto negros en la parte de arriba y abajo de la botella.
Step 8:
Black dots are painted on the top and bottom of the bottle.
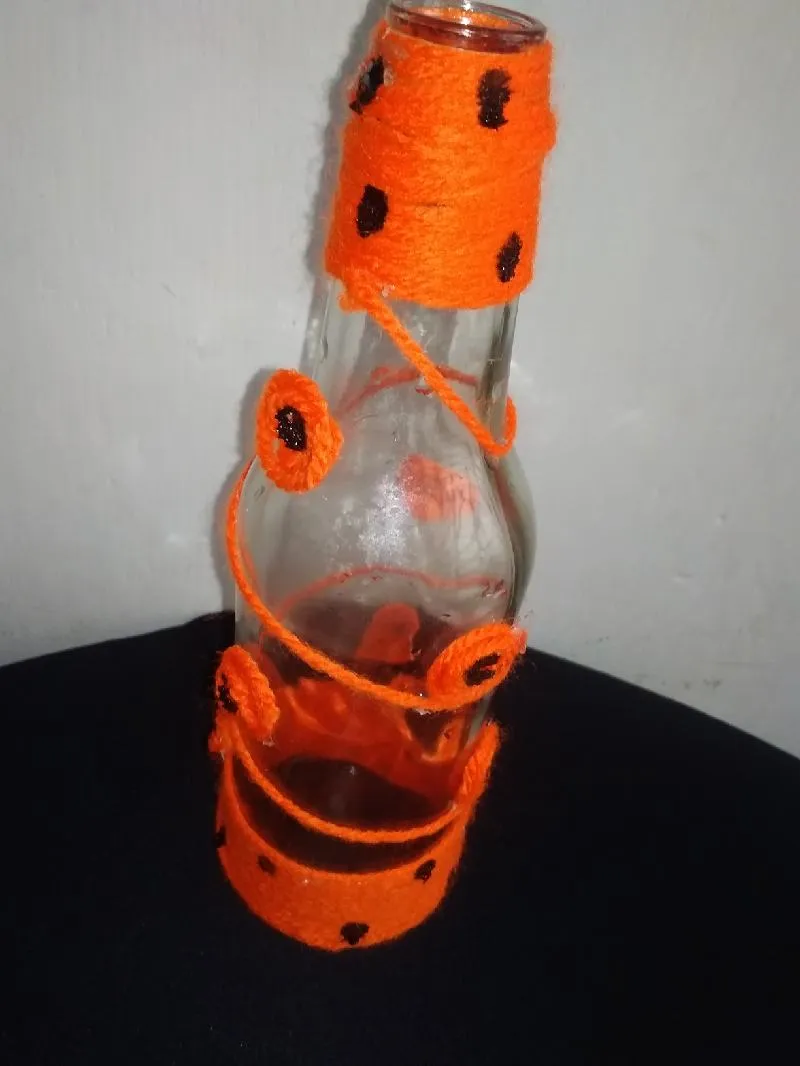
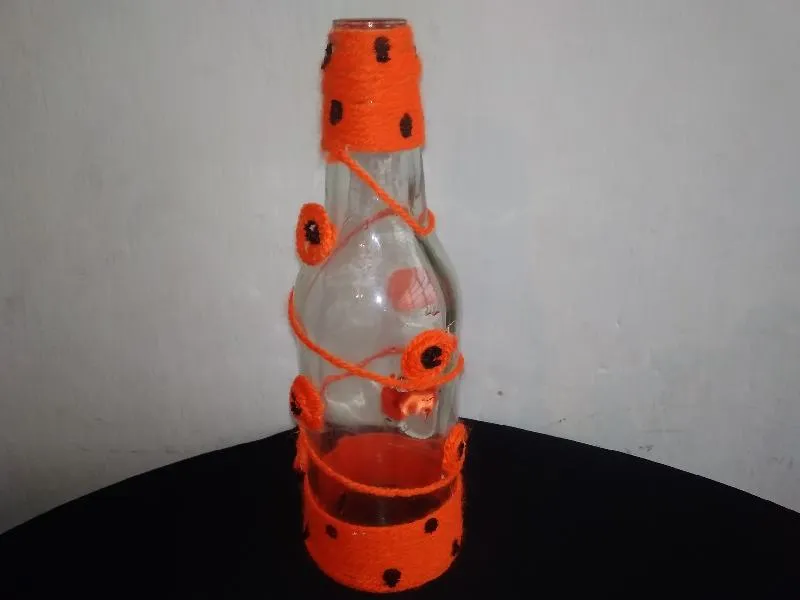
Este es el resultado final:
Espero que les haya gustado mi tutorial, invito a @lisbethseijas y a @yolimarag para que participe, nos vemos en el próximo.
I hope you liked my tutorial, I invite @lisbethseijas and @yolimarag to participate, see you next time.