Hola amigos de Hive, ¿qué tal están el día de hoy? una pregunta: ¿No les ha parecido que la caja en dónde vienen los huevos es algo simple y aburrida? pues bueno, a mí si. Por ello el día de hoy realizaremos una caja de huevos con decoración de gallina 🐔
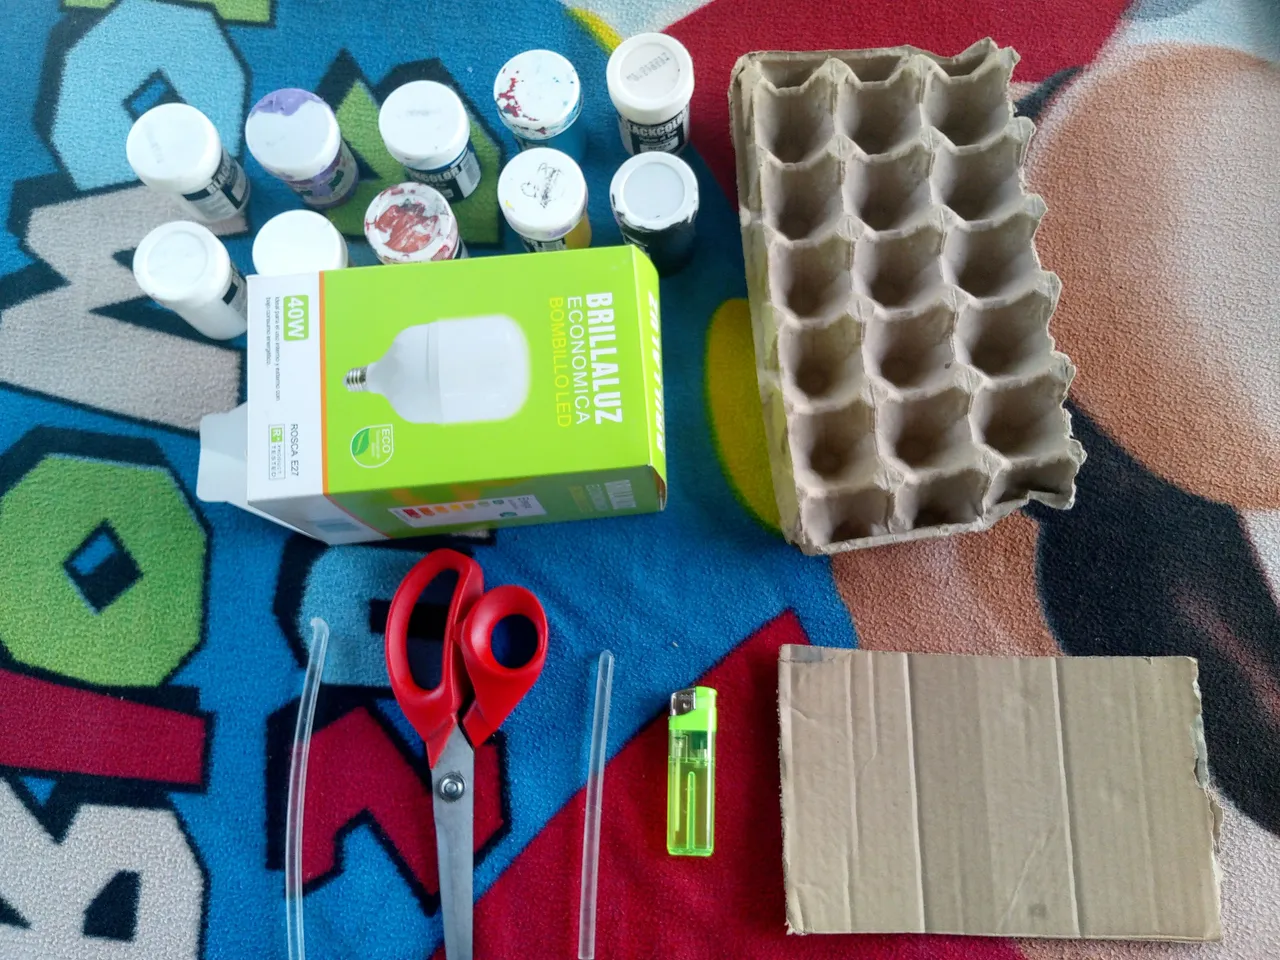
Los recursos que utilizaremos para elaborar está caja son bastante básicos y sencillos de encontrar, estos son los siguientes:
1- Cartón
2- Pintura color marrón 🟤
3- Una barra de silicona
4- Una caja de huevos 🥚
5- Unas tijeras ✂️
Ahora, ya teniendo esto. Podemos pasar al tutorial.
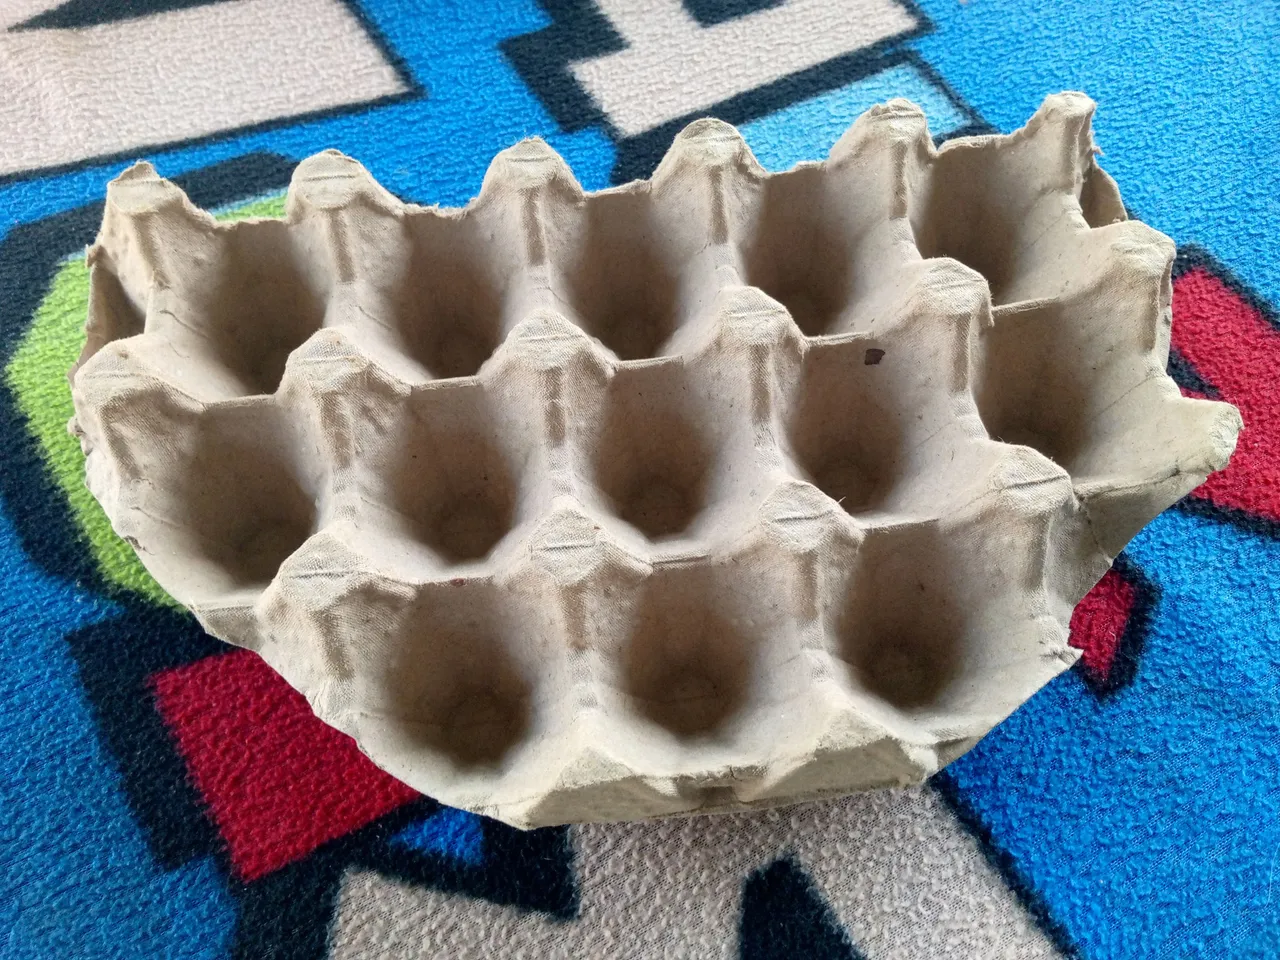
Primero debemos tomar la caja del cartón de huevos y recortarlo un poco redondeado por los extremos, esto para darle una forma más linda y diferente.
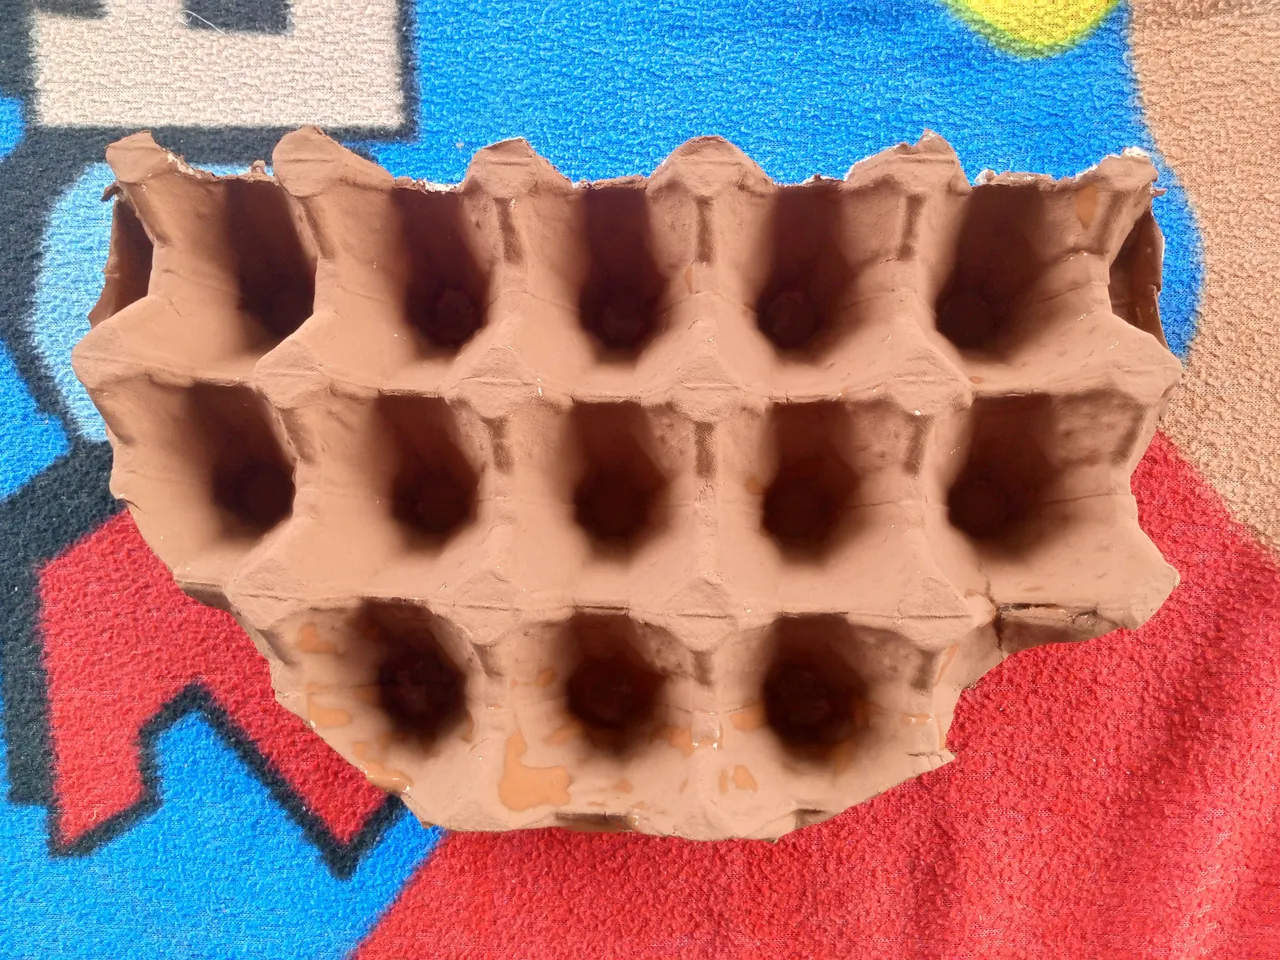
Luego lo pintaremos del color que tú prefieras. En mi caso le apliqué pintura color marrón.
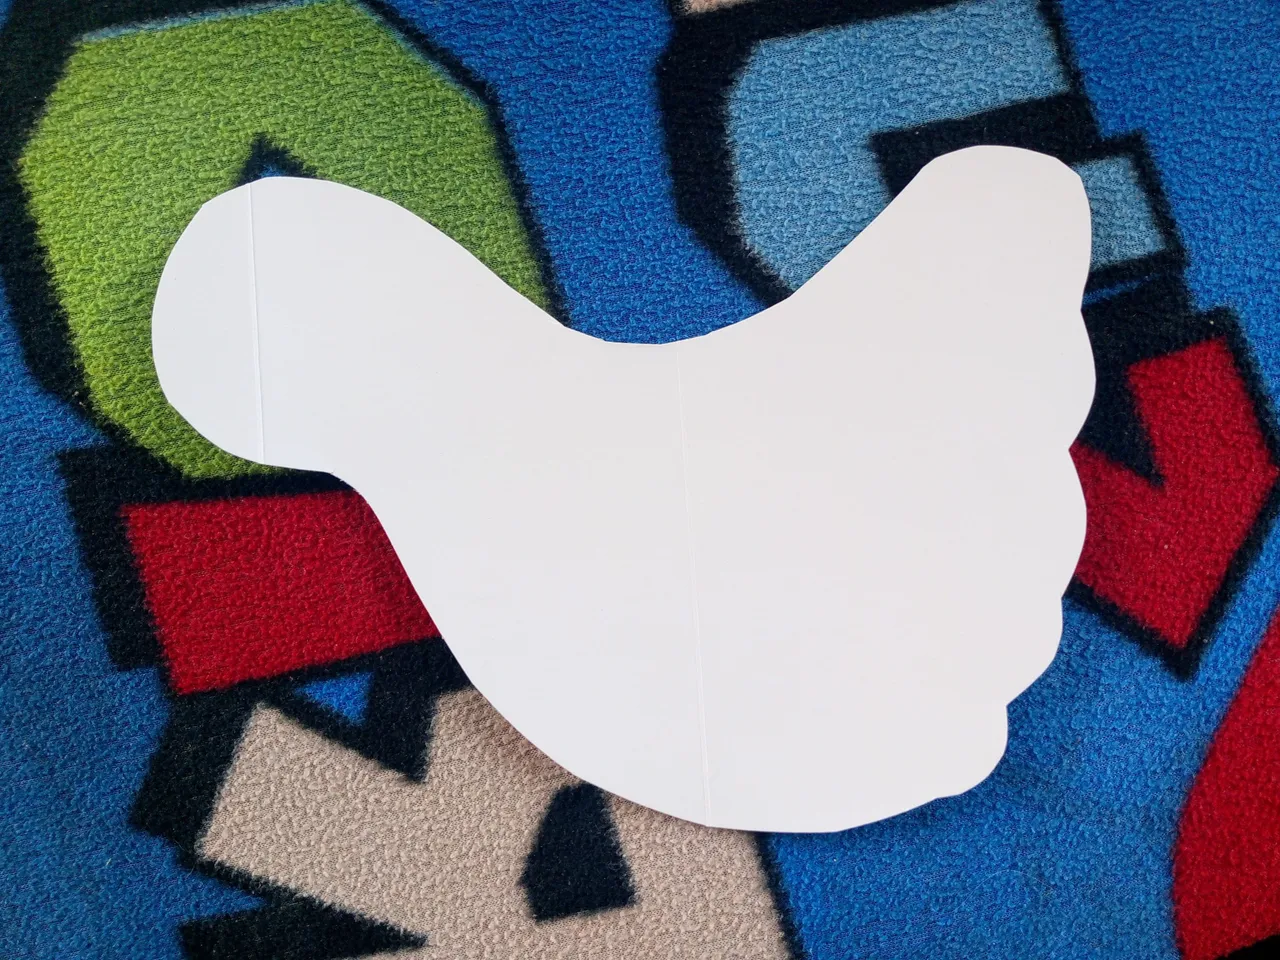
Posteriormente realizaremos la gallina, en sus partes traseras tendrá unas texturas de plumaje.
Ahora elaboraremos detalles principales como lo serían el pico, la cresta y su ojo. Ahora realizaremos un detalle extra el cual es un moño que portará en su cuello.
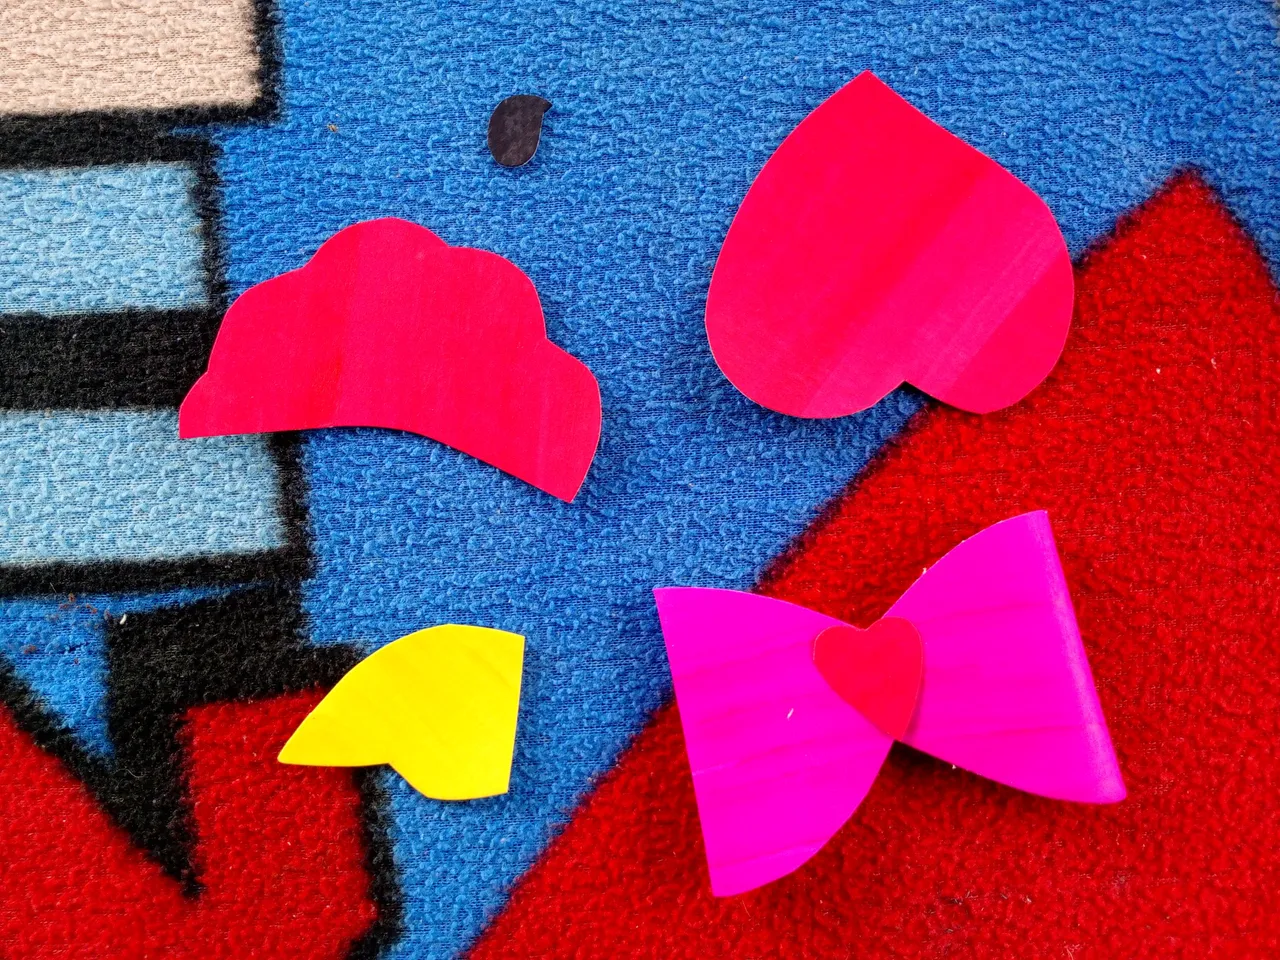
El ojo tendrá un color negro y una especie de pestañas pequeña, el pico tendrá un color amarillo, la cresta un color rojo suave y su moño del mismo color de la cresta.
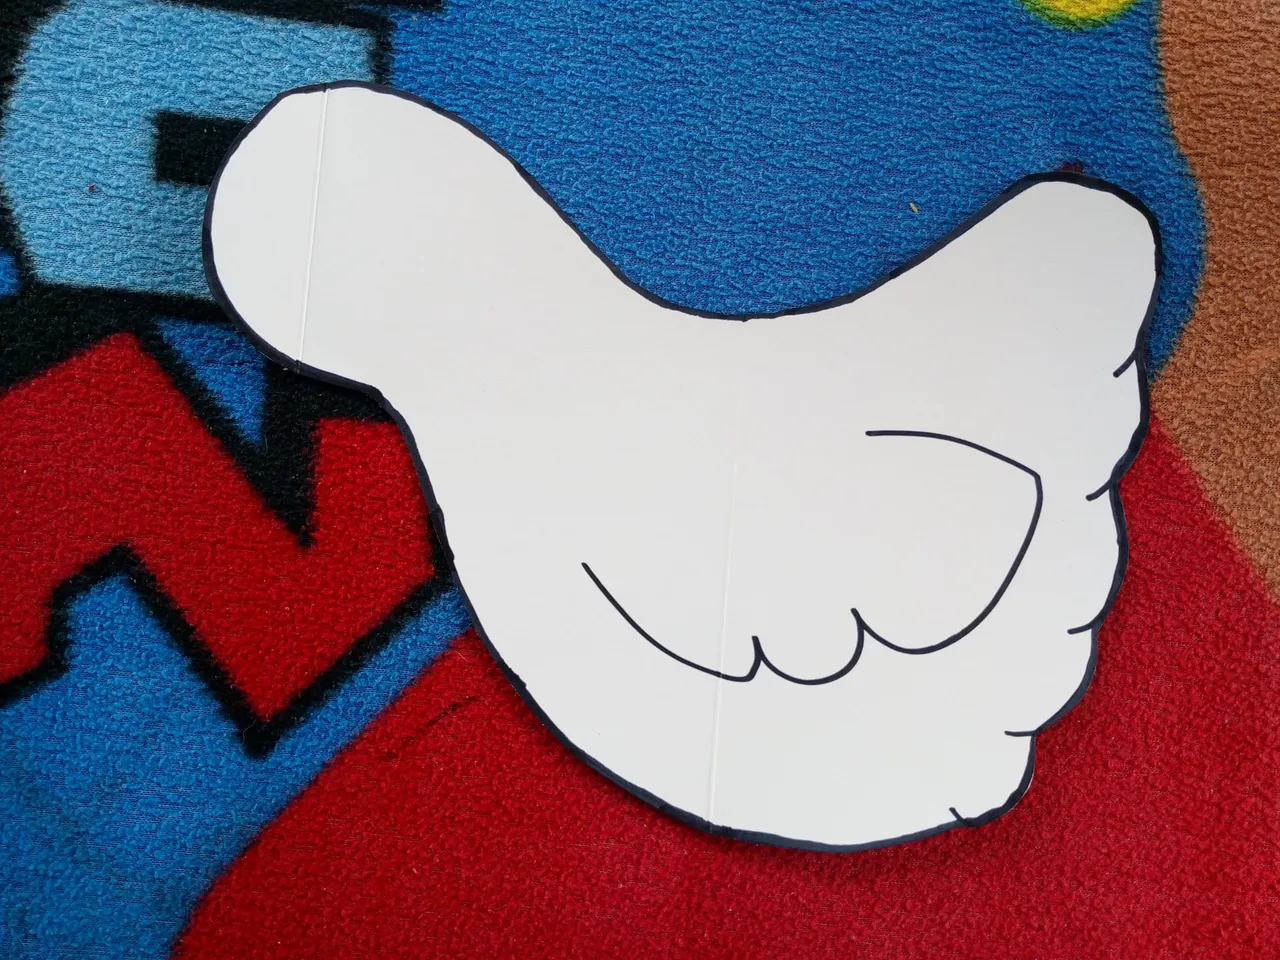
Antes de colocar/pegar todo esto, primero deberemos hacer unas líneas no tan grandes por las orillas de la gallina y también realizar un plumaje en el medio de su cuerpo.
Ya habiendo hecho esto, podemos empezar a pegar.
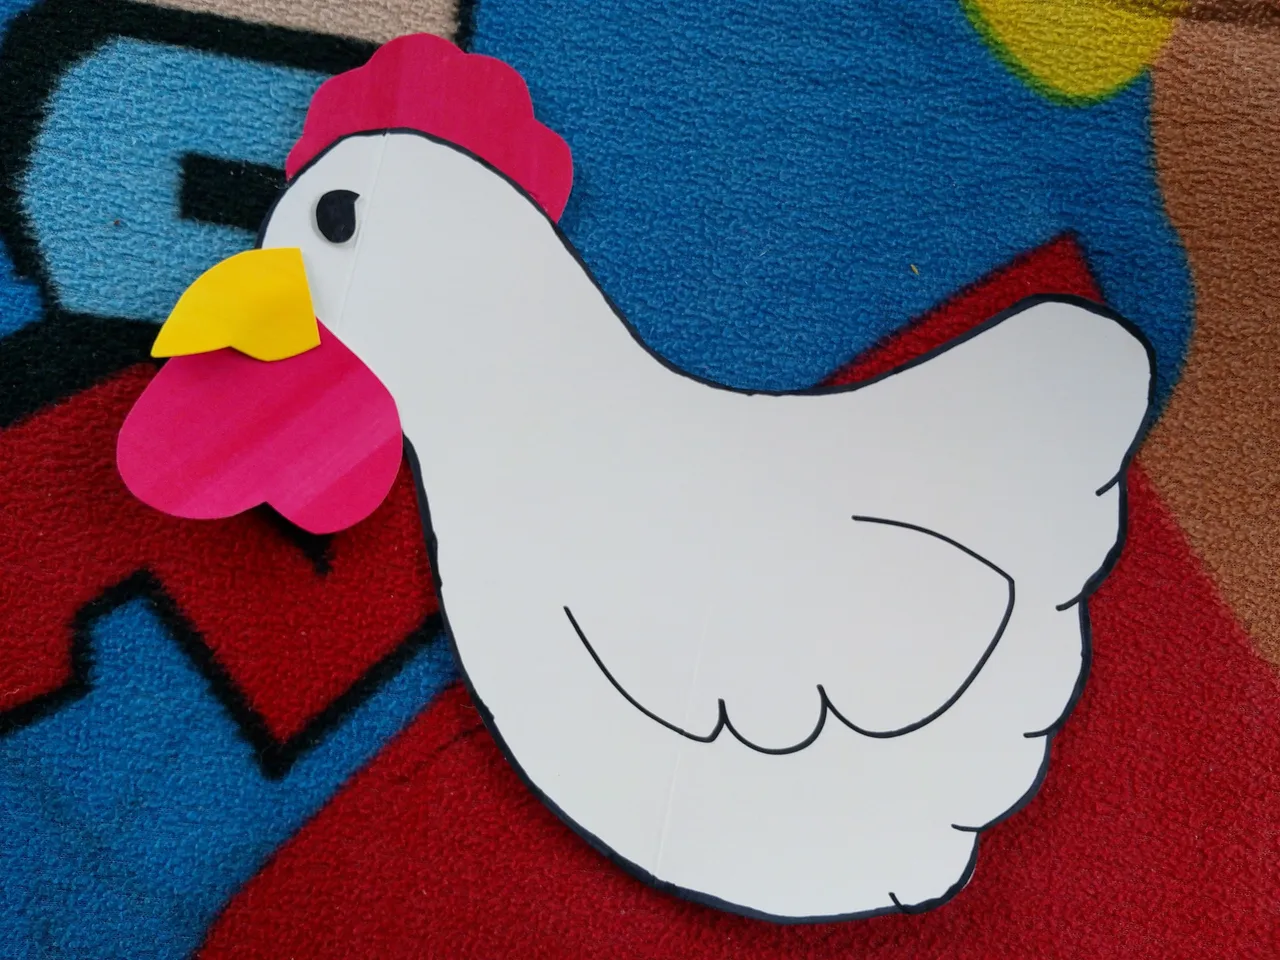
Lo primero que pegaremos serán su pico y su cresta inferior:
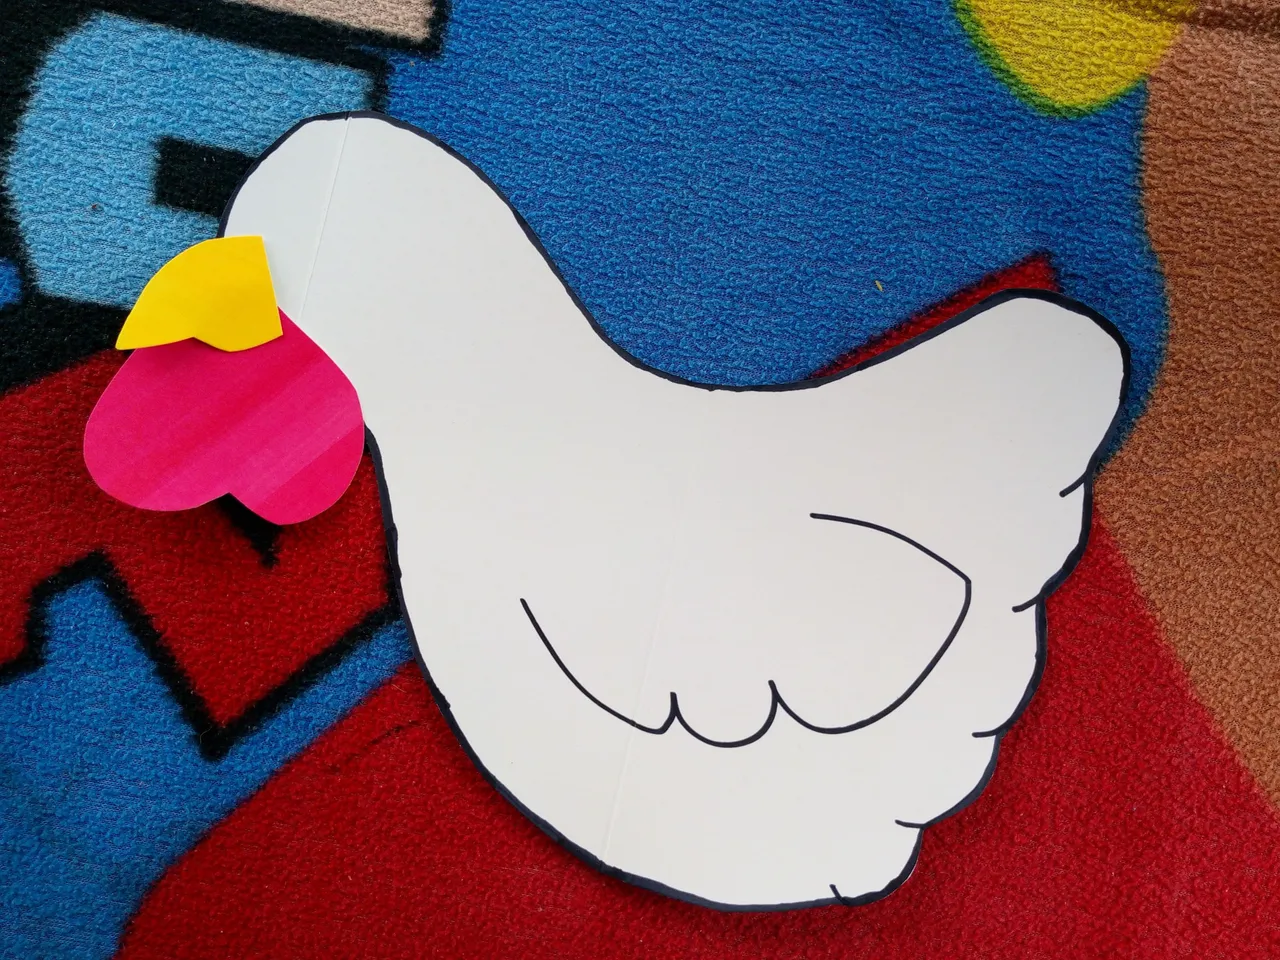
Posteriormente juntaremos también sus ojos y su cresta superior:
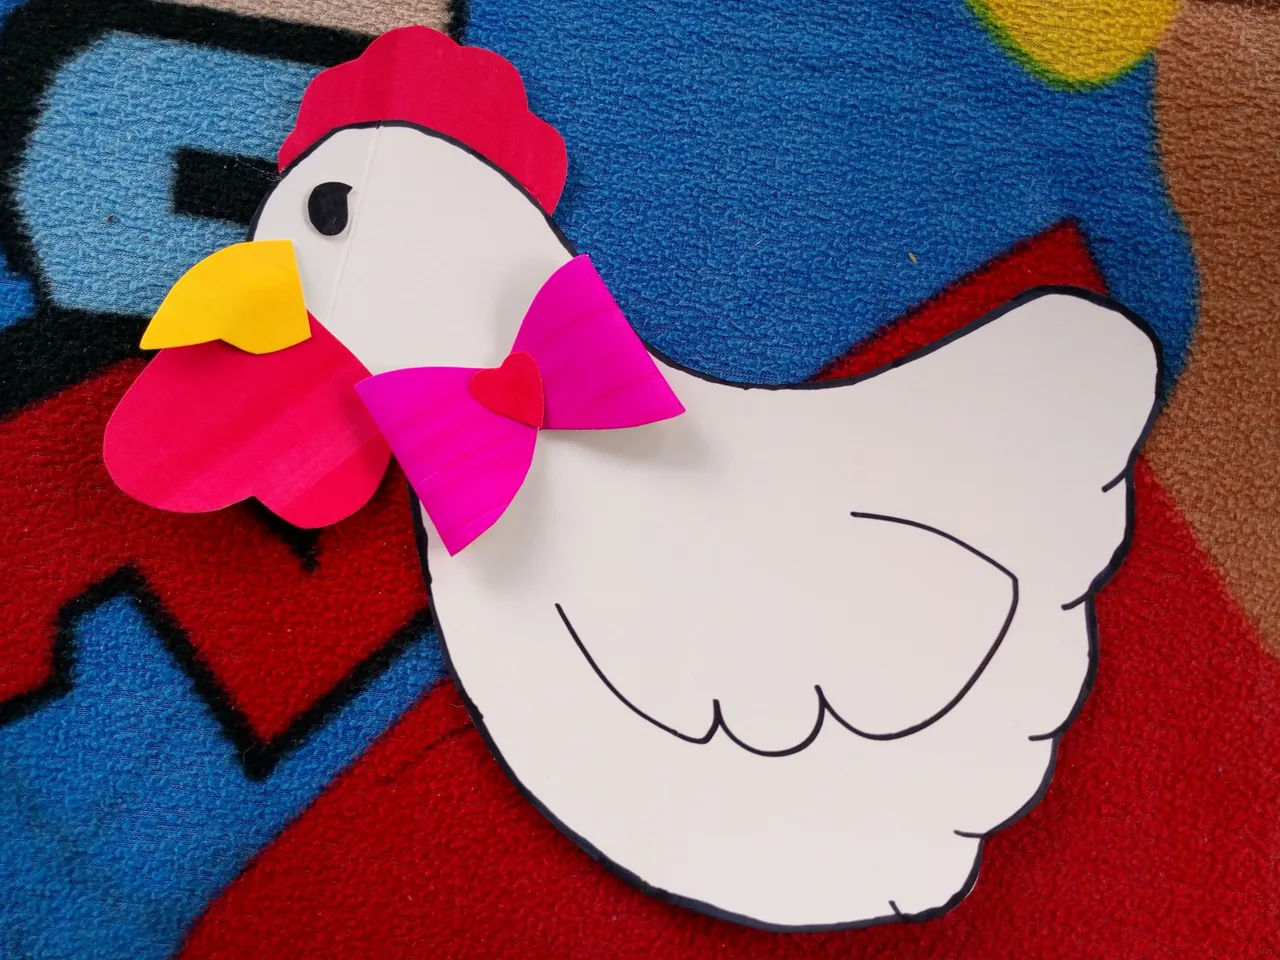
Y ya por último le colocaremos su moño:
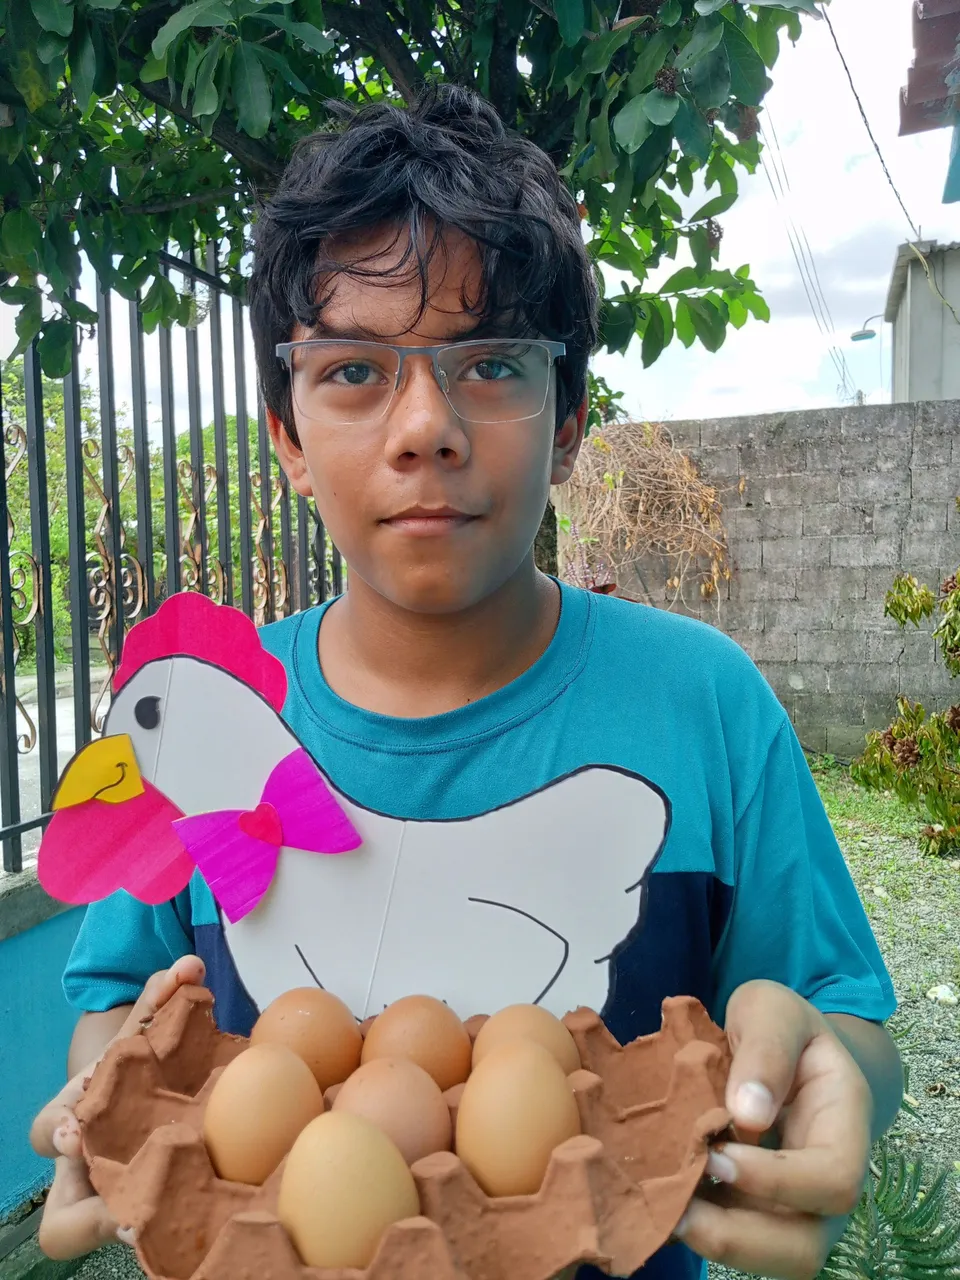
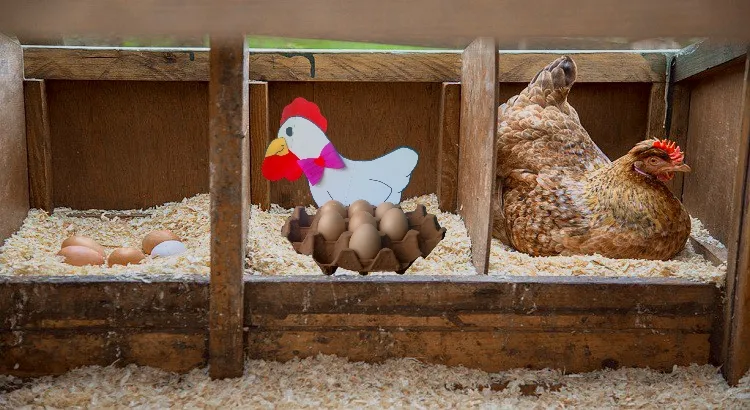
Ya como último paso juntaremos nuestra gallinita con nuestro cartón de huevos y listo. ¡Ya puedes colocar tus huevos!
Pues bueno, muchas gracias a todos por leer este post. Espero les haya gustado y dejen la caja de comentarios su opinión.
Posdata: pónganle huevos a la gallina, para que los cuide muy bien 😹
English Versión:
Hello Hive friends, how are you today? a question: Haven't you thought that the box where the eggs come is something simple and boring? well, yes to me. That's why today we will make an egg box with chicken decoration 🐔
The resources that we will use to make this box are quite basic and easy to find, these are the following:
1- Cardboard
2- Brown paint 🟤
3- A silicone bar
4- A box of eggs 🥚
5- Some scissors ✂️
Now, already having this. We can move on to the tutorial.
First we must take the egg carton box and cut it a little rounded at the ends, this to give it a prettier and different shape.
Then we will paint it the color you prefer. In my case I applied brown paint.
Later we will make the hen, its rear parts will have some plumage textures.
Now we will elaborate main details such as the beak, the crest and its eye. Now we will make an extra detail which is a bow that she will wear around her neck.
The eye will have a black color and a type of small eyelashes, the beak will have a yellow color, the crest a soft red color and its bun the same color as the crest.
Before placing/gluing all this, we will first have to make some not so large lines along the edges of the hen and also make a plumage in the middle of its body.
Having done this, we can start gluing.
The first thing we will glue will be its beak and lower crest:
Later we will also put together its eyes and its upper crest:
And finally we will place its bow:
As a last step we will put together our little chicken with our carton of eggs and that's it. You can now place your eggs!
Well, thank you all very much for reading this post. I hope you liked it and leave your opinion in the comment box.
Postscript: give the chicken eggs so she can take good care of them 😹