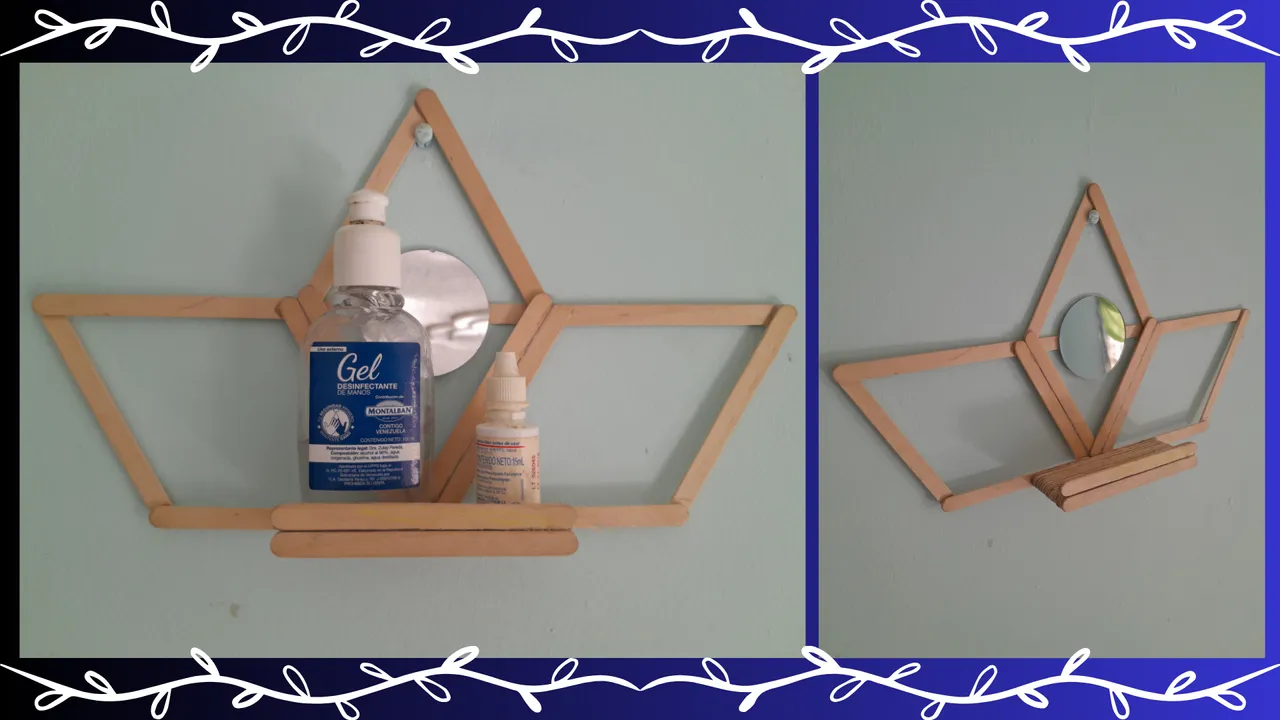
Greetings my friends of Hive, how are my creative, crafty and crass people ? of this wonderful community, for me it is a pleasure to be here again with you enjoying your work and sharing mine, this way we are motivated to continue creating and being active with our imagination. Today I bring you a nice decorative shelf with wooden pallets, very easy to make and inexpensive, with little material, see the step by step, I wanted to do it with a mirror, but you do it to your liking with or without mirror, or with any other detail.
Español:
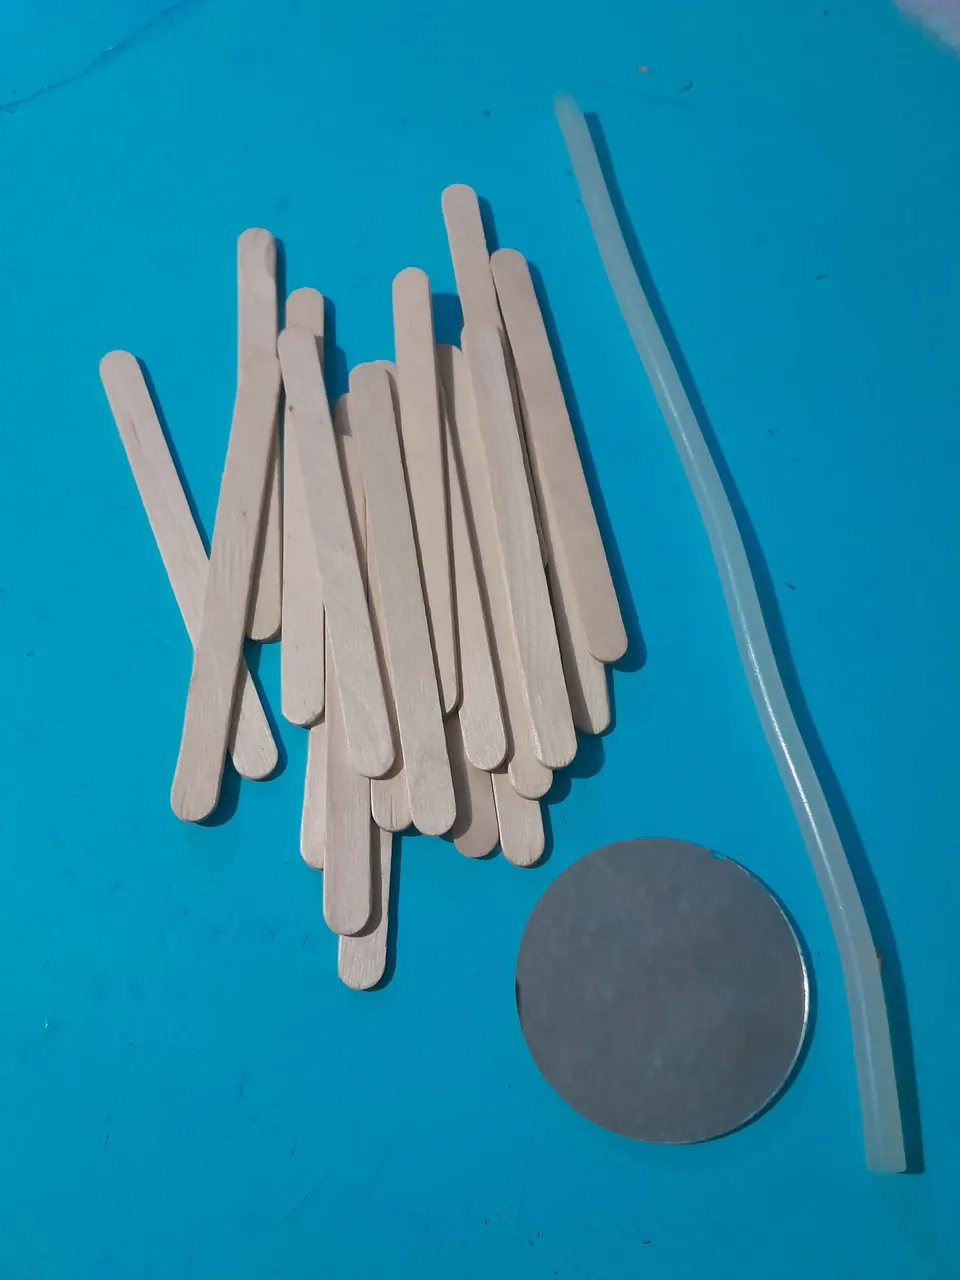
Materiales:
- Paletas de madera.
- 1 barra de silicon.
- 1 espejo pequeño.
English:
Materials:
- Wooden paddles.
- 1 Silicone stick.
- 1 small mirror.

Español:
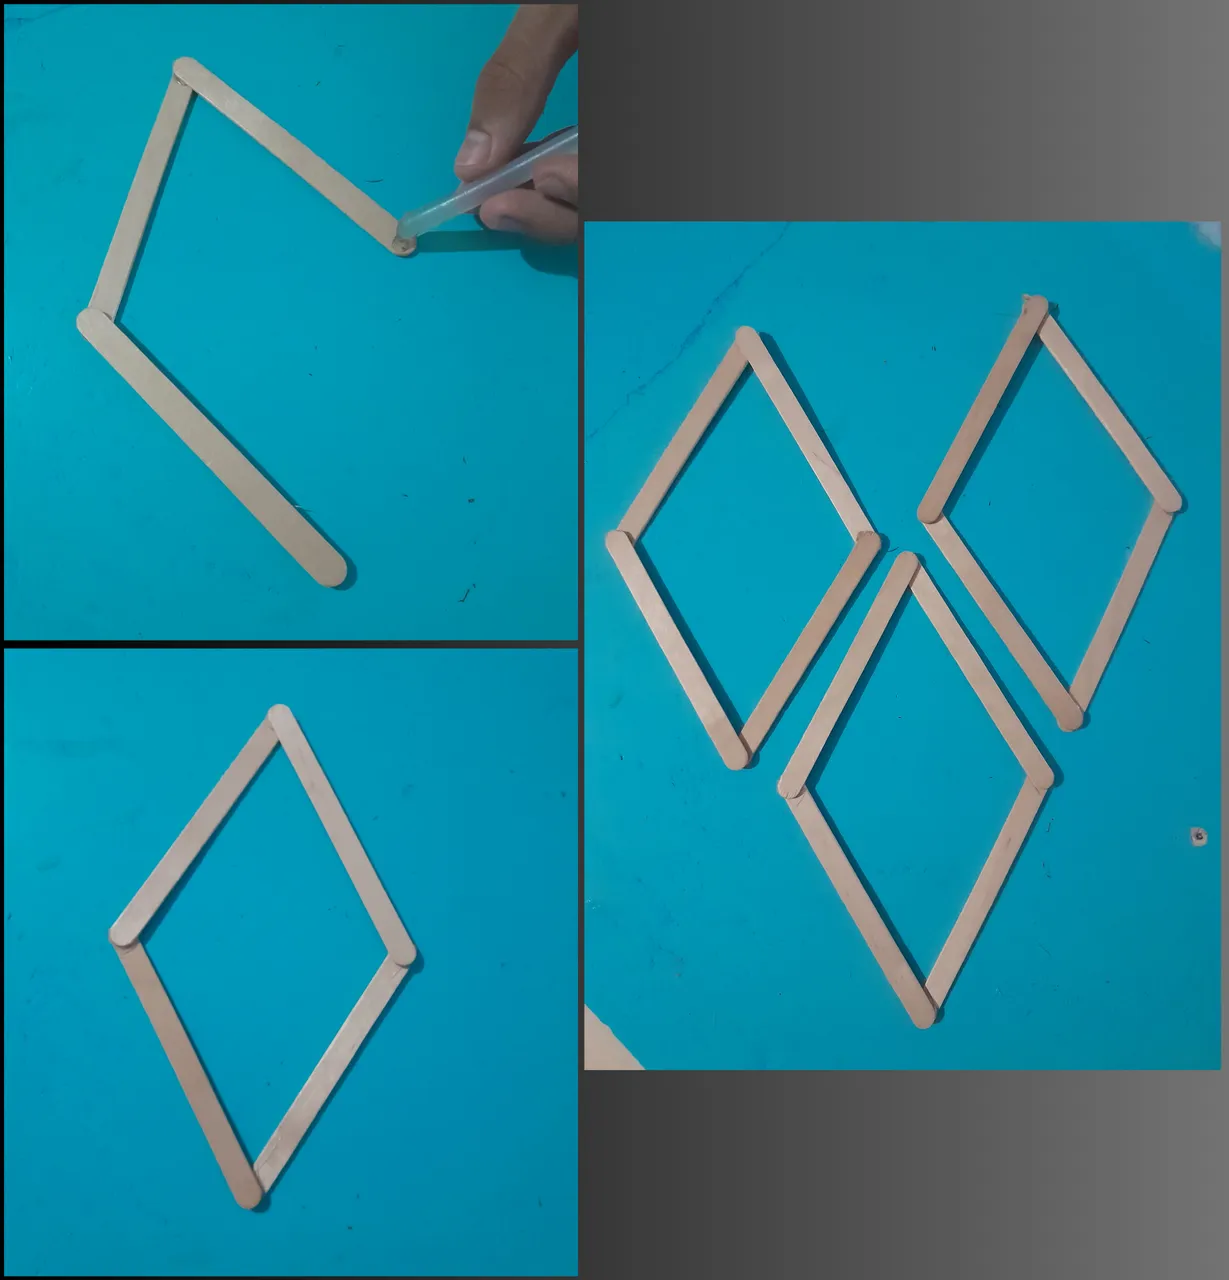
Paso 1:
- Comienzo pegando con el silicon caliente 4 paletas juntas en forma de rombo, de la misma manera hacemos 2 mas, obteniendo 3 figuras geométricas en forma de rombo.
English:
Step 1:
- I start gluing with the hot silicone 4 pallets together in a diamond shape, in the same way we do 2 more, obtaining 3 geometric figures in the shape of a rhombus.

Español:
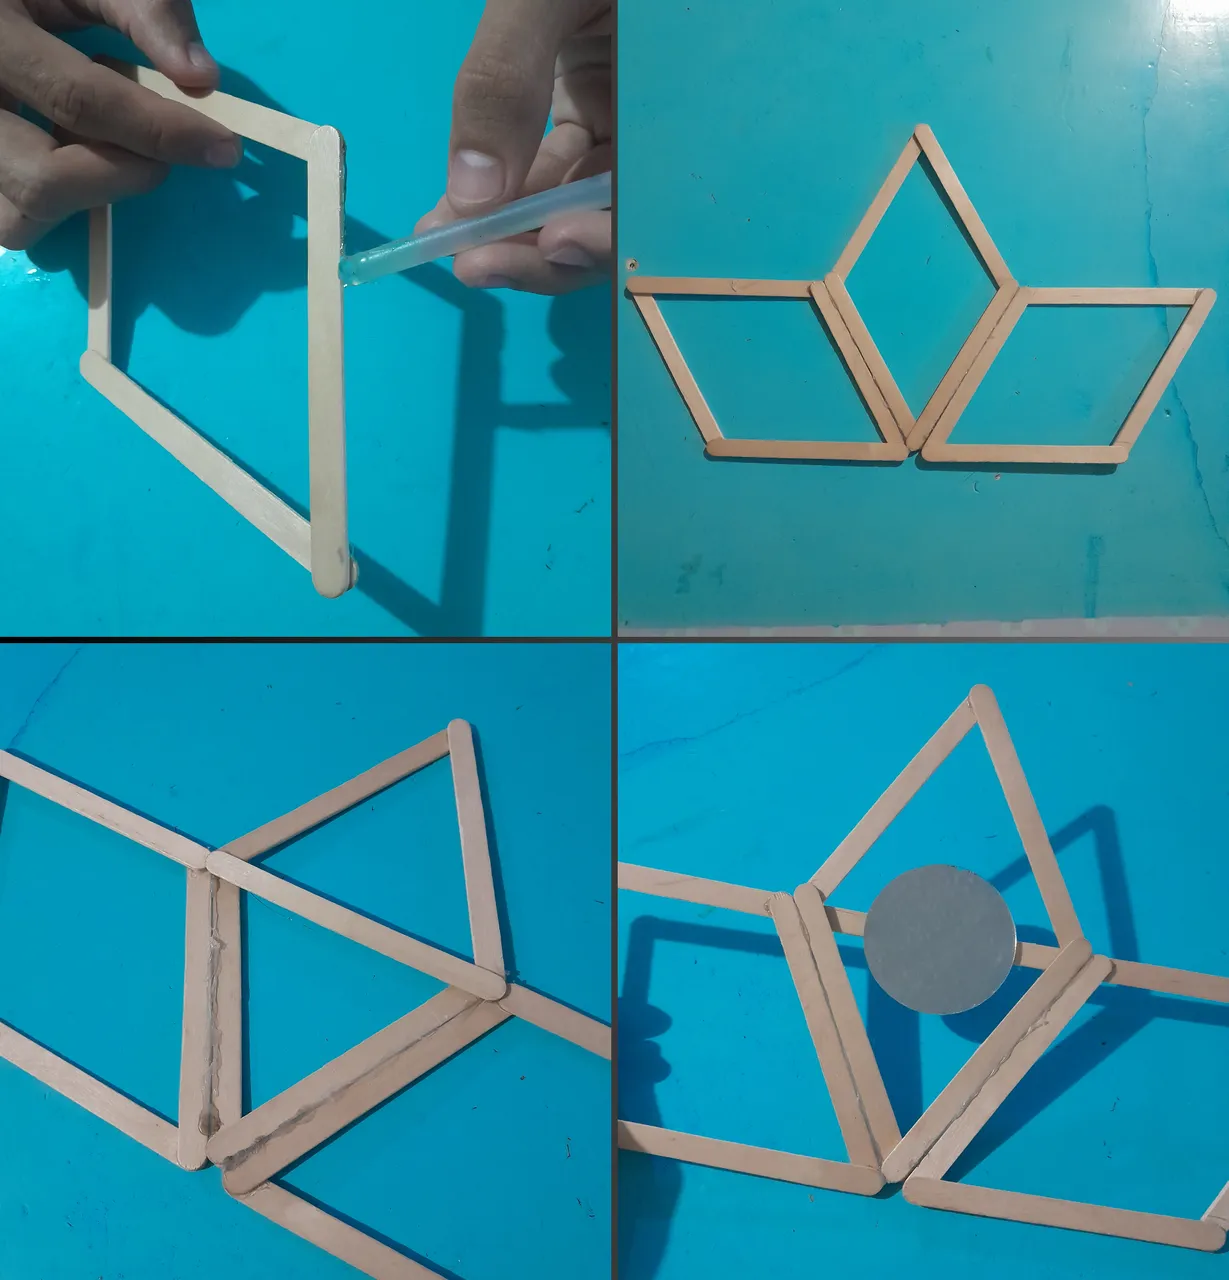
Paso 2:
- Ahora pego las 3 figuras una al lado de la otra, así como lo muestro en la foto, luego pego en la parte de atrás, otra paleta en el centro del rombo que se encuentra en el medio, ya que allí es donde colocaremos el espejo.
English:
Step 2:
- Now I glue the 3 figures side by side, as shown in the picture, then I glue on the back, another palette in the center of the rhombus that is in the middle, since that is where we will place the mirror.

Español:
Paso 3:
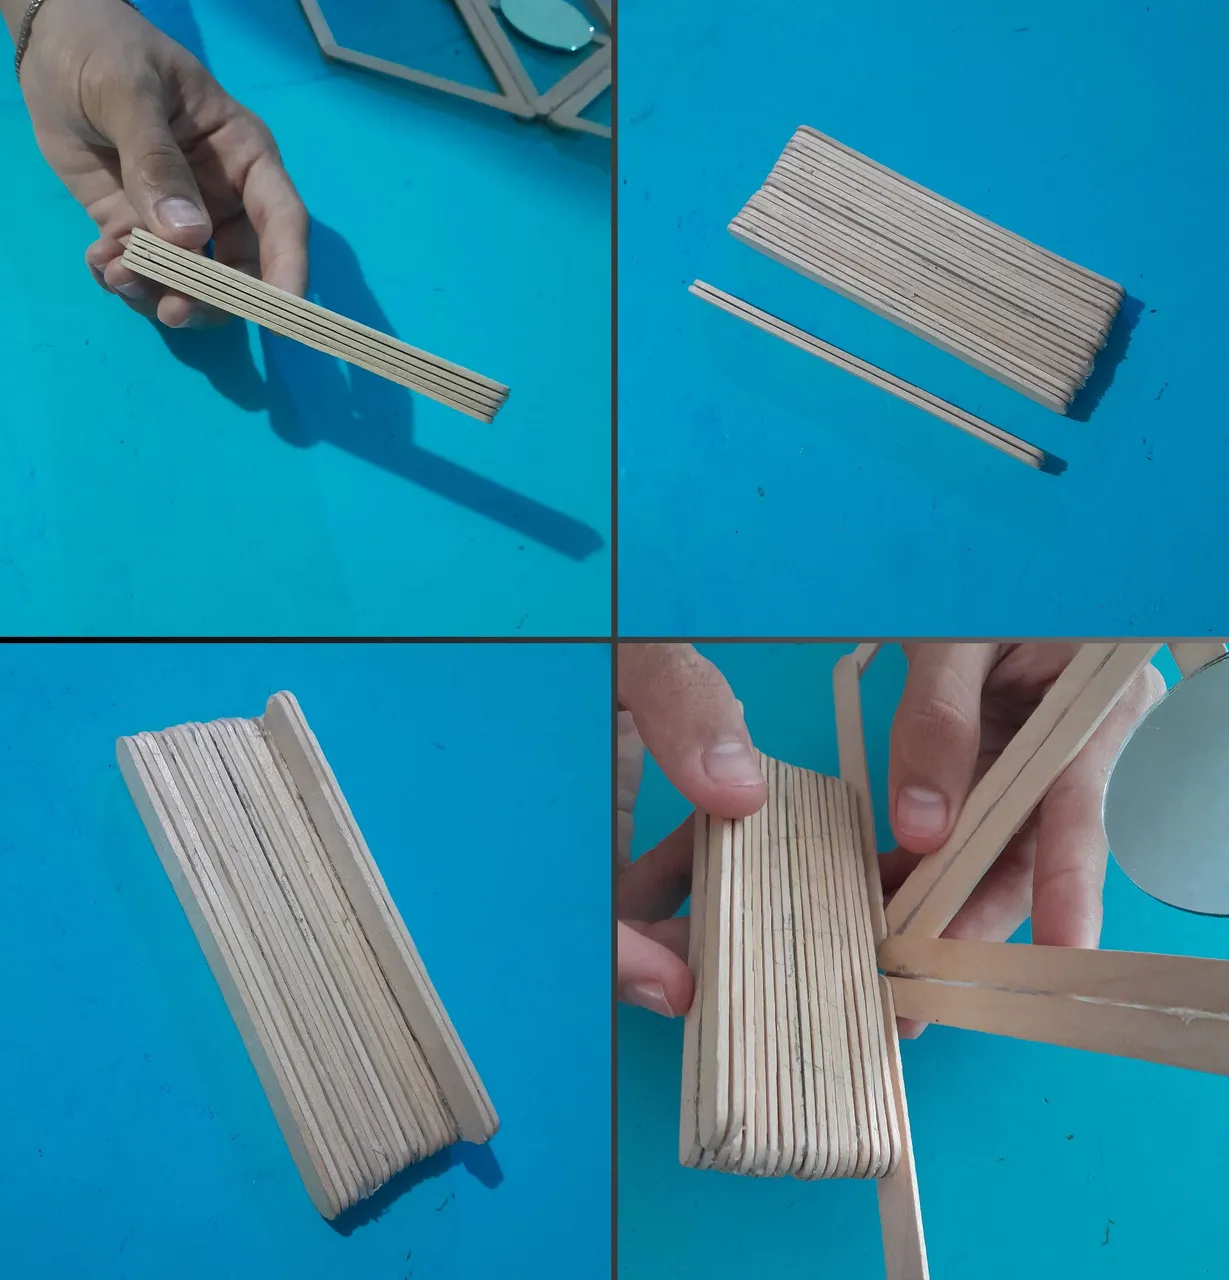
- Para terminar nuestro estante, pegamos 18 paletas juntas, luego pegamos 2 aparte de las 18, estas 2 paletas la colocamos encima de uno de los extremos, después pegamos muy bien con el silicon caliente por el otro extremo, al complemento de nuestro estante.
English:
Step 3:
- To finish our shelf, we glue 18 pallets together, then we glue 2 apart from the 18, these 2 pallets we place on top of one of the ends, then we glue very well with the hot silicone on the other end, to the complement of our shelf.

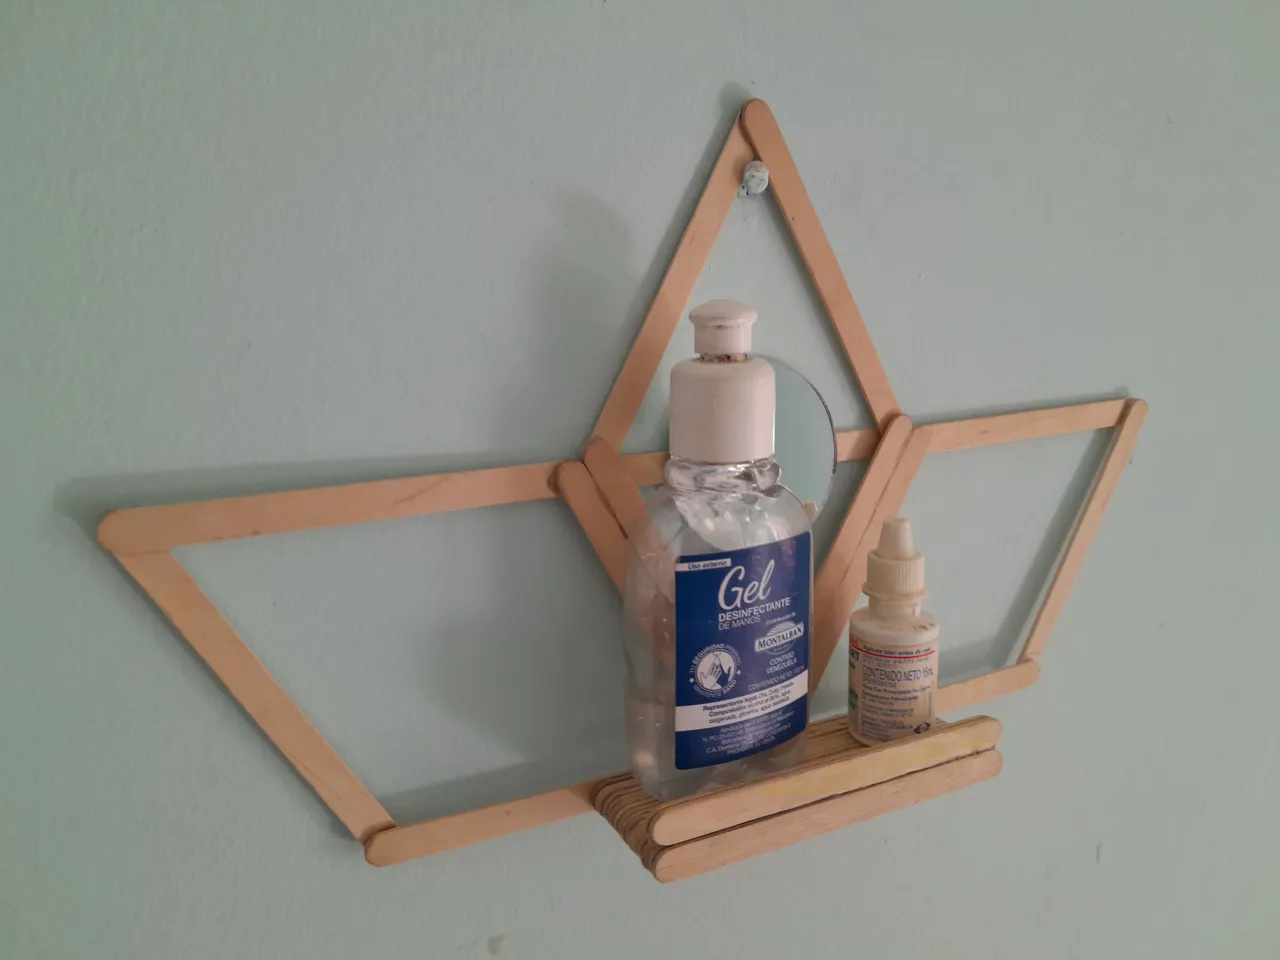
Aquí quedo mi resultado final, espero les haya gustado.
Here is my final result, I hope you liked it.


Todas las fotos son de mi autoria y editadas con Canva.
Traductor: DeepL Traslate.
All photos are my own and edited with Canva. Translator: DeepL Traslate.
Traductor: DeepL Traslate.
All photos are my own and edited with Canva. Translator: DeepL Traslate.