
Si el Inglés no es tu primer idioma, puedes ir a la versión en Español dando click aquí
Another Wednesday comes by and with it another instalment of Woodworking Wednesdays. Today, I wanted to make part I of making the back of an instrument. I gotta say that this song the back of this particular project, but it will illustrate some of the steps on the process.
Let's begin!
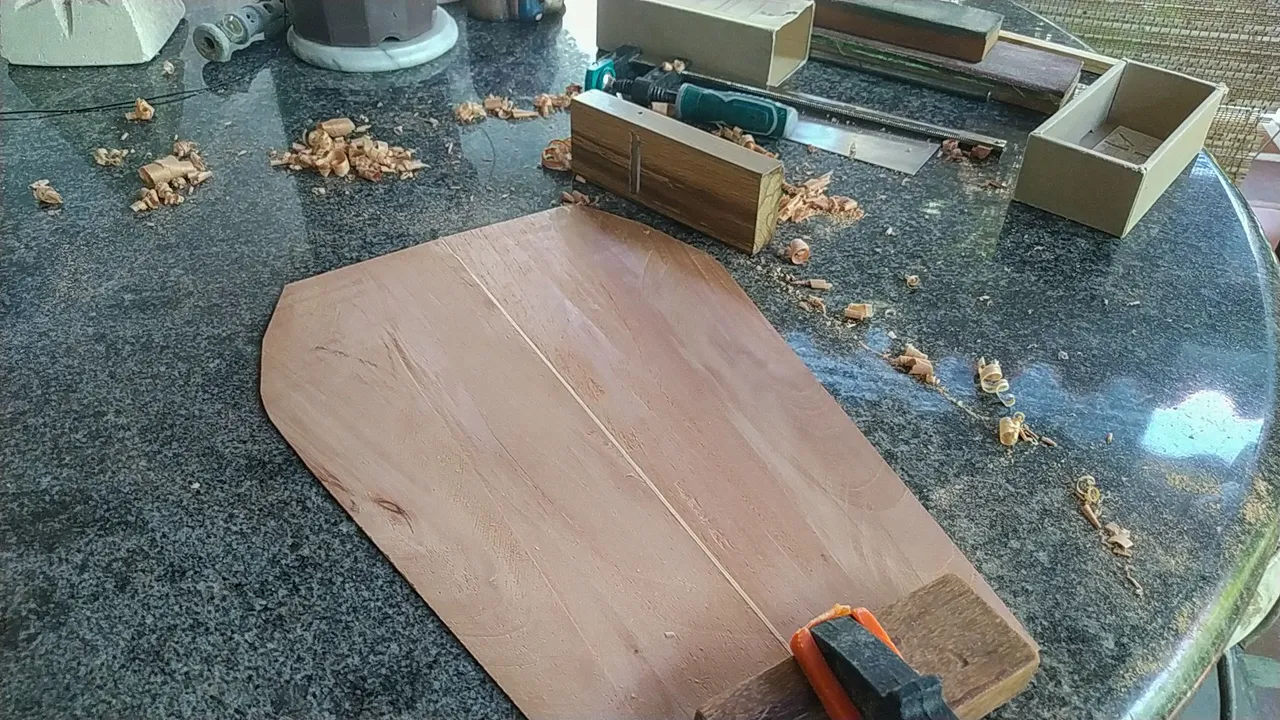
Before starting to glue reinforcements on this back, we need to work on the thickness of the piece. Around 2mm is ok. For that, we use a wood planer, then sandpaper and finally a card scraper to have a smooth and even surface.
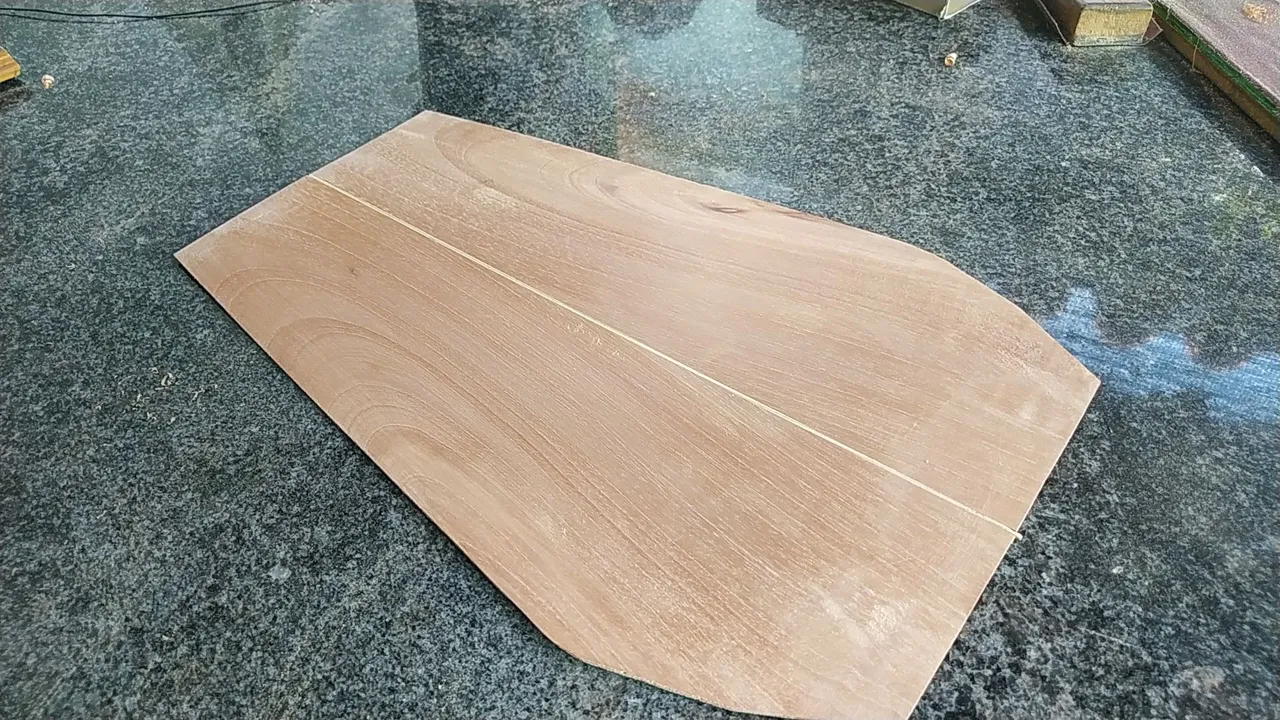
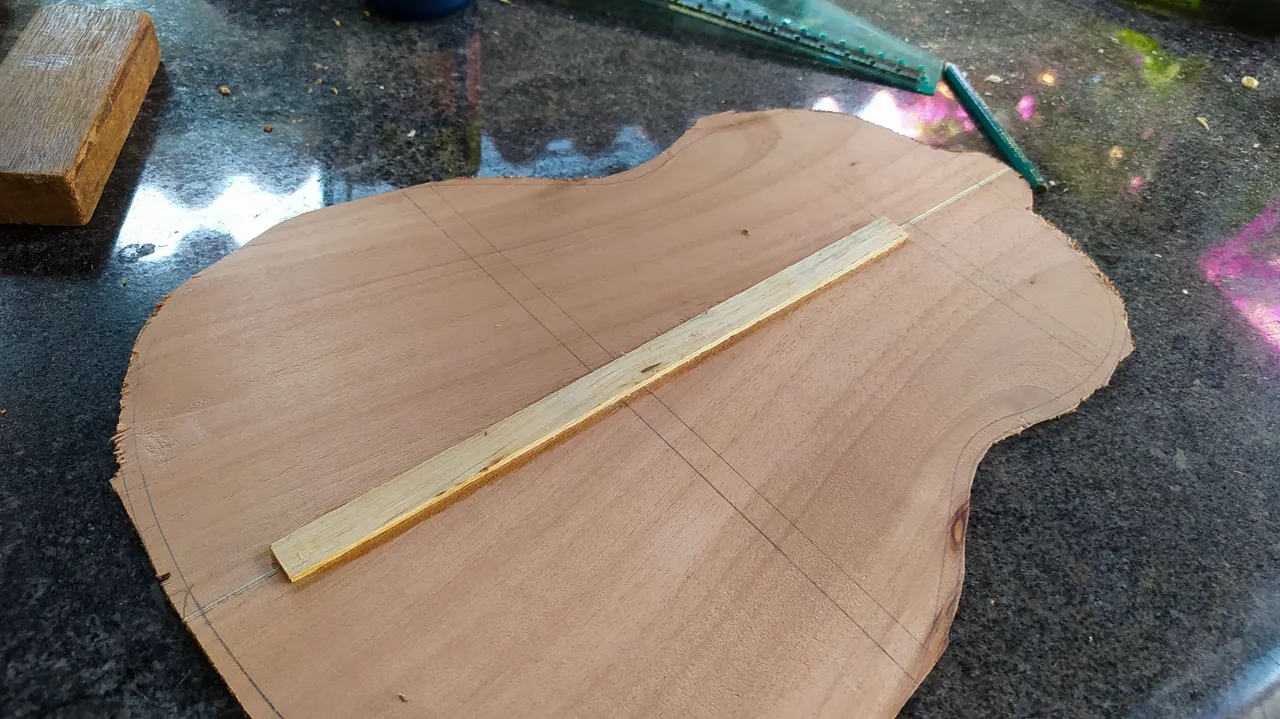
After we have developed this surface, we can go ahead and start drawing the shape and marking where there reinforcements will go. The last step on this prep work is to cut the piece to shape. On this, we'll need a coping saw and leave a margin of 3mm from the actual edge of the back.
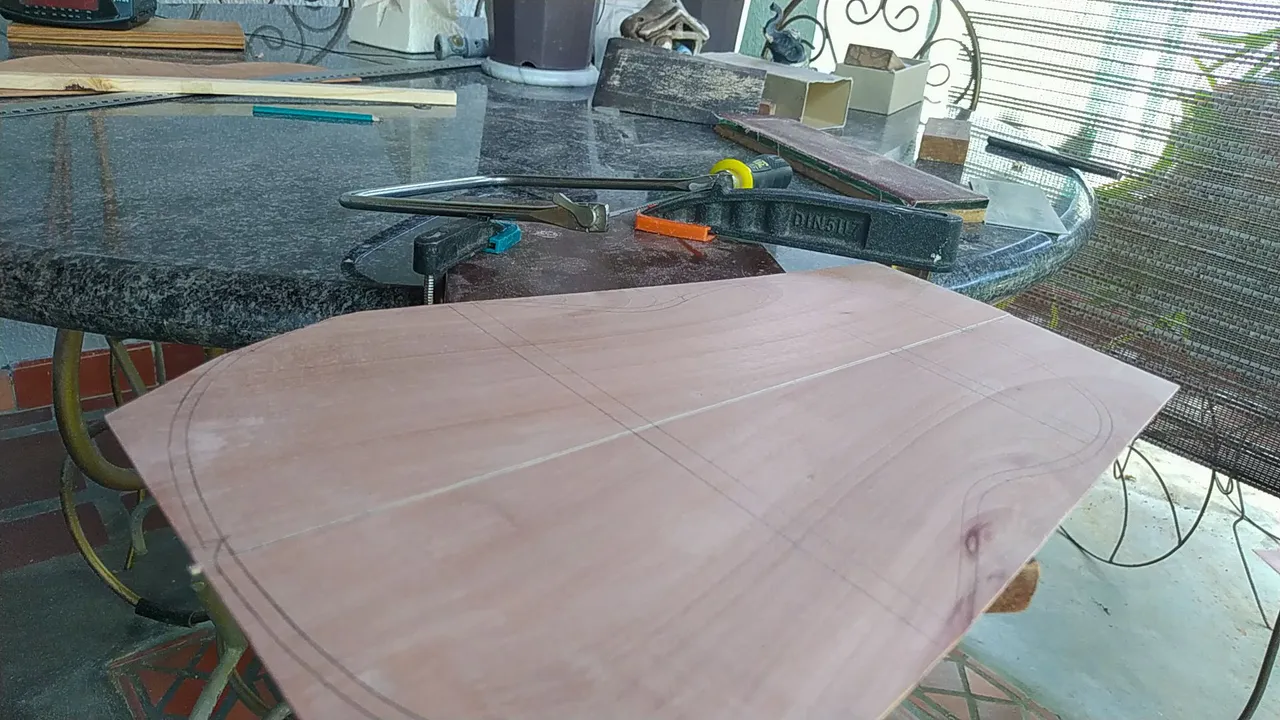
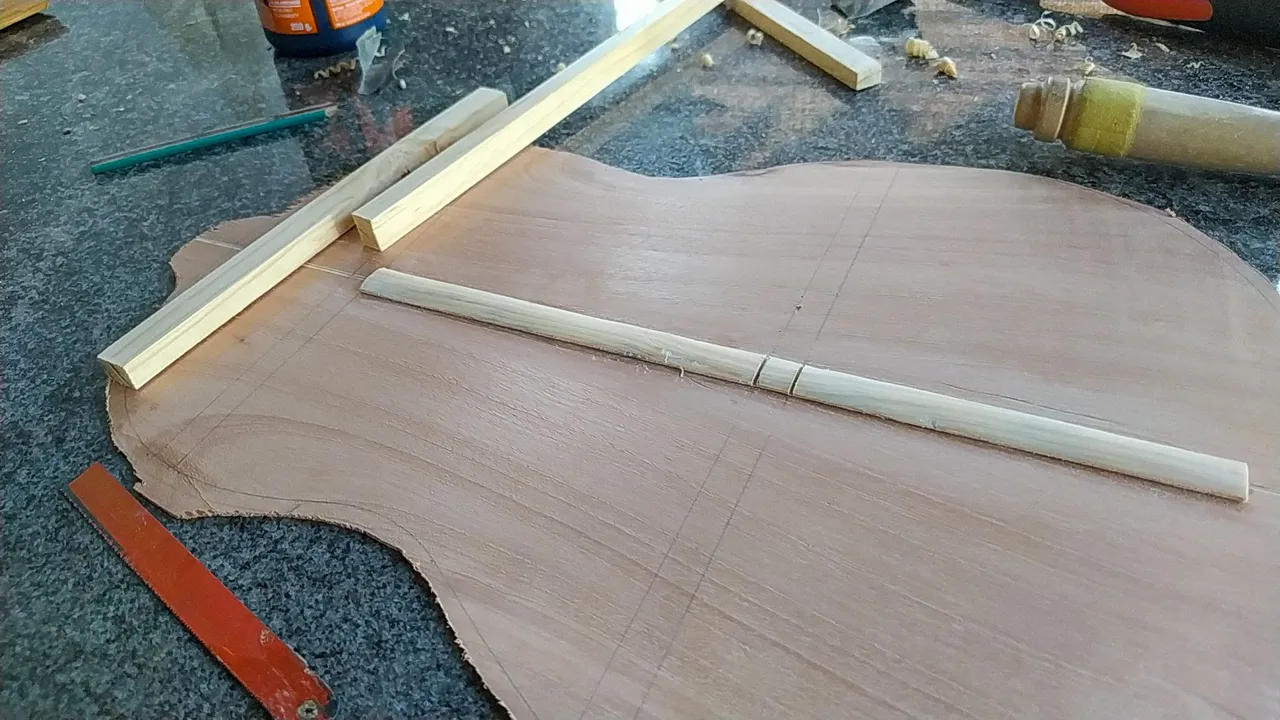
Before going on with the bars, we need to reinforce the place where the pieces of wood meet. This is done to prevent them from splitting. It's important to do it because wood never stops moving according to the humidity levels in the environment.
We need a piece of wood that will cover the union of the pieces making the back and a bit more on each side. We start by working it and thicknessing it out. Then we glue on place. Then, we do some slight shaping with a chisel and some sand paper.
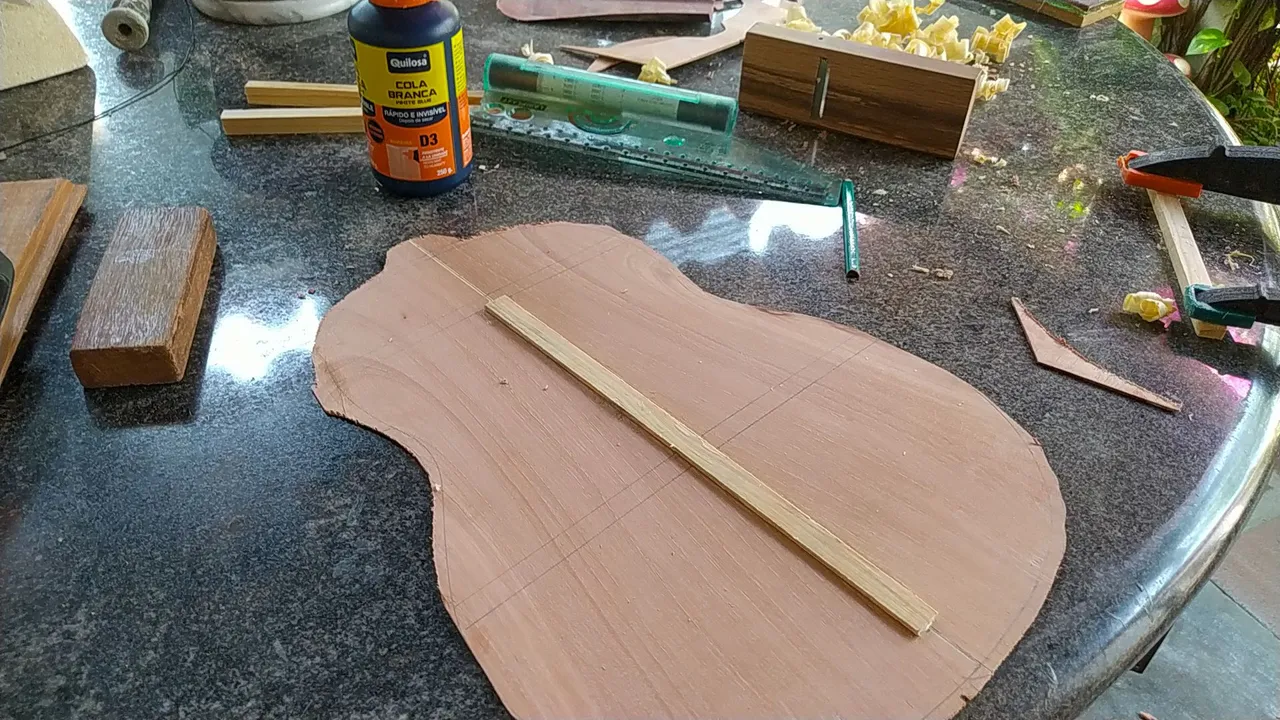
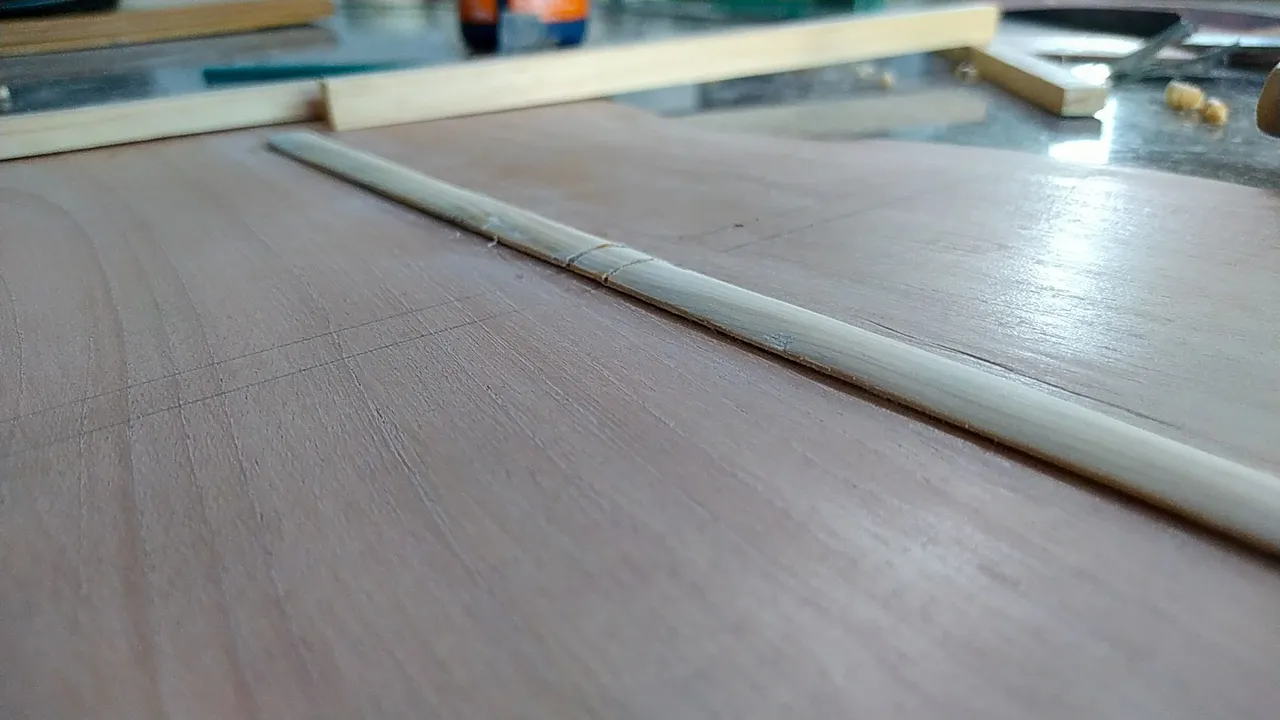
The last part of this step is removing some of the reinforcement to make way for the lower bar. We need to measure the cut to make sure the bar fits in tightly. Once we have marked, and made some cuts, we can clear the path with a chisel.
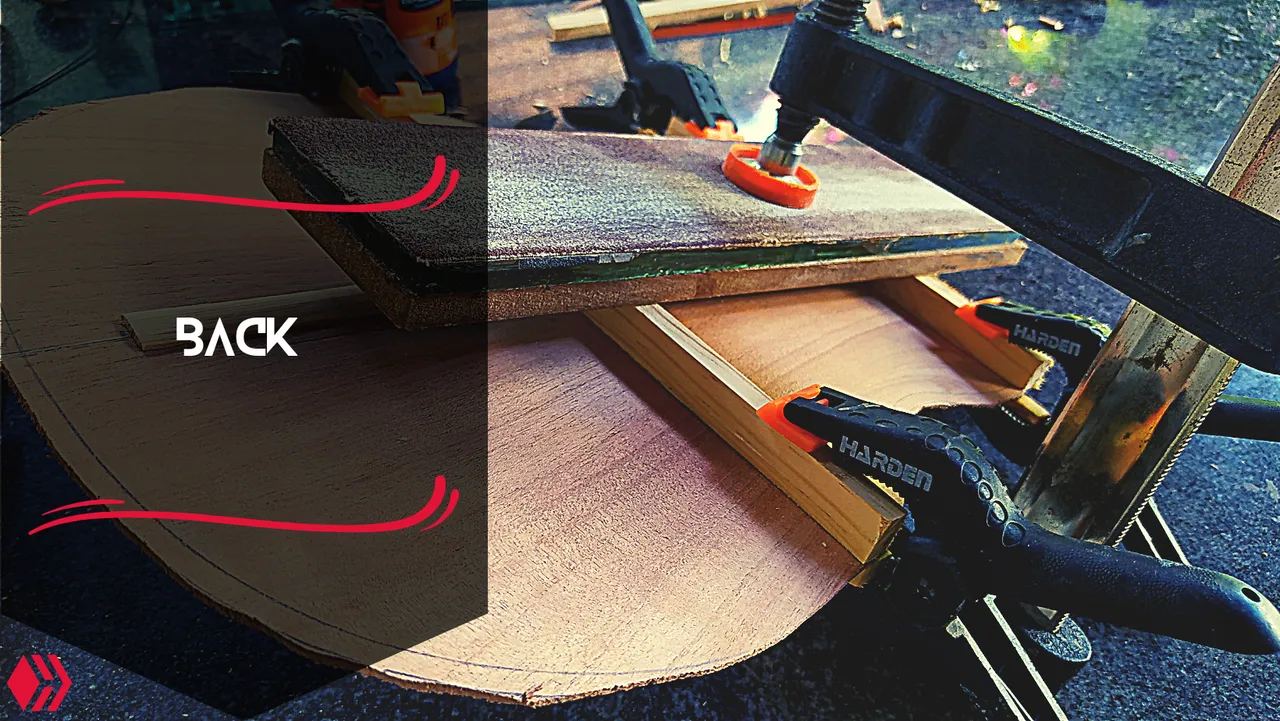
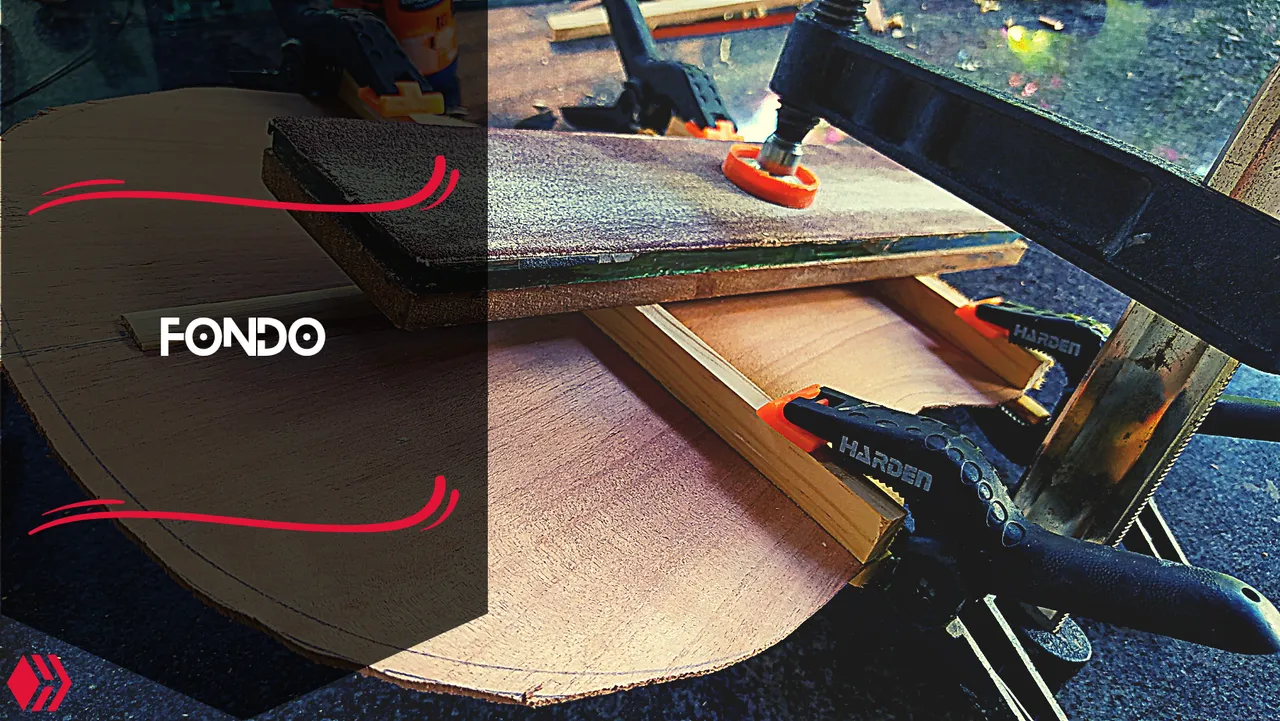
The last reinforcements are the bars. These help us on the task of keeping the piece flat. They also help us shape the back in the case we are making an arched back to improve acoustics. This last bit isn't the case with this one.
We need to thickness these pieces of wood to make them 8mm thick. The height will be adjusted once they are glued in place. But that will come in another post.
For the moment, we make sure we have a flat side on the back and apply glue, them we use some clamps to hold the bars in place and something else to apply pressure on the middle of the bars. We can leave this alone while the glue dries.
And that's all for now. On the next entry, I'll show the carving of the bars and the preparation to glue the back and close the instrument.
See yo next time! Thanks a lot for reading!
El miércoles llegó y con el otra entrada en la sección Miércoles de Carpintería. El día de hoy, lo quise dedicar a la primera parte de la ilustración de cómo se termina un fondo para un [instrumento(@bertrayo/woodworking-wednesdays-or-assembling-ii-es-en). Debo aclarar que este no es el fondo para el instrumento que estoy construyendo en este momento. Solo quería hacer una sección para que no falte una pieza en el proceso.
¡Comenzamos!
Antes de colocar los refuerzos en este fondo, hay que preparar la superficie y el grosor del mismo. Dejarlo a 2mm será suficiente. Para esto, haremos uso de un cepillo, papel de lija y finalmente una rasqueta para lograr el grosor requerido y una superficie plana.
Una vez que hayamos logrado nuestro objetivo con la superficie, podemos dibujar la figura del fondo con nuestra plantilla y marcar el lugar de los refuerzos. La última parte de esta etapa es cortar la forma del fondo dejando un margen de 3mm al borde real de la pieza.
Antes de colocar los bancos, tenemos que reforzar la junta de las maderas. Esto lo hacemos para evitar que se separen por los movimientos de la madera. El material está en movimiento constante debido a la humedad. Siempre que haya variaciones se contraerá o hinchará.
Para esto, necesitamos un listón de madera que irá colocado sobre la unión y un poco más hacia los extremos. Luego de seleccionarlo, le rebajamos un poco y lo pegamos al fondo. Cuando haya secado, le damos forma con un formón y papel de lija.
Para finalizar, tenemos que remover un pedazo del refuerzo para abrirle paso a la barra inferior. Primero medimos cuando tenemos que cortar y luego hacemos los cortes. Una vez que tengamos el área a remover, quitamos está parte con un formón. Luego nos aseguramos que el banco entra en la ranura que le hemos hecho.
Los últimos refuerzos son los bancos. Estos nos ayudarán a mantener la pieza plana. También nos ayudarían a darle una firma cóncava en caso de querer mejorar la acústica del instrumento. Eso depende de lo que estemos haciendo.
Necesitamos trabajar en el espesor de estas piezas de madera. Llevarlos a 8mm es suficiente. La altura la ajustaremos una vez hayan sido colocados. Pero eso quedará para otra ocasión.
Por el momento, nos aseguramos de tener una superficie plana para pegarlos al fondo. Aplicamos pegamento y los colocamos en su lugar. Nos ayudamos con una prensas para sujetarlos de ambos extremos y utilizamos algún método para darle presión al centro de ambas piezas. Así lo dejamos para que seque.
Eso es todo por ahora. En la próxima entrega, les mostraré como le doy forma a los bancos y nos preparamos para llegar el fondo y cerrar el instrumento.
Nos veremos entonces. Gracias por leer.
Fotos/Photos 📷: taken by me (Redmi Note 8)
Portada/Thumbnail 🖼️: by me, created with Canva.
Edición/Editing 🎬: by me, made with Adobe Photoshop Lightroom.

Follow me on Instagram for enquires and commission.
If you'd like to help the workshop grow, you can make a donation here. You can find me at discord as bertrayo#1763