Restoring small wooden shelf.
Hello, what's up friend of #diy, I like to greet you again. Today I want to share with you a small restoration of an old wooden shelf that I had at home, I will use it as a small display in my small business that is very soon to start, so in this post I show you how I made this small restoration.
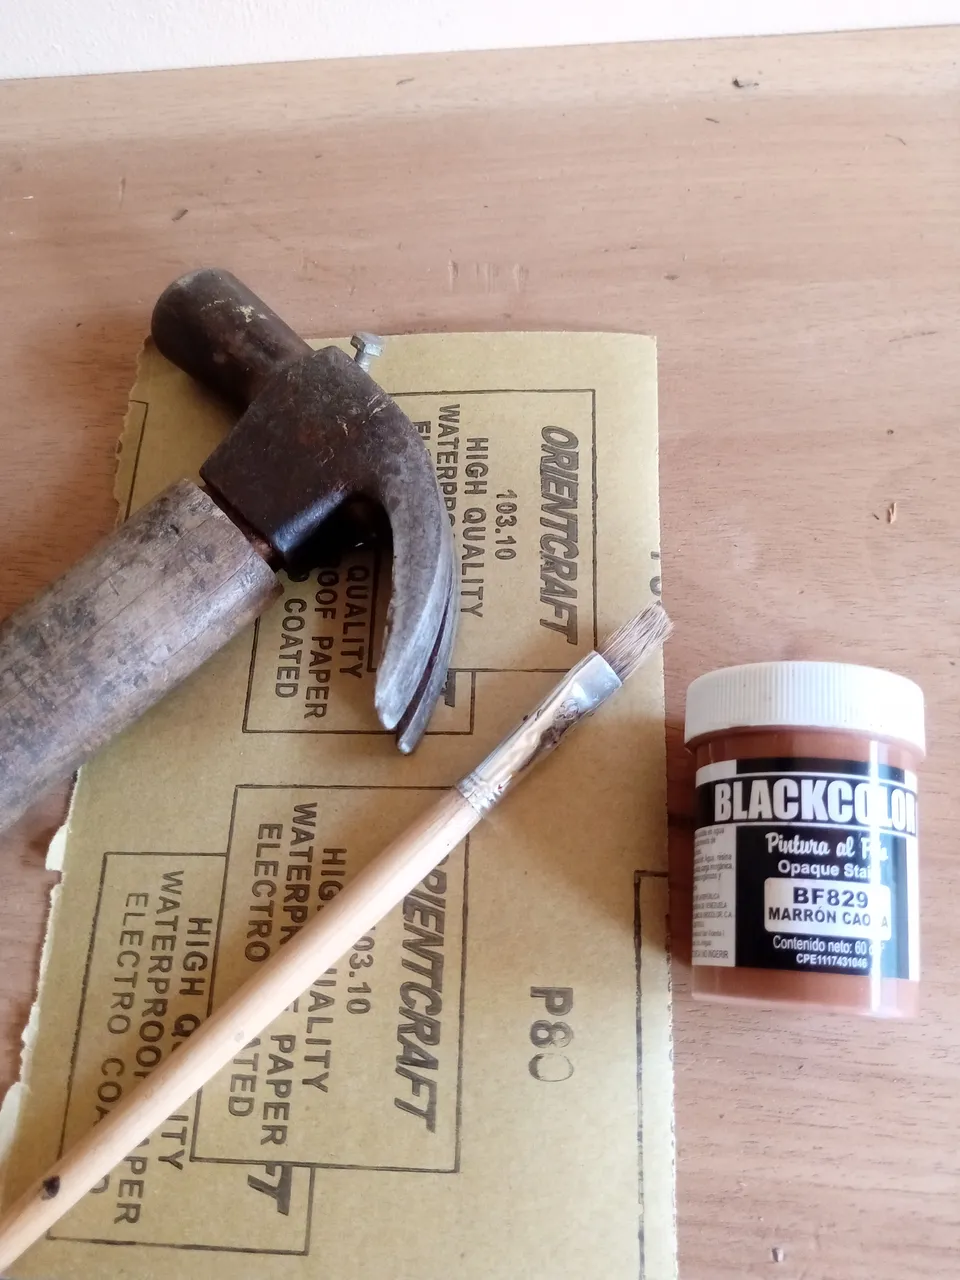
- Hammer
- Sandpaper number 80
- Brush
- Cold paint
- Martillo
- Lija número 80
- pincel
- Pintura al frio
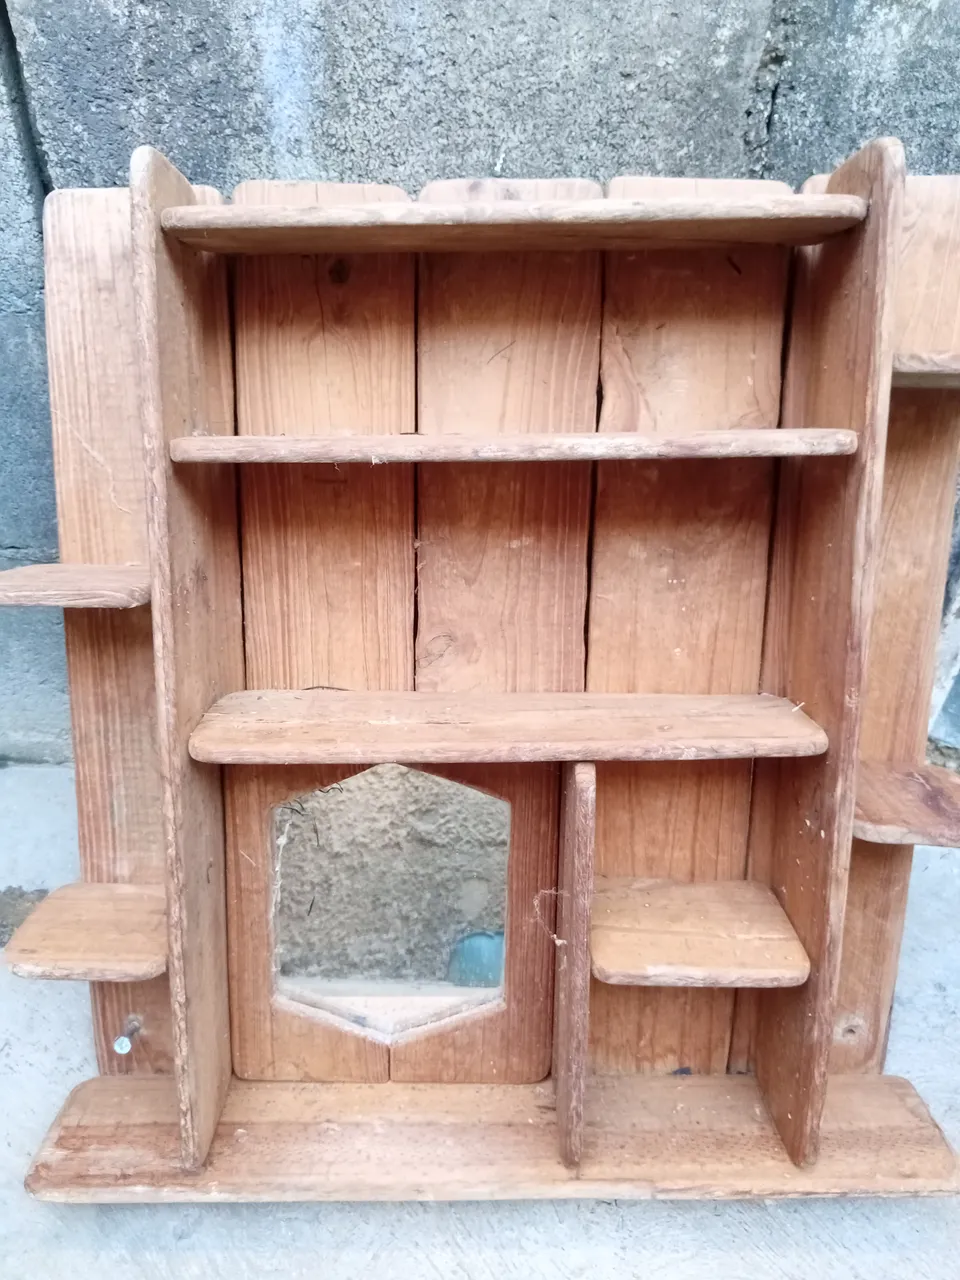
This is how the shelf looked before
Así estaba la repisa antes
First I started by disassembling the shelf and moving the wood aside and reserving the nails that could be used later.
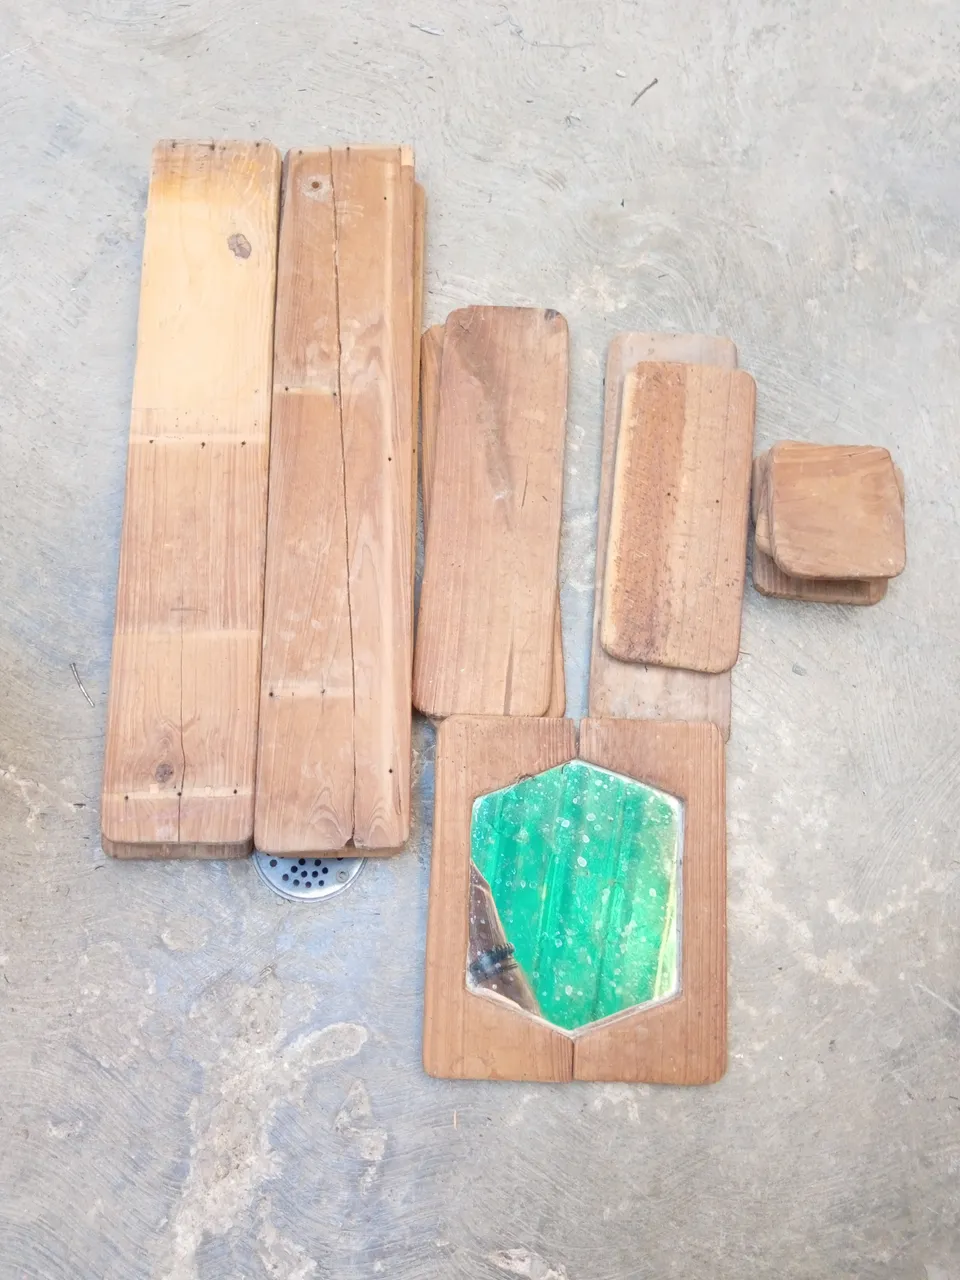
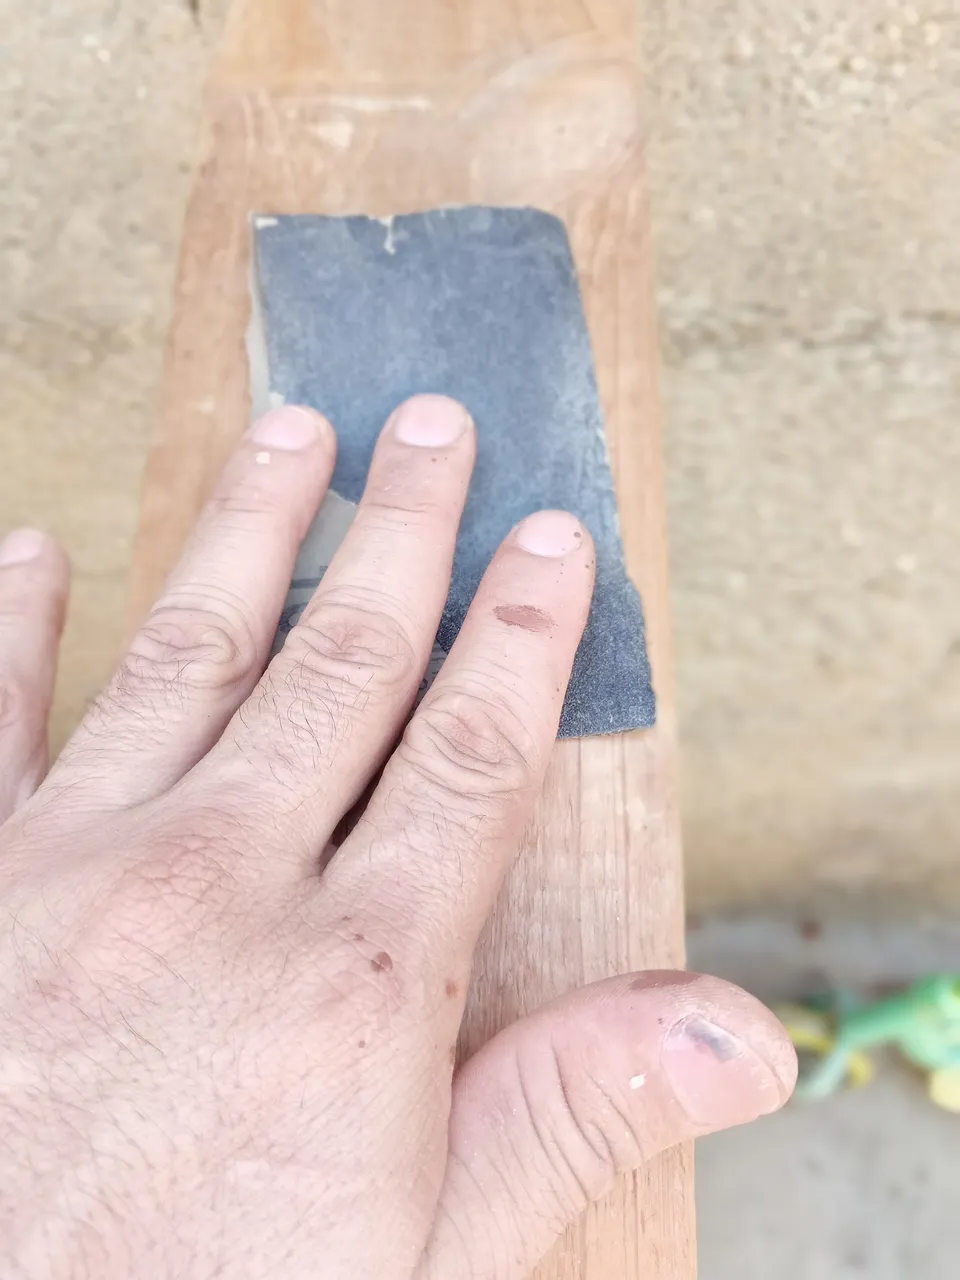
Once I had selected the woods, I cleaned them and gave them a little sanding to remove a little roughness and dirt that it might have.
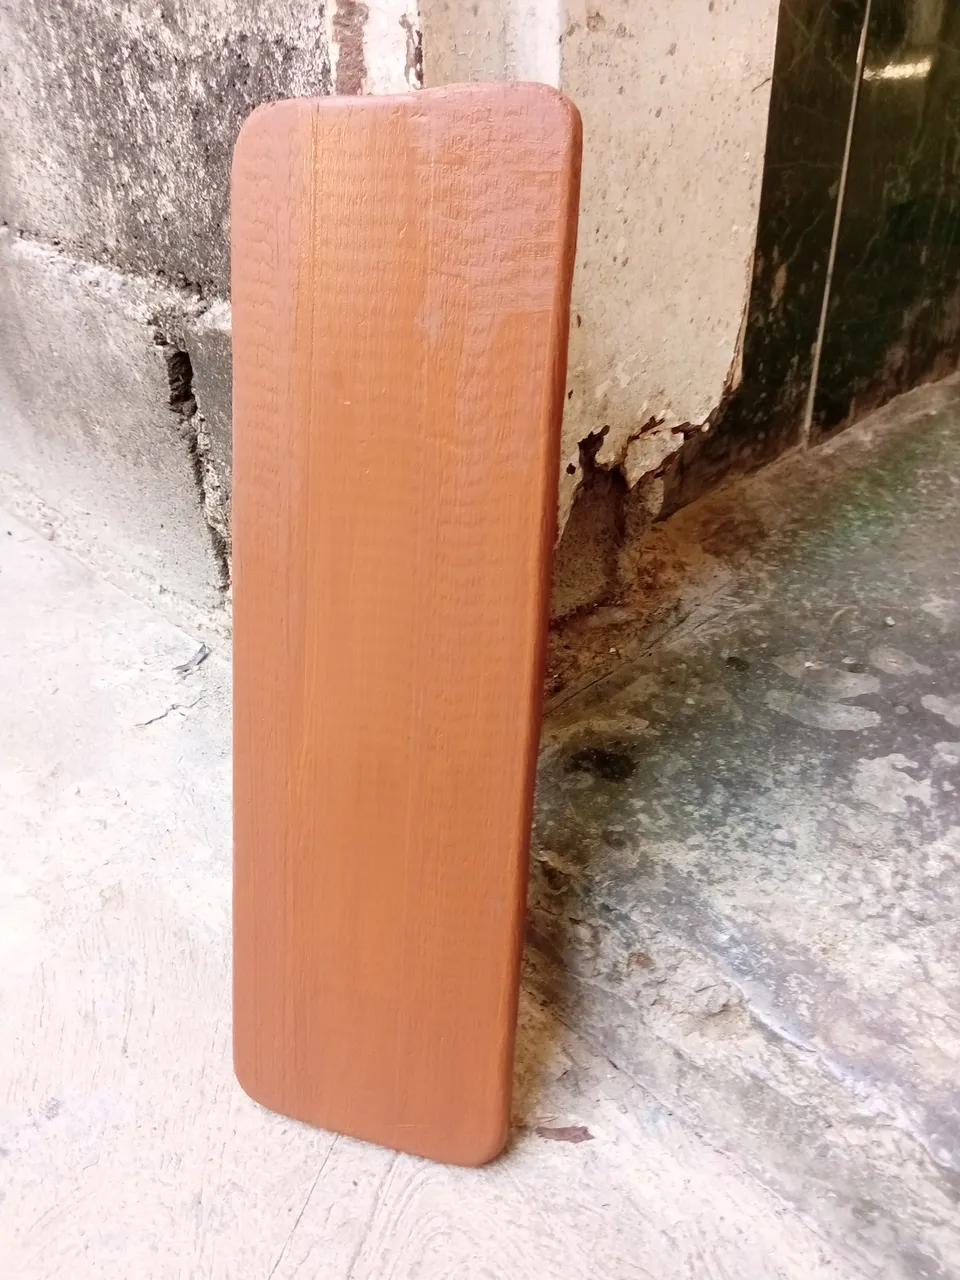
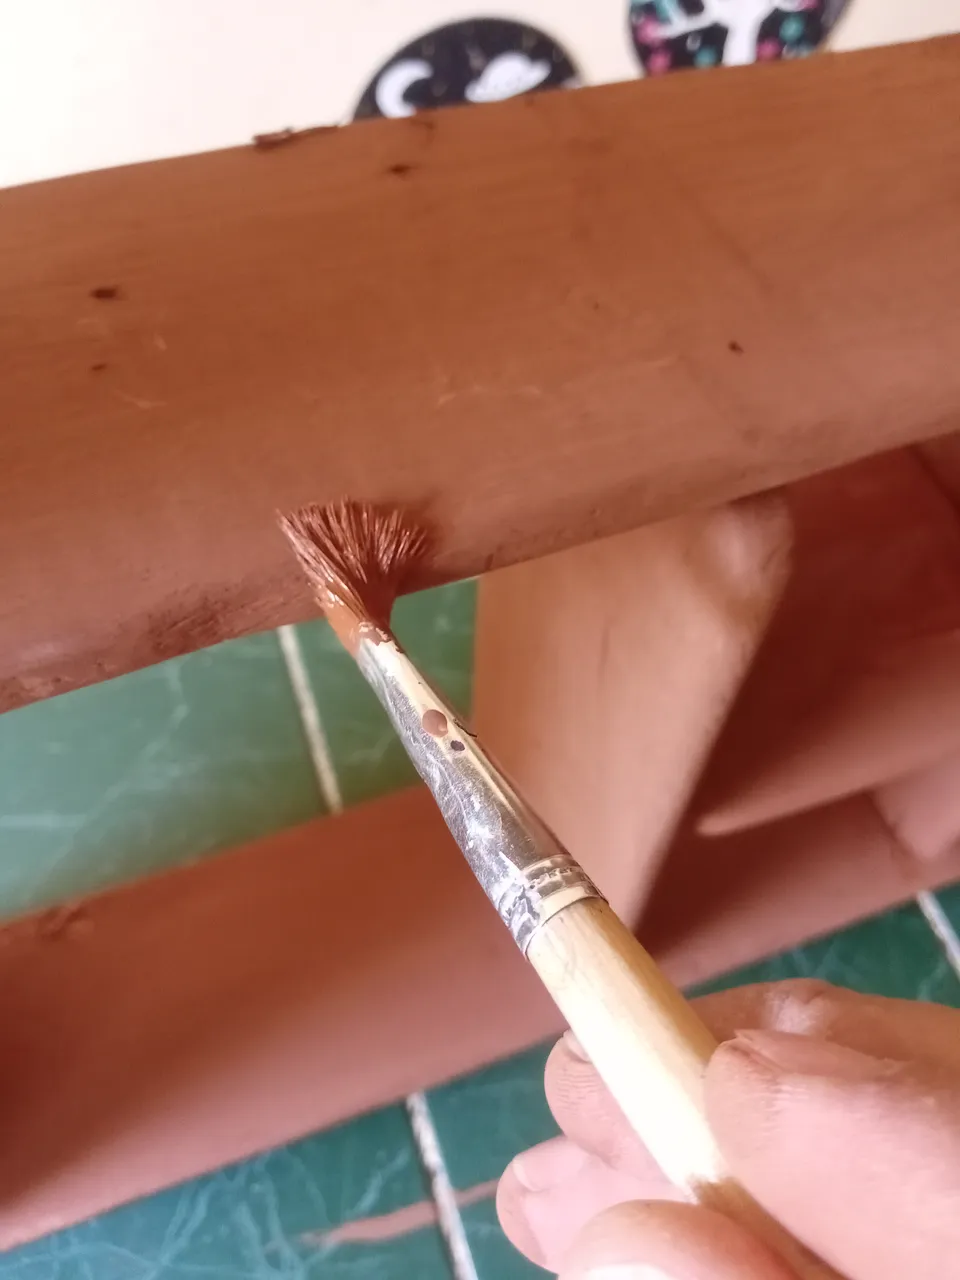
After we have all the slats sanded we are going to give it a paint. In this case, use cold brown paint to give it a more original wood tone.
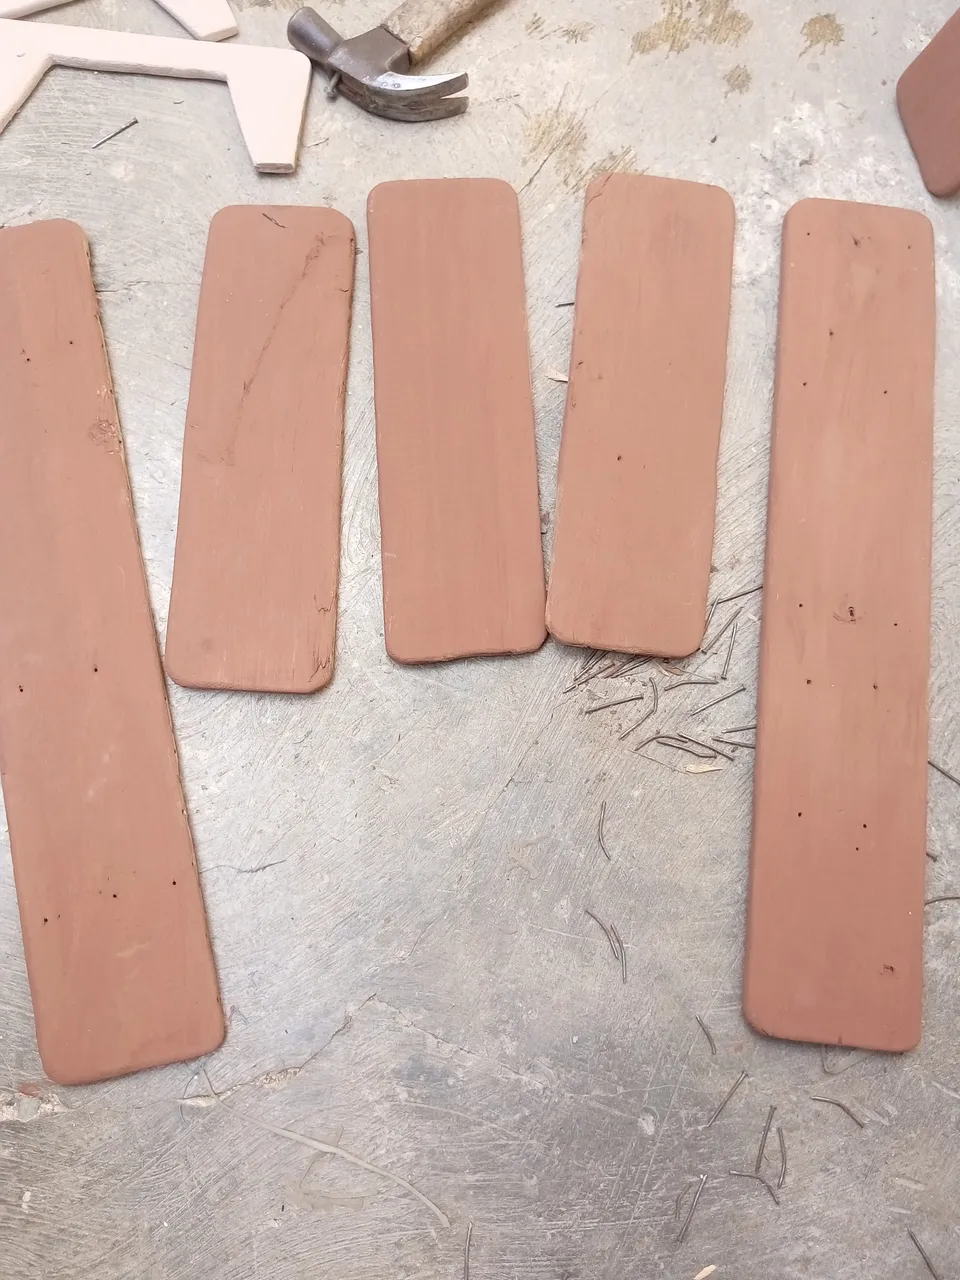
After giving them a coat of paint, we let them dry to start assembling our small shelf, in this case I was guided by the marks of the nail holes left in the wood.
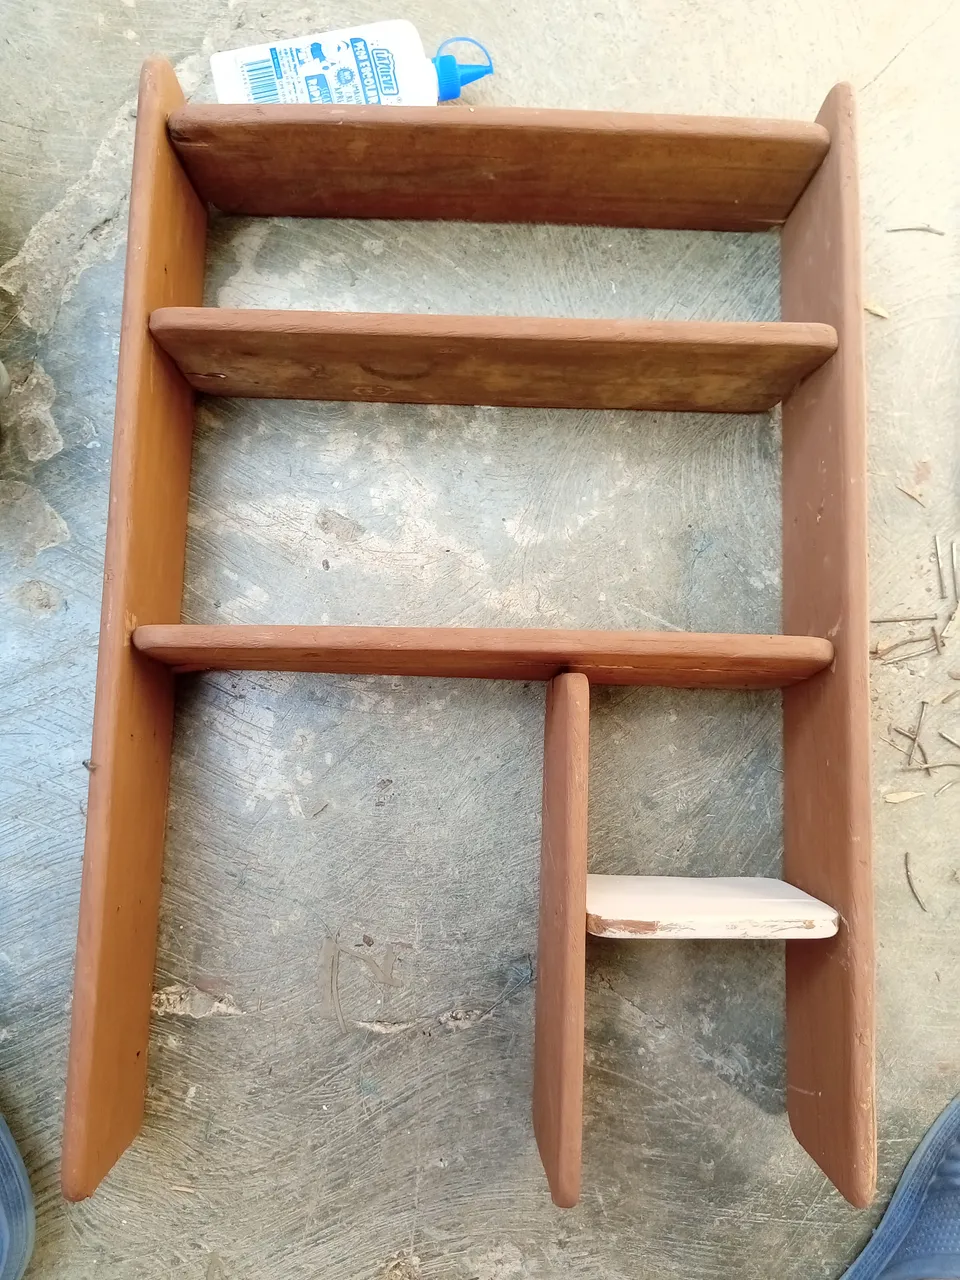
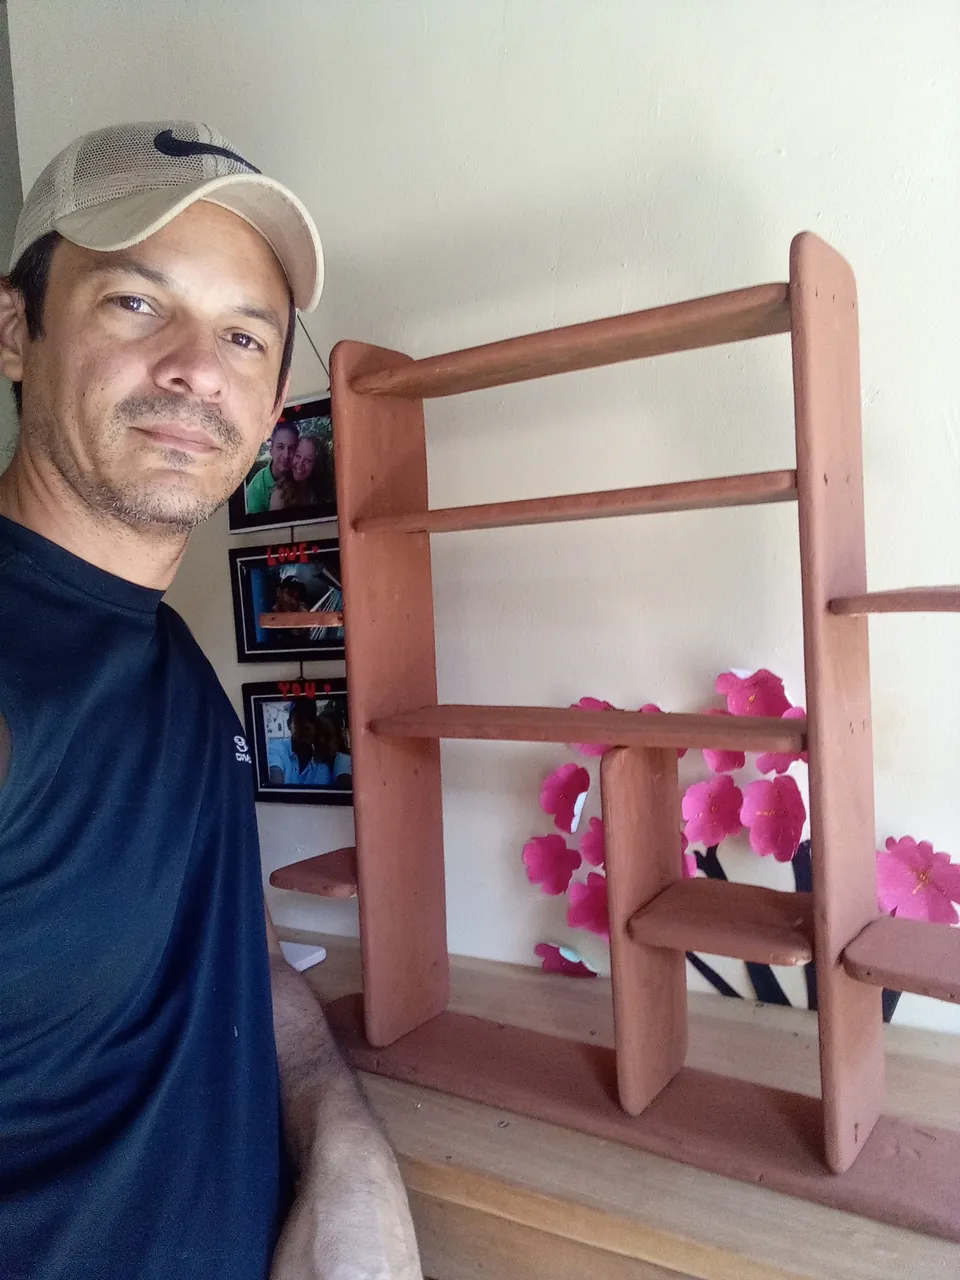
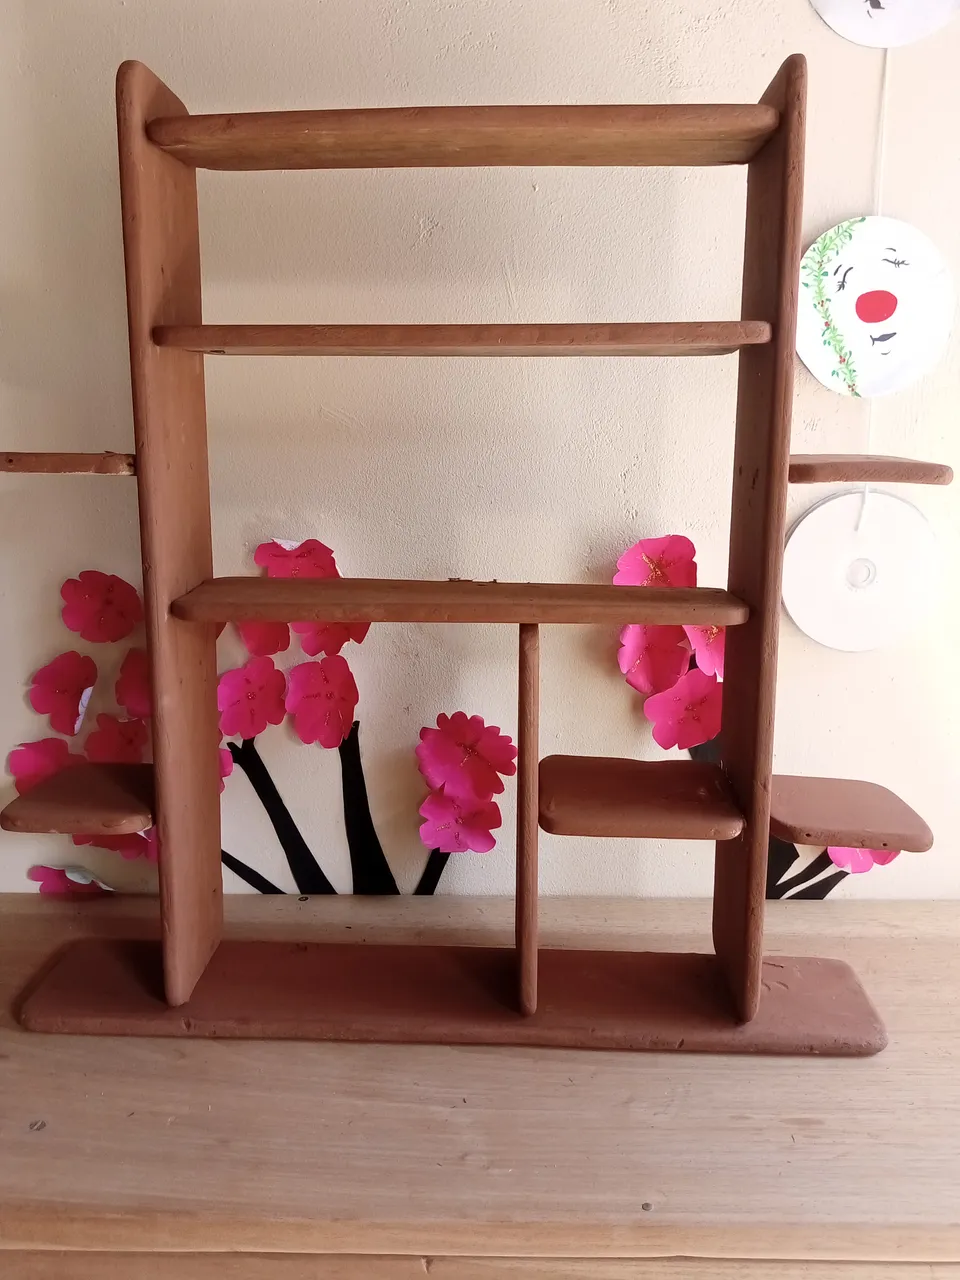
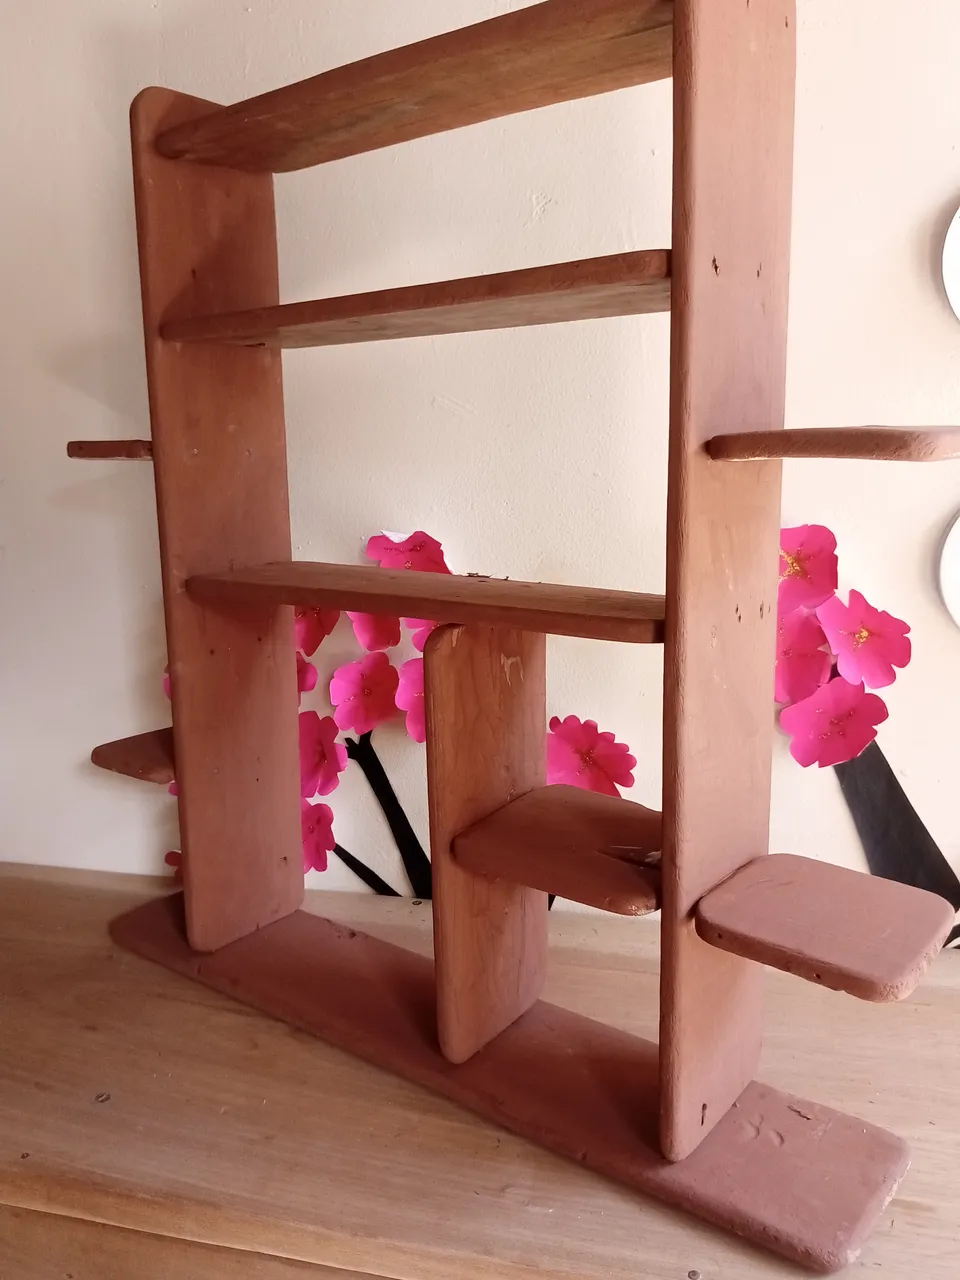
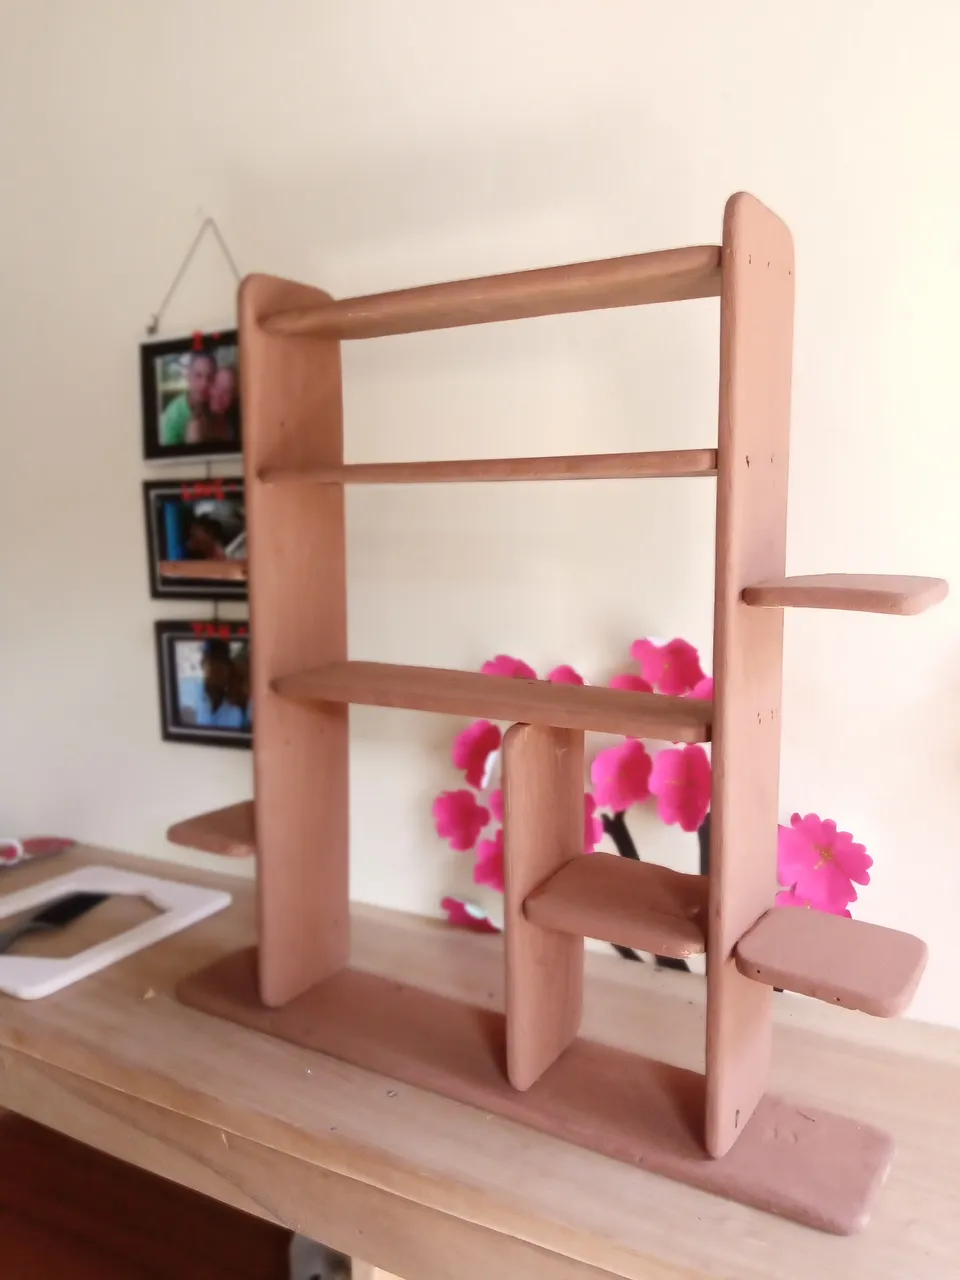
Once we have the shelf assembled, we give it a few small touch-ups of paint and some other adjustment that may be missing, in order to have a new piece of furniture for my business, the final result is shown below.
FINAL RESULT
Friends in this way I gave a small restoration to this shelf which I will use as a display in my business, I hope you liked my post today and thank you very much in advance for visiting my publication. God bless you greatly 🙏 and see you another time.
This post is translated by android app Google translate
All photos were taken by my Alcatel 1v Smartphone