Saludos Querida Comunidad!!!
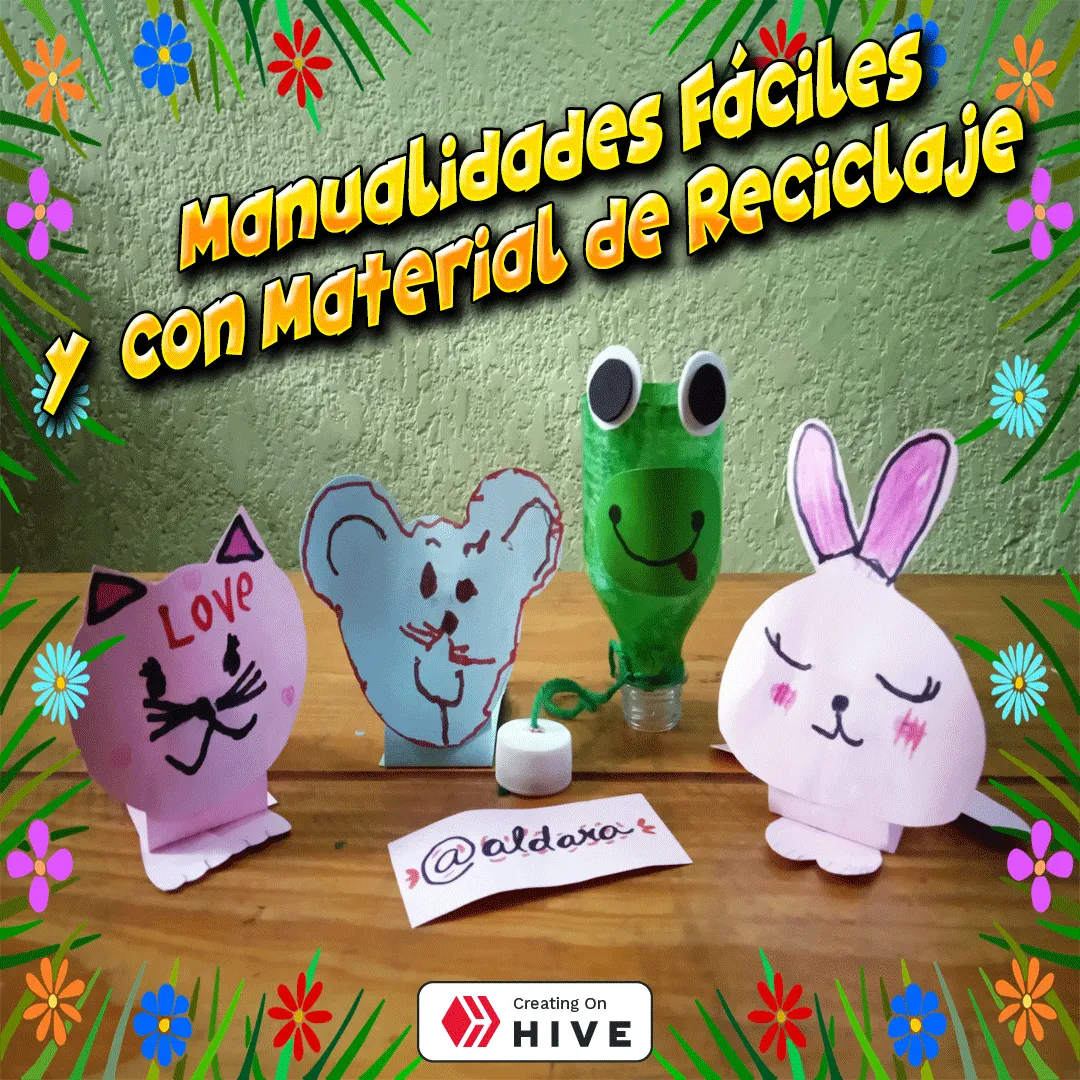
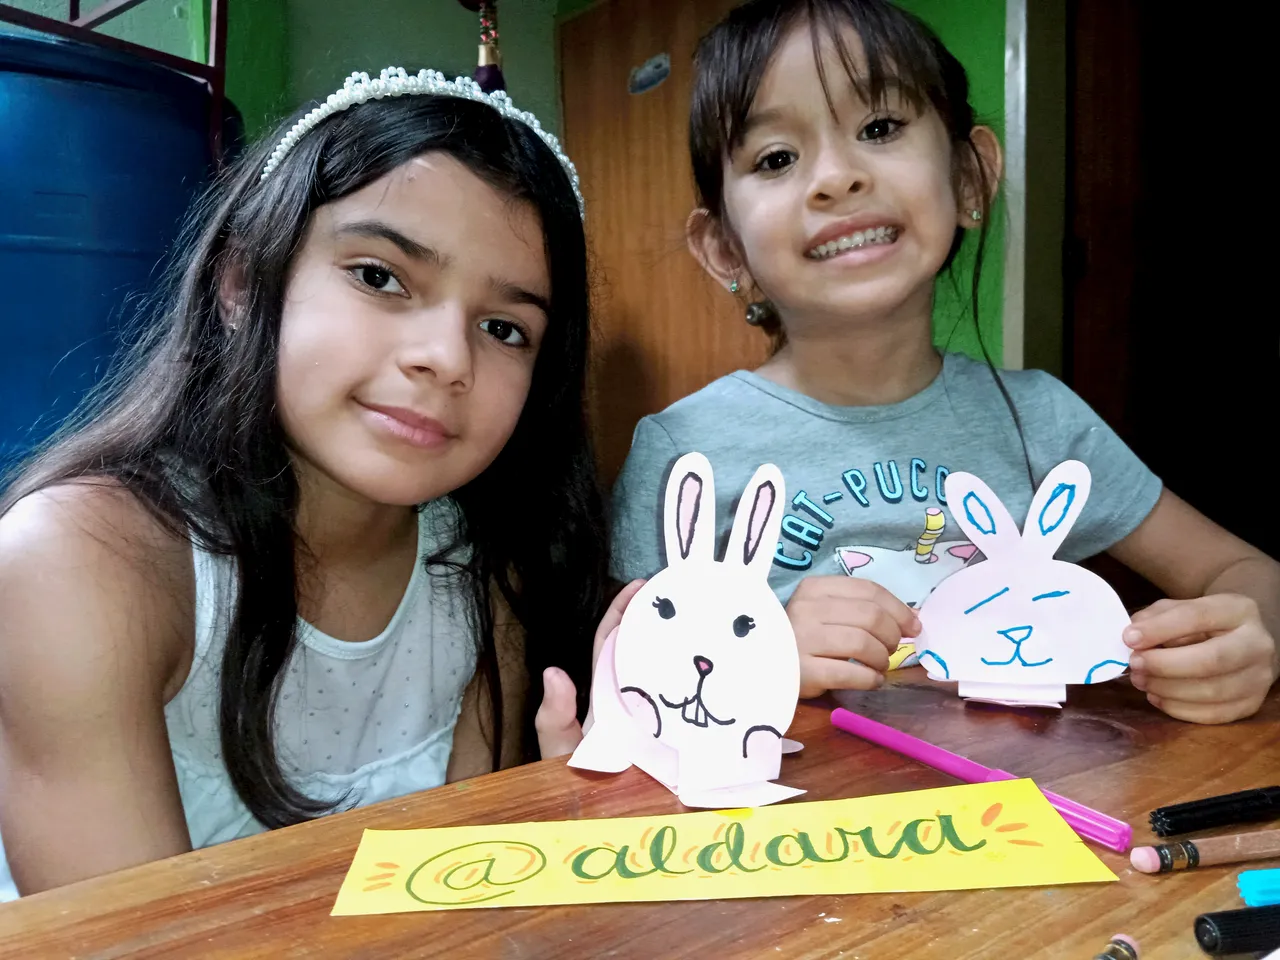
Les traigo dos manualidades ideales para los niños. En la primera vamos a hacer unos preciosos animalitos con cartulina para que los niños los dibujen y los armen y la otra es una fantástica perinola.
Los materiales que necesitaras para los animalitos:
- Cartulina de colores.
- Colores o marcadores.
- Tijera.
- Pega.
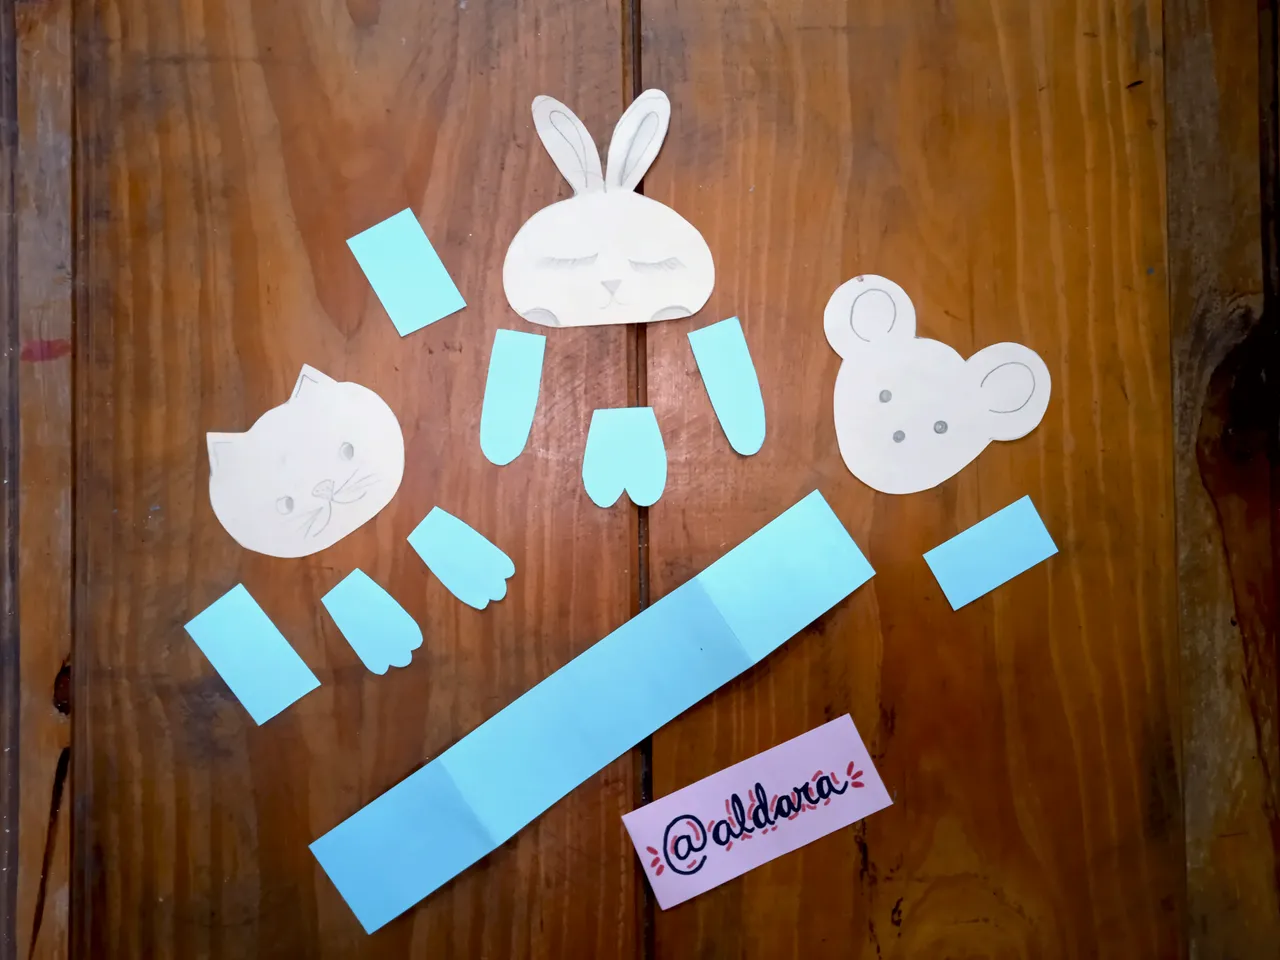
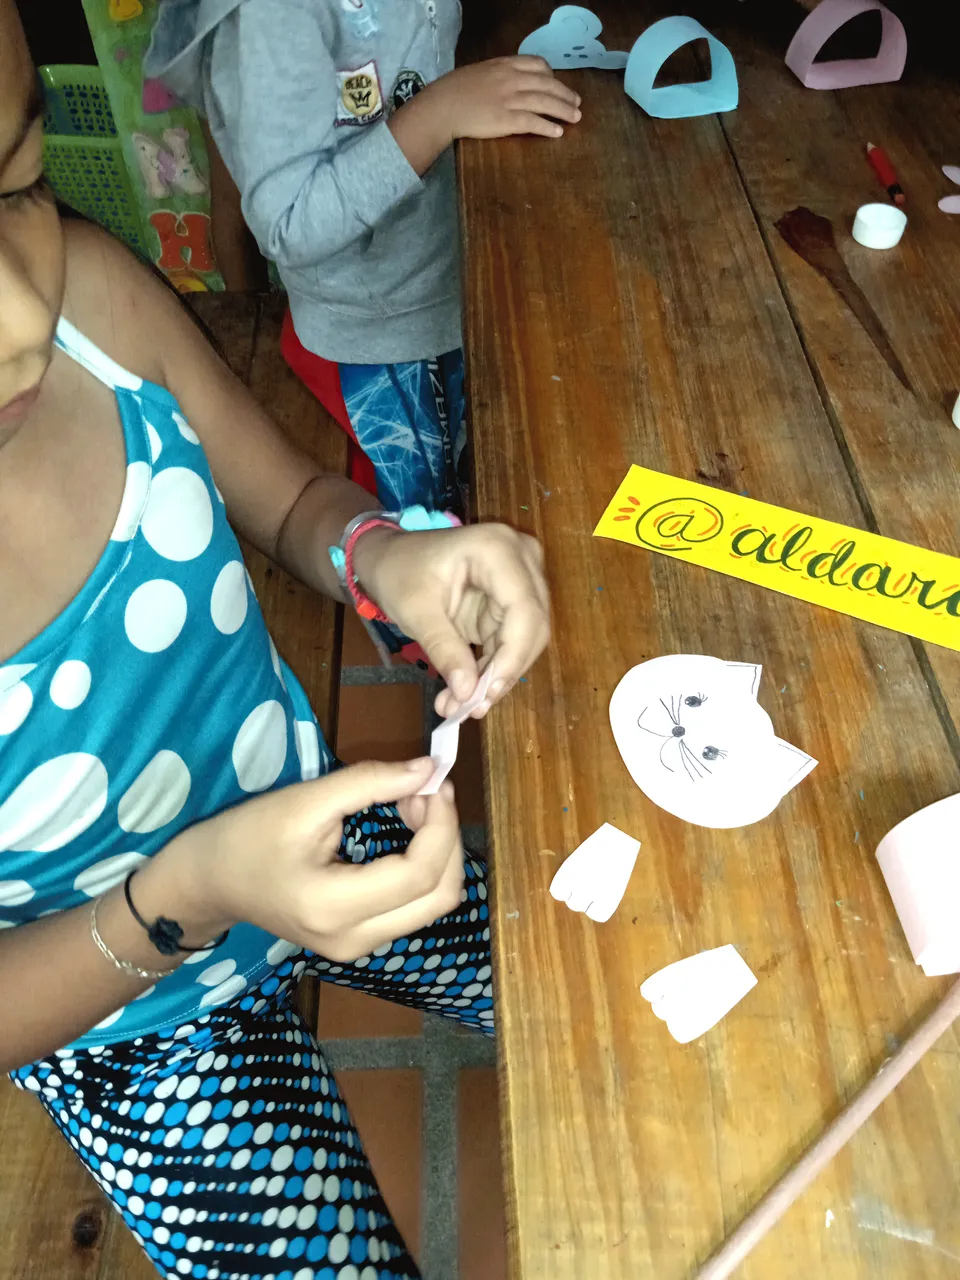
Podemos marcar los patrones para que los recorten o darles las piezas recortadas para que las peguen.
Dibujamos el cuerpo que será un rectángulo de 27 cm de largo por 4 cm de ancho, el cuello, un rectángulo de 5 cm de largo por 3 cm de ancho, dibujamos las cabezas de los diferentes modelos: conejo, gato y ratón. El conejo tiene patas delanteras y traseras, el gato sólo tiene las delanteras y el ratón se puede hacer sólo con la cabeza y el cuerpo.
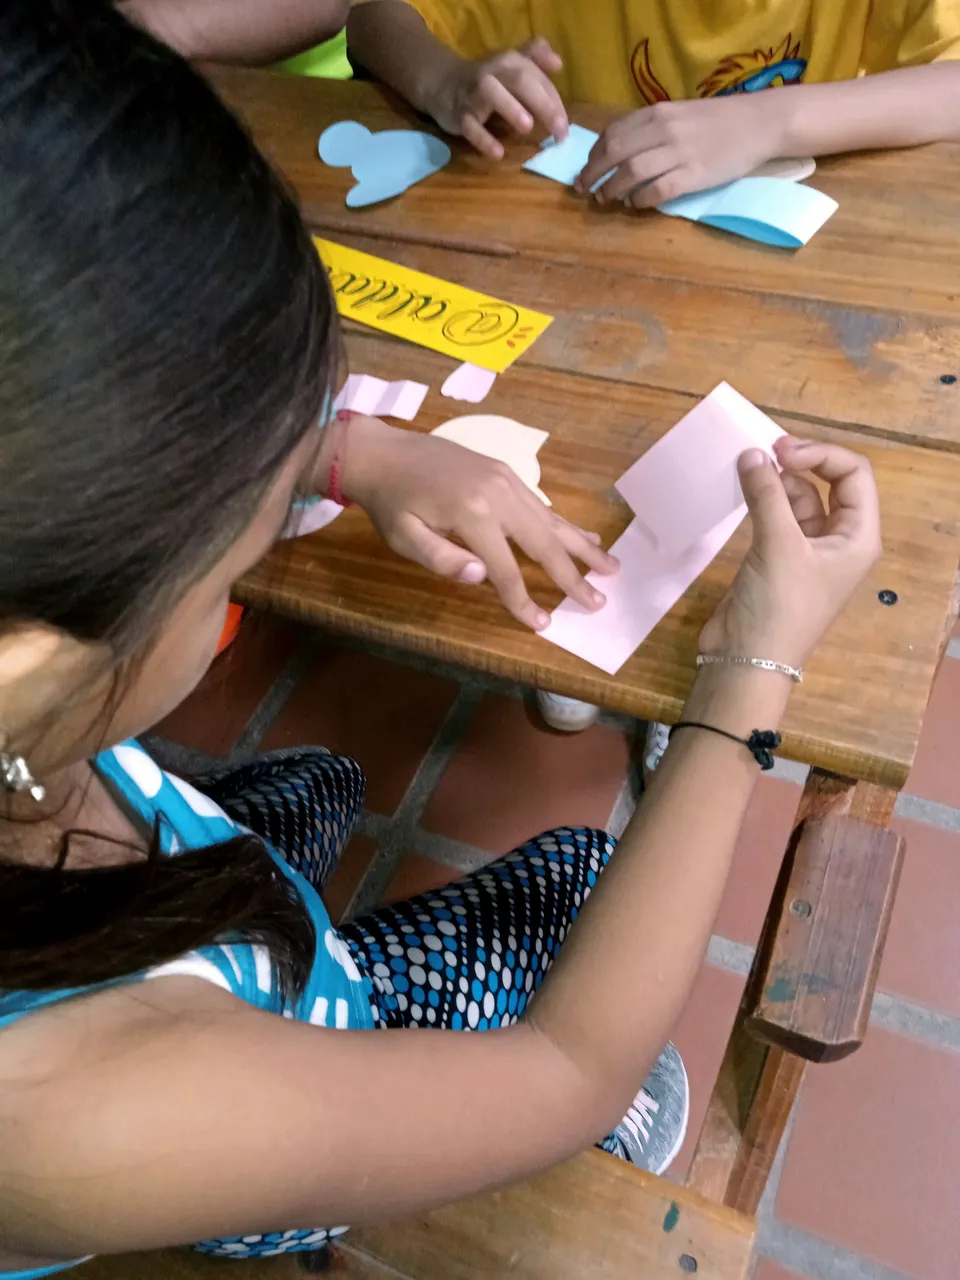
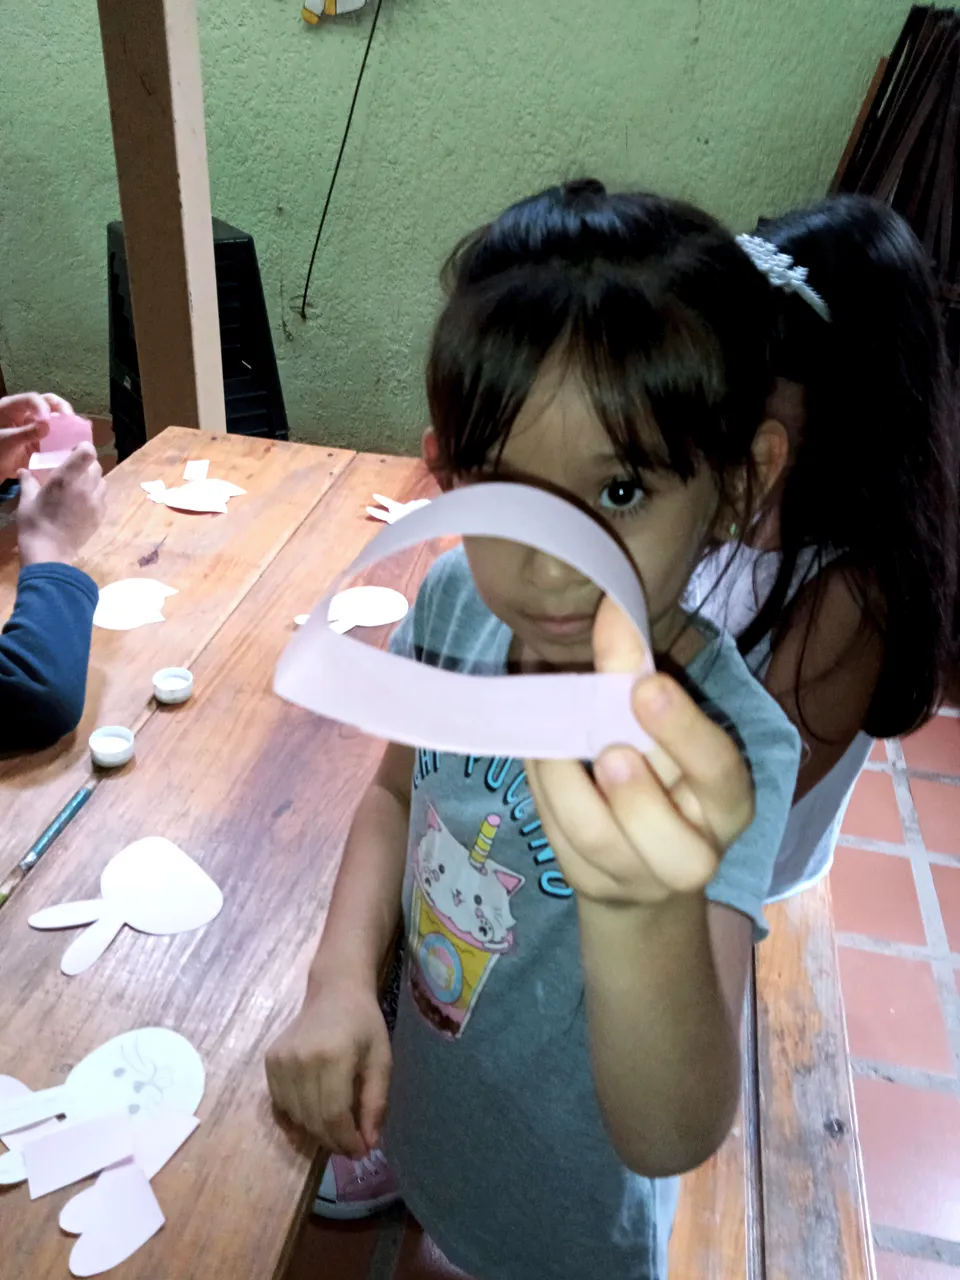
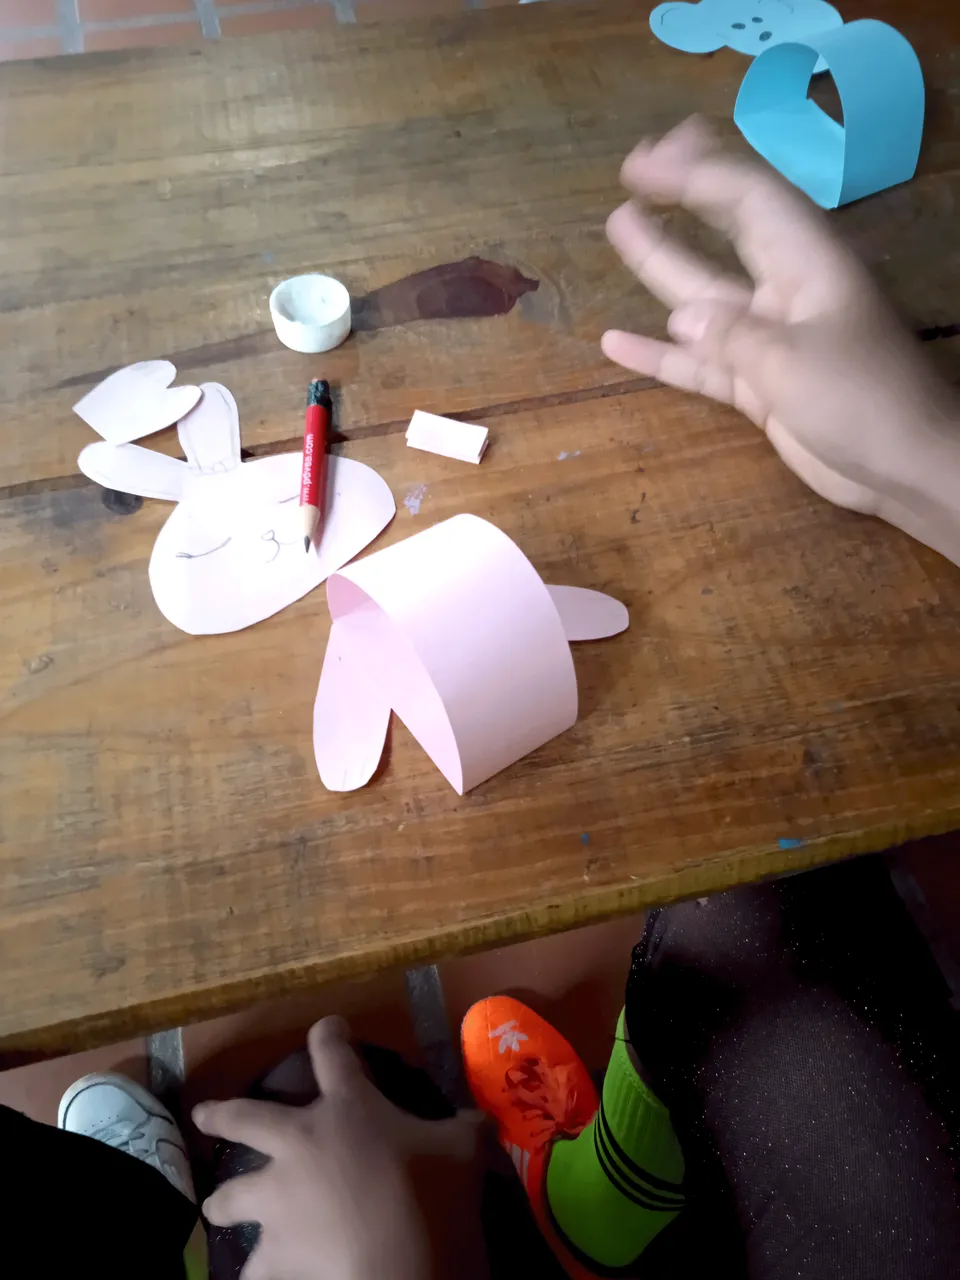
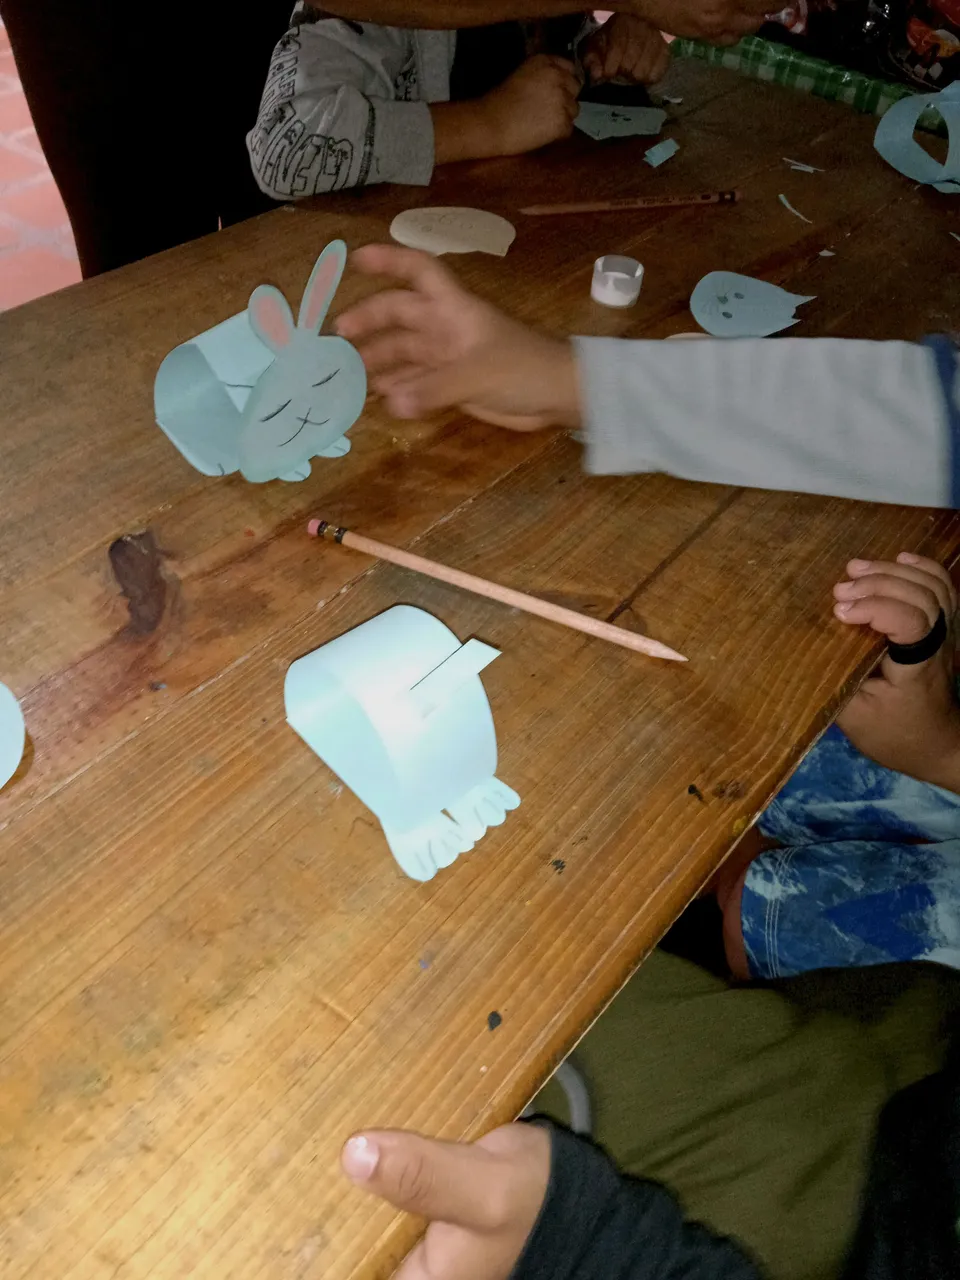
Mide 7 cm en cada extremo del rectángulo grande y haz un doble, el centro debe ser más largo. El niño pegará un extremo sobre el otro para formar un arco.
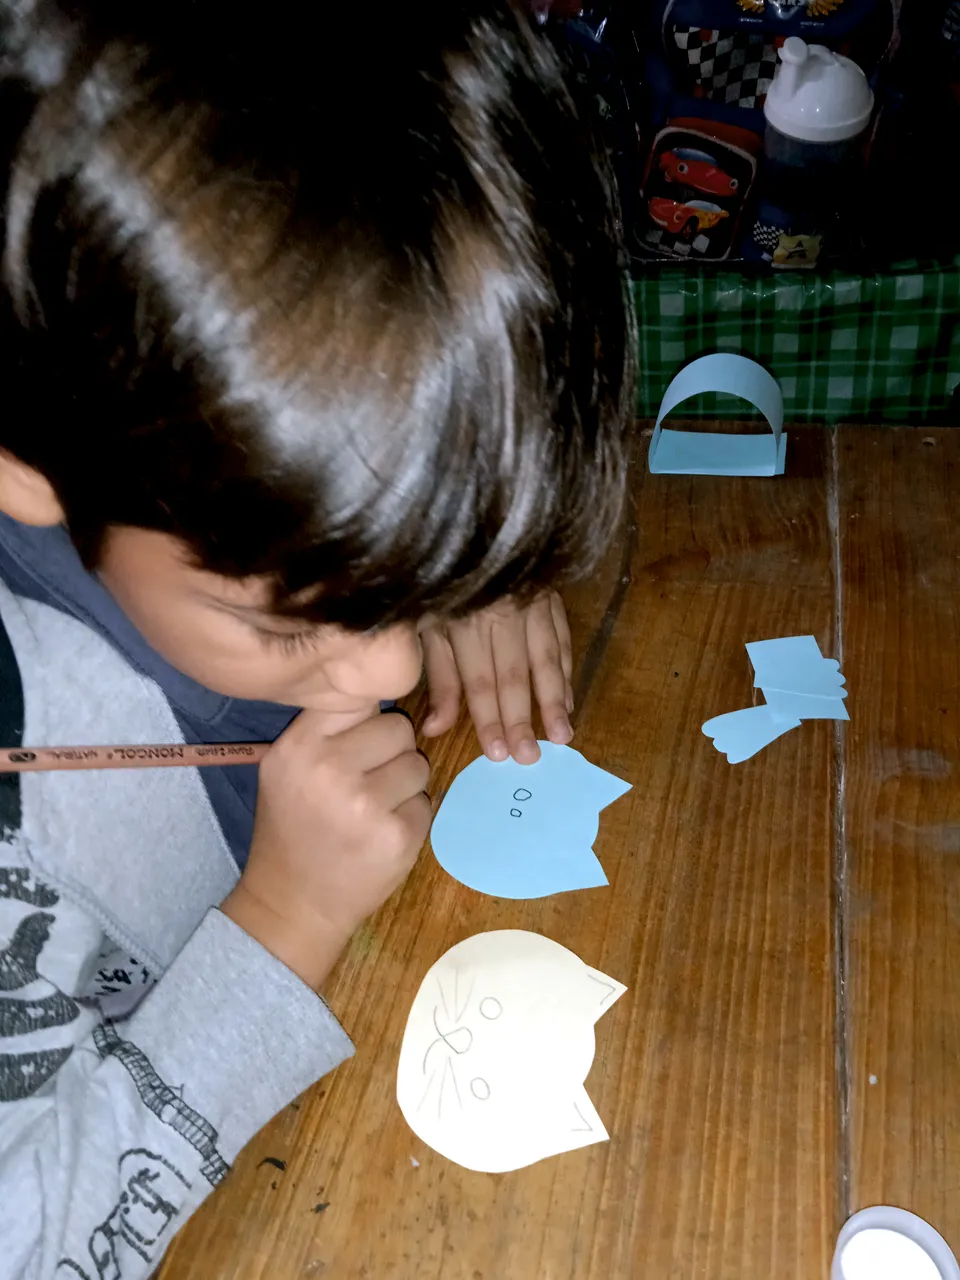
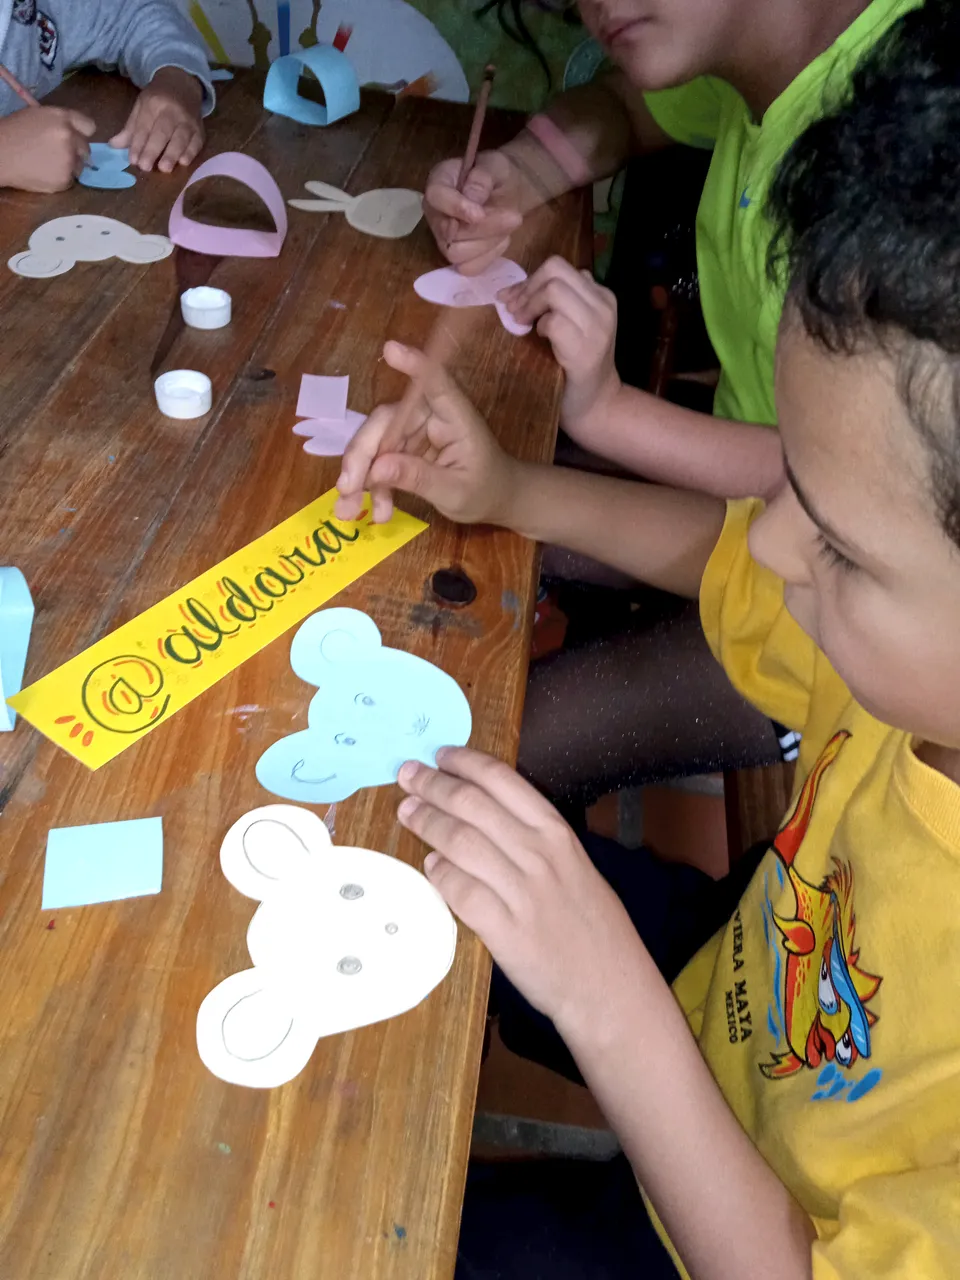
Mientras se seca el niño dibujara los ojos, nariz, boca, orejas, de su animalito.
Pegan las patas, las del gatito solo las delanteras, las del conejo las traseras y delanteras.
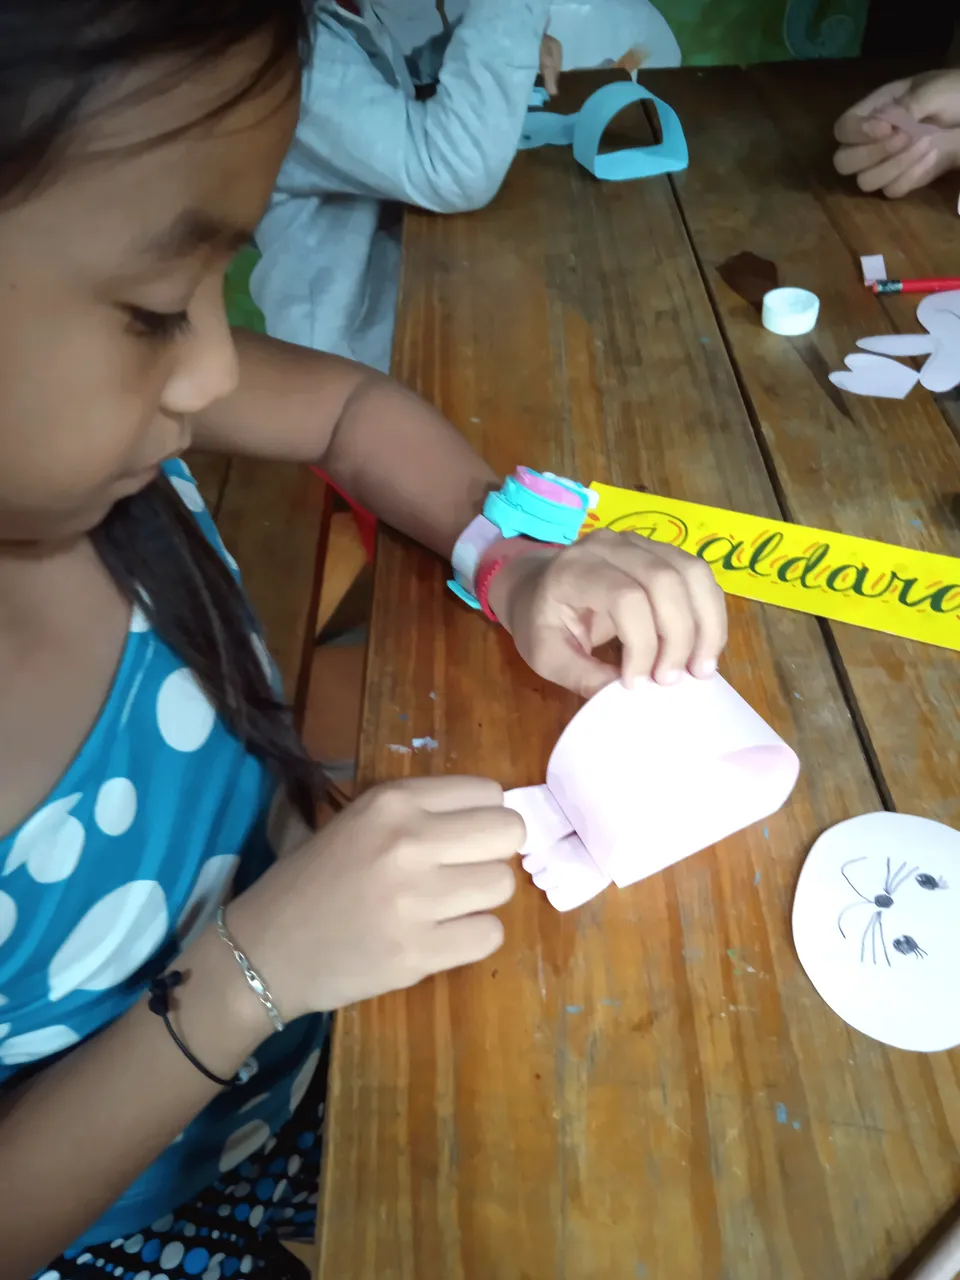
Doblar como un acordeón el rectángulo pequeño que será el cuello.

Pegar el rectángulo doblado en acordeón, en el arco o cuerpo de la mitad aproximadamente 2cm hacia abajo.
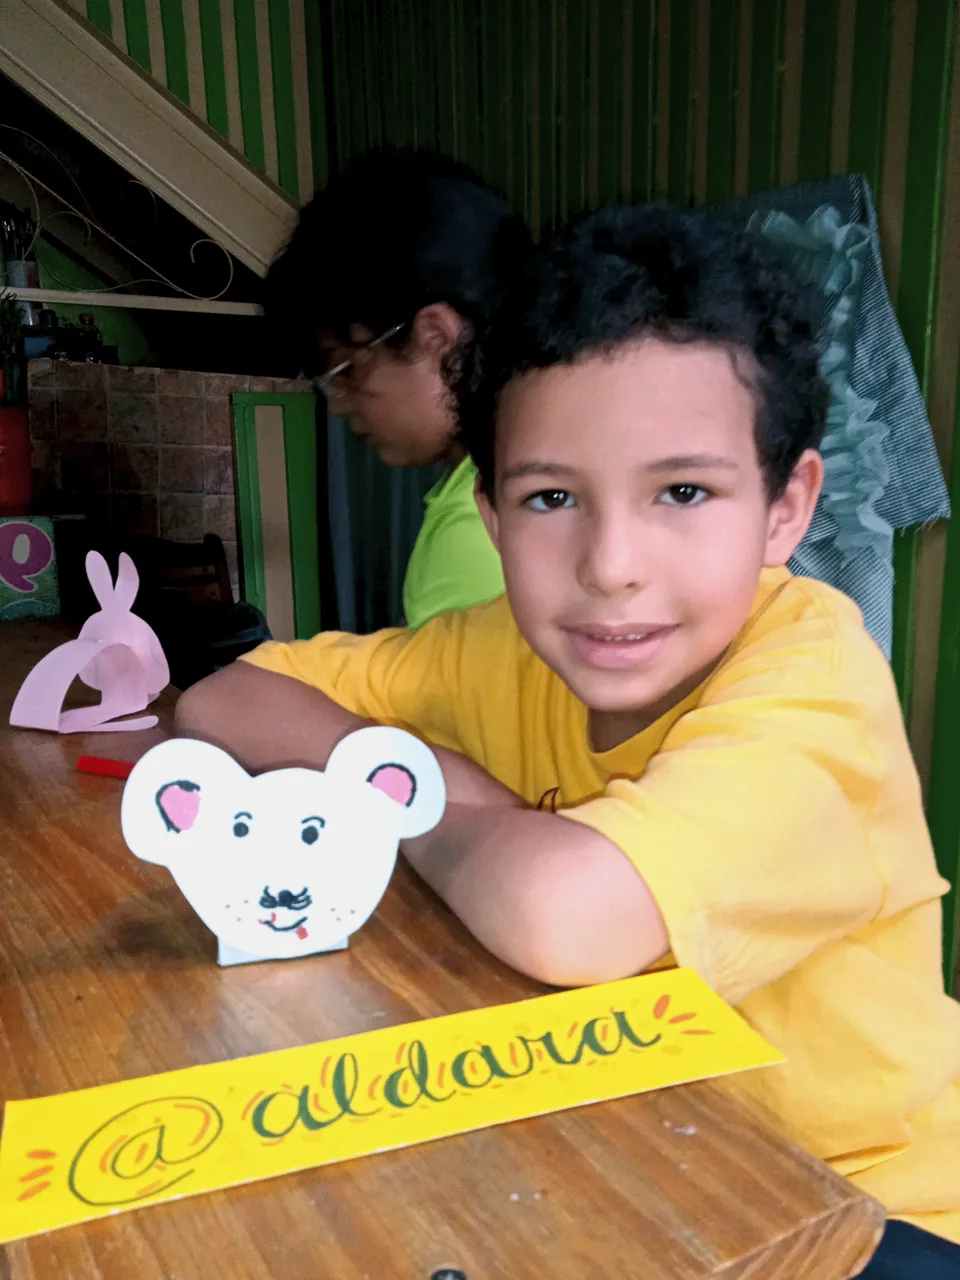
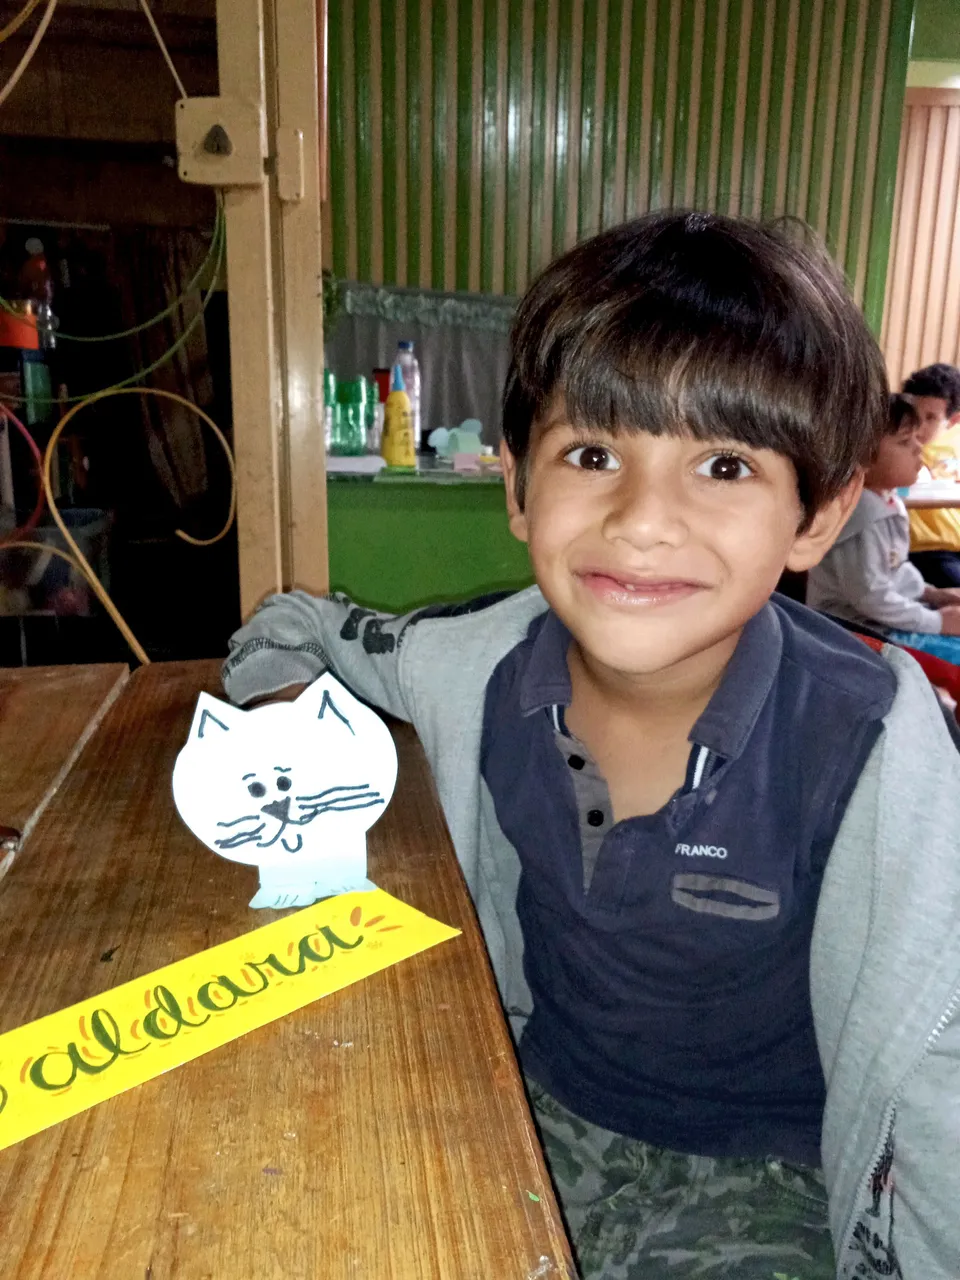
Esperar a que se seque bien el cuello y pegar la cabeza. Nuestros preciosos animalitos están listos.
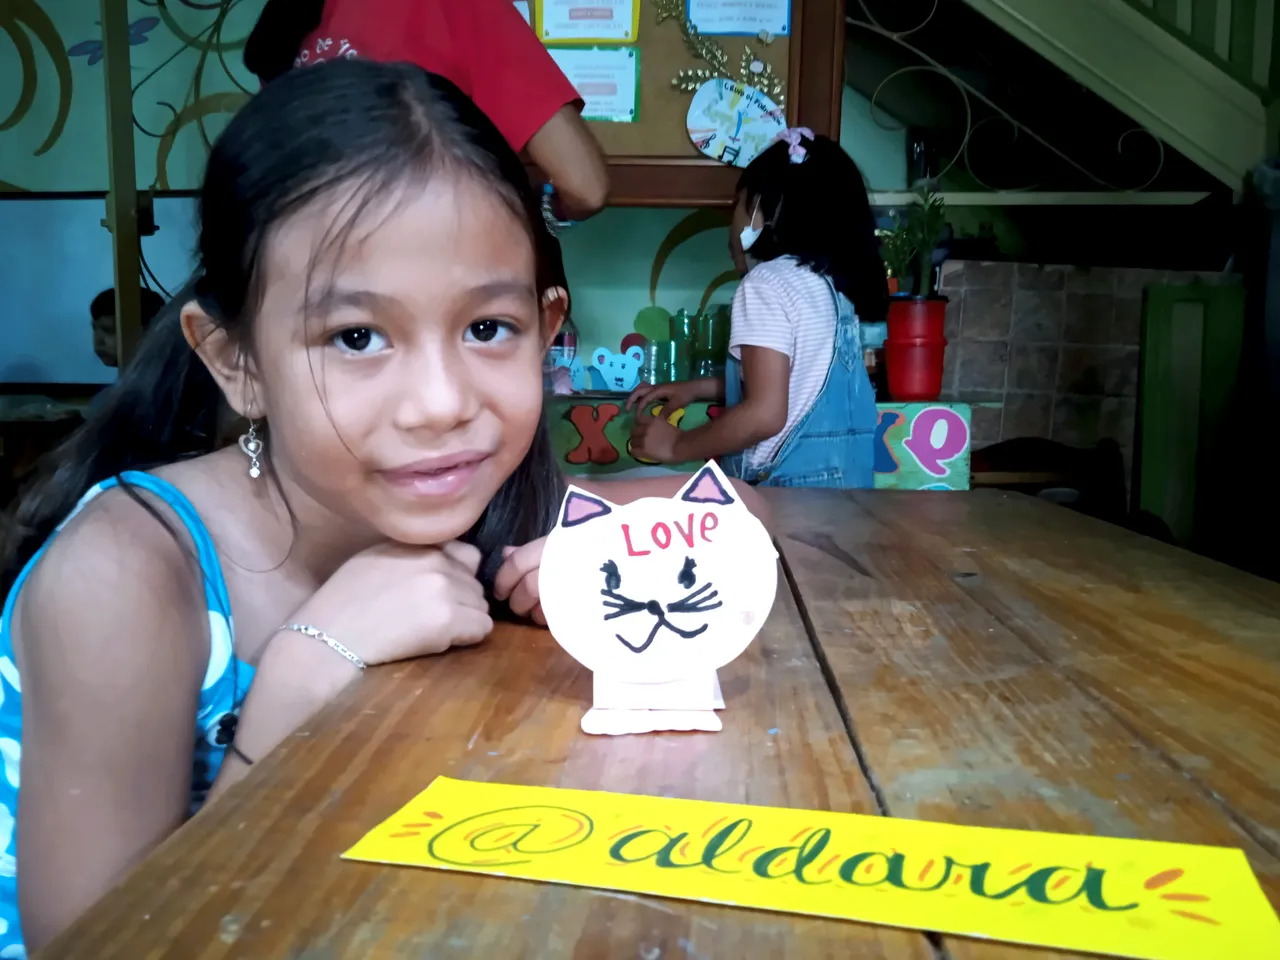
Los niños disfrutan mucho con este tipo de manualidades.

Continuamos armando nuestra fantástica perinola.
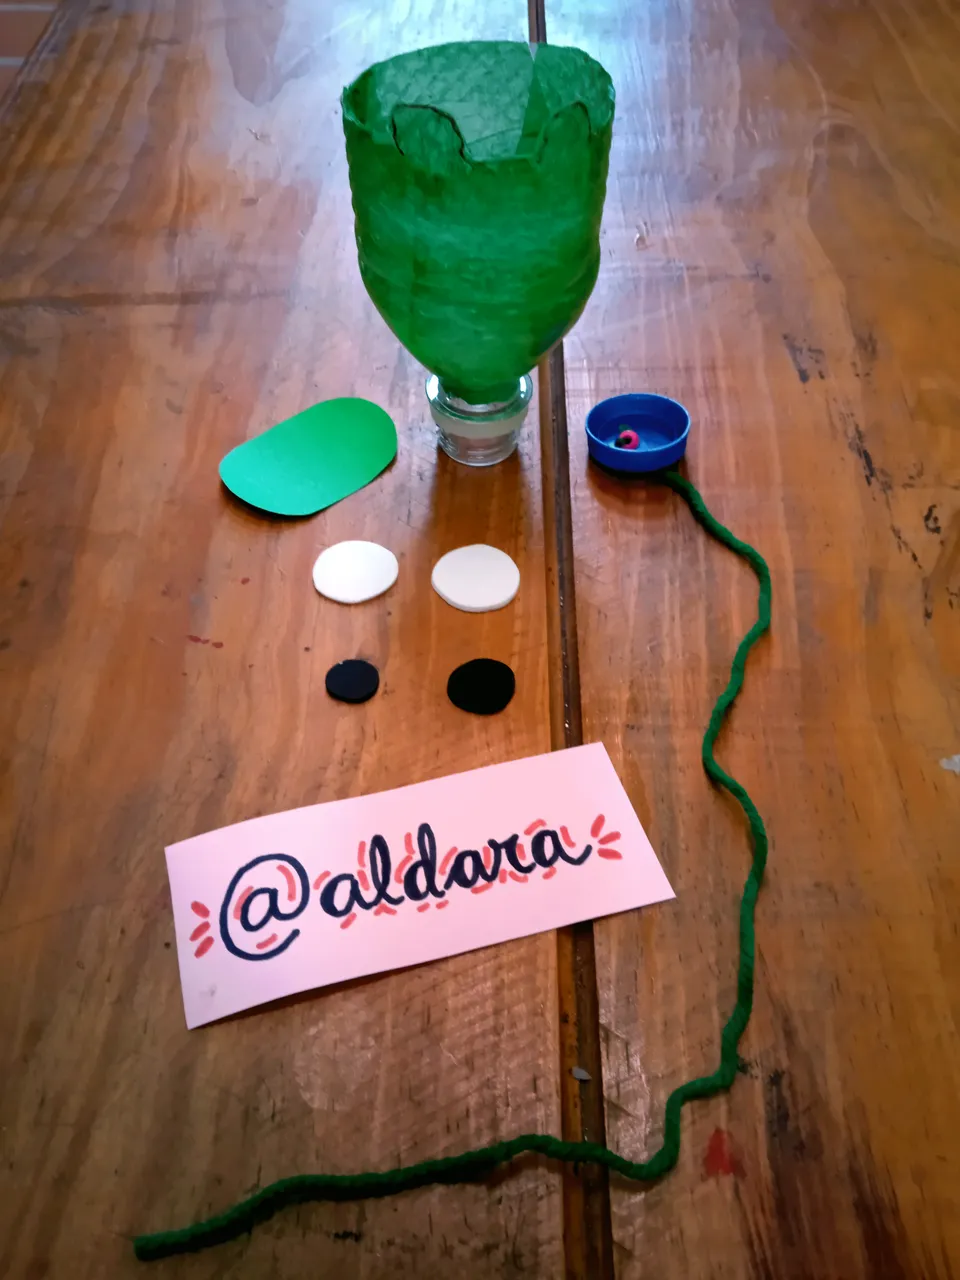
Los materiales a utilizar son:
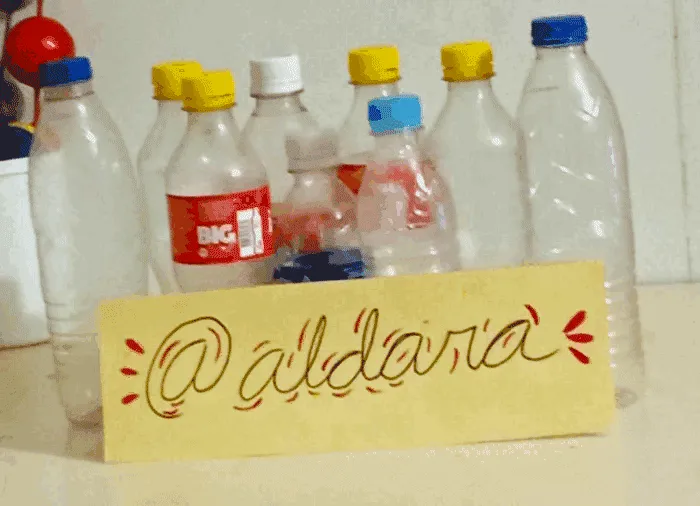
- botella plástica pequeña.
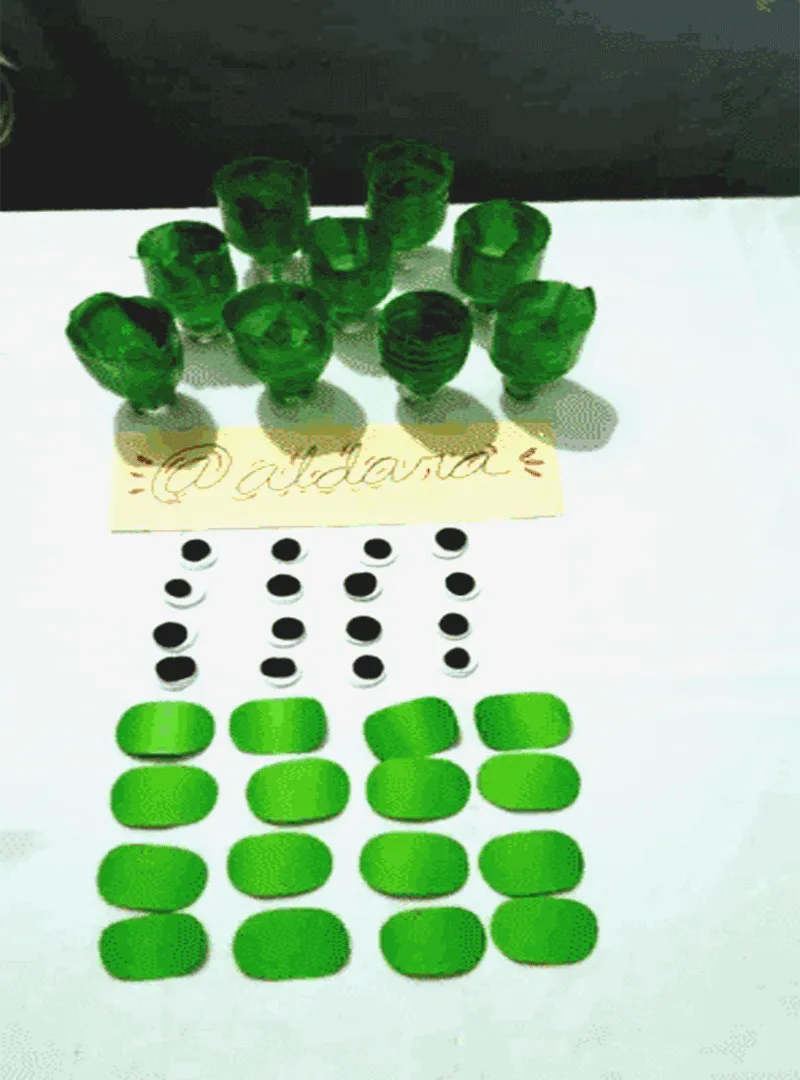
- papel, cartulina o foami de color blanco, negro y verde o también se puede pintar el papel con esos colores.
- Papel de seda o crepe verde.
- La tapa de la botella.
- un pedazo de cuerda o estambre.
- silicon liquido y pega.
- Tijera.
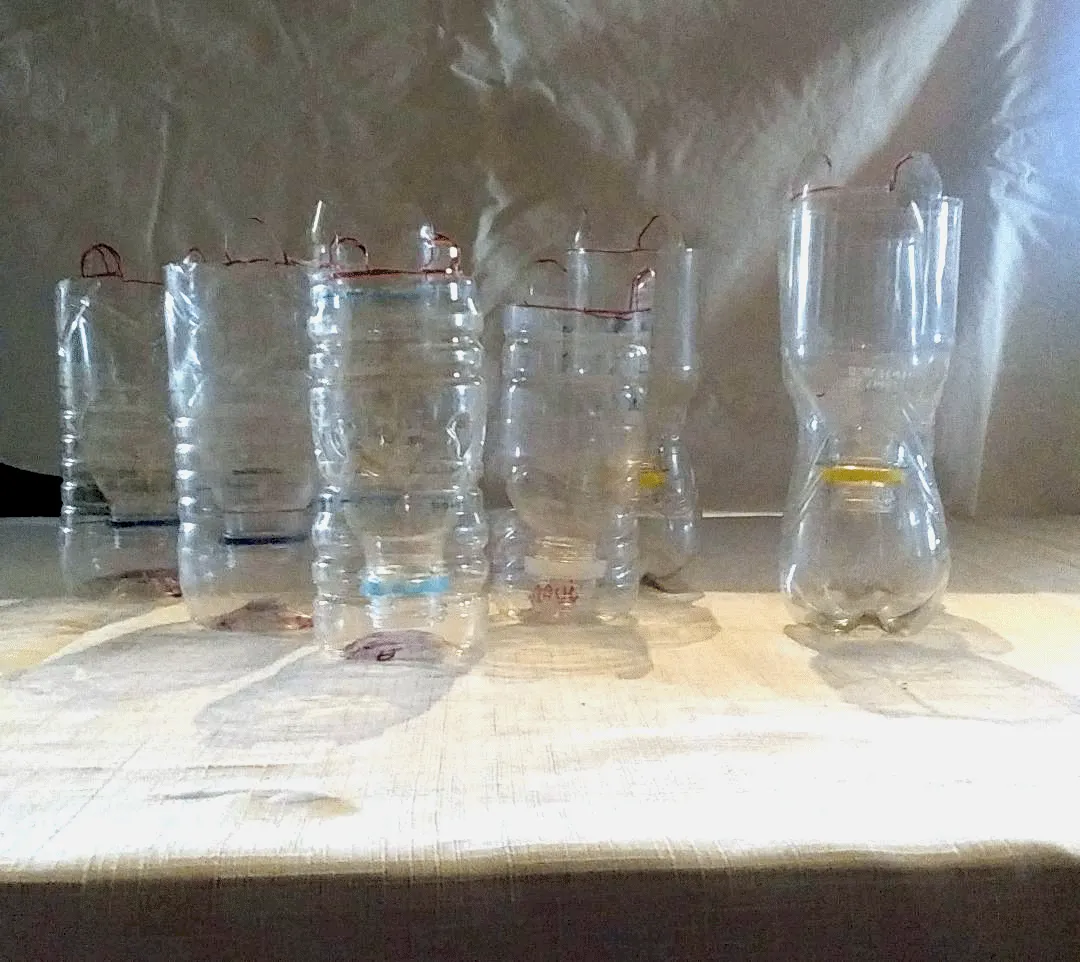
Marcamos la botella dibujando los dos ojos que sobresaldrán de la rana.
Con una tijera se perfora la botella y luego se continúa cortando el contorno de la misma.
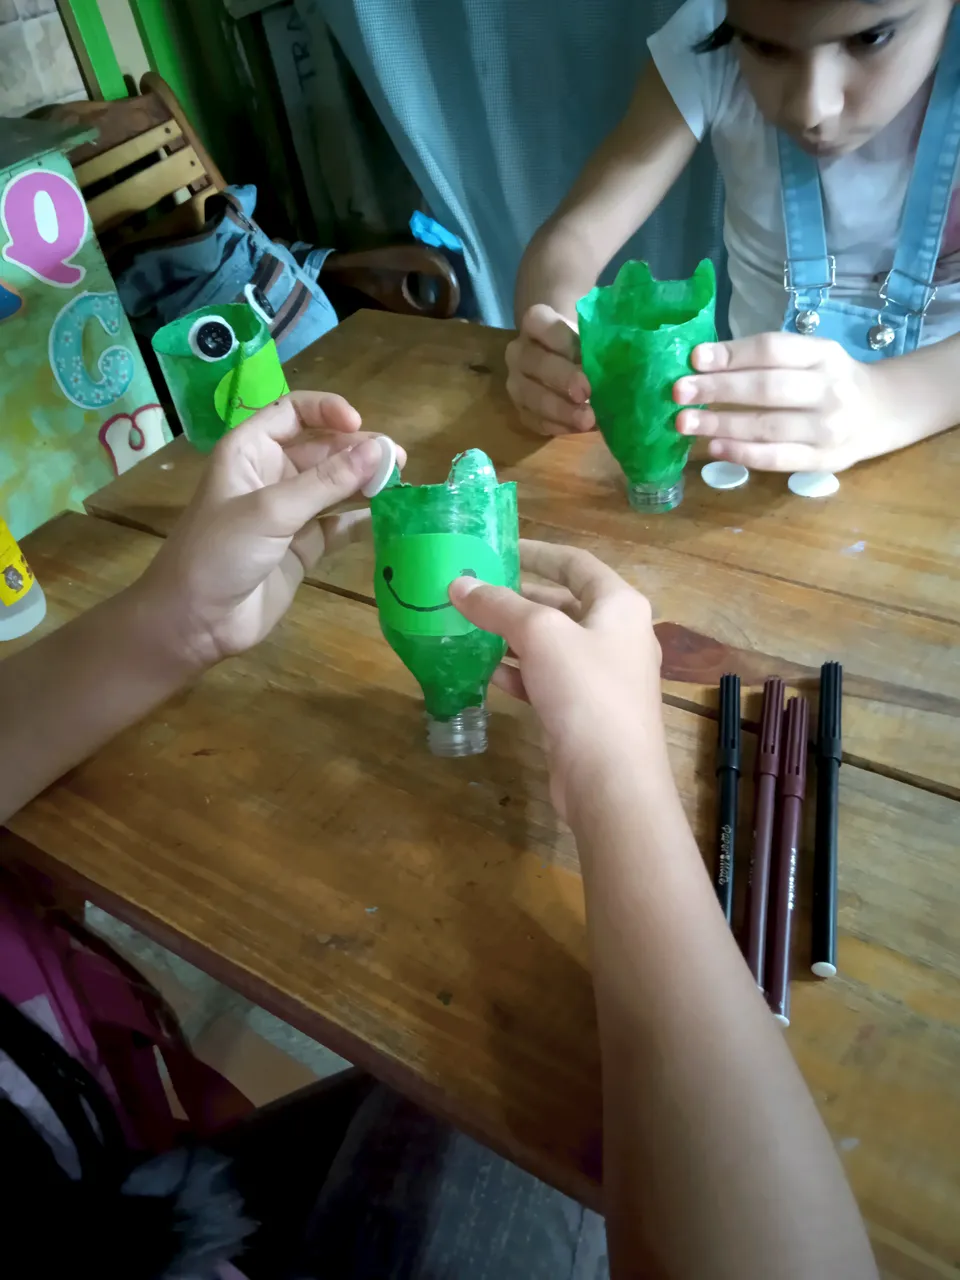
Forra el interior de la botella con papel crepé o papel de seda verde.
Puedes darle al niño los moldes para que los recorte. Para nuestra actividad se los dimos ya recortados para que sólo los pegaran.
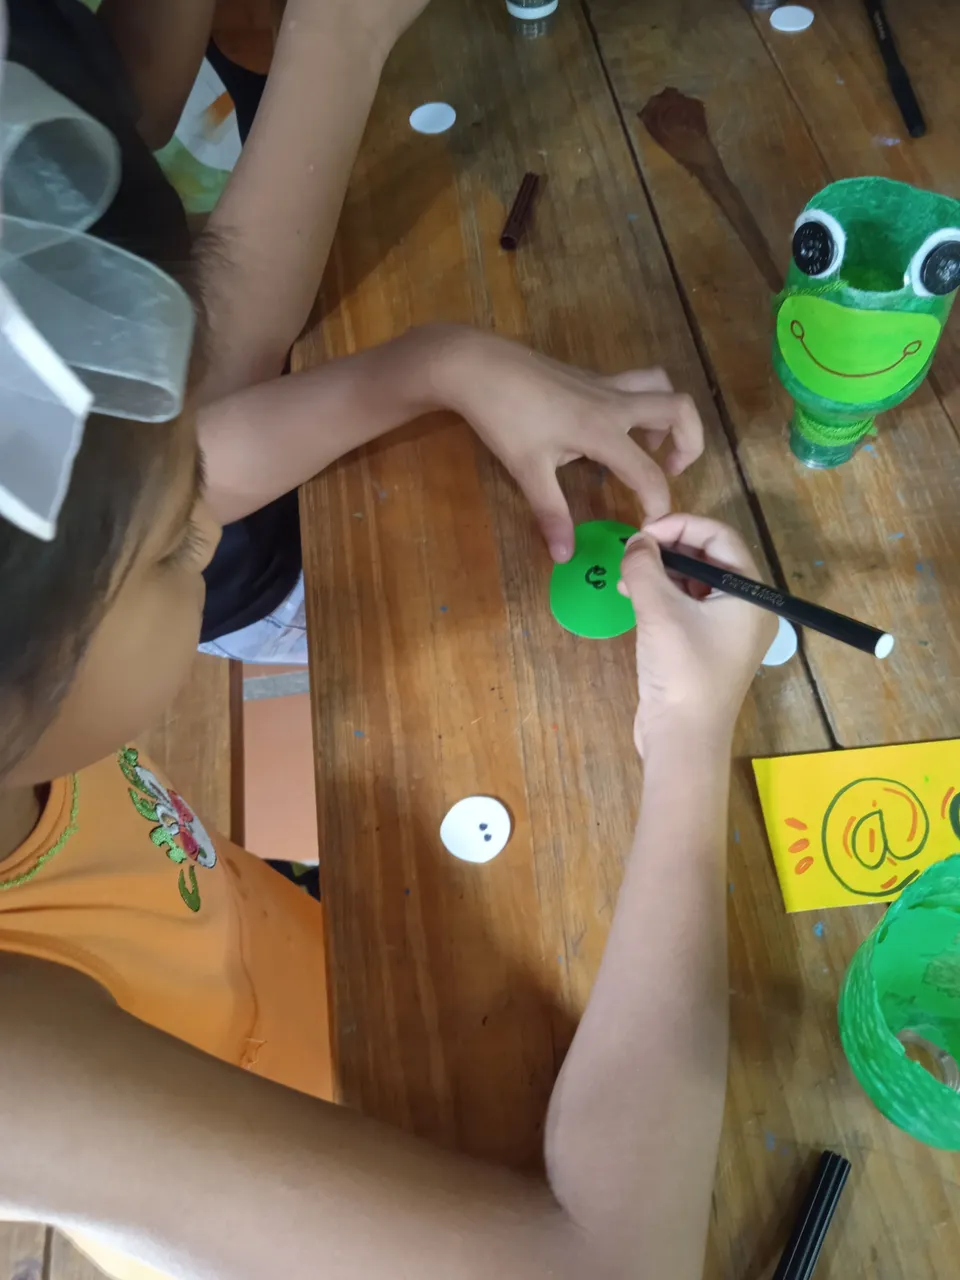
Pedimos al niño que dibuje la boca

Empezamos a pegar todas las piezas, pegamos la boca.
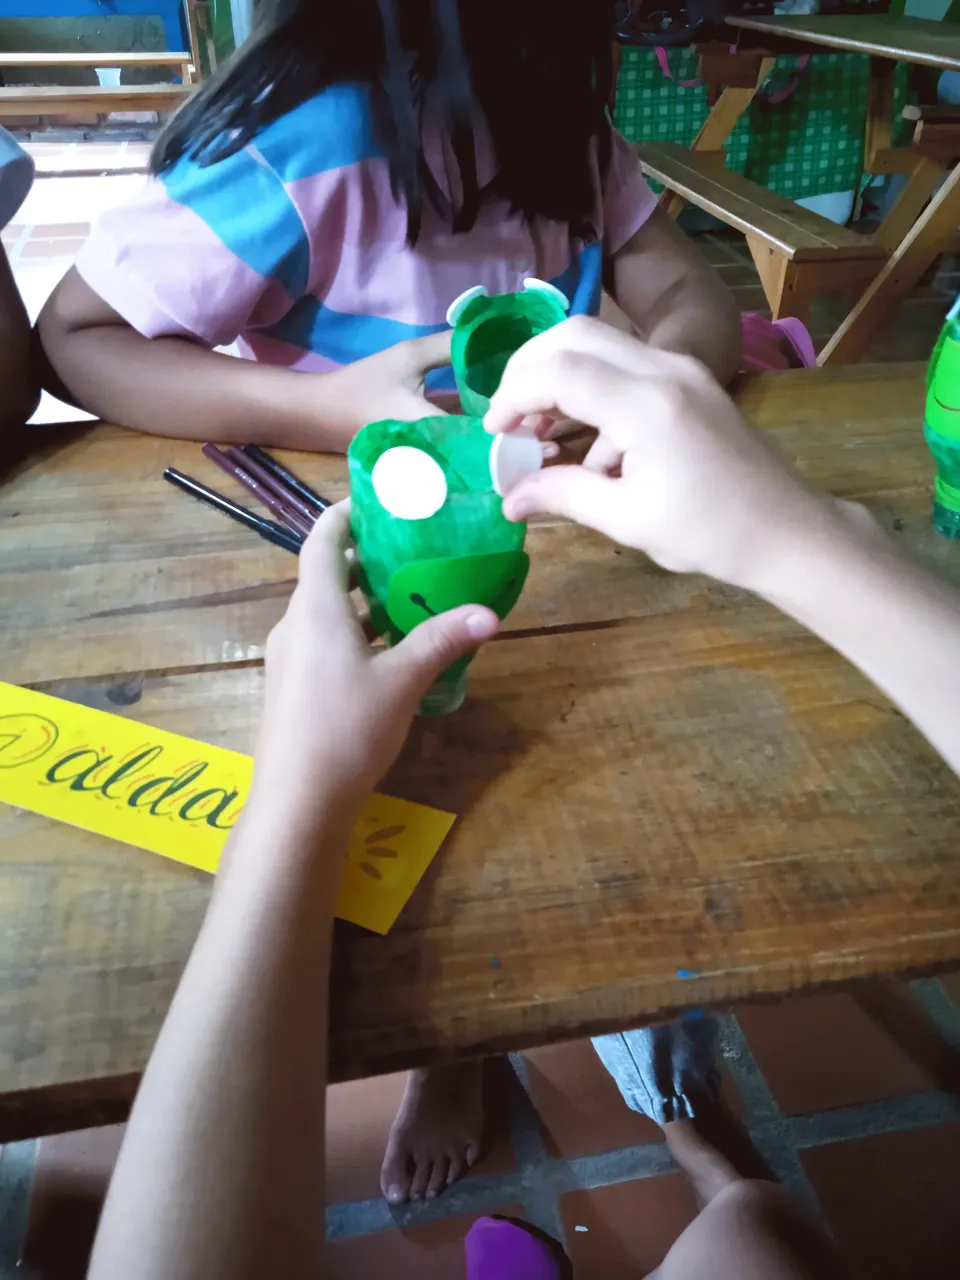
Pega los círculos blancos de los ojos.

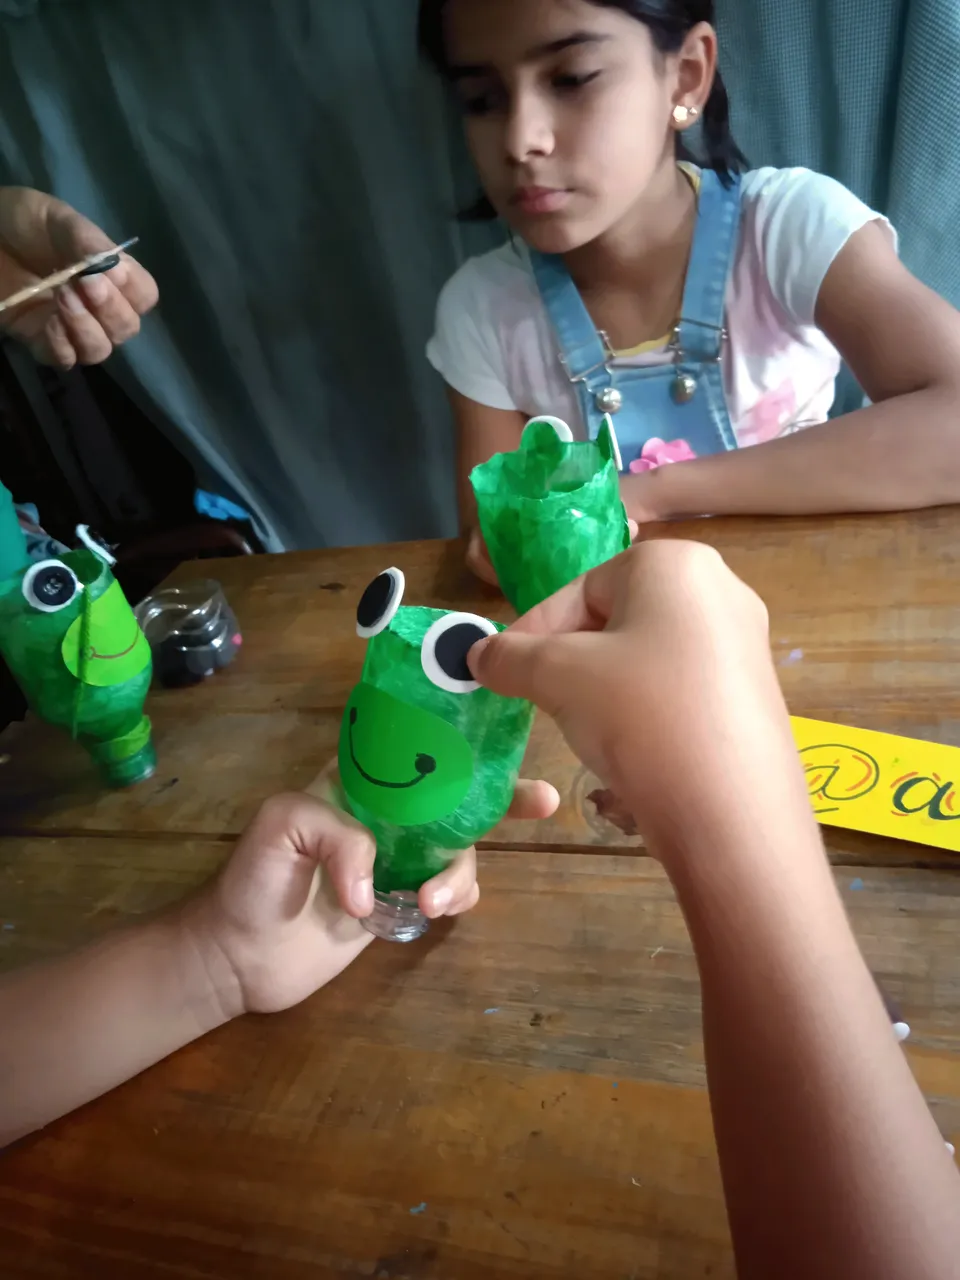
Seguimos pegando los círculos negros de los ojos, nuestra perinola está casi lista.
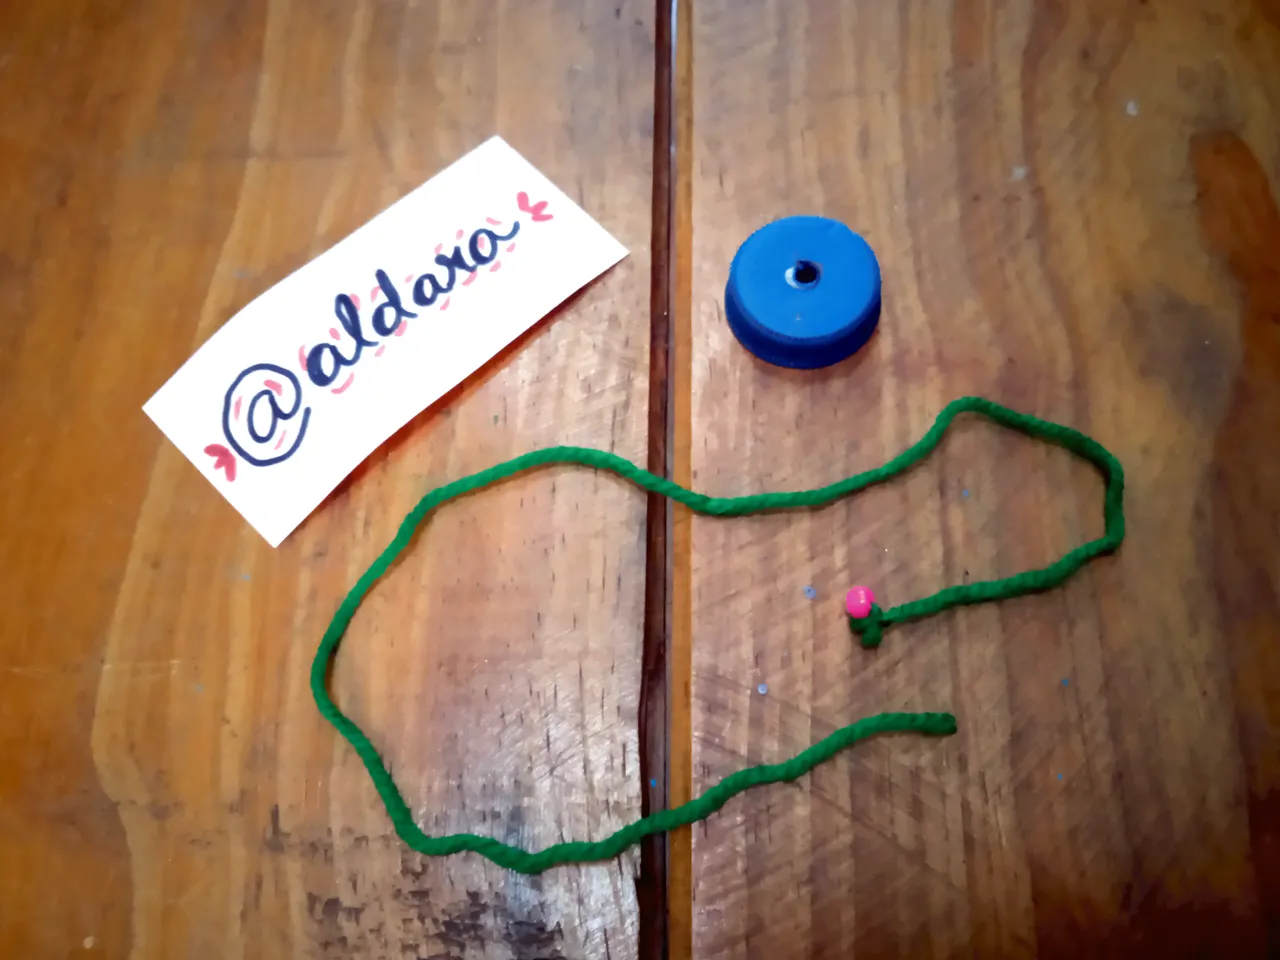
Perforamos la tapa, puedes hacerlo con un clavo caliente, y colocamos algo en la punta para sujetar la cuerda, yo usé lo que llamamos una puca para sujetar la cuerda.

Y finalmente atamos la cuerda a la boquilla de la botella, y ya estamos listos para jugar con nuestra perinola.
Espero te hayan gustado estas manualidades divertidas y las puedas realizar en casa con los niños.
Gracias por Leer mi post.
English version
Easy crafts with recycled material for children.
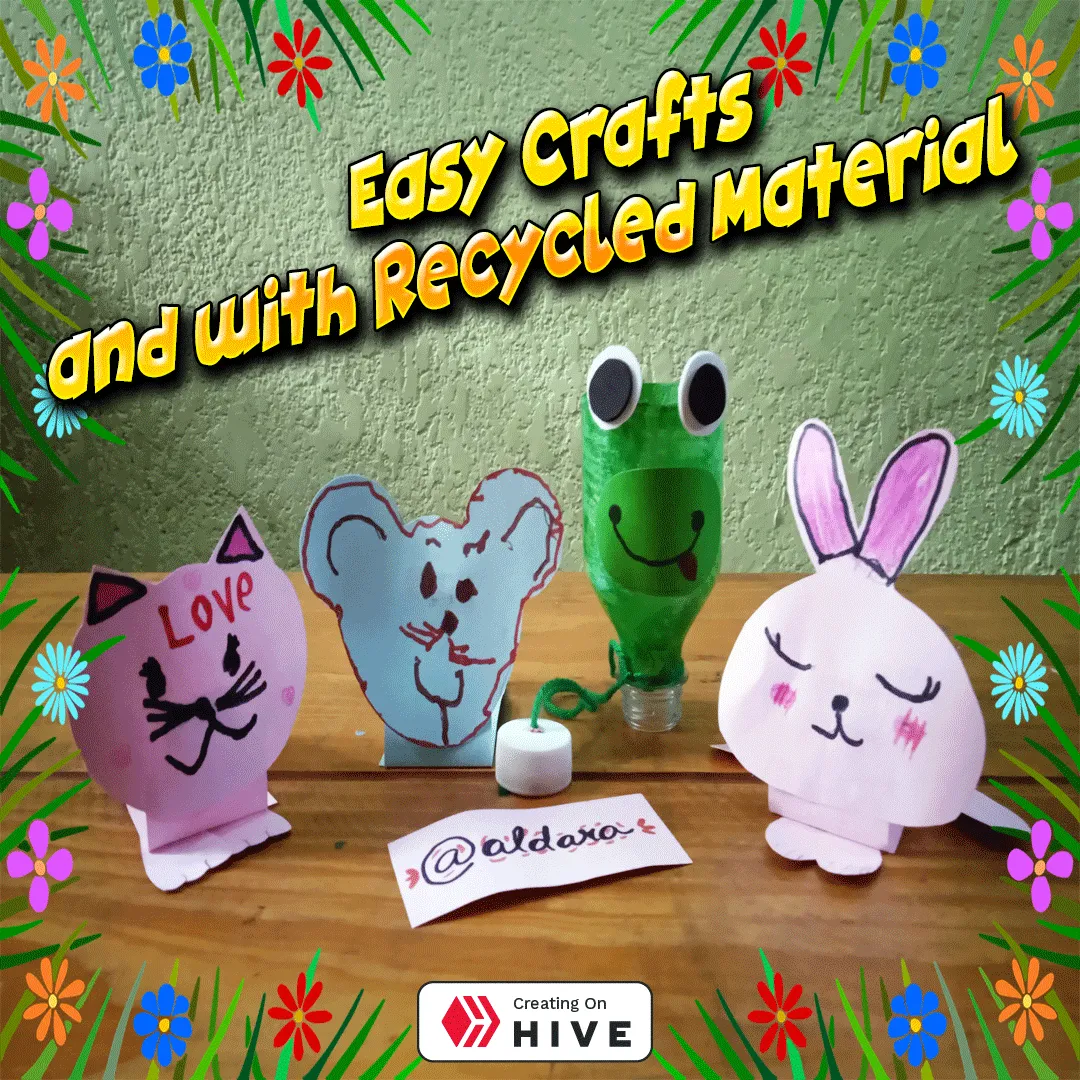
I bring you two ideal crafts for children. In the first one we are going to make some beautiful little animals with cardboard for the children to draw and assemble them and the other one is a fantastic perinola.
The materials you will need for the animals;
- Colored construction paper
- Colors or markers.
- Scissors.
- Glue.
We can mark the patterns for them to cut out or give them the cutout pieces to glue on.
We draw the body which will be a rectangle of 27 cm long by 4 cm wide, the neck, a rectangle of 5 cm long by 3 cm wide, we draw the heads of the different models: rabbit, cat, and mouse. The rabbit has front and back legs, the cat has only the front legs and the mouse can be made with only the head and the body.
Measure 7 cm at each end of the large rectangle and make a double, the center should be longer. The child will glue one end over the other to form an arch.
While drying, the child will draw the eyes, nose, mouth, ears, of his animal.
Glue the paws together, the kitten's paws only the front ones, the rabbit's paws the back and front ones.
Fold like an accordion the small rectangle that will be the collar.
Glue the rectangle folded in accordion, in the arc or body of the half approximately 2cm downwards.
Wait for the neck to dry well and glue the head. Our precious little animals are ready.
Children really enjoy this kind of craft.
We continue to assemble our fantastic perinola.
The materials to be used are:
We mark the bottle by drawing the two eyes that will stand out from the frog.
The bottle is pierced with scissors and then the contour of the bottle is cut out.
Line the inside of the bottle with crepe paper or green tissue paper.
You can give the child the molds to cut out. For our activity, we gave them to them already cut out to just glue.
we ask the child to draw the mouth.
We start gluing all the pieces together, glue the mouth.
Glue the white circles of the eyes.
We continue gluing the black circles of the eyes, our perinola is almost ready.
We pierce the lid, you can do it with a hot nail, and place something at the tip to hold the rope, I used what we call a puca to hold the rope.
And finally, we tie the rope to the nozzle of the bottle, and we are ready to play with our perinola.
I hope you liked these fun crafts and you can make them at home with the kids.
Thanks for reading my post.