HI THERE! Happy start to the week for the DIY friends of #HIVEDIY, thanking God for allowing me to meet again with all of you. At home I had a mess of plastic bags scattered everywhere, and well, like every Venezuelan it turns out that when we need to use a plastic bag we never find them, so motivated to do so I set out to make a simple but very versatile plastic bag dispenser , which allows me to have my bags organized and it is easy for me to locate them, my dispenser was made with recycled materials that do not generate great costs, so I share the following tutorial.
¡HOLA! Feliz inicio de semana para los amigos bricolajeros de #HIVEDIY, dando gracias a Dios por permitirme reencontrarme una vez más con todos ustedes. En casa tenía un desorden de bolsas plásticas regadas por todos lados, y bueno como toda venezolana resulta que cuando necesitamos hacer uso de una bolsa plástica nunca las encontramos, así que motivado a ello me dispuse a elaborar un sencillo pero muy versátil dispensador de bolsas plásticas, que me permite tener ordenada mis bolsas y me resulta fácil de localizarlas, mi dispensador fue elaborado con materiales reciclados que no generan grandes costos, por lo que les comparto el siguiente tutorial.
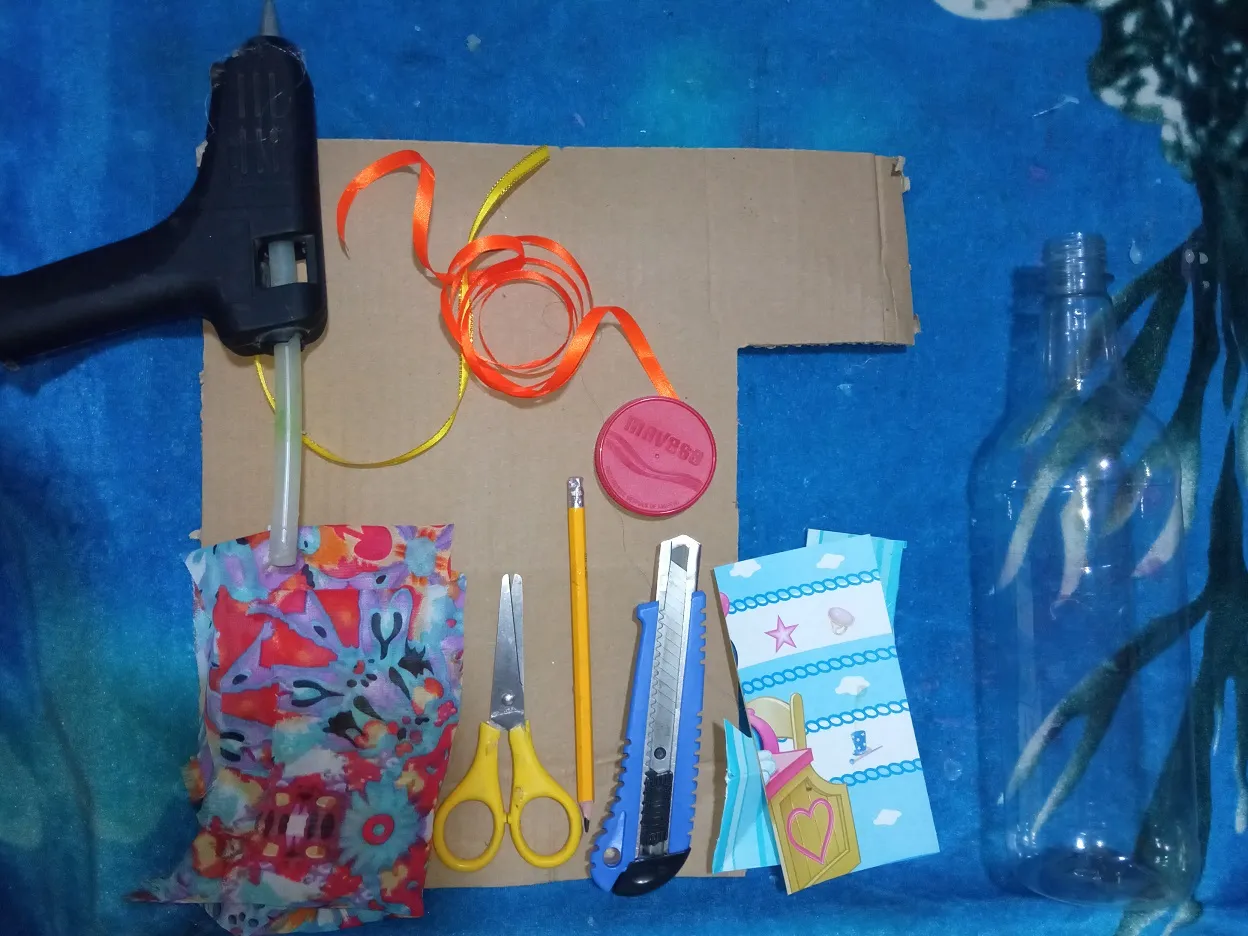
Used materials:
• Plastic bottle of a drink.
• Clipping of unused fabric.
• Piece of cardboard.
• Headband.
• Colour cardboard.
• Stick silicone with your gun.
• Pencil.
• Pair of scissors.
• Exact or scalpel.
• Circular lid.
Materiales utilizados:
• Botella plástica de alguna bebida.
• Recorte de tela en desuso.
• Pedazo de cartón.
• Cinta.
• Cartulina de colores.
• Silicón en barra con su pistola.
• Lápiz.
• Tijeras.
• Exacto o bisturí.
• Tapa circular.
Home of my DIY:
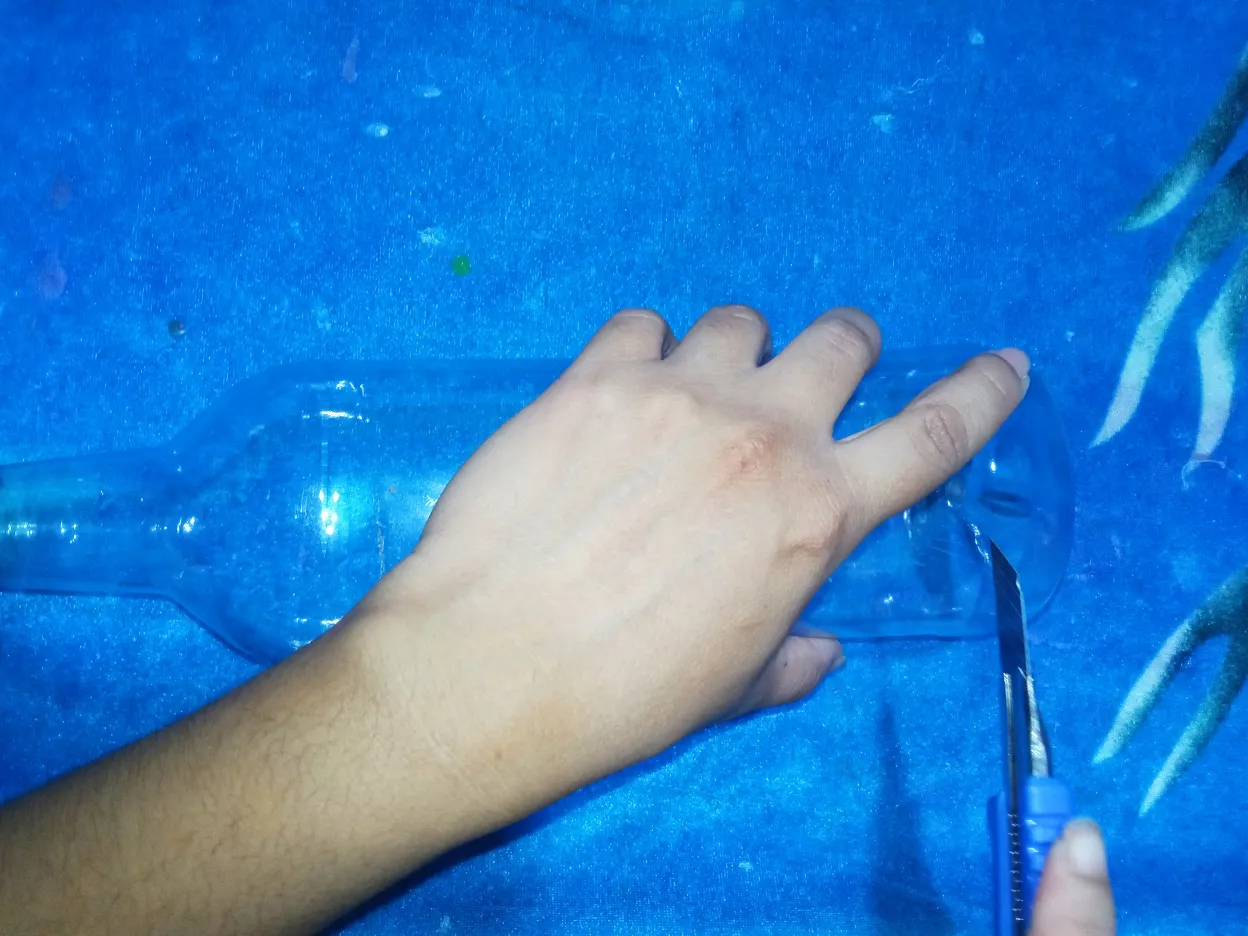
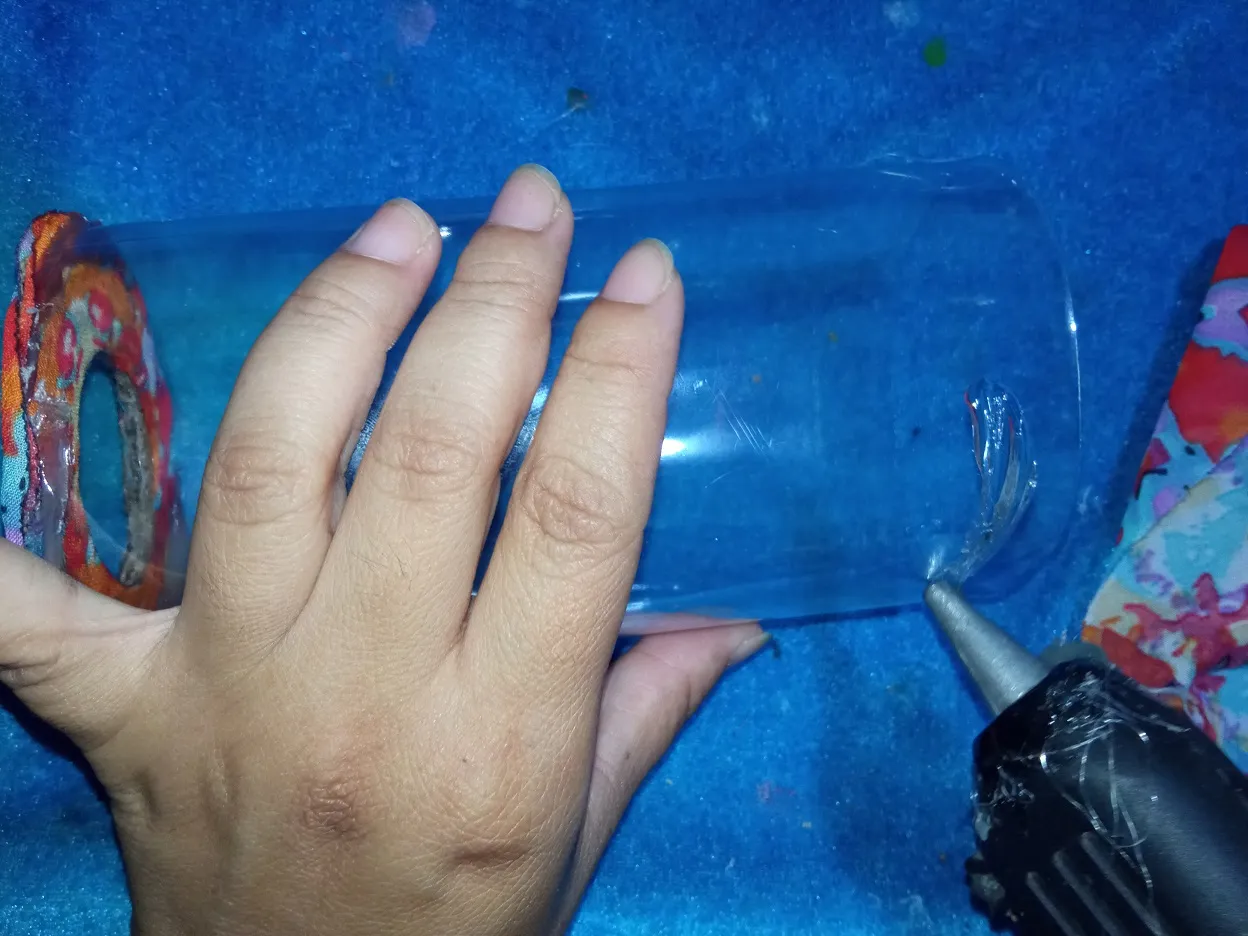
Take the plastic bottle and with the exact or scalpel cut the bottom of the bottle's spout.
Inicio de mi bricolaje:
Toma la botella plástica y con el exacto o bisturí corta el fondo el pico de la botella.

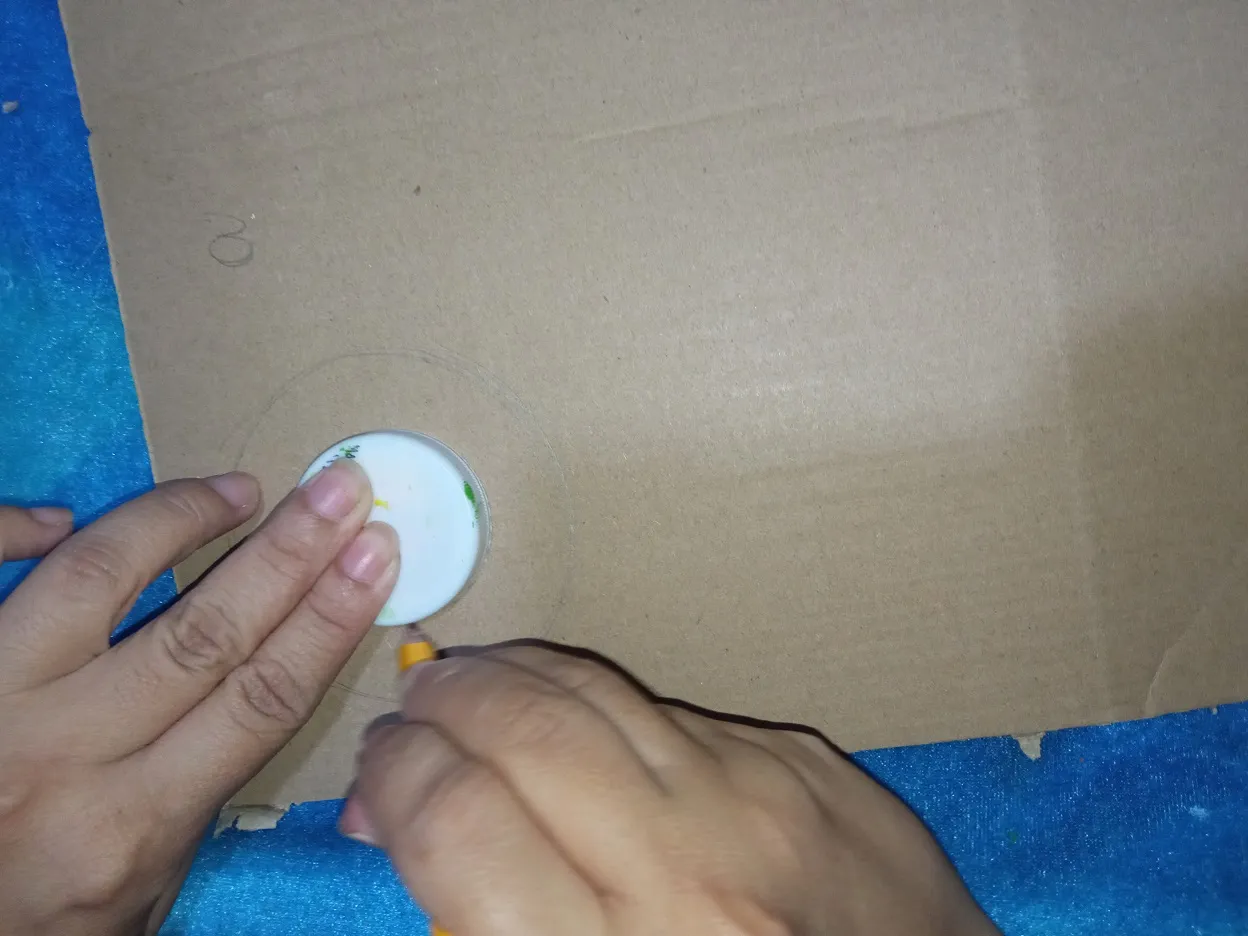
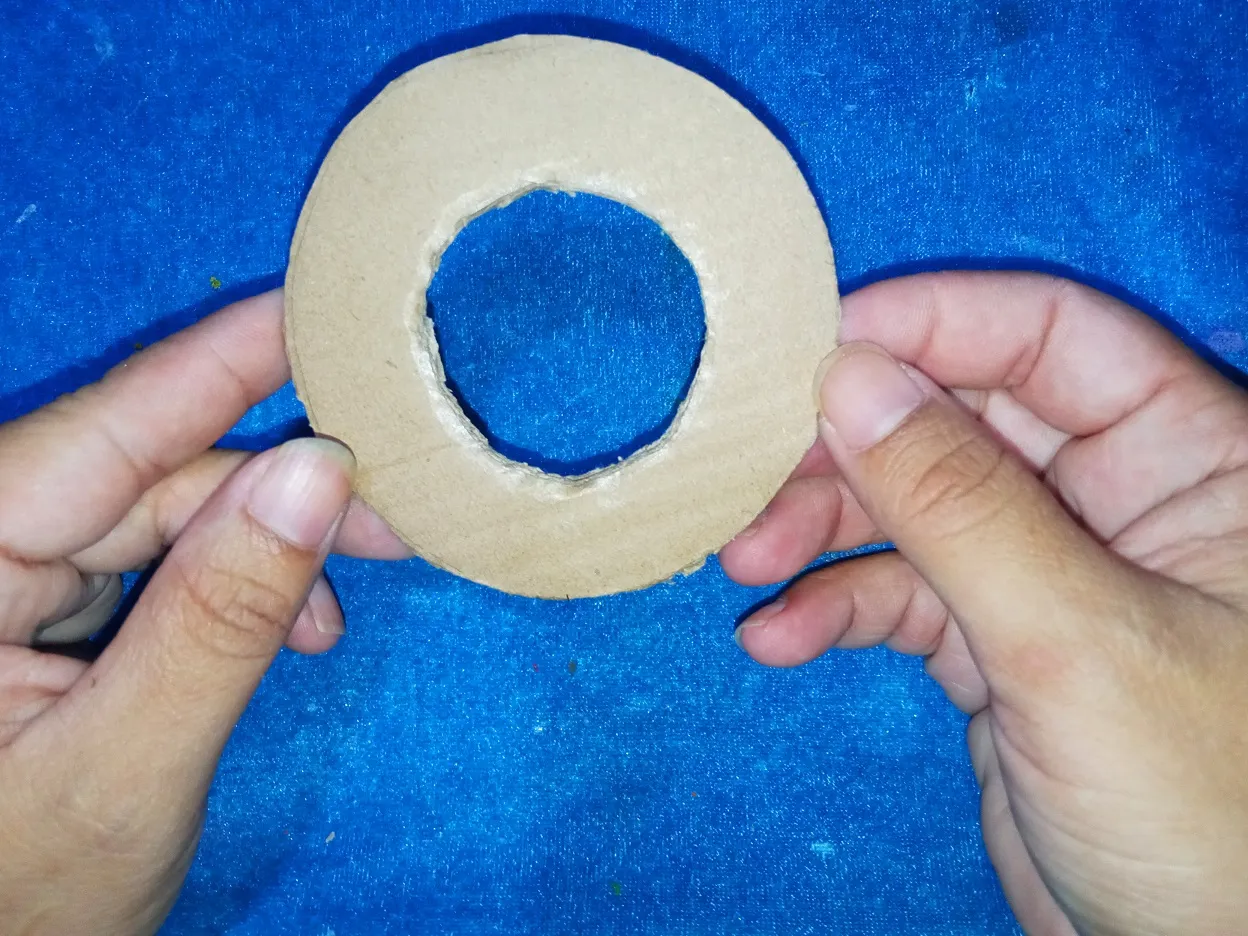
Mark with your pencil on the cardboard the measurement of the circumference of the bottle and in the center of this mark with a cap a circle smaller than the measurement of the bottle. Cut out the circle with the scissors also cut out the central circle.
Marca con tu lápiz en el cartón la medida de la circunferencia de la botella y en el centro de esta marca con una tapa un círculo más pequeño que la medida de la botella. Recorta el circulo con las tijeras también recorta el círculo central.

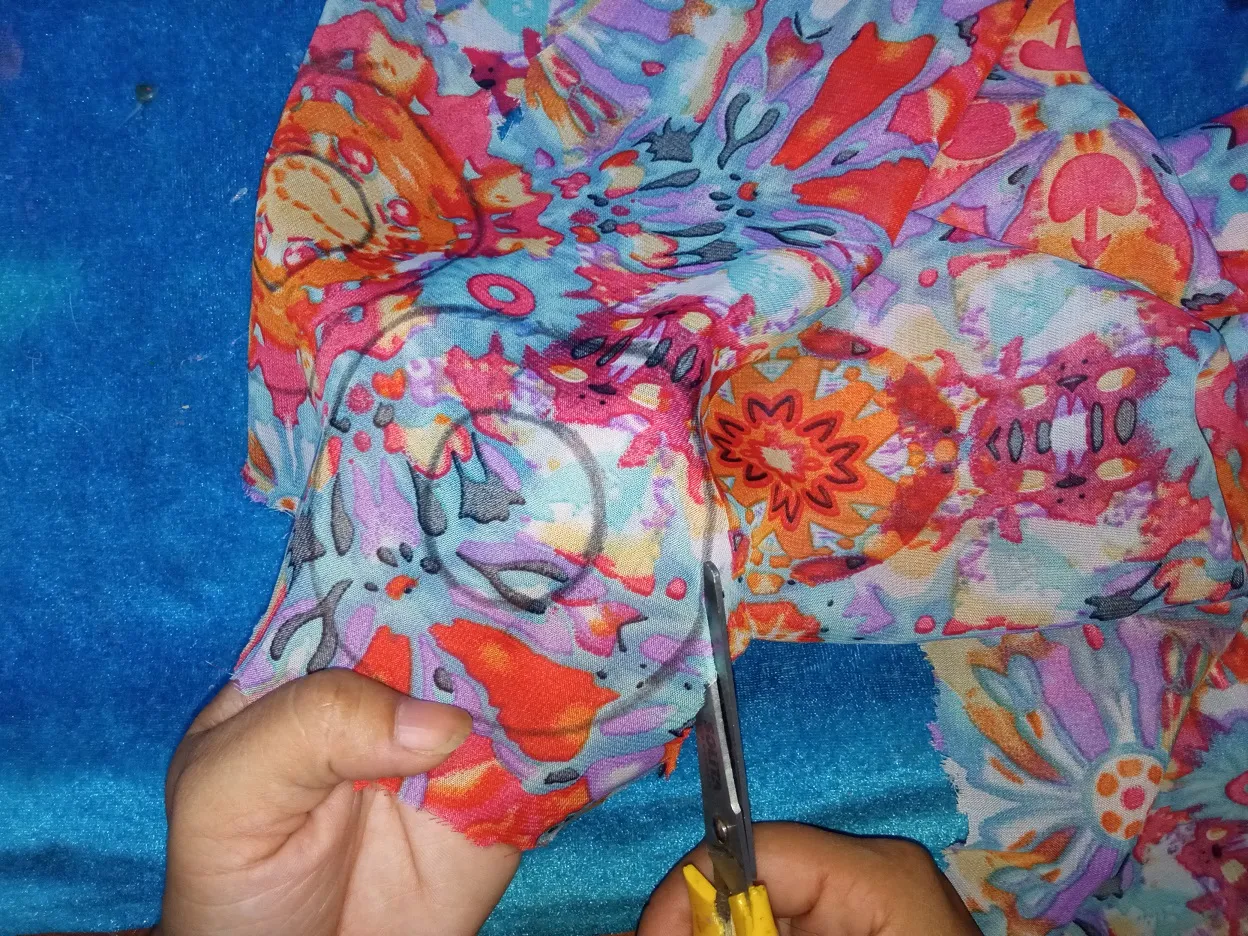
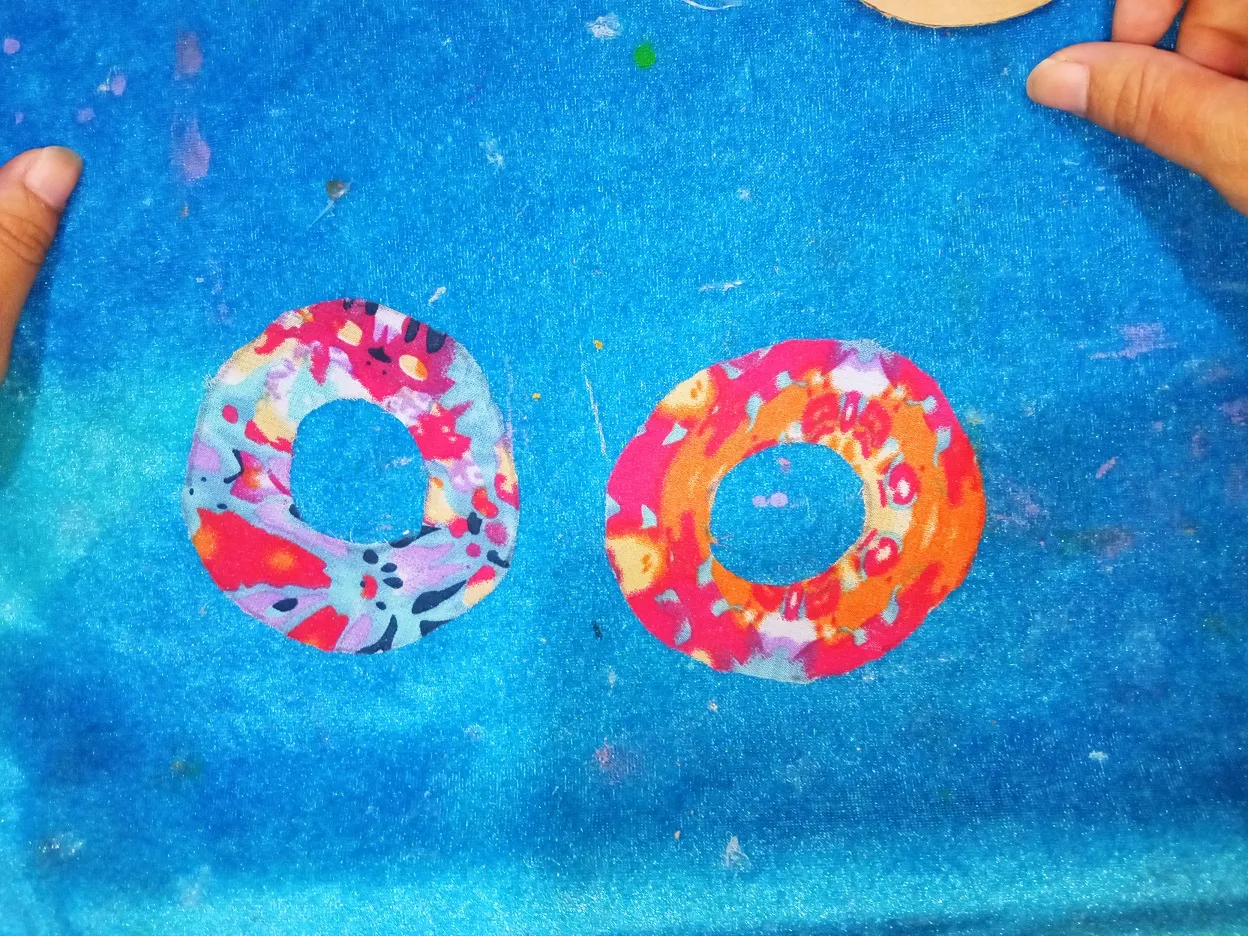
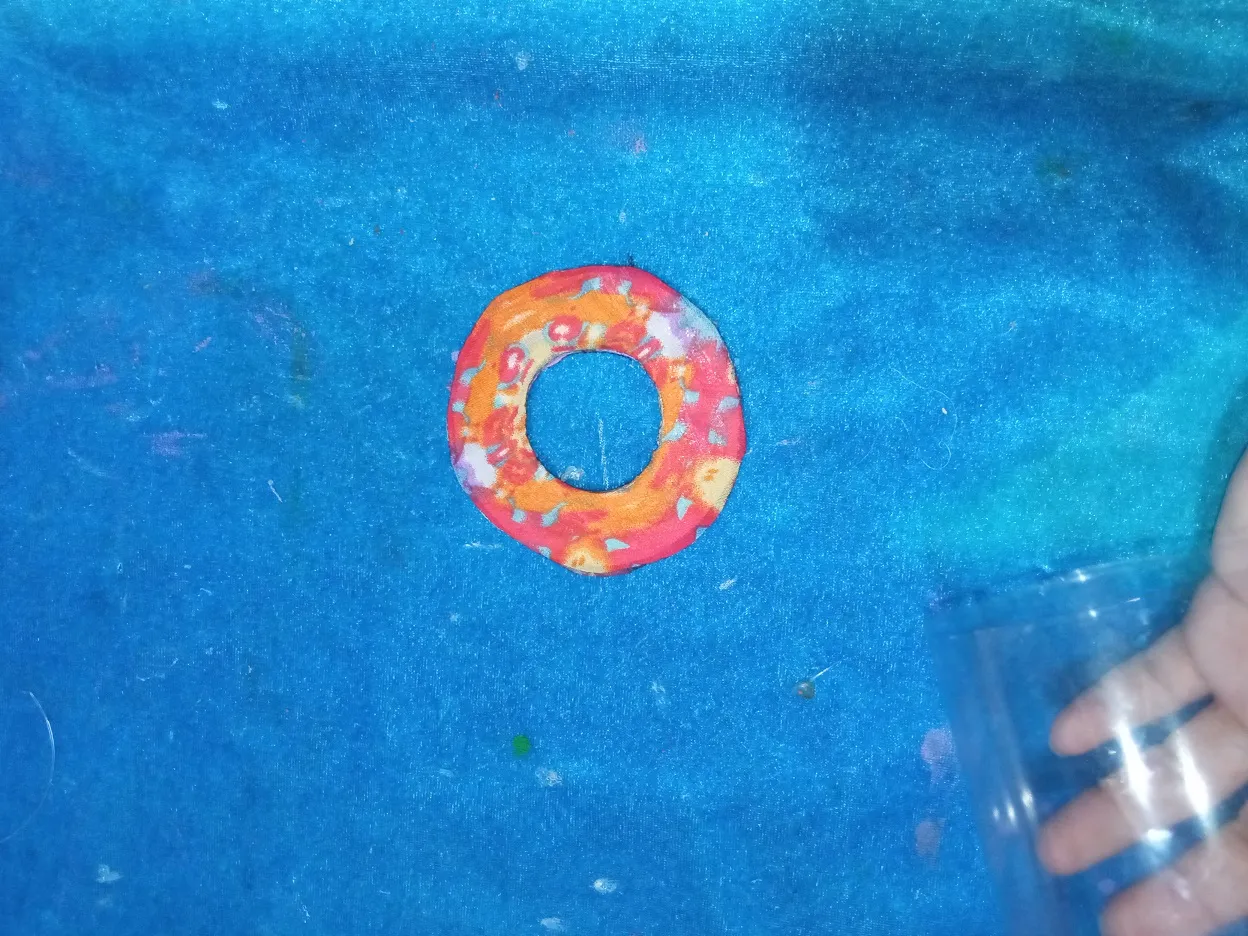
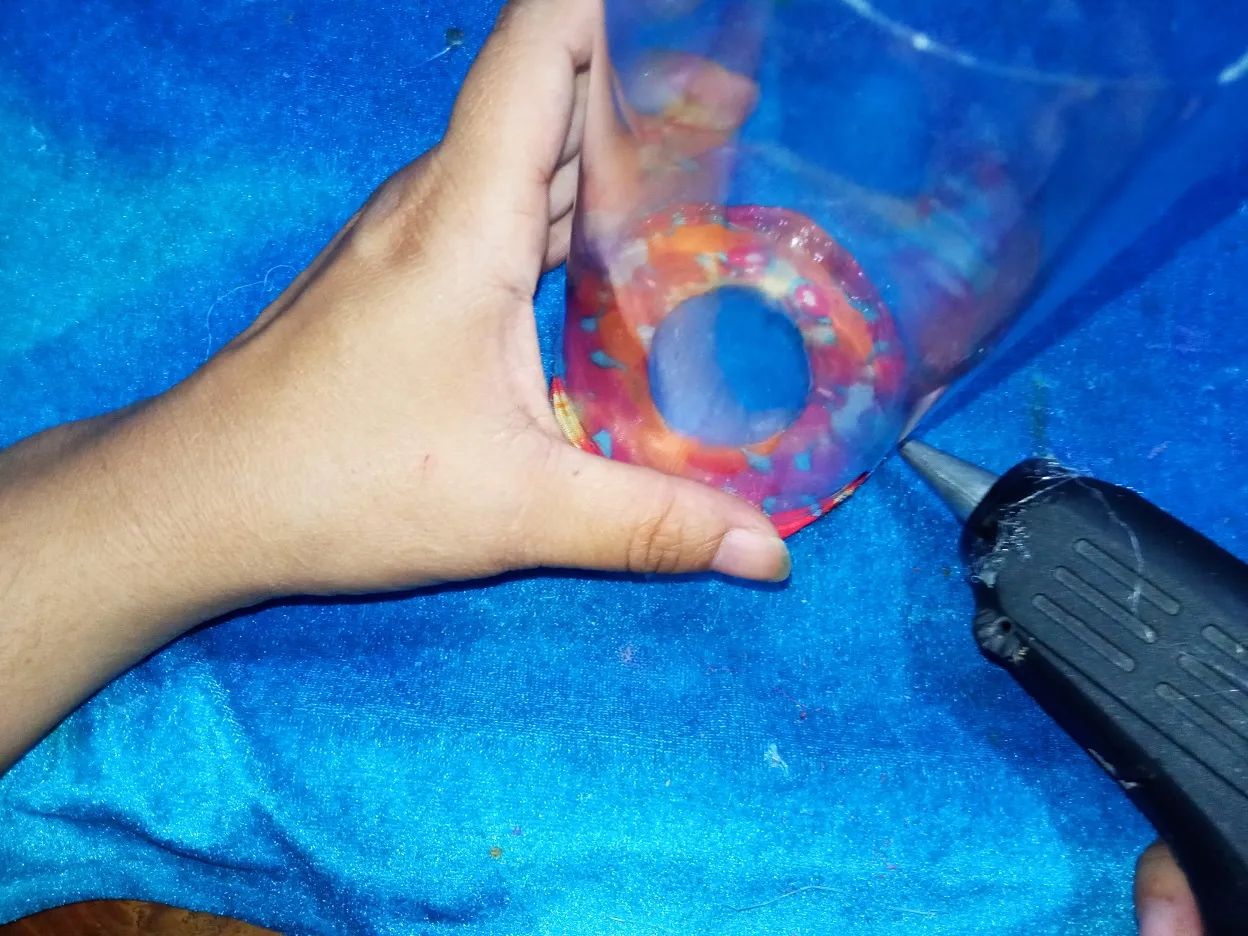
With the pencil or with a marker mark the shape of the cardboard circle twice on the disused fabric that you had, cut out with the scissors, glue the fabric circles with the hot silicone of the cardboard circle. Then, glue the circle with the hot glue from the bottle.
Con el lápiz o con un marcador marca la forma del círculo de cartón dos veces en la tela en desuso que tenía, recorta con las tijeras pega los círculos de tela con el silicón caliente del círculo de cartón. Luego, pega el círculo con el pegamento caliente de la botella.
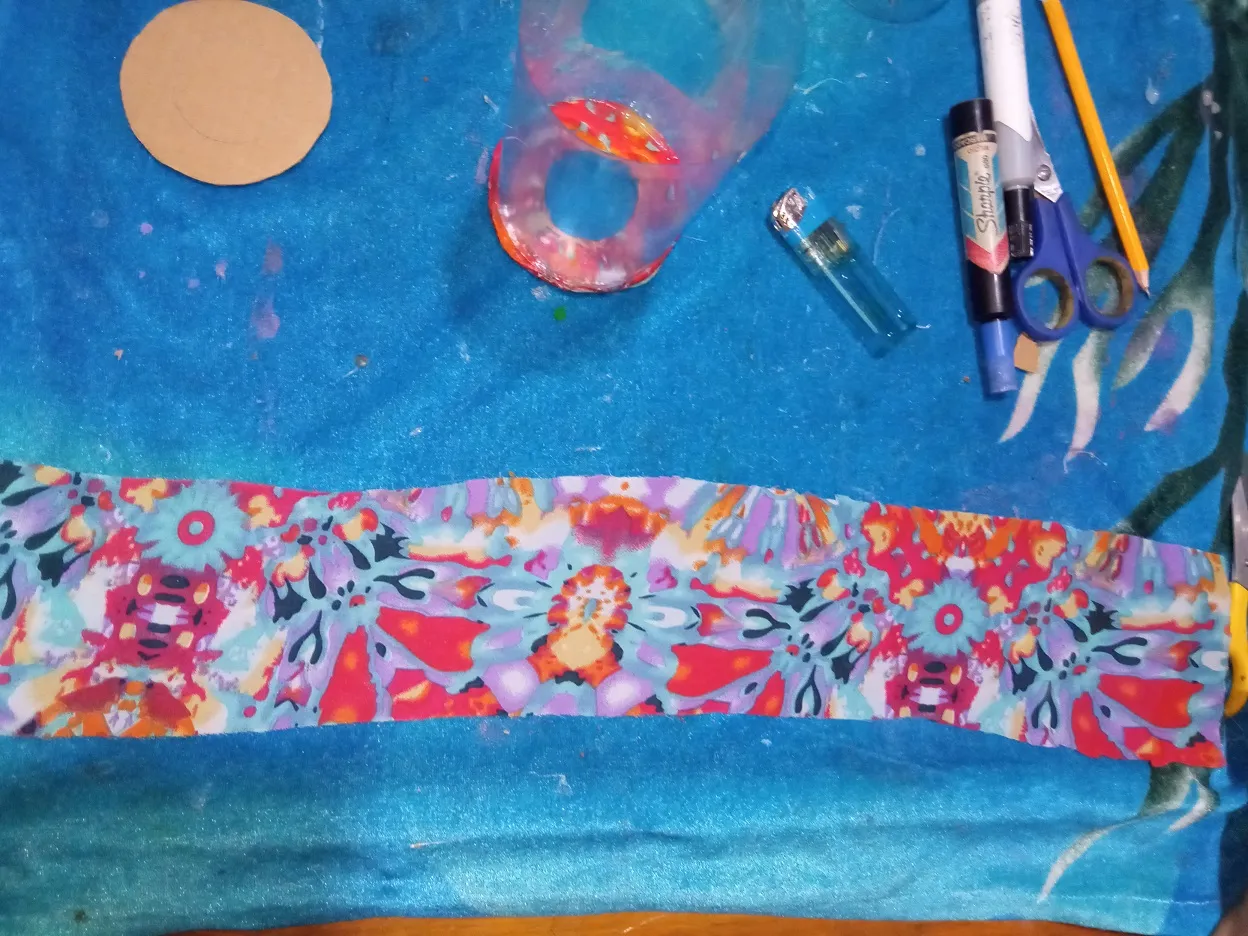
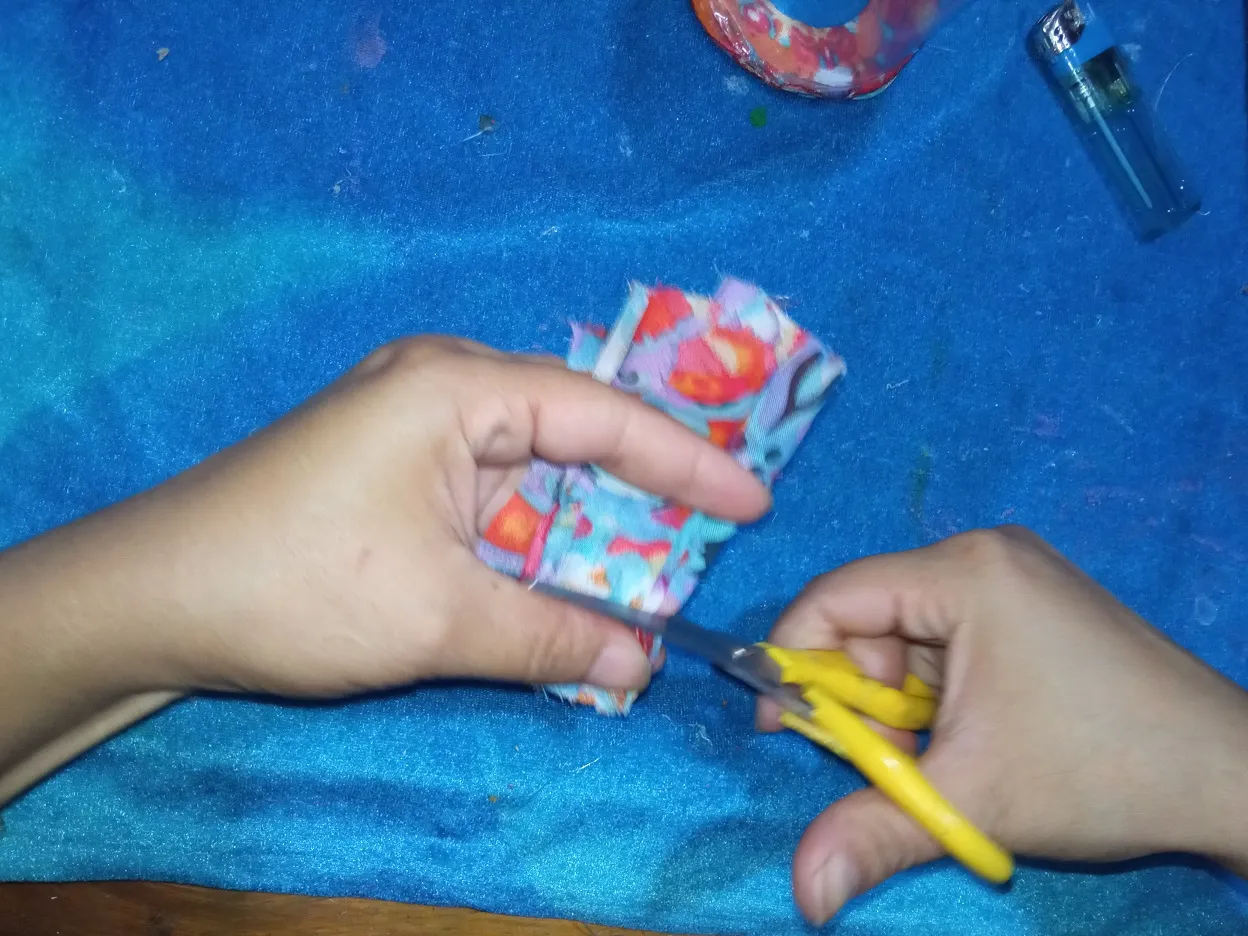
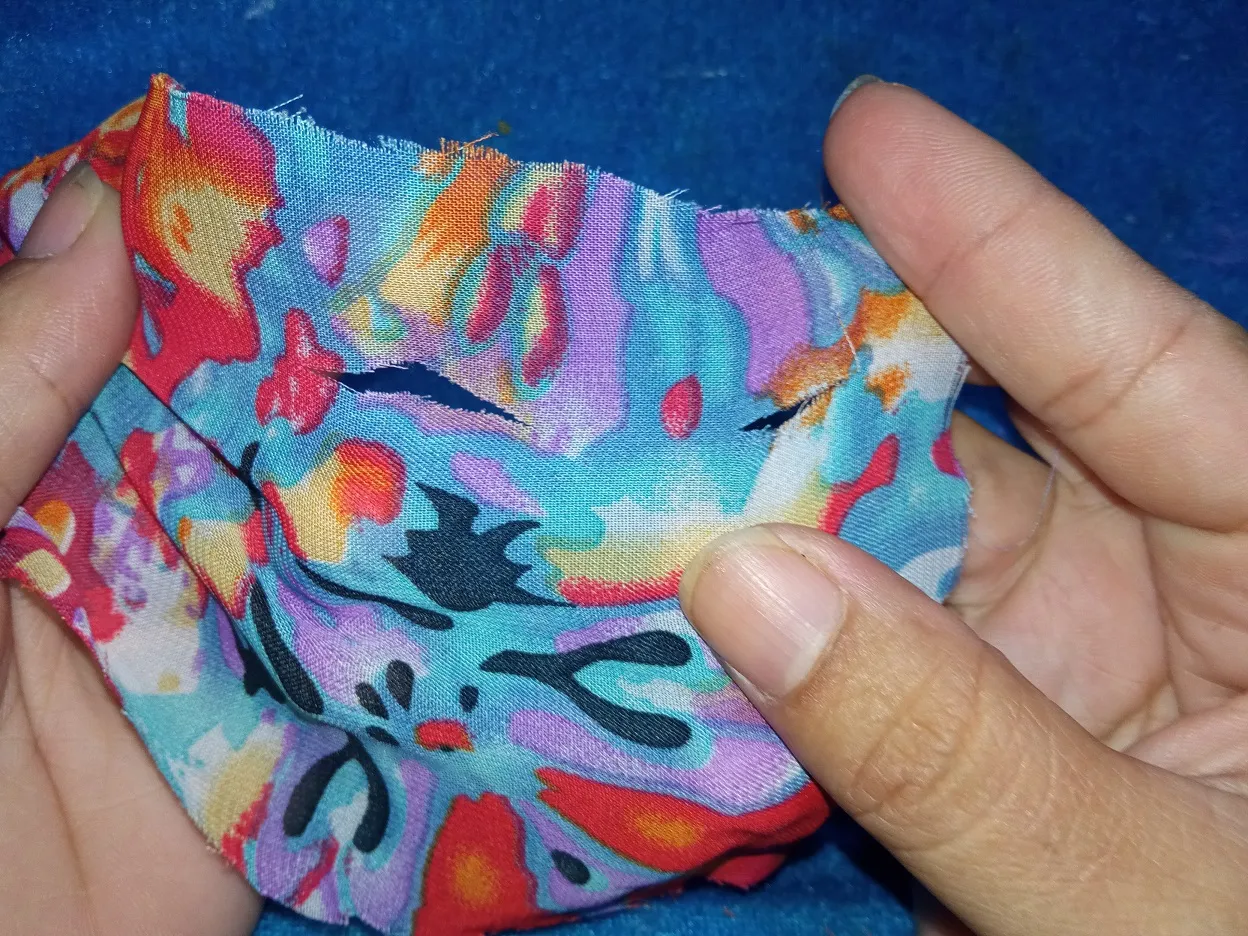
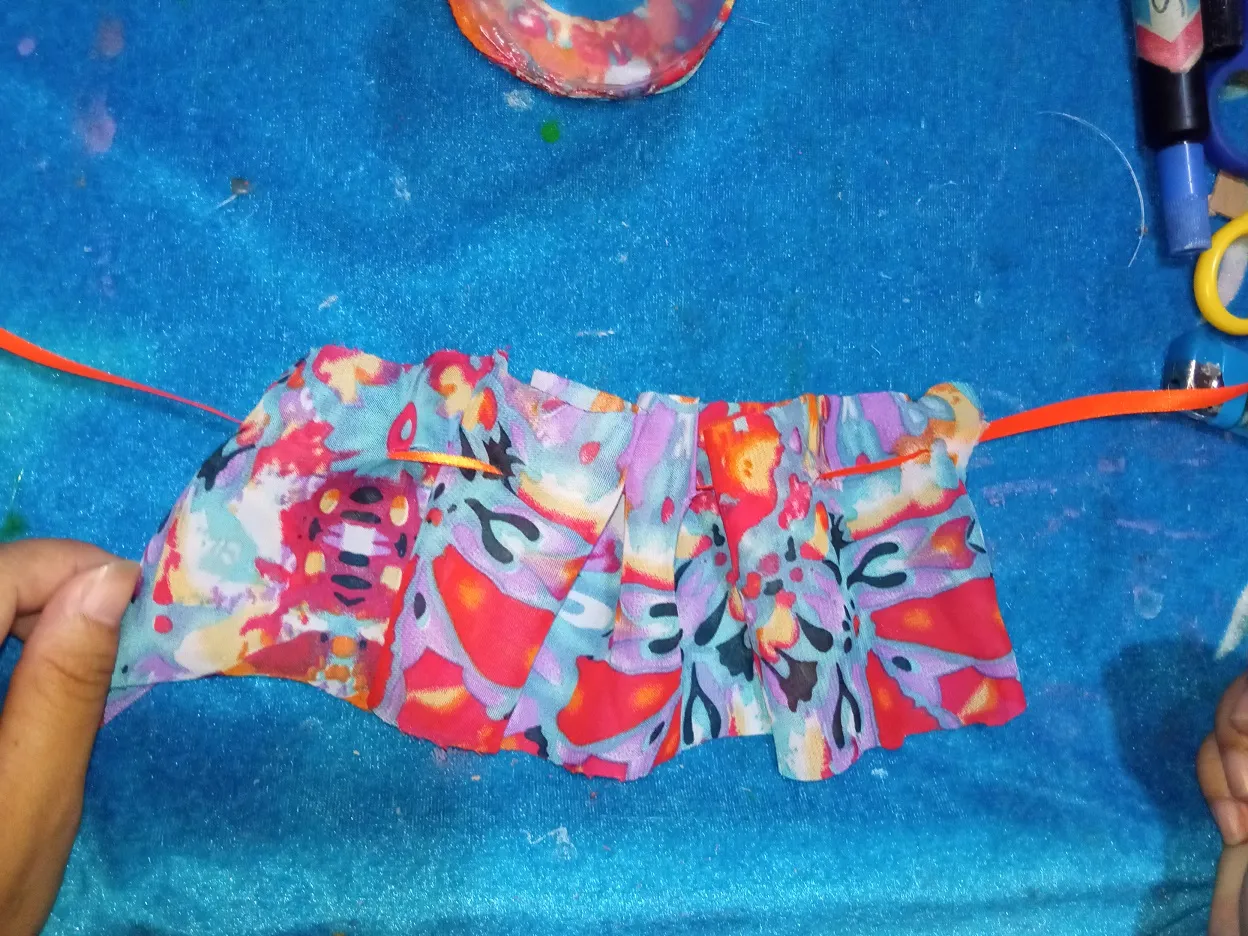
Now, cut out a piece of fabric that duplicates the other end of the plastic bottle, fold the fabric into a fan shape with your scissors, make a straight cut on one side, open the fabric through the holes formed by the tape.
Ahora, recorta un pedazo de tela que duplique el otro extremo de la botella plástica, dobla la tela en forma de abanico con tus tijeras realiza un corte recto en uno de los lados, abre la tela pasa por los agujeros formados la cinta.
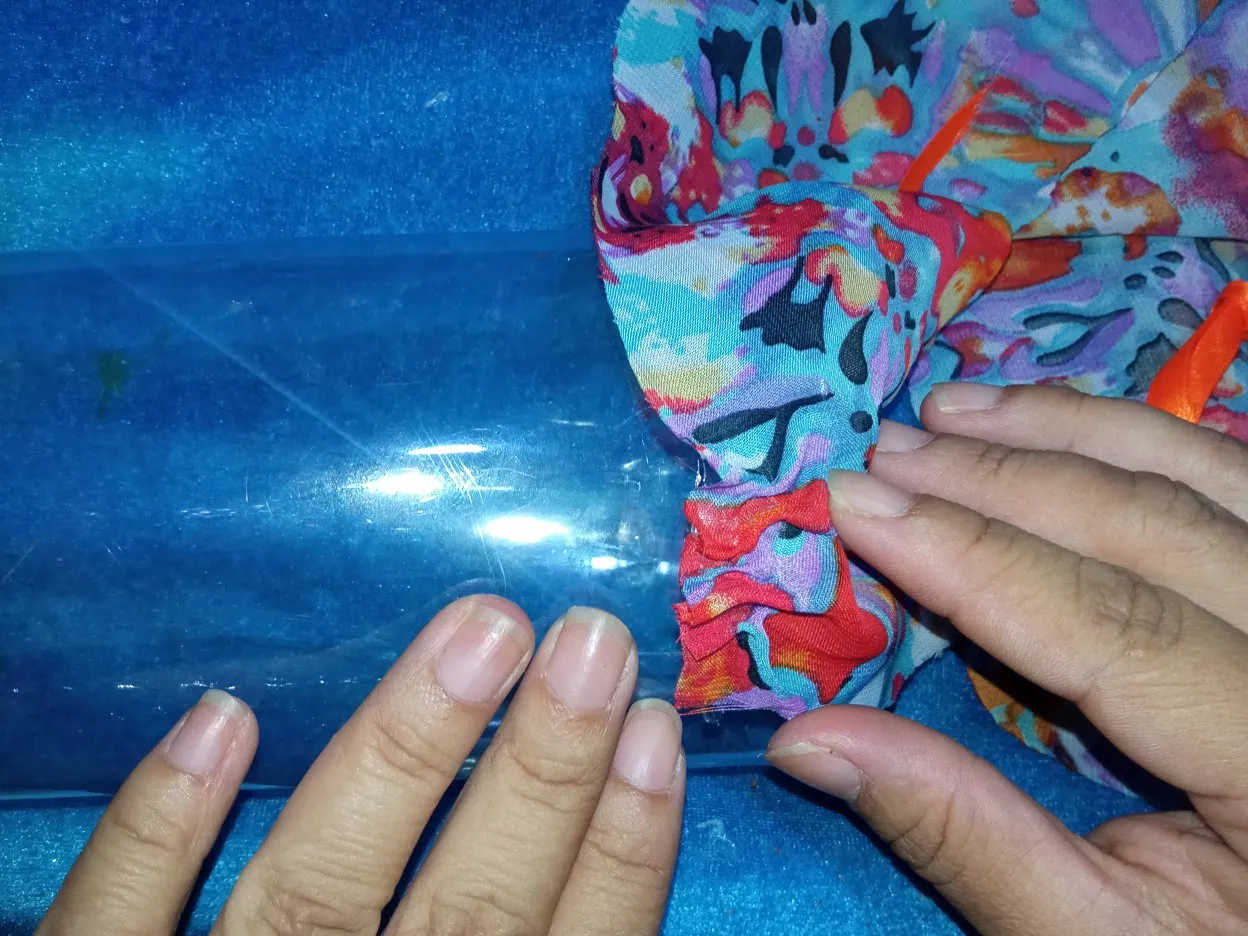
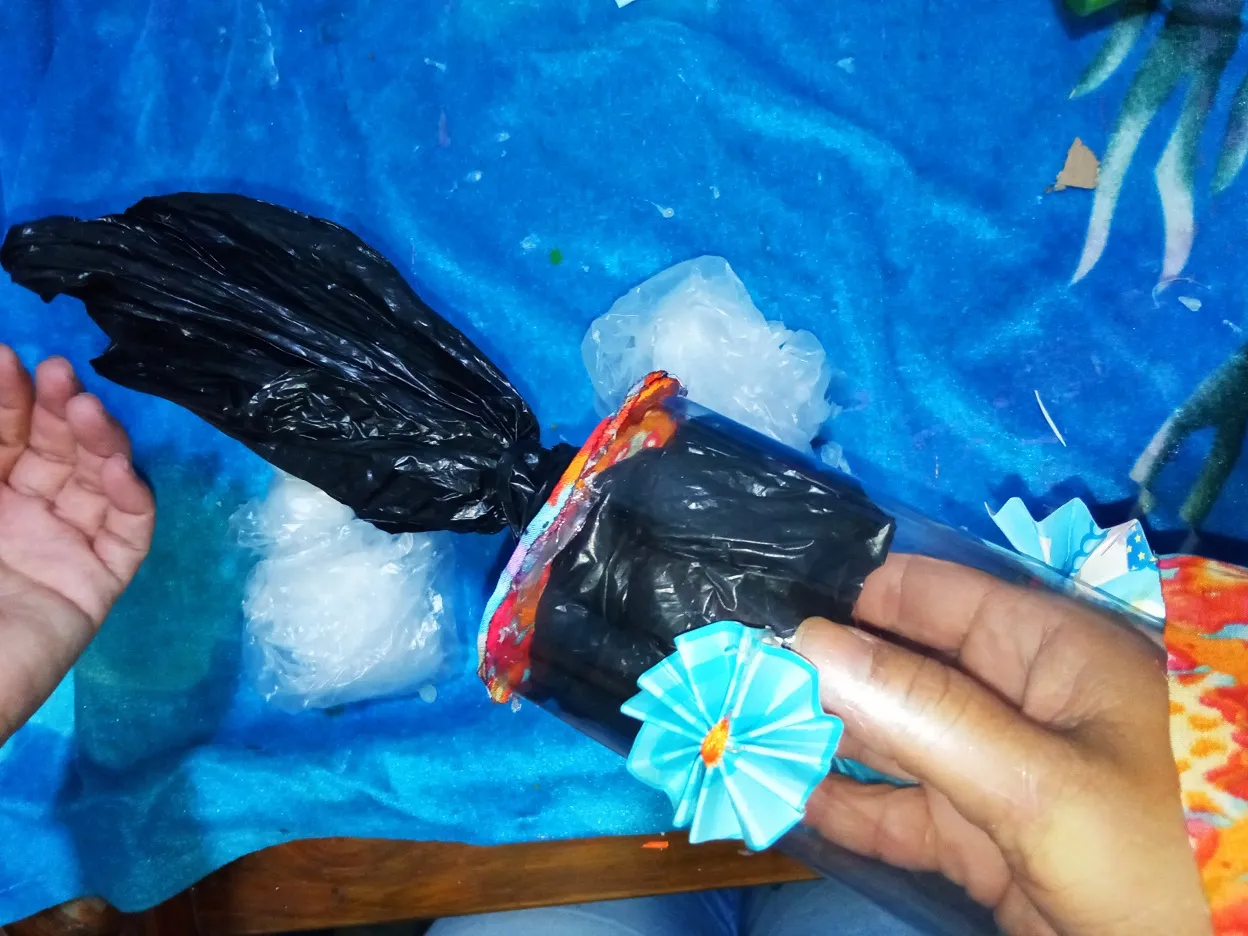
The other adjoining end of the cloth sticks in a crinkled way from the free opening of the bottle so that you form the sack where you will place the plastic bags.
El otro extremo contiguo de la tela pega de forma arruchada de la abertura libre de la botella para que formes el saco por donde colocaras las bolsas plásticas.
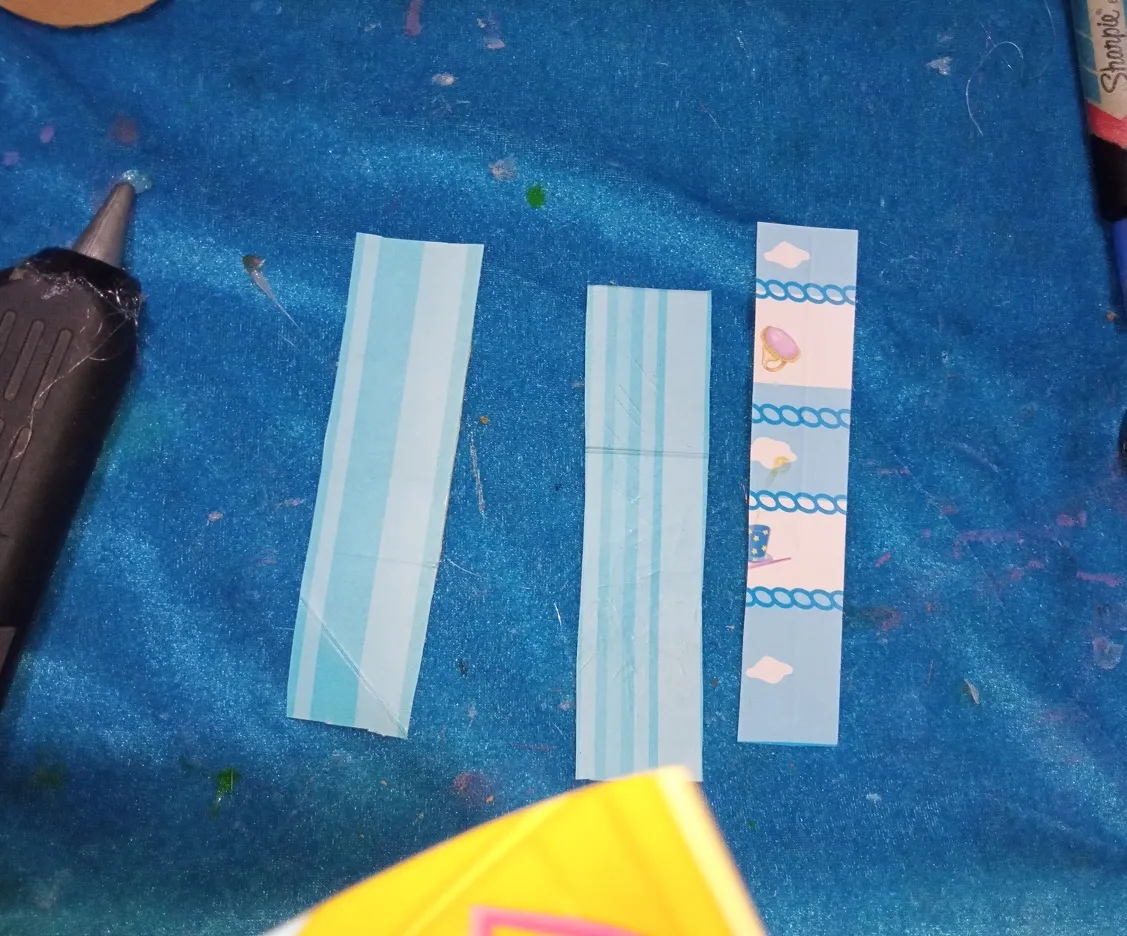
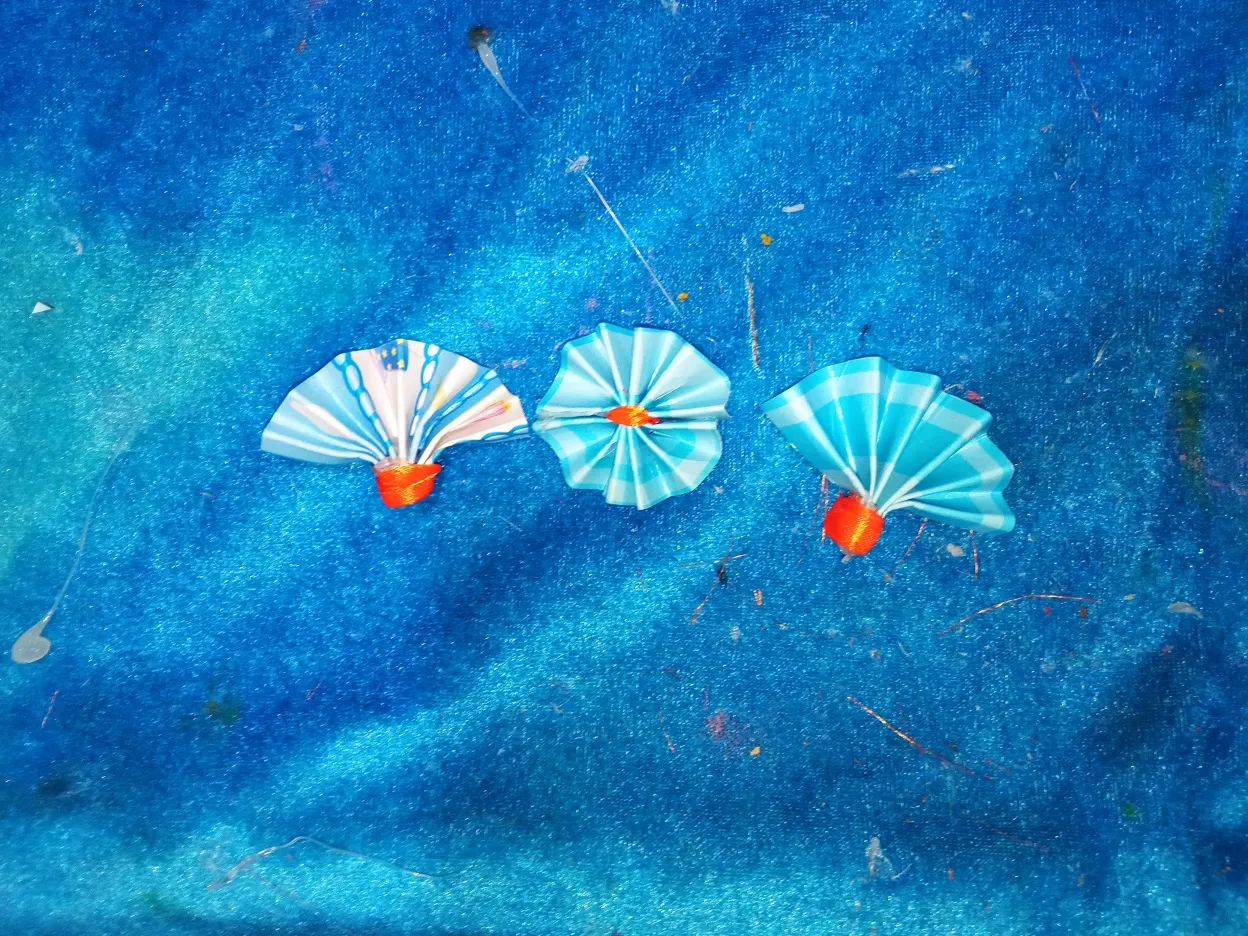
Cut the colored cardboard into different sizes, fold it into a fan shape and tie a piece of ribbon in the middle of it, glue the ends of the fan to form the flower. On the other hand, make two more fans by sticking only one end of it with the tape. And glue the bottle ornaments with your hot silicone.
Corta la cartulina de colores en diferentes tamaños, dóblala en forma de abanico y ata en la mitad de esta un pedazo de cinta, pega las puntas del abanico para formar la flor. Por otro lado, realiza dos abanicos más pegando solamente un extremo de este con la cinta. Y pega los adornos de la botella con tu silicón caliente.

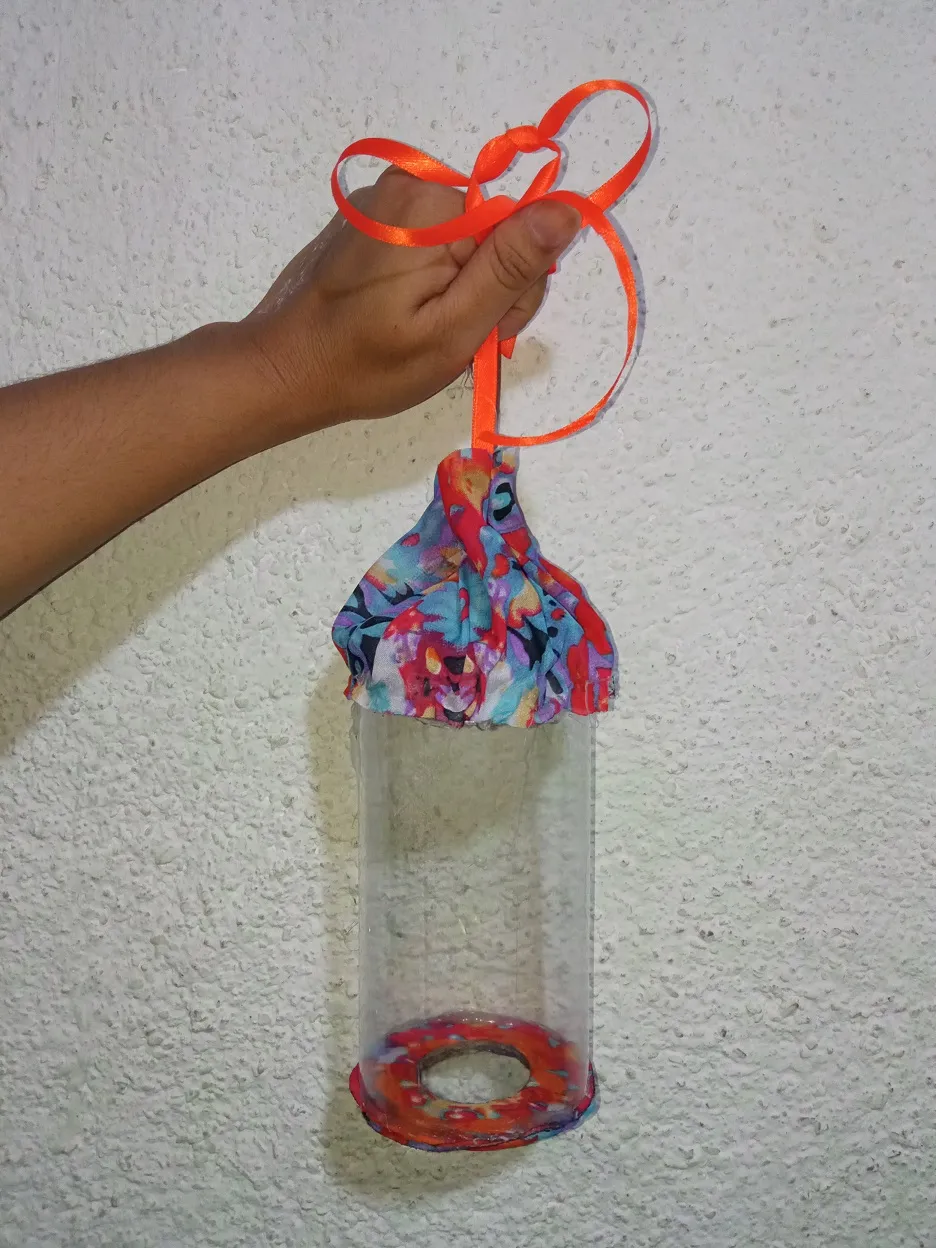
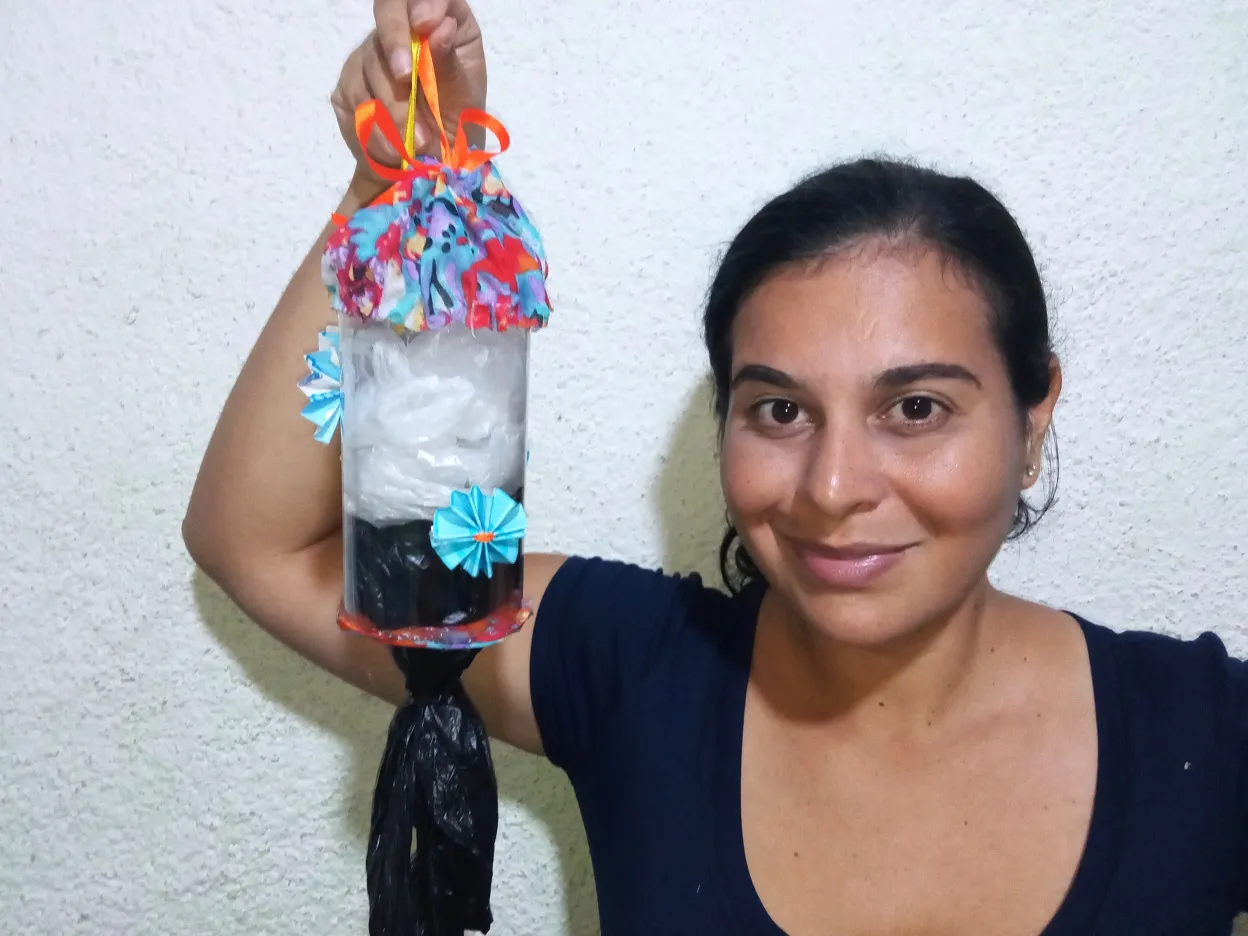
Stick a ribbon on the back of the dispenser so that you can hang it and finally insert your bags.
Pega una cinta en la parte trasera del dispensador para que puedas colgar y para finalizar introduce tus bolsas.

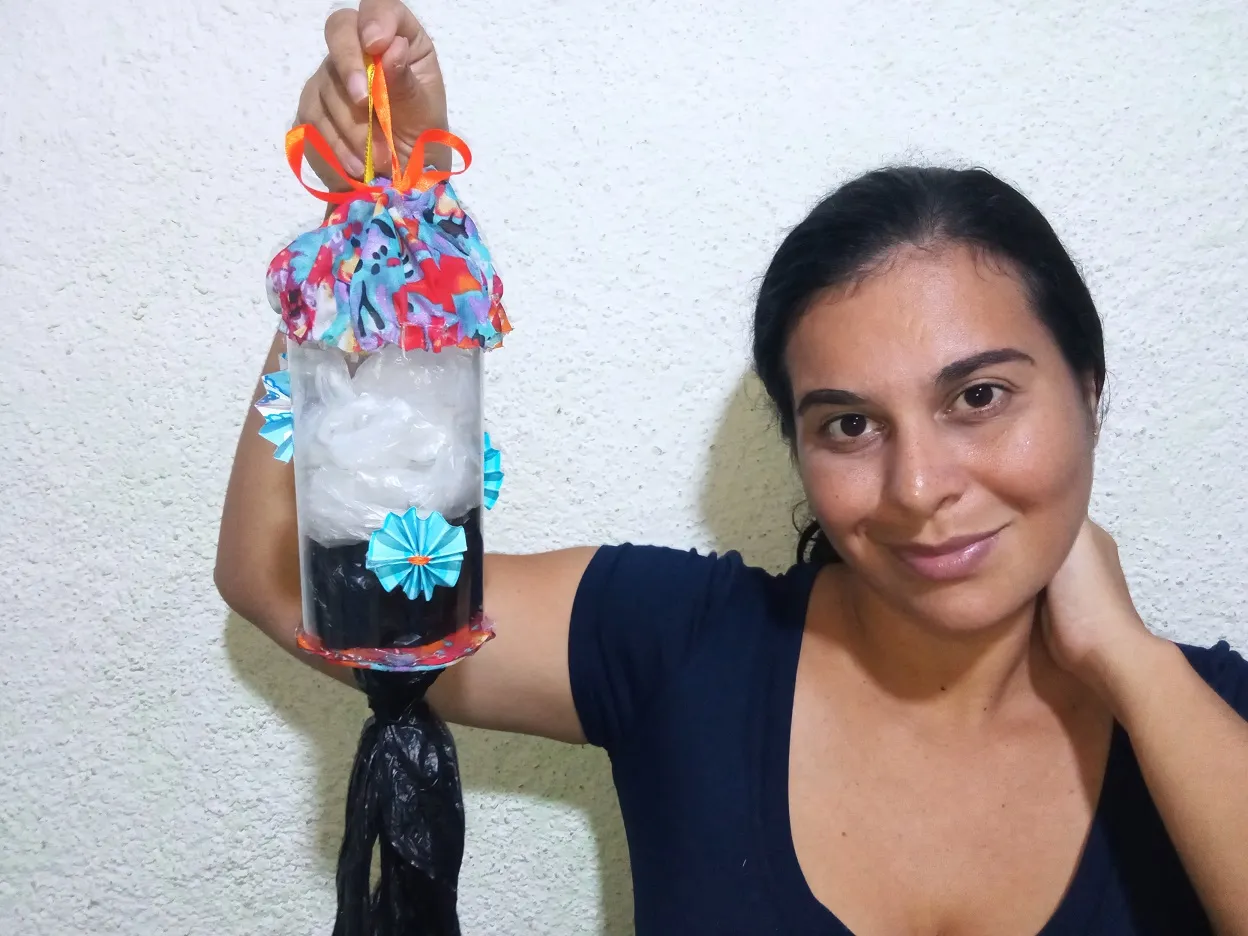
Final score:
Resultado final:
Thanks for dressing me up and reading me, until next time @aksurevm89.
Gracias por vístame y leerme, hasta una próxima ocasión @aksurevm89.
THANKS FOR READING ME // GRACIAS POR LEERME
Translated by: google translator // Traducido por: google traductor
All photos are my property // Todas las fotos son de mi propiedad.