
Hi hive friends I hope you had a good weekend. I spent my time working on my latest creation. Last Thursday after a long time I watched the movie Tron Legacy from 2010 and I realized that it has aged well. I had one of the motorcycles that I managed to buy at that time but I lost it in a move. So I was inspired to make one for myself out of scrap materials. For this bike I used as always soda cans, cardboard and other plastic materials. This work was very beautiful, so much so that I have already started to make a second bike with other colors and more details that I will be able to perfect. I hope you like it.
Hola amigos de hive espero que hayan tenido un buen fin de semana. Yo me la pasé trabajando en mi ultima creación. El jueves pasado después de mucho tiempo me puse a ver la pelicula Tron Legacy de 2010 y me di cuenta que ha envejecido bien. Tuve una de las motos que logré comprar en aquella época pero la perdí en una mudanza. Asé que me inspiré para poder hacer una para mi con materiales de desecho. Para esta moto utilicé como siempre latas de soda, cartón y otros materiales de plástico. Este trabajo me quedo muy hermoso, tanto que ya comencé a hacer una segunda moto con otros colores y más detalles que lograré perfeccionar. Espero les guste.
Process
The first task is to design the templates that we are going to use. For that we can measure with a scaler and use a defined scale. I used the base of the cans as a basis for the size of the wheels and then with a scaler I took the rest of the measurements.
La primera tarea es diseñar la plantillas que vamos a utilizar. Para eso podemos medir con escalimetro y utilizar una escala definida. Yo usé la base de las latas como base para el tamaño de las ruedas y luego con un escalimetro saqué el resto de las medidas.

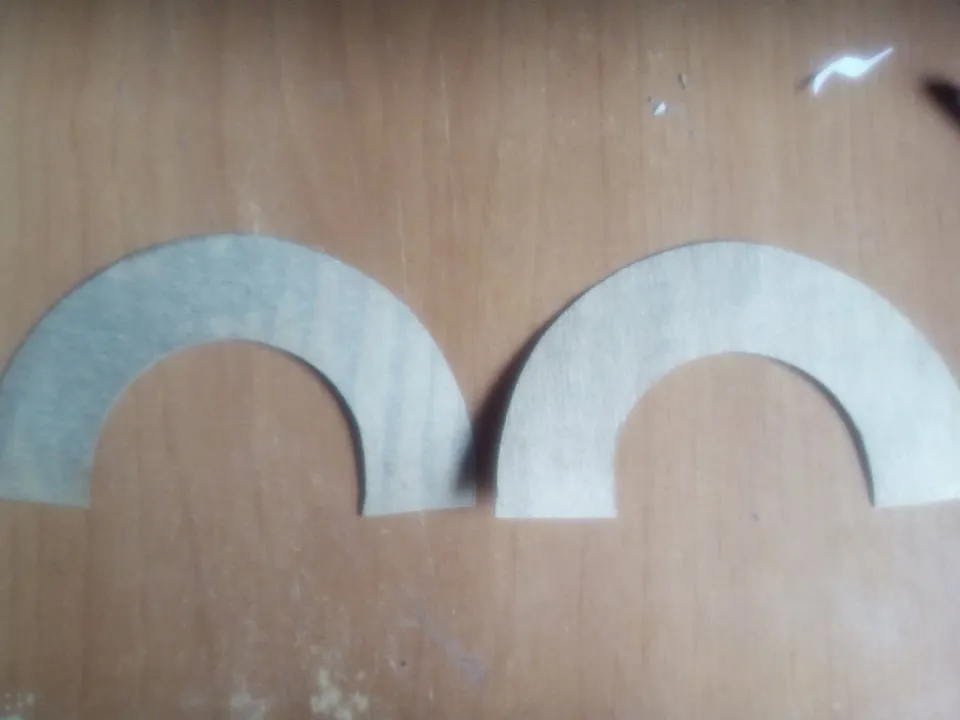
Then we take the soda cans and cut the bases to get the wheels. For the wheels we will need four cans since it is a base for each can. We remove the aluminum part and only leave the rings. Using a cardboard we take out the molds for the tires. When we have cut the templates we cover them with an aluminum can.
Despues tomamos las latas de soda y cortamos las bases para sacar las ruedas. Para las ruedas necesitaremos cuatro latas ya que es un a base por cada lata. Retiramos la parte de aliminio y solo dejamos los aros. Utilizando un carton sacamos los moldes para las llantas. Cuando hayamos cortado las plantillas las revestimos con lata de aluminio.
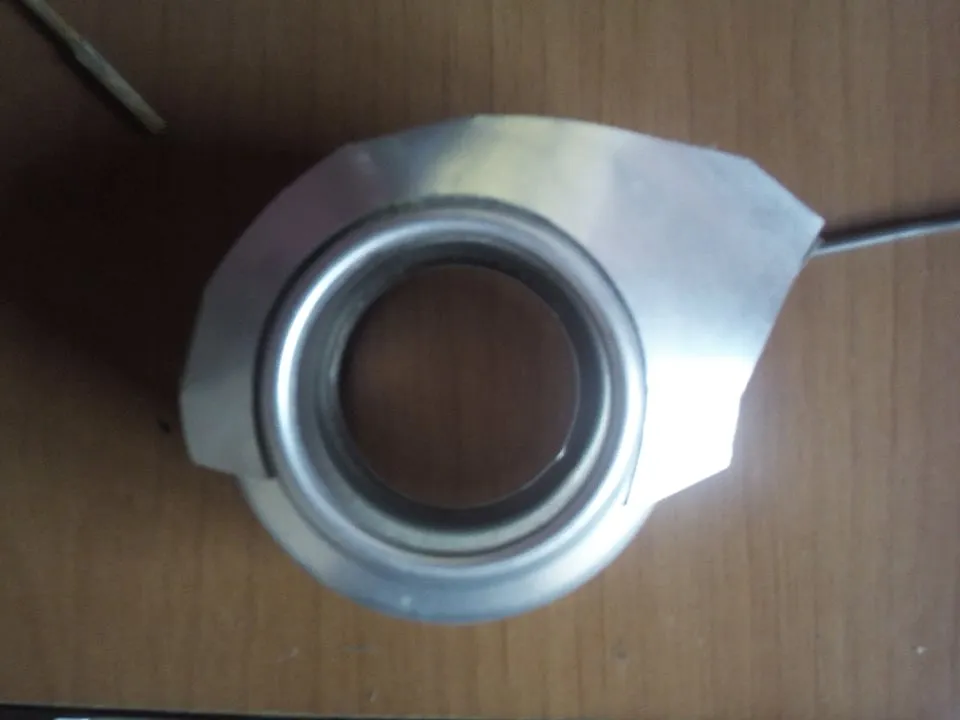
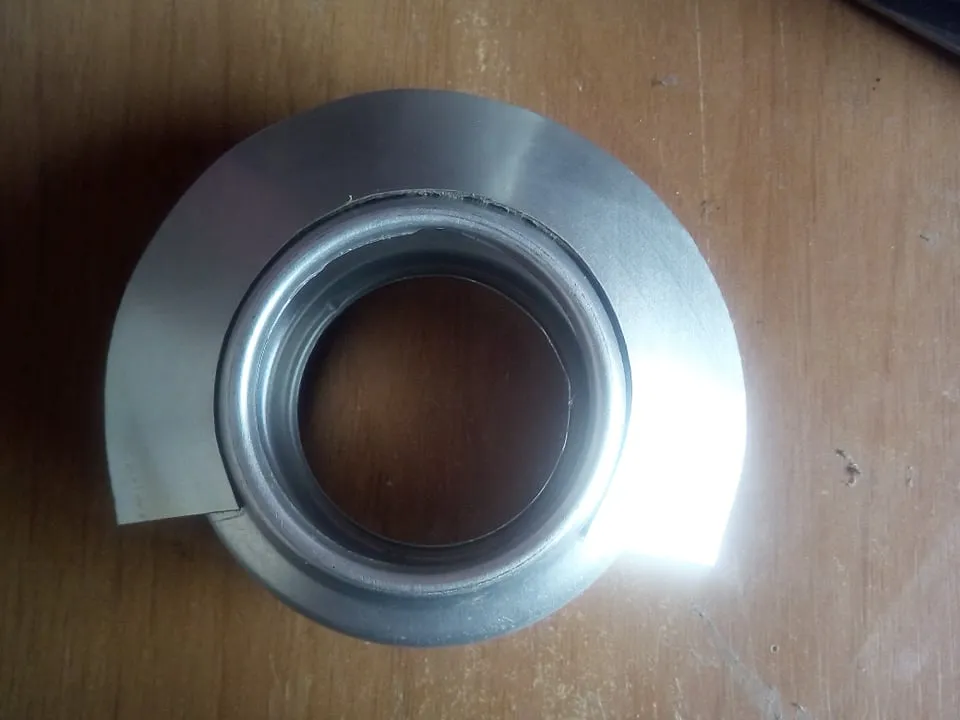
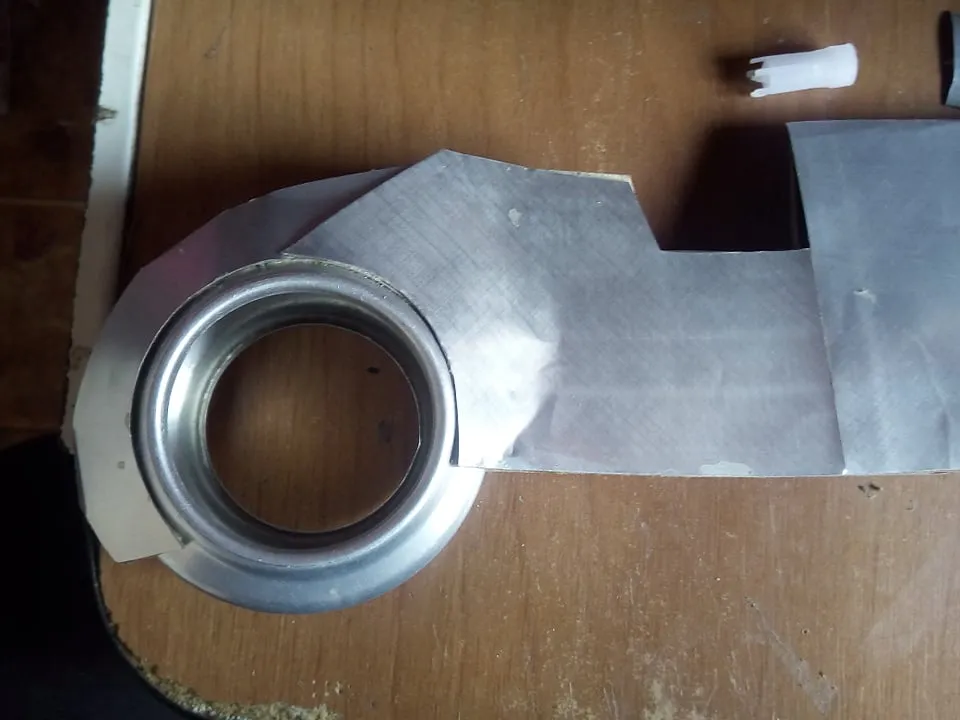
With the templates that we made previously and that we put aluminum on, we assemble the wheels. We can fix them with glue. We must remember that the wheels of these motorcycles do not have an axis but rather rotate with a small roller fitted in the rings and that it is hidden.
Con las plantillas que hicimos anteriormente y que le pusimos aluminio montamos las ruedas. Podemos fijarlas con pegamento. Debemos recordar que las ruedas de estas motocicletas no tienen un eje sino que giran con pequeño rodillo ajustado en los aros y que esta oculto.
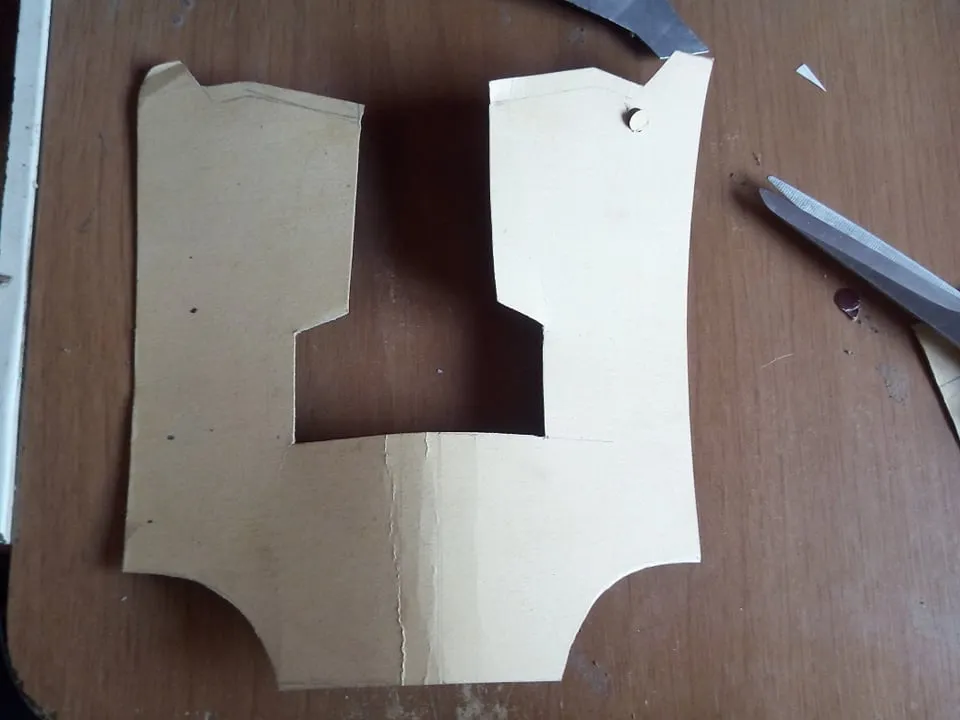

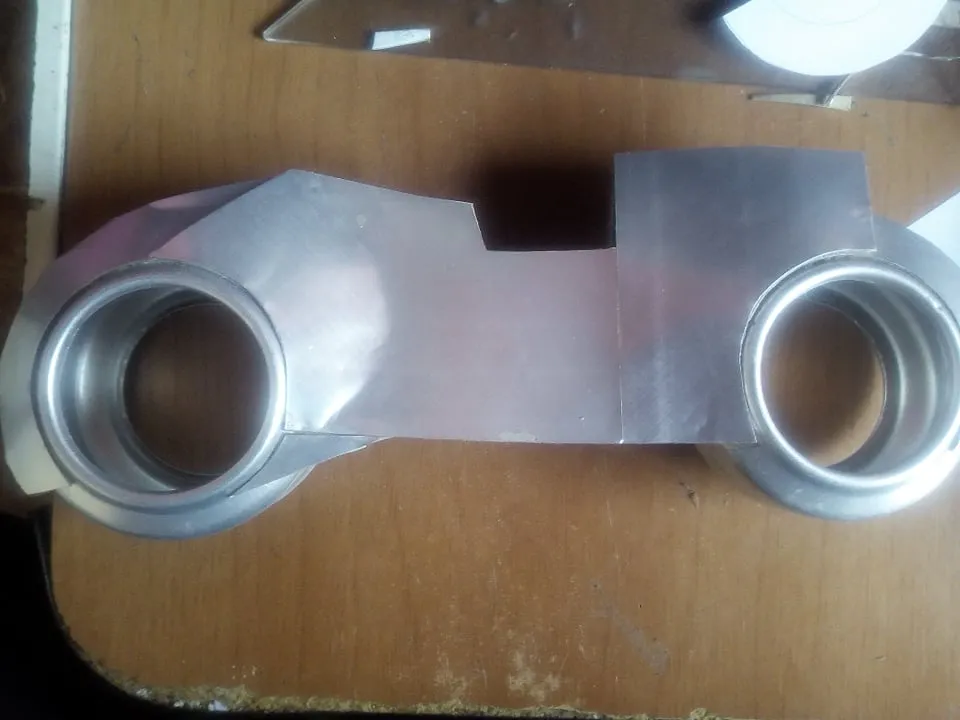
We take the original drawing and copy the measurements to get the frame of the motorcycle. We cut and instead of making two parts we make a single piece and fold it and thus cover the entire motorcycle. Then we take the wheels and with glue we fix them to the frame that we have made. As we can see, when doing this we would have 60% of the motorcycle pot built.
Tomamos el dibujo original y copiamos las medidas para sacar el marco de la motocicleta. Cortamos y en lugar de hacer dos partes hacemos una sola pieza y la doblamos y así cubrimos toda la moto. Luego tomamos las ruedas y con pegamento las fijamos al cuadro que hemos hecho. Como podemos observar al hacer esto tendríamos el 60% de la motocilceta construida.
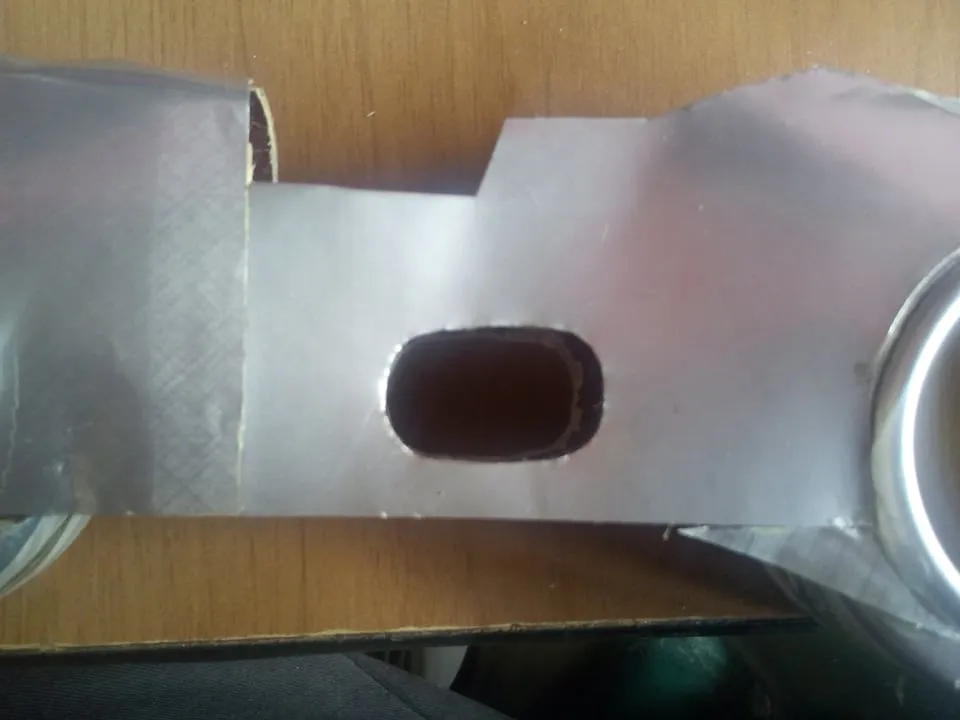
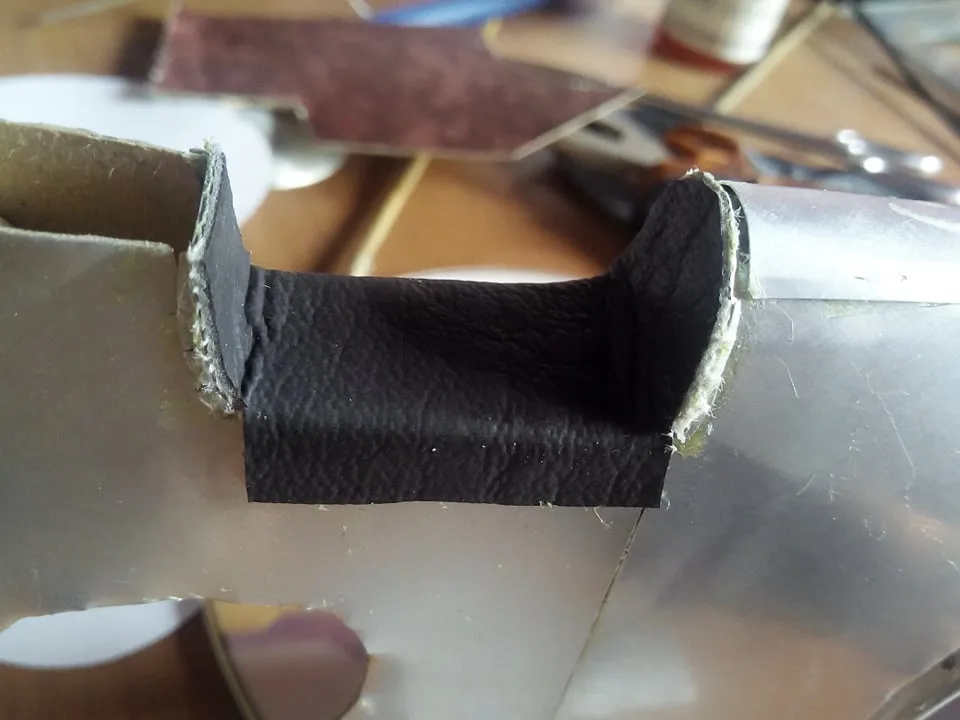
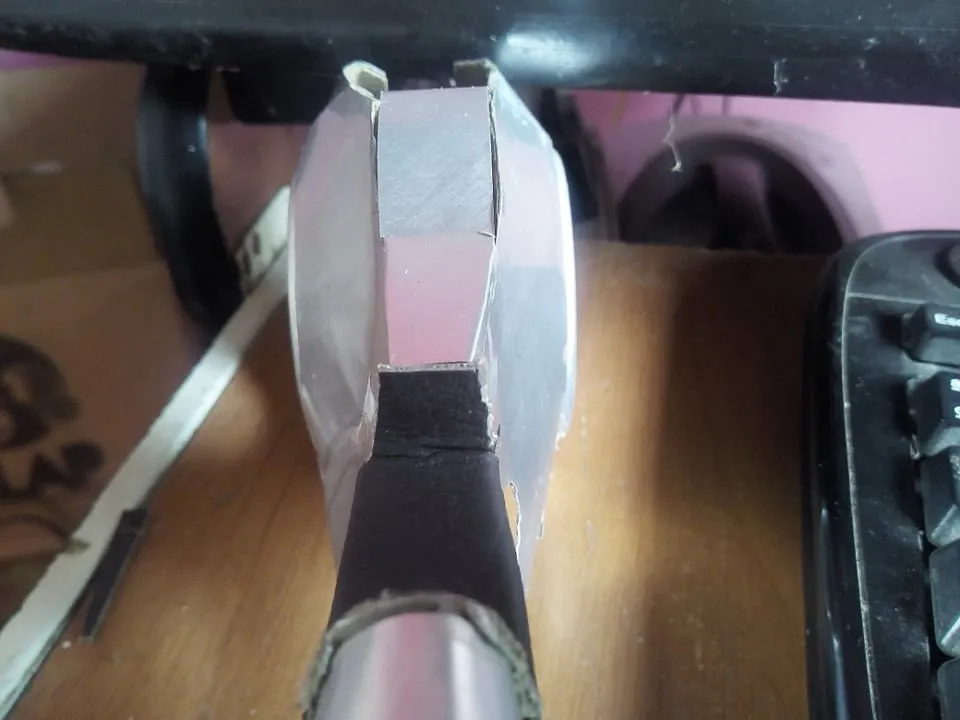
The details to be done are as follows. In the lower part of the bike frame you have to make a hole on both sides. This hole is where the pistons and gears of the motorcycle are located. Then we have to make the seat, for them we take a small piece of tin that serves to cover the place and we cover it with synthetic leather and proceed to fix it on the motorcycle
Los detalles que se deben hacer son los siguientes. En la parte inferior del cuadro de la moto hay que hacer un agujero por ambas partes. En este agujero es donde van colocados los pistones y los engranajes de la motocicleta. Despues hay que hacer el asiento, para ellos tomamos una pequeña pieza de lata que nos sirva para cubrir el lugar y lo revestimos con cuero sintético y procedemos a fijar en la motocicleta.
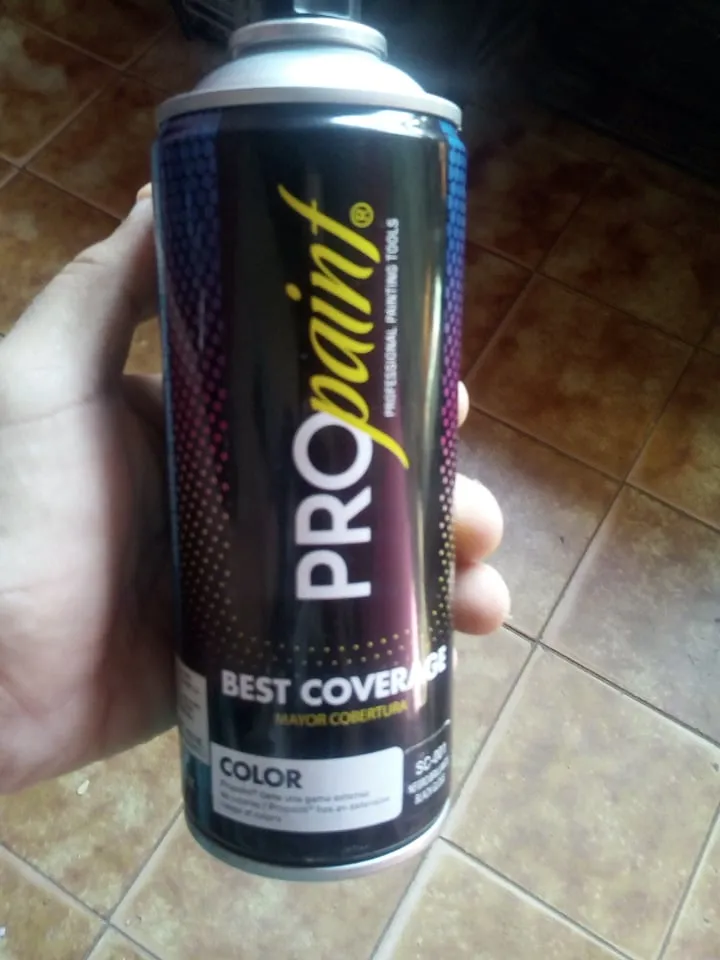
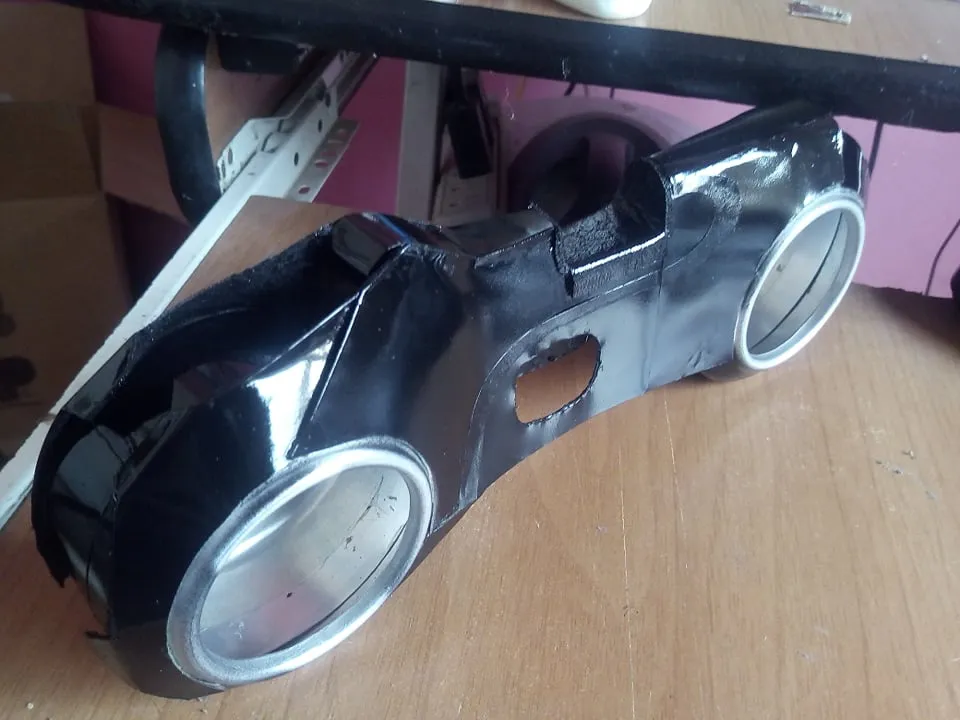
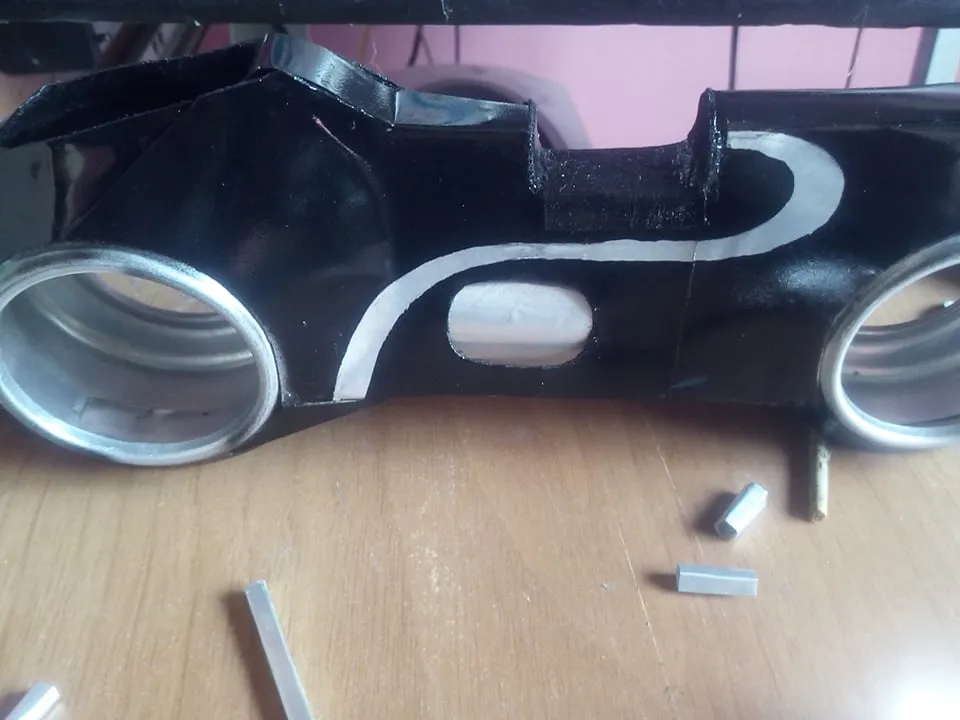
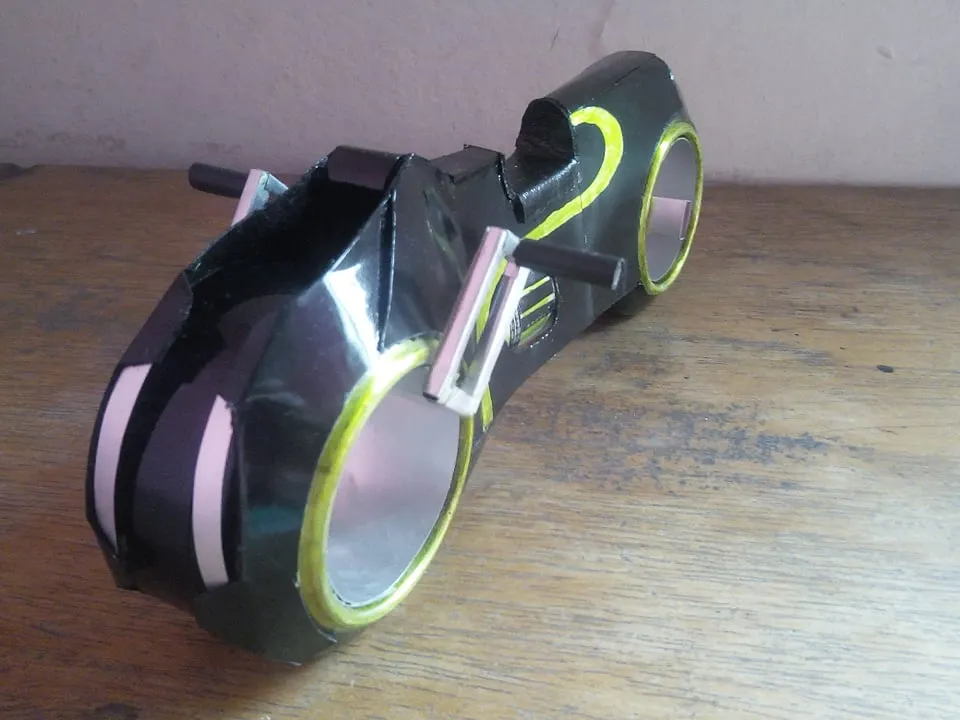
The next step is one of the most important, painting the bike. Using black spray paint we paint the figure of the motorcycle. We can put two coats of paint on it to make it look good on us. We must remember not to paint the parts that are in another color, for that we can cover them with adhesive tape and once we have painted and the paint has dried we remove the adhesive tape and it would be like that.
El paso siguiente es uno de los mas importantes, pintar la moto. Utilizando pintura en aerosol de color negro pintamos la figura de la moto. Podemos ponerle dos capas de pintura para que nos quede muy bien. Debemos recordar no pintar las partes que van de otro color, para eso podemos cubrirlas con cinta adhesiva y una vez hayamos pintado y se haya secado la pintra retiramos la cinta adhesiva y nos quedaría así.
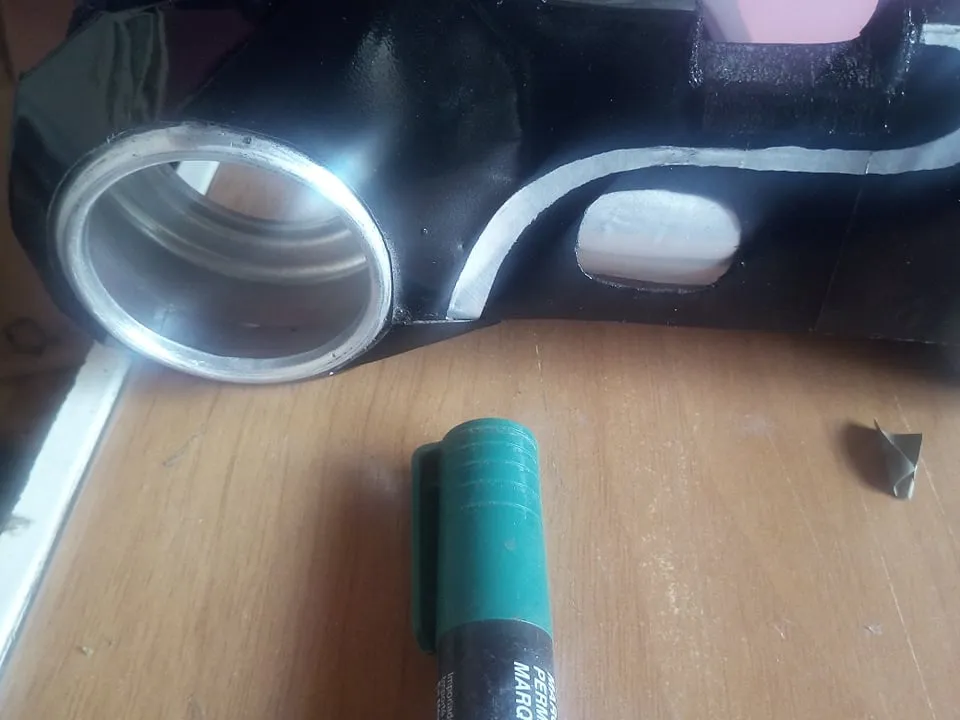
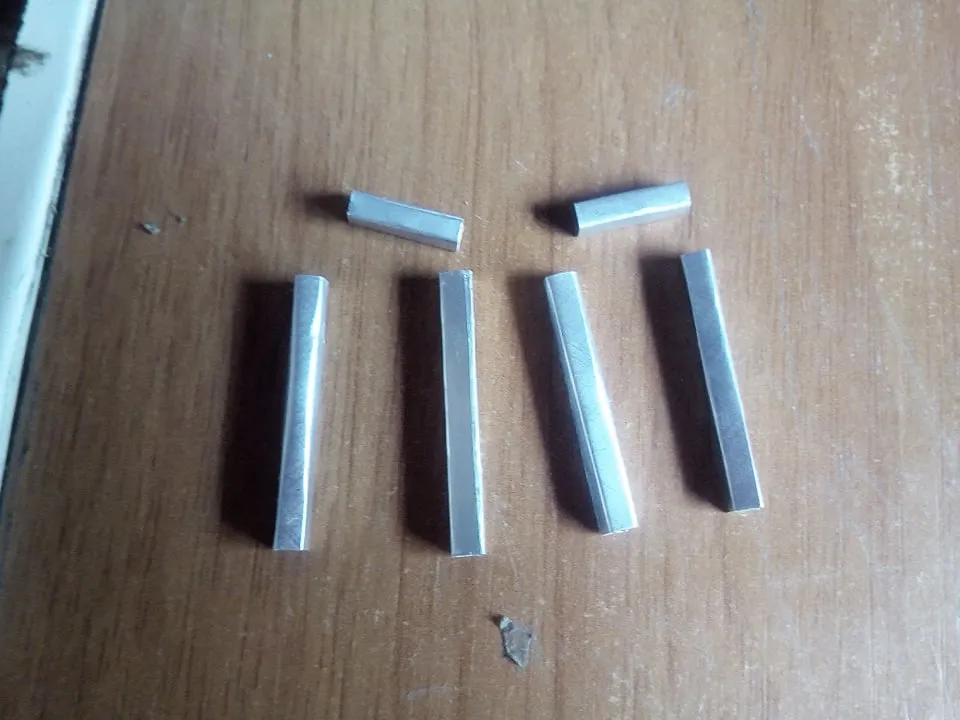

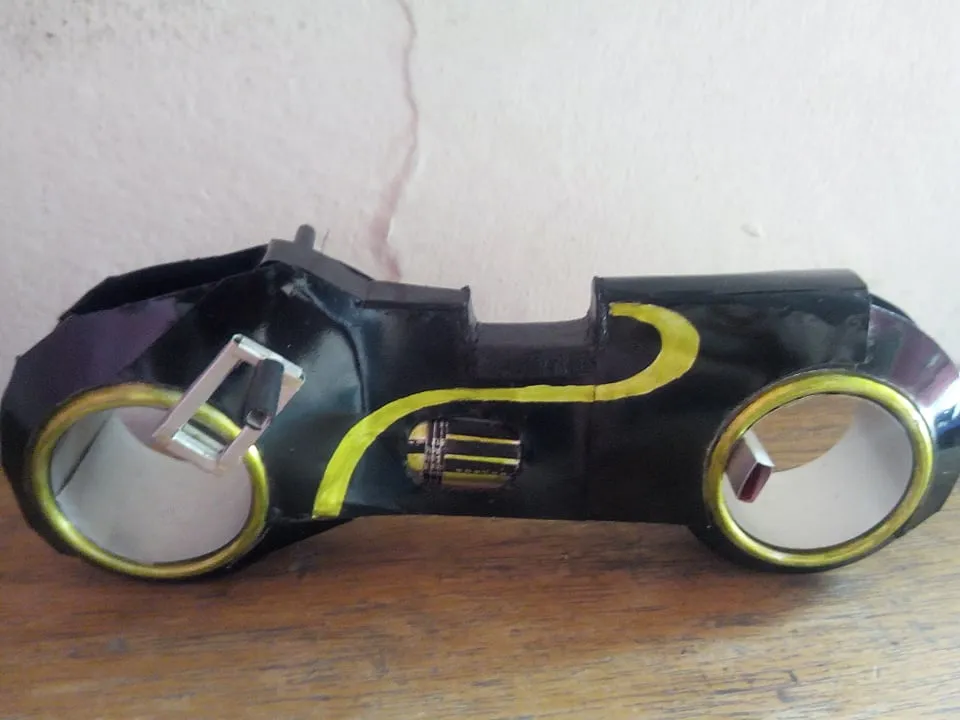
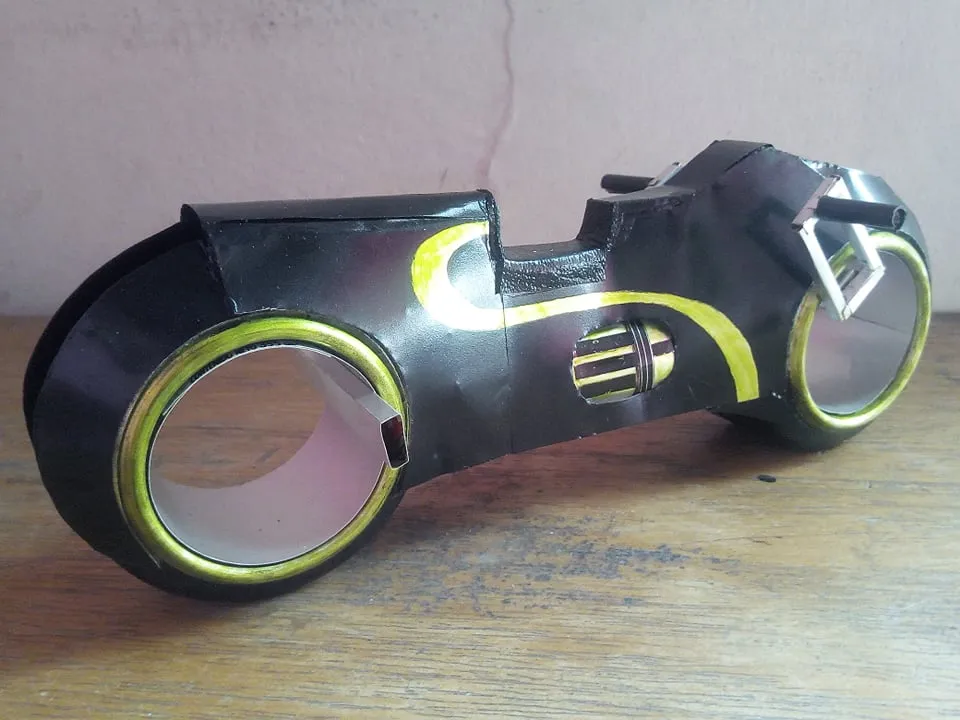
Then with a permanent ink marker we will paint the parts that were left unpainted. This marker is green in color but has a shade that looks more like golden yellow. Then we proceed to make the parts of the steering and the brakes. We make small pieces of 3mm thick and then we assemble them and fix them inside the wheels.
Despues con un marcador de tinta permanente pintaremos las partes que quedaron sin pintar. Este marcador es de color verde pero tiene un tono que parece mas amarillo dorado. Luego procedemos a hacer las partes de la direccion y los frenos. Hacemos pequeñas piezas de 3mm de grosor y luego las armamos y las fijaremos por dentro de las ruedas.
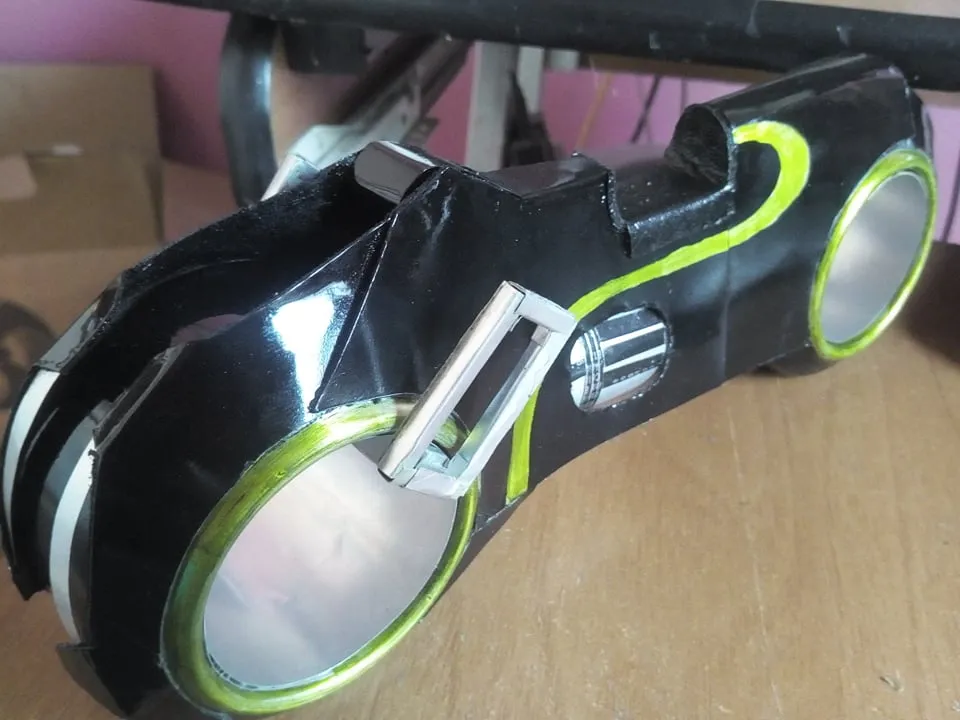
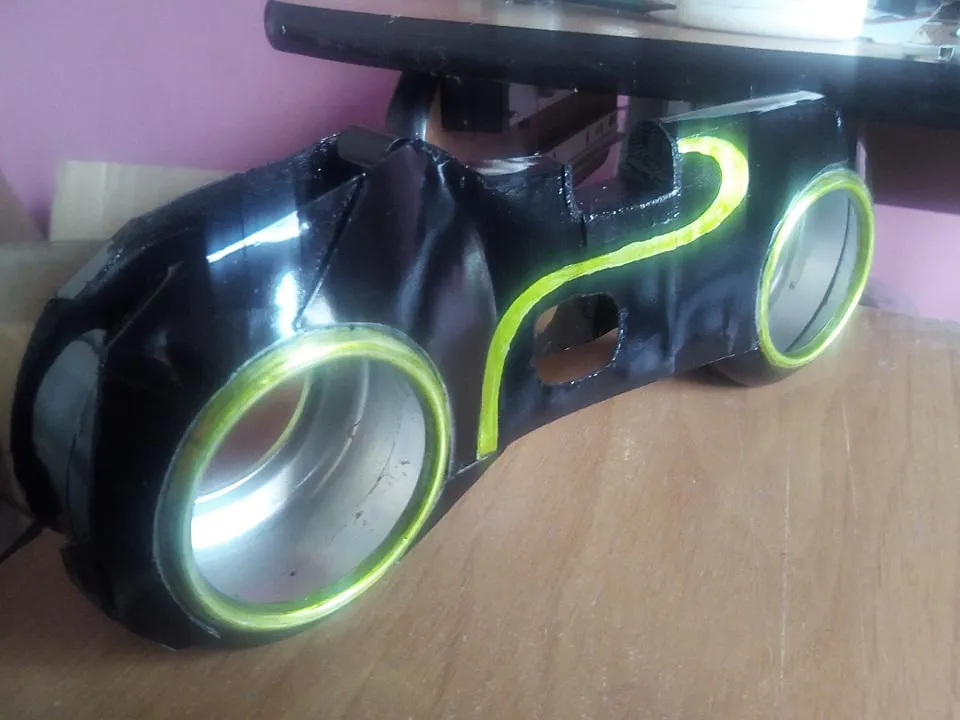
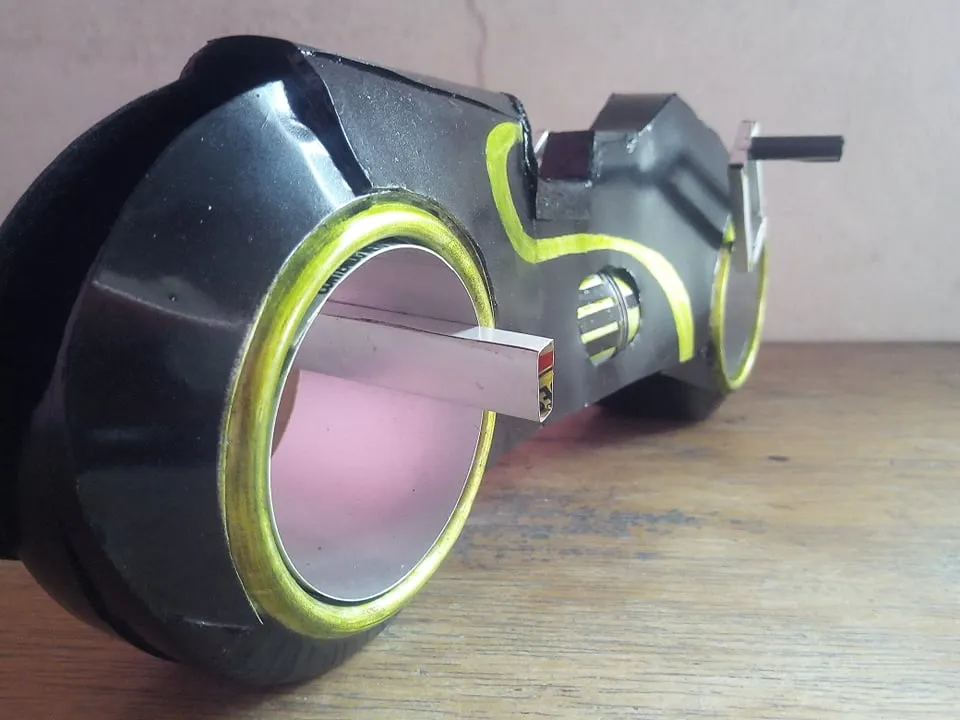
So it remains when we put the parts of the address. We can decorate the motor using black paint, or for it to remain in relief we cut pieces of black aluminum can and then we join it with glue.
Así queda cuando ponemos las partes de la dirección. El motor lo podemos adornar usando pintura negra, o pora que nos quede en releieve cortamos piezas de lata de aluminio de color negro y luego la unimos con pegamento.
Final Work
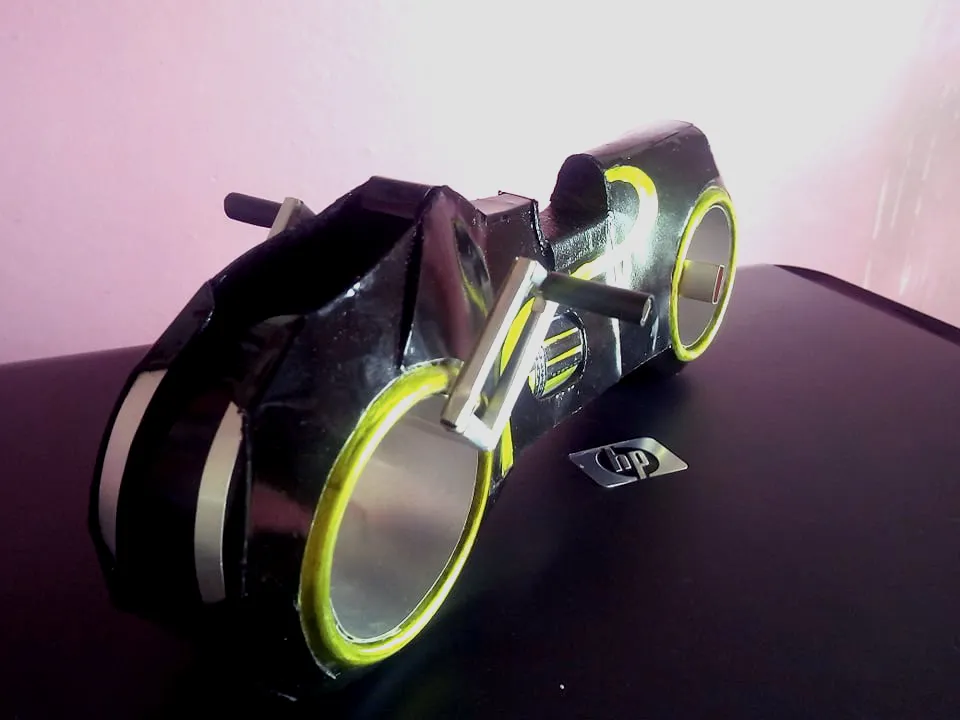
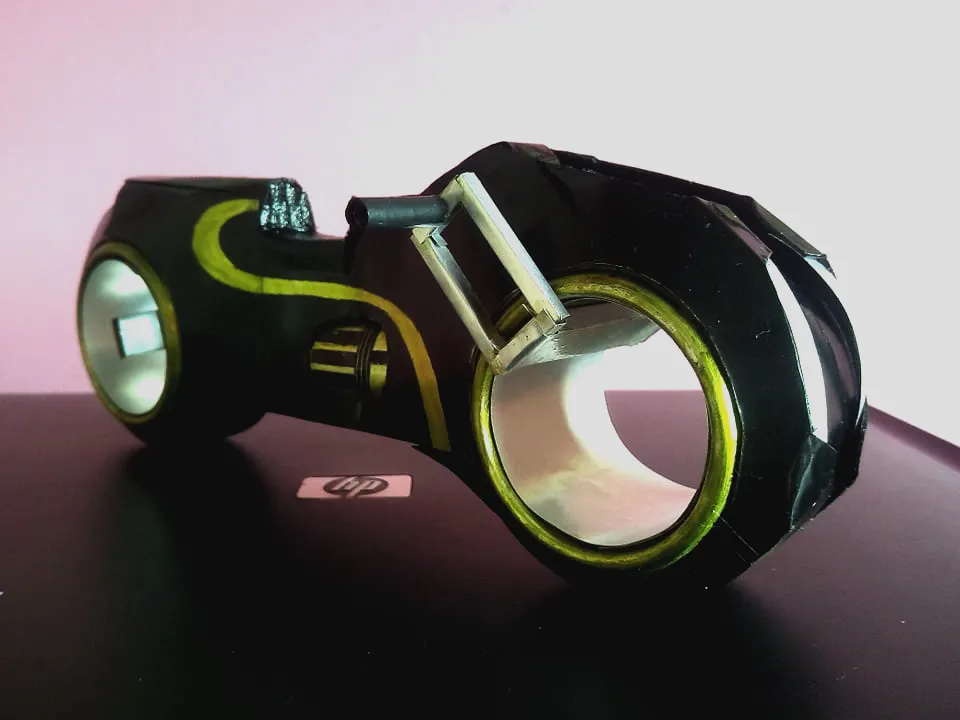
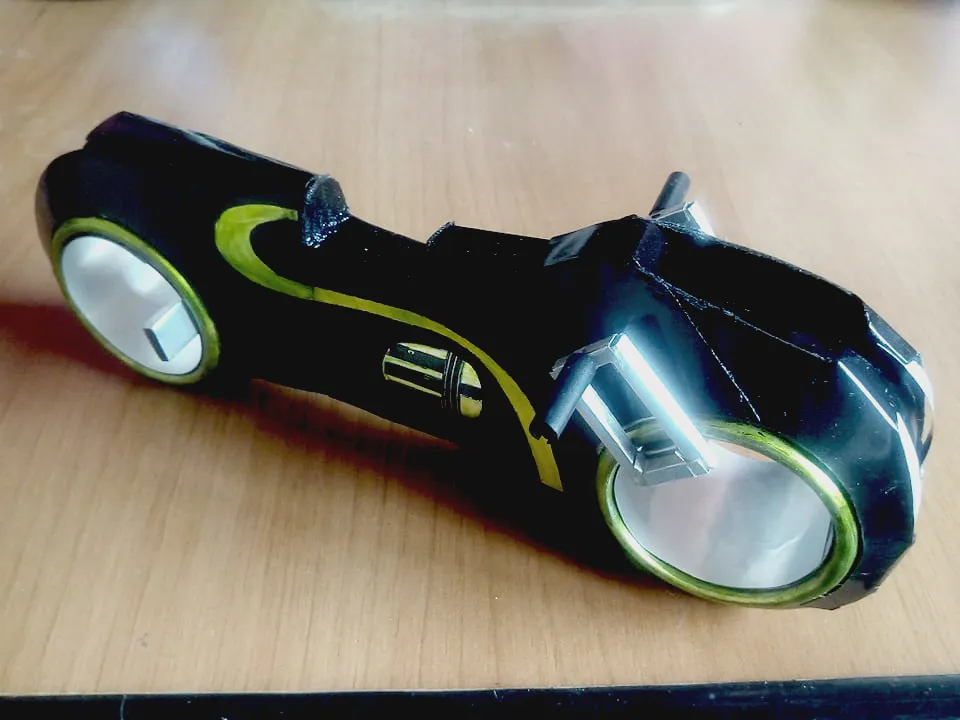
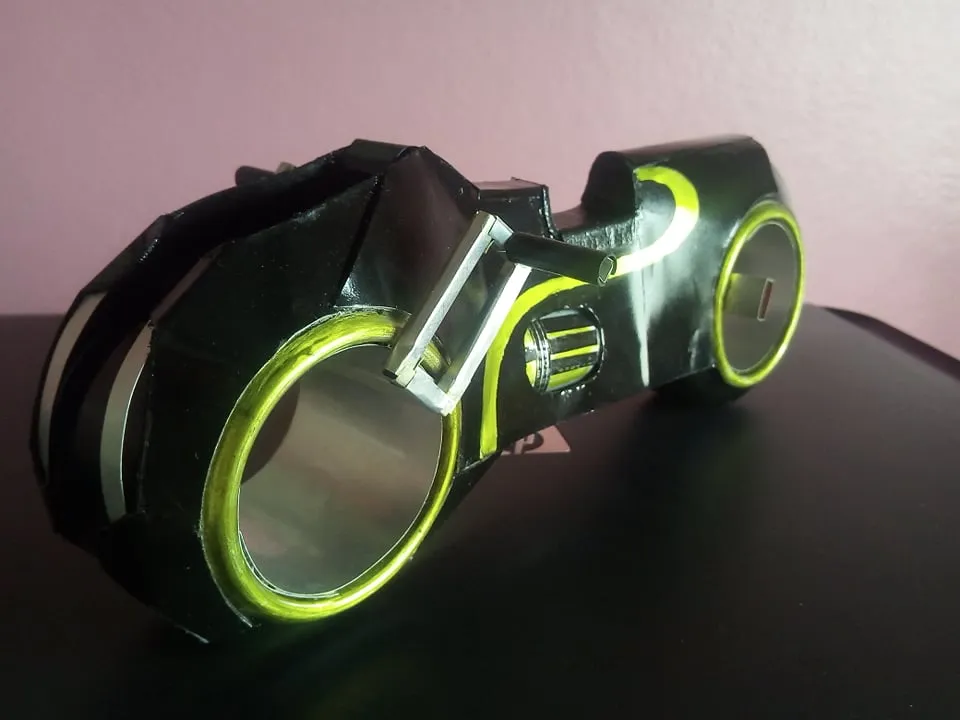
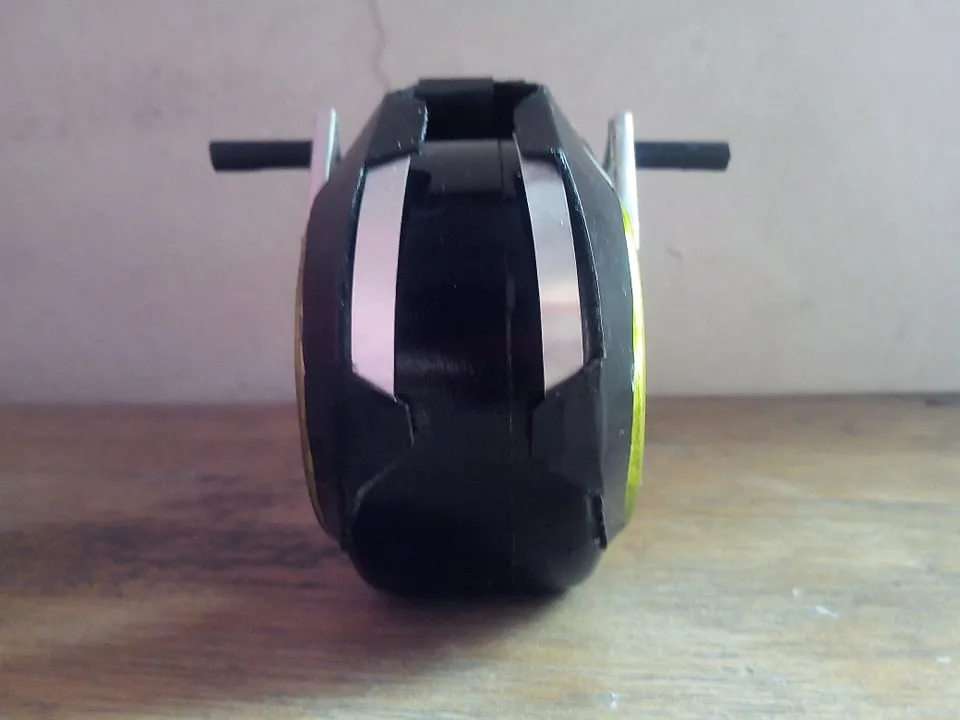
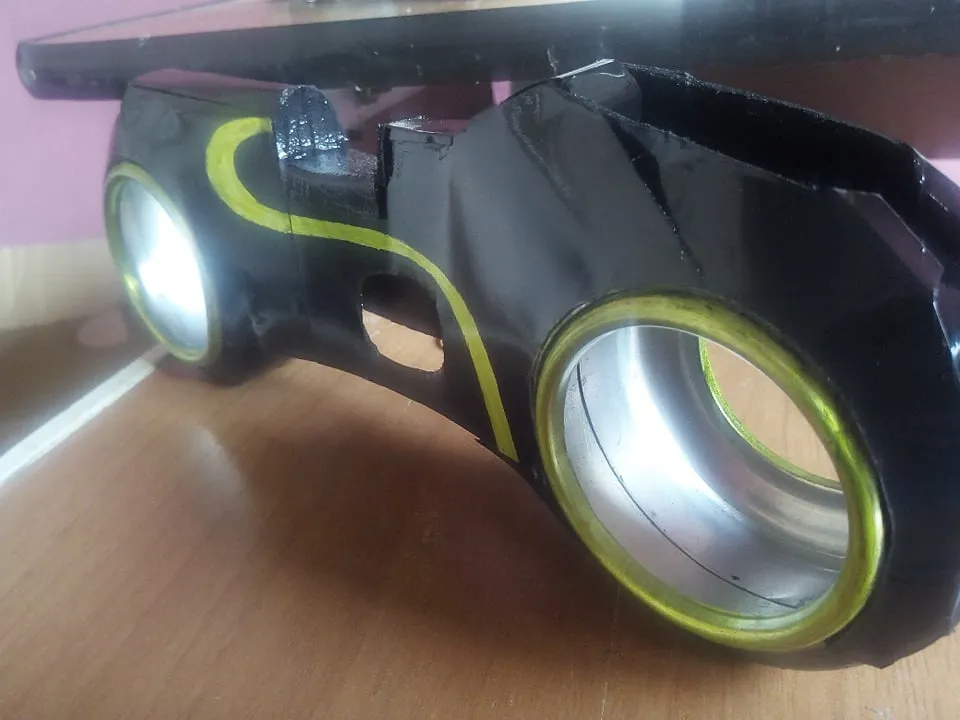
So we have the final finishes, I also added some color to the engine to match the lines and I also placed reflectors on the front and finally I put the handlebars for the brakes. This motorcycle took almost 4 days to build. It is 20 centimeters long and weighs very little. I am thinking of placing it on a wooden base in the future for a better presentation. I hope you liked it and if you liked it, do not forget to comment and share. Your opinion is important to me. I say goodbye to you soon.
Así nos quedan los acabados finales, agregué tambien algo de color al motor para que haga juego con las lineas y tambien coloqué reflectores en el frente y por ultimo puse el manillar para los frenos. Esta motocicleta tardé casi 4 días en construirla. Mide 20 centimetros de largo y pesa muy poco. Estoy pensando colocarla en una base de madera en el futuro para que tenga una mejor presentación. Espero que haya sido su agrado y si les gustó no olviden comentar y compartir. Para mi es importante su opinión. Me despido hasta pronto.