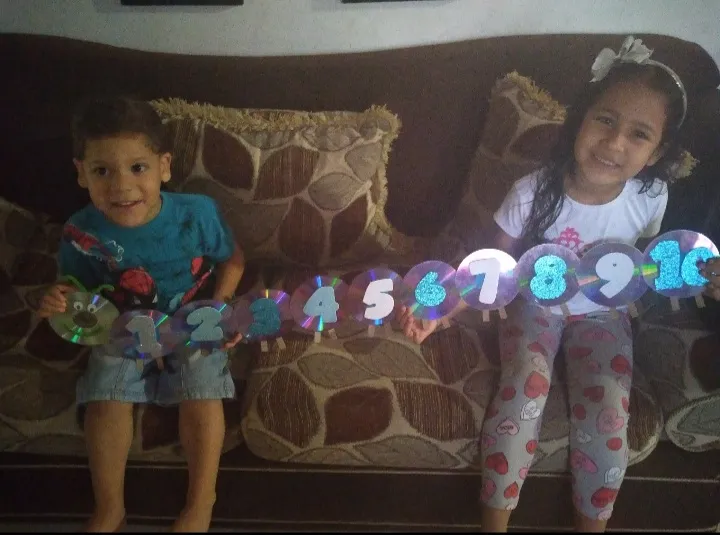
Hello my hive people, I am visiting my sister's house and it occurred to me to make the children a numerical worm with useful material so that they can can learn the numbers.
Hola mi gente de hive, estoy de visita en casa de mi hermana y se me ocurrió hacerle a los niños un gusano numerico con material de provecho para que se aprendan los numeros.
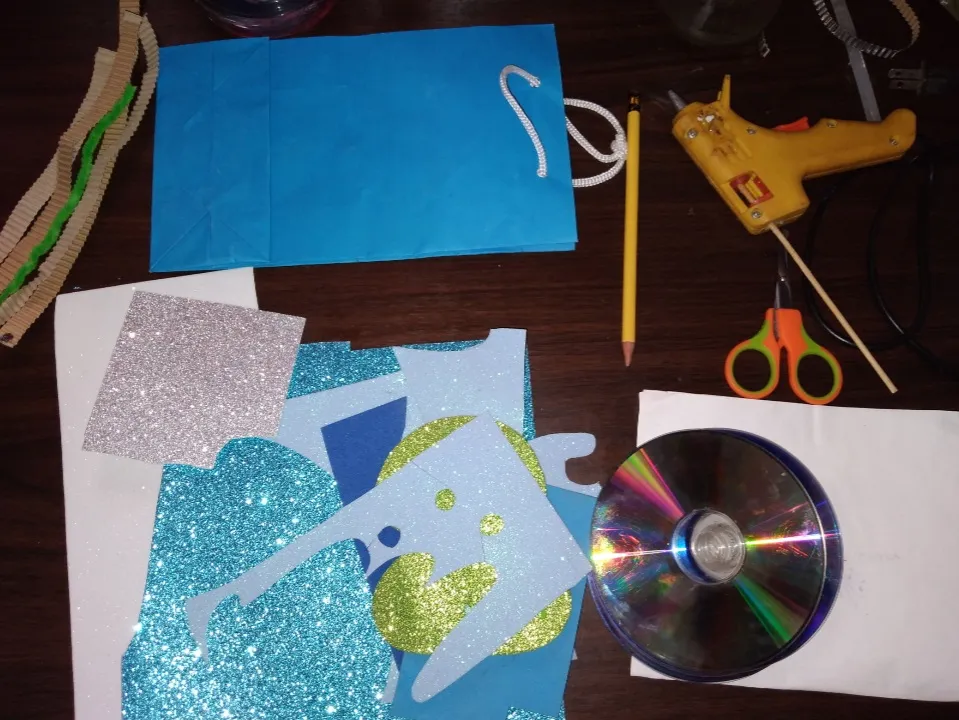
Materials:
• Cd
• Foami
• Hairy wire stick
• Paper bag
• White sheet
• Pencil
• Cardboard strips
• Scissor
• Silicone gun
Materiales:
• Cd
• Foami
• Palito de alambre peludo
• Bolsa de papel
• Hoja blanca
• Lapiz
• Tiritas de carton
• Tijera
• Pistola de silicon
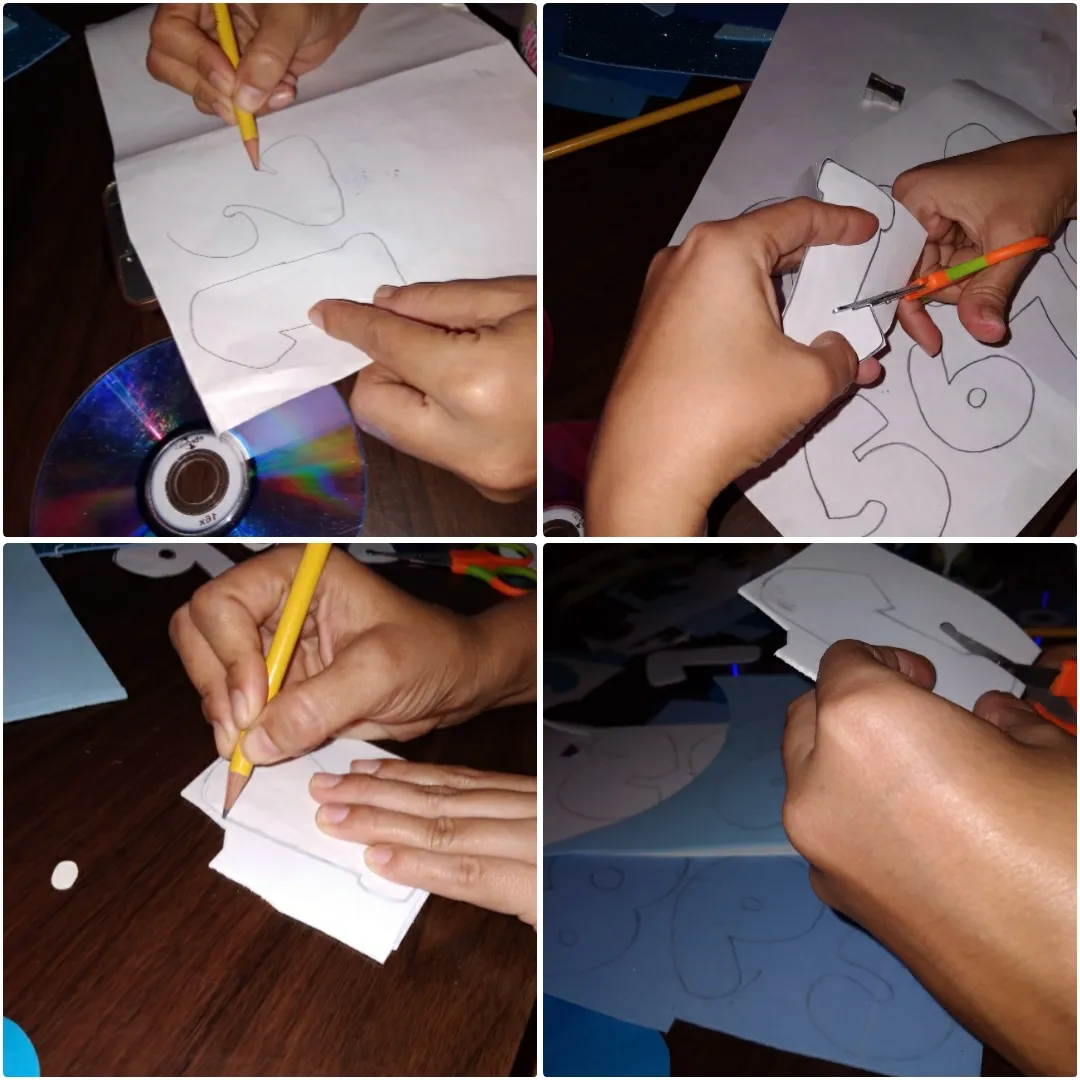
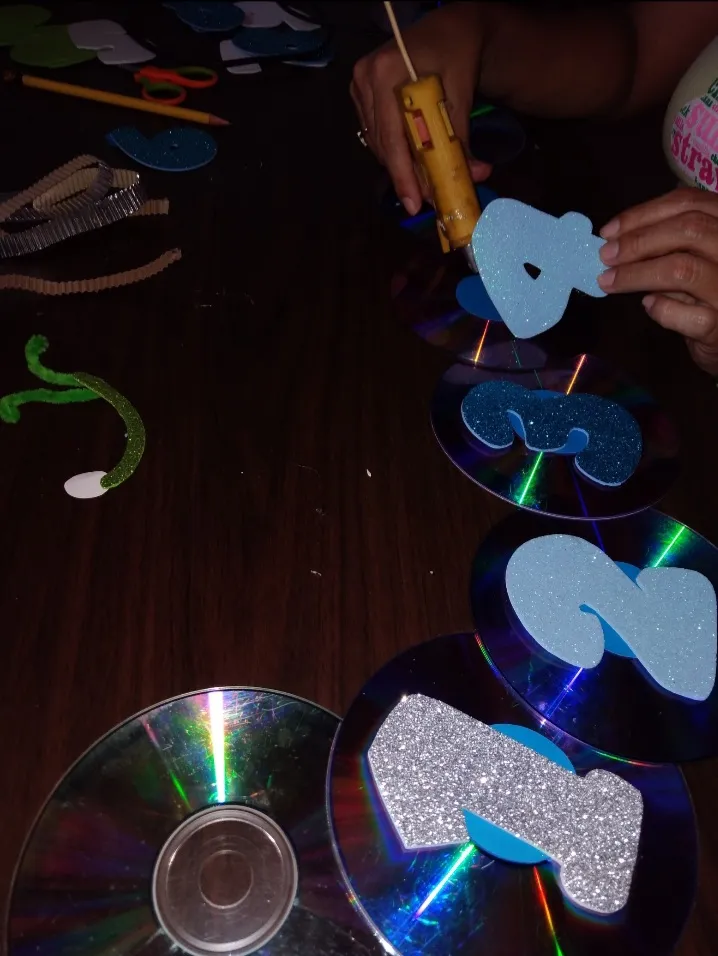
• The first thing we will do is mark on the white sheet the numbers from 1 to 10 and cut them all, with those molds we mark on the foami and cut it out.
• Lo primero que haremos es marcar en la hoja blanca los numeros del 1 al 10 y recortarlos todos, con esos moldes marcarmos en el foami y lo recortamos.
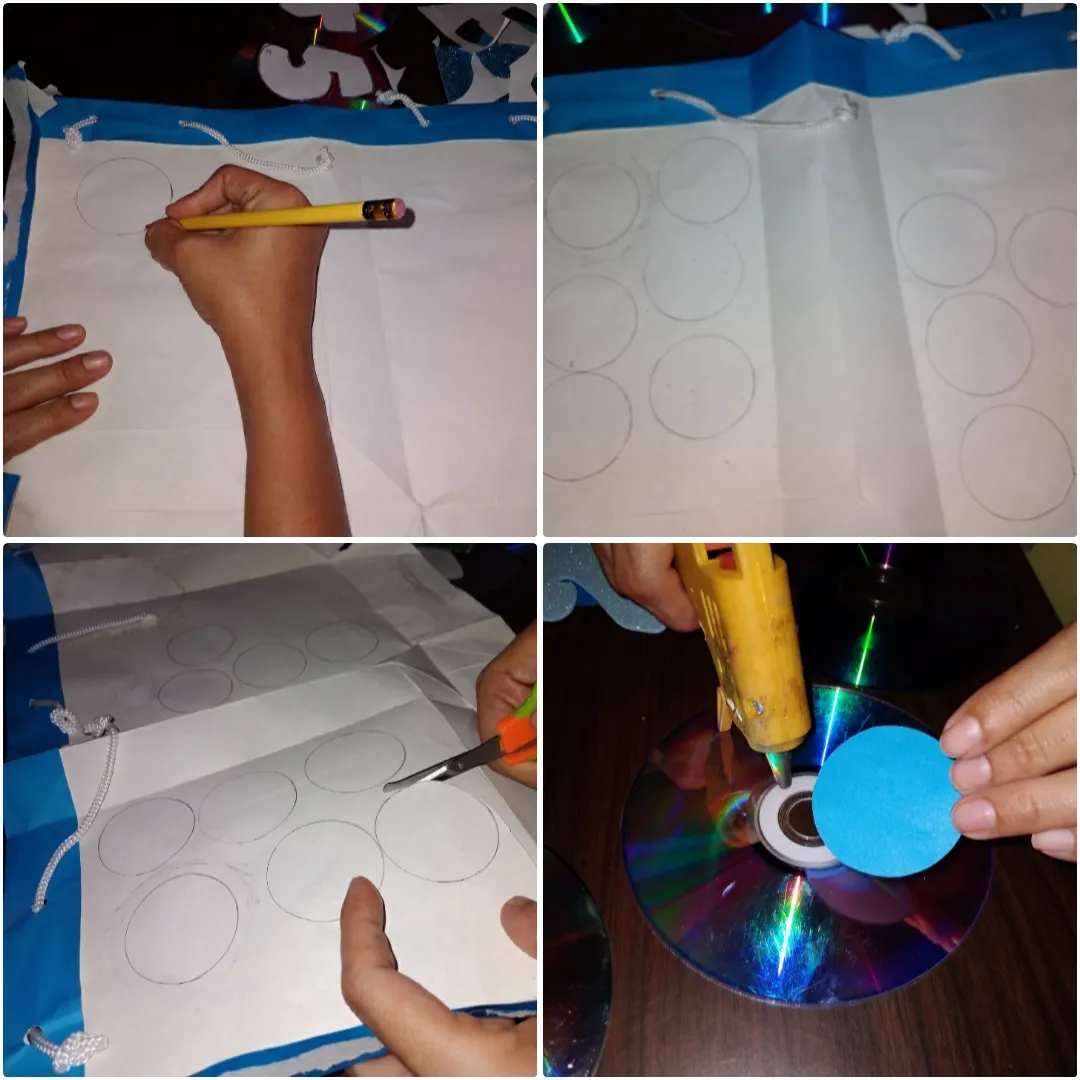
• Open the paper bag and mark 10 circles we cut out and stick it in the center of the cd, then we paste the numbers one by one on each cd.
• Abrir la bolsa de papel y marcar 10 círculos recortamos y lo pegamos en el centro de los cd, luego pegamos los numeros uno a uno en cada cd.
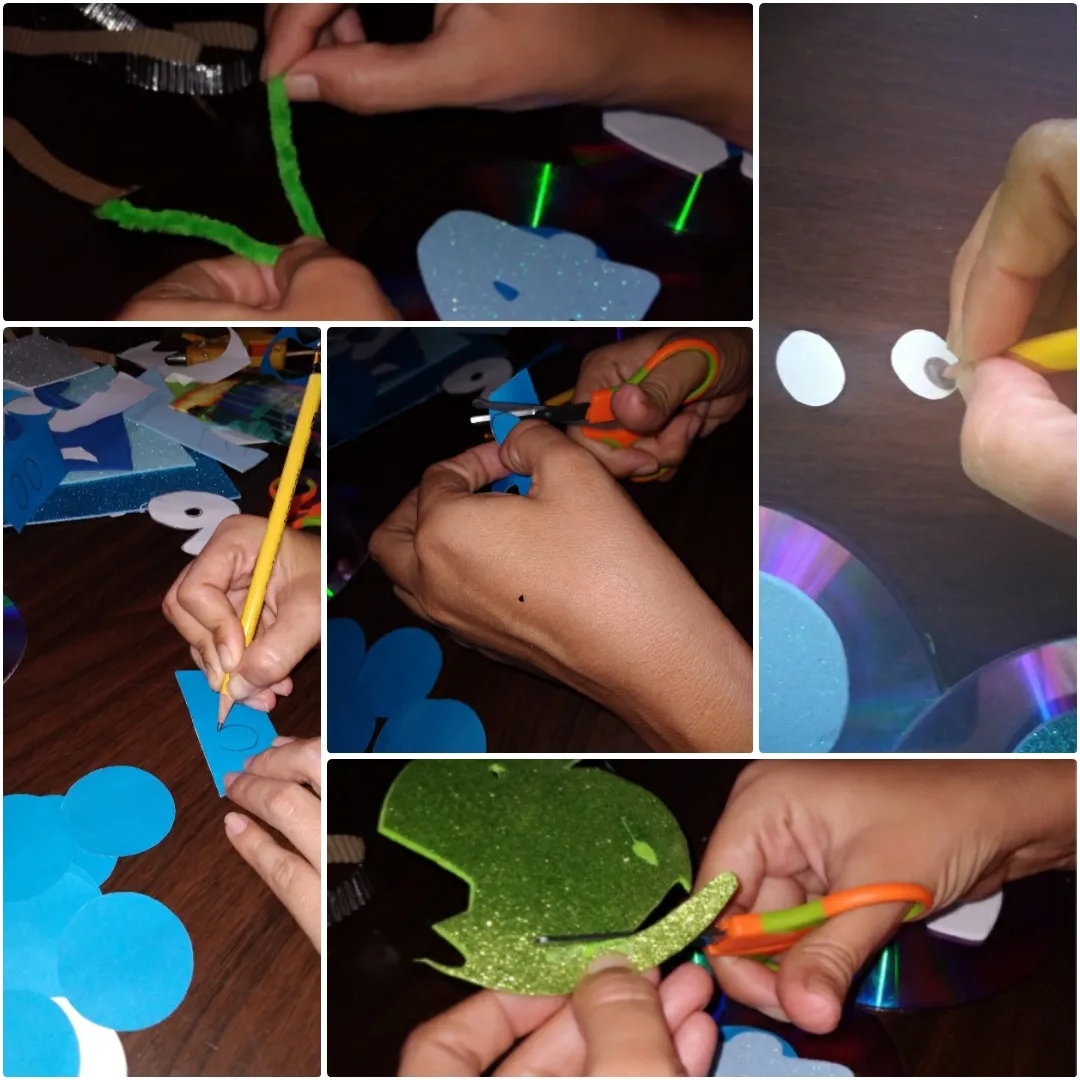
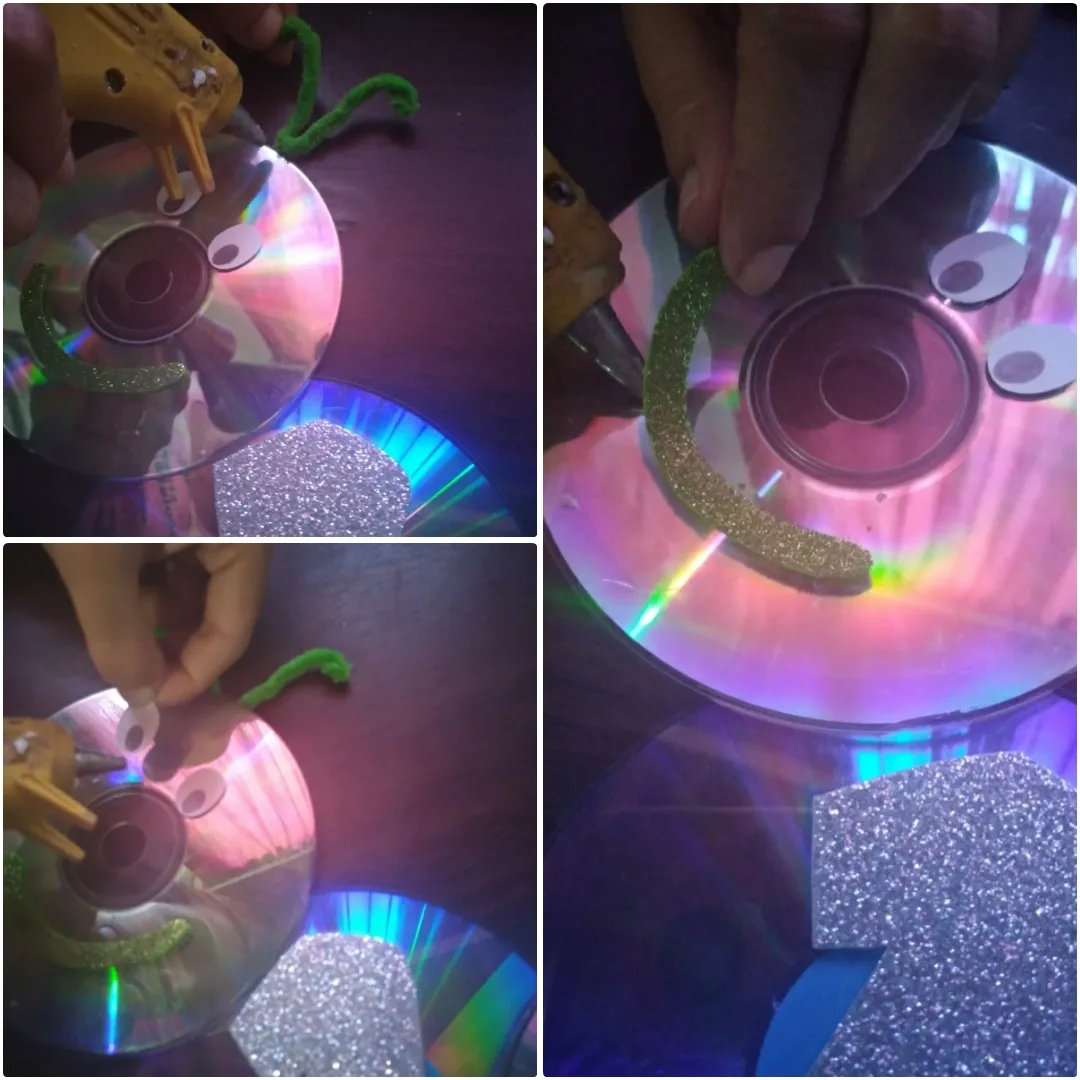
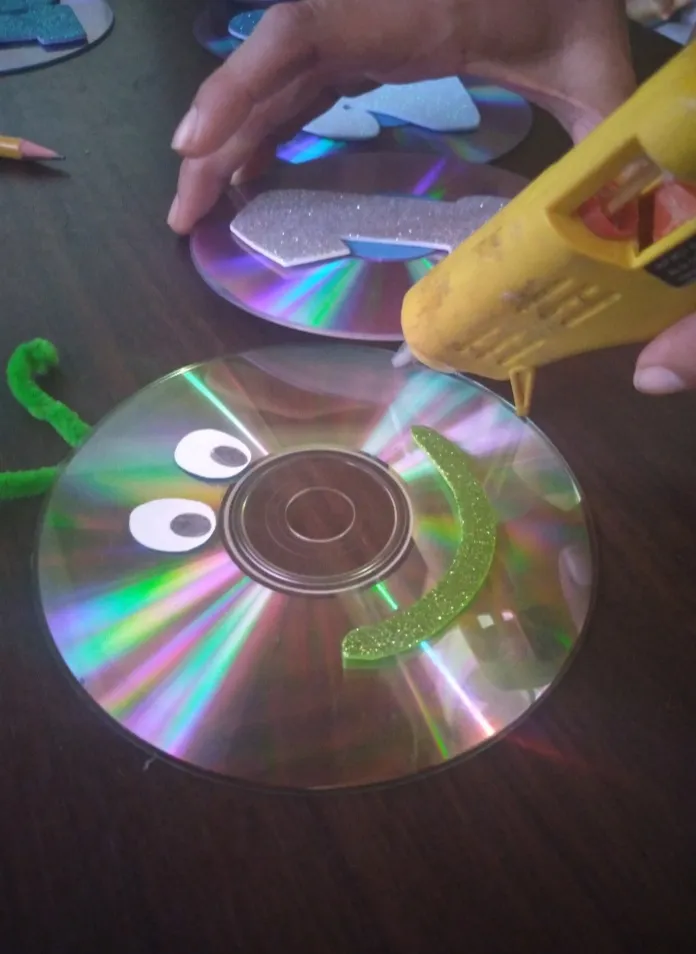
• Next, we make the face of the worm🐛, we make the antennae with the hairy wire by rolling the ends a little, we take the eyes out of the paper bag by marking 2 ovals we cut out and paint the center of the eye with the pencil. We take the mouth out of the green foami, cut and paste.
• A continuación hacemos la cara del gusano🐛, las antenas la hacemos con el alambre peludo, los ojos lo sacamos de la bolsa de papel marcando 2 óvalos recortamos y el centro del ojo pintar con el lapiz. La boca la sacamos del foami verde, recortamos y pegamos.
• Then we join the CDS by gluing them edge to edge with a sequence of one above and one below as shown in the image.
• Después unimos los CDS pegandolos orilla con orilla con una secuencia de uno arriba y uno abajo como se muestra en la imagen.
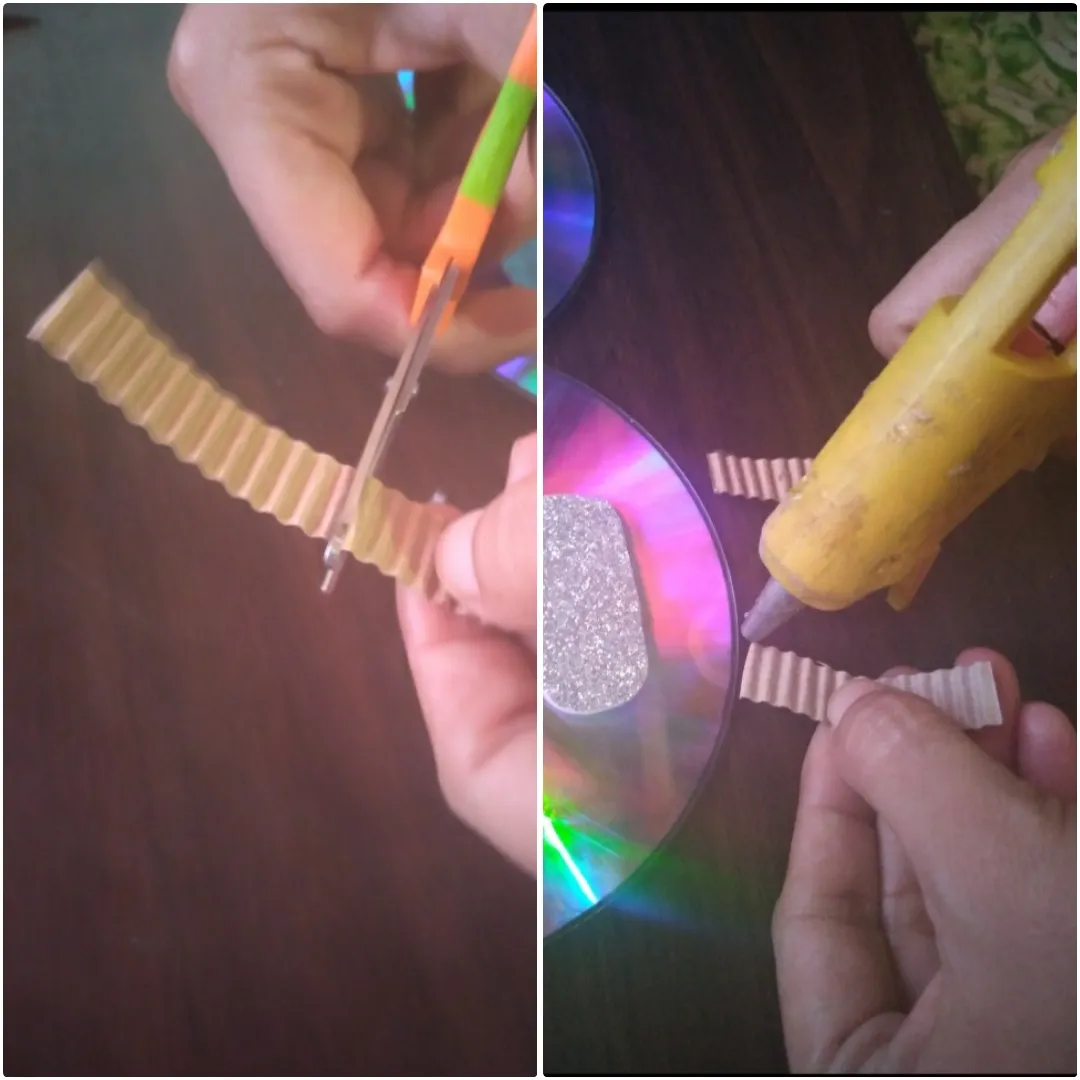
• Lastly, with the cardboard strips, we take out 20 legs of 4cm each and stick 2 at a time on each cd.
• Por último con las tiras de cartón sacamos 20 patitas de 4cm cada una y pegamos de a 2 en cada cd.
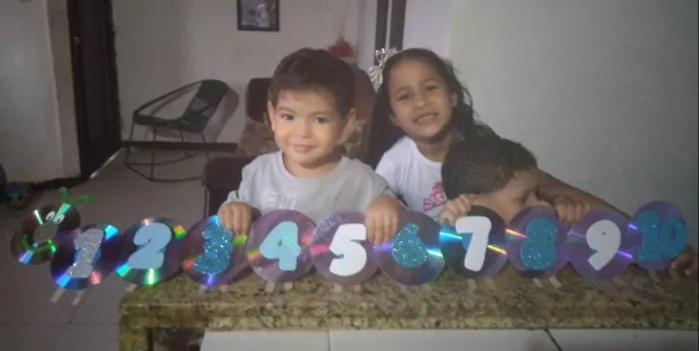
clever! Easy, beautiful and educational.
listo! Fácil, bello y educativo..

My nephews and son loved it!
¡A mis sobrinos e hijo les encantó!
It is a pleasure to share my ideas with you💡
Es un gusto compartir con uds mis ideas💡