¡HEY HIVERS! ❤️Saludos a todos. El día de hoy les traigo una bonita carta que hice de regalo, en su mayoría los materiales son de reciclaje. Siempre me han gustado este tipo de detalles, me parecen lo más lindo y tierno del mundo, capaz soy muy cursi para ustedes, pero amo hacer estas cosas. Les suelo dedicar mucho tiempo, amor y delicadeza, además que me relaja muchísimo hacer manualidades, pienso que es una forma de representar el arte.
HEY HIVERS! ❤️Greetings to all. Today I bring you a nice letter that I made as a gift, mostly the materials are from recycling. I've always liked this kind of details, I think they are the cutest and sweetest thing in the world, maybe I'm too corny for you, but I love doing these things. I usually dedicate a lot of time, love and delicacy to them, plus it relaxes me a lot to do crafts, I think it is a way to represent art.
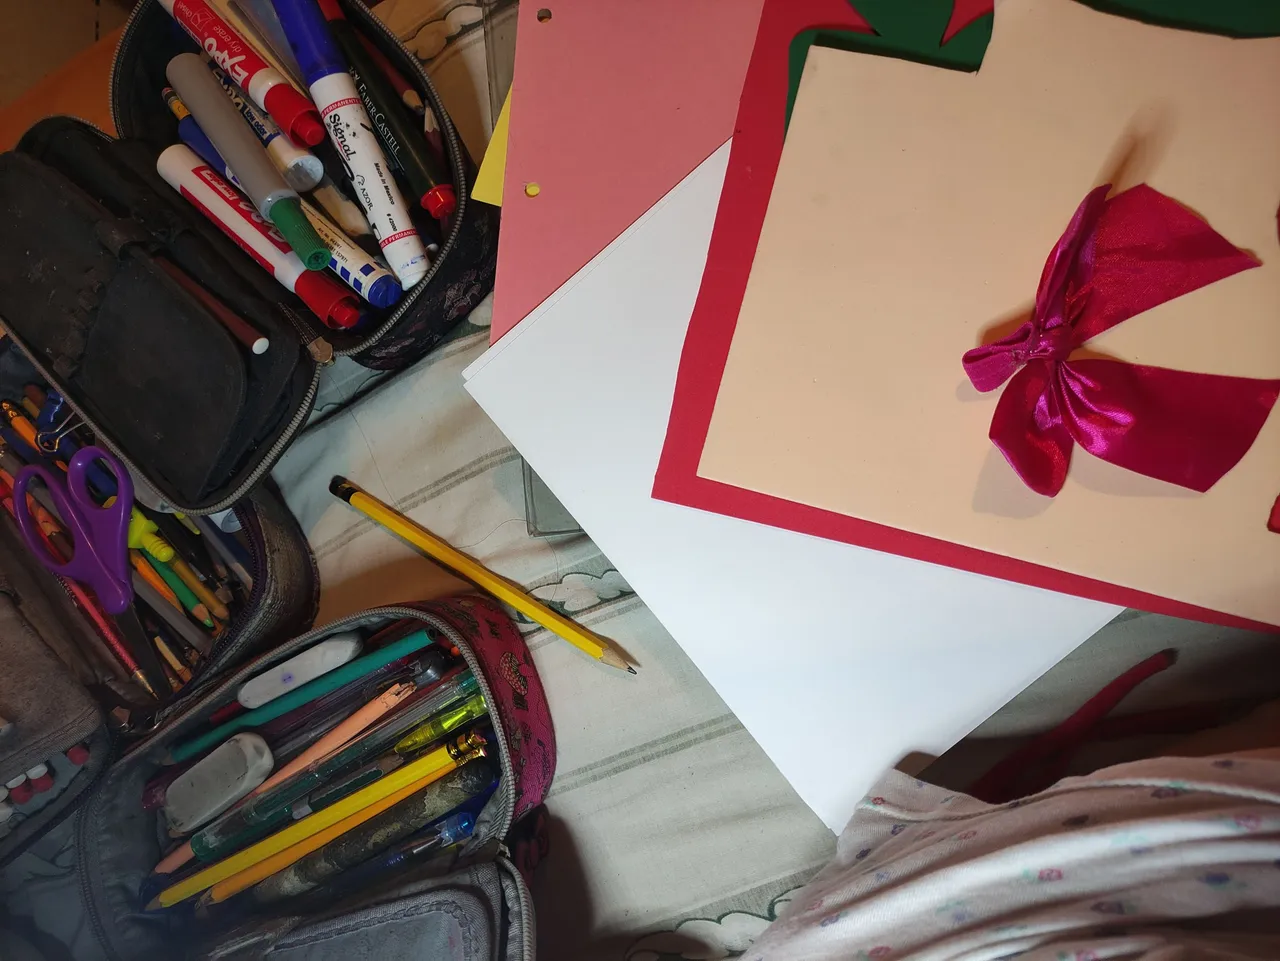
Materiales que utilicé:
Dos separadores de papel del color de su preferencia
Silicón
Pega blanca o en barra
Marcadores finos
Color fucsia o rojo
Tijeras
Cinta para regalo
Retazos de foami
Regla
Compás
Materials I used:
Two paper dividers in the color of your choice.
Silicone
White glue or glue stick
Thin markers
Fuchsia or red color
Scissors
Gift ribbon
Foami scraps
Ruler
Compass
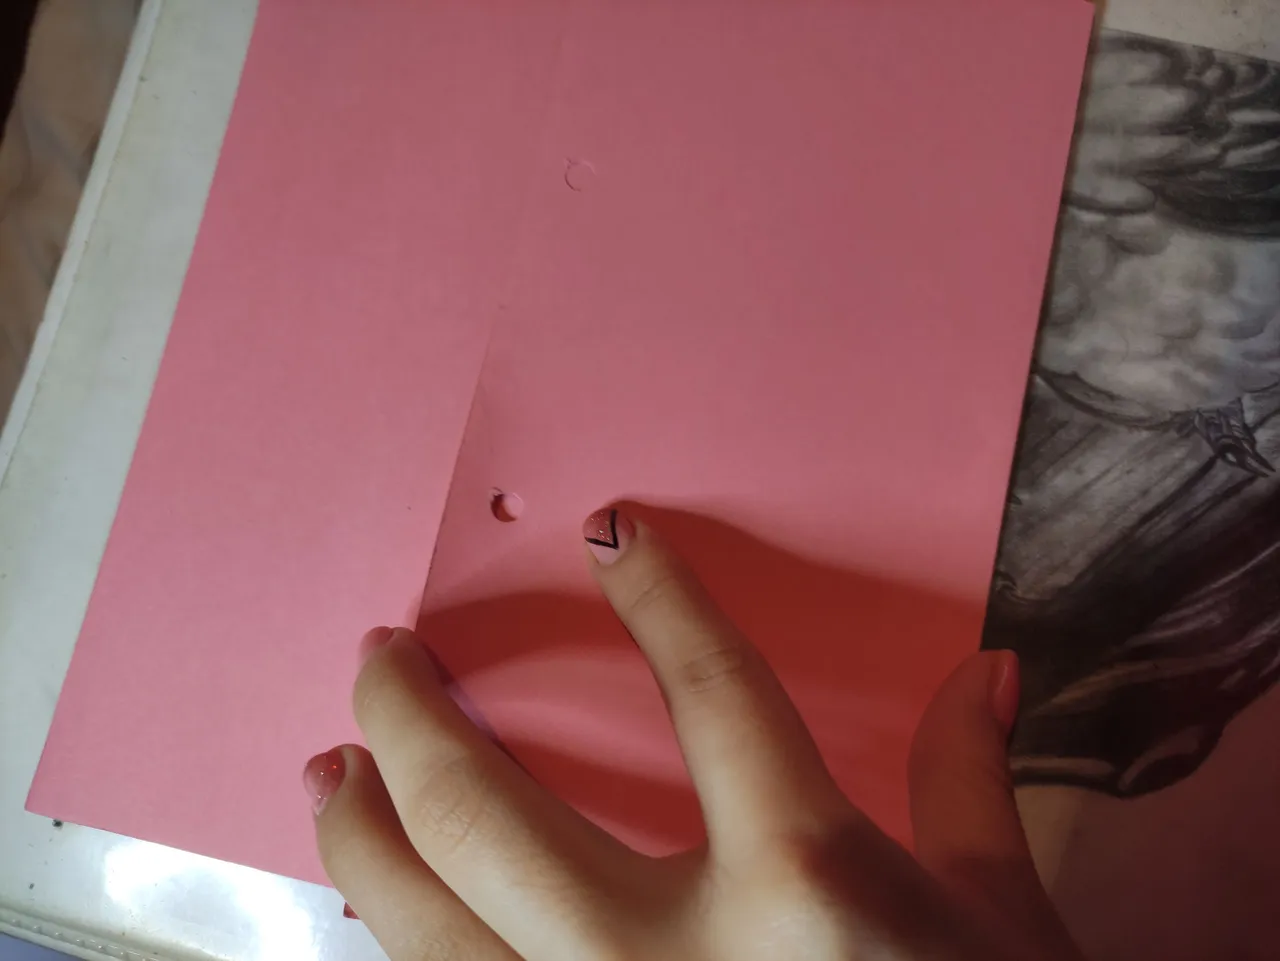
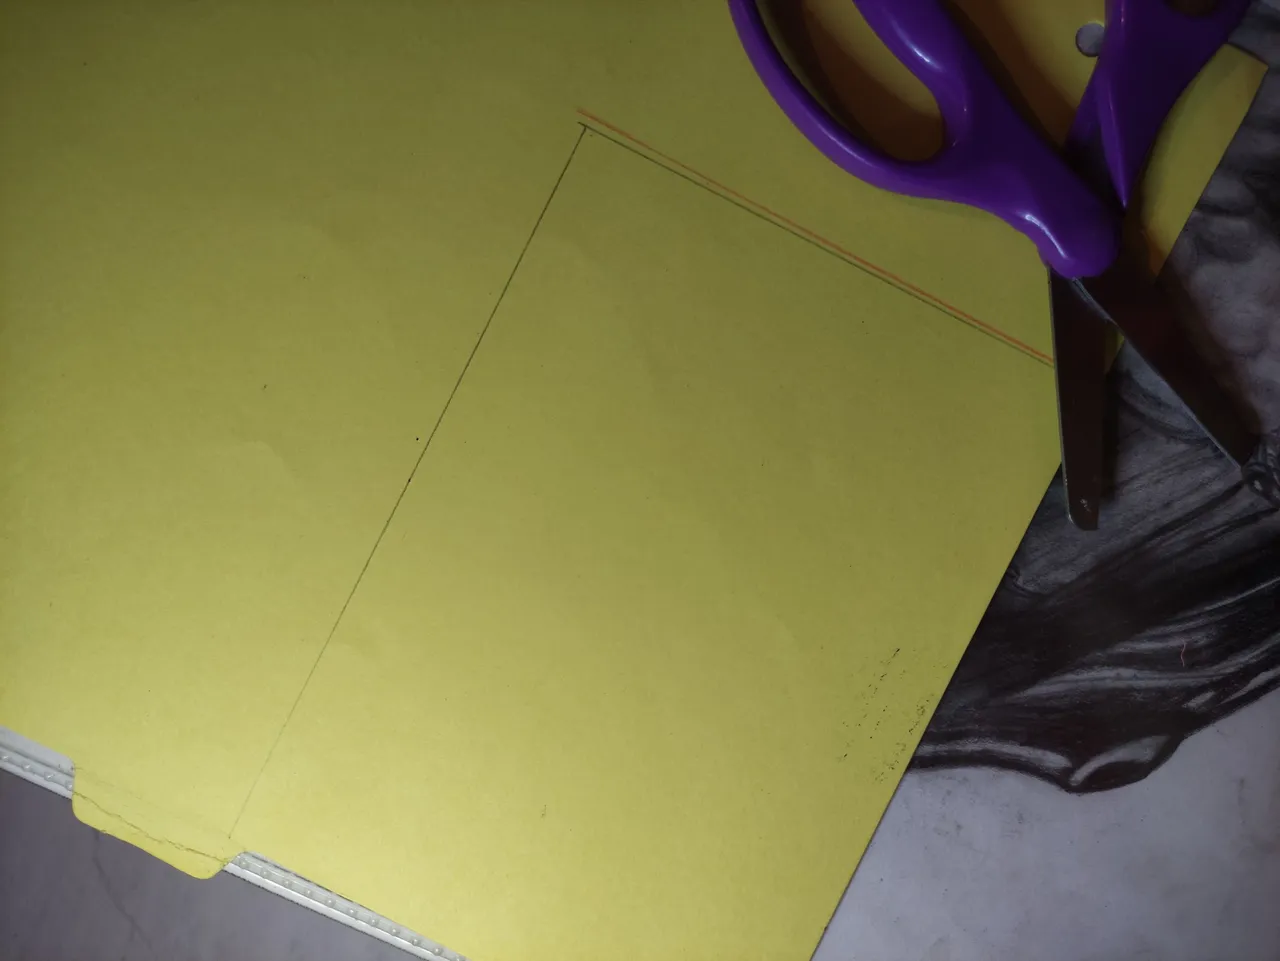
Empezamos doblando uno de los separadores de la misma forma en que se muestra en la fotografía. Estos separadores son de algunas carpetas muy viejas, algunos tenían cosas escritas, así que solos recortar los pedazos que me servían, como son de colores y el material como la cartulina es muy bueno en mi opinión, me gustó bastante, y así estamos reciclando.
We start by folding one of the dividers in the same way as shown in the picture. These dividers are from some very old folders, some had things written on them, so I just cut out the pieces that were useful, as they are colorful and the material like cardboard is very good in my opinion, I liked it a lot, and this way we are recycling.

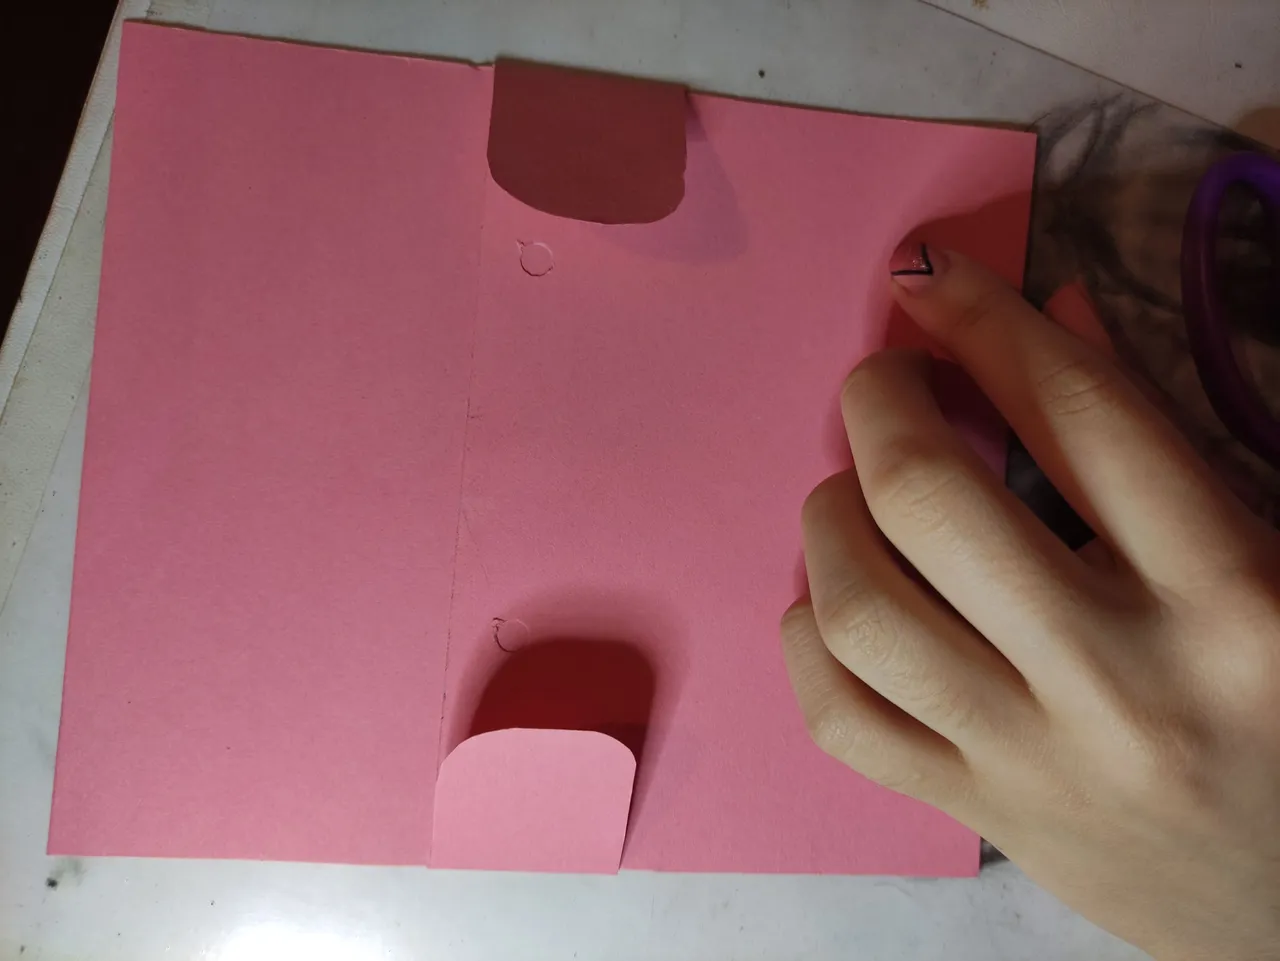
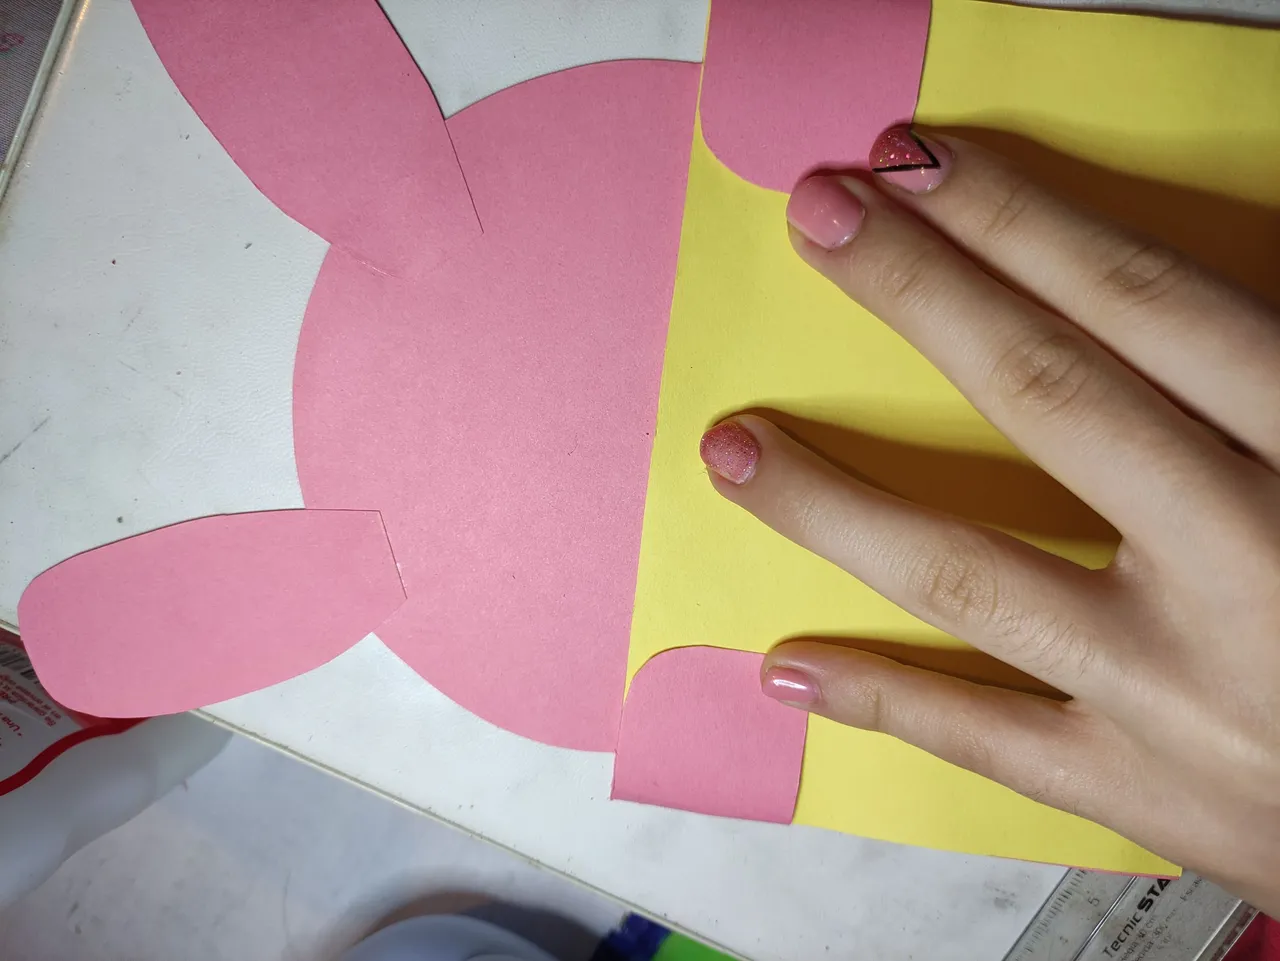
Luego vamos a recortar en los lados, aproximadamente 2,5 centímetros, para poder hacer las patitas de nuestro conejo más arriba. Ustedes pueden hacer el animalito que más les guste. Después con la tijera recortamos el borde para que se vea ovalado.
Then we are going to cut out the sides, approximately 2.5 centimeters, to be able to make the legs of our rabbit above. You can make any animal you like. Then with the scissors we cut the edge so that it looks oval.
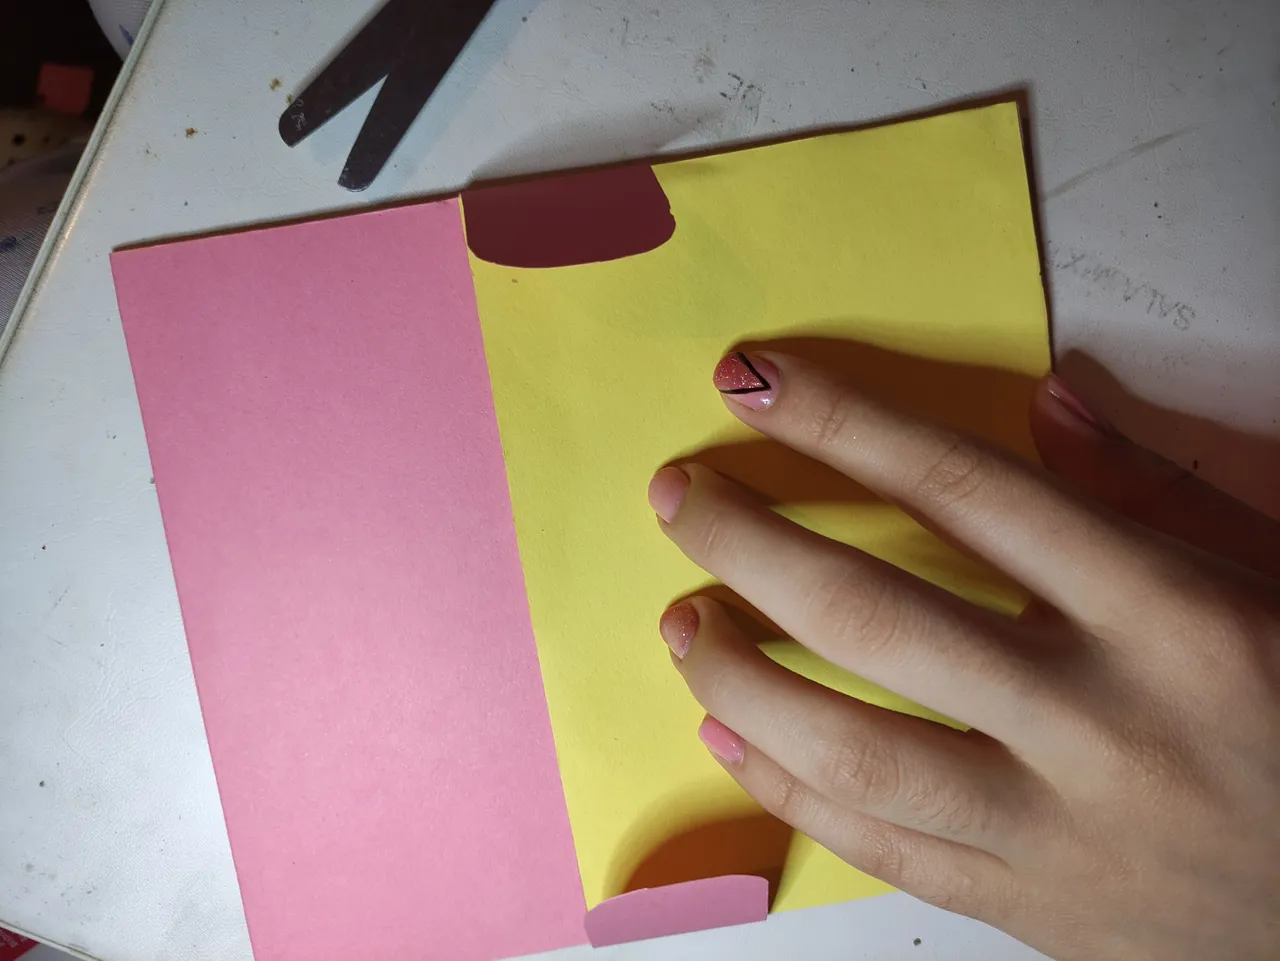
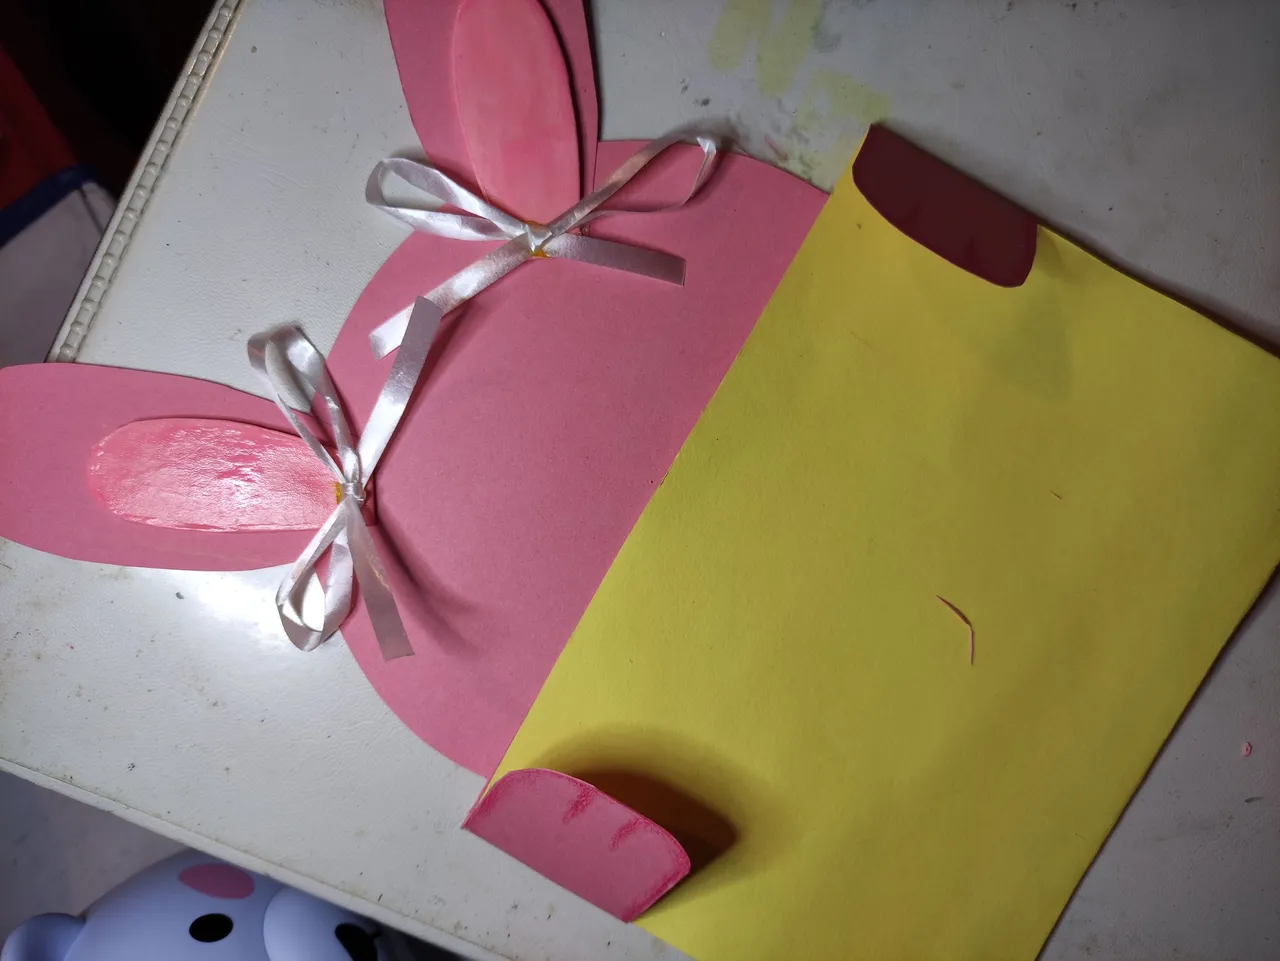
Ya que varía mucho el tamaño de los materiales, y como ese era el que tenía a la mano, simplemente miden su primera hoja, y hacen un rectángulo justo del mismo tamaño, ya que eso irá encima. Hay papeles que vienen de un color por un lado y distinto por el otro, pero la idea es reciclar, tampoco quiero que el sobre del conejo sea del mismo color.
Since the size of the materials varies a lot, and since that was the one I had on hand, simply measure your first sheet, and make a rectangle just the same size, since that will go on top. There are papers that come in one color on one side and a different color on the other, but the idea is to recycle, I don't want the bunny envelope to be the same color either.
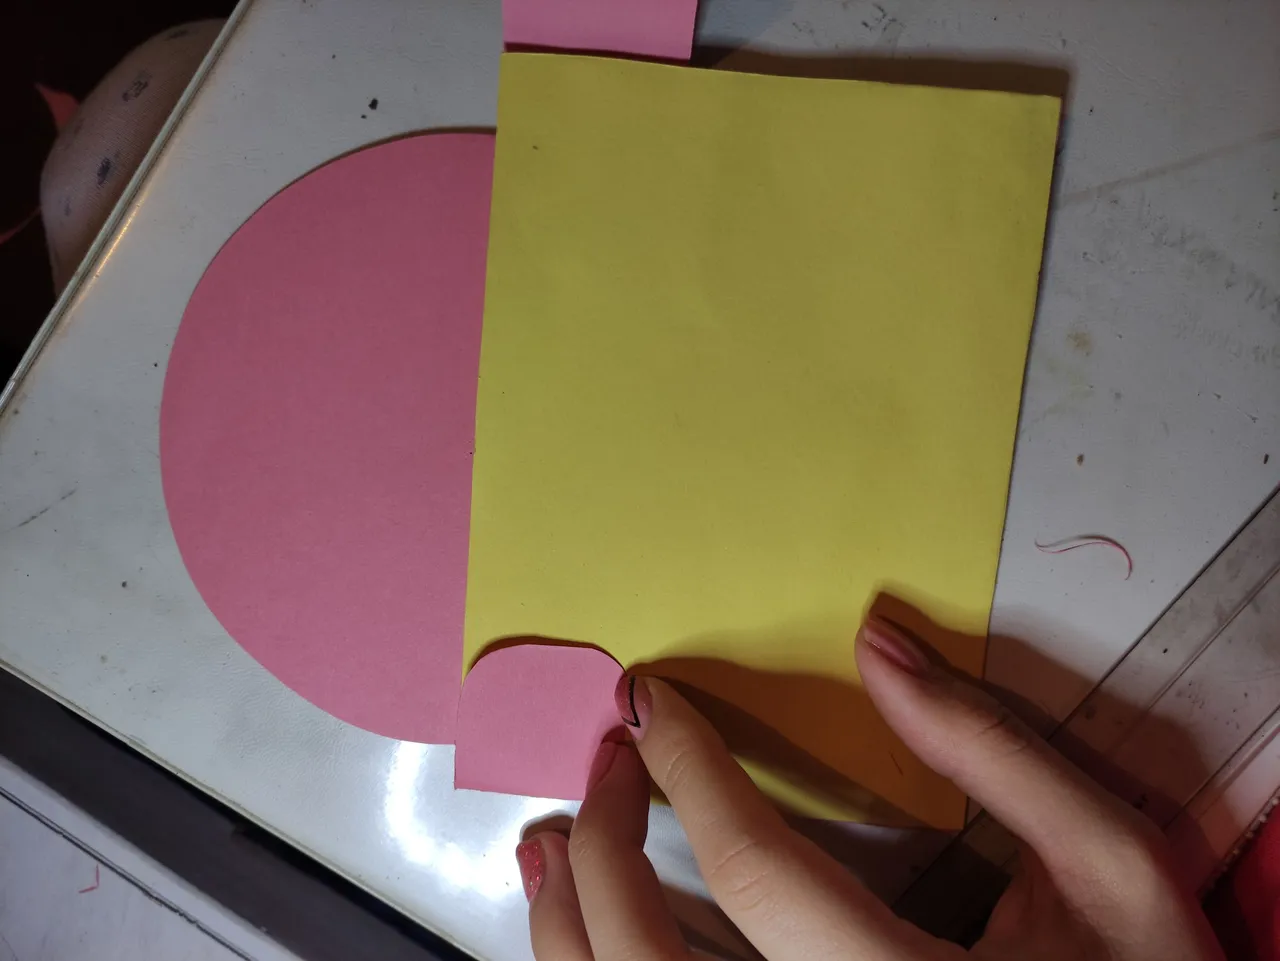
Luego que lo pegamos, usamos el compás y un color similar a nuestro papel, para hacer una línea guía al recortar.
After we glue it, we use the compass and a color similar to our paper, to make a guide line when cutting.
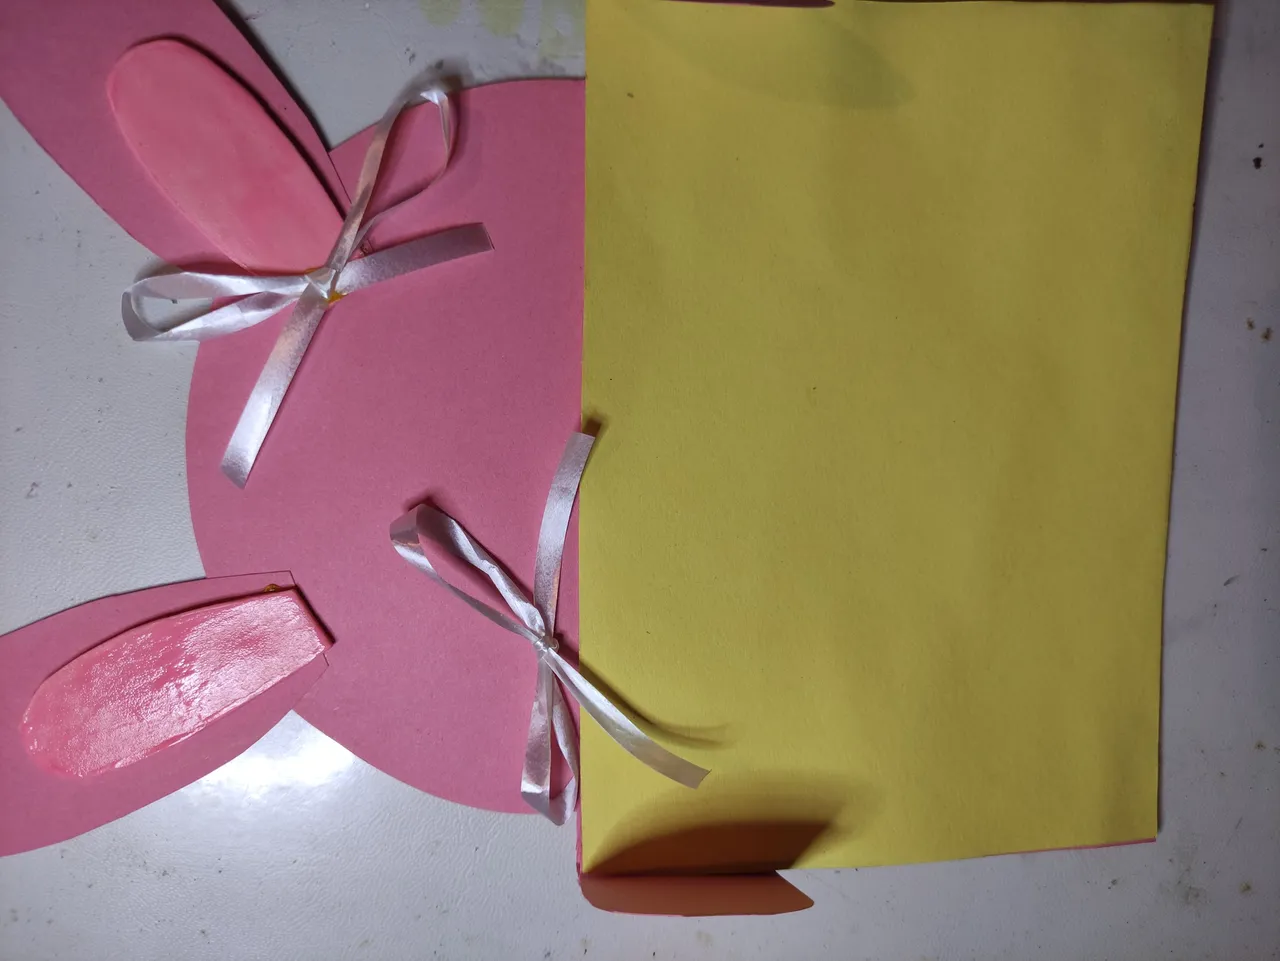
Con los pedazos sobrantes del separador hice las orejas, y con silicón pegué unos retazos de foami rosado después de darle la forma de las orejas. Los lacitos si los hice con cinta para regalo, la verdad es que he usado muchas veces ese material, me ha rendido, se me hace súper lindo.
With the leftover pieces of the separator I made the ears, and with silicone I glued some pieces of pink foami after giving the shape of the ears. The bows were made with gift ribbon, the truth is that I have used this material many times, it has worked well, it is super cute.
Para finalizar le hice los ojitos y detalles de la cara con lapiceros en gel escarchado, justamente me los regaló a quién le hice el regalo, pienso que en parte es una forma de demostrar que me gustaron mucho esos lapiceros y que los utilizo (lo mismo pensó al recibirla). En los bordes usé un color y con eso pinté las mejillas de mi conejo también.
Finally I made the eyes and details of the face with frosted gel pens, she just gave them to the person who I made the gift, I think it's partly a way to show that I really liked those pens and that I use them (she thought the same when she received it). On the edges I used a color and with that I painted my bunny's cheeks too.
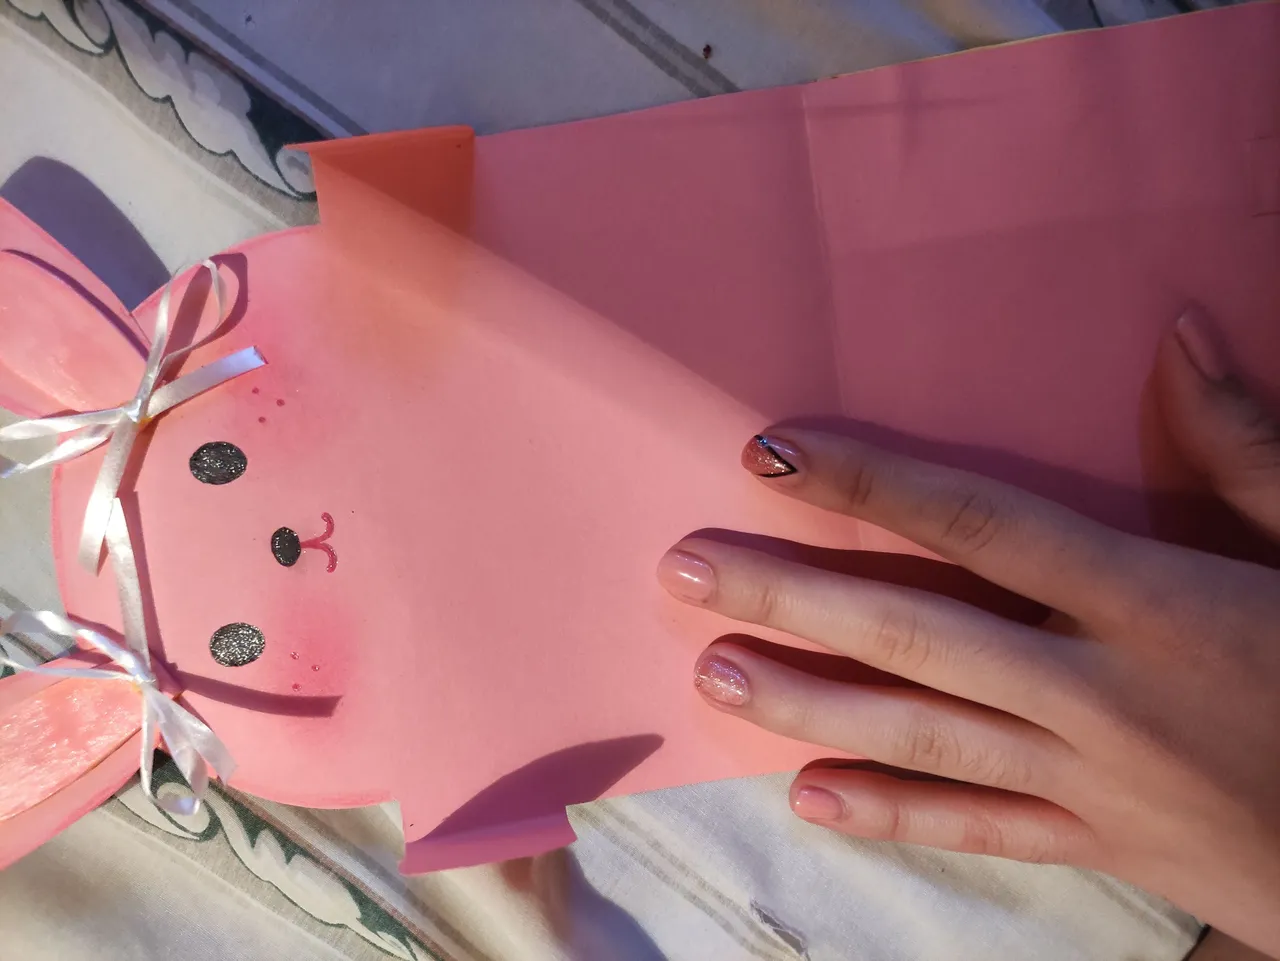
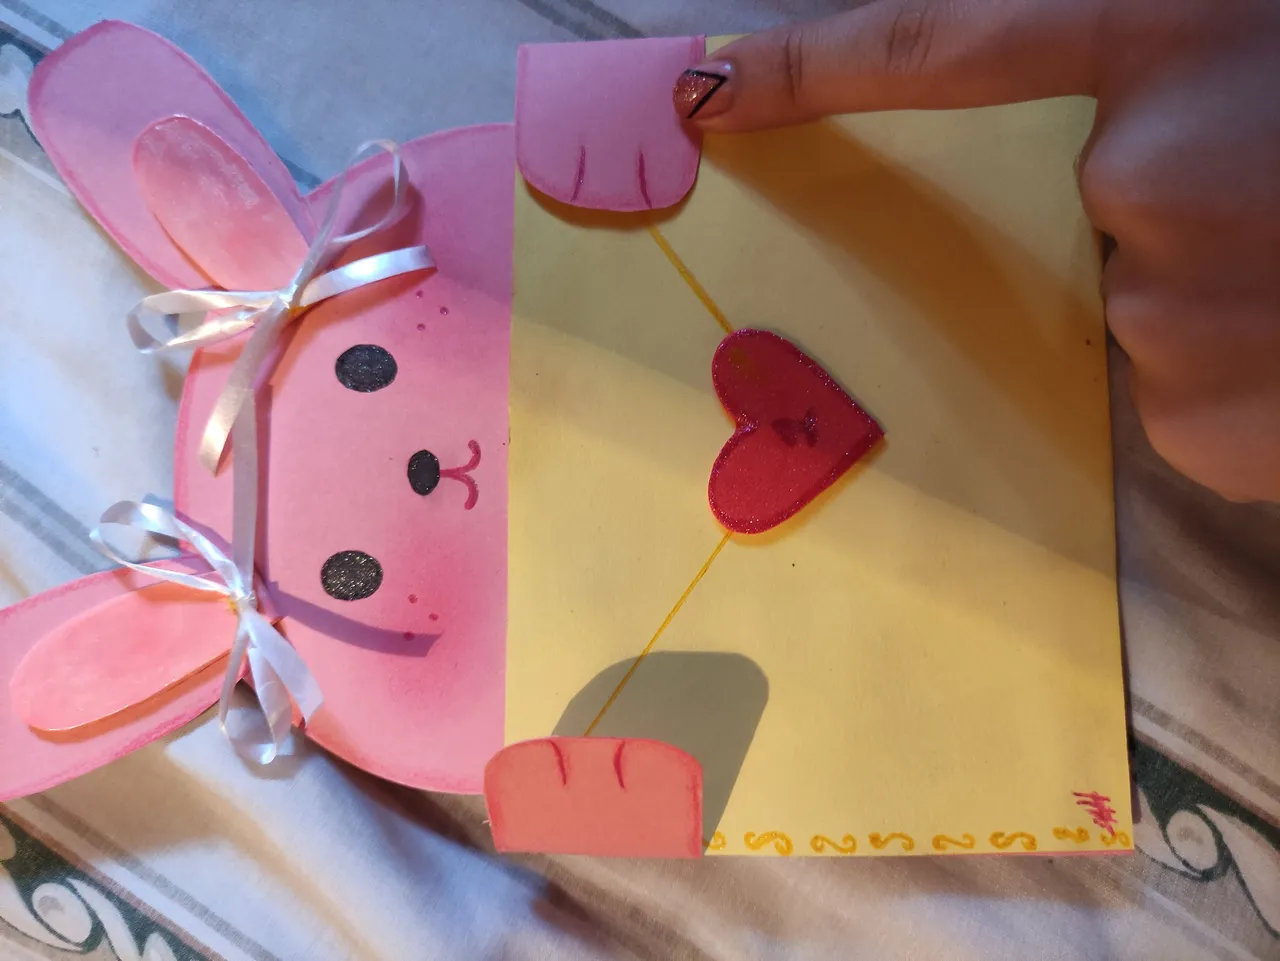
Quise ponerle una firma, y detalles según el color del sobre, le pegué un corazón hecho de foami rojo, un retazo también. Y por dentro escribí mi texto posteriormente, lamento si los dejo con la curiosidad sobre lo que decía pero soy muy tímida jajajaja. Espero que les haya gustado mi carta y hayan aprendido algo, que se puede hacer lindos detalles reciclando.
I wanted to put a signature on it, and details according to the color of the envelope, I glued a heart made of red foami, a piece of it too. And inside I wrote my text afterwards, I'm sorry if I leave you curious about what I said but I'm very shy hahahaha. I hope you liked my letter and learned something, that you can make nice details by recycling.