Making a Cartridge (pencil holder) with Recyclable Material.

Hola queridos amigos el día de hoy para organizar mis lapiceros, lápices de colores y para escribir elabore una práctica y hermosa cartuchera (porta lápices) utilizando material reciclable que tengo en casa con esto colaboro con el medio ambiente y desarrollo destrezas por tal razón los invito para que me acompañen a realizar dicha cartuchera.

Hello dear friends, today to organize my pens, colored pencils and to write, I made a practical and beautiful pencil case (pencil holder) using recyclable material that I have at home with this I collaborate with the environment and develop skills for such reason I invite you to accompany me to make this cartridge.

20210426_182726.jpg

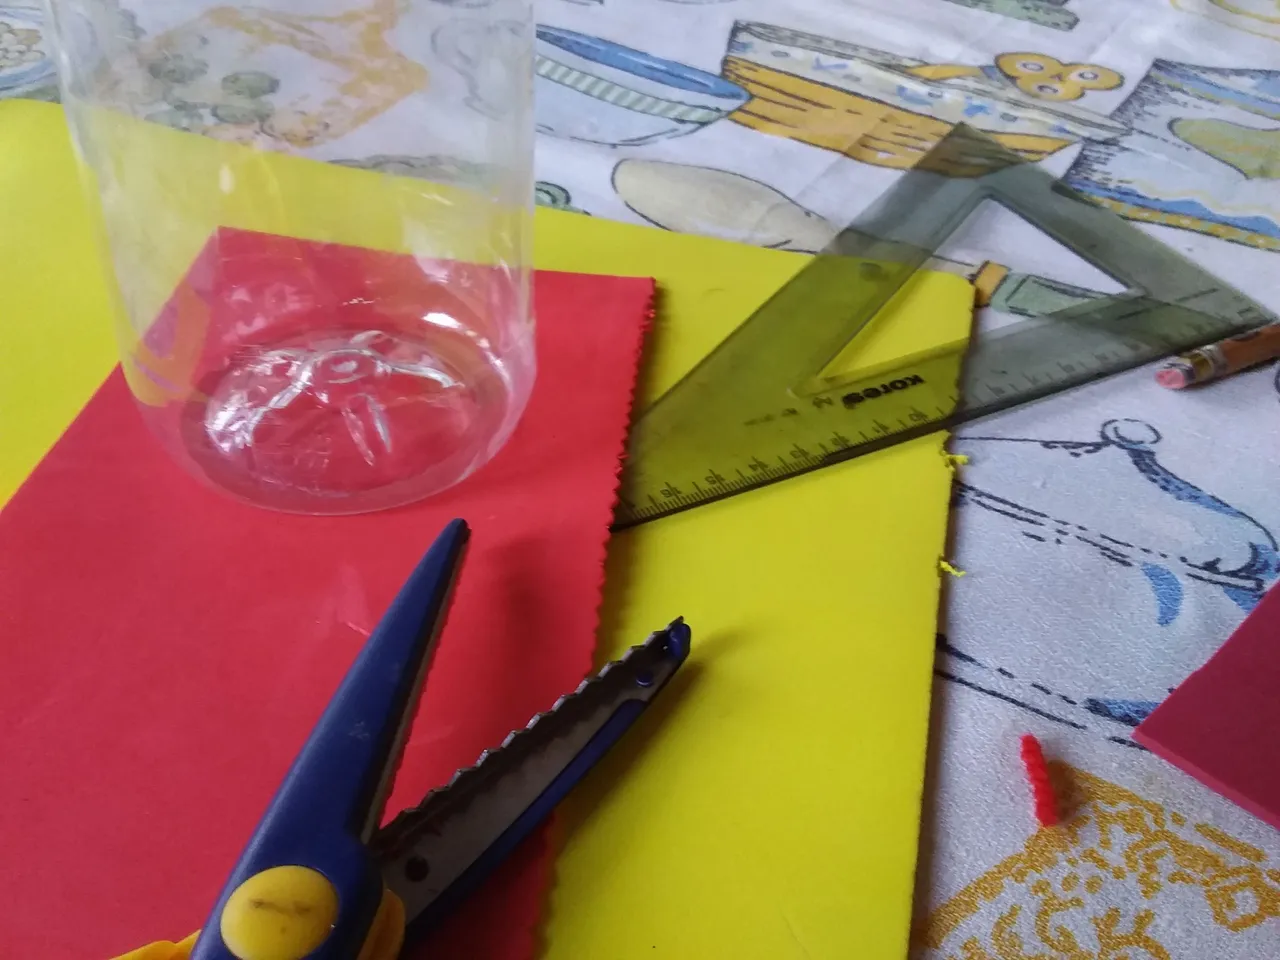
Materiales a Utilizar:

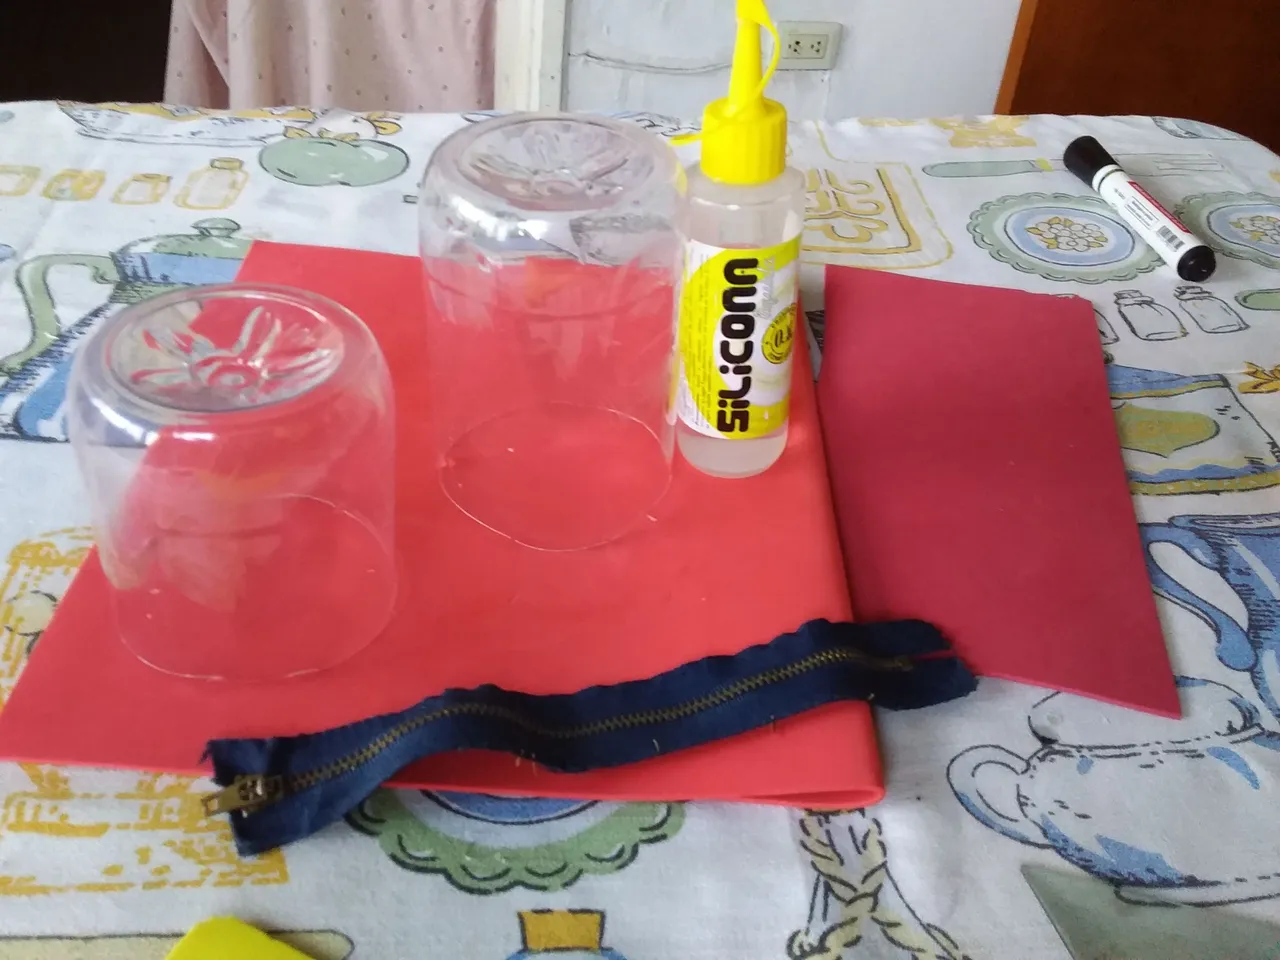
  • Foami de Varios Colores.
  • 2 Botellas Plásticas.
  • 1 Cierre.
  • Pega.
  • Tijera.
  • Marcador.

The materials to use:

  • Foami of Various Colors.
  • 2 Plastic Bottles.
  • 1 Close.
  • Paste.
  • Scissors.
  • Bookmark.

20210426_173300.jpg

Proceso de Elaboración:

Lo primero que hacemos es cortar las botella a la medida deseada dejando la parte de abajo más alta que de arriba donde reposaran los lápices, colores y lapiceros para después limpiarlas para el siguiente paso.

Elaboration process:

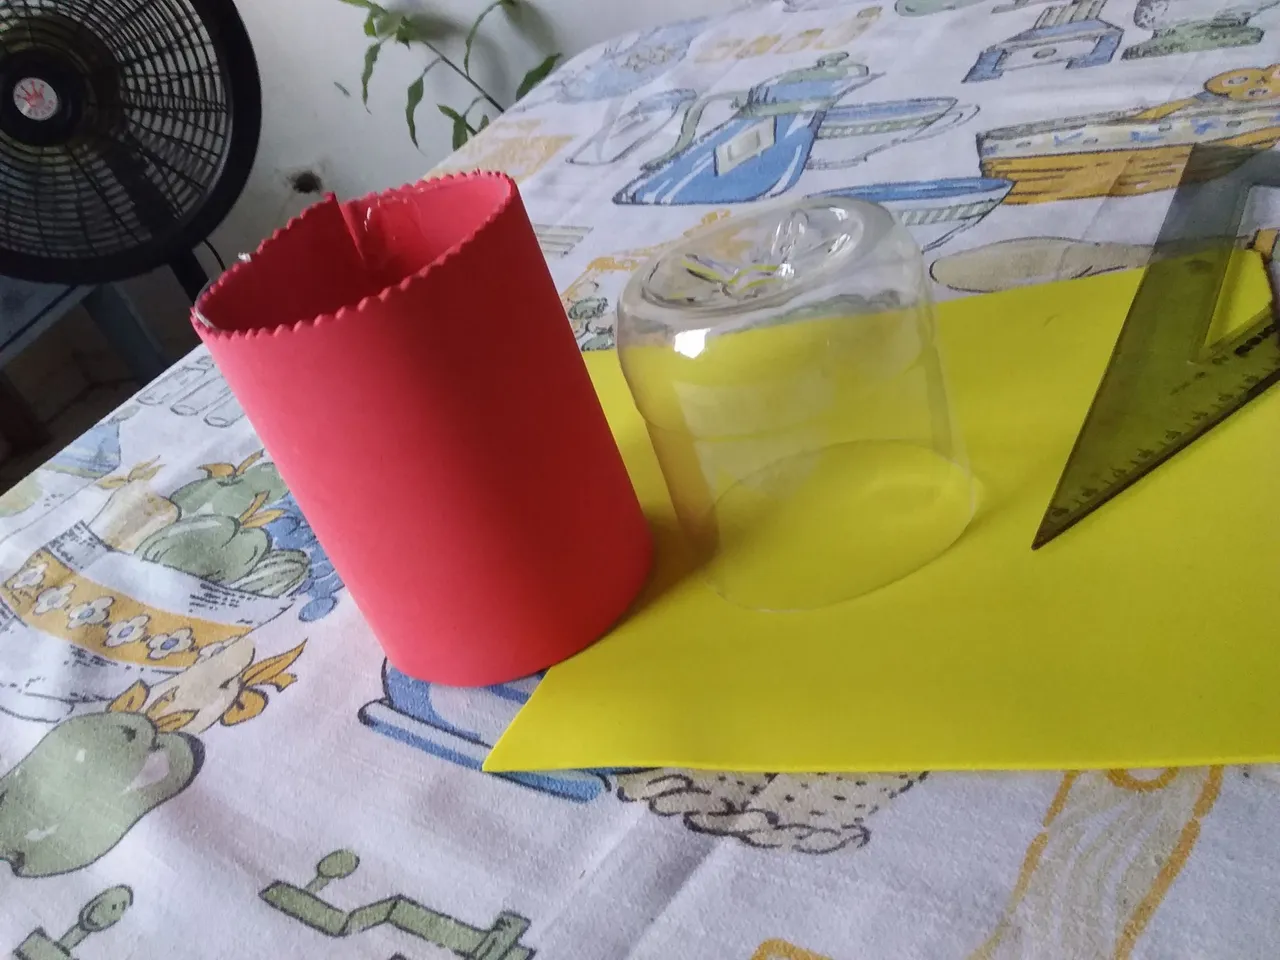
The first thing we do is cut the bottles to the desired size, leaving the bottom part higher than the top where the pencils, colors and pens will rest and then cleaning them for the next step.

20210426_174341.jpg

Luego de cortadas las botellas y limpiarlas procedemos a medir el Foami tomando como base la parte más alta de la cartuchera, para este caso tomamos un pedazo de Foami de color rojo lo cortamos a la medida y utilizando pega forramos la parte baja de la cartuchera. (porta lápices)

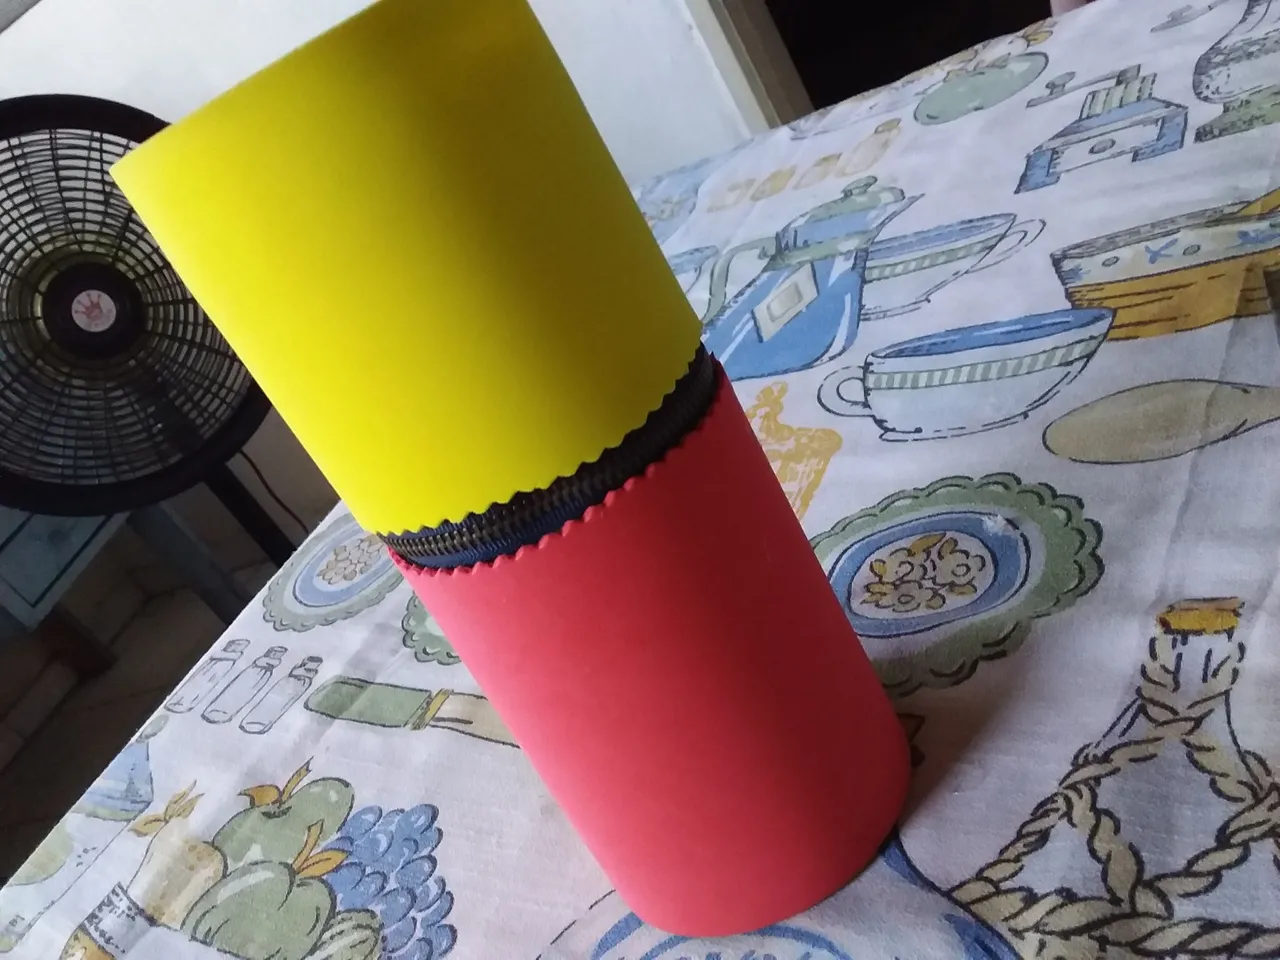
After cutting the bottles and cleaning them, we proceed to measure the Foami based on the highest part of the holster, in this case we take a piece of red Foami, cut it to size and using glue we cover the lower part of the holster. (pencil holder)

20210426_174652.jpg

20210426_175340.jpg

Siguiendo con el procedimiento tomamos un pedazo de Foami de color amarillo y lo cortamos a la medida de la parte superior de la cartuchera (porta lápices) y lo forramos colocando pega.

Following the procedure, we take a piece of yellow Foami and cut it to the size of the upper part of the pencil case (pencil holder) and cover it by placing glue.

20210426_180059.jpg

Una vez secada la pega que utilizamos para forrar la cartuchera procedemos a colocar el cierre con pega pegando la parte inferior de la cartuchera que viene siendo la parte más alta y luego la parte superior que vendrá siendo la tapa de nuestra cartuchera. (porta lápices)

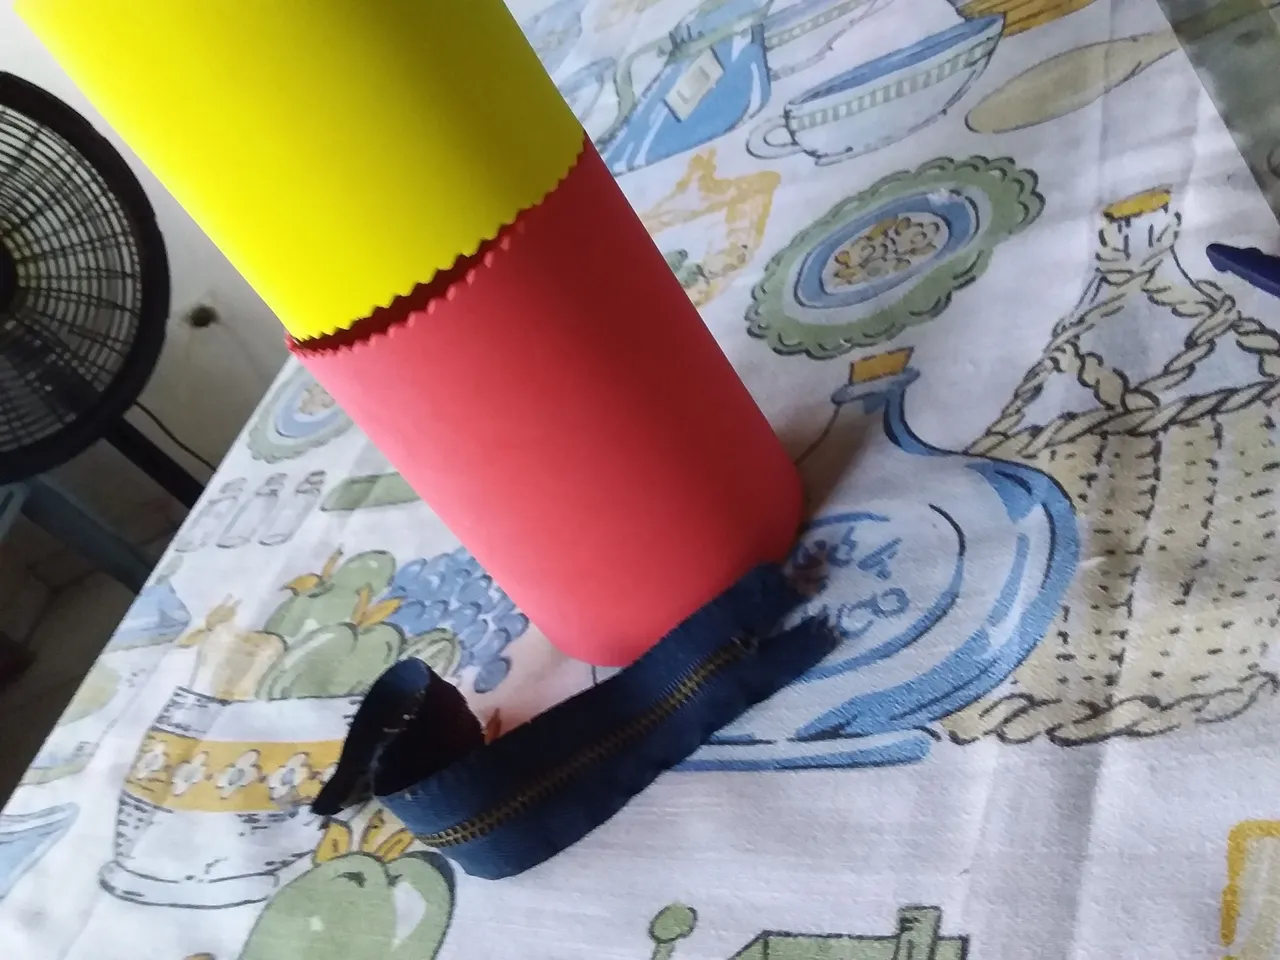
Once the glue that we use to line the pencil case has dried, we proceed to place the closure with glue by gluing the lower part of the pencil case that is the highest part and then the upper part that will be the cover of our pencil case. (pencil holder)

20210426_180334.jpg

20210426_180608.jpg

Mientras se seca la pega que sujetara el cierre tomamos un pedazo de Foami de color rojo y los cortamos de forma redonda para colocarlo en la parte de arriba de la tapa para terminar de forrar nuestra cartuchera. (porta lápices)

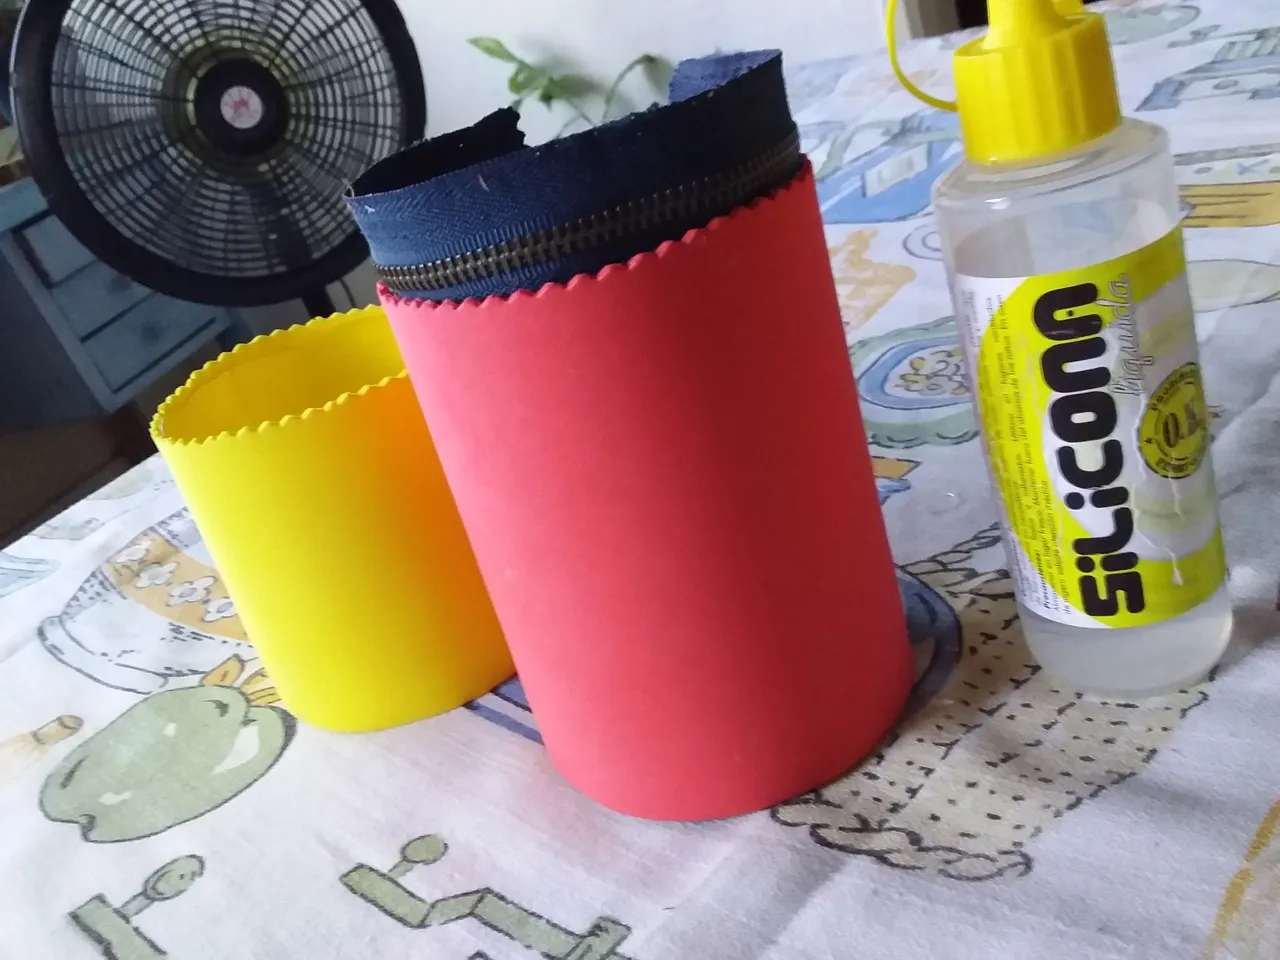
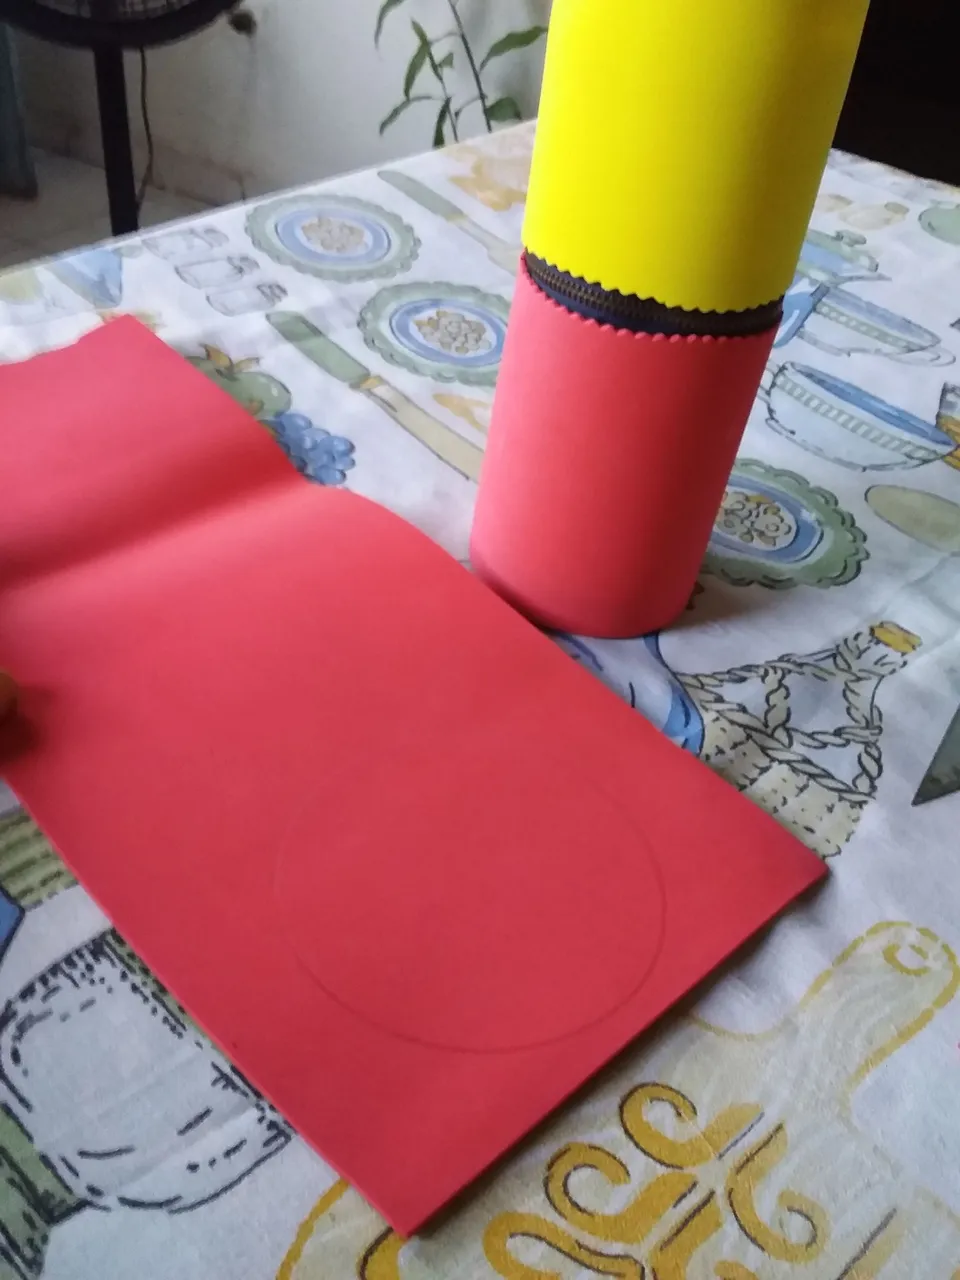
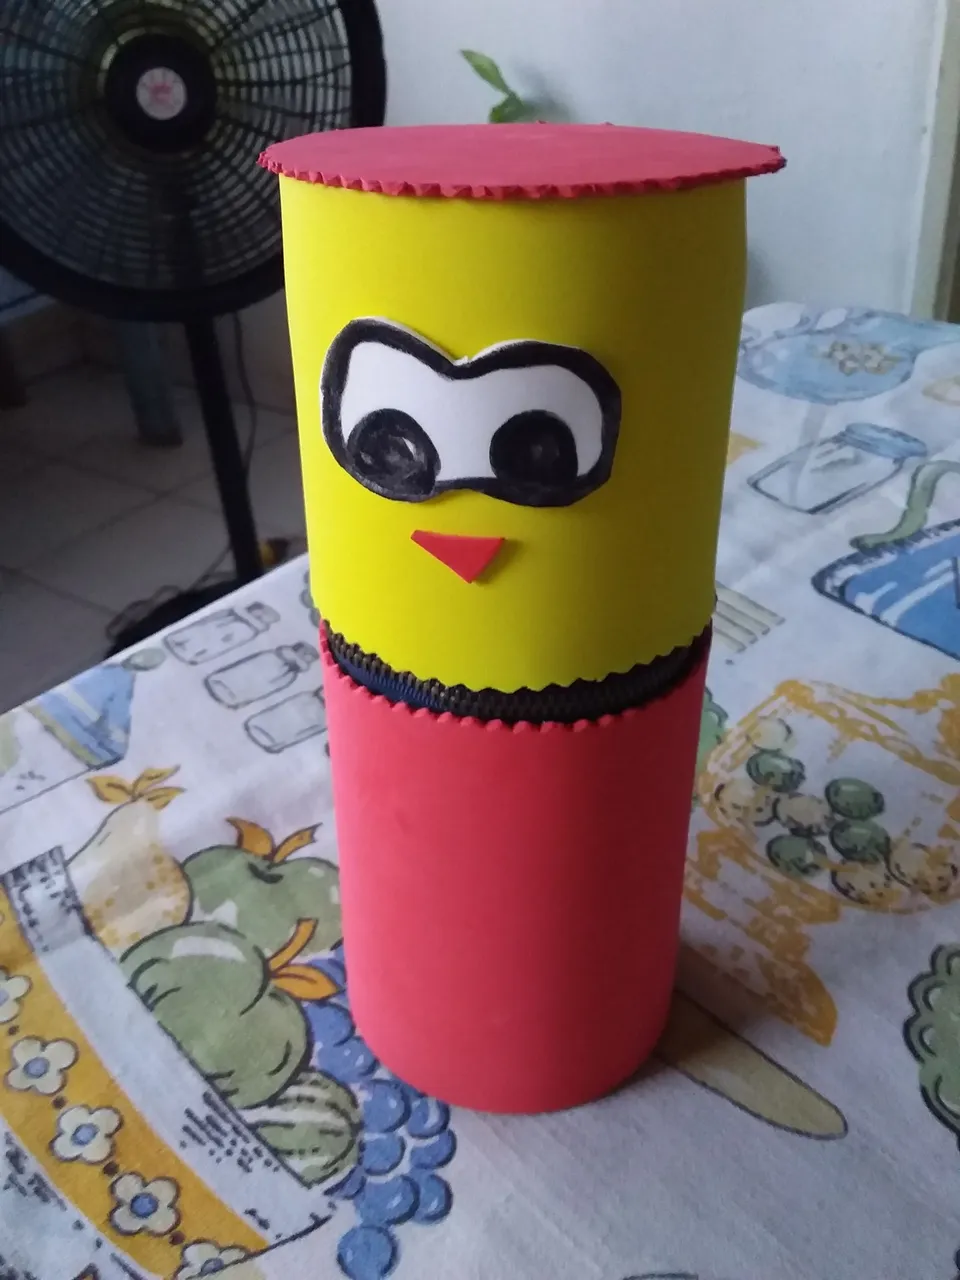
While the glue that holds the closure dries, we take a piece of red Foami and cut them in a round shape to place it on top of the lid to finish lining our pencil case. (pencil holder)

20210426_180719.jpg

Mientras se seca la pega iniciamos la decoración tomando un pedazo de Foami blanco y hacemos los ojos y lo pegamos con pega a nuestra cartuchera (porta lápices) y utilizando un marcador negro dibujamos los ojos, luego con un pedazo de Foami de color rojo hacemos la nariz .

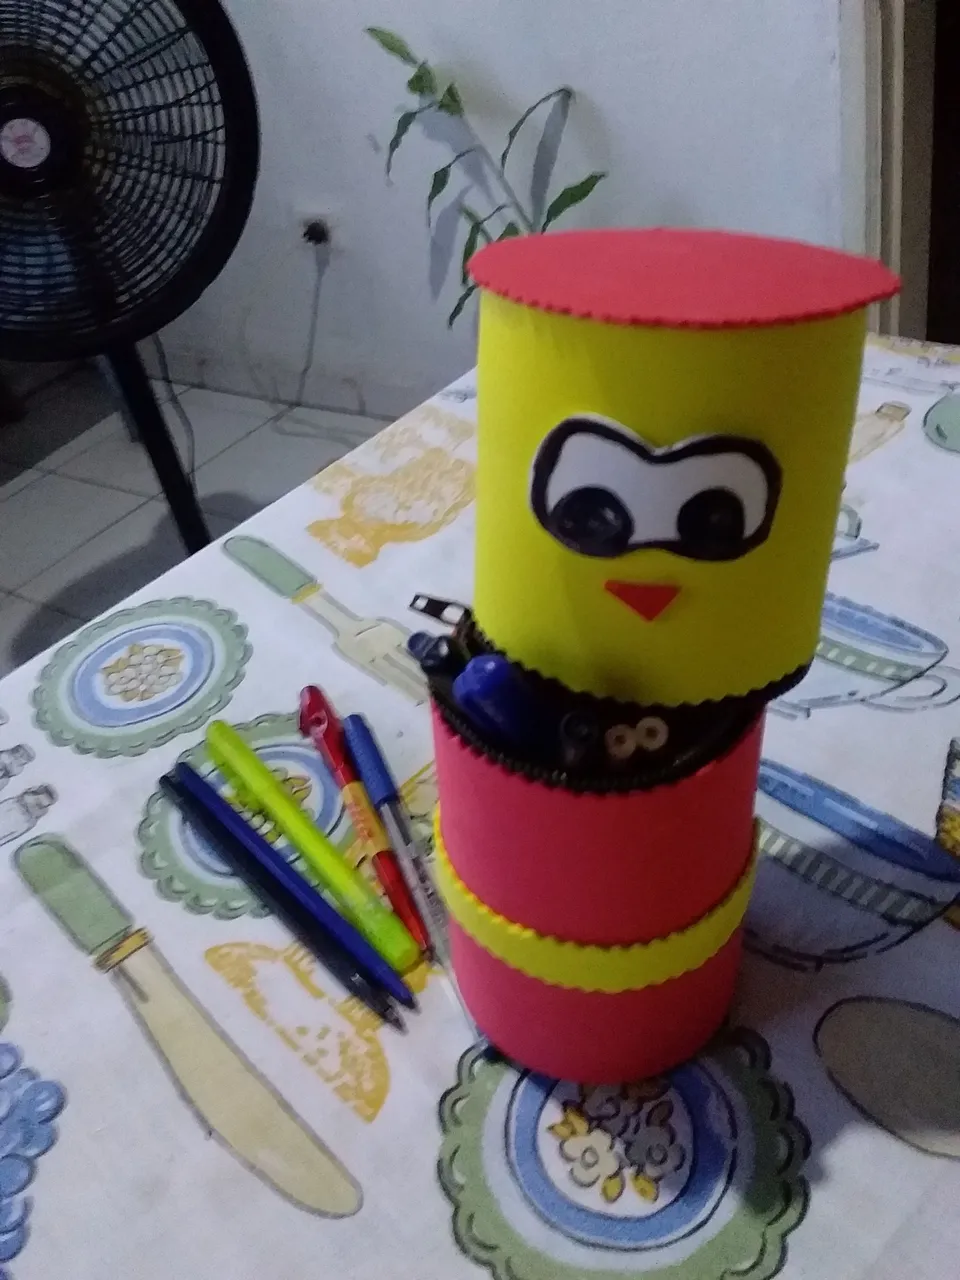
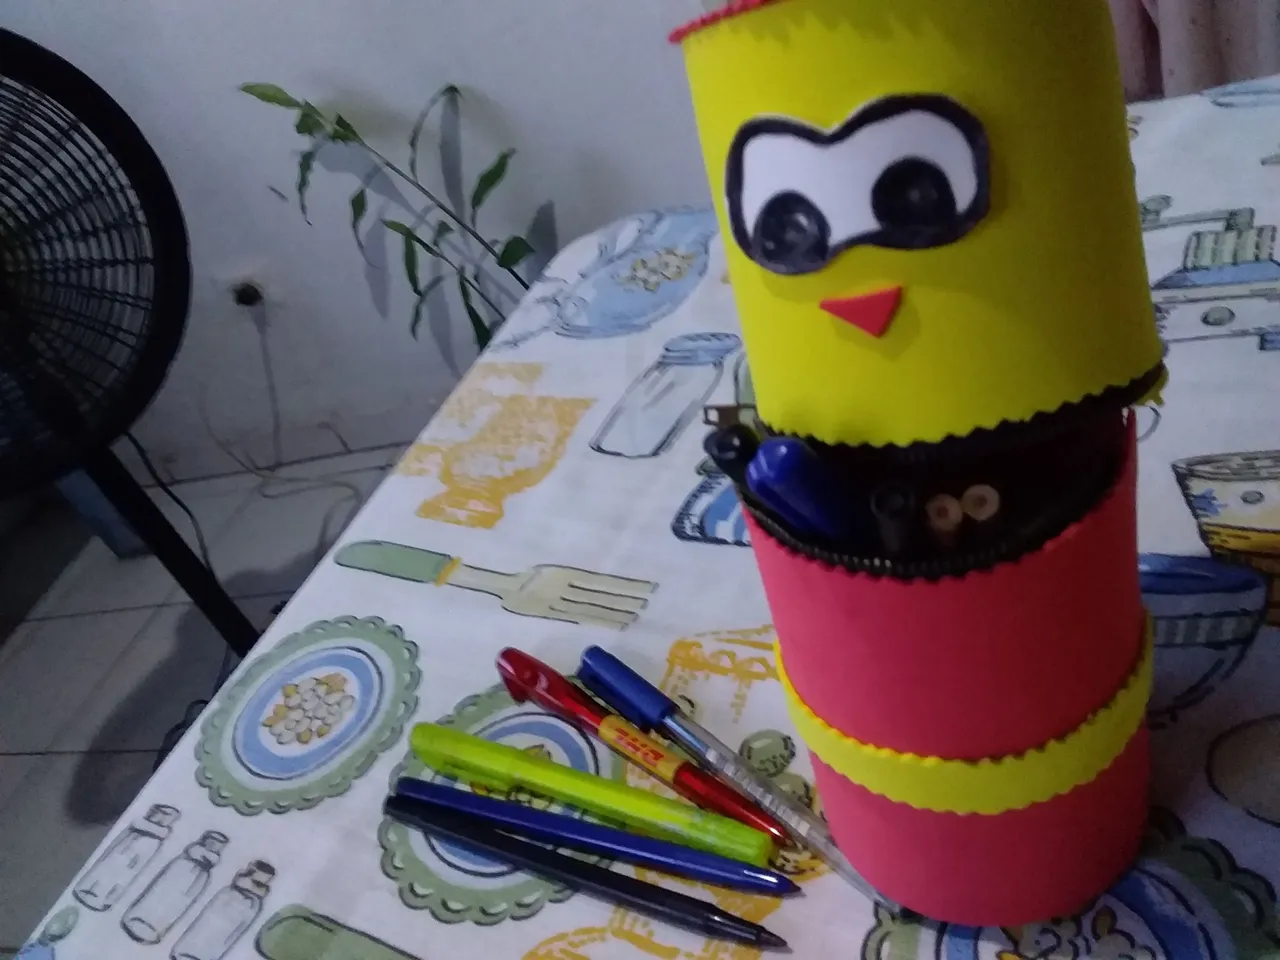
While the glue dries, we start the decoration by taking a piece of white Foami and make the eyes and glue it to our pencil case (pencil holder) and using a black marker we draw the eyes, then with a piece of colored Foami red we make the nose.

20210426_181717.jpg

Para culminar con nuestra decoración tomamos un pedazo de Foami amarillo y lo cortamos en forma de tira y la pegamos el parte inferior de nuestra cartuchera. (porta lápices)

To finish with our decoration, we take a piece of yellow Foami and cut it into a strip and glue it to the bottom of our pencil case. (pencil holder)

20210426_181920.jpg

20210426_182053.jpg

Una vez seca la pega procedemos abrir el cierre y probamos nuestra cartuchera (porta lápices) anexando dentro de ella los lapiceros, lápices y colores, quedando así culminada nuestra cartuchera. (porta lápices)

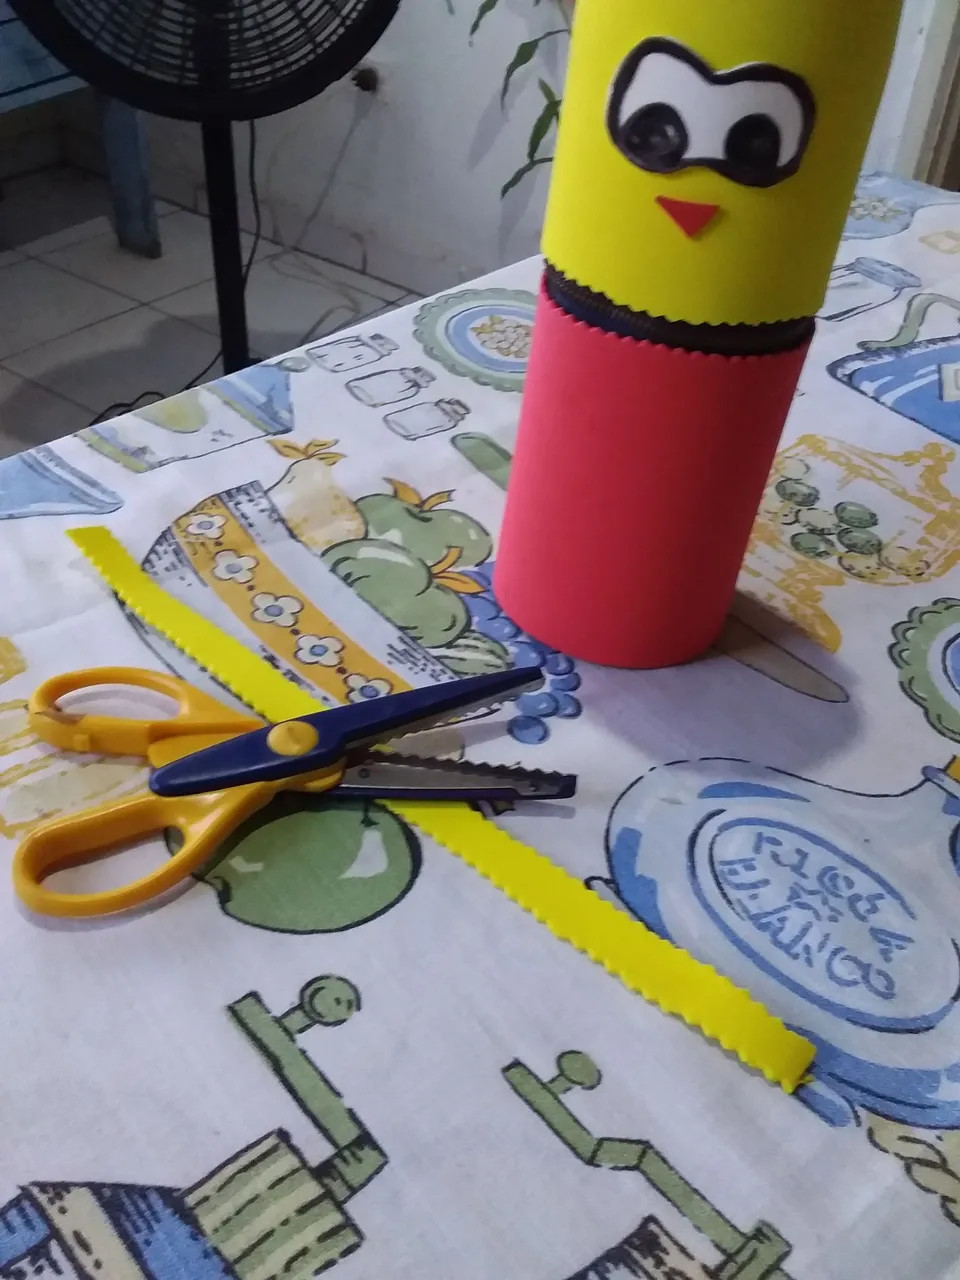
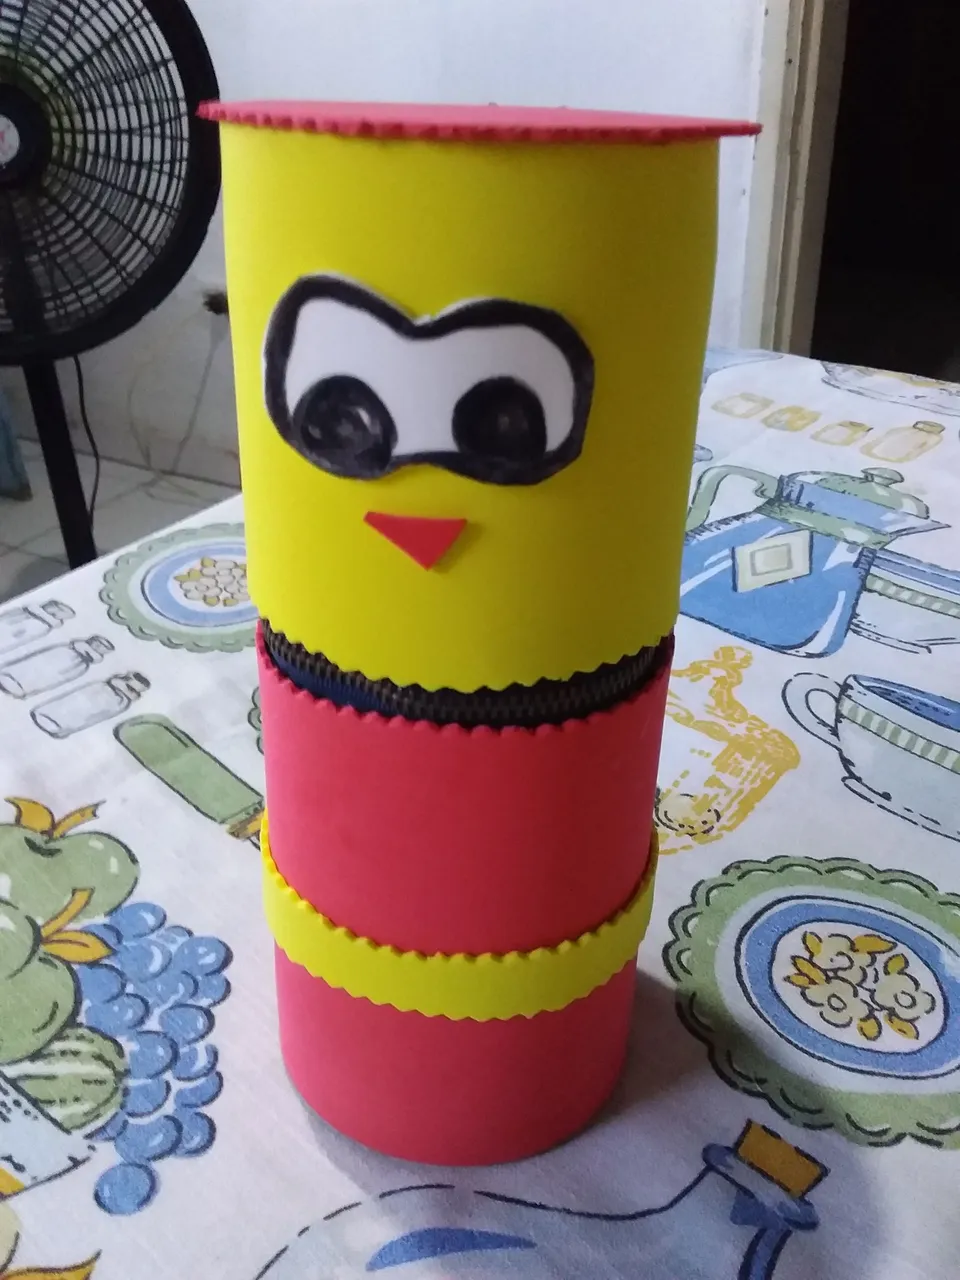
Once the paste is dry, we proceed to open the closure and test our pencil case (pencil holder) by attaching the pens, pencils and colors inside it, thus completing our pencil case. (pencil holder)

20210426_182813.jpg

H2
H3
H4
3 columns
2 columns
1 column
Join the conversation now
Ecency