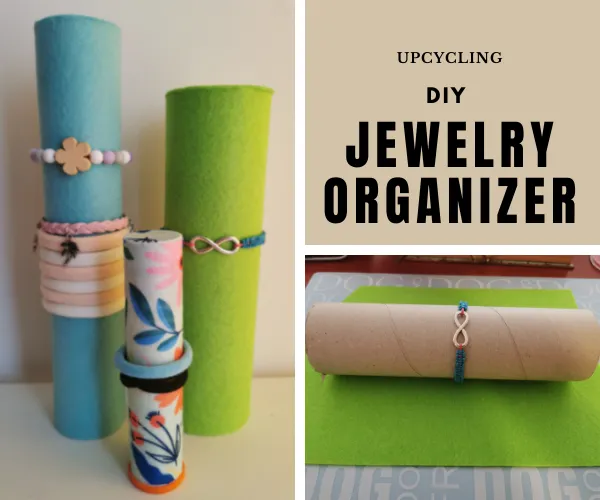
Hair accessories and jewelry everywhere
This has been a pain to my eye for a long time, and I already started crafting the solution a long time ago, but then I lost touch with the project and decided this wasn't the solution for the jewelry and other small stuff that's been lying around in every room of the house. When I started creating the organizer, it was good enough, but over time more items were added and therefore it wasn't good enough to move all those items to one place anymore.
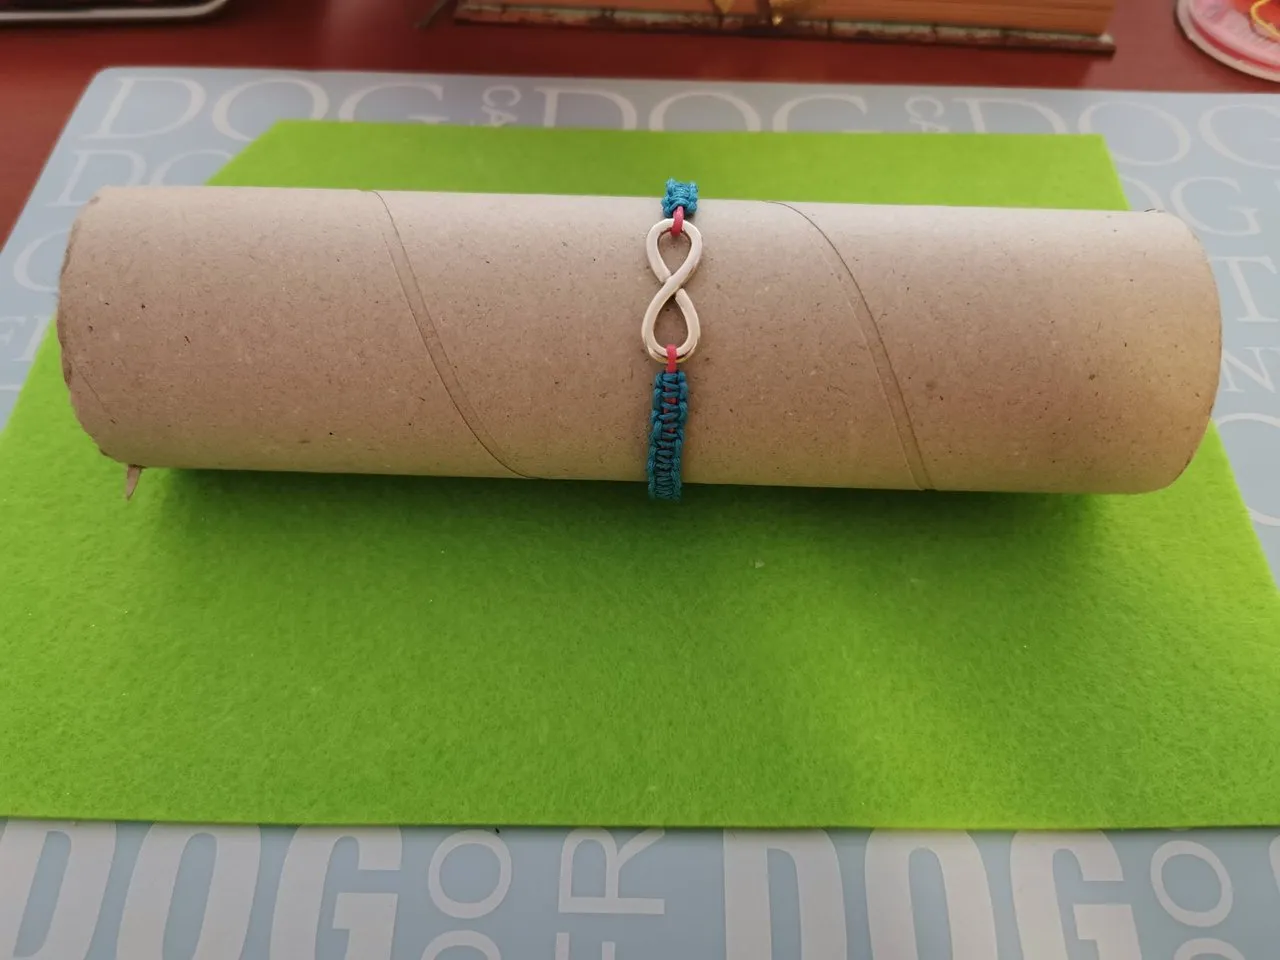
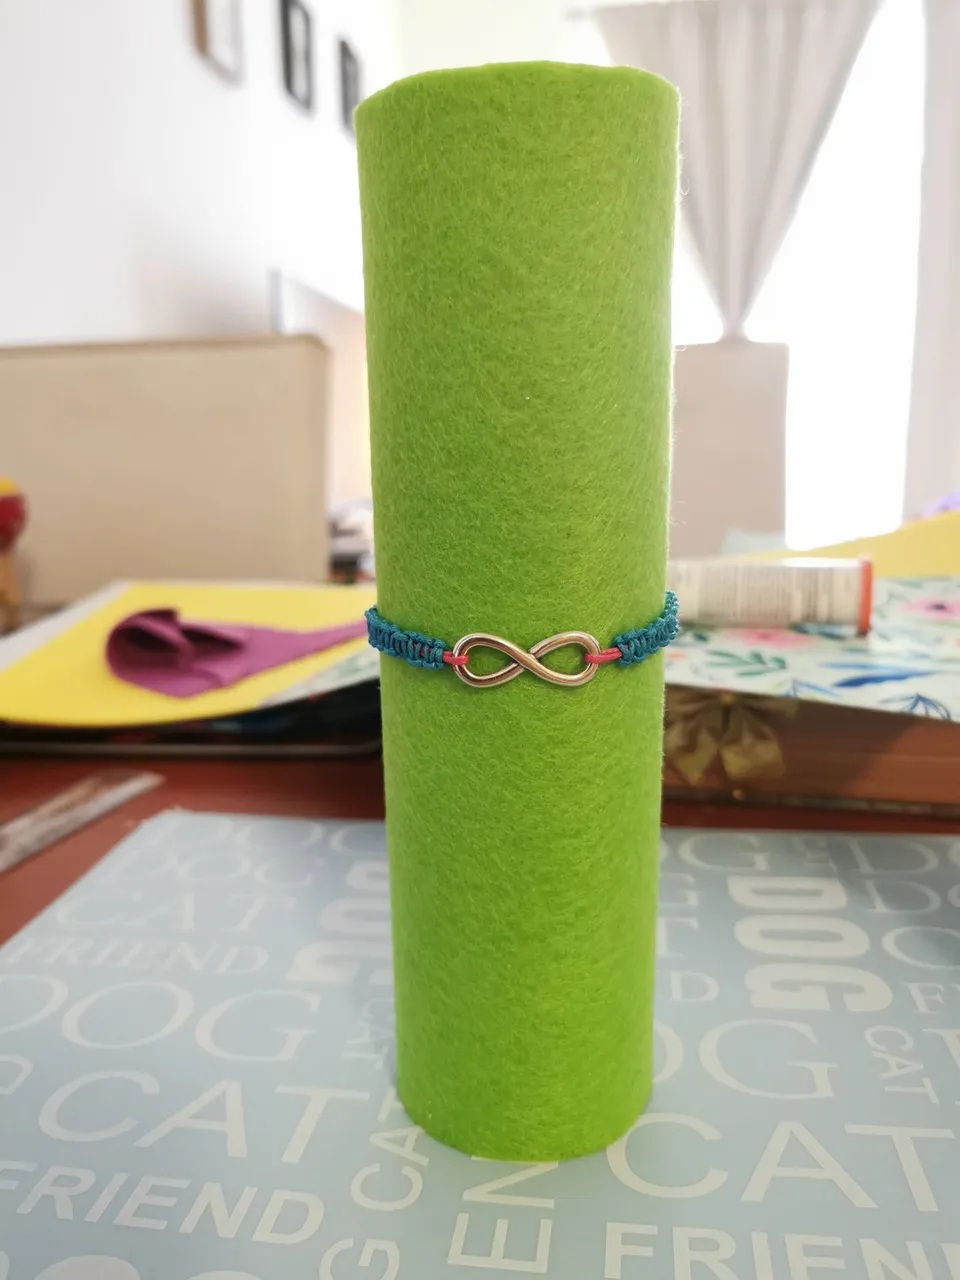
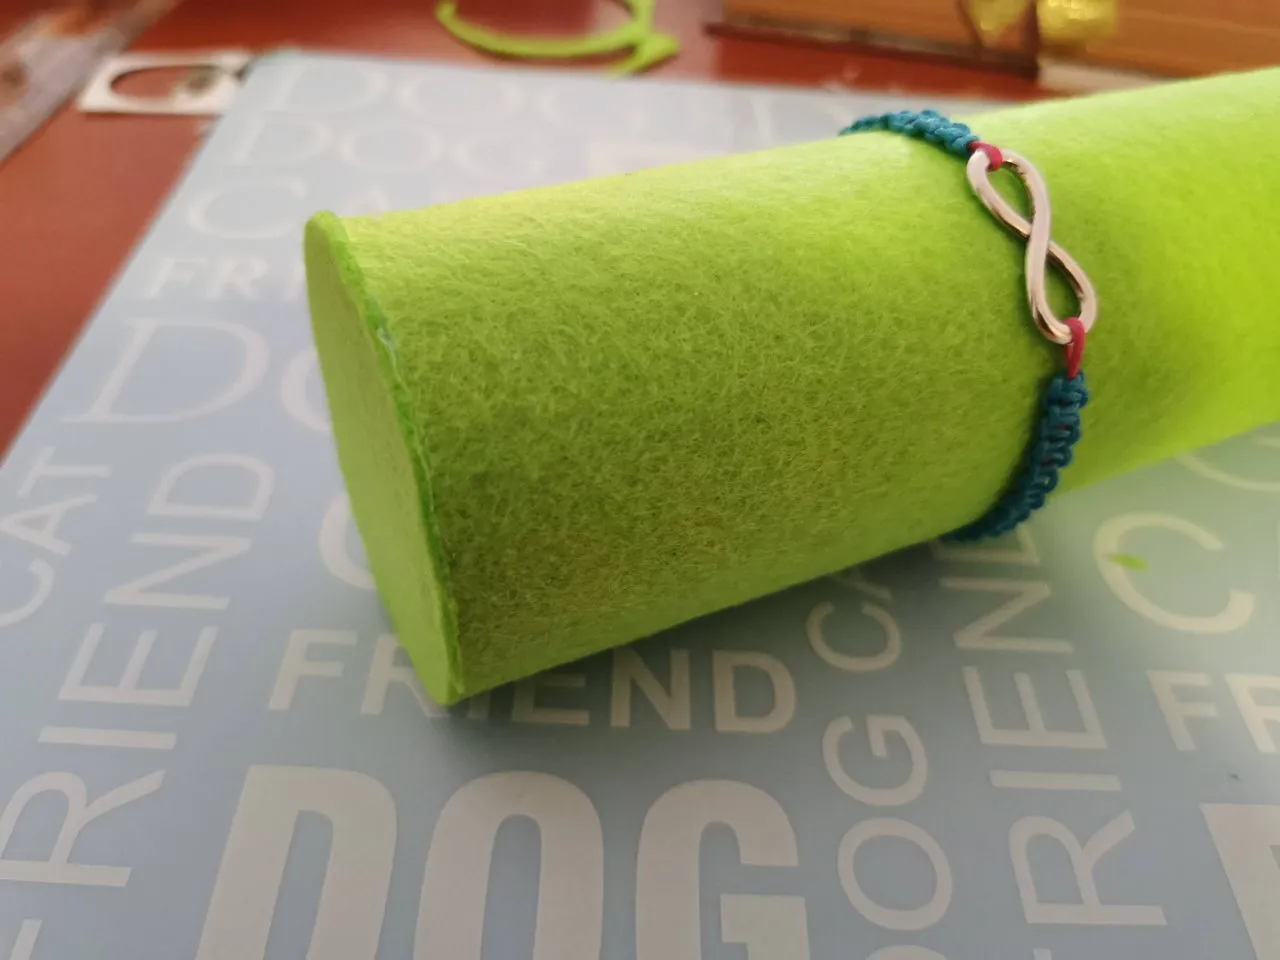
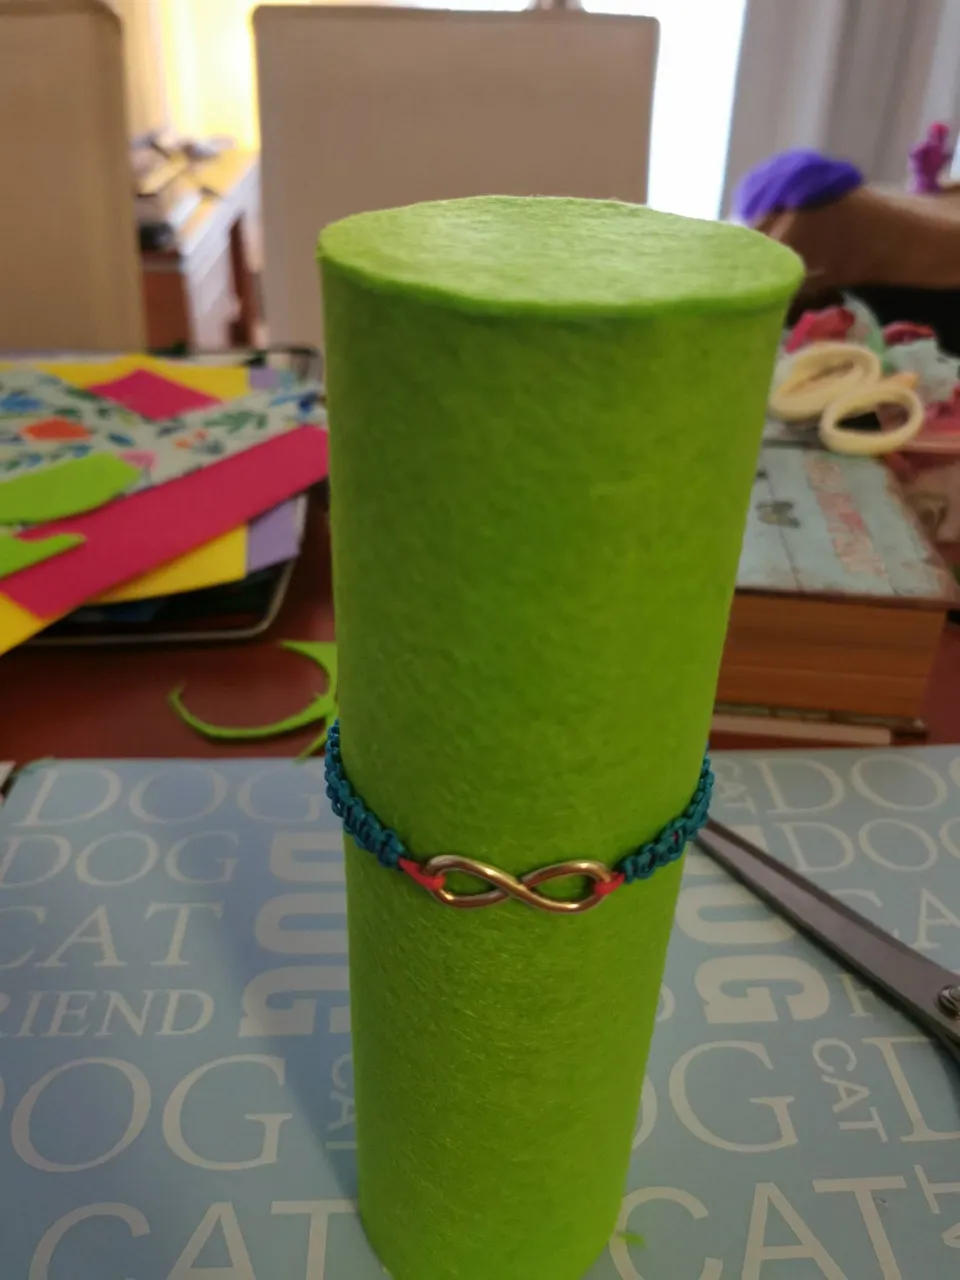
I had to think about the new solution for a while and hoped I could create something from recycled materials instead of buying something new for this. When I was going through a box with unused items, I found this cardboard roll that used to be filled with kitchen paper. I tried to fit one of the bracelets that were lying around on the table, and it's a perfect fit!
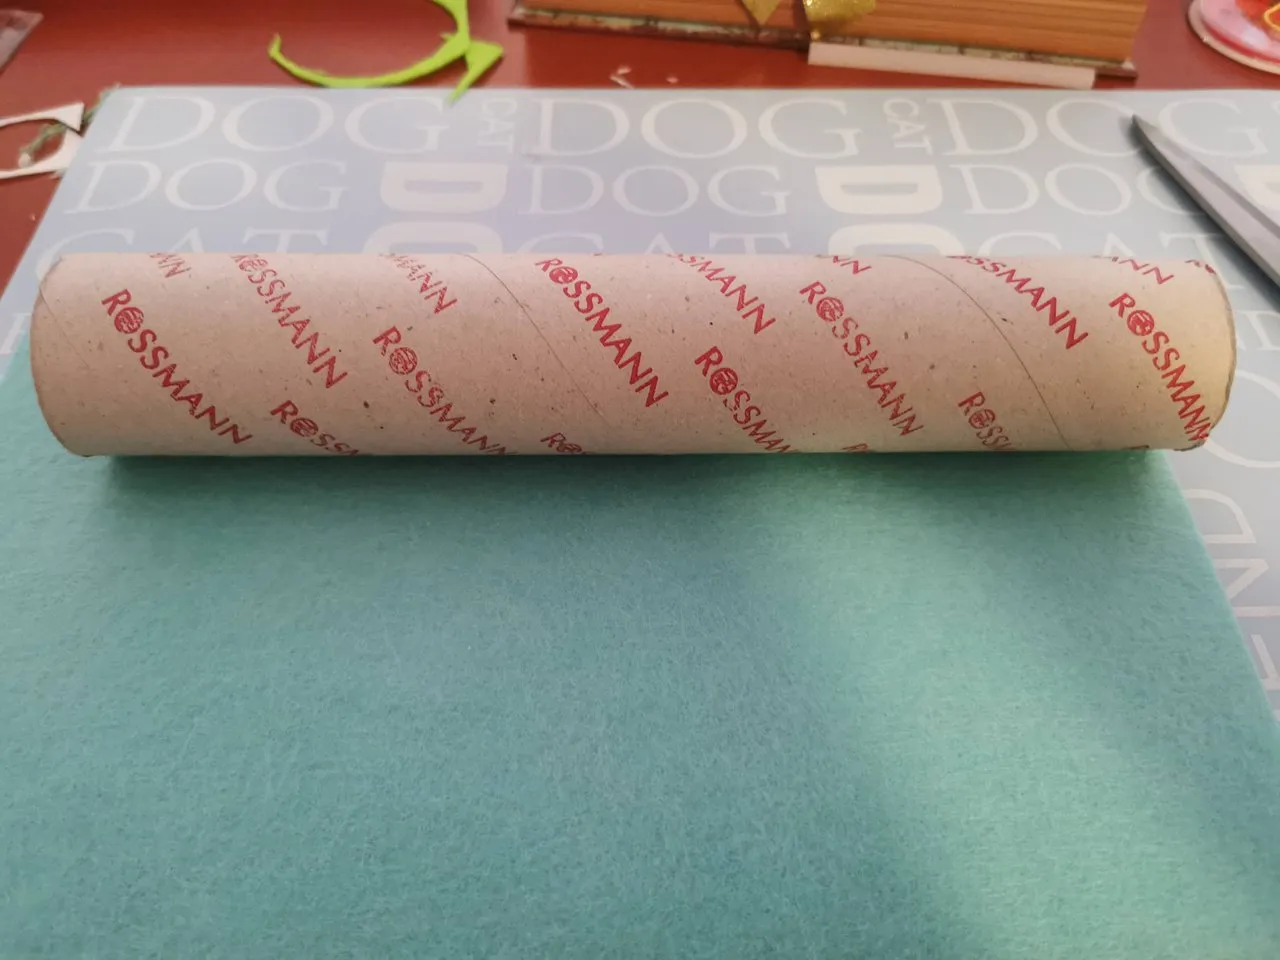
I knew immediately how to solve this problem for part of the jewelry: cover this with felt so that it's fun to look at and the jewelry stays in place thanks to the structure of the felt. This only solves my problem for the bracelets and watch, but not for the tons of hair elastics that are also spread through the house. Luckily, I also had another similar cardboard roll that was a bit smaller:
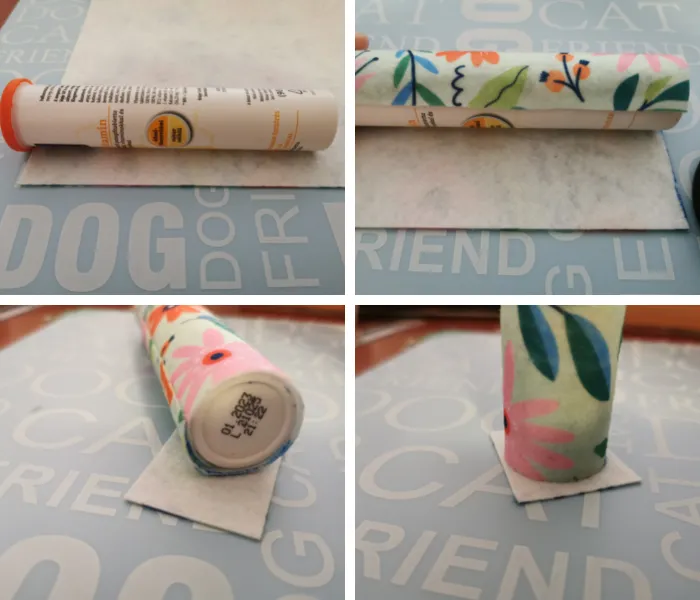
And now only one more size is needed, for the tiniest elastics in the house:

As you can probably see, this is a vitamin package and also works perfectly using the same technique, covering it with felt. This time I chose a more colorful print.
Let's get started
Besides the items I showed above, not much is needed. This is once again a very cool up-cycling project where the biggest part of the project is created from up-cycled items that would normally end up in the bin. I always have felt available because I love using it for many craft projects and once again, it's proven to be very useful to have felt in the house, maybe even more useful than having paper! As soon as my felt collection slims too much, I get another pile of felt in different colors so that I always have options when crafting something with felt.
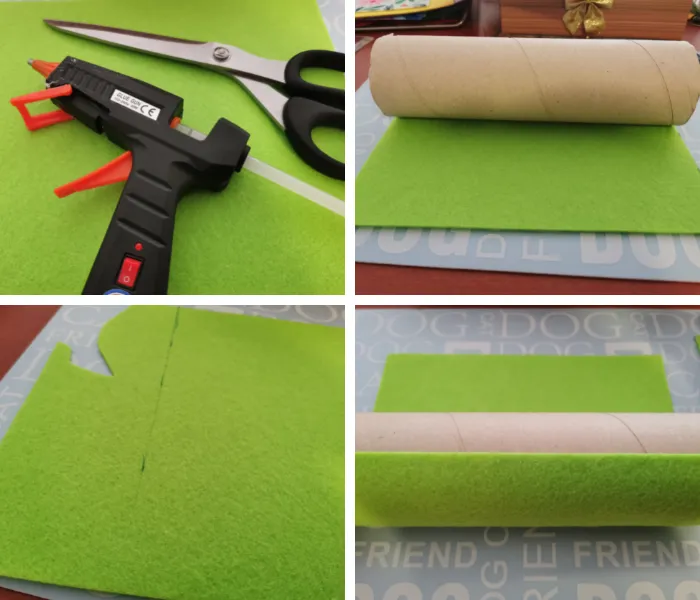
You will need a glue gun (or other glue if you prefer so), scissors and pen(cil) is optional. I used it to mark the felt before cutting it.
Measure the size of the felt, mark it, and cut it. Check if the size is correct after cutting, before you start to glue!
So simple, but yet effective! It's truly a perfect fit. And the colors are cute together as well. Now it's time to add some final detail to this organizer:

Use the leftover felt to glue the parts together so that you can have a closed side on the organizer. It looks better than when this is open.
Once it sticks, cut around the edge and it will look similar to the image above. Looks great if you ask me.
Repeat the process with the other cardboard one as well. And last but not least, let's create the smallest organizer, I took pictures of this process as well:

And that's a wrap!

Time to see them in full glory
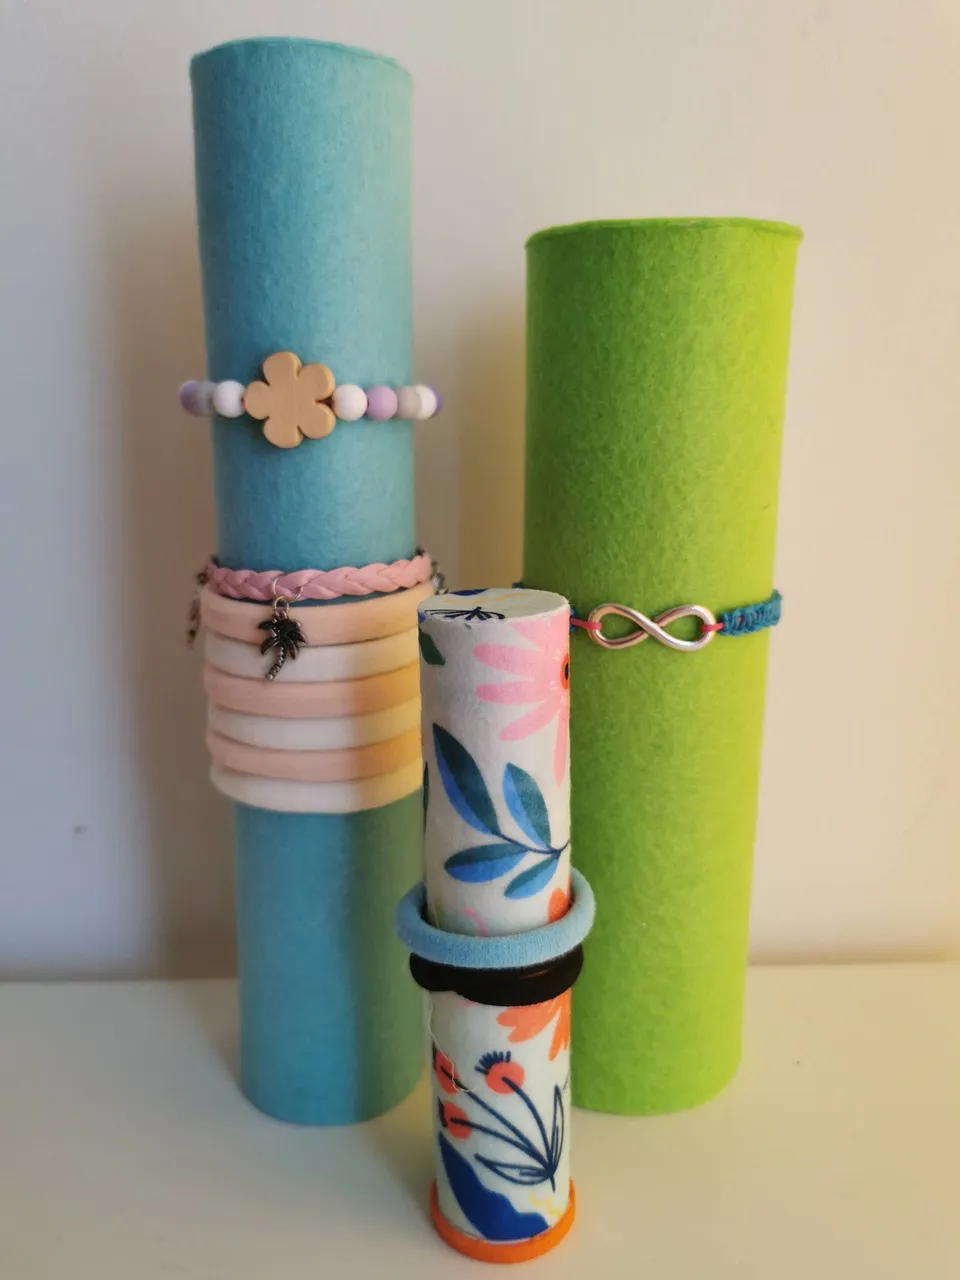
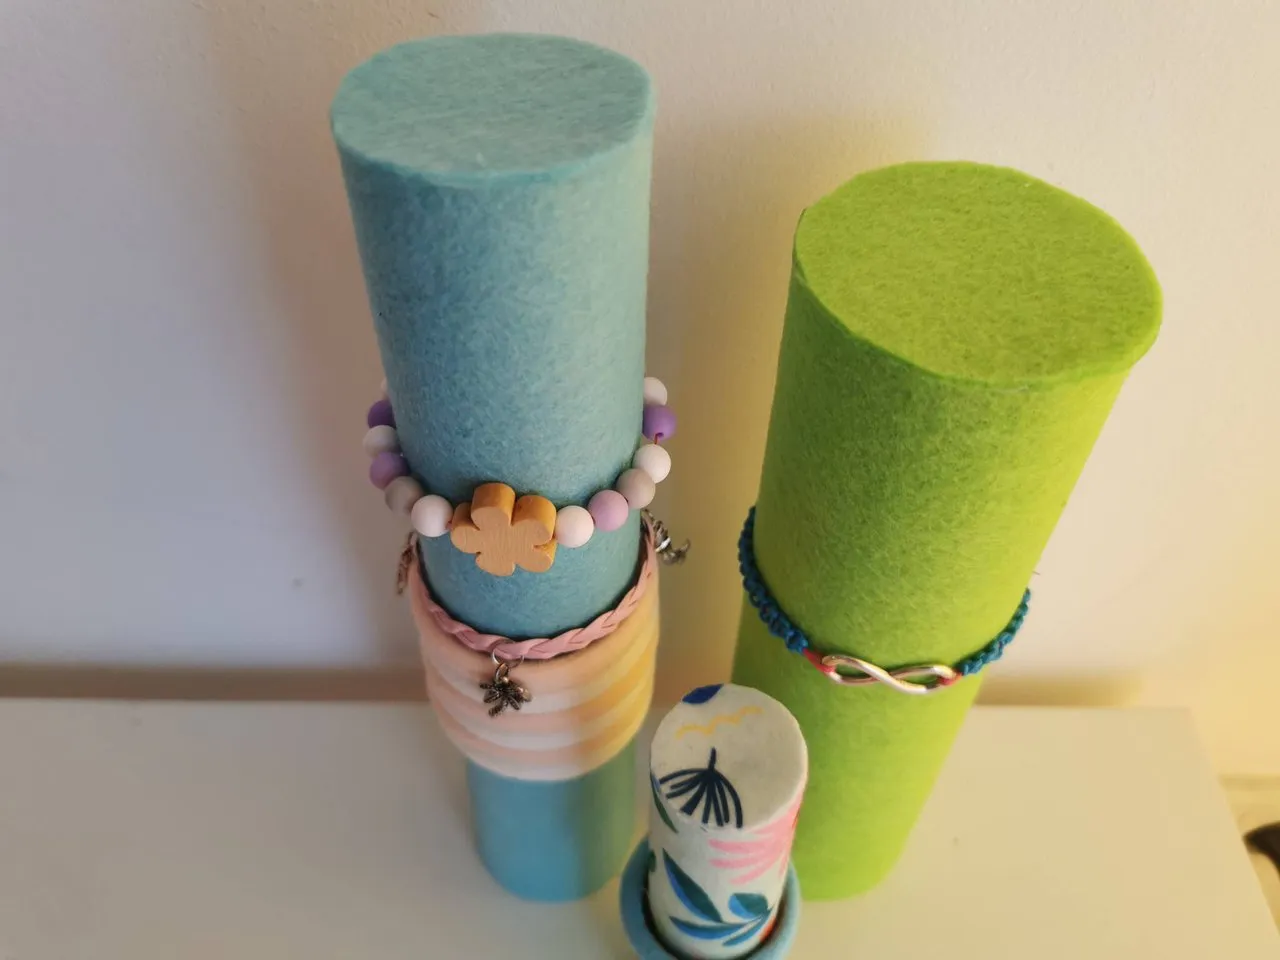
As you can see, the blue one turns out to be the most valuable size here in the house. The smallest one will be filled with elastics soon because I know we have tons of them. The green one looks cool but I don't have that many bracelets in that size yet. I will have to up my game creating bracelets now, as I can display them nicely with these newly created organizers.
What do you think? Do you like them? Where do you leave your jewelry and hair accessories? Please feel free to comment below!