
Hairclip organizers
The hairclip organizer isn't a new item to me personally. In the past, I have made plenty of hair accessory organizers in all sizes, colors, and forms. One thing I never did though, created one from an old photo frame. The reason was simple, I never had an extra frame that I could use, this is one of these things that you simply create if you have a broken photo frame.
Last year I bought quite a few photo frames in a store as I planned on printing pictures and hanging them on the wall. Until I noticed that these places where I can hang them aren't matching, and I got annoyed looking at them, so I stopped framing stuff. Why we won't just drill some new holes? It's a rental and a bit frowned upon here, we also already know (seen it happen with the owner's drilled holes) that the walls aren't that great, and it would most likely end up being a disaster, rather than cool addition to letting the wall shine with cool pictures or art.
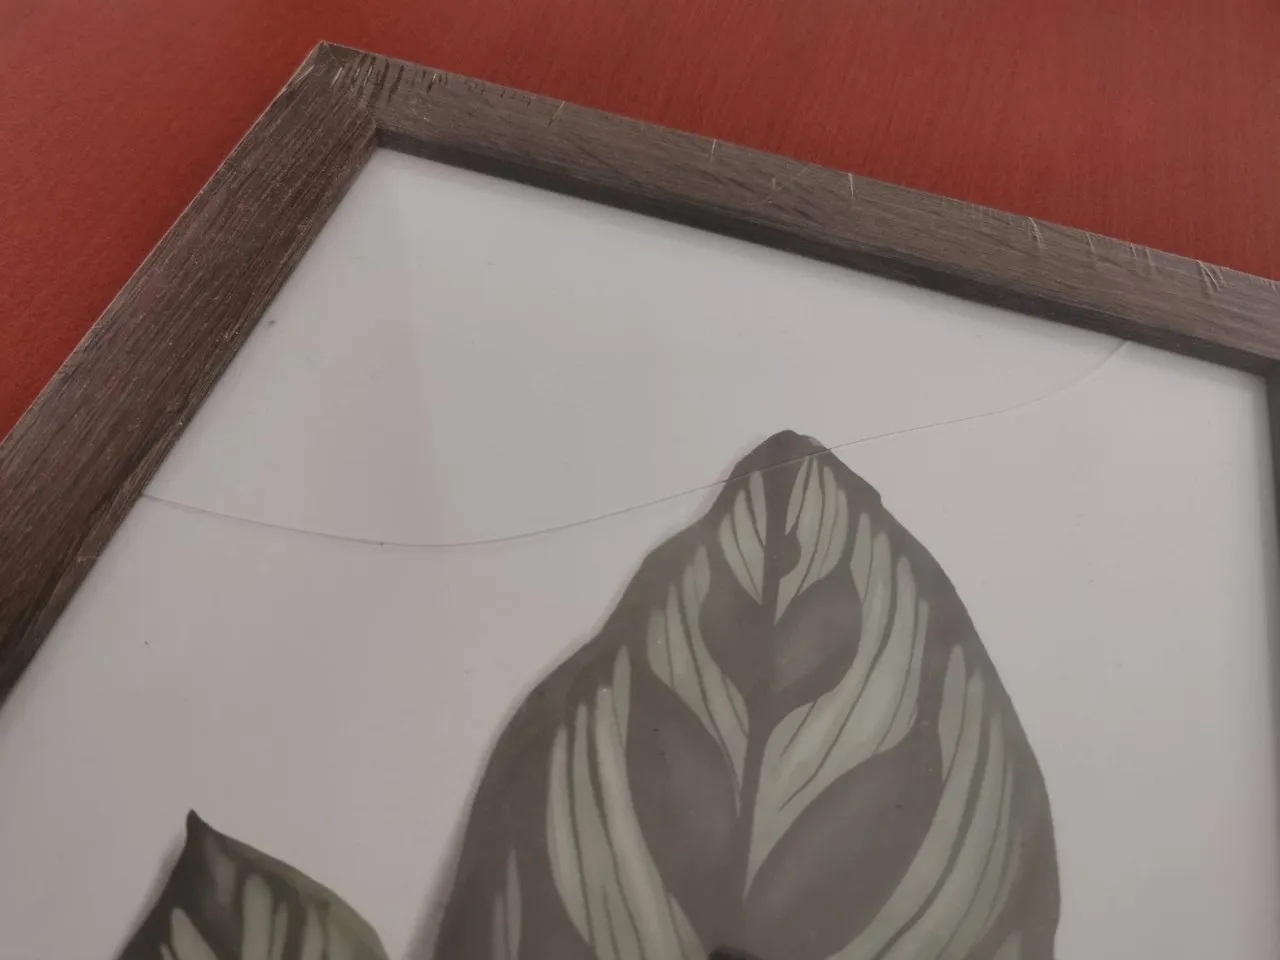
Once this was clear, I placed all the extra photo frames in a box on top of each other, and recently found out that I had a broken glass in one of the still foiled frames.
I knew this was my chance to create a hair clip organizer for my daughter as she's asking more often to create her hair clips. I have only done one so far, but am filled with ideas, which I was postponing until I had the chance to create an organizer so that the clips won't pop up everywhere in the house. I love the challenge of using items most people would throw in the bin, and whenever something is made from wood or any other decent material, I keep it somewhere to give it some thought for crafting projects. Usually, I will find a new use for it. I love having something unique compared to buying a mass production item.
You only need a few things
Of course, you can add as many applications or ribbons if you like, but I kept is simple because I love this color wood frame and didn't want to glue anything to the front of the frame.
Here's what I used:
- Photo frame
- A few ribbons
- Scissors
- Glue gun
- Dotting tool

That's it! It can be this simple. If you have a less nice photo frame, you can choose to paint it first, or add some rhinestones and/or flowers to the frame. It's all up to you, let your creativity flow.
The process
It all starts with a design, so let's have a look at how my idea came to life.
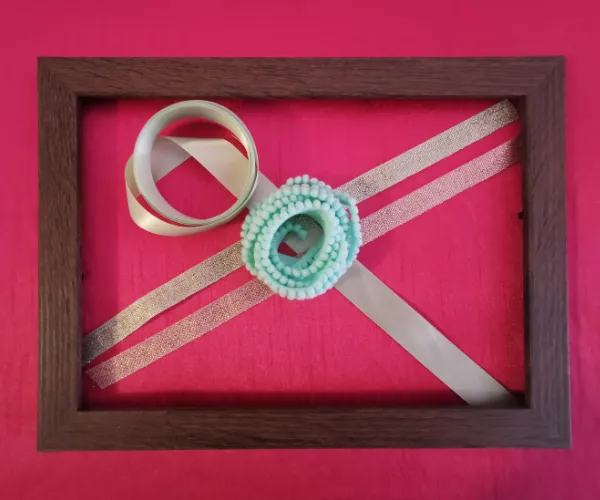
I take out different ribbons and check how they match, until I found the desired combination. In this case, I used 4 different ribbons that will be used to place the hair clips on once it's done.
Now it's time to measure the ribbons as well as decide how to organize the colors.

Time to glue them to the frame, be careful if you're using a hot glue gun. You may want to consider using a dotting tool to make sure you won't burn your fingers. It gets messy very quickly when gluing ribbons, and my experience is many burned fingers (ouch!). This is a dotting tool:

You can now press hard and long enough until the glue is dried without hurting yourself. Once it's dry, you can cut off the uneven edges.

The end result
Although there are currently only boring hairclips on it, this is the end result:

It's ideal, hanging on the wall, but if you prefer, you can just as easily put it on a closet:

I'm happy that I can now finally start crafting many cute hair clips for my daughter, so that we can make this organizer shine. I hope you enjoyed the tutorial, and got inspired to create your own using recycled material(s).
Thanks for stopping by!