Hello friends, happy and blessed day, today I bring you a pretty cool craft, but to make it you have to be very calm because the material used is quite hard and not so easy to handle.
Hola amigos, feliz y bendecido día, hoy les traigo una manualidad bastante cool, pero para hacerla hay que tener mucha calma ya que el material utilizado es bastante duro y no es tan fácil de manejar.
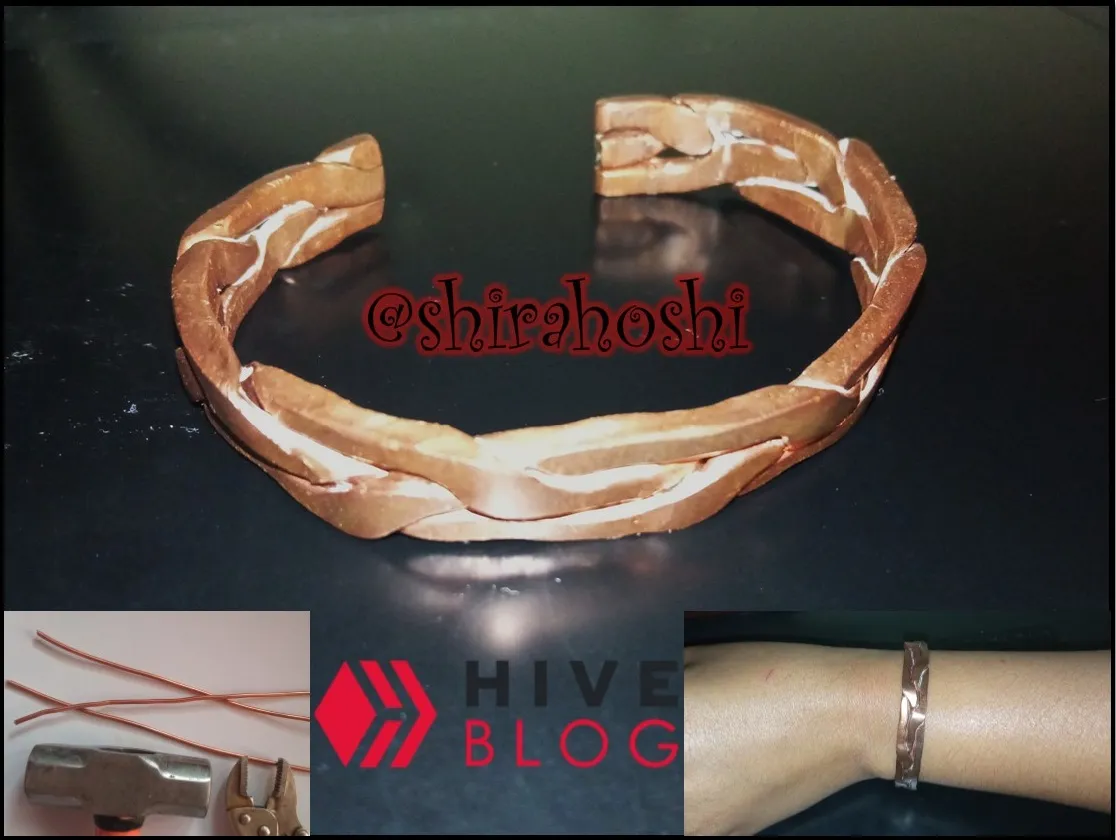

From an old wire that I had at home, I wanted to invent and make a nice braided bracelet, the wire I chopped up and took out all the copper wire inside, but this wire is not so friendly since its handling is quite difficult, but with patience you can achieve a quite nice result. He who perseveres wins and in my case I won ;) since I have my nice copper bracelet, stay with me until the end and you will see how beautiful it looks.
De un cable viejo que tenía en casa, quise inventar y hacer un lindo brazalete trenzado, el cable lo pique y le saque todo el alambre de cobre que tenía dentro, pero este alambre no es tan amigable ya que su manejo es bastante difícil, pero con paciencia se logra un resultado bastante lindo. El que persevera vence y en mi caso vencí ;) ya que tengo mi lindo brazalete de cobre, quédate conmigo hasta el final y verás que hermoso queda.
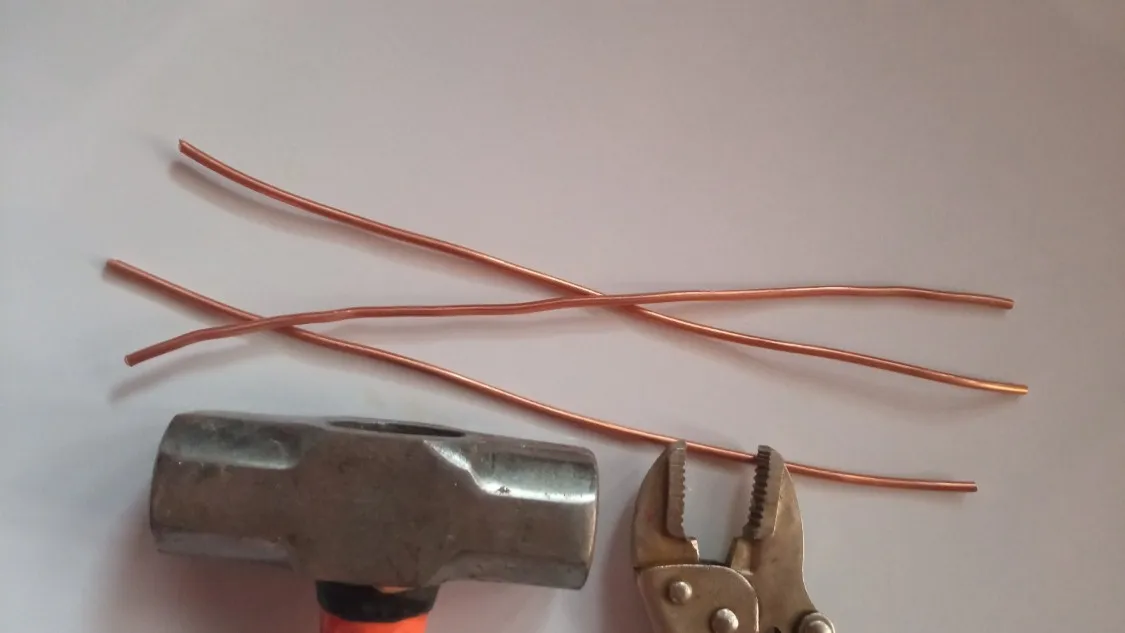
The materials to use for this manual are pressure pliers, three pieces of copper wire in this case quite thick, sandpaper and a mandarria (it is like a hammer but heavier).
Los materiales a utilizar para esta manualidad es una alicate de presión, tres pedazos de alambre de cobre en este caso bastante grueso, lijas y una mandarria (es como un martillo pero más pesado).

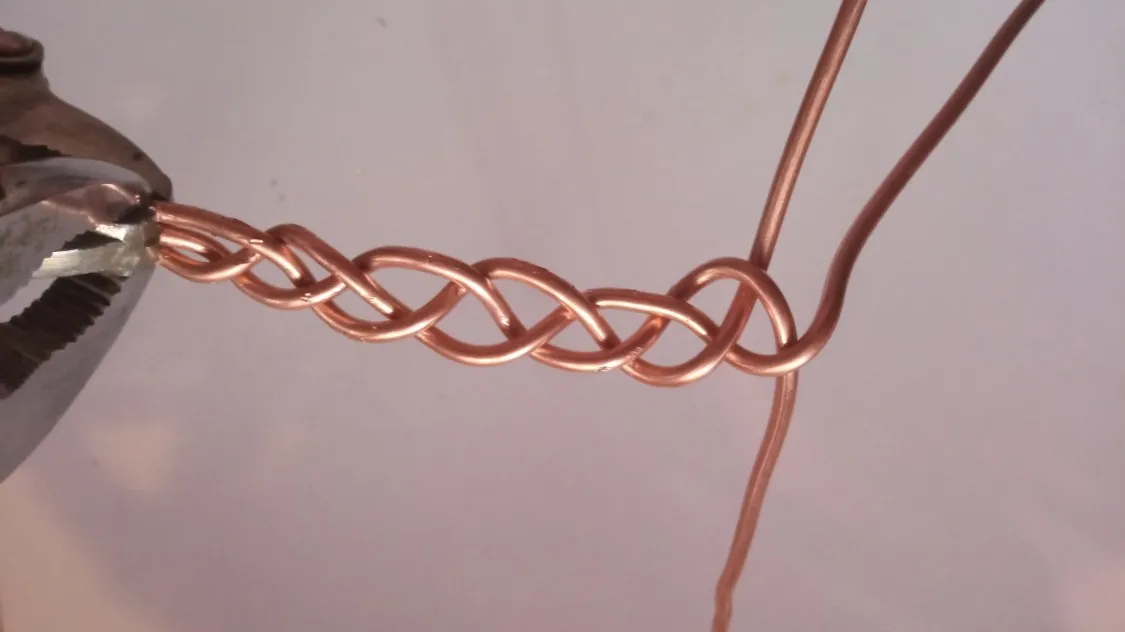
The first thing to do is to join the wires and put them next to each other by holding them in the tip with the pressure pliers.
Lo primero que se hace es unir los alambres y ponerlos uno al lado del otro sujetándolos en la punta con el alicate de presión.
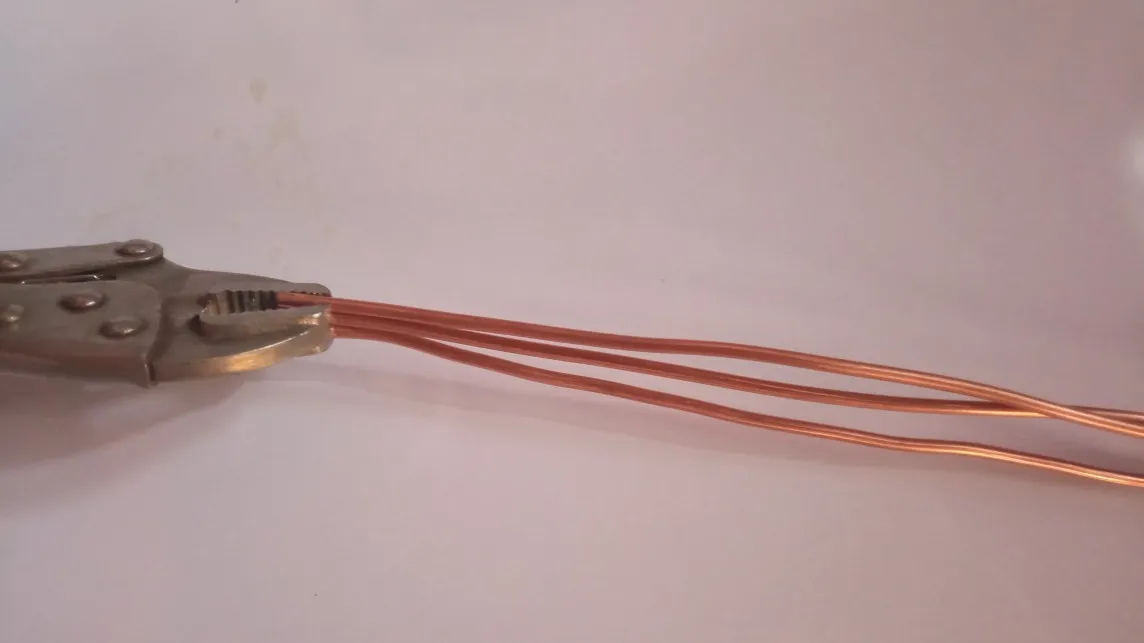
Then you put the pliers in a fixed place that does not move when you start the braiding or if you have someone to help you hold on, that's fine too. The super ideal would be to use a bench press but... you have to solve with what you have :)
Luego se coloca el alicate en un lugar fijo que no se mueva a la hora de comenzar el trenzado o si tienes alguien que te ayude aguantar también vale. Lo súper ideal sería utilizar una prensa de banco pero… toca resolver con lo que se tiene :)
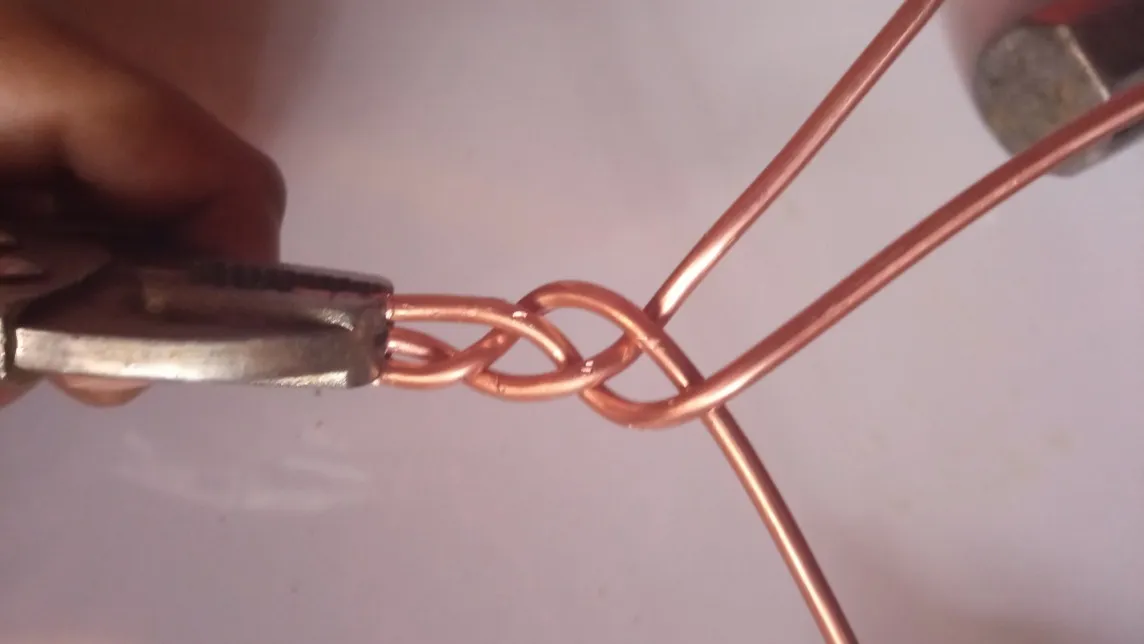
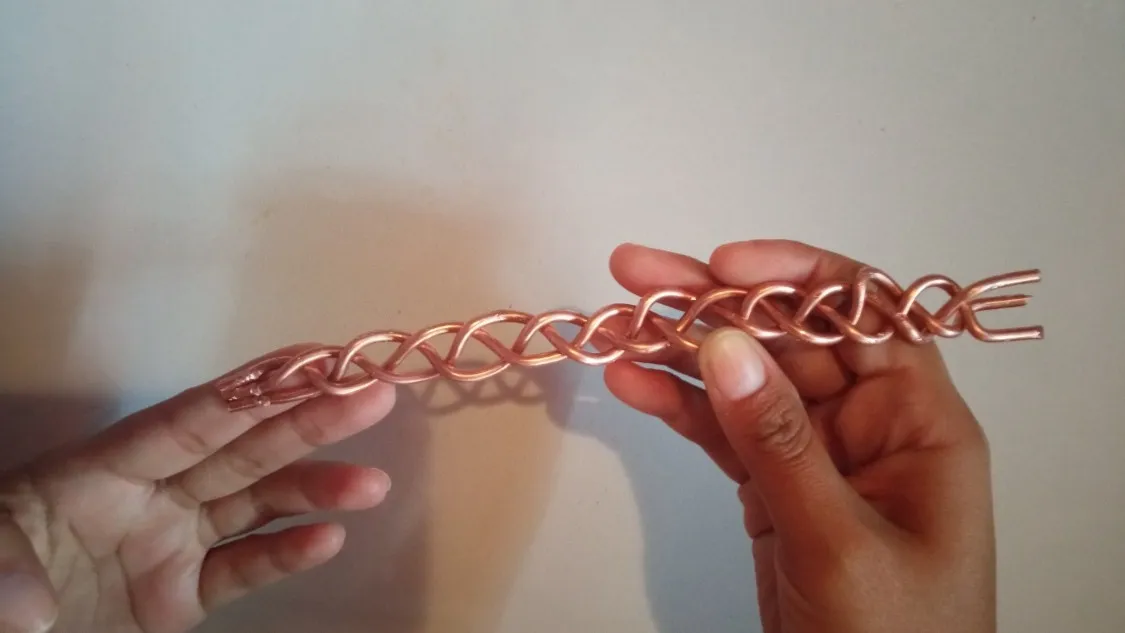
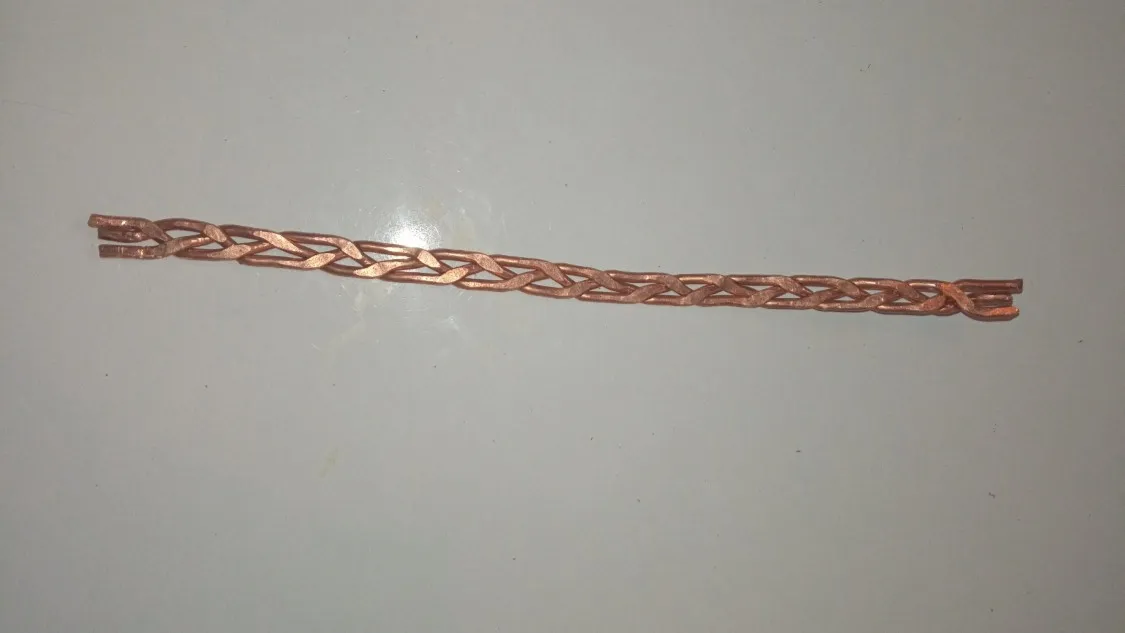
We continue to shape the bracelet into a braid, making a normal braid until it is finished. We must do it calmly because the material is very hard and it gets desperate because it takes shapes that are not wanted.
Seguimos dándole forma de trenza al brazalete, realizando una trenza normal hasta finalizarla. Debemos de hacerlo con calma ya que el material es muy duro y llega a desesperar debido a que toma formas que no se quiere.
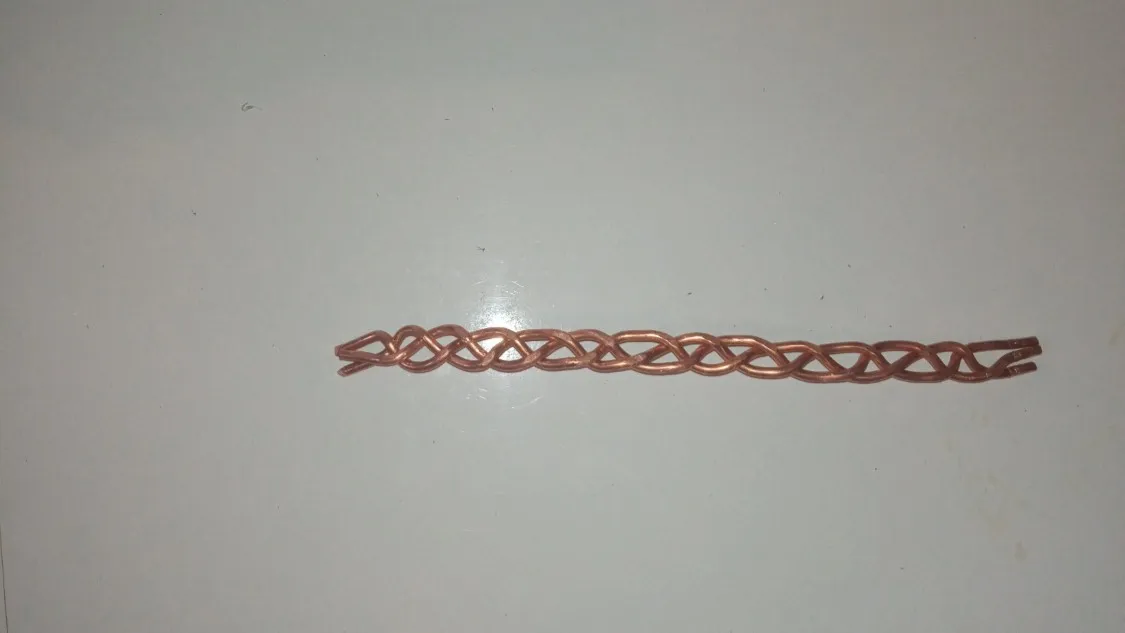
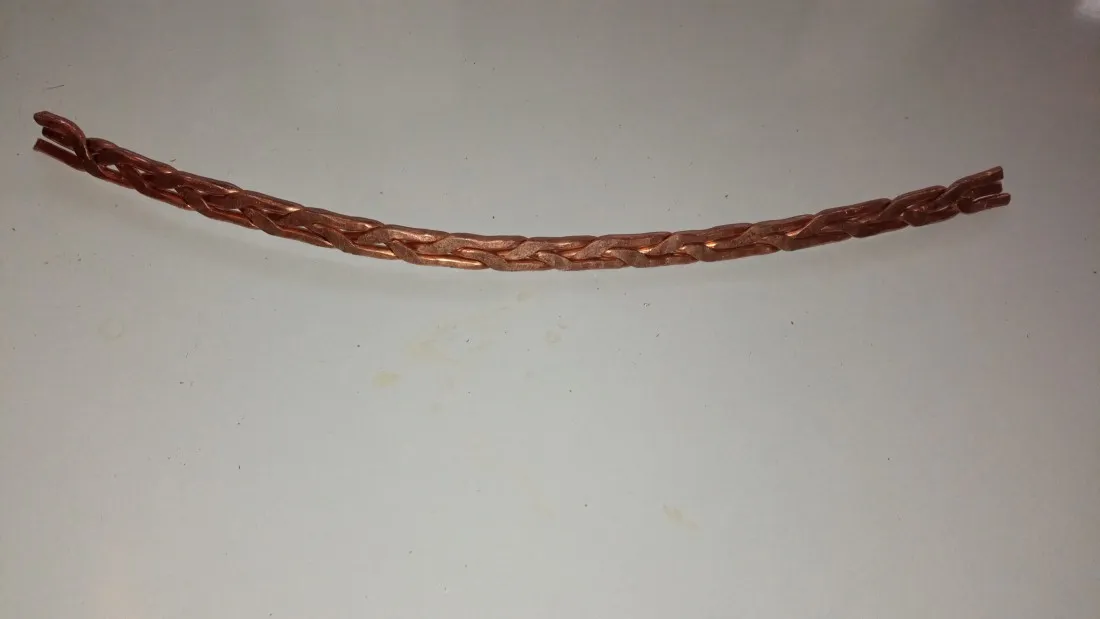
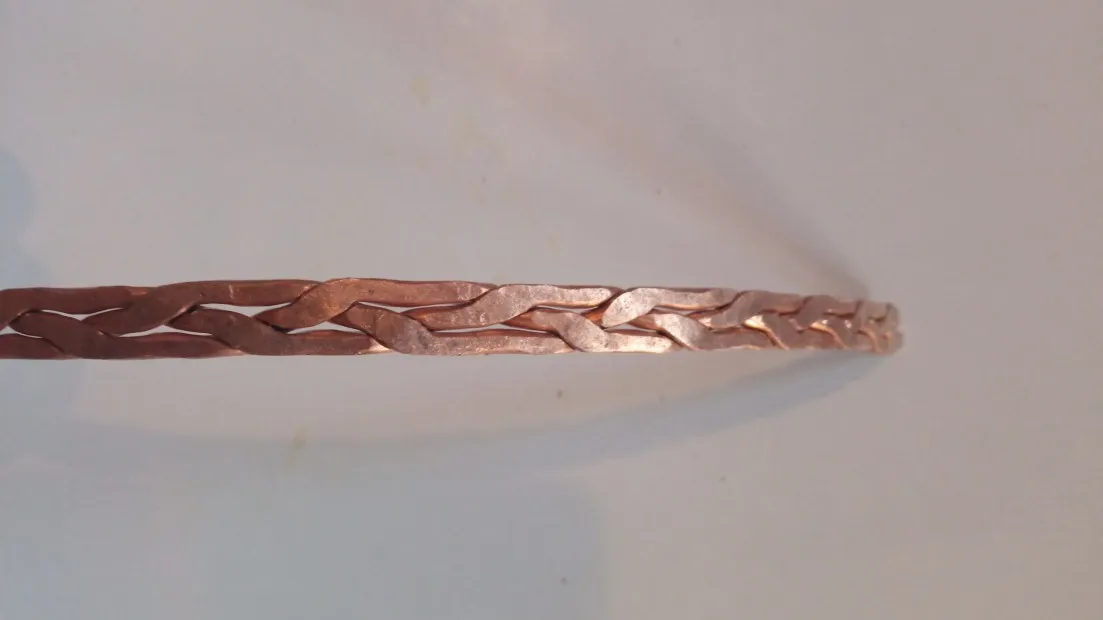
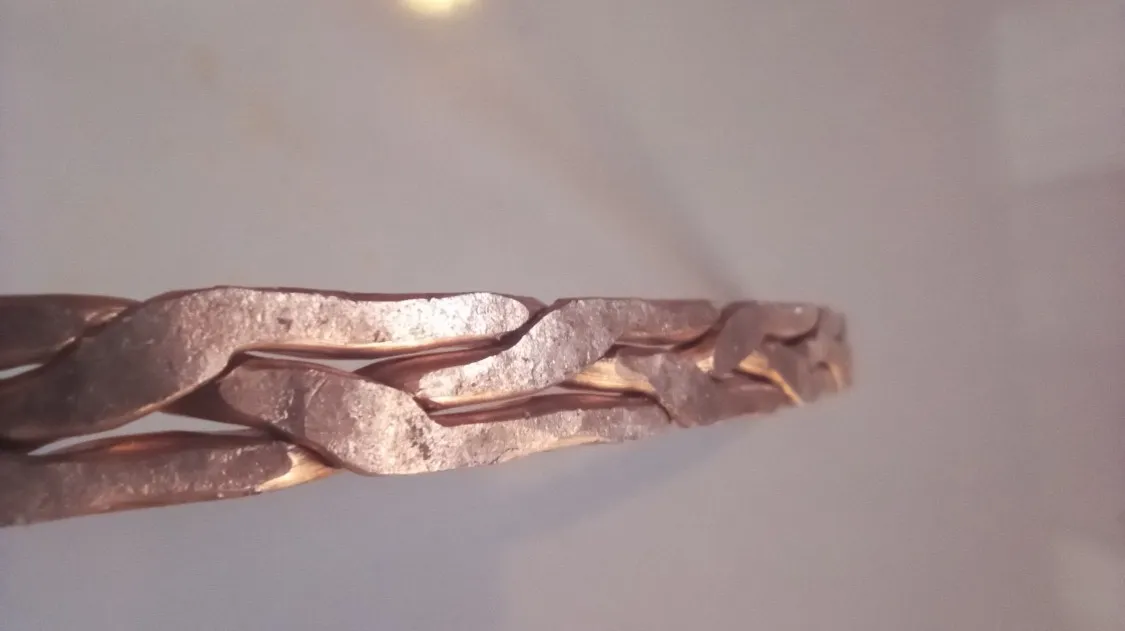
Here we begin to hit the bracelet with the mandarria to achieve flattening as you will see in the images the evolution. When we hit it, we must do it with softness but with constancy because if we do it very strong we can deform it and lose the work. Also, while hitting, we will try to go around the piece to flatten the sides of it.
Aquí comenzamos a golpear con la mandarria el brazalete para lograr aplanarlo así como verán en las imágenes la evolución. Al momento de golpearla debemos de hacerlo con suavidad pero con constancia ya que si lo hacemos muy fuerte podemos deformarla y perder el trabajo. Además mientras se golpea, trataremos de ir dando vueltas a la pieza para aplanar igualmente los lados de la misma.

I made a small gif so you can appreciate how I flattened the wire.
Hice un pequeño gif para que puedan apreciar como aplanaba el alambre.
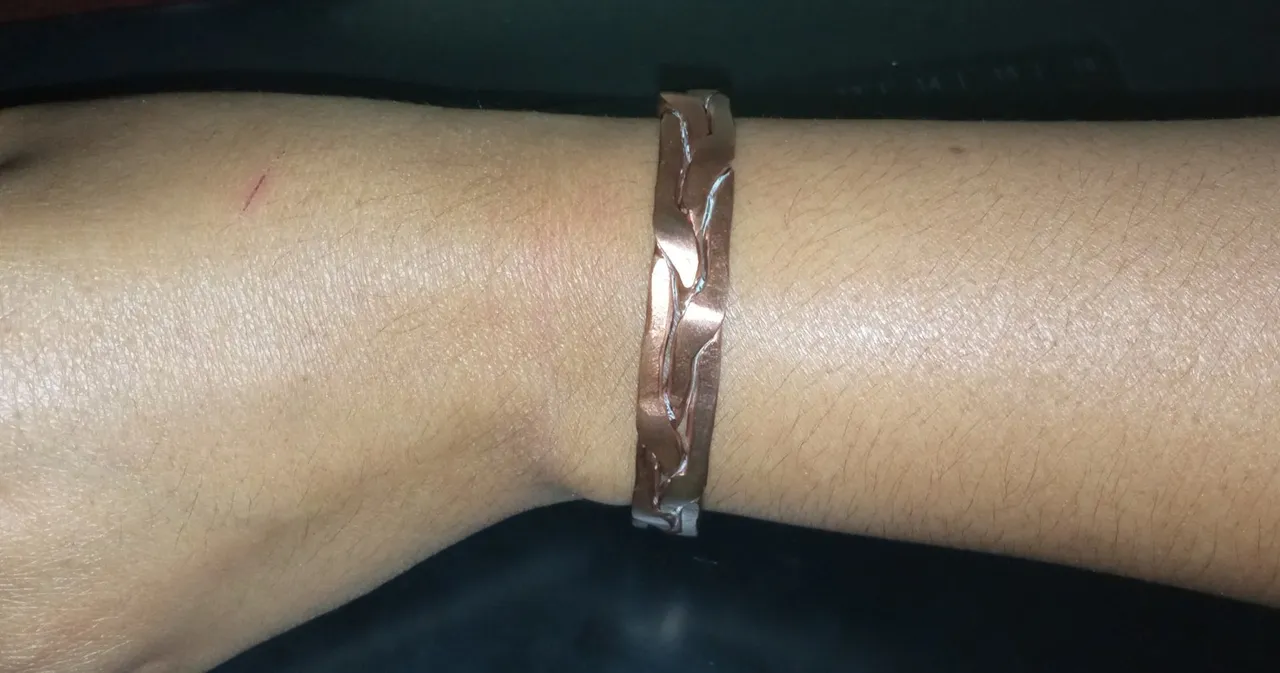
While flattening the wire the bracelet became longer so I cut it at the end, taking the specific measure of my wrist, these measures will depend on the thickness of each person's hand.
Mientras se aplana el alambre el brazalete se hizo más largo por eso lo corto al terminarlo, tomando la medida específica de mi muñeca, estás medidas dependerán del grosor de la mano de cada persona.
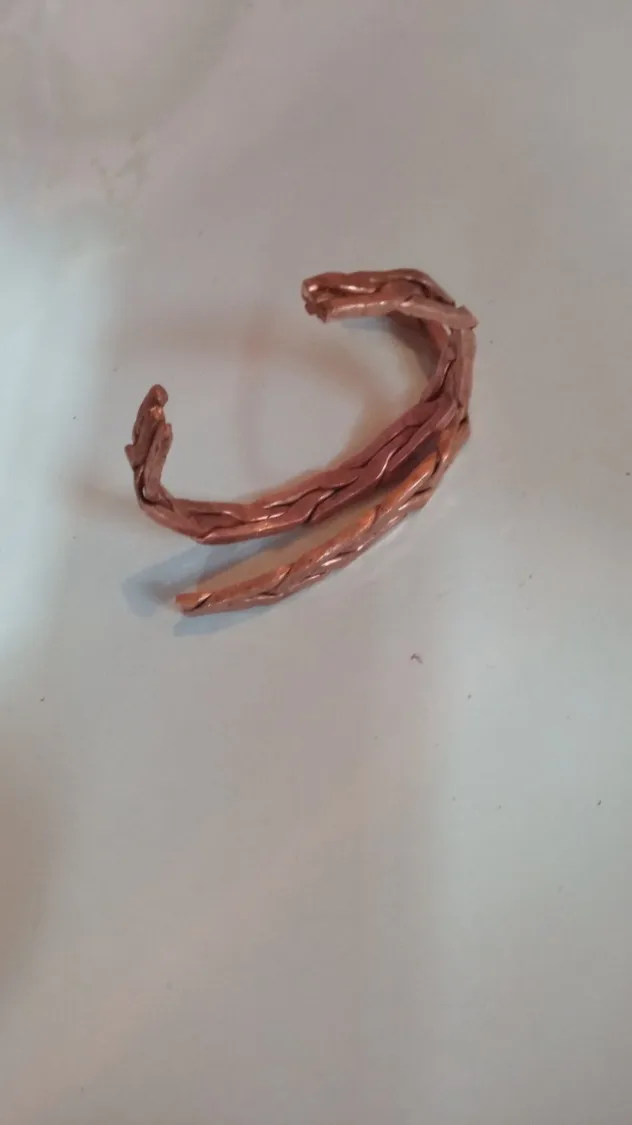
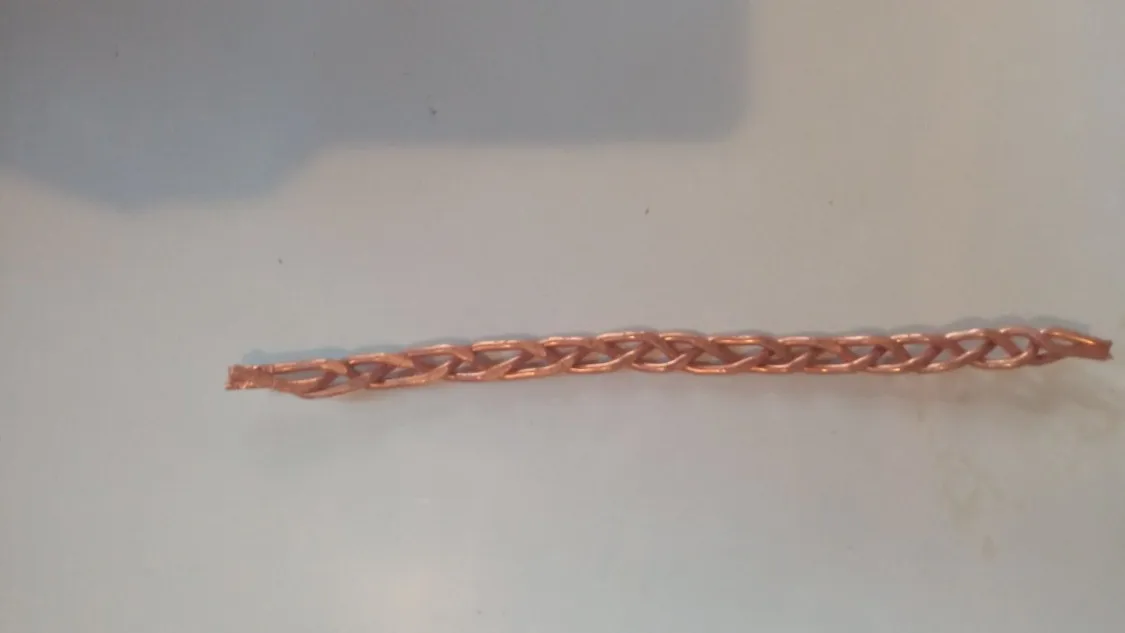
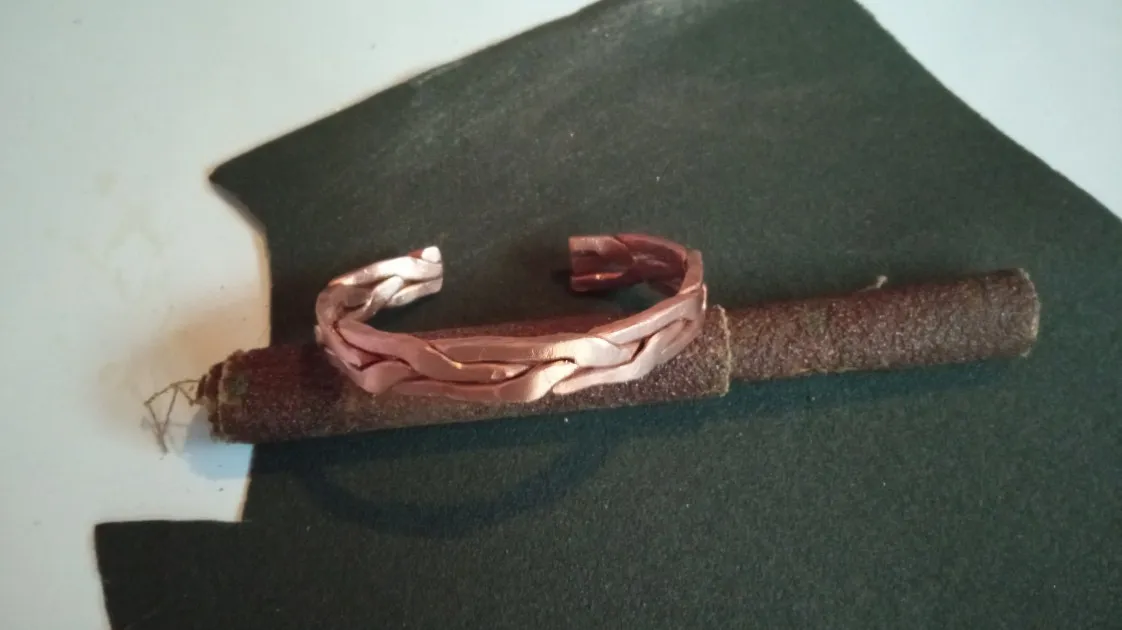
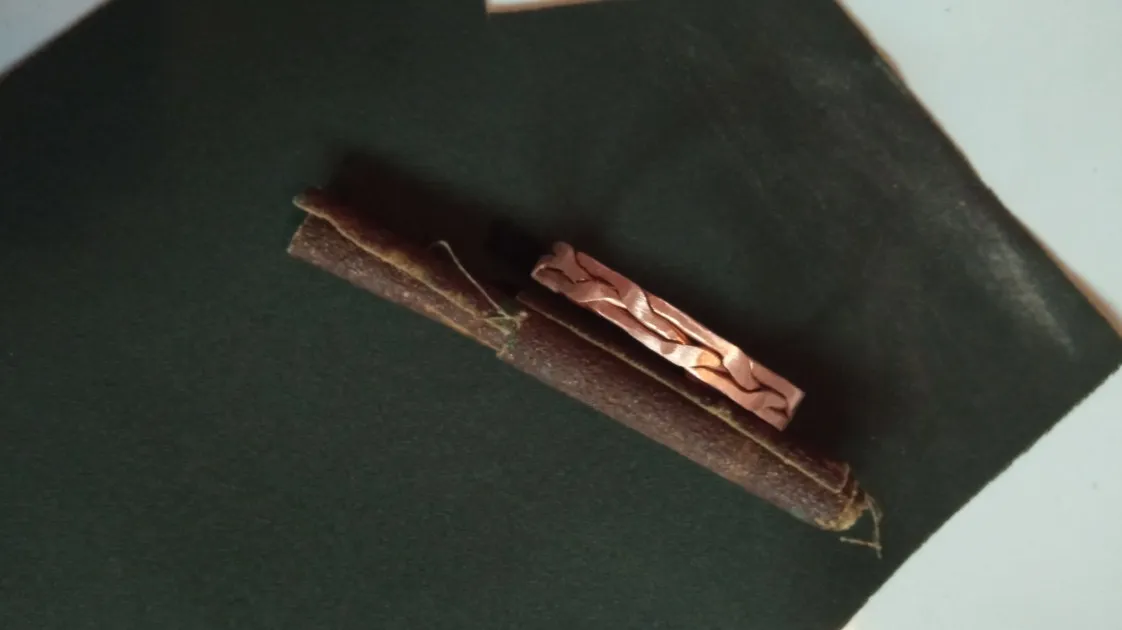
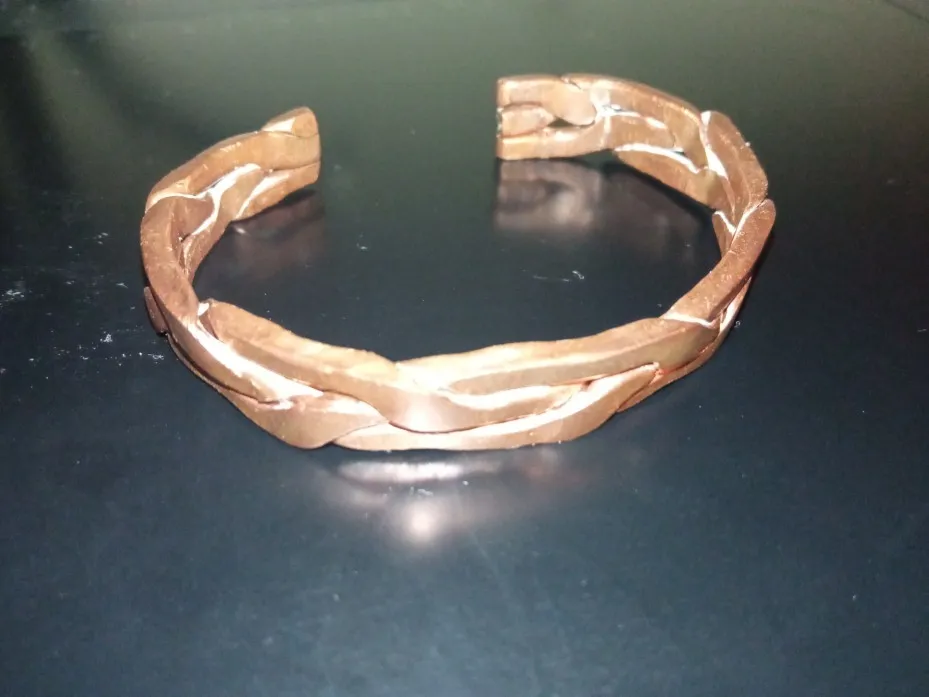
To finish with a thick sandpaper and another smoother I take my bracelet and start sanding the bottom to prevent abuse at the time of placing it and with the smoother sandpaper begin to polish the entire bracelet being brighter and quite striking when using it.
Ya para finalizar con una lija gruesa y otra más lisa agarro mi brazalete y comienzo a lijar la parte de abajo para evitar que maltrate al momento de colocármela y con la lija más lisa comienzo a pulir todo el brazalete quedando más brillante y bastante llamativo a la hora de usarlo.
Esperando que está manualidad sea del agrado de cada lector me despido deseándole un feliz día, los quiere @shirahoshi. Recuerden que si ponen en práctica está manualidad en sus hogares deben de ser pacientes ya que el alambre no es tan manejable y puede llegar a ser cansón pero si son constantes lo lograran así como yo lo hice y hoy tengo mi brazalete súper hermoso.
The photographs are my own and were taken by me with a Redmi 9 and were edited in powerpoint.
Las fotografías son de mi autoría y fueron tomadas por mí con un Redmi 9 y se editaron en powerpoint.
Language corrector used Deepl.
Corrector de idioma utilizado Deepl.
The Step by Step Gif was made by me in AdobePhotoshop CC2014.
El Gif de Paso a Paso fue realizado por mi en AdobePhotoshop CC2014.
The image of HIVE used on the cover (initial image) was taken from here:
La imagen de HIVE usada en la portada (imagen inicial) fue tomada de acá:

Source--Fuente

My social networks-Mis redes sociales