Since doing more backyard fire I drifted into the idea of making my own bushcraft knife and I've been watching a lot of videos on how to do so. One easy way is to cut a piece of steel off a circular saw blade and grind it to shape but among the video I was watching, some of them were about forging your own knife which requires more involvement and tools. So I was wondering if I could setup a small blacksmithing workshop in my garage and found out that with few tools it would be indeed possible.
What tools do I need to setup a beginner blacksmith workshop?
After some research, I came up with the following list of gears I would need for my own workshop:
- an anvil or ASO (Anvil Shaped Object)
- a pair of blacksmith tongs
- a small forge
- a hammer
- a welder to help make some initial tools and do repairs
The anvil
When you think of a blacksmith the two things that comes to mind are certainly the anvil and the hammer. Blacksmiths make stuffs from metal, shaping them with a hammer and an anvil. However, a proper anvil, even second hand costs a lot of money. One way a beginner blacksmith can get an anvil is by using a chunk of steel that has a flat surface and enough mass, this is called an Anvil Shaped Object or ASO.
Couple of weeks ago, I went to a garage sales to buy some old tools and was delighted to find this old piece of crane rail track under a table and got it with other things for just A$5.
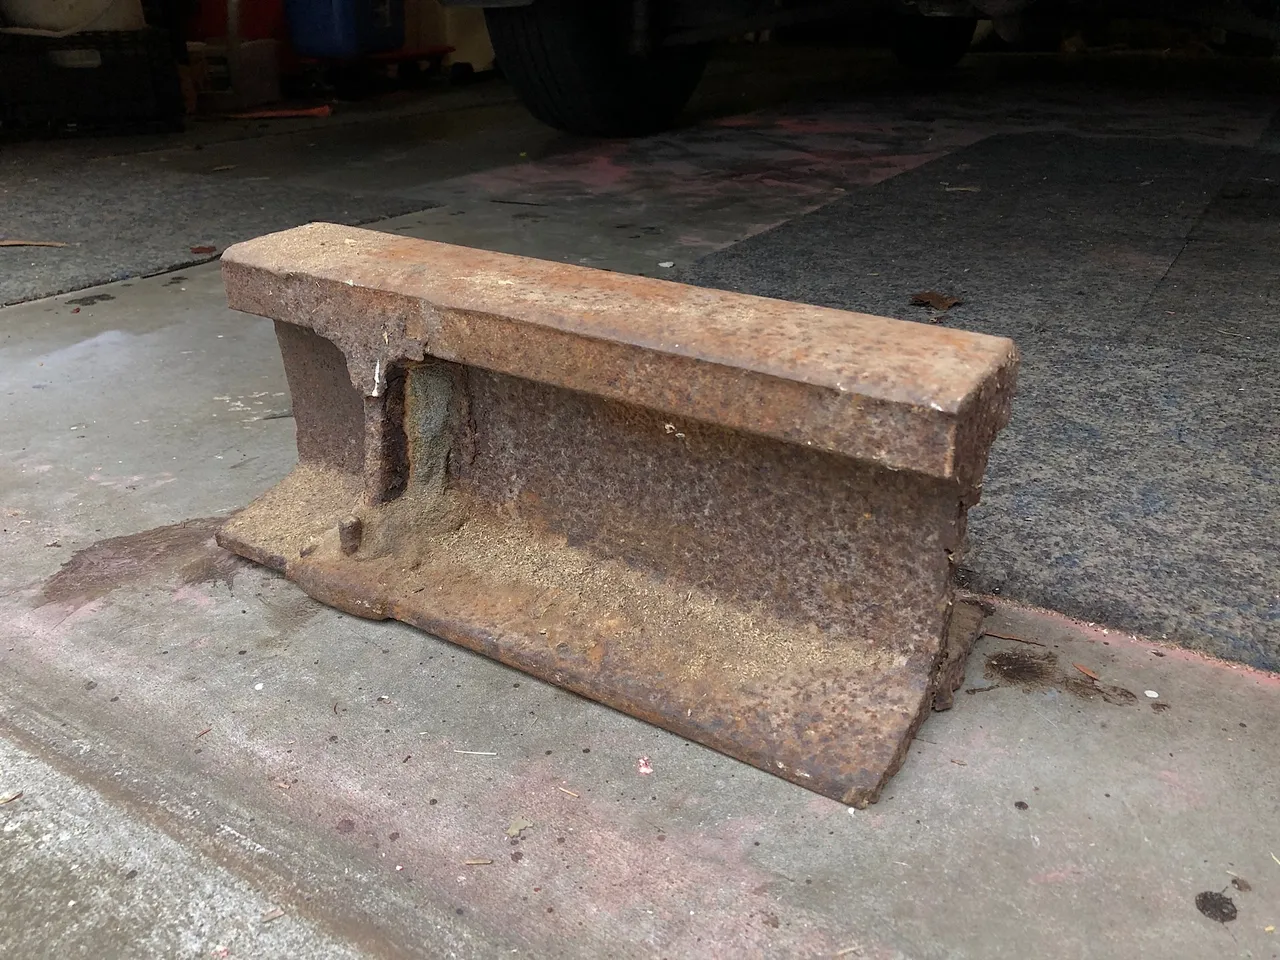
So I got this 38 cm / 20kg piece of steel it should be easy to make an anvil out of it, right? Not really... There are multiple ways of doing it and I'm still trying to decide what's best for me. Here are the options.
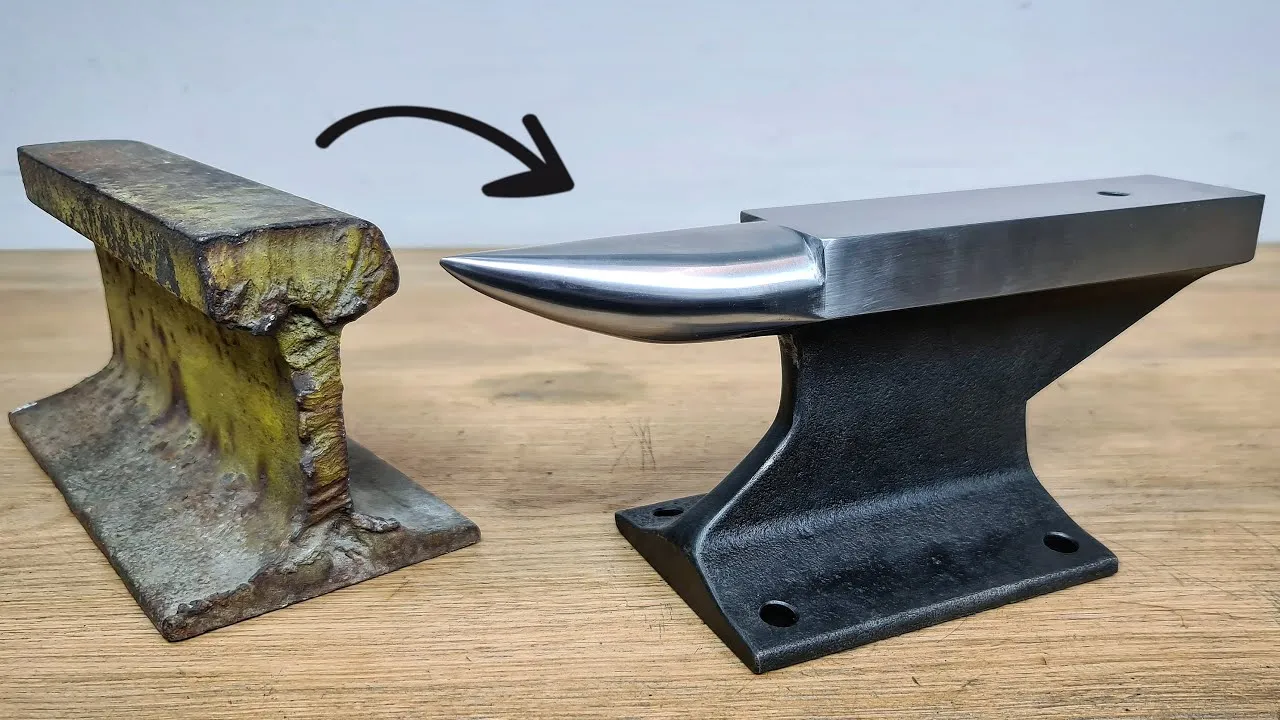
Shape a railroad track into a picturesque anvil shape
Source: 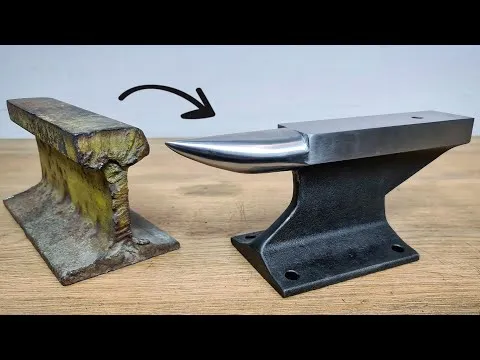
Modern professional anvils will usually have this recognisable shape and this is the most common way people will be shaping their railway anvil. However, from what I've read, this has potential issues. One important thing for an anvil is to be sturdy and have a lot of mass under the hammer impact point. The problem with shaping an railway track like this is that the work surface is supported by a quite thin web so when you are hitting the surface it can create a lot of vibration instead of redirecting the energy from the hammer block back to the piece of steel you are trying to shape. This will drain the blacksmith's energy quicker or can sometimes affect the actual work.
Using the railway track vertically
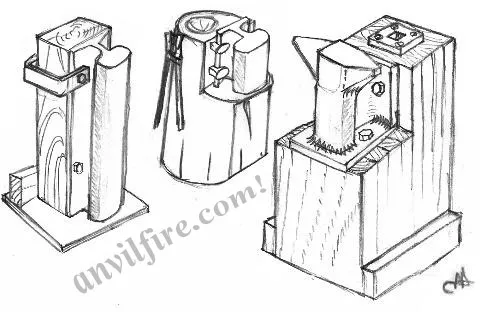
AnvilFire.com has a great article about this issue and offers a better of using a railroad rail track as an anvil. By installing it vertically and using the small head as working area you get most of the mass of the rail under the hammer. The drawback is much less surface area to work with but what you actually need is just an area that is larger than the face of your hammer so this should be enough. Although for a beginner who is still working on hammering skills, this can be a bit challenging.
Clamping the rail upside down between two wooden boards

Source: https://www.reddit.com/r/Blacksmith/comments/acu3p5/begginer_anvil_its_not_pretty_but_it_works/
On page 742 of Popular Mechanics the author suggest that "The Model Engineer, London" said that clamping the rail track upside down in between two pieces of wood would make it "a strong and useful anvil".
The nice thing of installing it like this is that it offers a much greater working area than both of the two methods above. Without the wood clamp the vibration on the base of the rail would have been worse but the wood is supporting it and reduces the vibrations as long as you cut the wood right so it fully supports the rail.
This design also has the advantage of muffling the ringing sound of the rail when you hit it with the hammer, making it more ears and neighbours friendly. But you do loose a lot of mass right under the hammer.
Stump anvil
Cutting a small piece off the rail track would make it a much smaller and quieter anvil that you install by punching it into a large stump as a base.
It seems small but it is actually the same as using the track vertically but the mass here is mainly from the stump, I'm now sure how it would affect the performance but seeing this is how a lot of anvils were created a long time ago, it shouldn't matter much for the small projects I'm planning to do and the great advantage is that it is very portable if you need to be mobile.
The challenges
The first challenge is for me to decide on what I need to help me decide which design to choose but being a total beginner, I don't know what I need yet...
The easiest design I think is the wood clamp as described in "Popular Mechanics", I only need to cut some pieces of wood which is way easier than cutting and shaping the steel from the rail.
I initially wanted to go with the vertical design and started to cut one end of the rail for a clean surface but it took me close to two hours of grinding with a diamond metal cutting wheel.
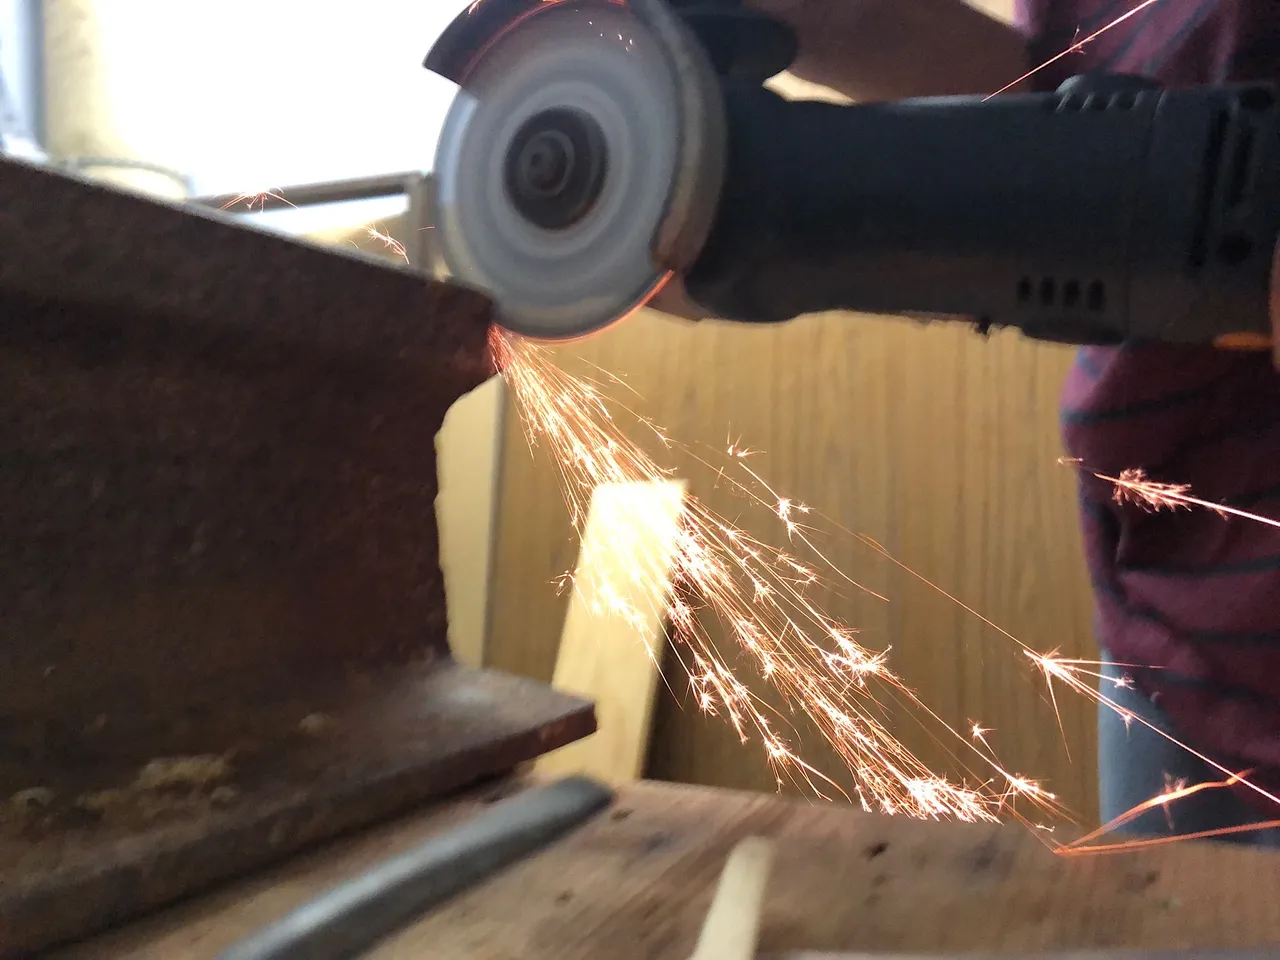
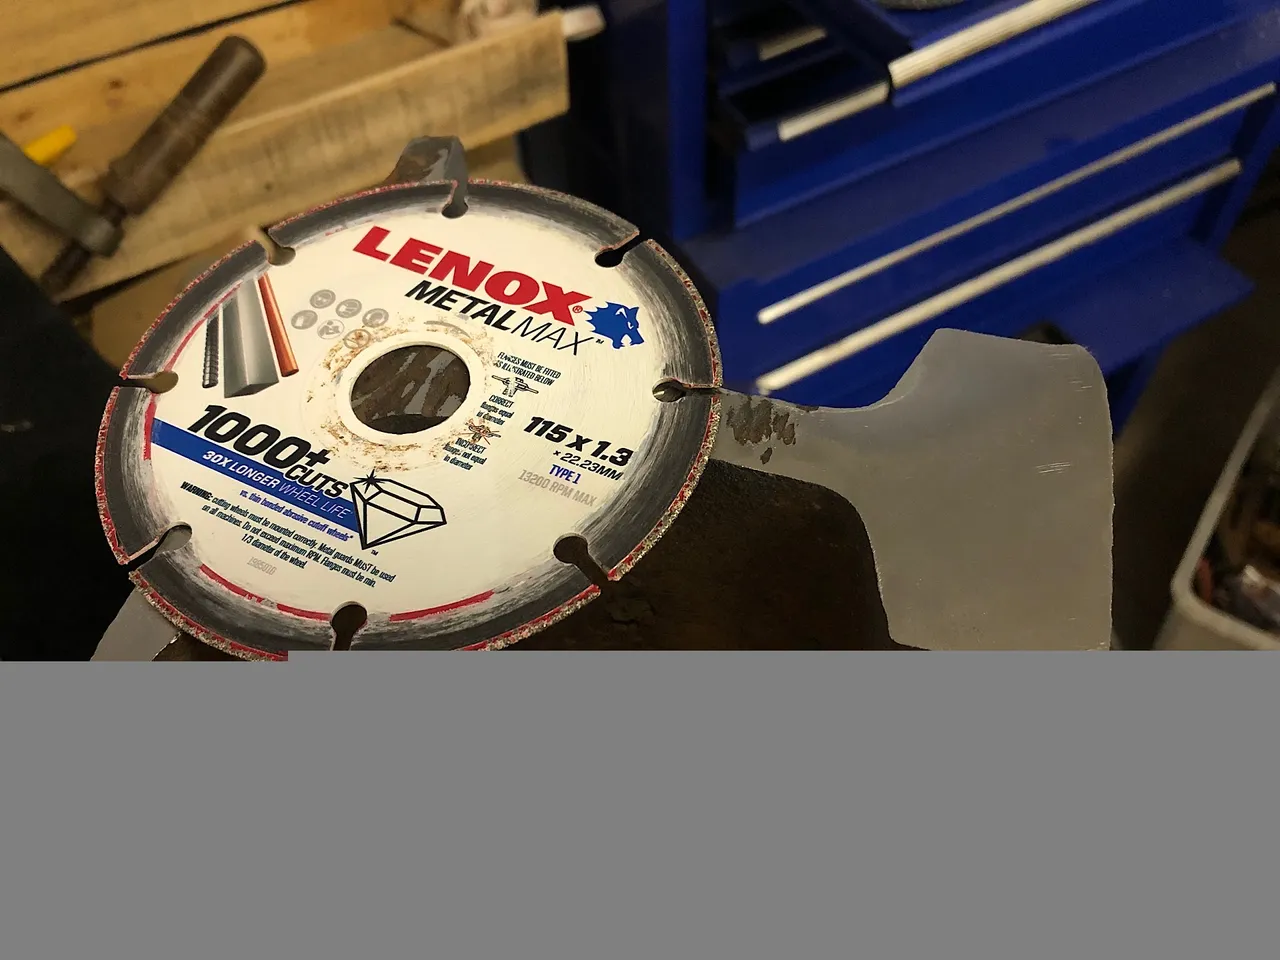
The 4.5" angle grinder was too small for this type of work and shaping the rail to a typical anvil shape is out of question for me. Cutting a small section to be used as a stump anvil can be considered but would probably take up to 3 extra hours of grinding.
If I wanted to go with the clamping method, I would still need to cut a short section out because of the node on the crane rail or I would need to make a shorter clamp and in the future, shape that end out to a horn shape.
I could also go with a hybrid design that allows me to switch the anvil from a vertical position to a clamp position.
There are still a lot of work to do for my homemade anvil to be finished.
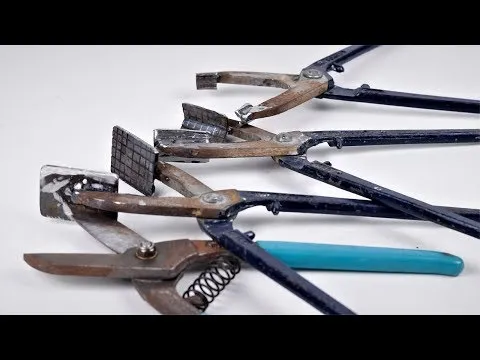
Blacksmith tongs
In order to work on my pieces of metal, I will need a way to hold them when they are red hot. So a pair of tongs will be very useful. As I do own an old pair of metal sheet shears, I will be following the tutorial below to turn them into tongs:
A blacksmith forge
I will also need a forge to bring the piece of metal to forging temperature and for knife making I will also need it for heat treatment and tempering the steel (soften it a little after hardening it).
I'm still trying to decide between a charcoal forge and a gas forge. The advantage of using gas is it's a cleaner burn and I could use it inside my garage with some good ventilation.
More to come on this topic...
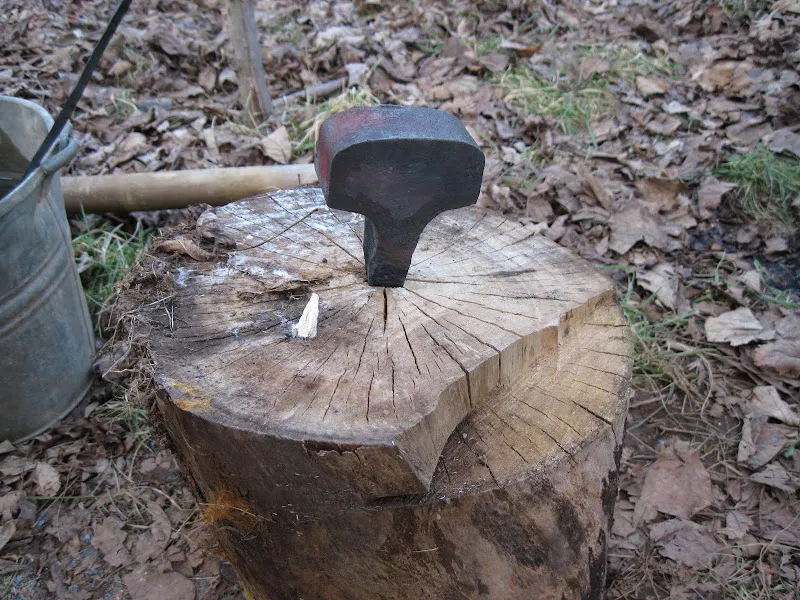
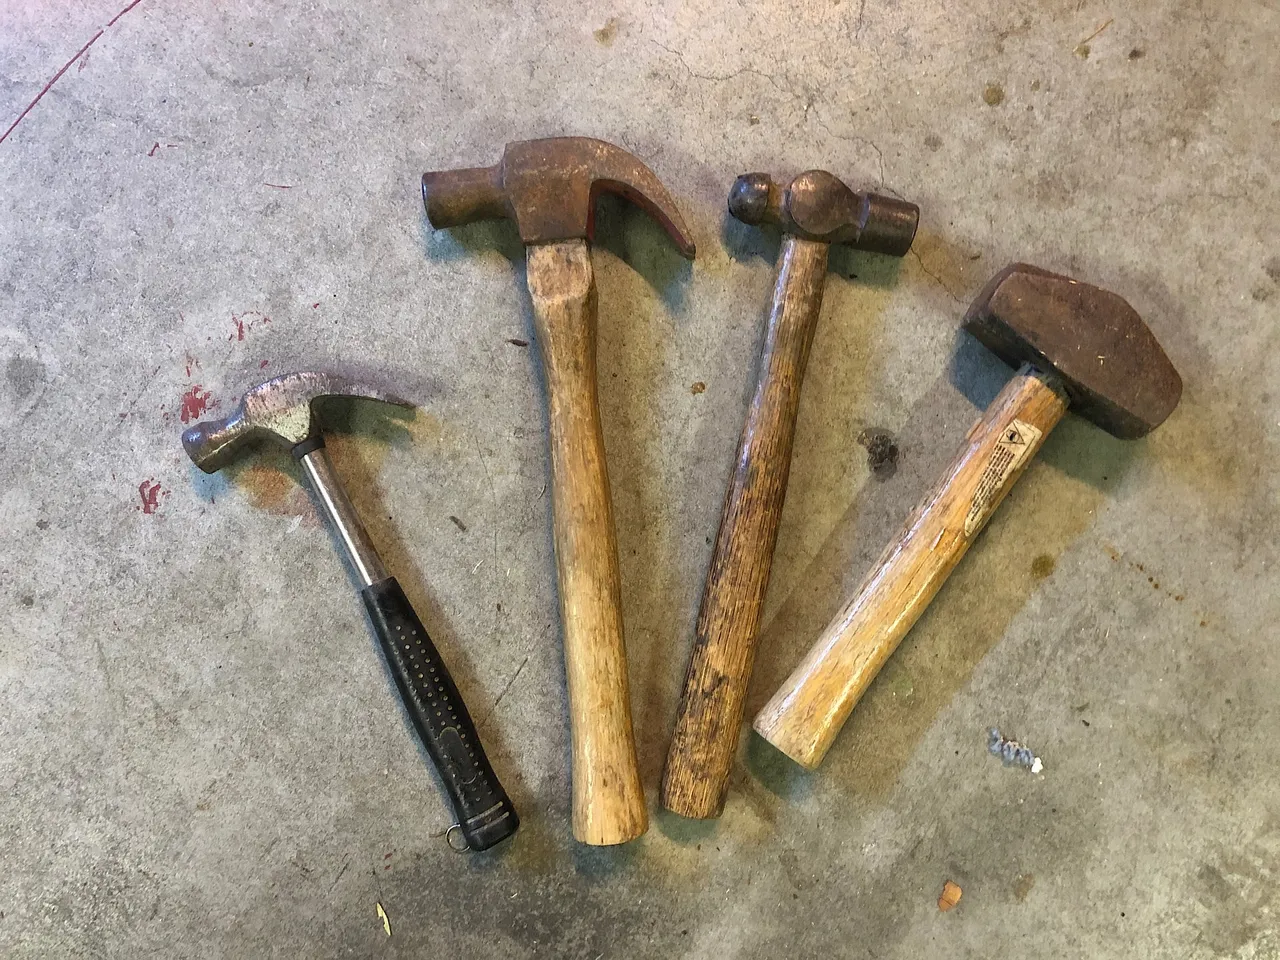
A hammer
Nothing special on this side, I have multiple hammers from large to small, flat to ball head etc... I will try them all and find one that works for me.
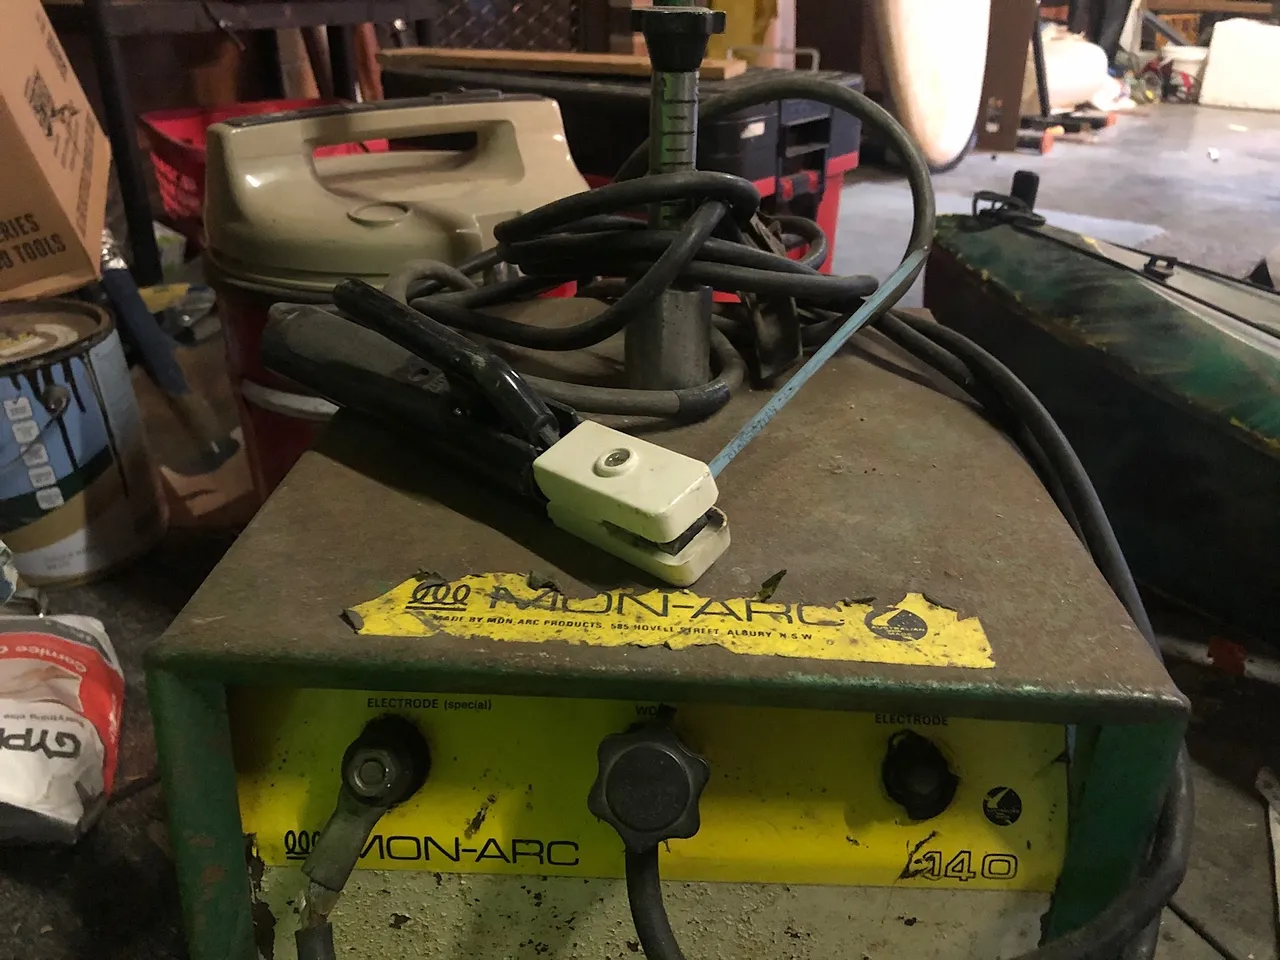
A welder
I bought an old ARC welder for just A$40 and it works perfectly well, it was made when things were built to last. I will be using it for doing some repairs to the rail, welding extensions to it and converting my metal sheet shears into a pair of tongs. I'm sure it will become useful for other projects too.
What's next?
This will probably a long term project as metal is a tough material to work with. It will be exciting once I get everything setup and will be able to start making my own little knives.
Stay tuned.
![]()
I'm also a Hive Witness, I have been helping some communities and contributing to the Condenser (the software that powers this blogging platform). Support me by voting for my Witness