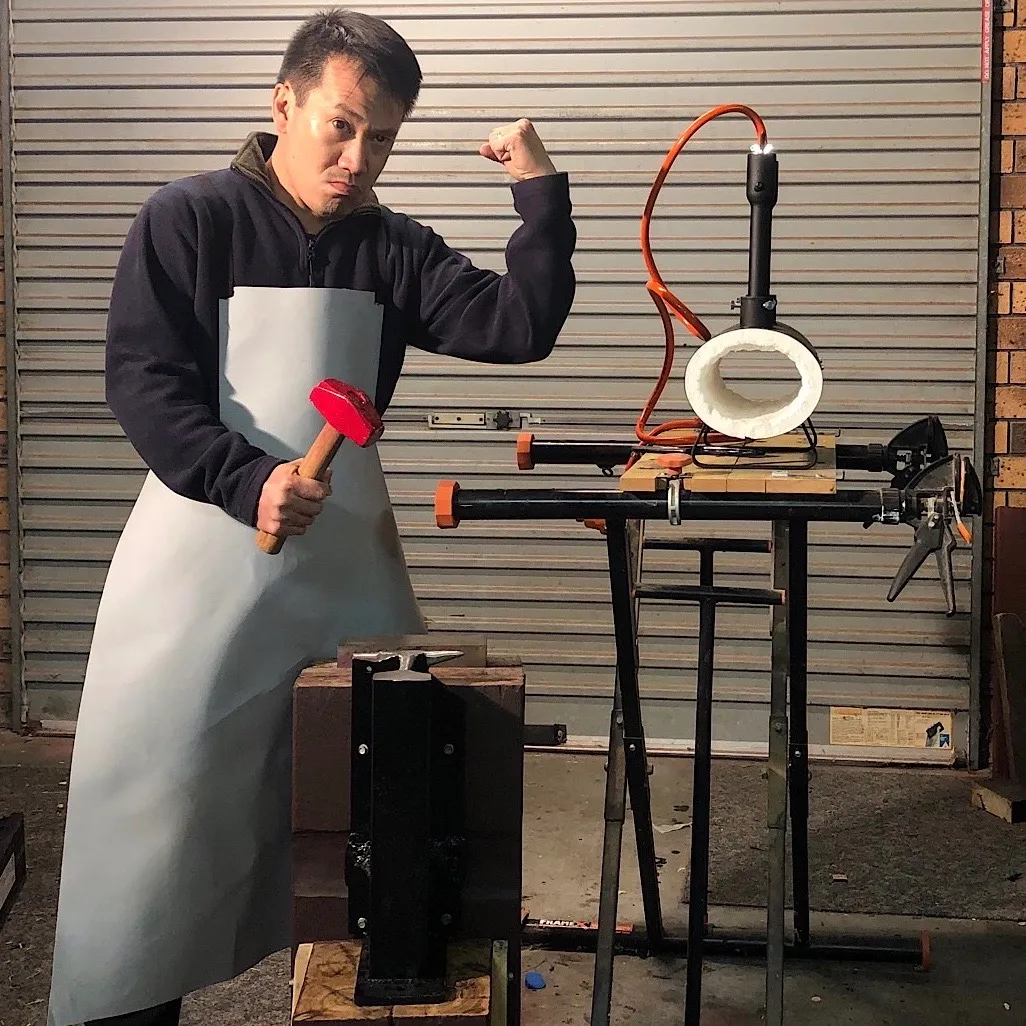
My forge has arrived, yay! I finally can have some fun. But first of all, I needed to clear the garage to make large clean and safe place to forge. It took several days to clear out all the clutter that was piling up for a while. I did not rush things as I was busy with other stuffs around the house.
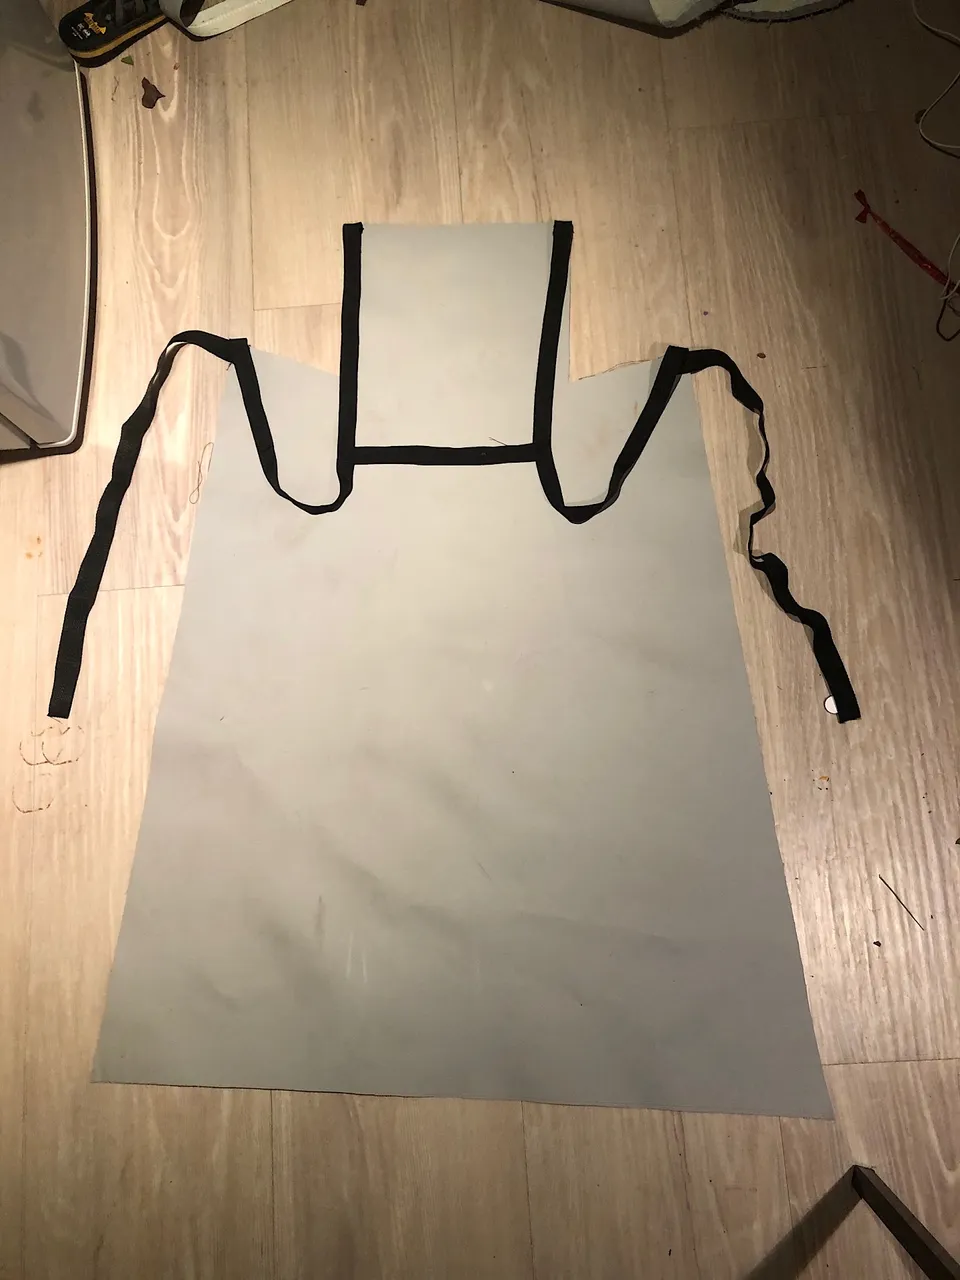
My apron
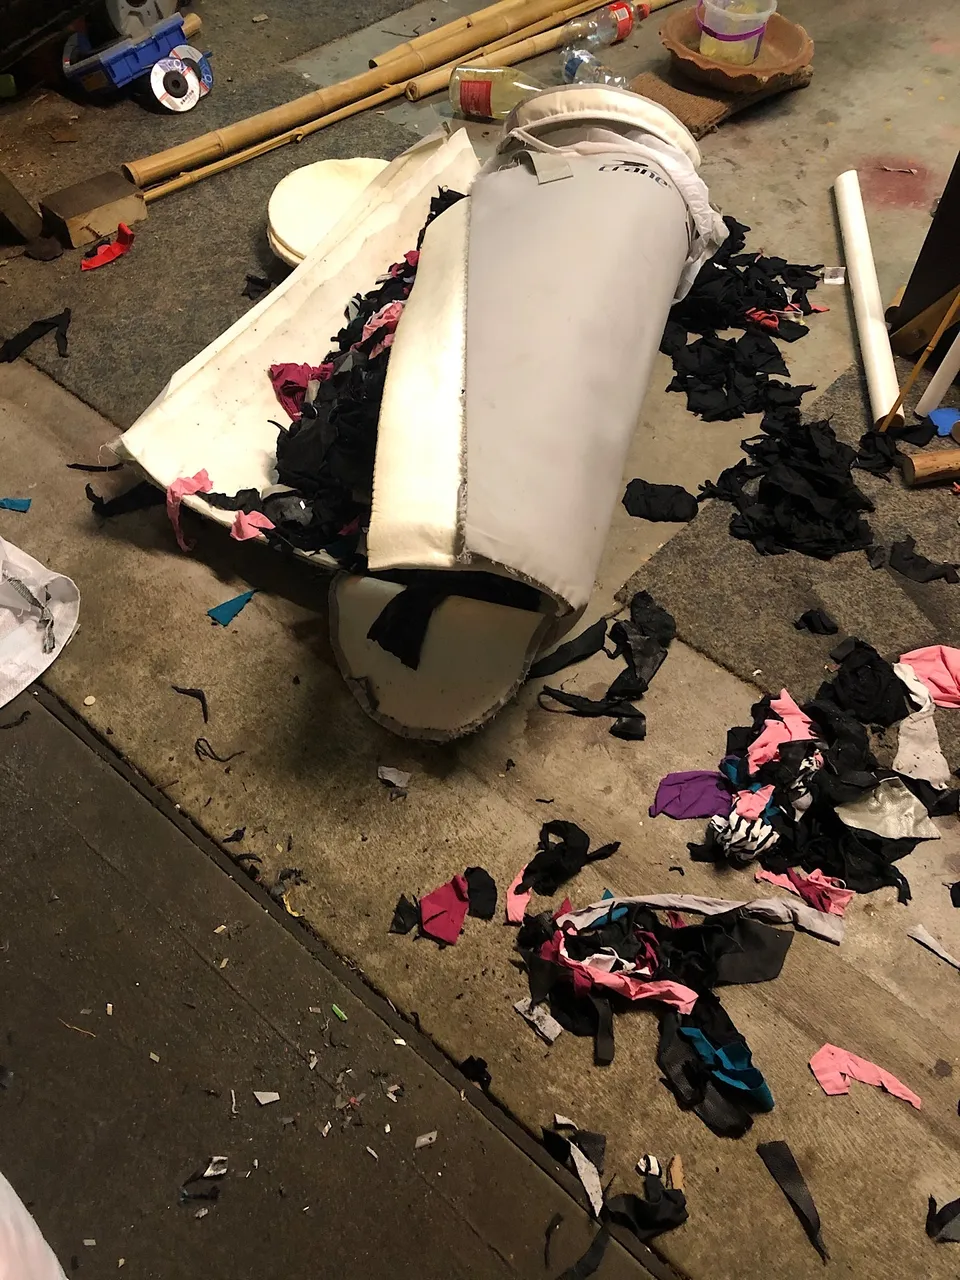
I bought this Crane punching bag at a local Aldi store several years ago, the straps were rotten due to moisture so I decided to cut it open and recover the outer shell (false leather) to make an apron, what I discovered inside shocked me, not only there were offcuts of fabrics and leather (that was a score for me as a diyer) but there was also a lot of filthy dirt and worse of all are heaps of sharp utility knife blades 😱 as seen on my recent tweet:
https://twitter.com/quochuync/status/1296055991356674048
- quochuync
Anyway, no one got hurt and Aldi is investigating it, so they say at least.
My first knife
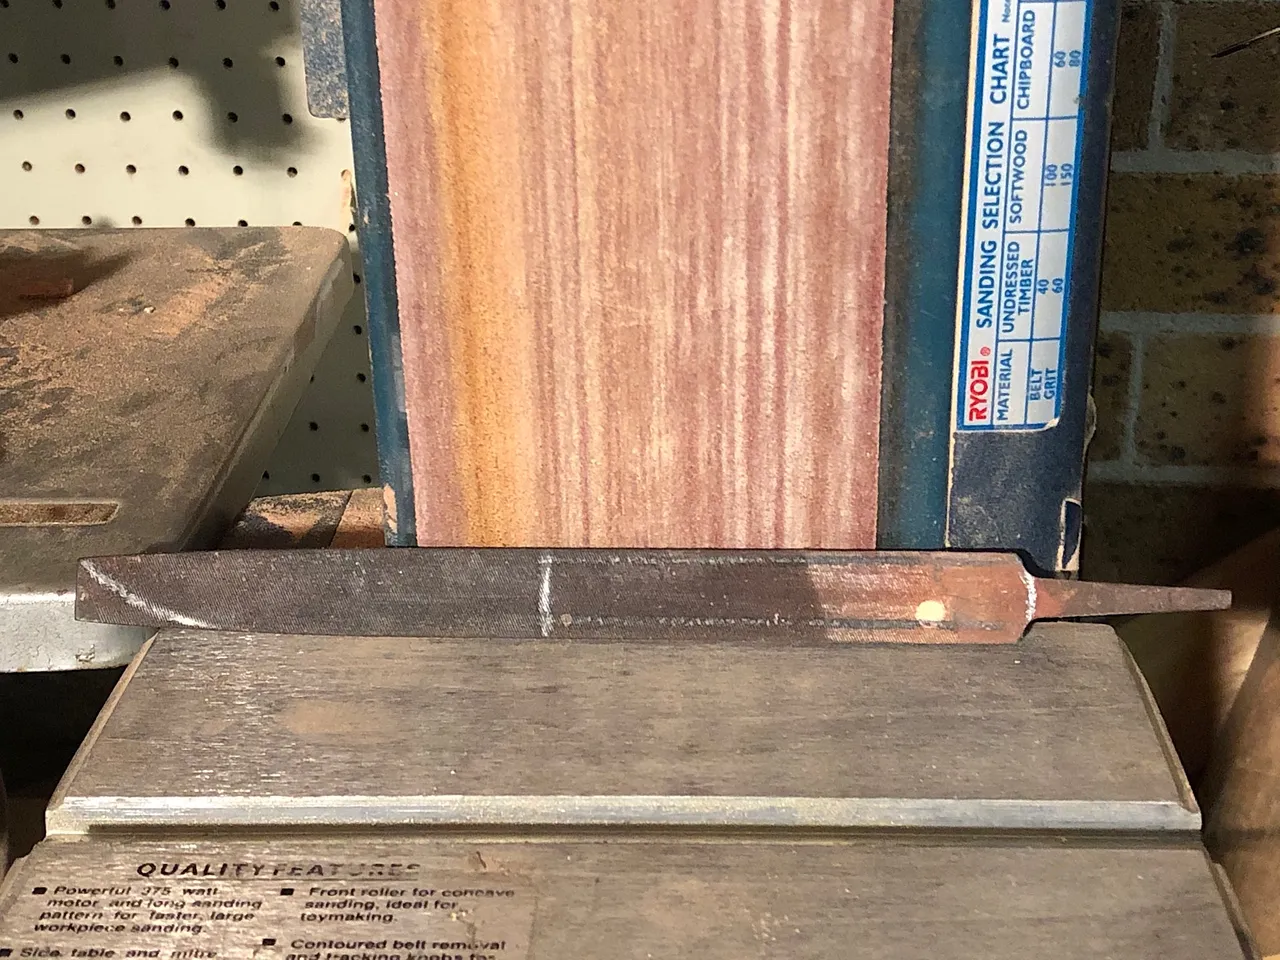
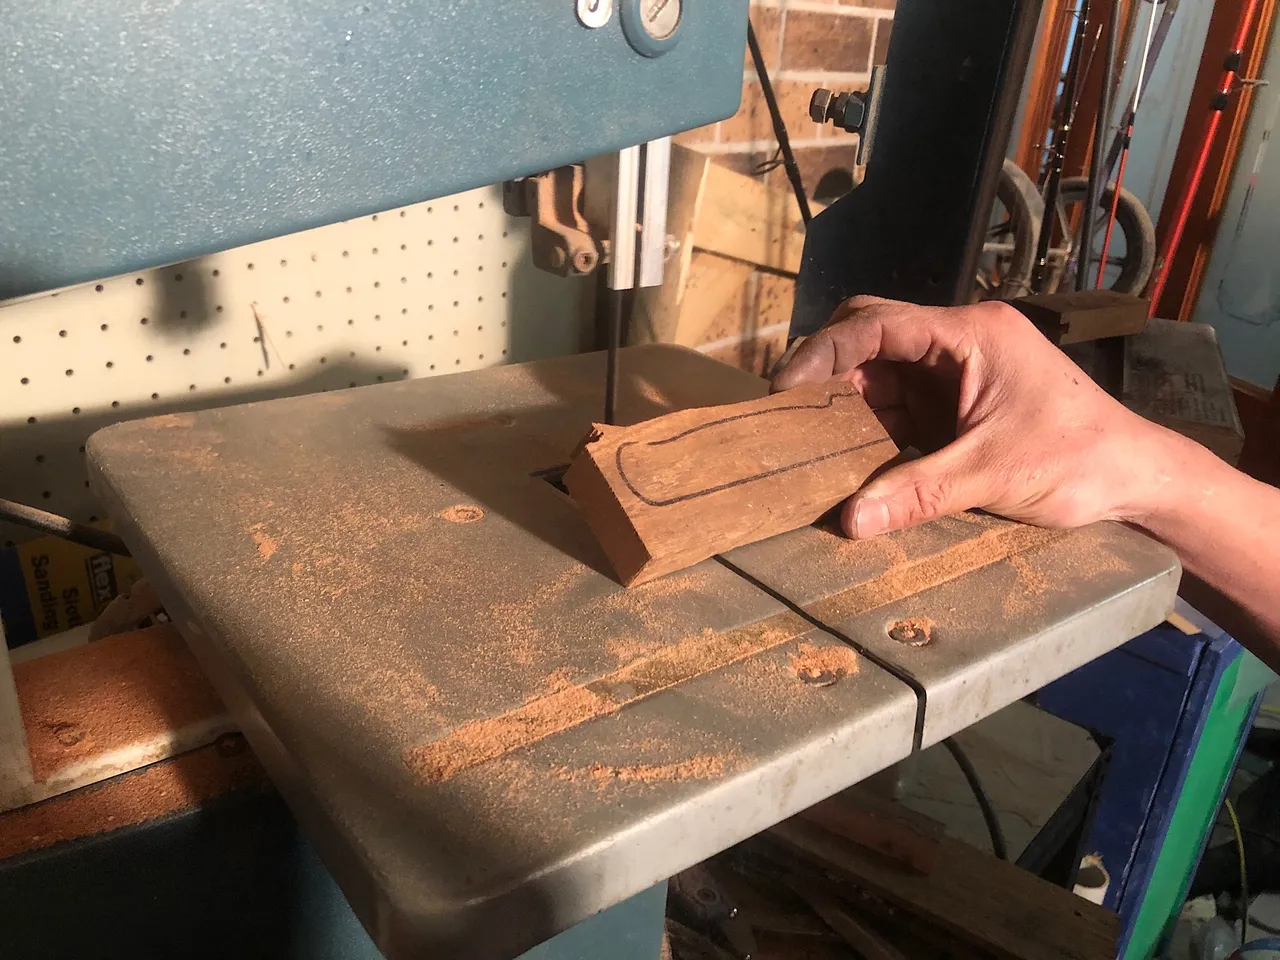
For my first small learning project, I wanted to make a knife from an old rusty file. With a pencil, I drew the outline of my knife on it so I could cut it later on.
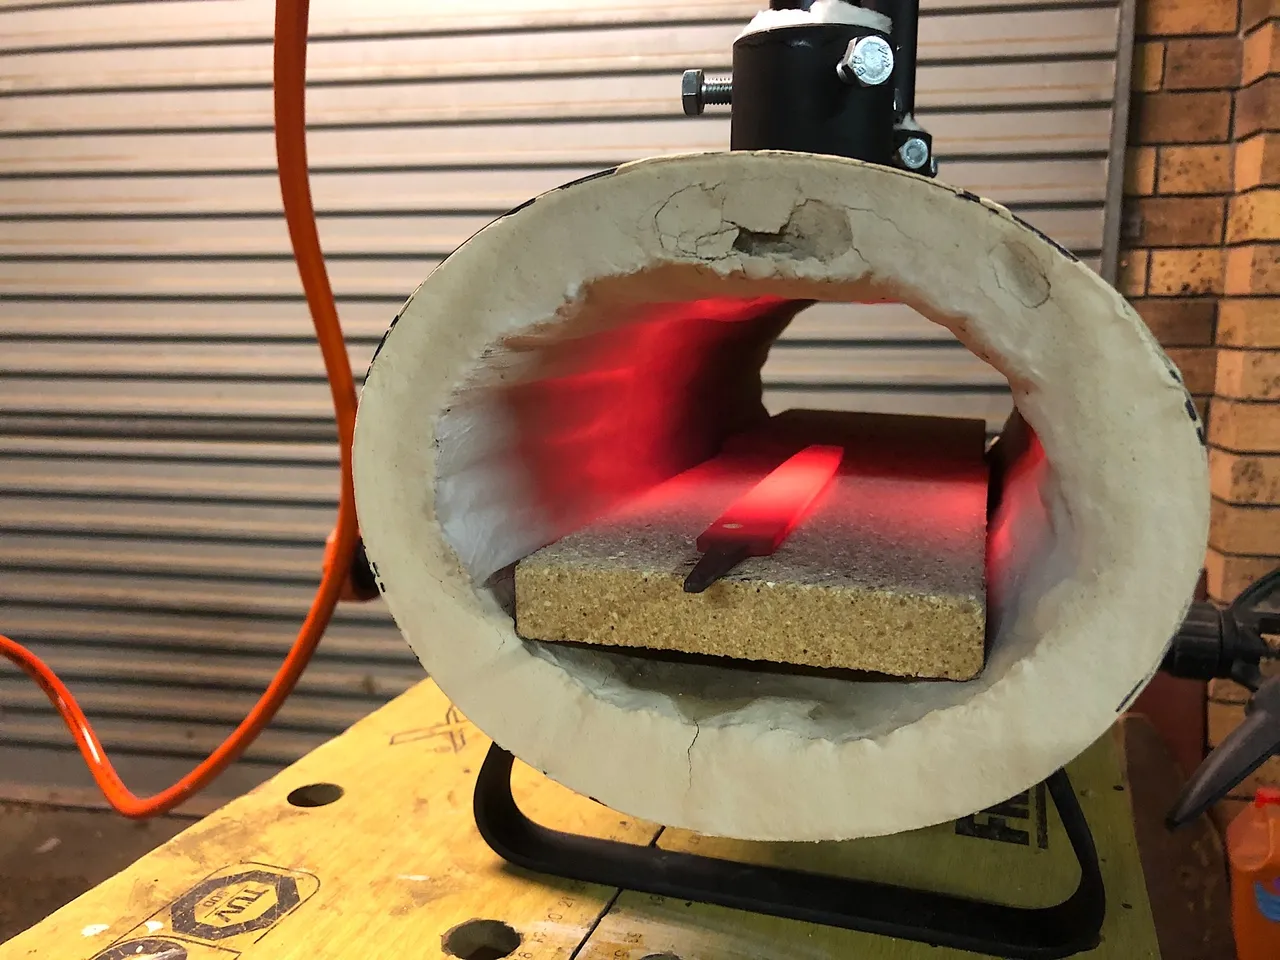
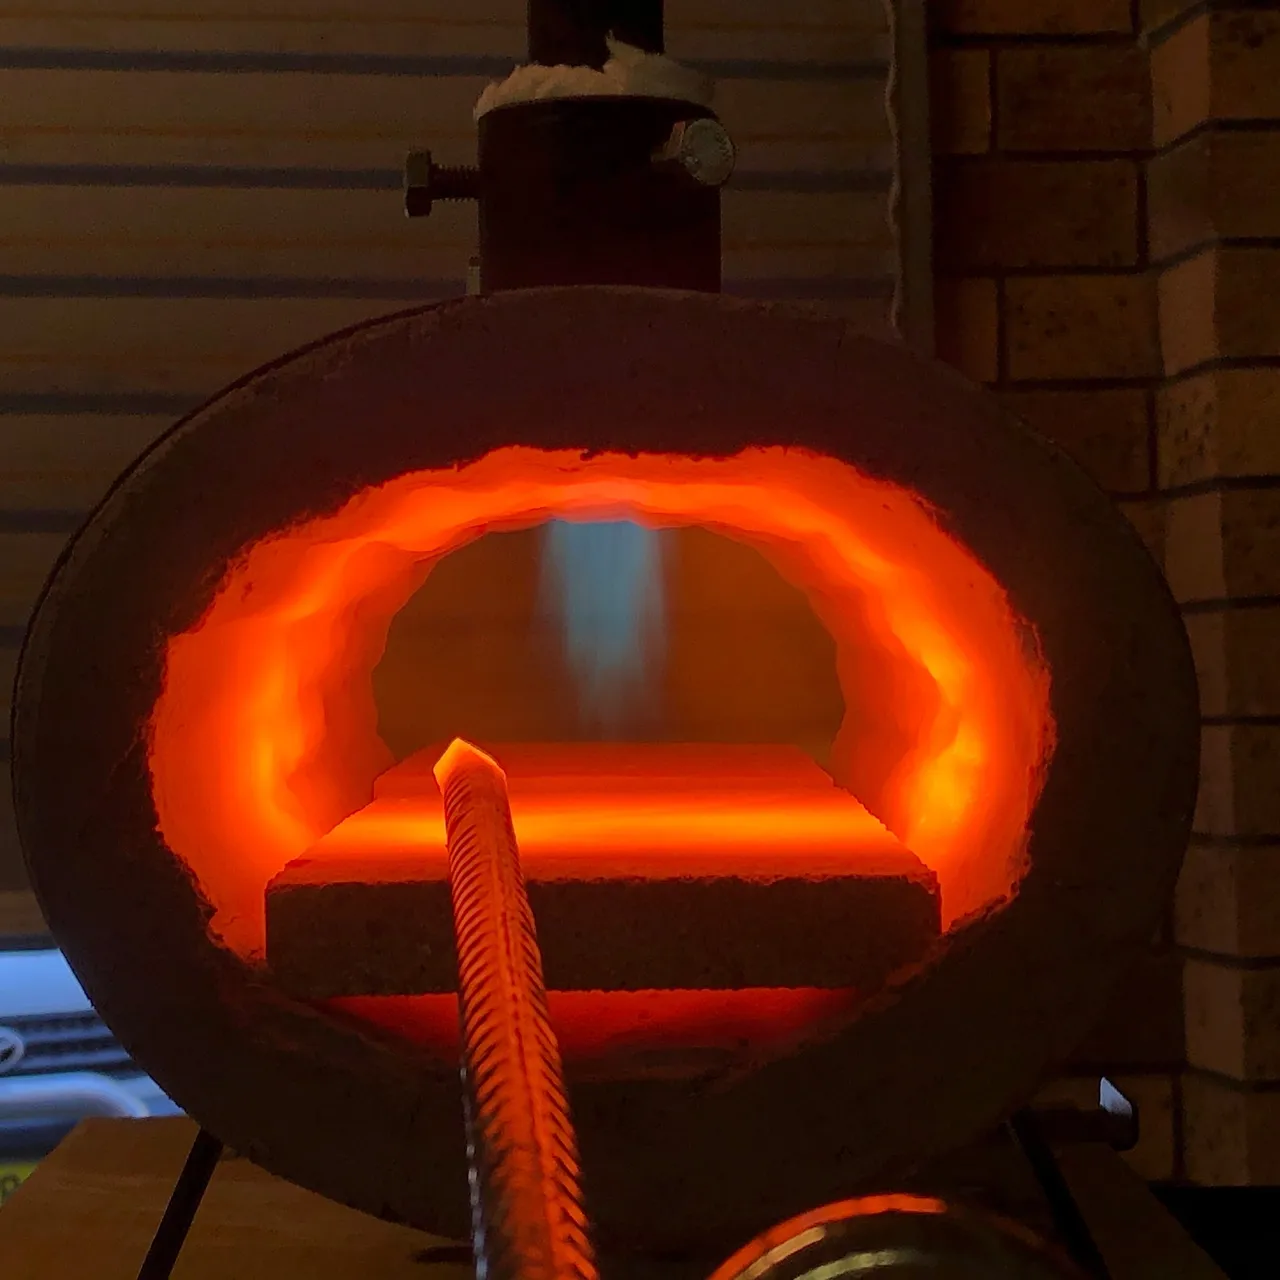
Next step is to anneal (soften) the steel, so I brought it up to a bright red color and let it slowly cool down inside the forge.
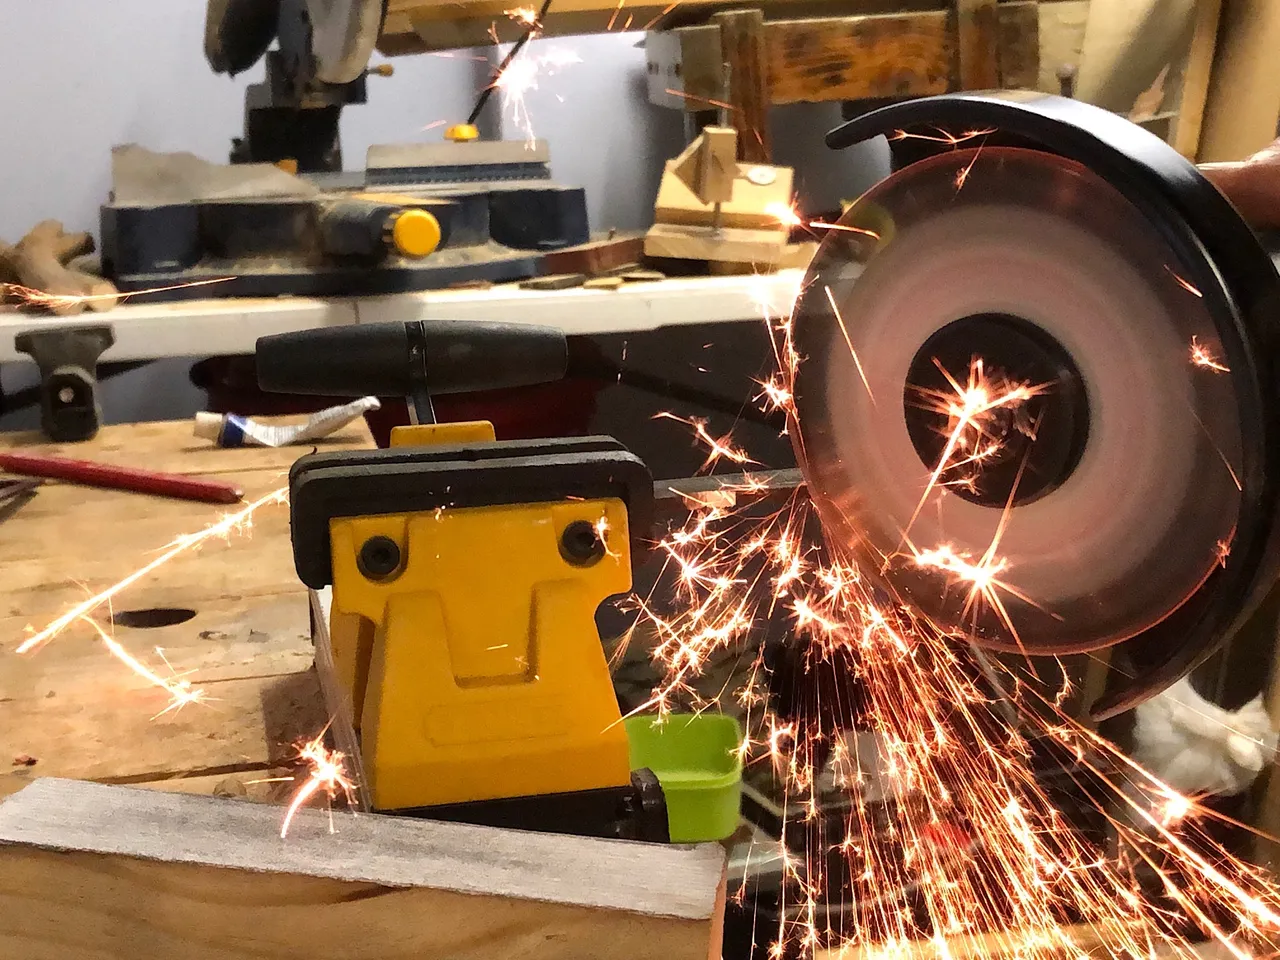
It was then soft enough for me to easily cut out a rough shape using an angle grinder. The spark's pattern tells confirms the high carbon content of the steel which means I will be able to harden it so it can hold an edge.
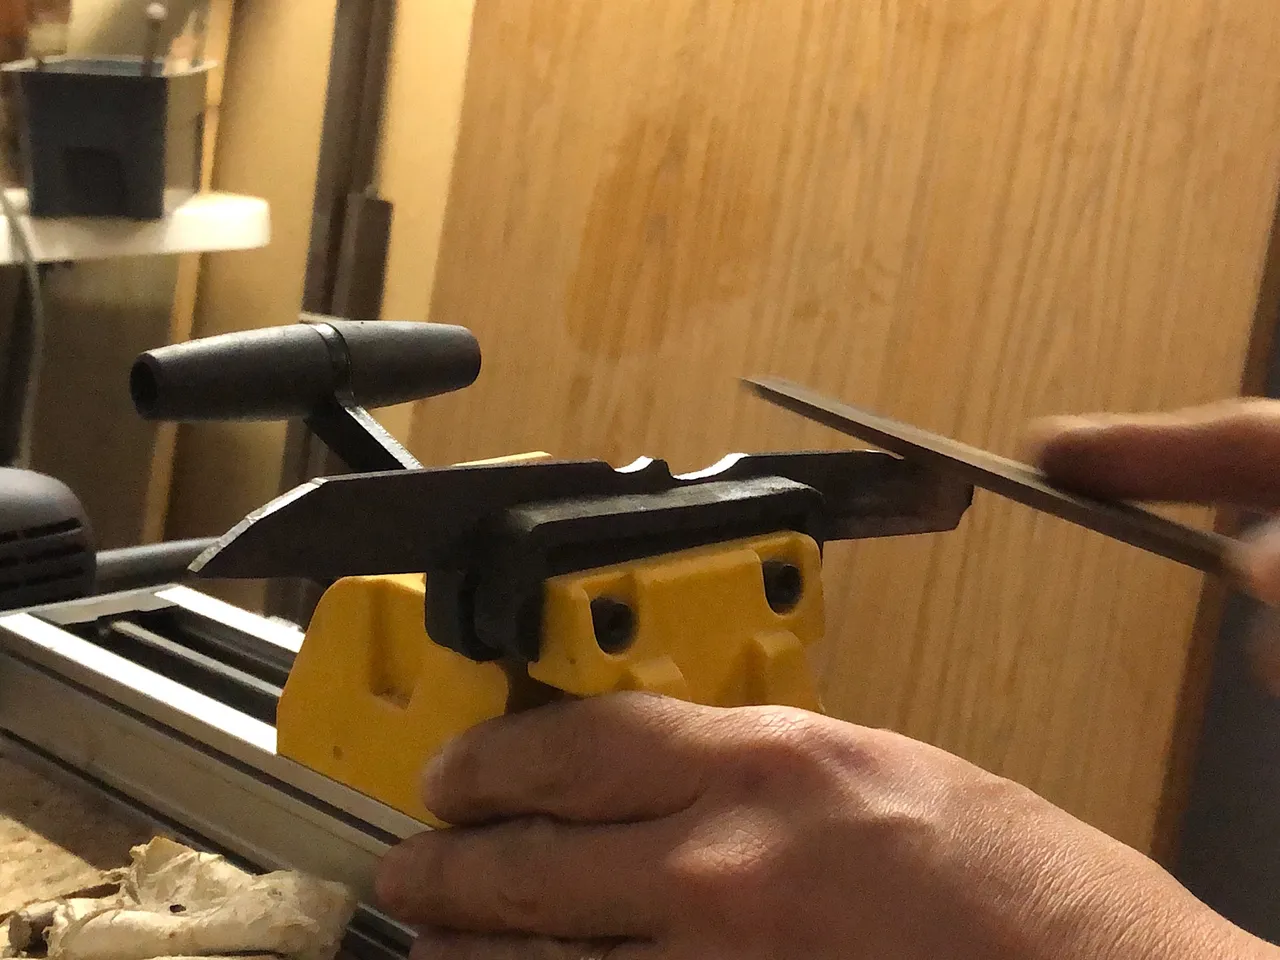
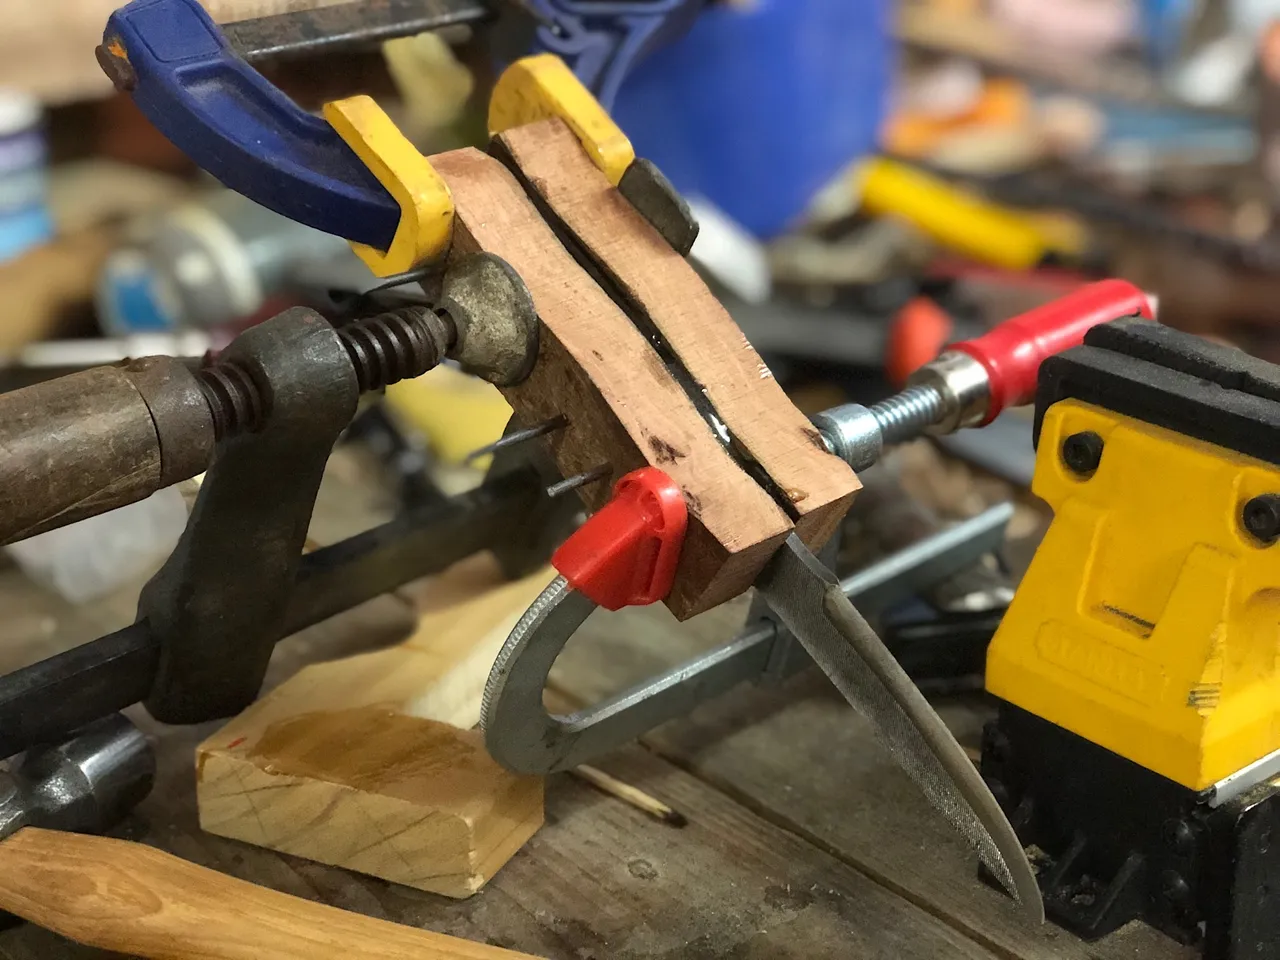
With a round file, I fine tuned the rounded areas and removed any sharp edged created from the grinder.
After making the final shape of the knife with a belt sander, I started the heat treatment to harden the steel. The knife was place in the forge and brought up to a temperature high enough for it to not stick to a magnet anymore. Once that state achieve, I dunk the whole knife into a container of canola oil to quench it (bring its temperature down quickly). This process makes the steel very hard but it will be brittle, like glass. So the next step was to temper it to soften it just a little bit, enough so that it won't chip but not too much so that it would bend. Sorry, I could not take photos of the process as it needed fast timing.

As the steel was cooling down, I started to make the handle from a piece of hardwood flooring.
The two wooden scales were then epoxied to the blade's tang. There start all the rookie mistakes:
- I should have cut the scale thinner because it was a pain to get them to size afterwards.
- I should have sanded the scale front (blade side) before too...
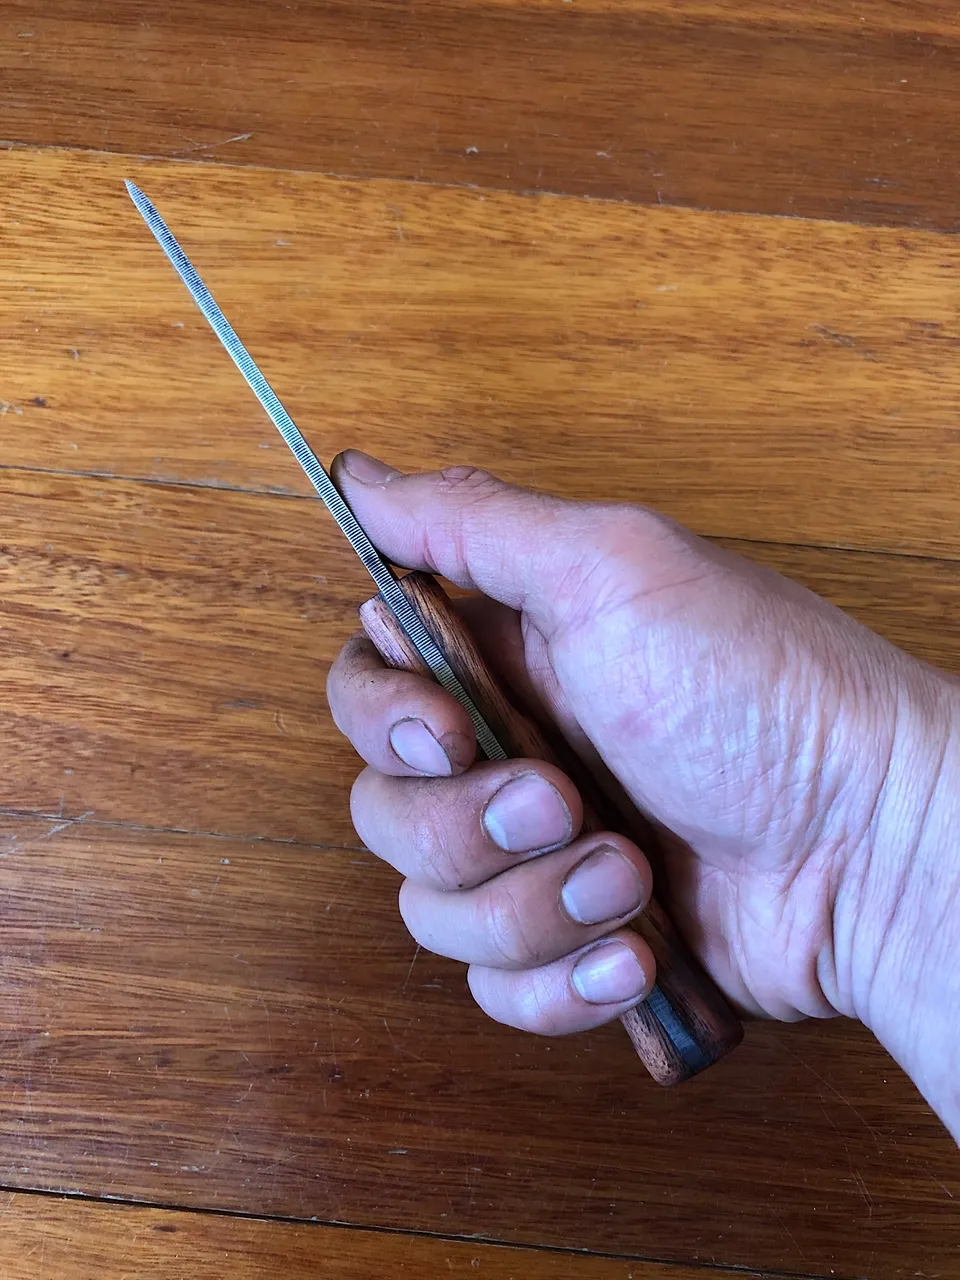
But everything went well and here is the end result. I also burned the wood and finished it with some oil finish that contains tung oil
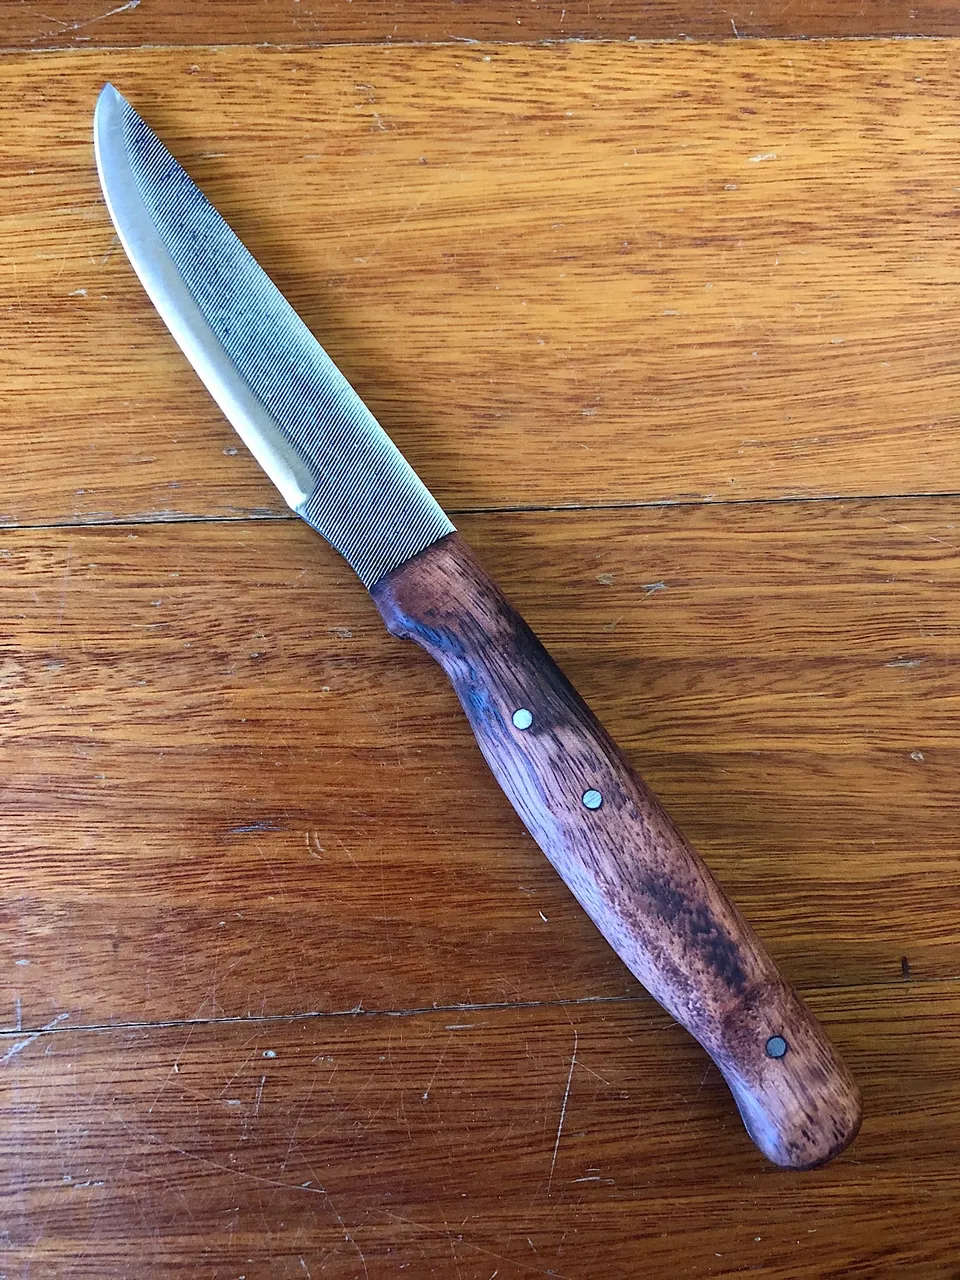
I love the texture from the file and left it there as I thought it looks great.
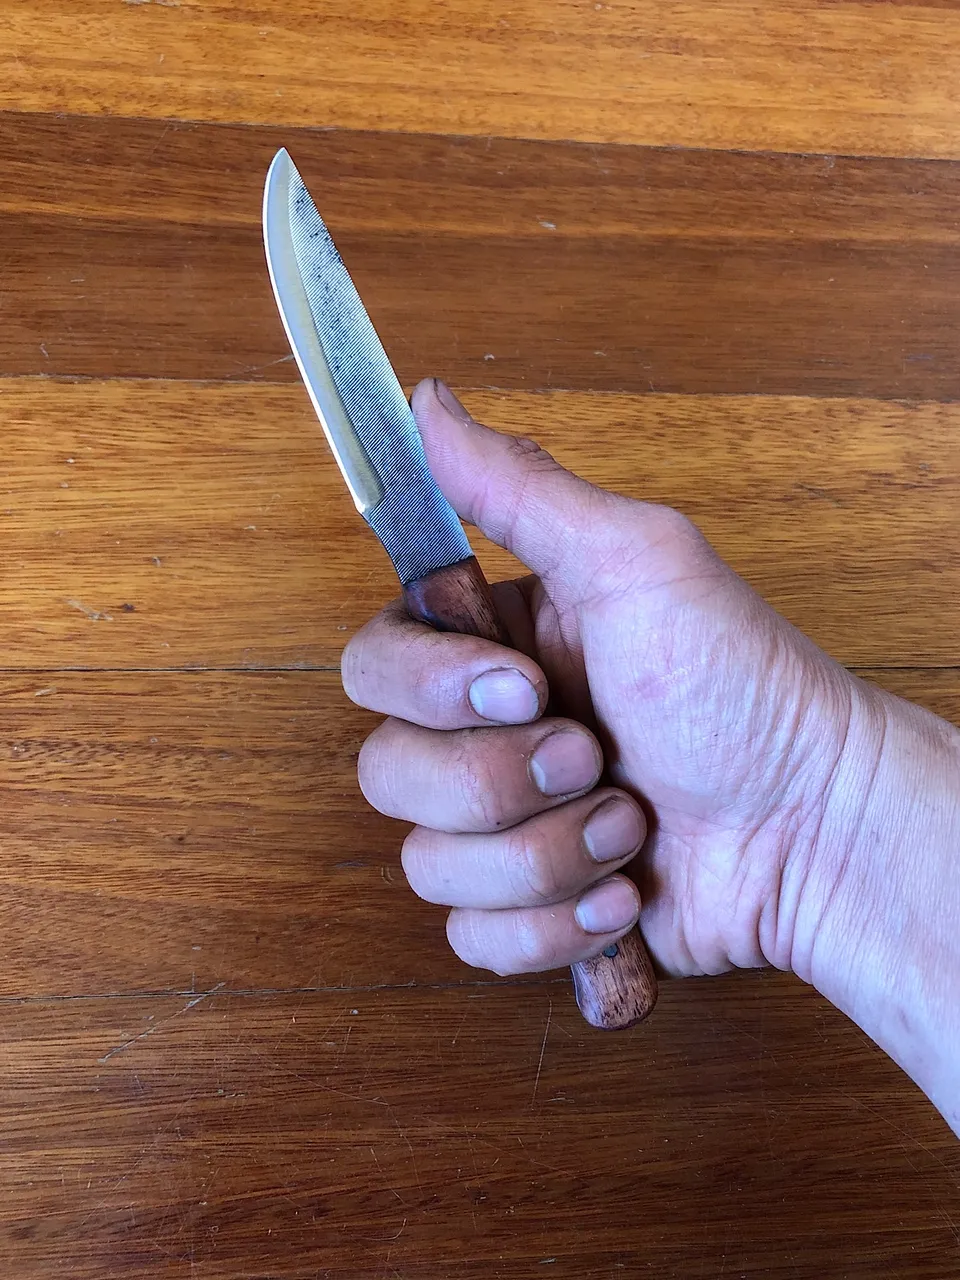
The knife feels well in my hand, I'm pretty happy with this first attempt and learned a lot from it.
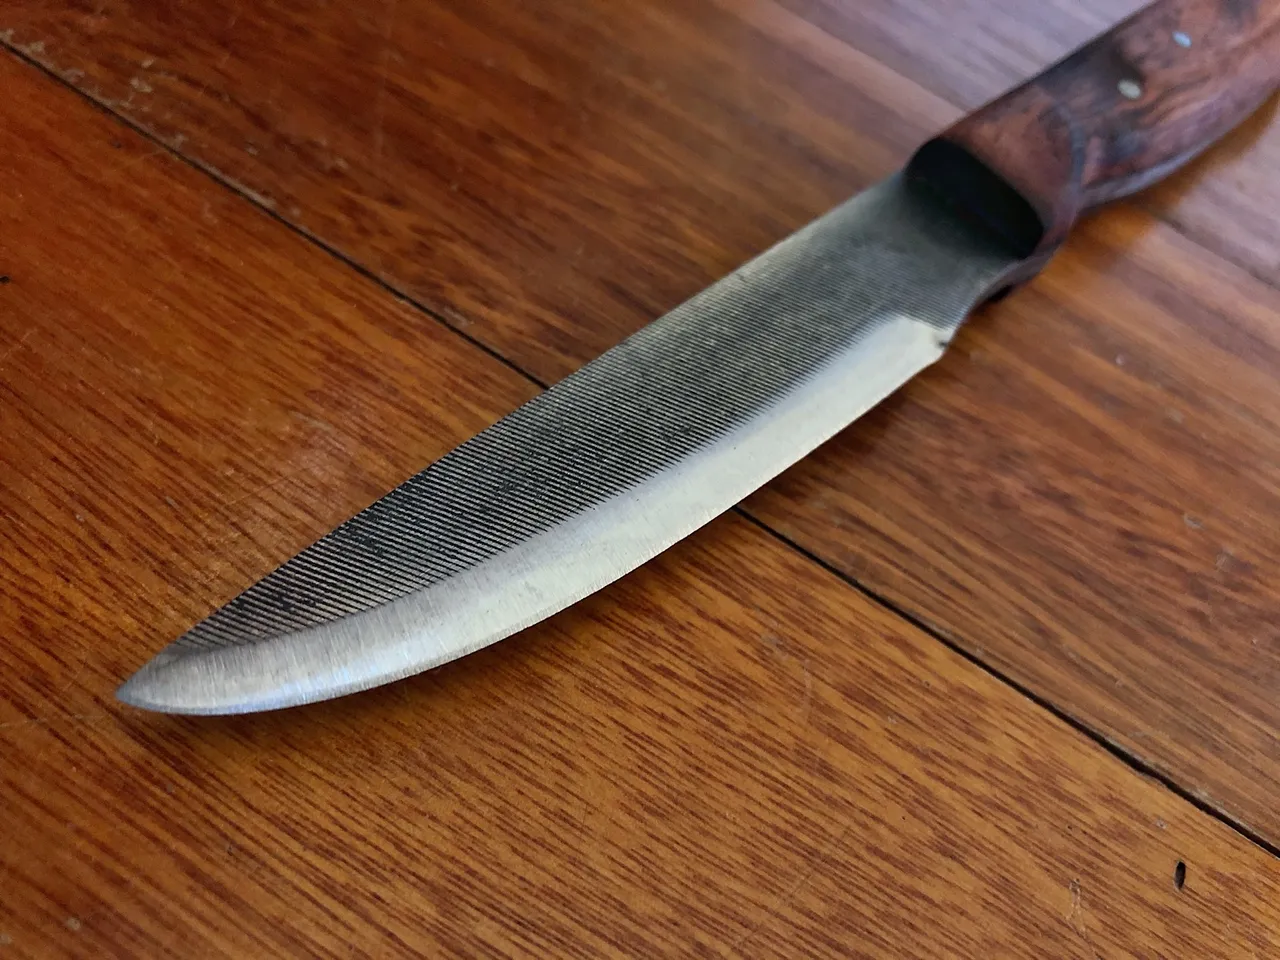
Here is a photo showing the texture on the spine of the knife
The tongs
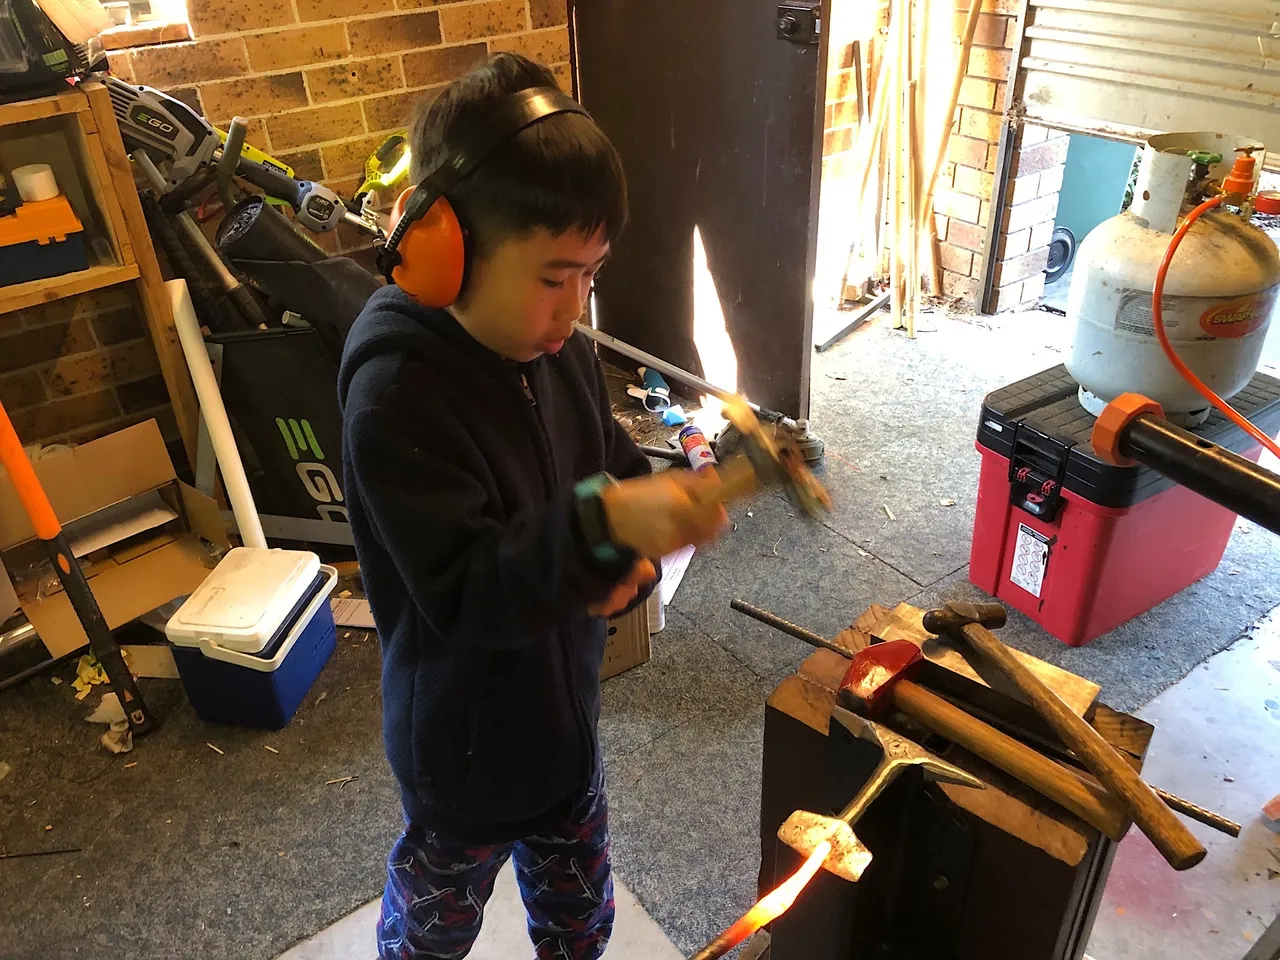
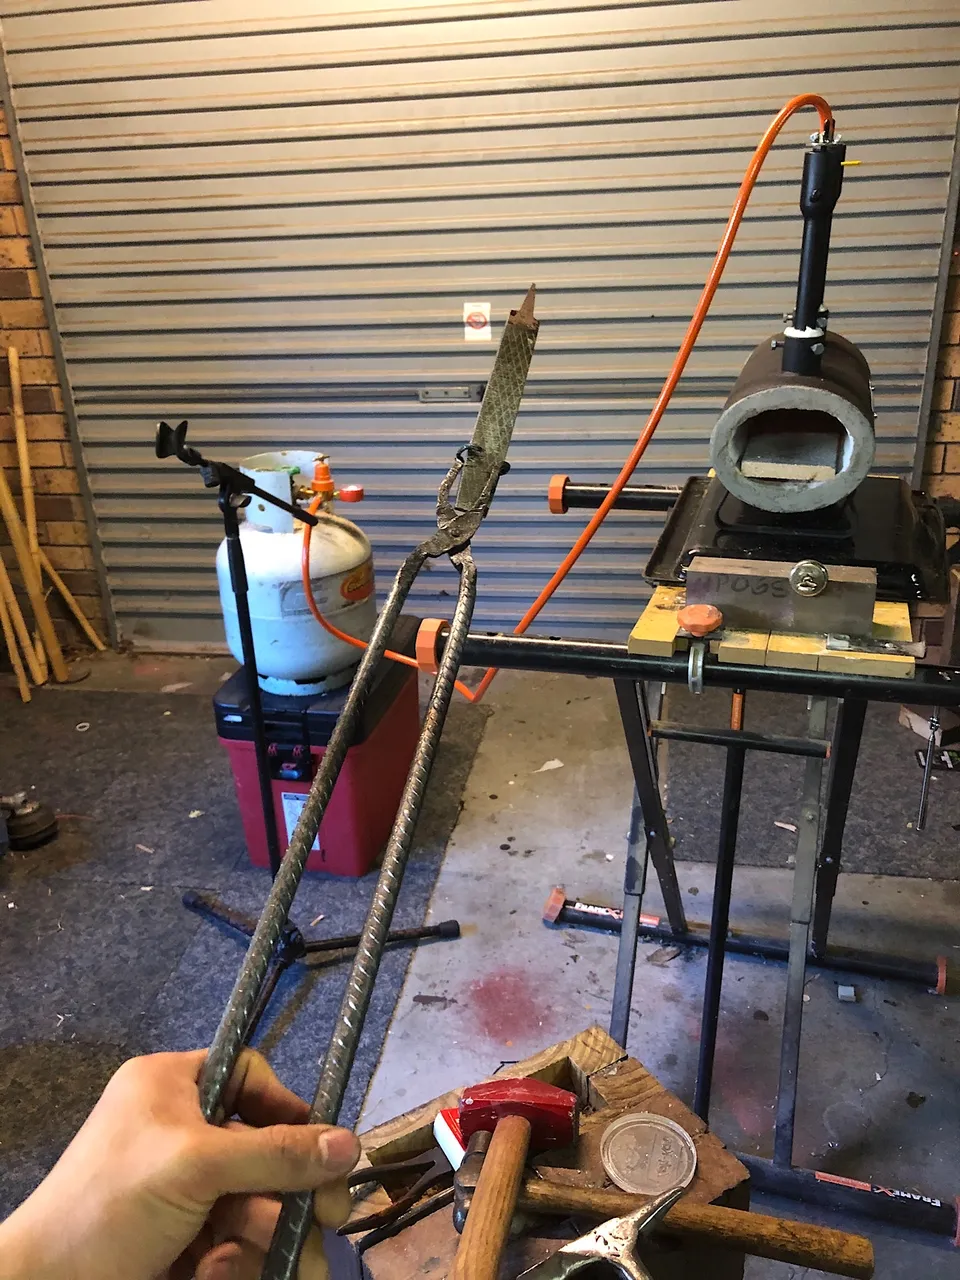
When doing the heat treatment of my DIY knife above, I was using a pair of short pliers and it was getting quite hot. So this morning, I thought I would do my first real forging project: making a pair of blade holding tongs. I bought a cheap piece of rebar from a Bunnings and cut two sections of 50 cm long.
My son came to help me forge the rebar, this was the first time using my homemade rail anvil and it was working very well!
It took me a bit over 2 hours to finish the tongs, that was more difficult than I expected. Using a gas forge has some drawback, the torch is heating a large area of the material and it's difficult to keep everything straight when you only need to bend the tip. I need a pair of leg vice or practice some more.
In the end, the tongs look ugly as hell, no symmetry what so ever but you know what...
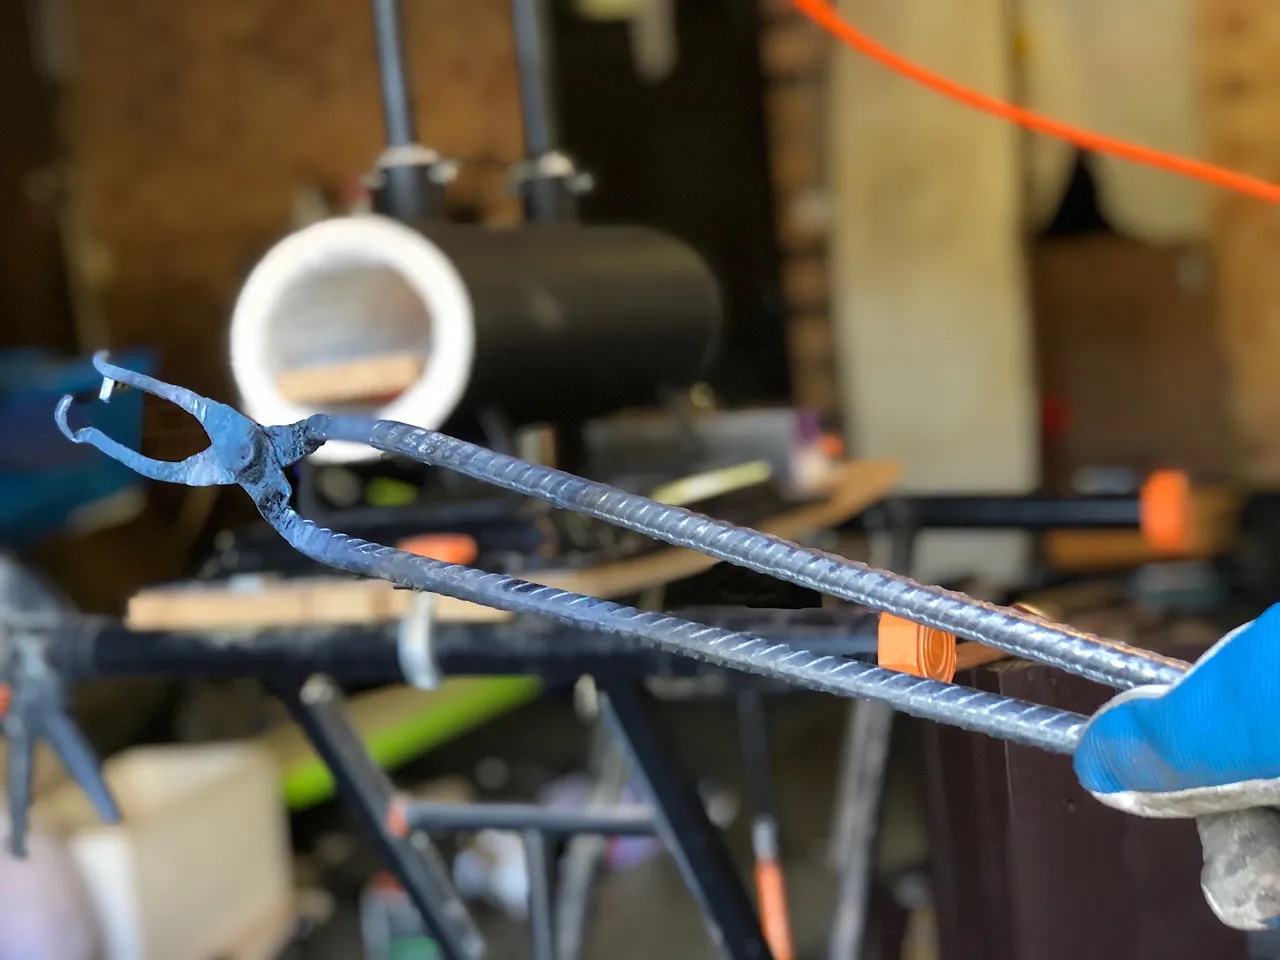
... they do work! Eureka! 🥳
The main issues I encountered in this project were:
- it was difficult to isolate the heat when using a gas forge, I ended up bending way more area than I wanted
- I went too thin too early and when I flattened the area where the two tongs are connecting to each other, they were very thin and I was worried they would bend during use.
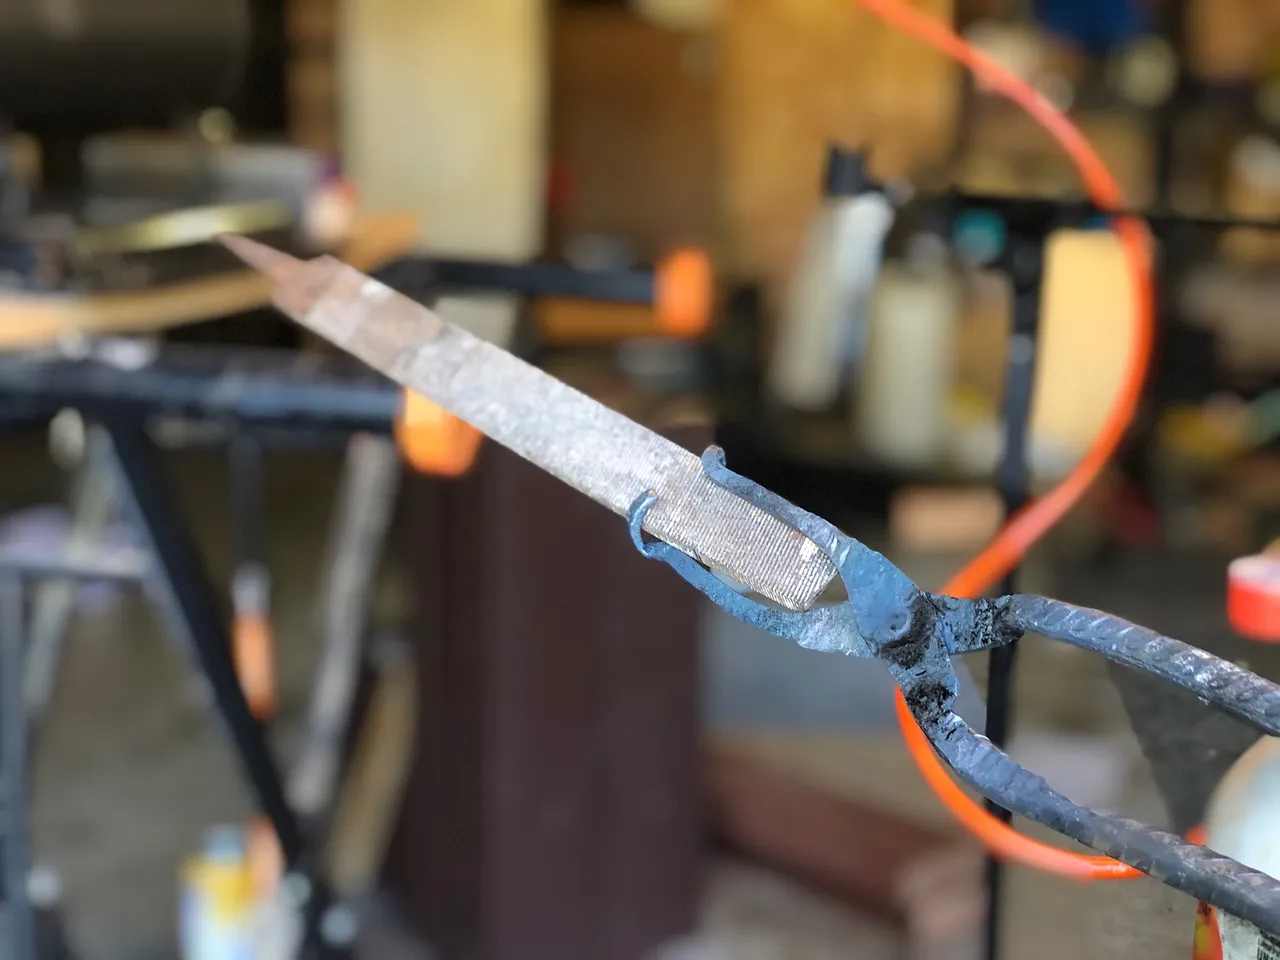
To be safe, I decided to harden the tongs. Rebar are low carbon steel so they don't harden very well and would make awful knives that would need constant resharpening. But they can still be hardened to some degree, better than in their mild state and any level harder is still better for me in the current situation. It did seem to work, I could pick and lift up my largest file with no problem.
Not too shabby 😅 , what do you guys think?
Vote for my witness

On Hive, Witnesses are playing the important role of providing a performant and safe network for all of us. You have the power to choose 30 trusty witnesses to package transactions and sign the blocks that will go in the Hive blockchain. Vote for me via HiveSigner to support my work for the community.