When we got our first baby chicks here, they lived in a large plastic tote under a heat lamp. Knowing that we would soon need someplace outdoors for them, I scoured the internet looking for free plans that would suit our purposes, and I quickly found the Backyard Chickens website, which is full of useful information for raising chickens, including several sets of plans for chicken enclosures. Of course, I could have designed the whole thing myself, but I've found that it is usually much faster to spend about 1/2 hour looking for plans that I can modify to my needs, as opposed to 4-6 hours to draw up something like this myself. The plans I used for this build can be found here. We wanted to start out with a tractor because we weren't sure if we would be able to let them free range safely, and wanted to be able to move them around the yard if not.
All this wood was a little green when it was assembled, and has since shrunk enough that I need to cover the top with a tarp. A cheap 8' x 6' light duty fit perfectly, and has worked great for two years. This chicken tractor will be 4 years old in March, and is still as sturdy as the day it was built, though it was never painted and looks about 20 years old already.
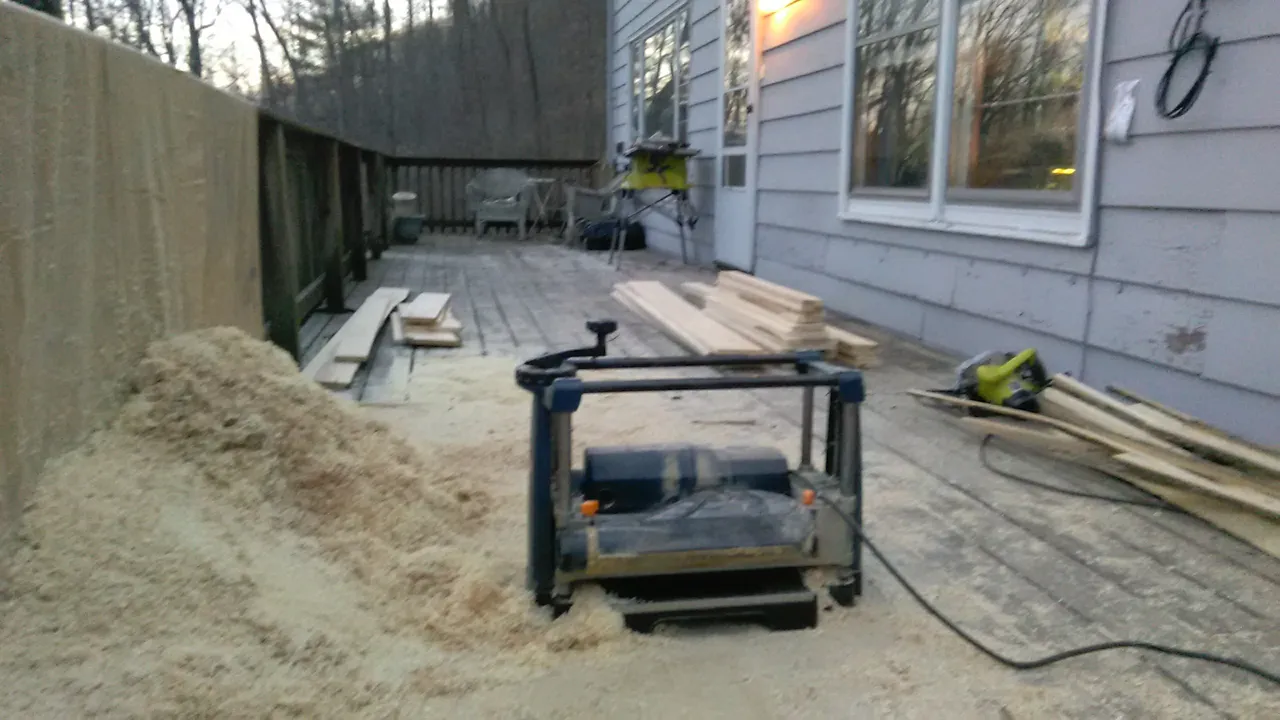
Most of my projects here start with some digging to make a flat spot, but this unit is mobile, so we got to skip that part. Instead, this project started with the very first lumber I made with my chainsaw mill, which was a bunch of ash that I cut down to let some sunlight in on the gardens.
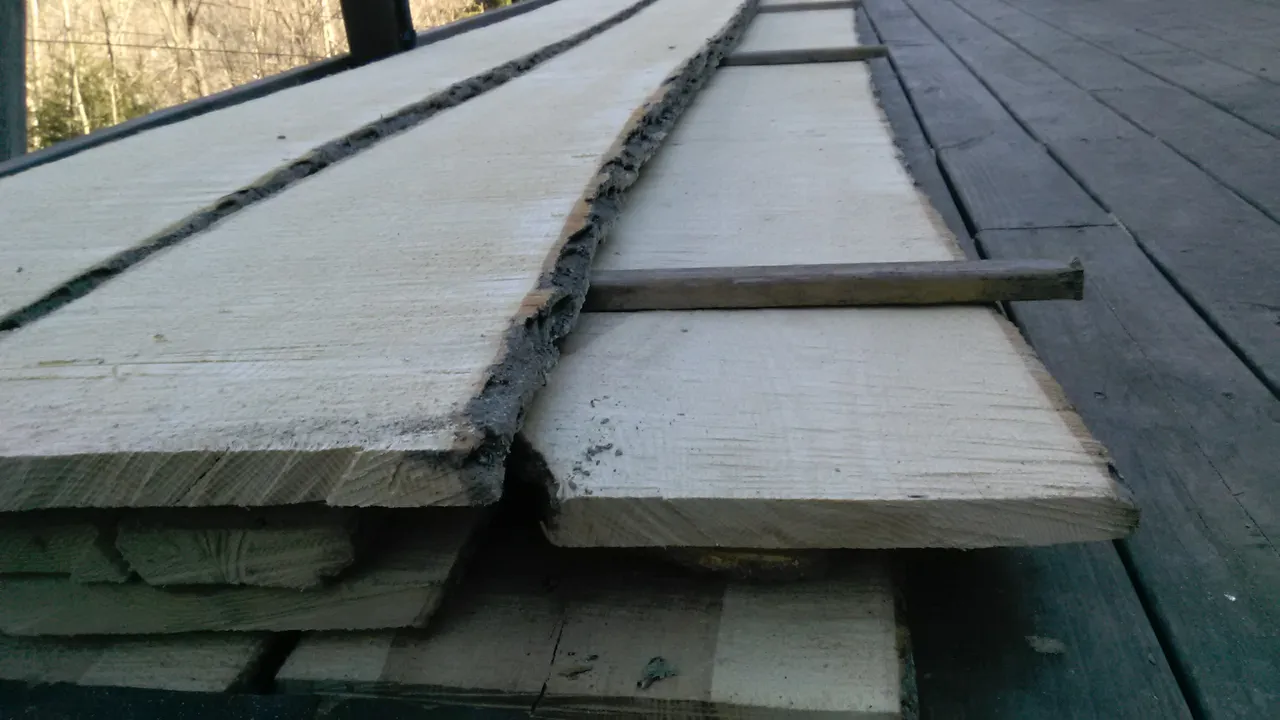
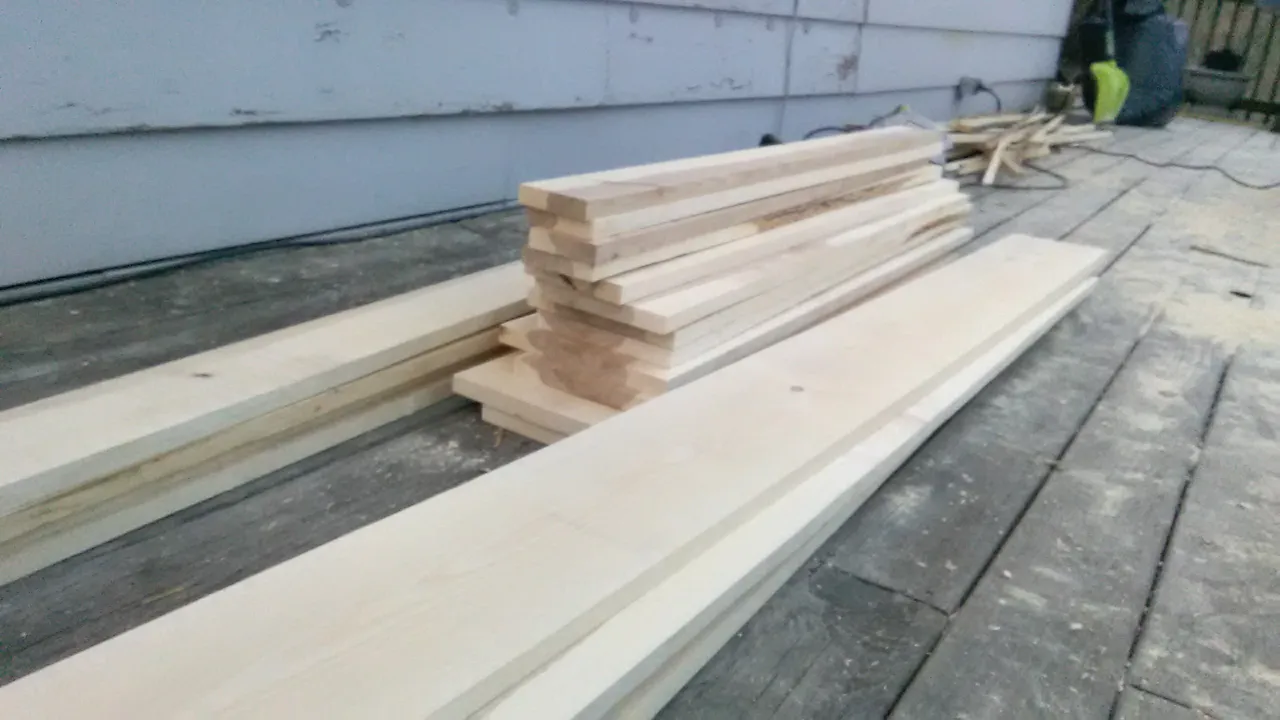
I didn't want to use rough cut for this project, and I wanted to get an idea of how much planing it would take to get my boards smooth. It took 4 passes on each side, taking 1/32" on each pass on my old Ryobi thickness planer. It was time consuming, but worked beautifully and left me with a huge pile of hardwood shavings which I use as bedding, mulch, kindling, and sometimes insulation.
This ash is super white, except near the heartwood where it is almost as dark as walnut. It turns a uniform dark grey after just a week or so in the sunlight if left untreated. I wasn't particularly worried about color matching for this project... the chickens don't seem to mind much one way or another. Also, I REALLY should paint this thing someday.
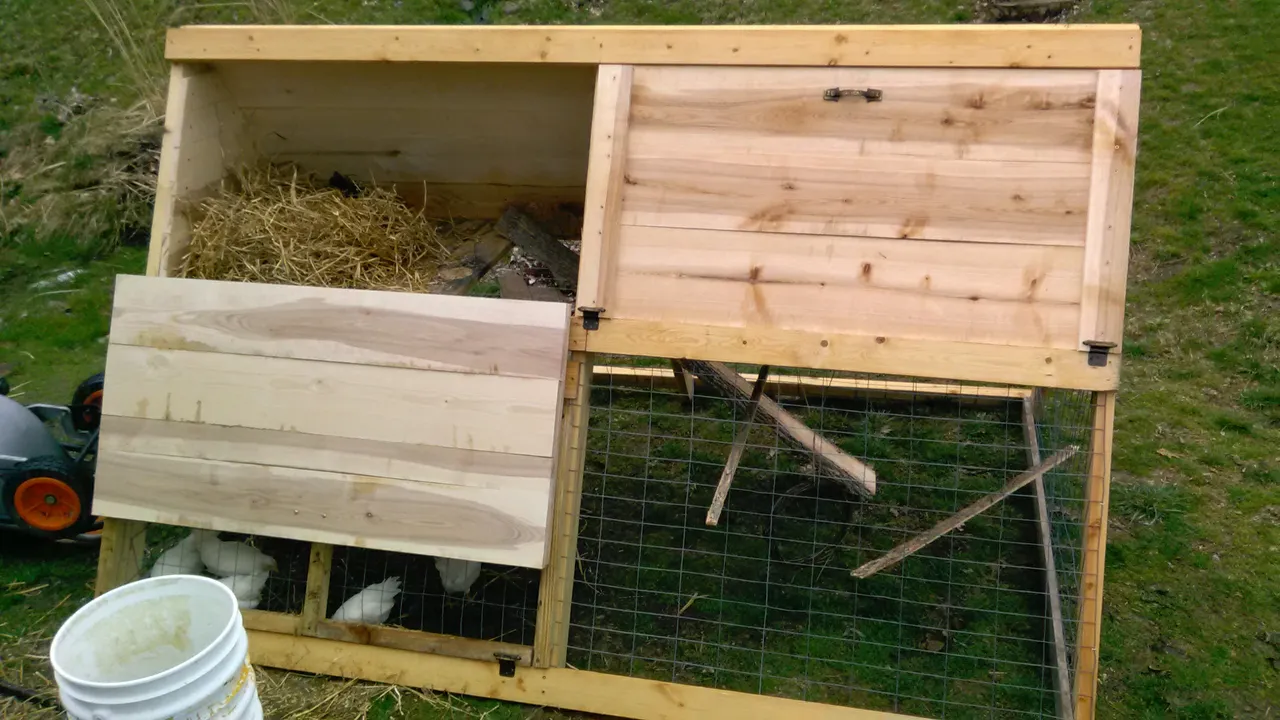
I chose this design because of the nesting space it provided in the upper area. I wasn't sure how long it would take me to get their larger coop built, so I wanted to make sure I had something that could work as a semi-permanent home for them. I also plan to breed my own chickens, and I hope that this will someday serve as a separate brooding coop.
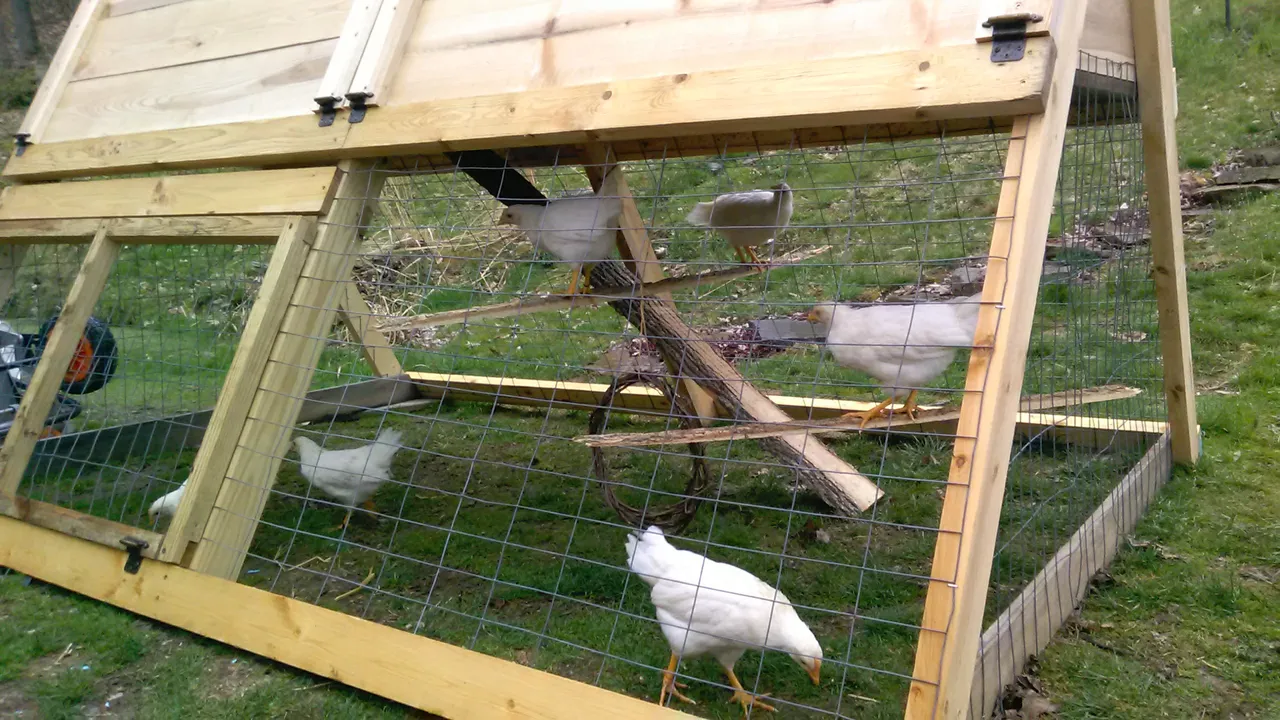
If you look at the original plans, you'll see I made several changes. This was largely to cut down on time and materials, and to make use of some cupboard hinges I had laying around. Using hardwood for this made it pretty heavy, weighing in around 150 lbs. With the handles and wheels attached (not pictured here) I can still move it around most of the hill by myself, and it's easy enough with two people.
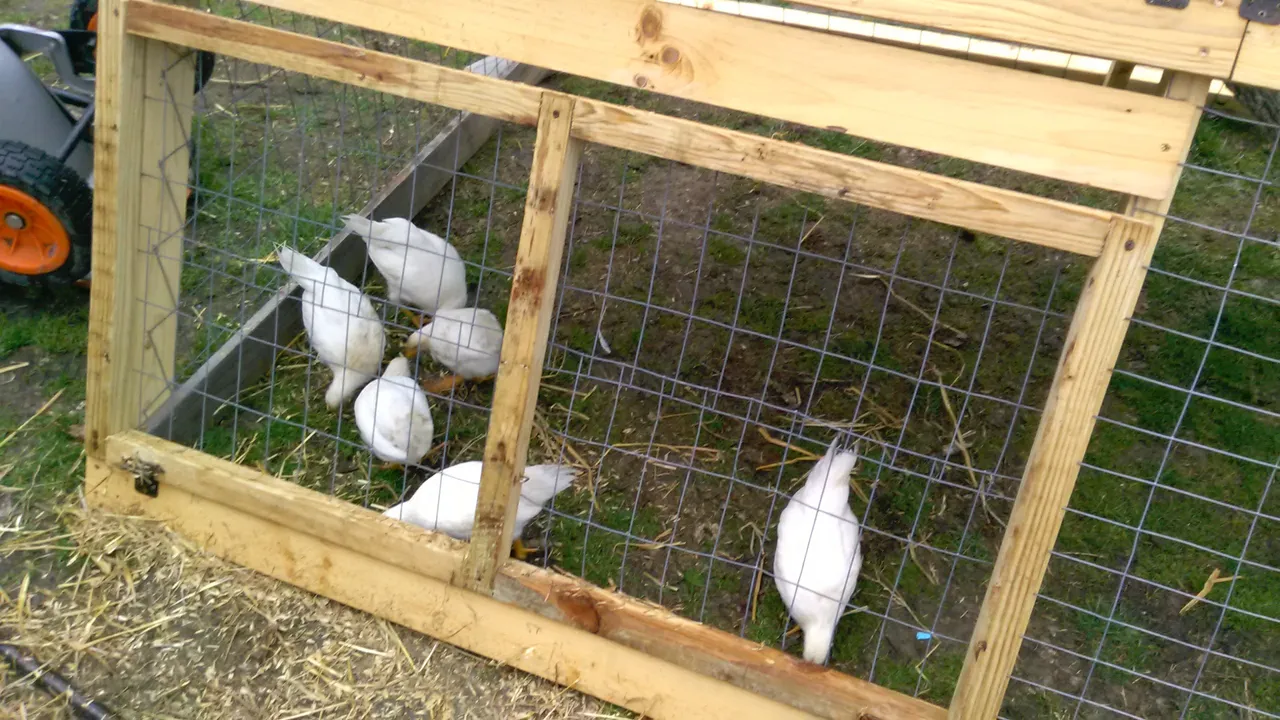
Sadly, all of this first small flock is gone now to disease and predators. It has worked out for us; at the time I got these they weren't really the chickens I was looking for, but they were all I could find and I figured it wouldn't be bad to have half a dozen layers around. The chickens we have now are all dual-purpose, and are much larger than these little leghorns were. These 6 hens fit nicely in the tractor well into their adulthood, but with larger breeds it really only holds 4 comfortably.
I'll wrap this up here, before I start rambling about the benefits of different breeds, which should be its own post, and was already addressed a little in some of my earliest blogs. I have some other chicken housing projects to post about in the future, so if you're into keeping poultry, give a follow and stay tuned!