
Español | English
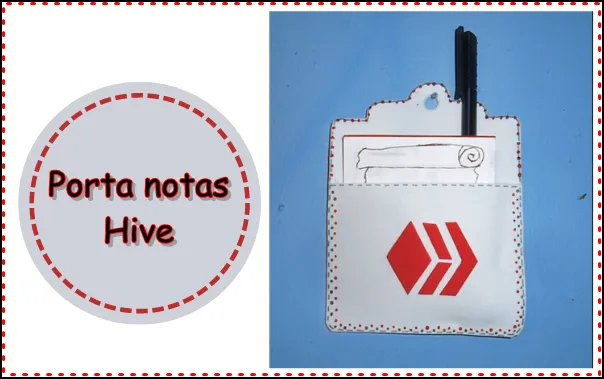
Hello community♡ I hope you have an excellent weekend. Every day we usually make notes whether it is writing down the day's homework, some important date or any activity we want to remember. That is why today I bring you a very useful and simple manual on how to make a notepad, without further ado let's start with the step by step.
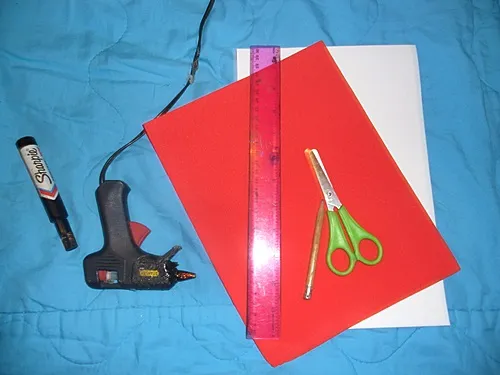
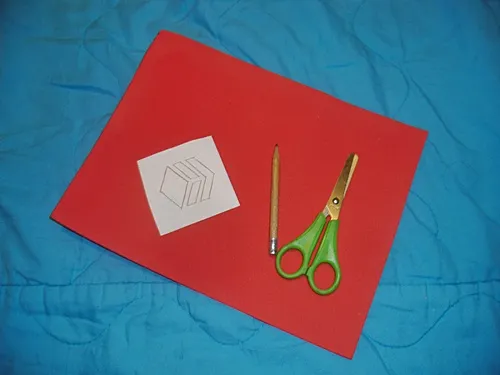
Materiales | Materials
| Foamy o goma eva | Foamy |
|---|---|
| Tijera | Scissors |
| Silicon caliente | Hot silicone |
| Regla | Rule |
| Lápiz | Pencil |
| Marcadores | Marketers |
Paso a paso | Step by step
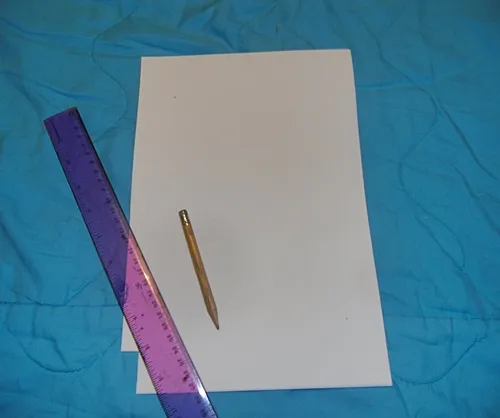
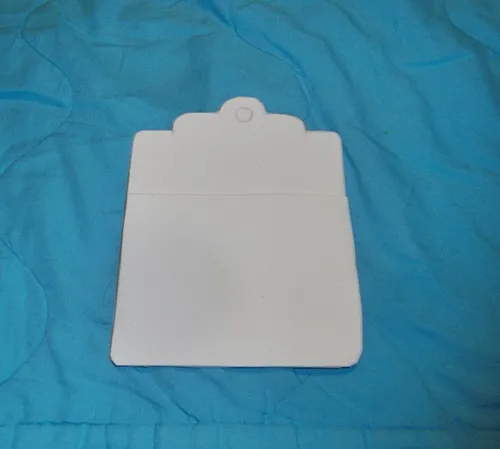
The first step is to make the base of the notepad. Using the ruler, draw a line 14 cm high by 12 cm wide. At the top I made some designs. Then you also draw a picture 10 cm high and 12 cm wide.
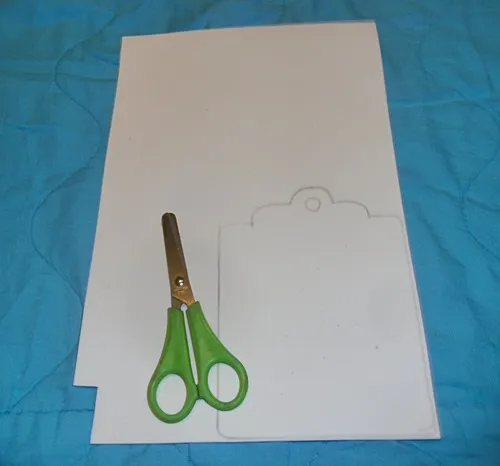
The next step is to cut out the pieces of the notepad, and glue them together to create a pocket or envelope.

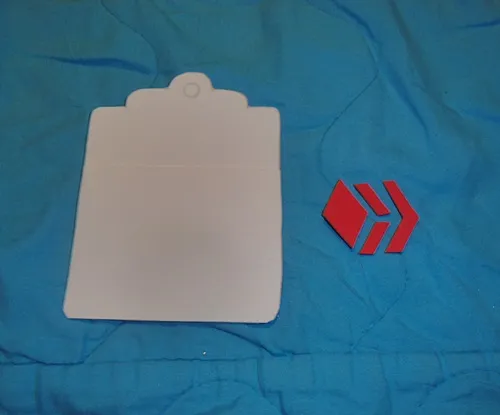
With the red foamy color the hive logo is made and then cut out.
Then the hive logo is pasted in the center of the notepad and to give it more color it is decorated. In my case I added several dots around it.
Resultado | Result
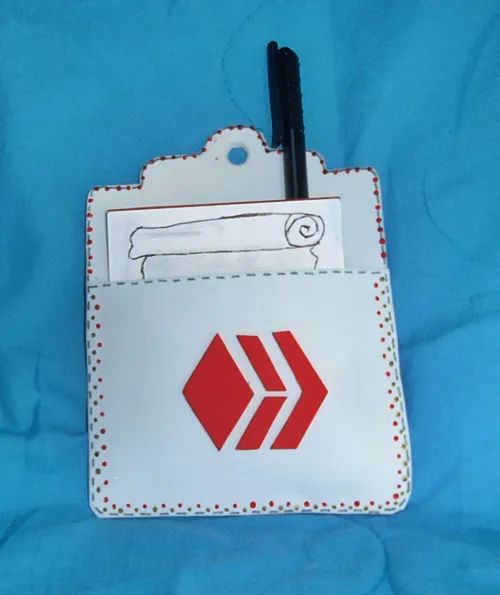
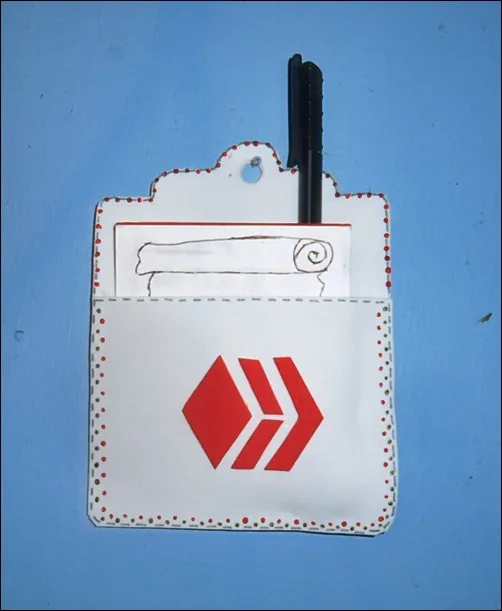
This note holder can be placed anywhere you want, fridge, office or in a room.