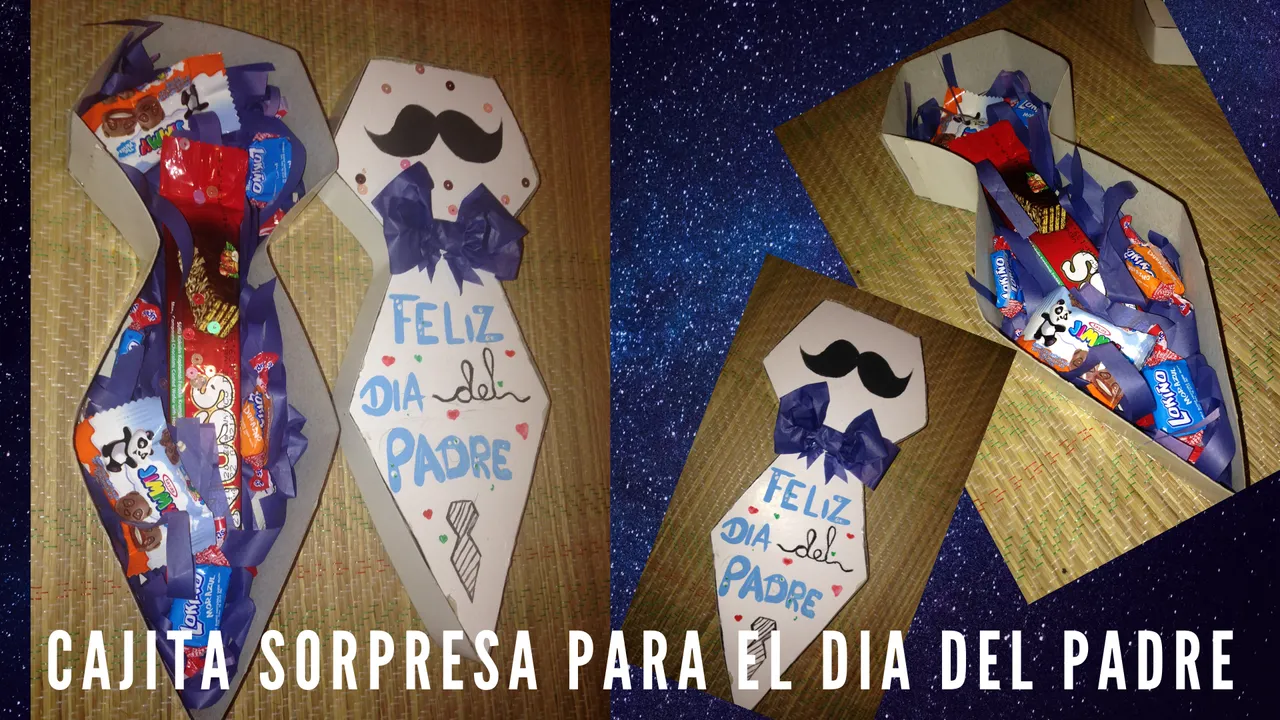
Hola amigos de Hive saludooos, Hoy quiero compatir con ustedes una hermosa cajiita en forma de corbata para celebrar el día del padre, Felicidades a todos los padres, aunque no estoy consiente si también en otros países están celebrando este día como acá en mi país Venezuela que lo celebramos un día como hoy, espero que te guste esta linda cajita y que sea una idea para muchos si aun no tienen que regalarle a sus padres.
Hello friends of Hive saludooos, Today I want to share with you a beautiful little box in the shape of a tie to celebrate father's day, Congratulations to all fathers, although I am not aware if also in other countries are celebrating this day as here in my country Venezuela that we celebrate it a day like today, I hope you like this nice box and that is an idea for many if you still do not have what to give to their fathers.

Materiales || Materiales
- Cartulina blanca .
- Tijera.
- Pintura azul y negra.
- Silicon.
- Papel ceda.
- White cardboard .
- Scissors.
- Blue and black paint.
- Silicon.
- Ceda paper.
Pasos a Seguir || Pasos a seguir
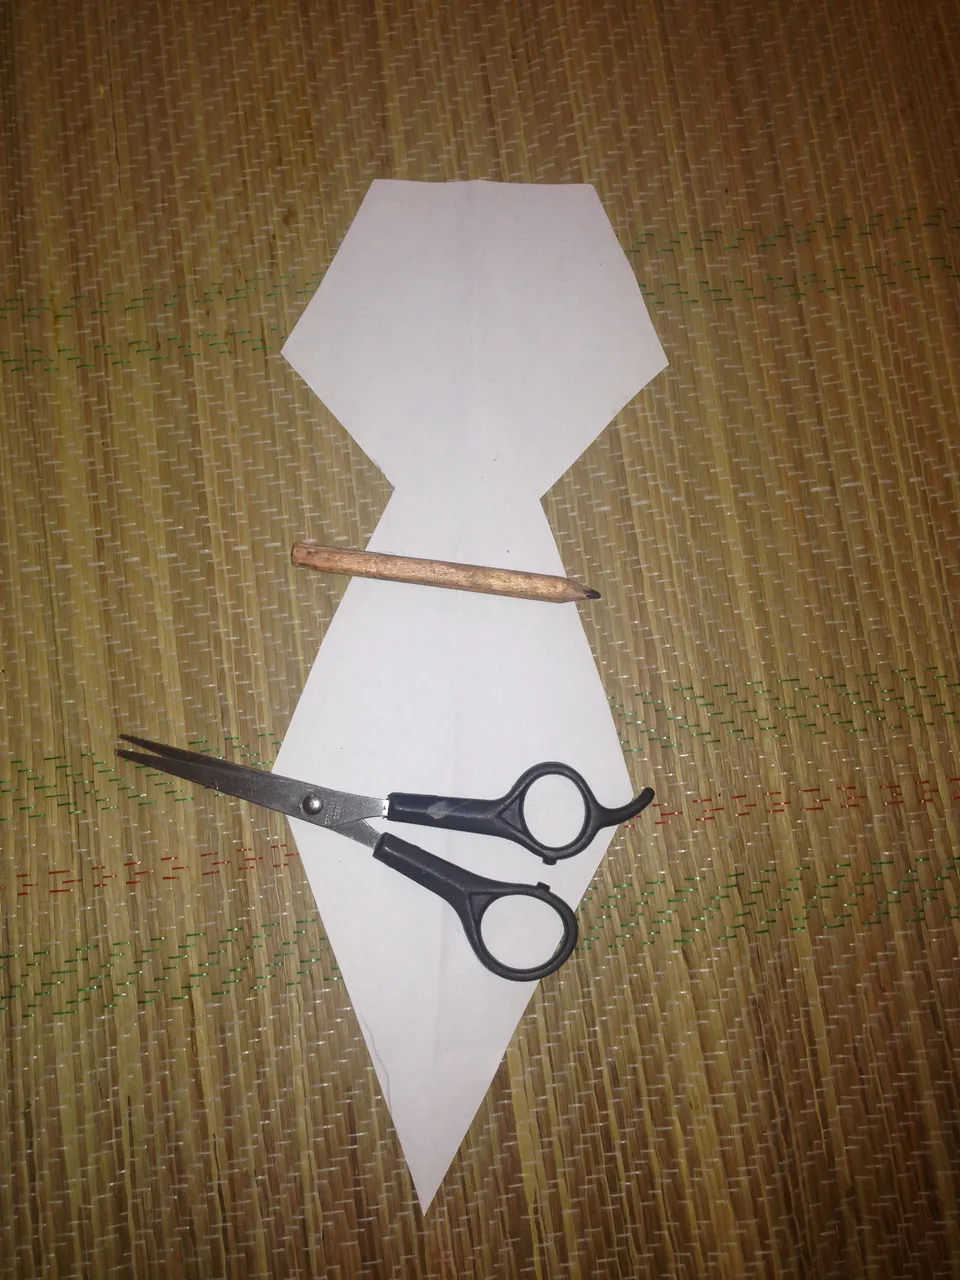
Paso 1: Lo primero que necesitamos es crear nuestro patrón en forma de corbata sobre una hoja para así sea mas fácil, el patrón que realice mide de largo 29cm de largo y ancho 11cm todo esto depende del tamaño que lo desees.
Step 1: The first thing we need to do is to create our pattern in the shape of a tie on a sheet of paper to make it easier, the pattern I made is 29cm long and 11cm wide, this all depends on the size you want it to be.
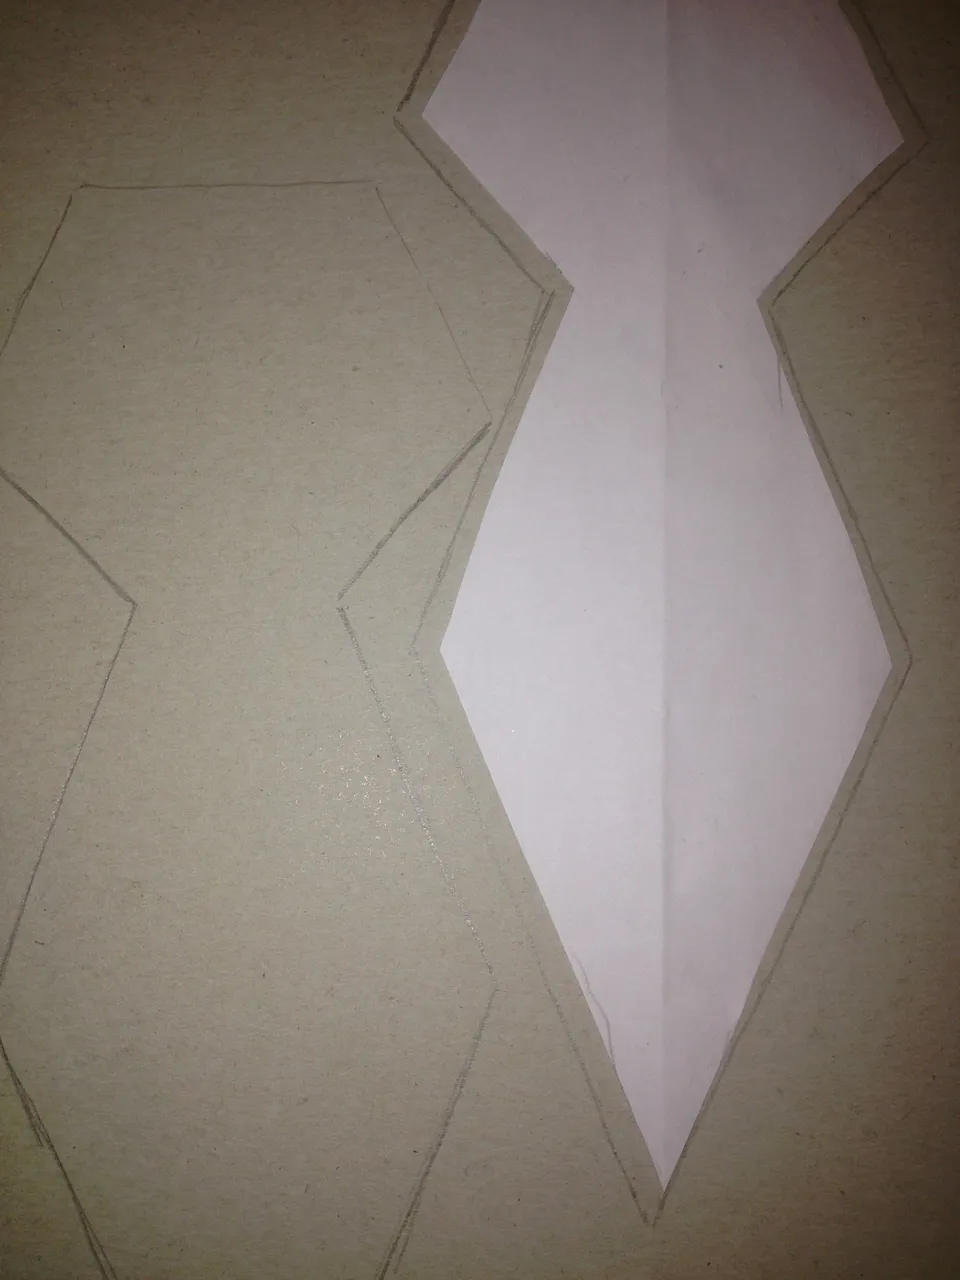
Paso 2: Teniendo listo el patrón pasaremos a marcar sobre la cartulina,recordando que el patrón que realice es la base así que debemos marcar el patrón de la que va hacer nuestra tapa debe ser 1 cm mas ancho.
Step 2: Having the pattern ready we will mark on the cardboard, remembering that the pattern is the base so we must mark the pattern of the one that will make our cover should be 1 cm wider.
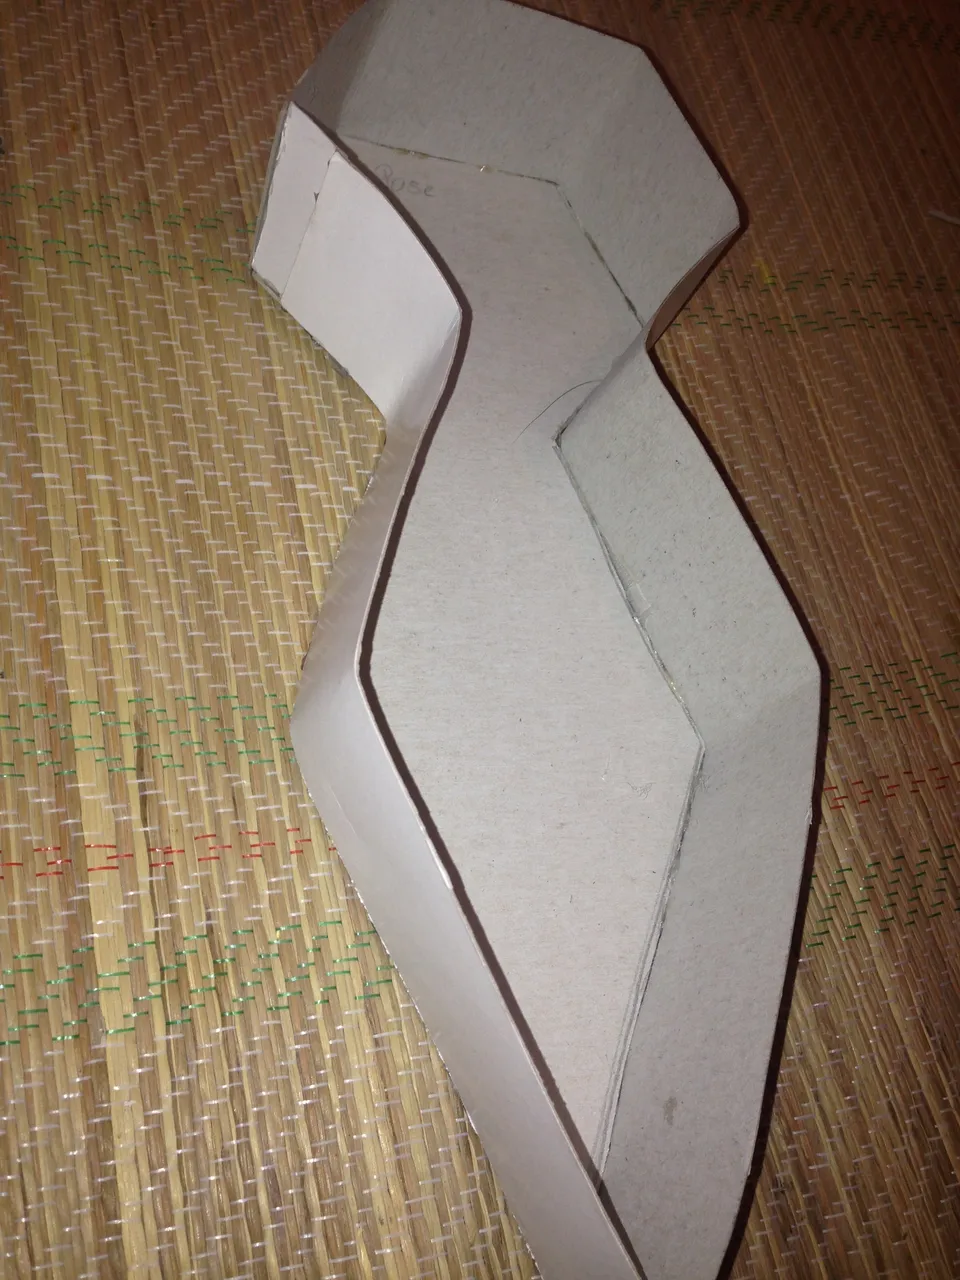
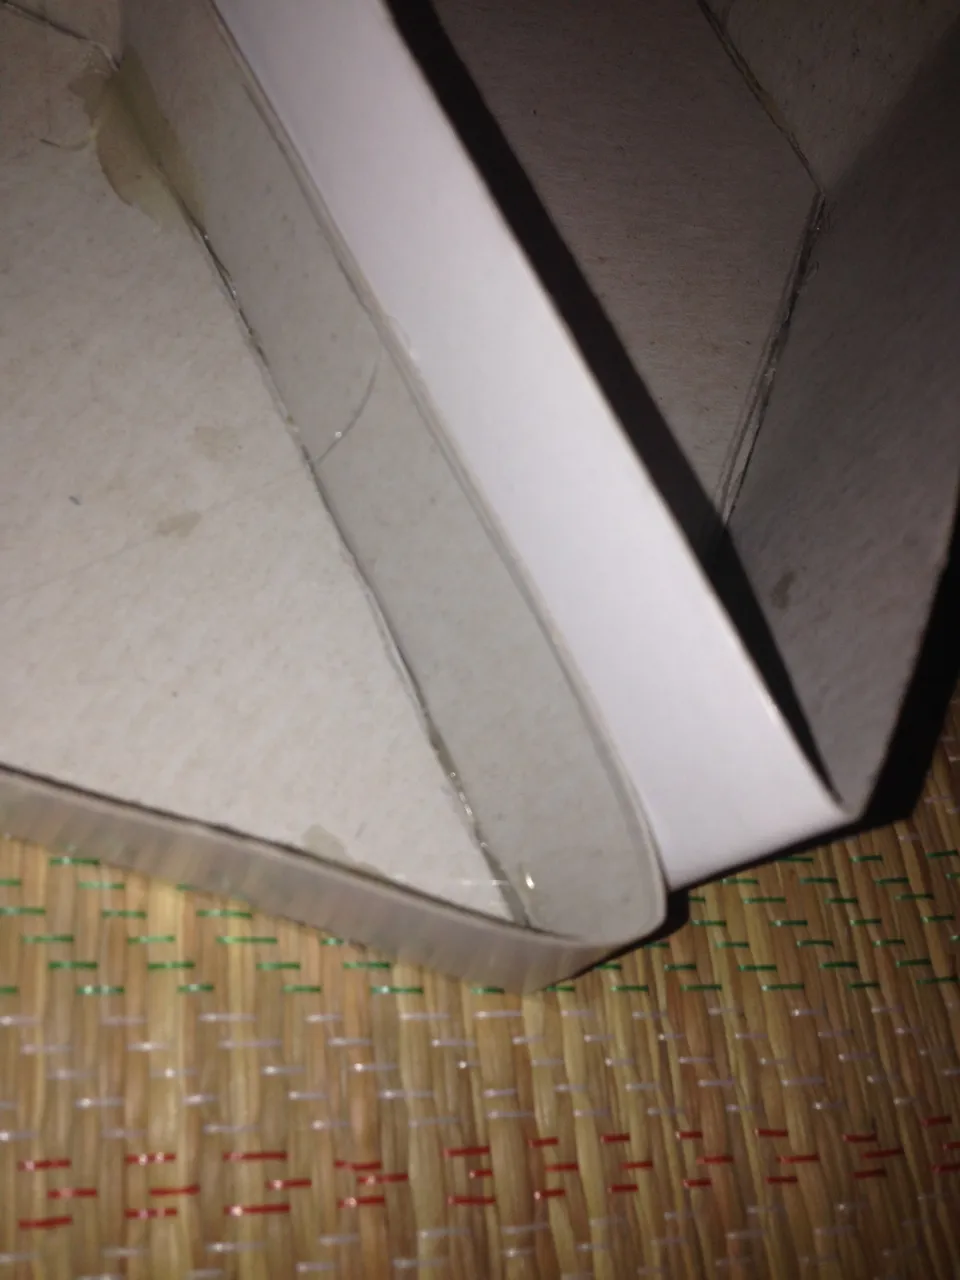
Paso 3: Con ayuda de la cartulina sobrante, vamos a realizar unas tiras aproximadamente de 5cm de ancho la cual va a ser la base de nuestra cajita.
Step 3: With the help of the leftover cardboard, we are going to make strips approximately 5cm wide which will be the base of our box.
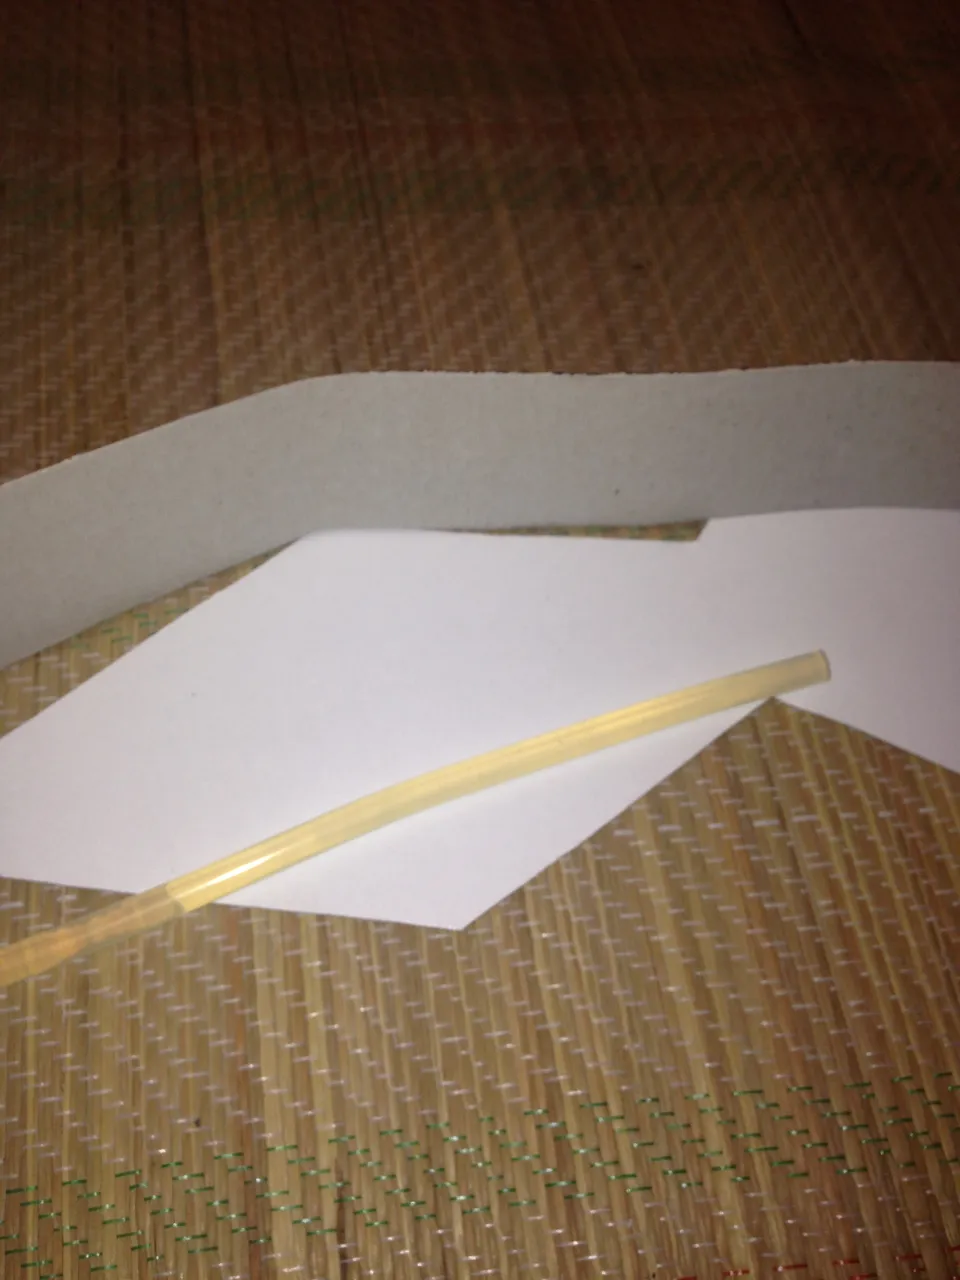
Paso 4: Vamos a pegar la tira por oda la orilla es preferible hacerlo con silicon caliente ya que pega mas rápido.
Step 4: We are going to glue the strip all around the edge, it is preferable to do it with hot glue as it glues faster.
Paso 5: El mismo procedimiento vamos a realizar con la tapa de nuestra caja, solo que la tira la vamos a realizar de 2 cm.
Step 5: The same procedure we are going to do with the lid of our box, only that we are going to make the strip 2 cm long.
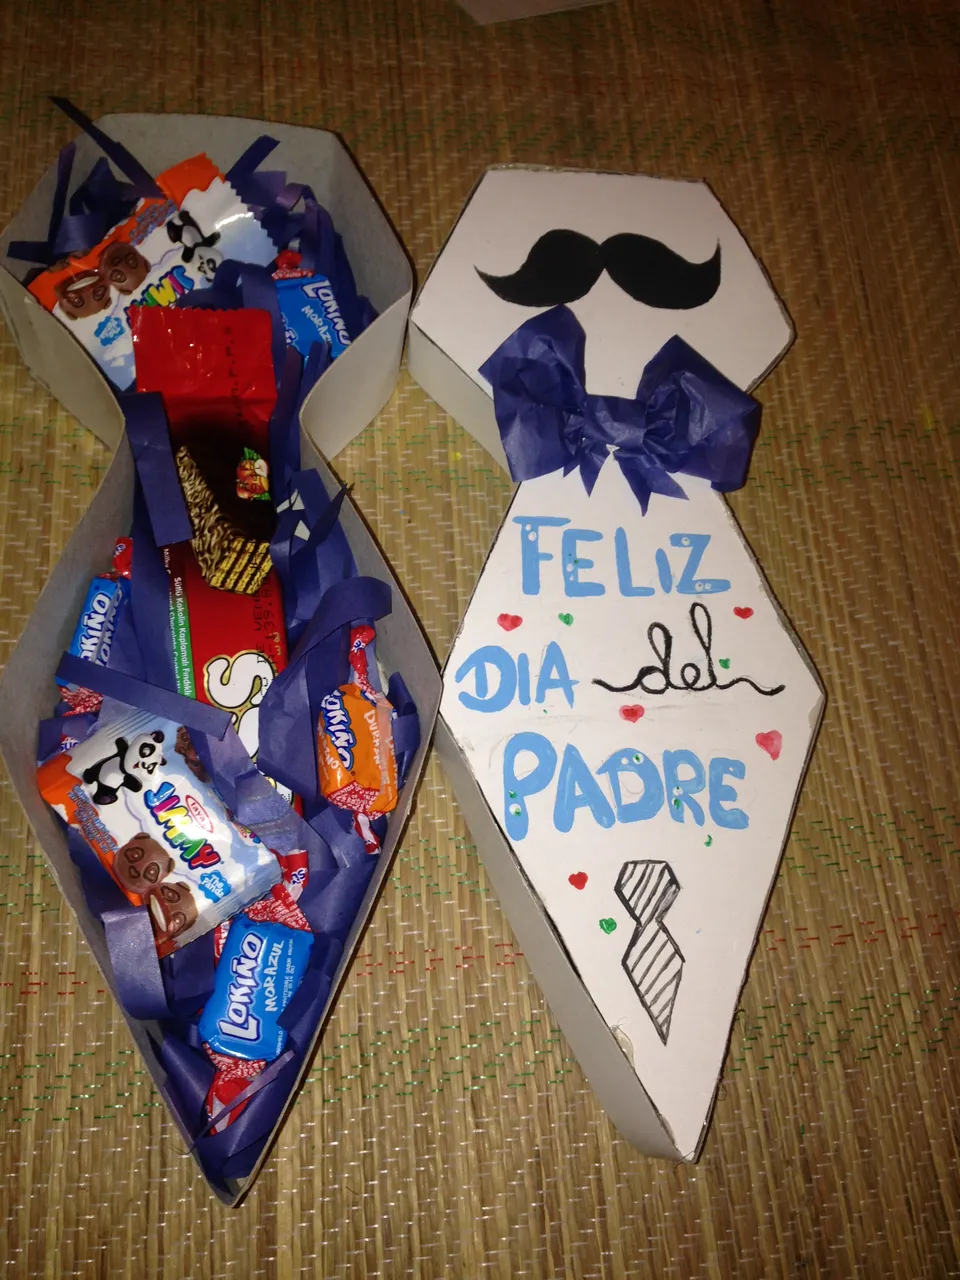
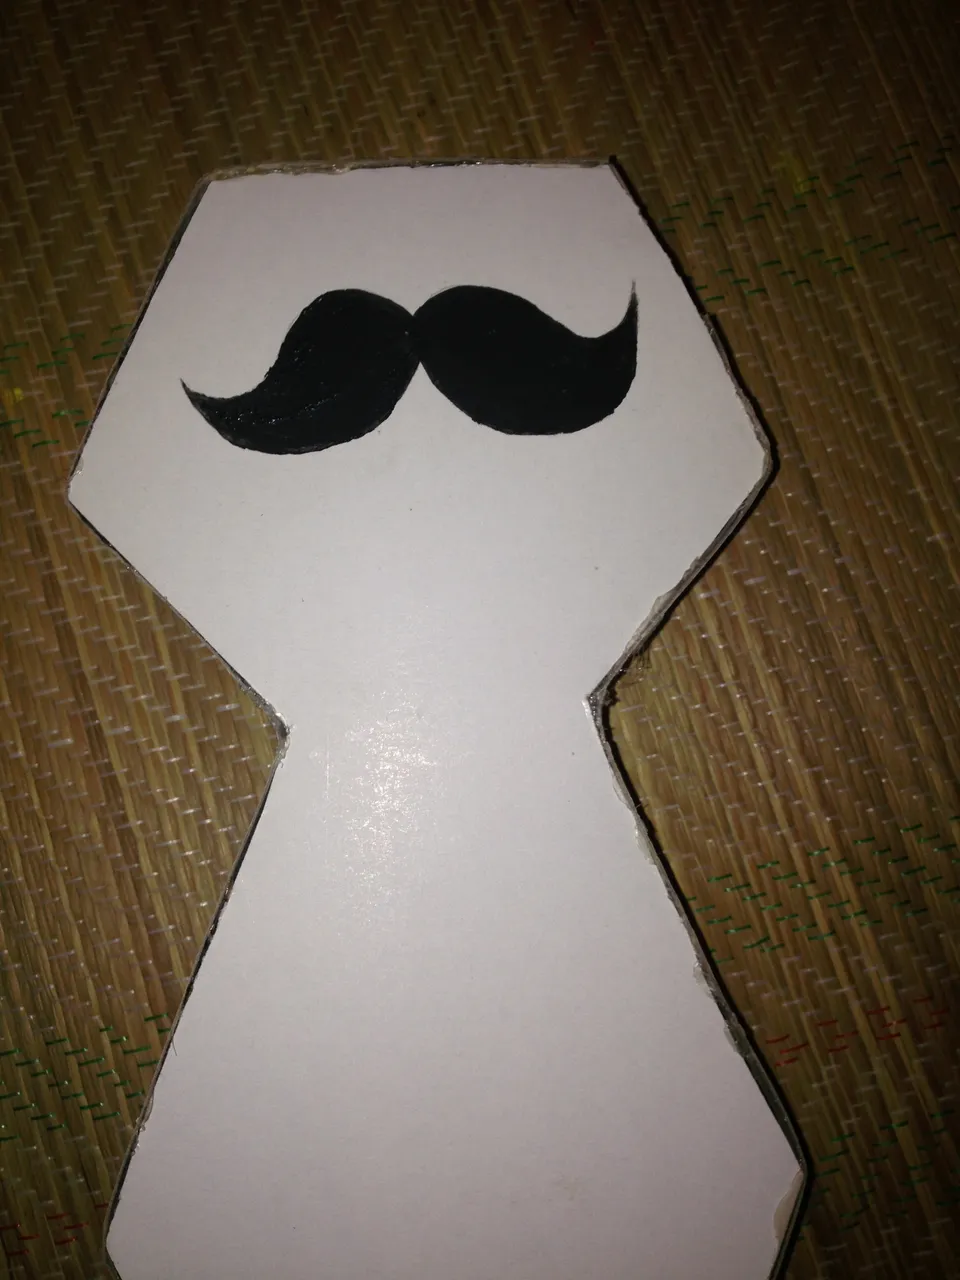
Paso 6: Para empezar a decorar primero realizaremos unos bigotes grande en color negro.
Step 6: To begin decorating, we will first make some large black whiskers.
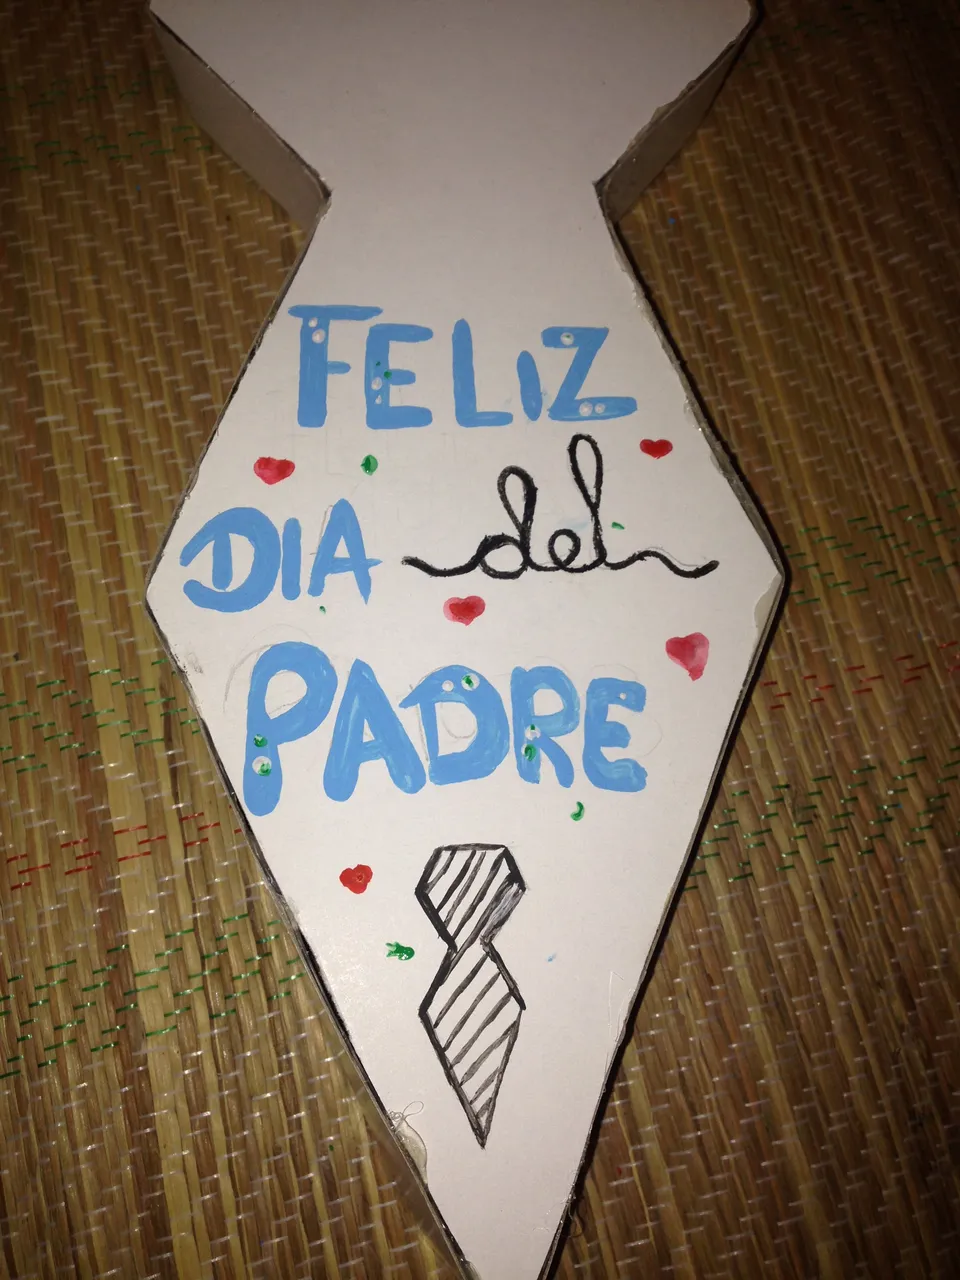
Paso 7: Vamos a realizar un pequeño escrito, del día del padre en lo personal varia un poco la forma de las letras pero lo puedes hacer como lo desees también le realice un dibujo de corbata en la parte posterior.
Step 7: We are going to make a small writing of father's day. I personally varied a little the shape of the letters but you can do it as you wish, I also made a drawing of a tie on the back.
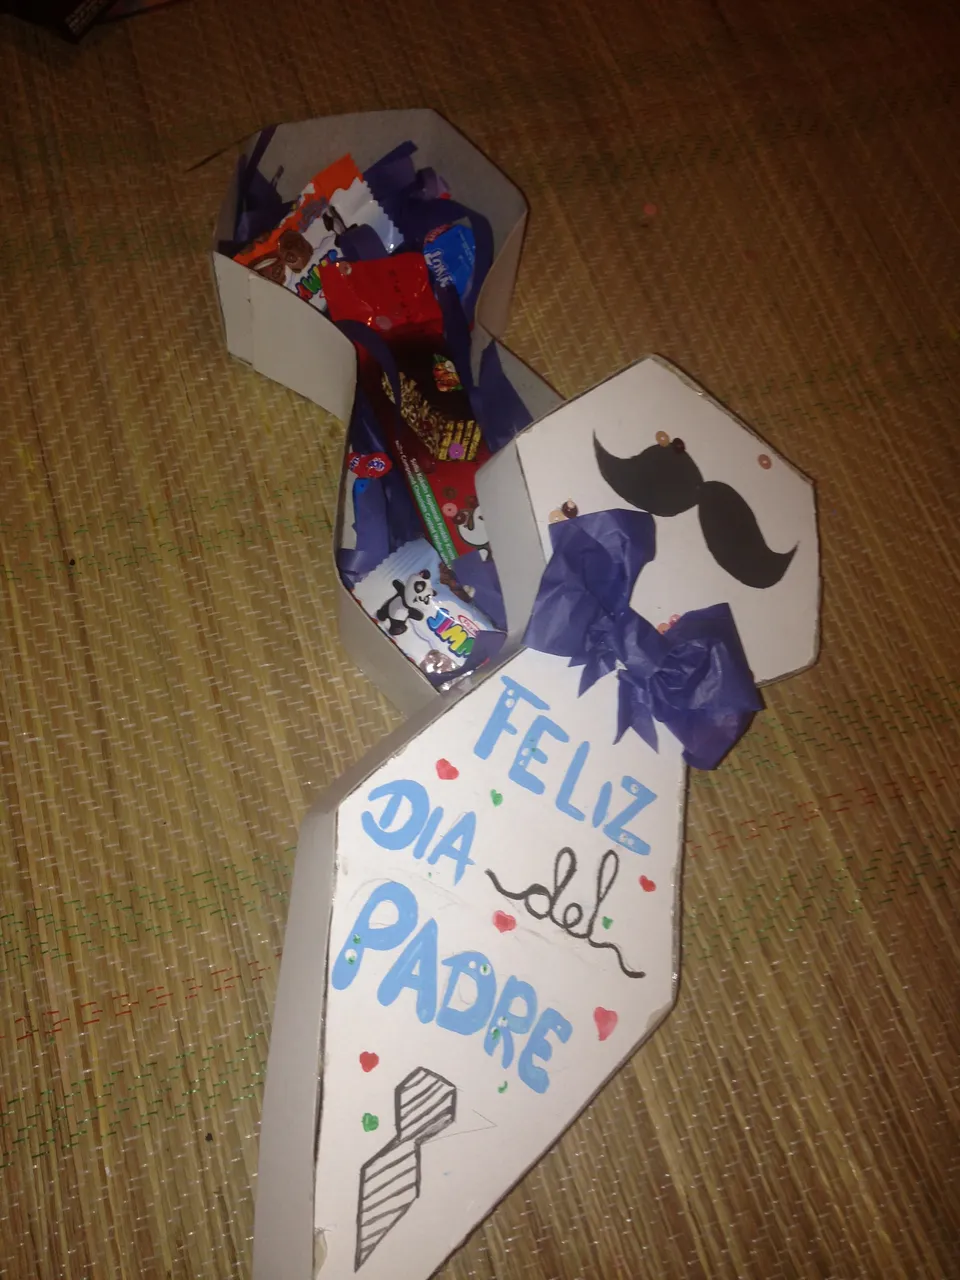
Paso 8: Cortaremos tiras de papel de ceda azul y lo colocaremos dentro de la caja este truco hace ver mas bonita la caja,y del mismo papel realice un lazo la cual va en la tapa.
Step 8: We will cut strips of blue tissue paper and place it inside the box, this trick makes the box look more beautiful, and from the same paper make a ribbon which goes on the lid.

Este es el Resultado || Este es el resultado
Espero que les halla gustado este resultado.
Espero que les haya gustado este resultado.