Queridos amigos de #Hive, reciban un grandioso saludo, estoy por aquí para mostrarles, como decorar una bolsa para regalos de una forma fácil y sencilla. Nosotros siempre tenemos un compromiso, una invitación, una celebración de cumpleaños, ect. Y para ello necesitamos tener una bolsa elegante representativa para lo que pensamos obsequiar. ¿Me acompañan a realizarla?, vamos a necesitar pocos materiales, regularmente siempre tenemos en casa algunos que se le puede seguir sacando provecho.
Dear friends of #Hive, receive a great greeting, I am here to show you, how to decorate a gift bag in an easy and simple way. We always have a commitment, an invitation, a birthday celebration, ect. And for this we need to have a representative elegant bag for what we think to give as a gift. Can you accompany me to do it? We will need few materials, regularly we always have some at home that we can continue to take advantage of.

VAMOS A NECESITAR
Retazos de cartulina manila de distintos colores.
Silicón líquido
Una bolsa con asas
Retazos de foami escarchado
Lápiz y tijera
WE ARE GOING TO NEED
Pieces of manila cardboard of different colors.
Liquid silicone
A bag with handles
Chunks of frosty foami
Pencil and scissors

PASOS A SEGUIR
STEPS TO FOLLOW
Sacaremos los moldes de la figura con la que decoraremos la bolsa (decoraremos la bolsa con un hermoso búho)
We will take the molds of the figure with which we will decorate the bag (we will decorate the bag with a beautiful owl)

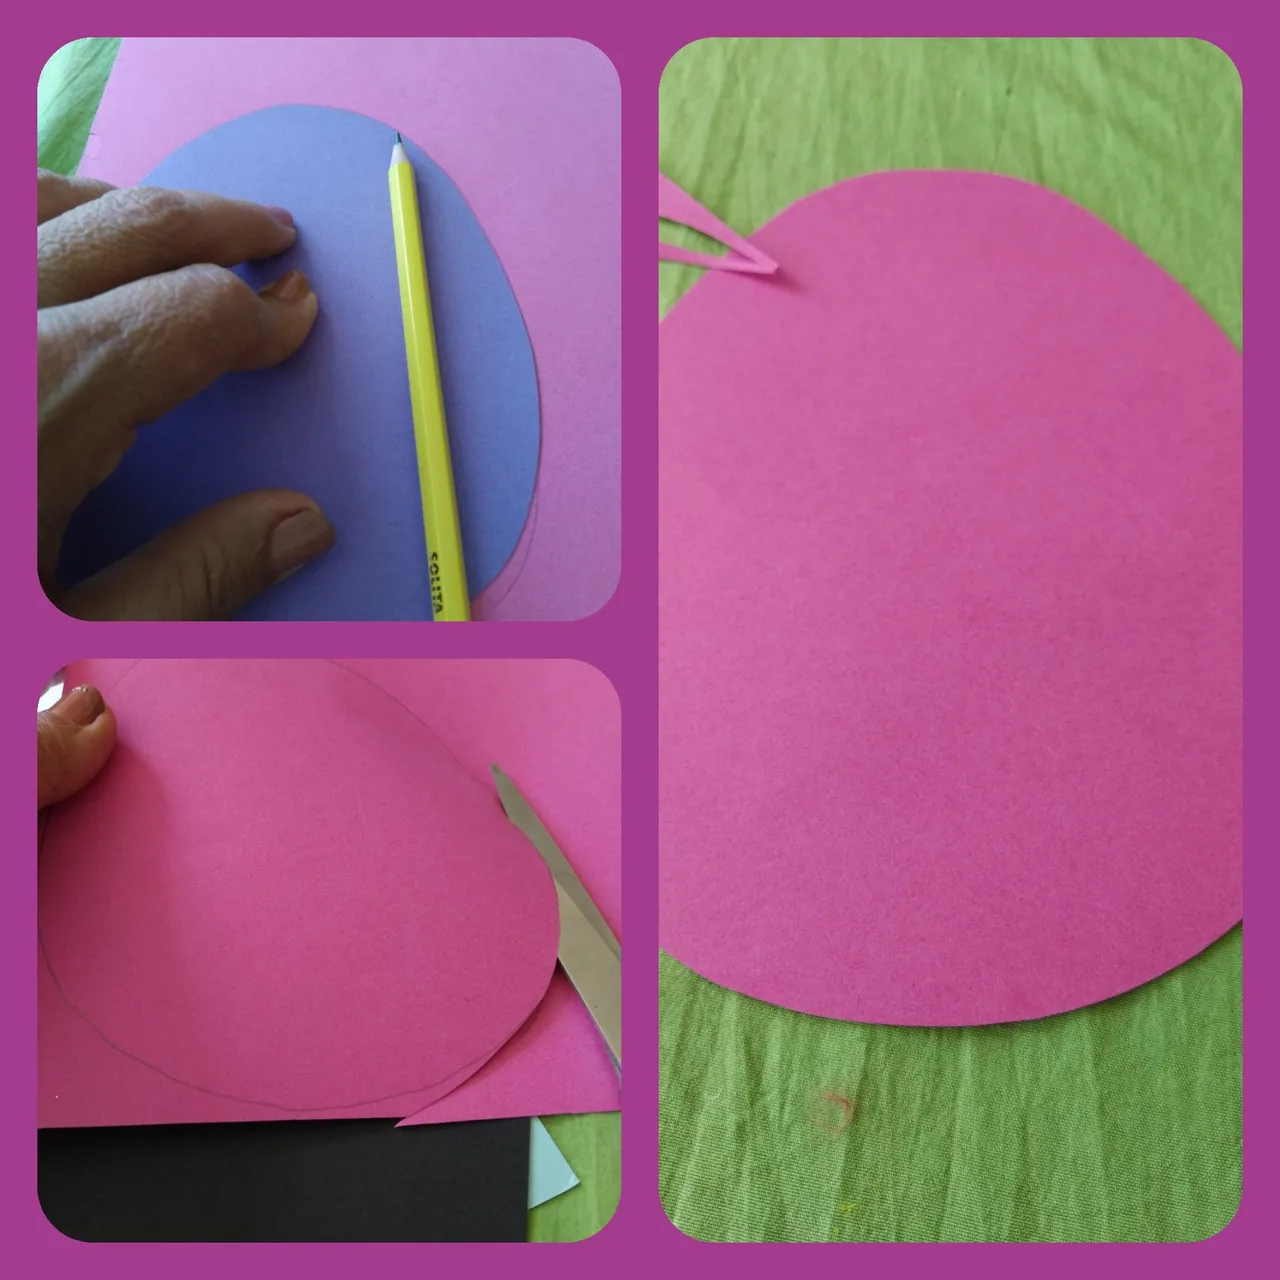
Ahora marcaremos en la cartulina rosada el molde del cuerpo y lo recortamos.
Now we will mark the body mold on the pink cardboard and cut it out.
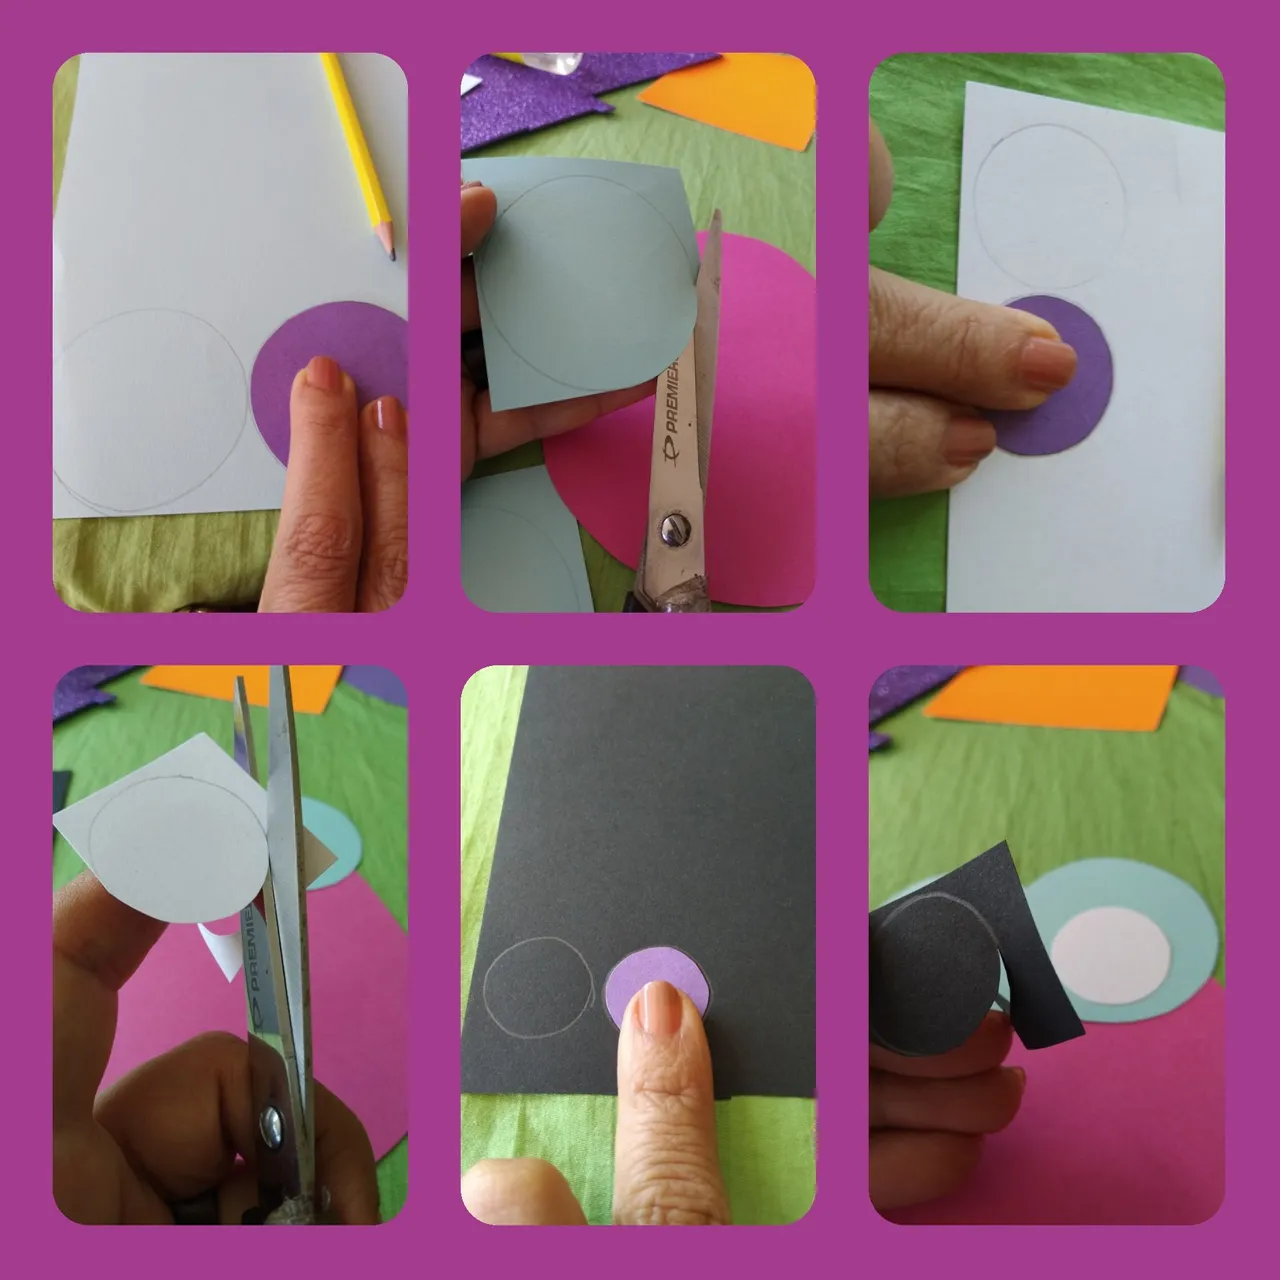
La cara la haremos con dos círculos grandes con la cartulina azul claro, los ojos con cartulina negra y blanca.
We will make the face with two large circles with the light blue cardboard, the eyes with black and white cardboard.
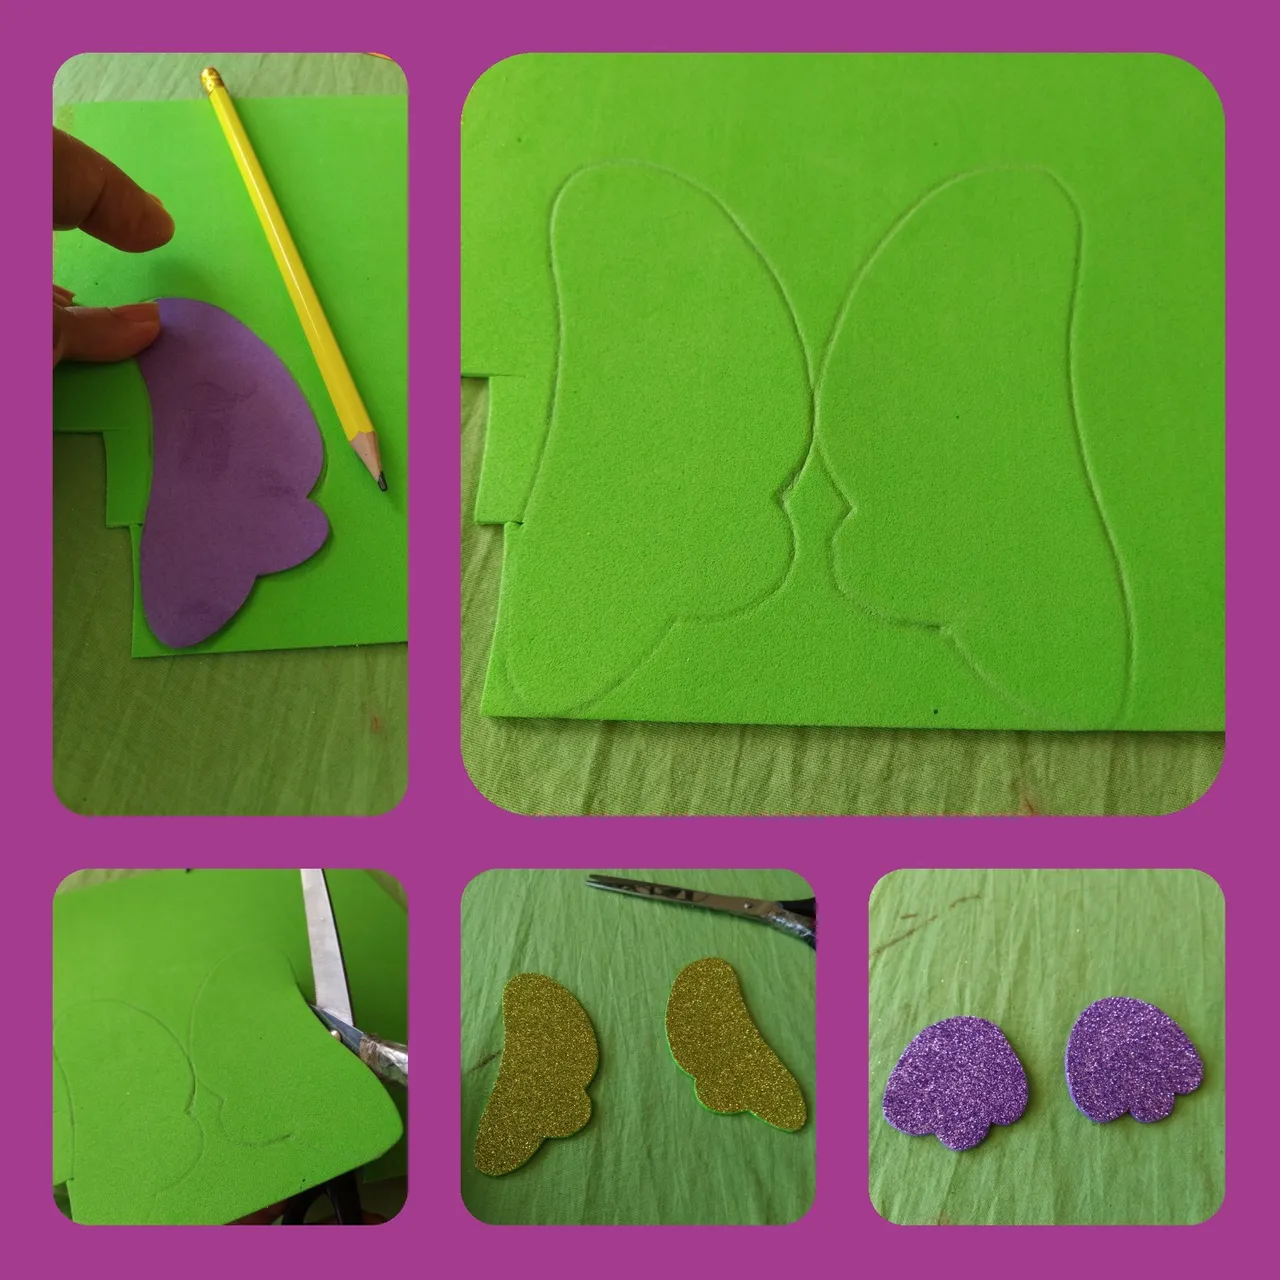
En foami escarchado marcamos las alitas, una al derecho del molde y la otra al contrario, las recortamos, así mismo marcamos las patas en otro color de foami.
In frosty foami we mark the wings, one to the right of the mold and the other to the opposite, we cut them, likewise we mark the legs in another color of foami.
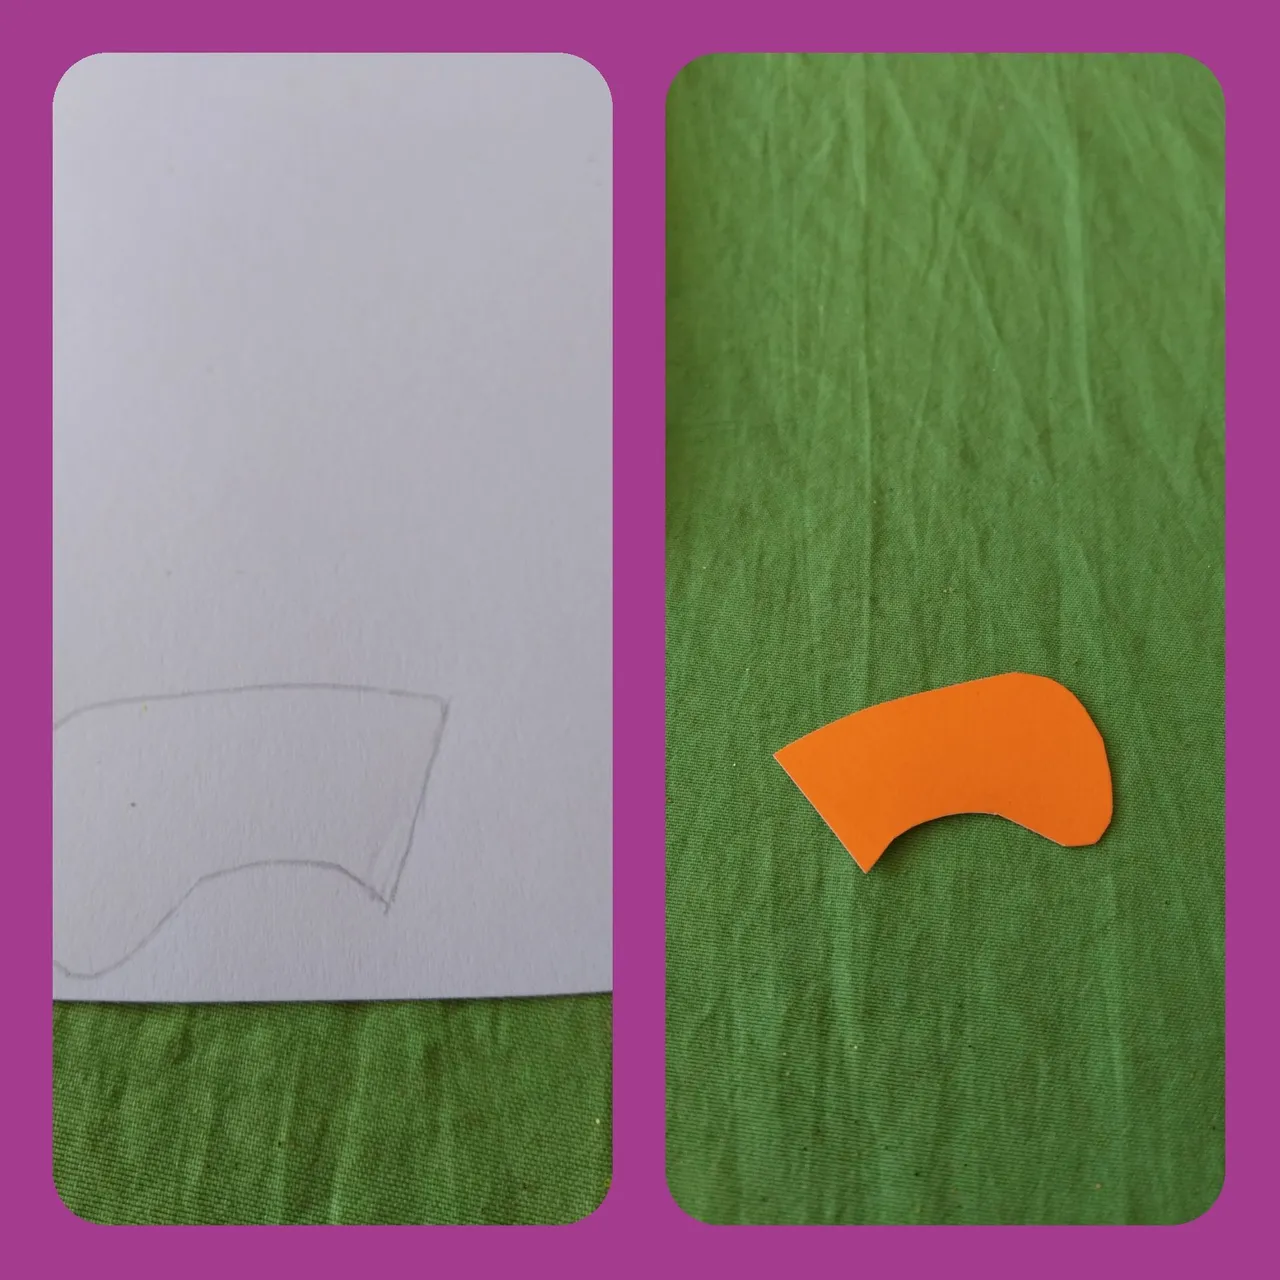
El pico lo marcamos en cartulina y recortamos.
We mark the beak on cardboard and cut it out.
Teniendo todas las piezas recortadas procedemos a armar la figura sobre la bolsa, primero pegamos el cuerpo, seguimos con los ojos grandes, luego los pequeños y a la vez pegamos el pico.
Having all the pieces cut out, we proceed to assemble the figure on the bag, first we glue the body, we continue with the big eyes, then the small ones and at the same time we glue the beak.

Posteriormente pegamos las alitas y las patas.
Later we glue the wings and the legs.

Finalmente le ponemos unas plumitas en la cabeza, tomamos u trozo de cartulina del mismo color del cuerpo la doblamos en dos y cortamos como una coronita y se la pegamos detrás de los círculos azules y ya está lista nuestra bolsa.
Finally we put some pens on the head, we take a piece of cardboard of the same color as the body, fold it in two and cut it like a crown and stick it behind the blue circles and our bag is ready.

Les comento que he disfrutado mucho realizando ésta decoración, espero les haya gustado la bolsa para regalos. La pueden decorar con el modelo o motivo que ustedes deseen, solo debes poner un poquito de creatividad. Gracias por visitar mi blog. Saludos.
I tell you that I have really enjoyed making this decoration, I hope you liked the gift bag. You can decorate it with the model or motif you want, you just have to put a little creativity. Thank you for visiting my blog. Greetings
