Hello everyone, I'm Mafer Cabrera, it's the first time I post here and I'm very happy to do it❣️.
Today I bring you something totally different, I'm going to show you how to make a tactile pointer.
We decided to do this test since my husband is starting some time ago in digital art I decided to help him with a pencil so he could make his pieces more easily, we have not been able to buy the original for the moment but as that was not an impediment we decided to try and it turned out pretty well.
I made it with all the love in the world for him, he was very happy💘
It is super easy and quick to make, it is something that everyone can do not only to draw but also to help themselves with the phone, why not?
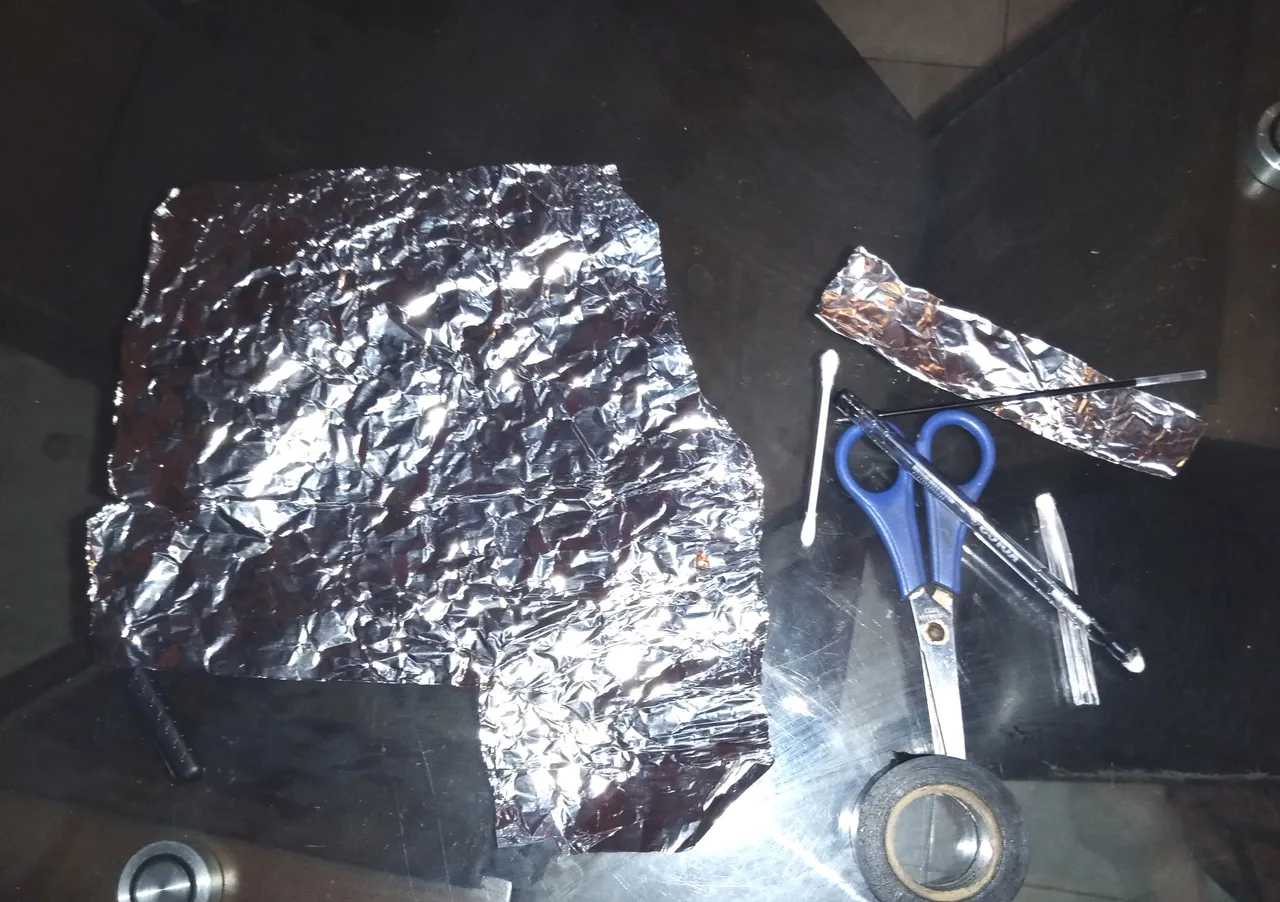
Materials:
- Pen
- Q-tip
- Aluminum foil
- Adhesive (whatever you have)
Procedure:
Step 1: Disassemble the pen.
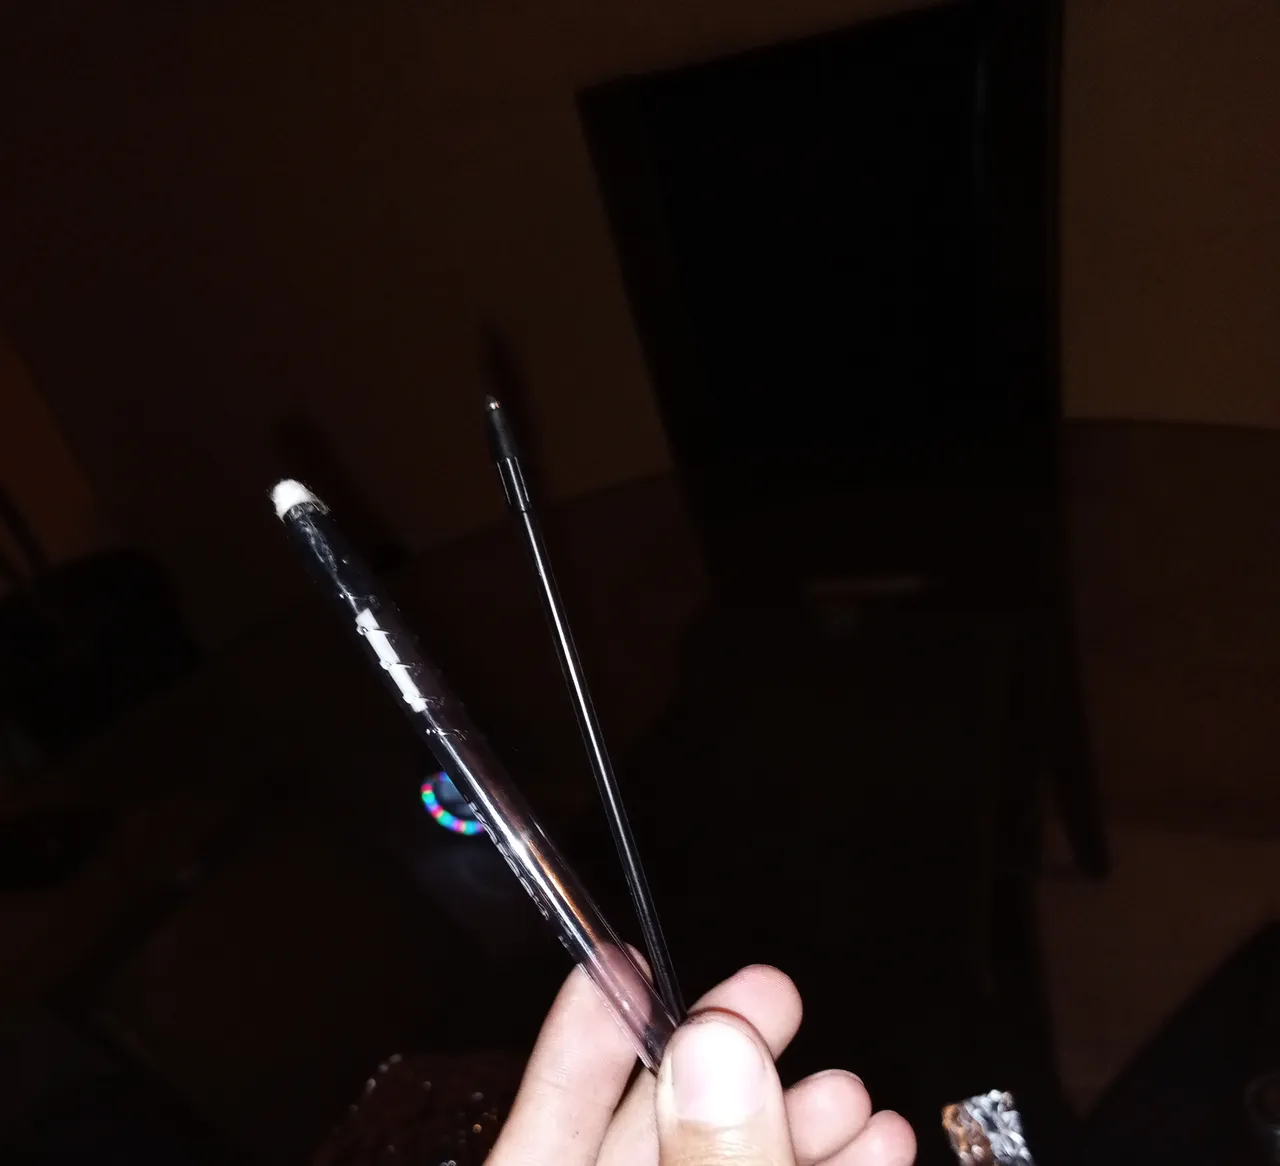
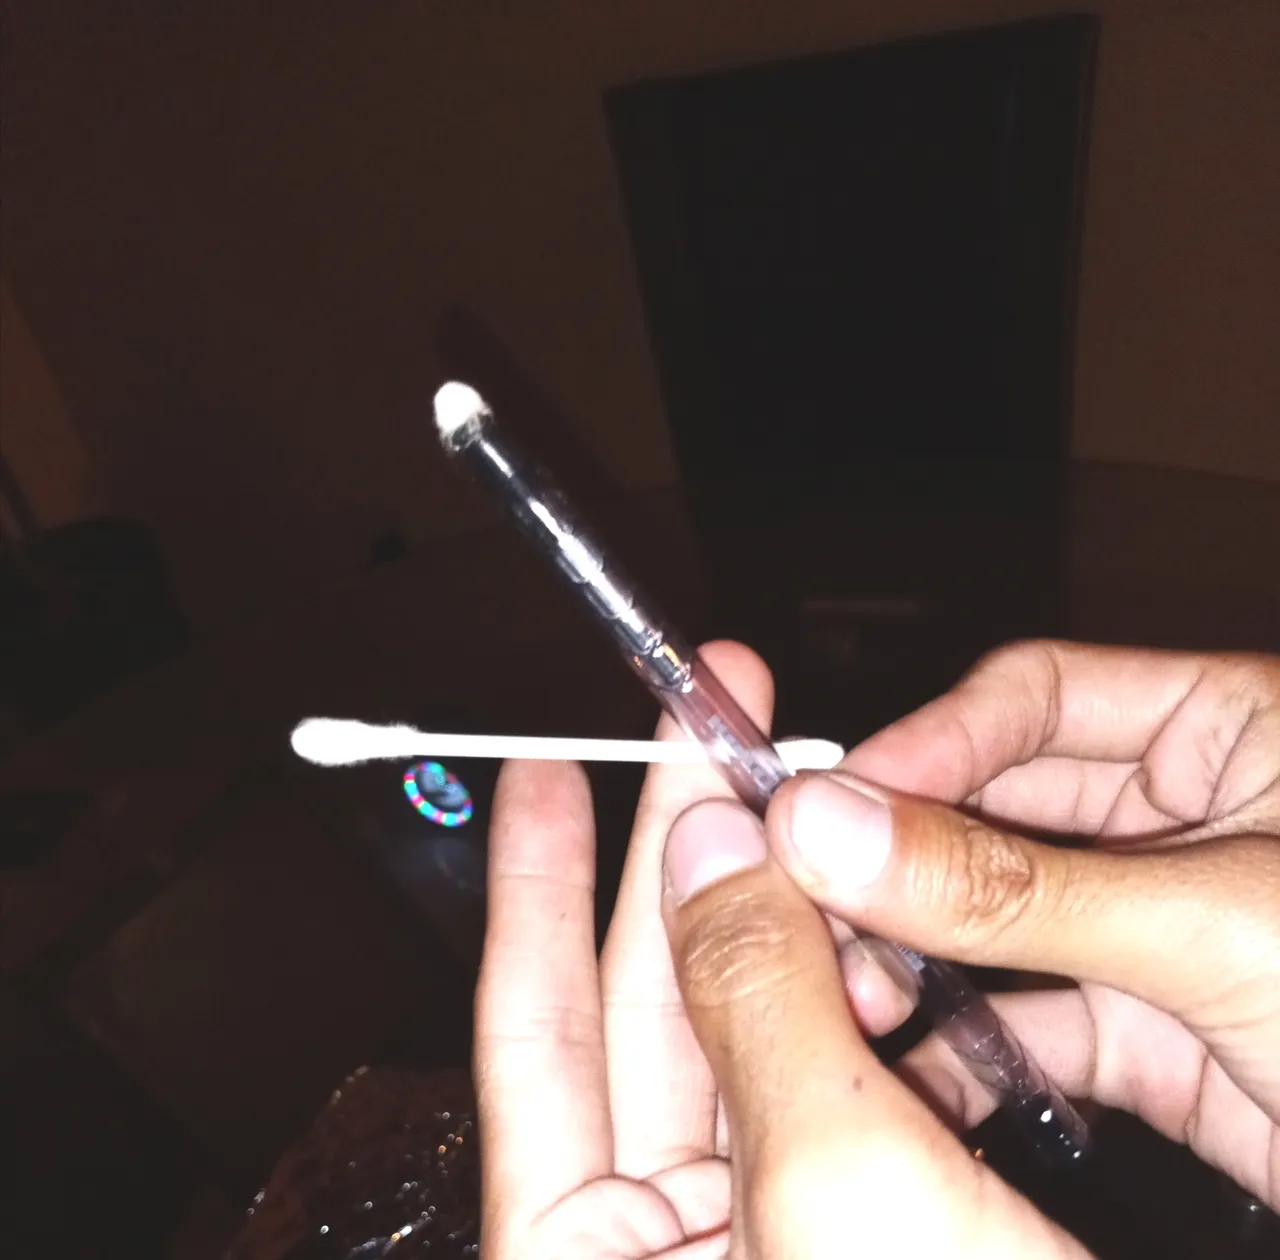
Step 2: Cut the swab in half and place it where the tip of the pen would go.
Step 3: Cut out two squares of aluminum foil, one smaller than the other. With the small one, wrap the bottom part of the foil so that it is slightly protruding at the tip.
Step 4: With the large piece wrap the top part of the paper that is on top of the paper that we placed previously, with adhesive we join both papers and on the top so that it is well fixed.
Step 5: This part is crucial to wet a little the tip of the swab to grab the touch.

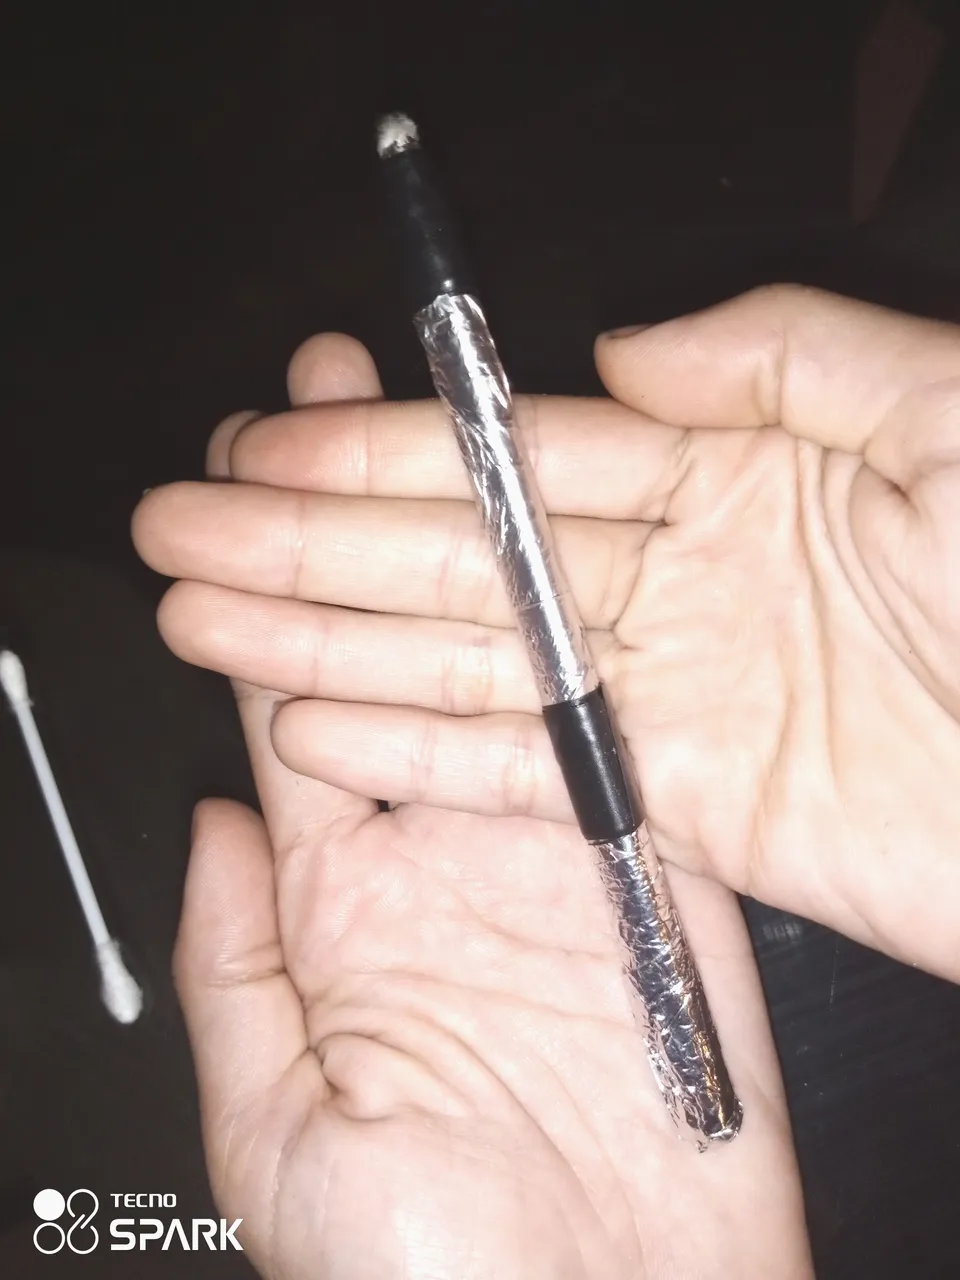
(Final result, works well)
Ready friends with this I conclude the procedure, as you see it is super fast and easy to do, do not hesitate to try it.
Photos of my authorship