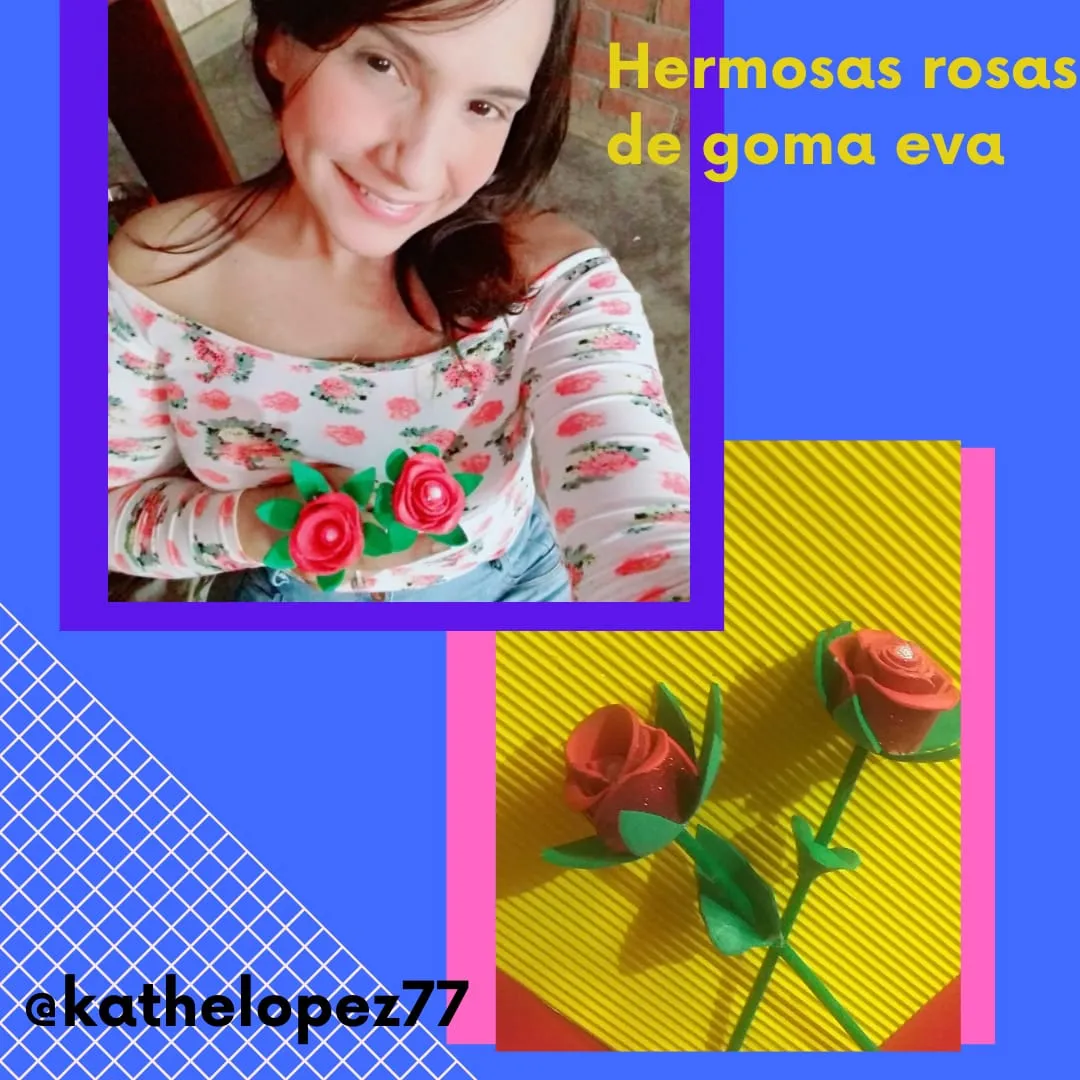
Me alegra compartir con todos ustedes ésta Bonita idea, de ¿cómo realizar una hermosa flor en goma Eva?
Hello my dear beehive, I hope you are well, enjoying good health and full of creativity.
I am happy to share with all of you this nice idea, how to make a beautiful flower in eva rubber?
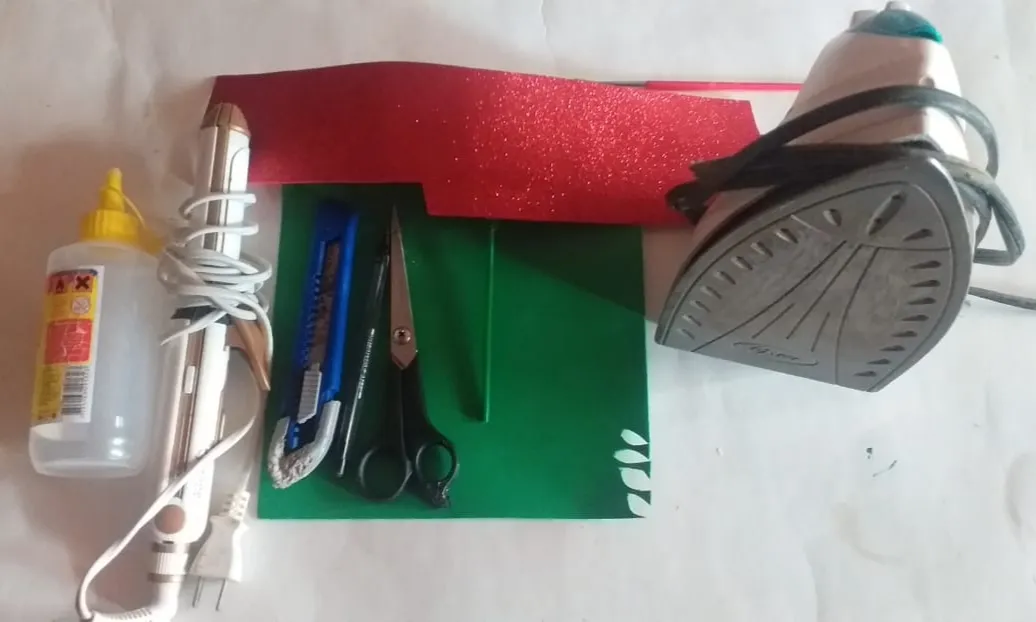
Aquí los materiales a utilizar:
- Goma Eva de color roja y verde.
- Tijera.
- Silicona.
- Pitillo.
- Planchas ( de pelo y de ropa).
- Cúter.
Here are the materials to use
- Red and green eva rubber.
- Scissors.
- Silicone.
- Straw.
- Irons (hair and clothes).
- Cutter.
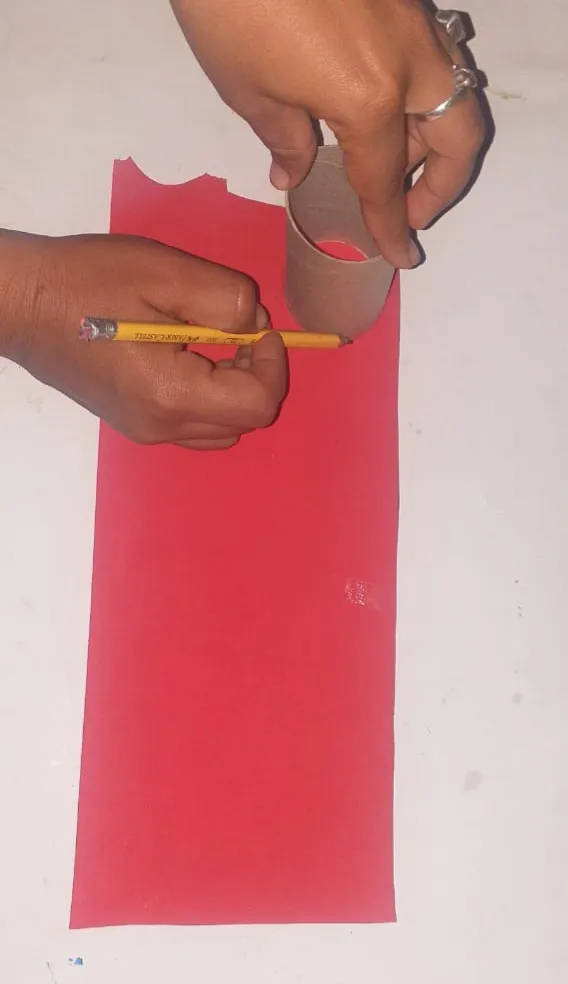
Pasos a seguir
Paso 1
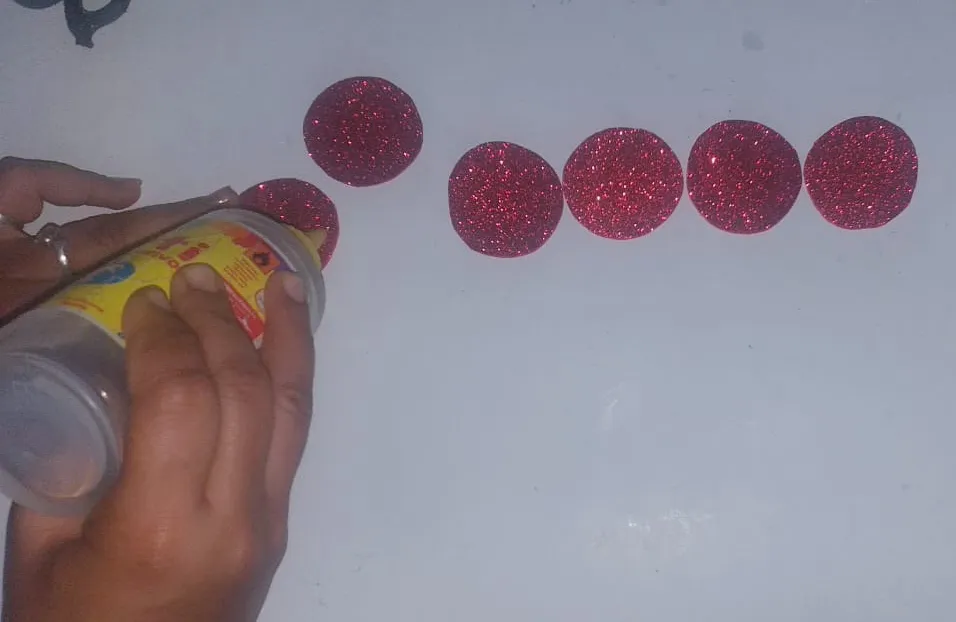
- Primero haremos 6 círculos de goma Eva roja.(marcamos por el lado que no está escarchado).
Steps to follow
Step 1
- First we will make 6 circles of red eva rubber (we mark on the side that is not frosted).
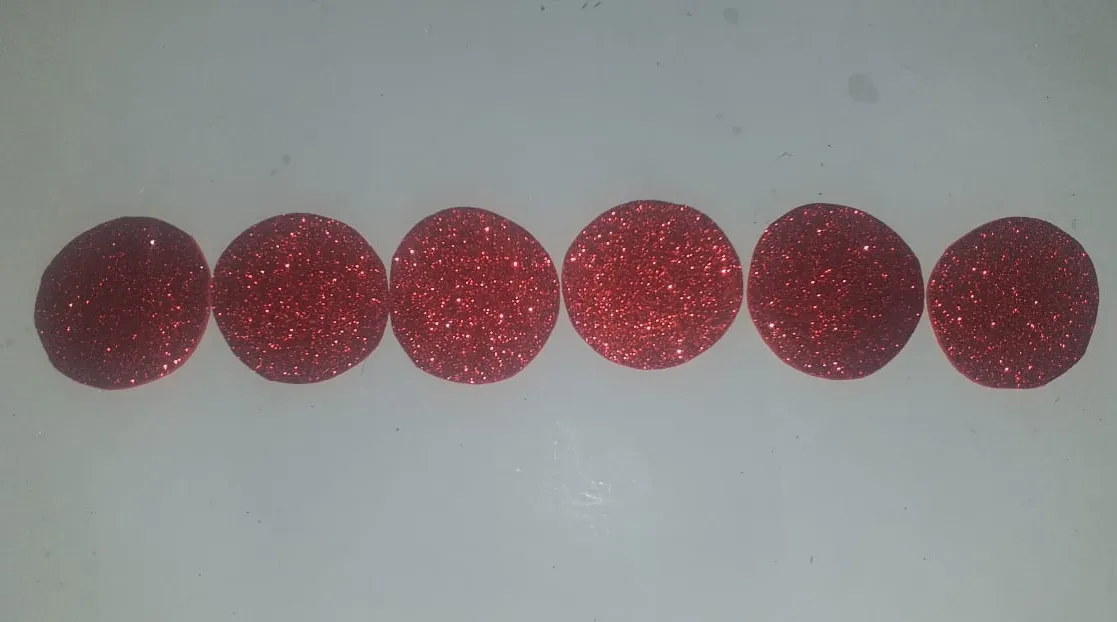
Paso 2
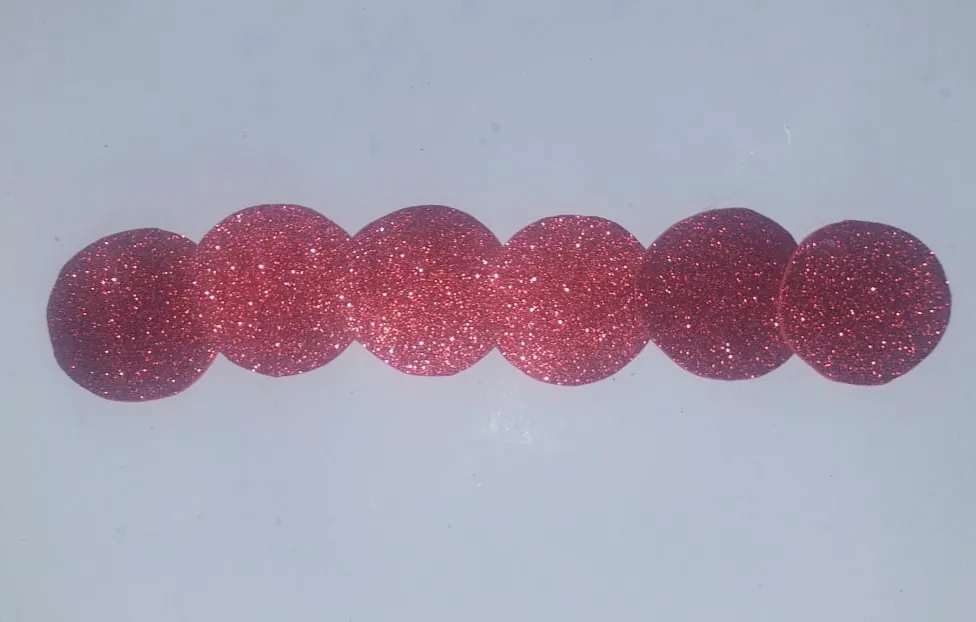
- Unimos los círculos con Silicona hasta formar una tira en forma de gusanito.
Step 2
- Join the circles with Silicone to form a strip in the shape of a little worm.
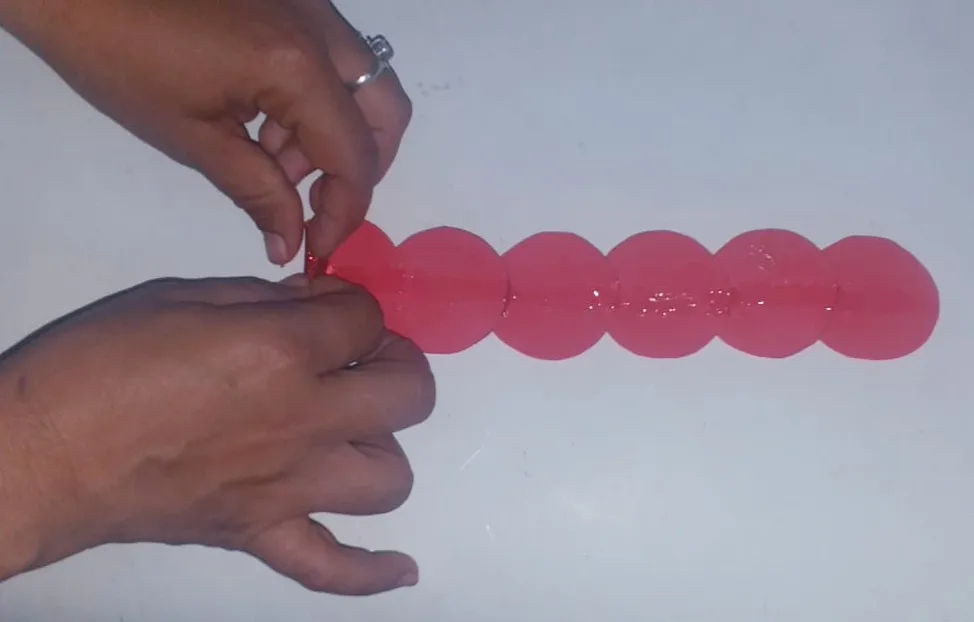
Luego aplicamos silicona por el centro de la tira, específicamente por el lado que no está escarchado y enrollamos.
Then we apply silicone in the center of the strip, specifically on the side that is not frosted and roll it up.
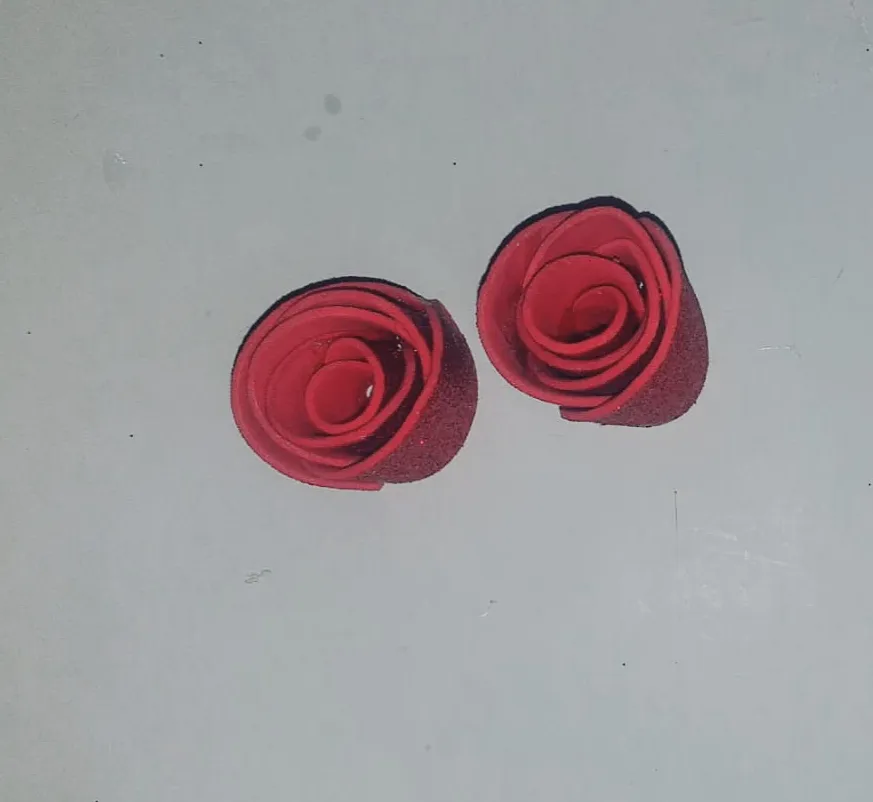
Paso 3
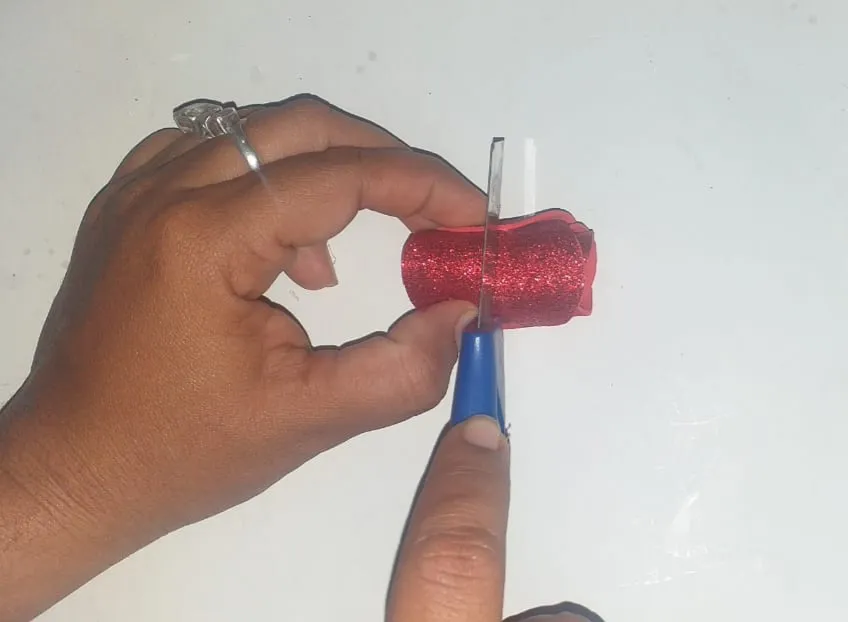
Cortamos a la mitad el enrollado que hicimos, para que nos queden dos rosas.
Step 3
Cut in half the roll we made, so that we have two roses.
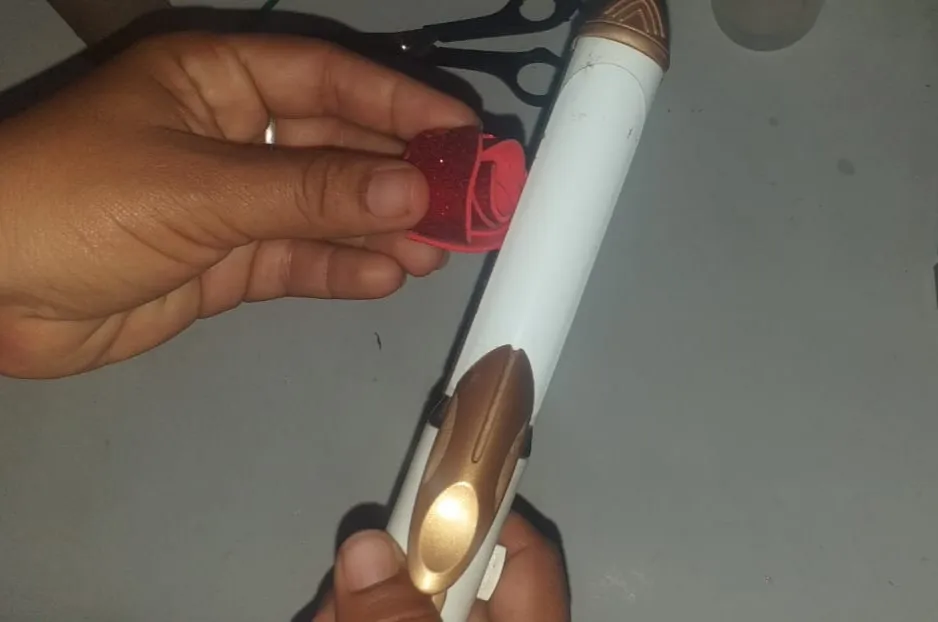
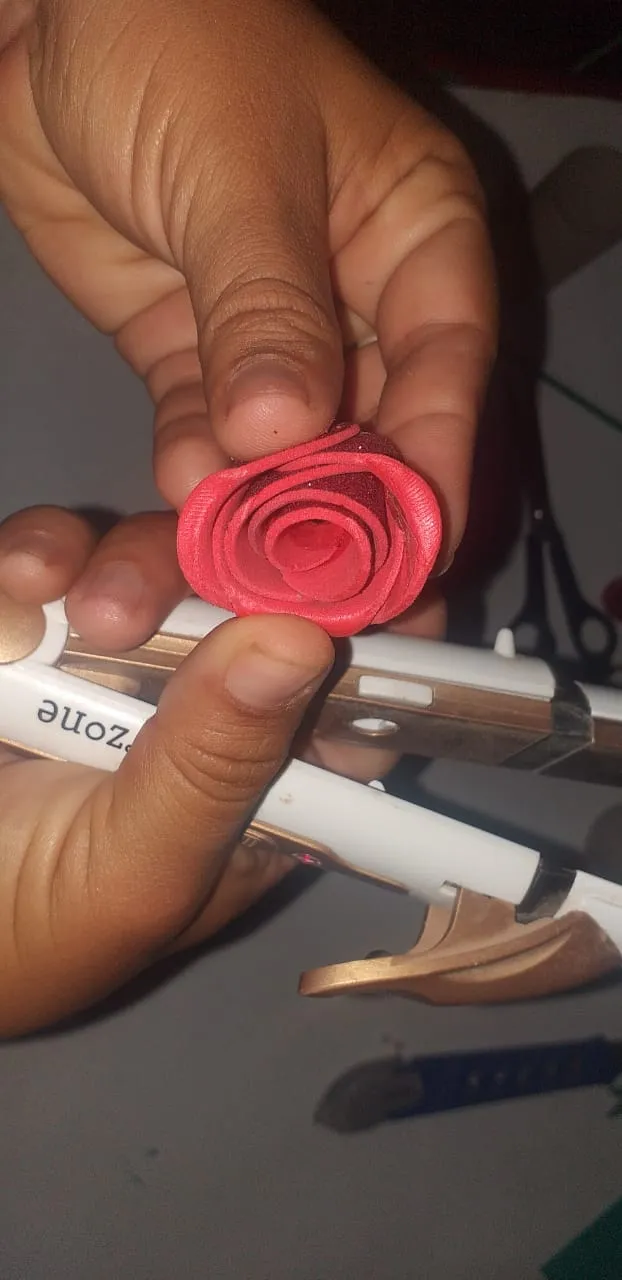
Paso 4
- Con una plancha para cabellos, calentamos un poco las orillas de los pétalos y doblamos ligeramente hacia afuera.
Step 4
- With a hair straightener, heat the edges of the petals a little and bend them slightly outwards.
Posteriormente dibujamos sobre la goma Eva las hojas de las rosas y las cortamos.
Then we draw the leaves of the roses on the Eva rubber and cut them out.
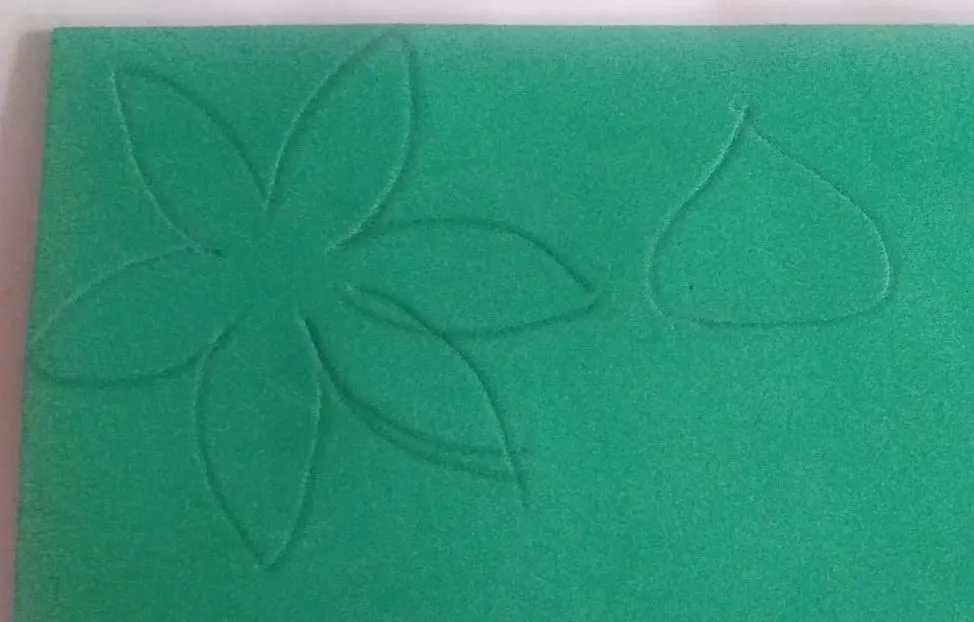
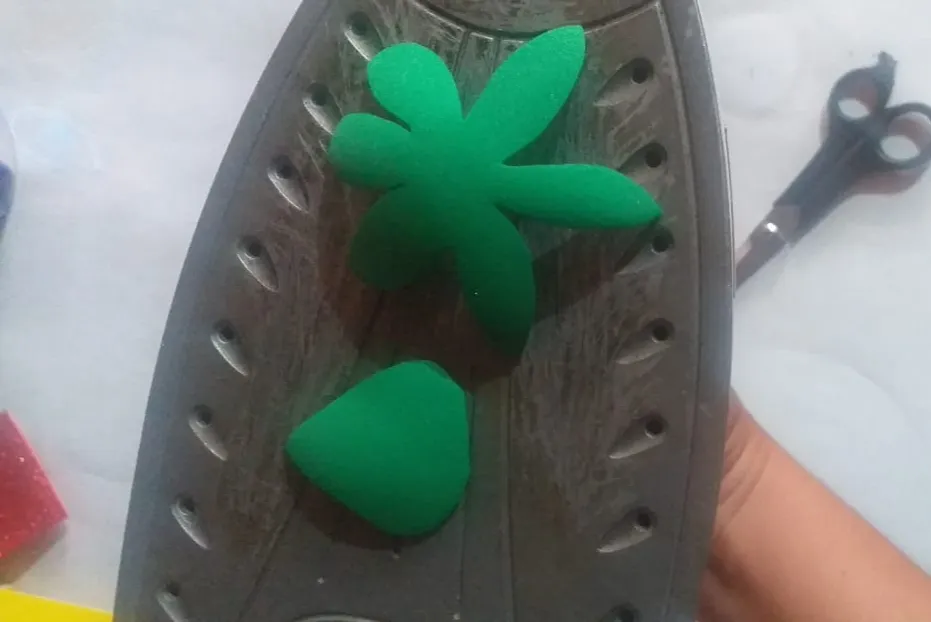
Luego con la plancha para ropa, calentamos un poco las hojas, para darles forma.
Then, with the clothes iron, we heat the sheets a little to give them shape.
Paso 5
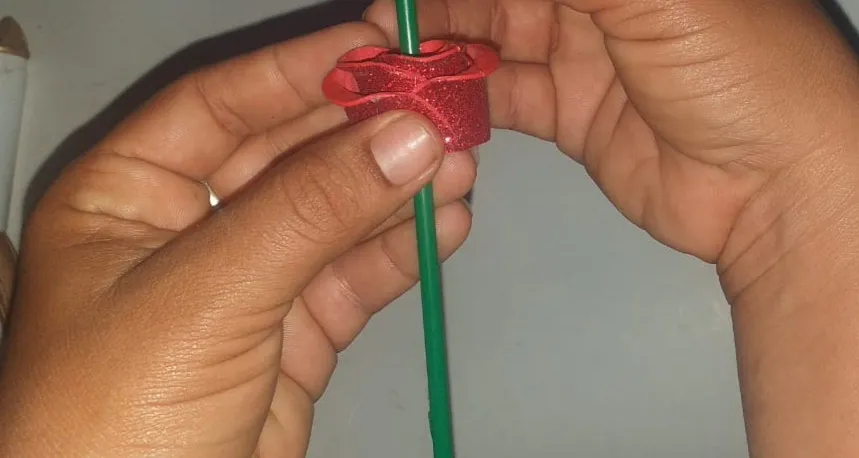
- Por el centro de la rosa, metemos el pitillo delgado.
Step 5
- Through the center of the rose, we insert the thin straw.
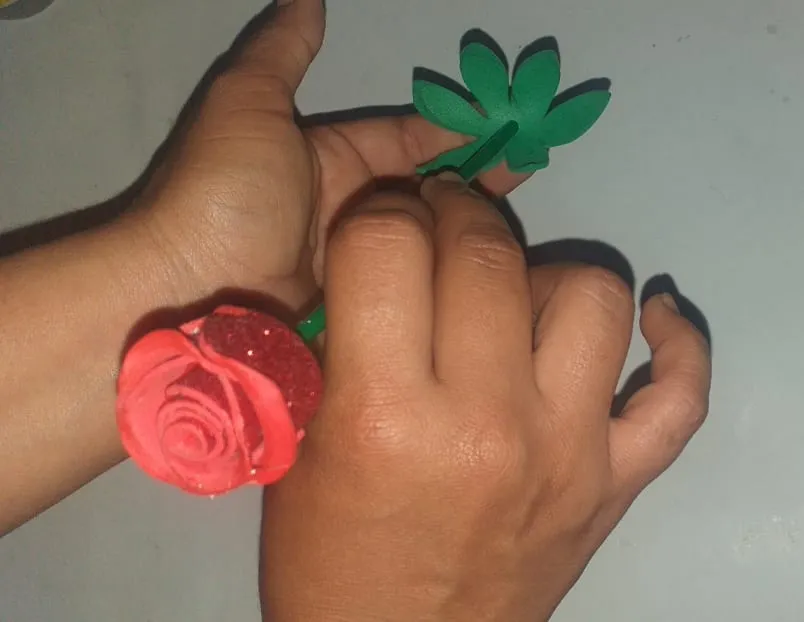
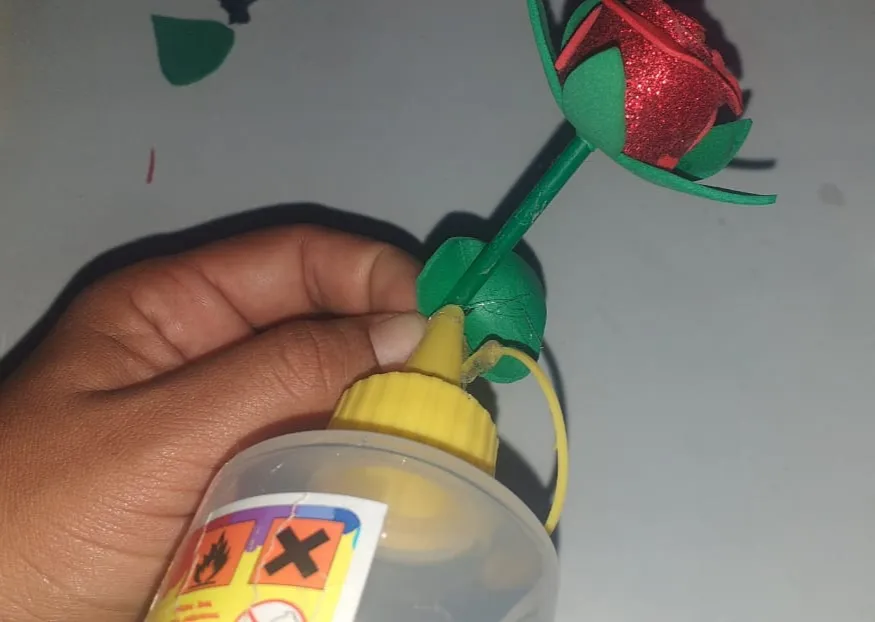
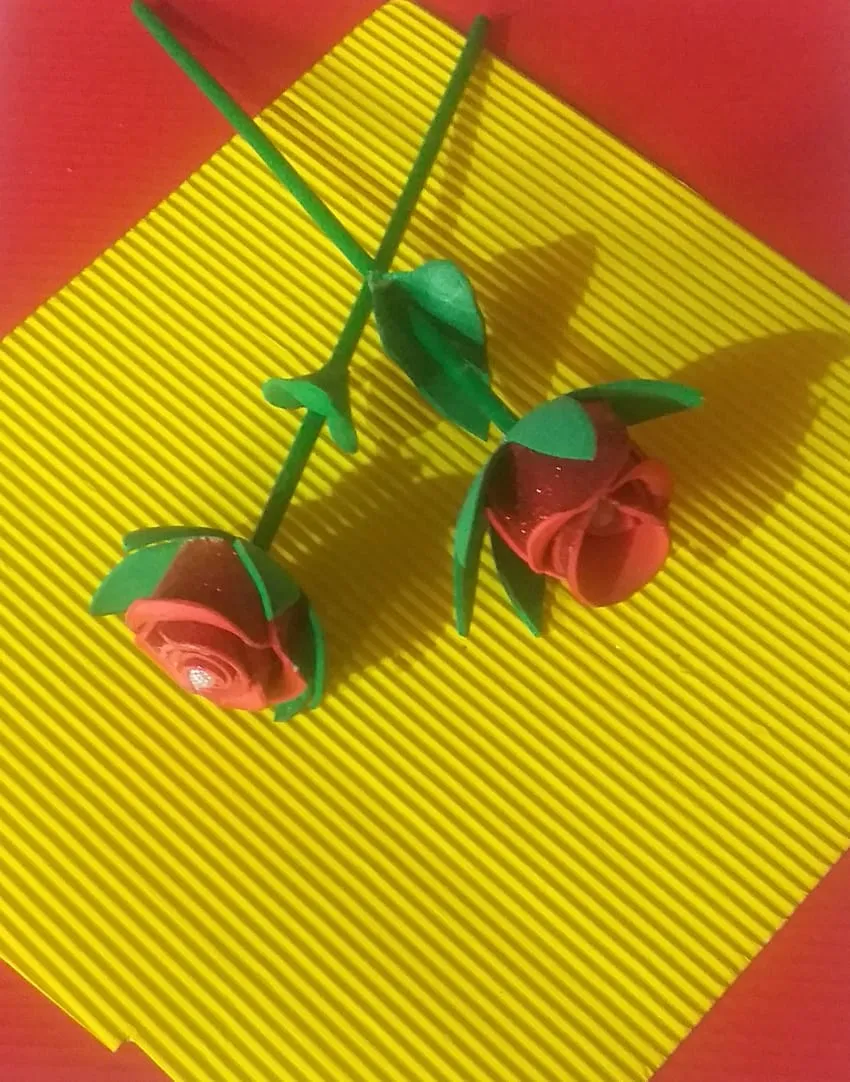
Después pegamos las hojas para terminar nuestras rosas.
Then we glue the leaves to finish our roses.
Su amiga @kathelopez77
Gracias por dedicar parte de tu valioso tiempo en leer éste post.
Su amiga @kathelopez77
Imágenes tomadas desde mi teléfono Samsung j4 +plus
Images taken from my Samsung j4 +plus phone.