Hola queridos miembros de Hive espero se encuentren muy bien hoy les traigo un tutorial de como elaborar un perro con CD y cartón.
Hello dear members of Hive I hope you are very well today I bring you a tutorial on how to make a dog with CD and cardboard.
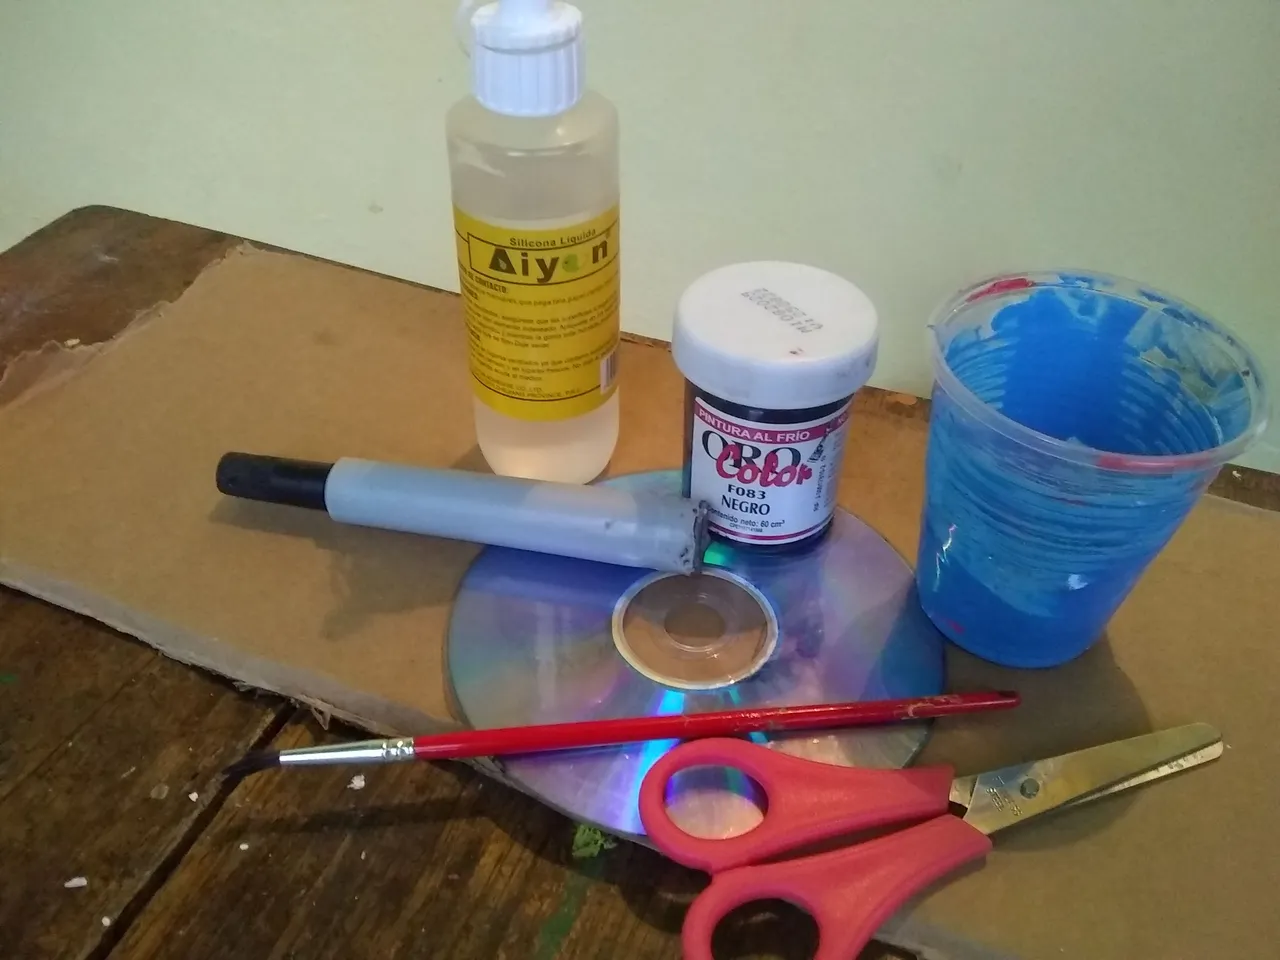
Materiales:
1 CD
Cartón
Pincel
Tijera
Marcador
Pintura negra, azul y blanca
Silicon liquidó .
Materials:
1 CD
Paperboard
Brush
Scissor
Marker
Black, blue and white paint
Liquid silicone .
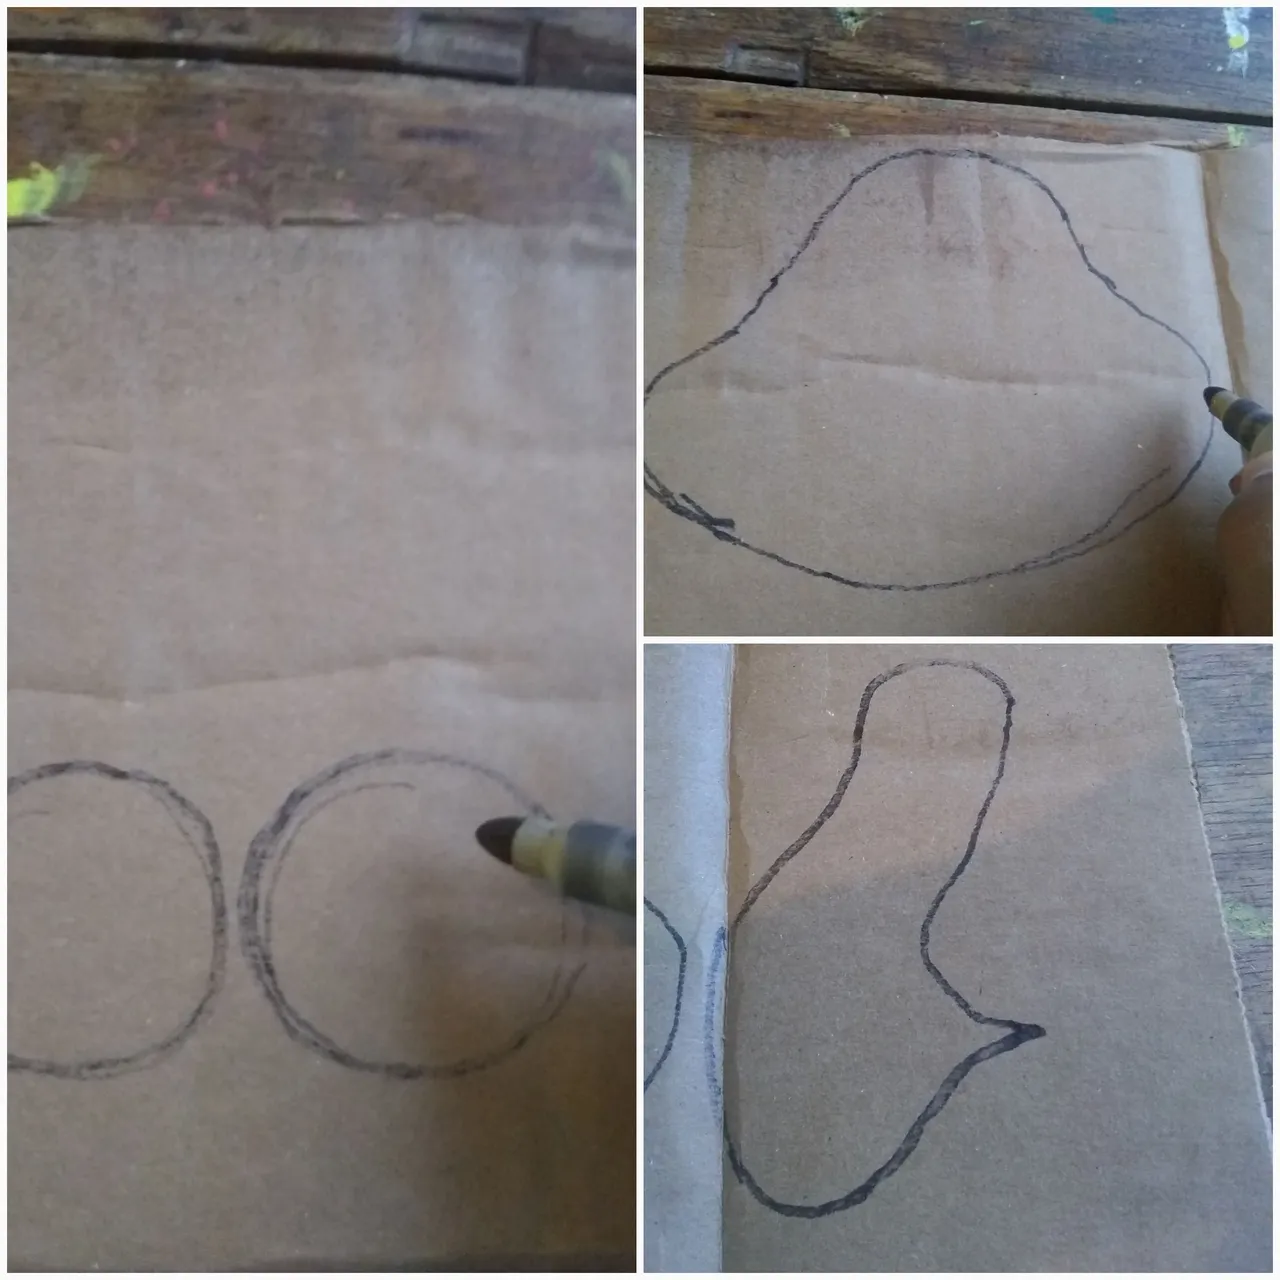
Paso 1: En el cartón vamos a marcar todas las partes del perro con el marcador como lo muestra la imagen comenzamos marcando las patas y la cola al perro.
Step 1: On the cardboard we are going to mark all the parts of the dog with the marker as shown in the image we start by marking the legs and the tail of the dog.
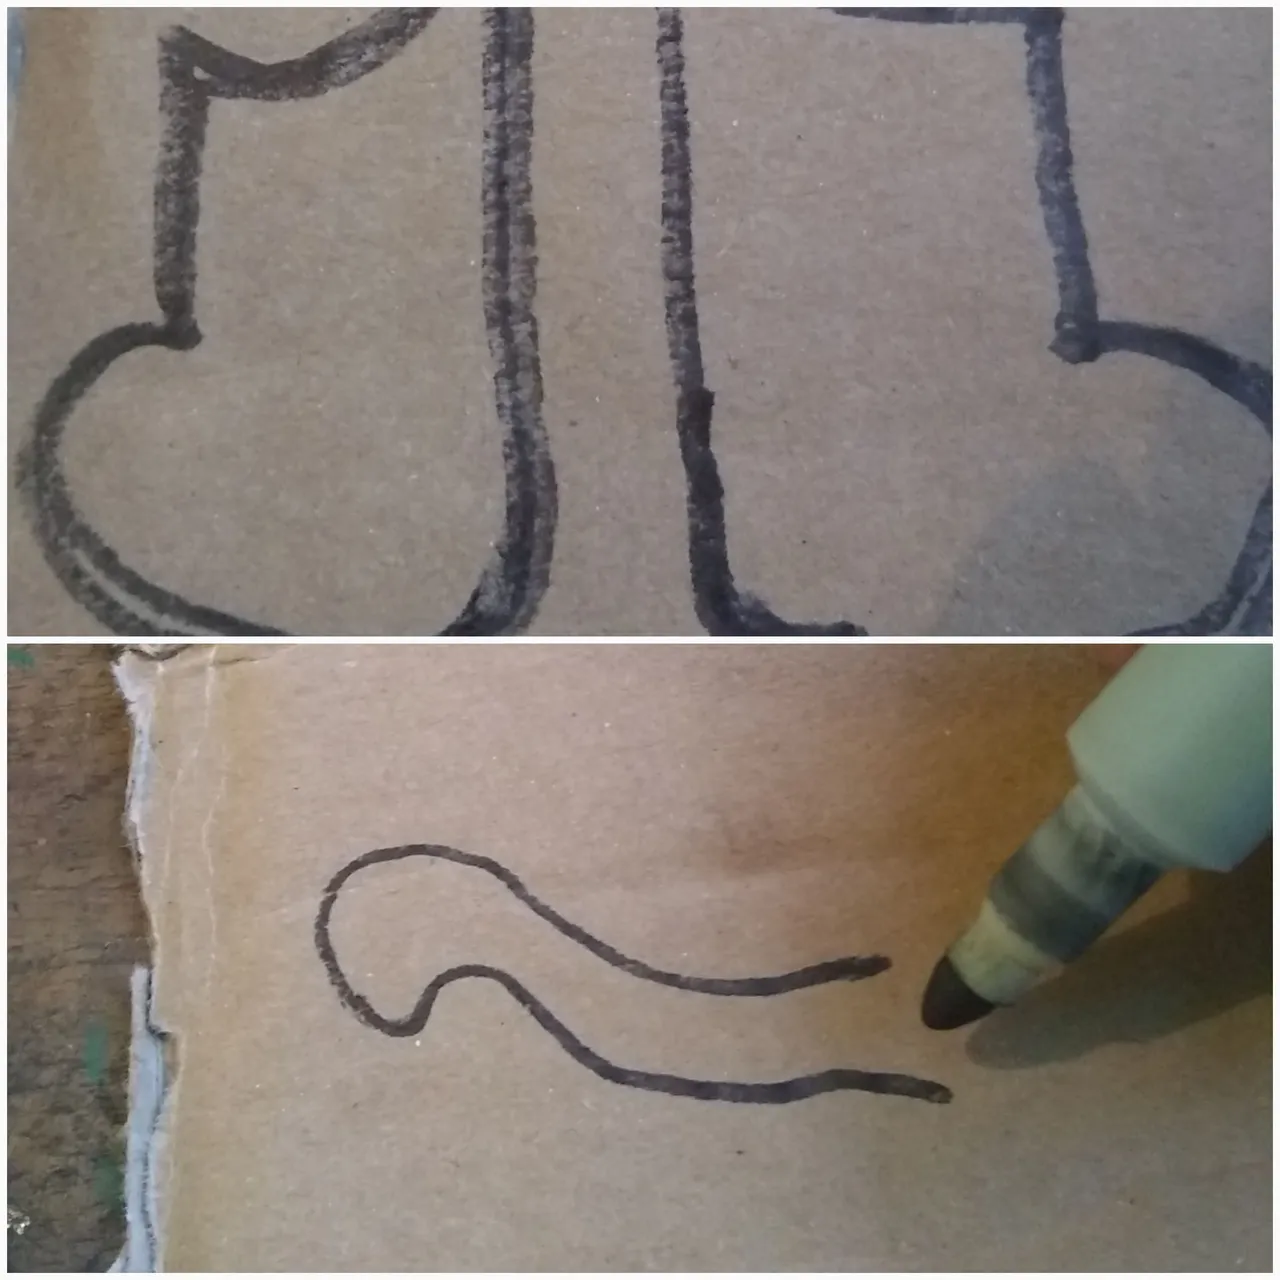
Luego marcamos la cabeza, las orejas y dos pequeños círculos como se muestra en la imagen.
Then we mark the head, the ears and two small circles as shown in the picture.
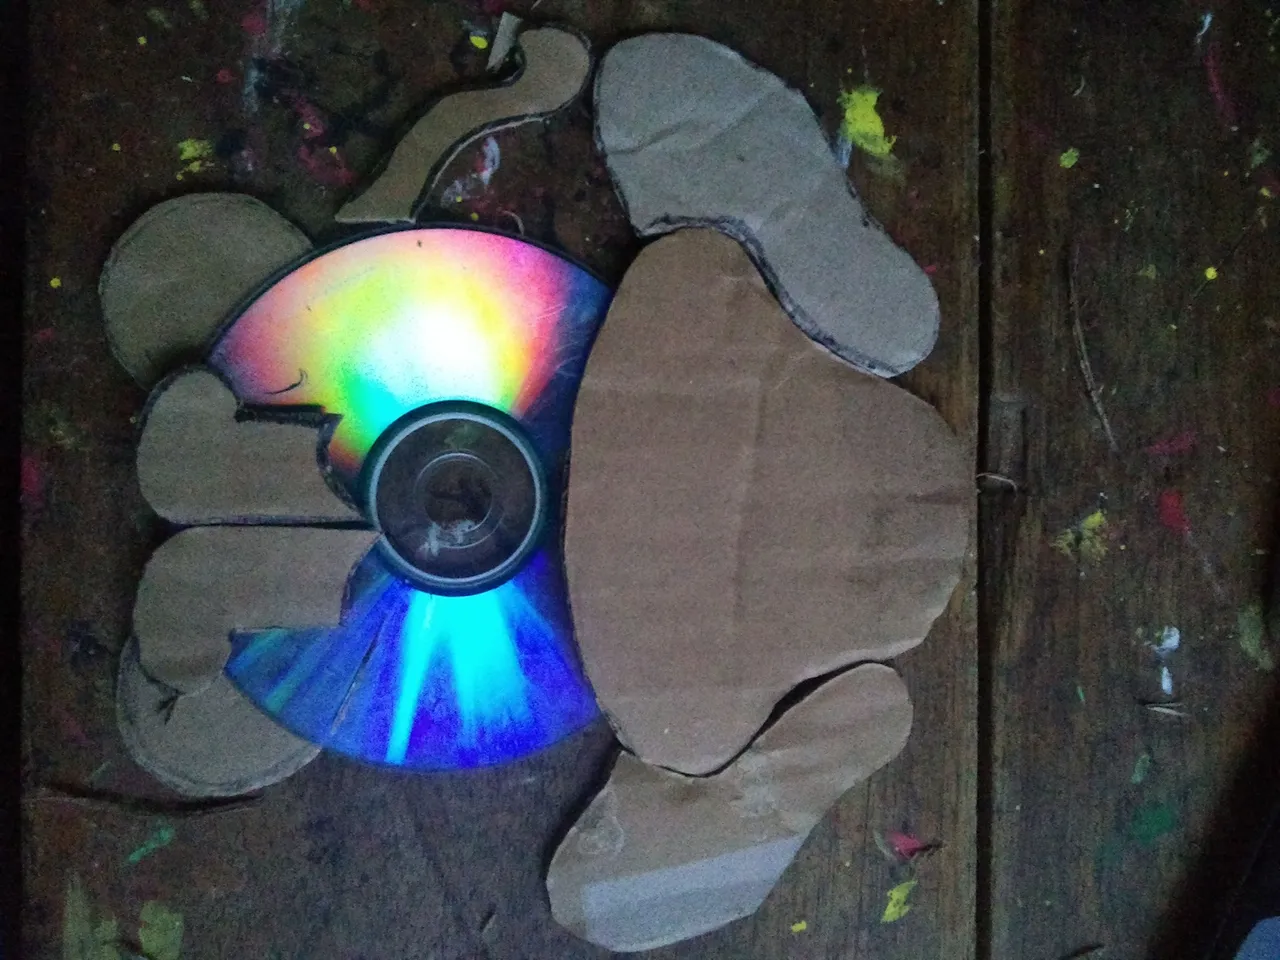
Con la tijera cortamos todas las piezas y armamos el perro para verificar que esta bien cortadas las piezas.
With the scissors we cut all the pieces and assemble the dog to verify that the pieces are well cut.
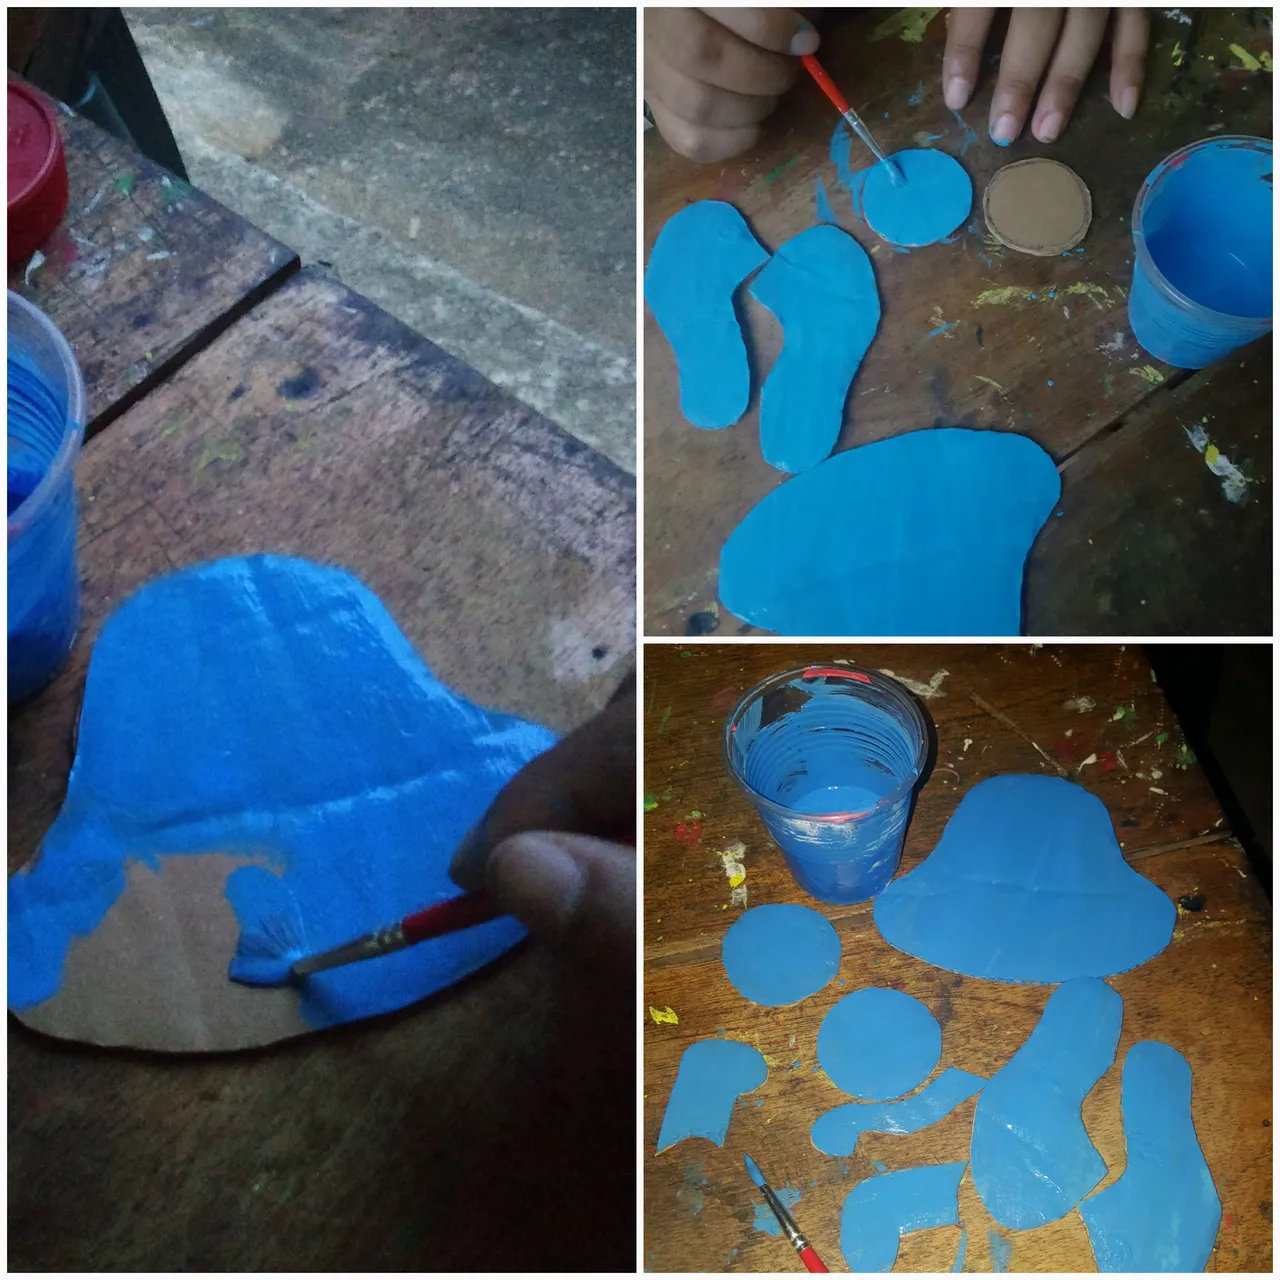
Paso 2: En este paso pintamos todas las partes del perro con el pincel y la pintura azul.
Step 2: In this step we paint all the parts of the dog with the brush and blue paint.
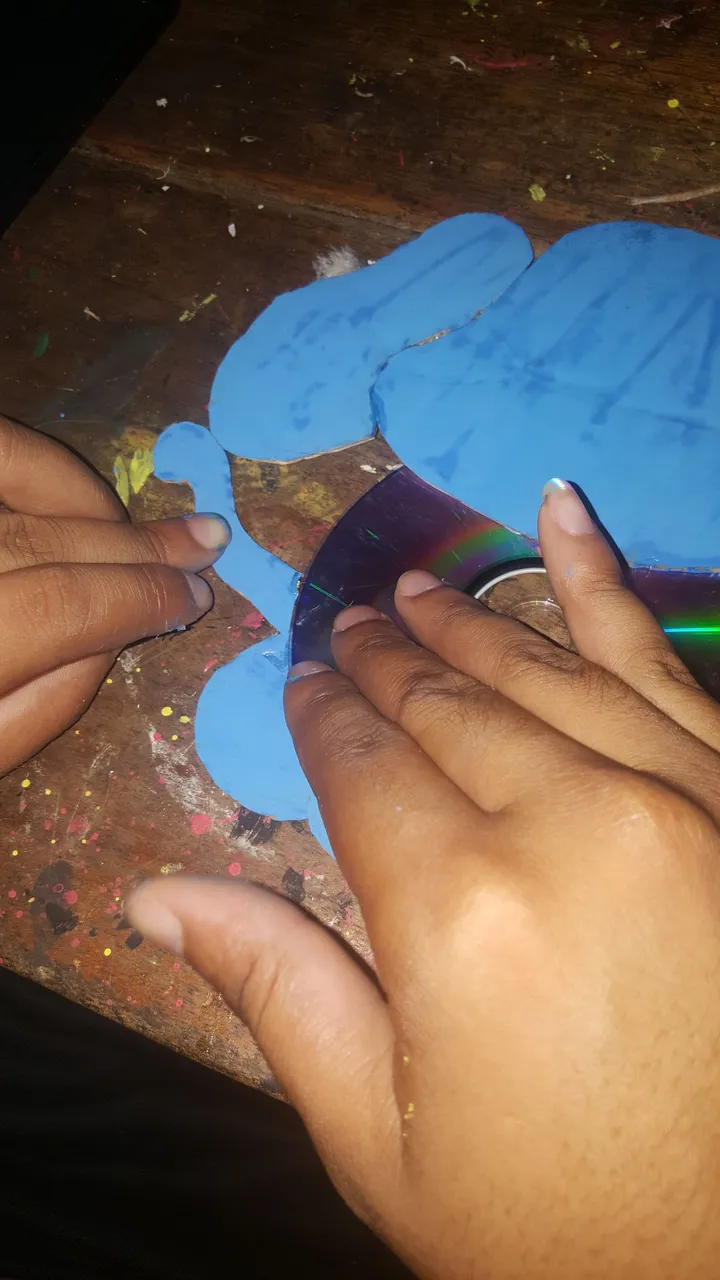
Después de pintar todas las partes nos toca armar el perro pegamos las patas en la parte de abajo del CD en todo el centro, luego los dos círculos al lado de las patas, después la cabeza en la parte de arriba y las orejas a los lados.
After painting all the parts, we have to put the dog together, we glue the legs to the bottom of the CD in the entire center, then the two circles next to the legs, then the head to the top and the ears to the sides.

Por último pegamos la cola.
Finally we glue the tail.
Paso 3: Para este paso con el marcador dibujamos la cara del perro y luego con la pintura negra y el pincel pintamos todas las cosas que marcamos con el marcador en negro, en excepción los ojos que llevan un poquito de pintura blanca.
Step 3: For this step with the marker we draw the dog's face and then with the black paint and the brush we paint all the things that we marked with the marker in black, except for the eyes that have a little white paint.
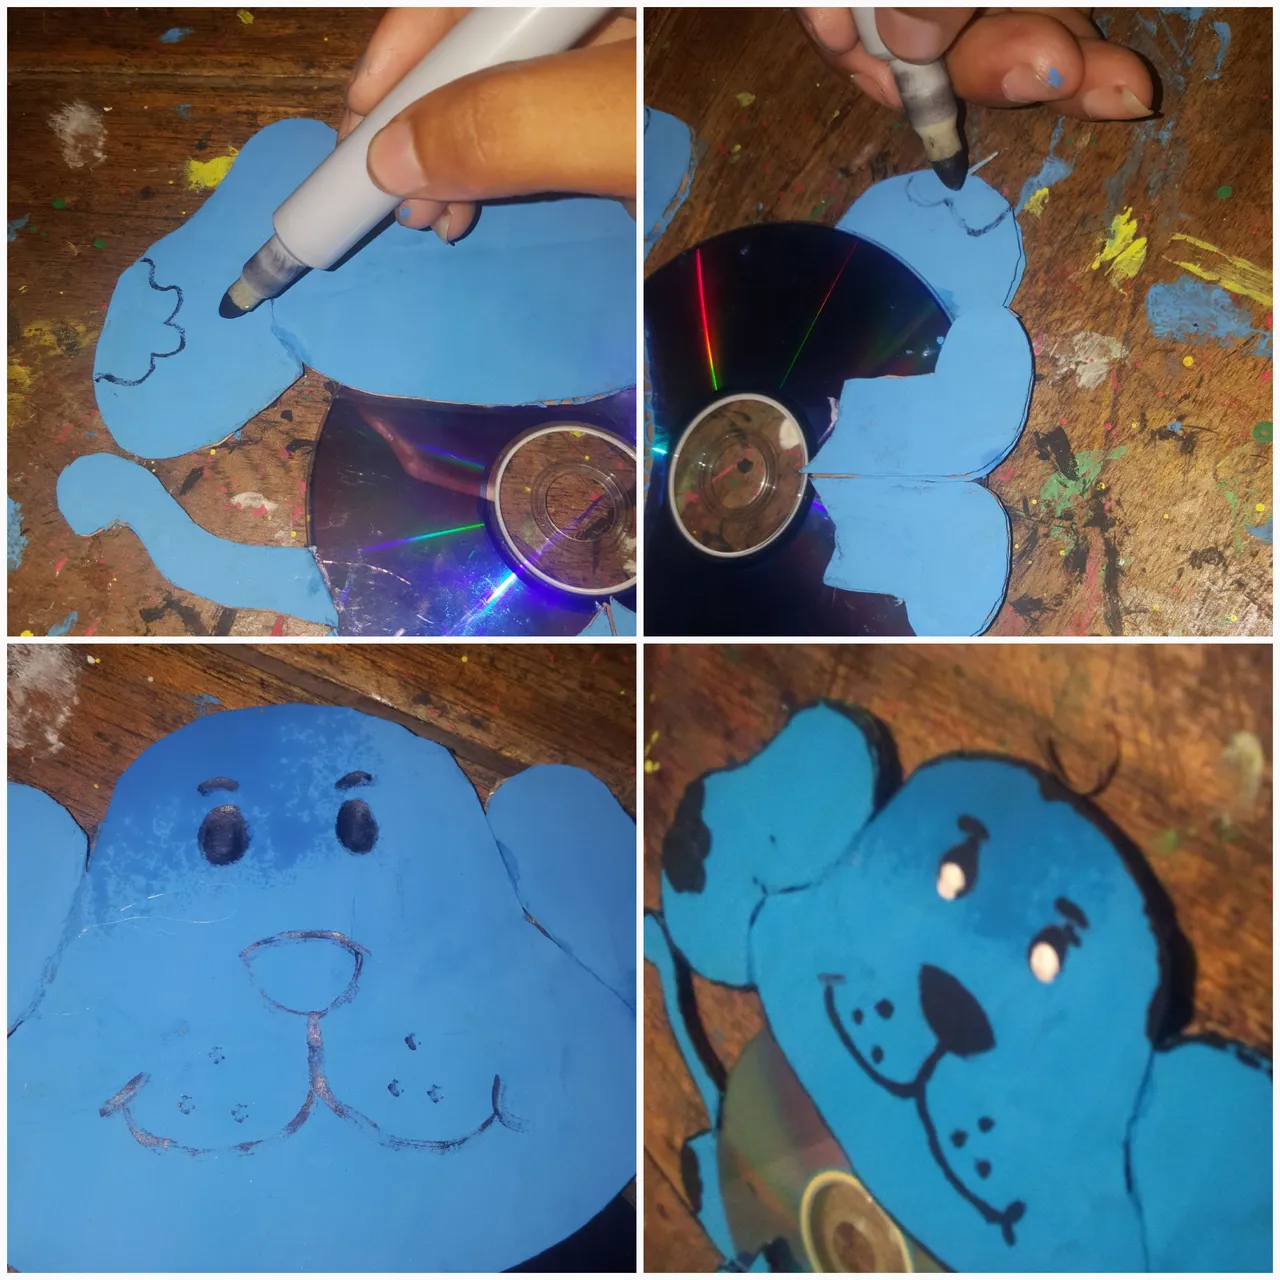
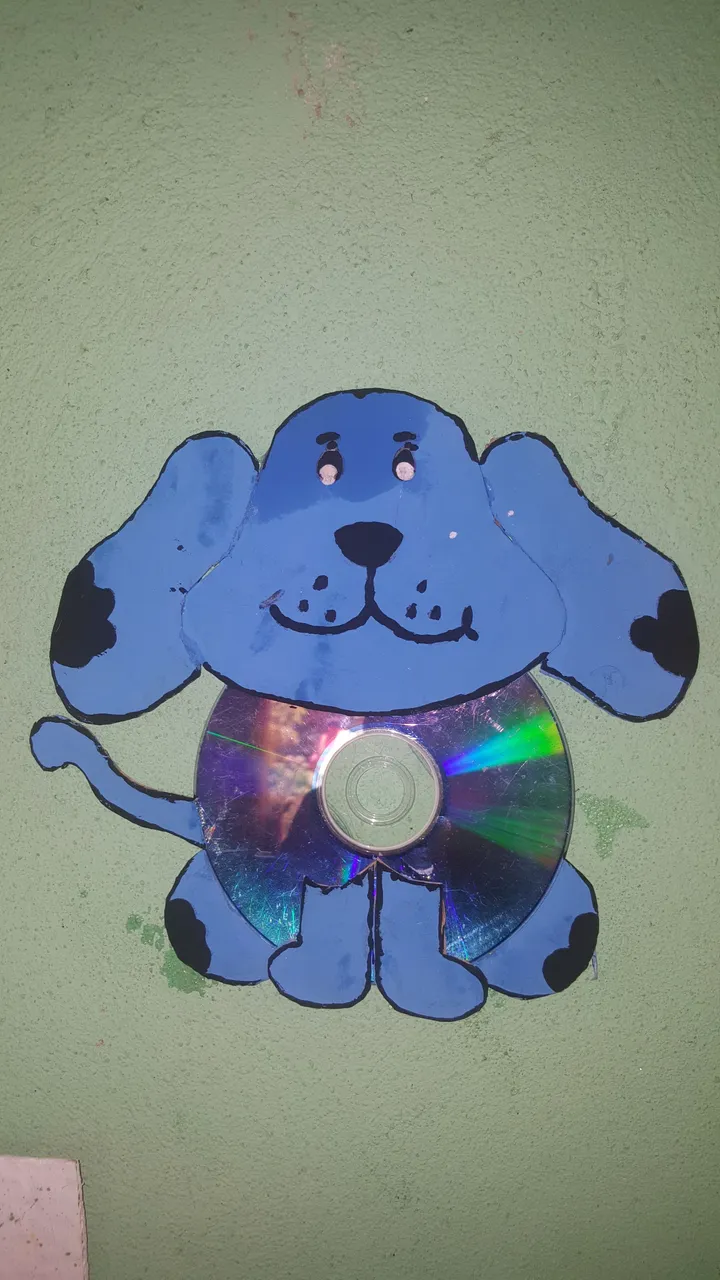
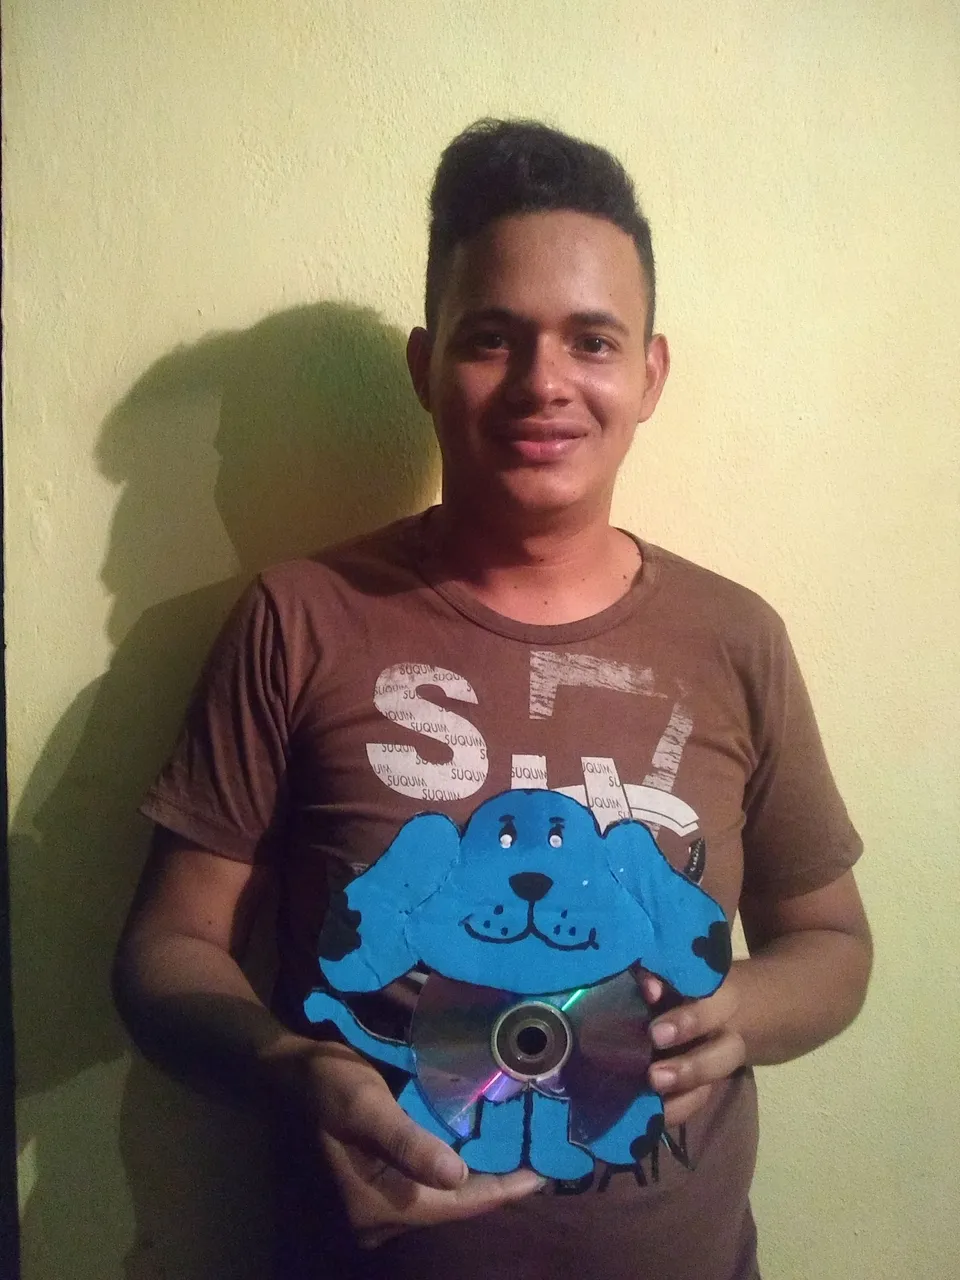
Así es como queda esta bello y hermoso perrito espero les guste Y no tenga duda en visitar mi perfil encontrarás cosas muy lindas y útiles.
This is how this beautiful and beautiful puppy looks I hope you like it And do not hesitate to visit my profile you will find very nice and useful things.