hello hive friends happy week. This is my first post in this community. I found out about her because they left me a comment on another post I made and they told me that it was a great way to publicize my craft work. That is why this time I want to show you my latest work. It is about the repair of a musical instrument called harmonica. Surely many know him for his particular sound. This harmonica was a birthday present and it is already 2 years with me, with the passing of time it was damaged and lost much of the protection that it brings and that made it sound. I decided to make a new protection to learn to play it. The repair consists of two aluminum sheets that I took out of some soda cans, I put them on both sides and allowed to manipulate it. It is such an important part since without it I could not sound. I leave you how the process was
hola amigos de hive feliz semana. Este es mi primer post en esta comunidad. Supe de ella porque me dejaron un comentario en otra publicacion que hice y me dijeron que era buenisima para dar a conocer mis trabajos de manualidades. Es por eso que en esta ocasion quiero mostrarles mi ultimo trabajo. Se trata de la reparacion de un instrumento musical llamado armonica. Seguro mucho lo conocen por su sonido tan particular. Esta armonica fue un regalo de cumpleaños y ya tiene 2o años conmigo, con el pasar del tiempo se fue dañando y perdio gran parte de la proteccion que trae y que hacia que sonara. Yo decidi hacerle una nueva proteccion para aprender a tocarla. La reparacion consta de dos laminas de aluminio que saque de unas latas de soda, las puse en ambos costados y permite manipularla. Es una parte tan importante ya que sin ella no podia sonar. Les dejo como fue el proceso.
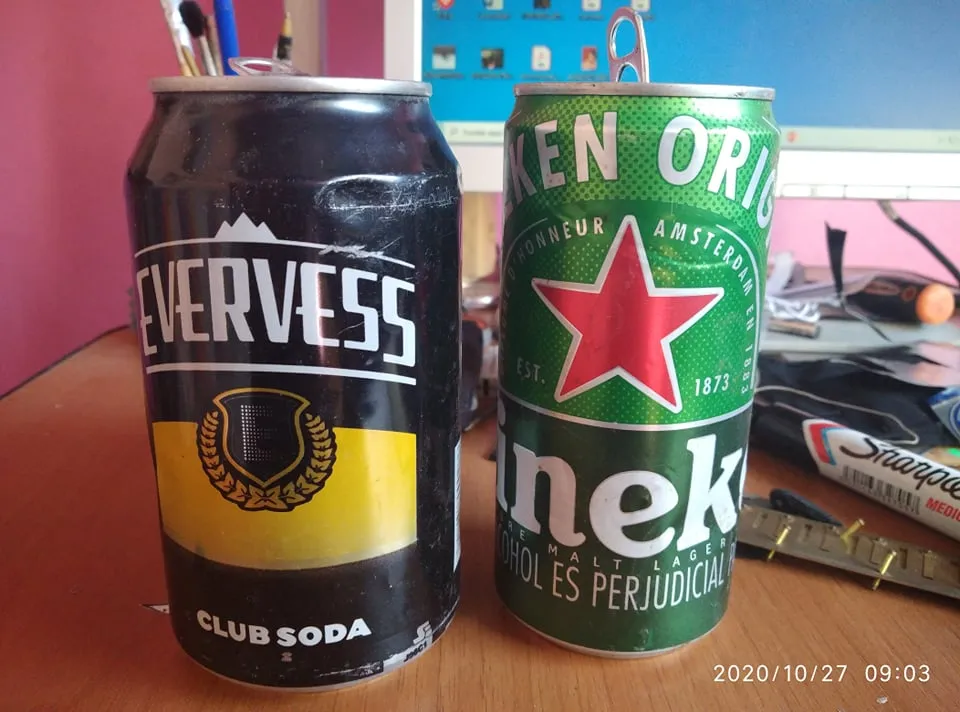
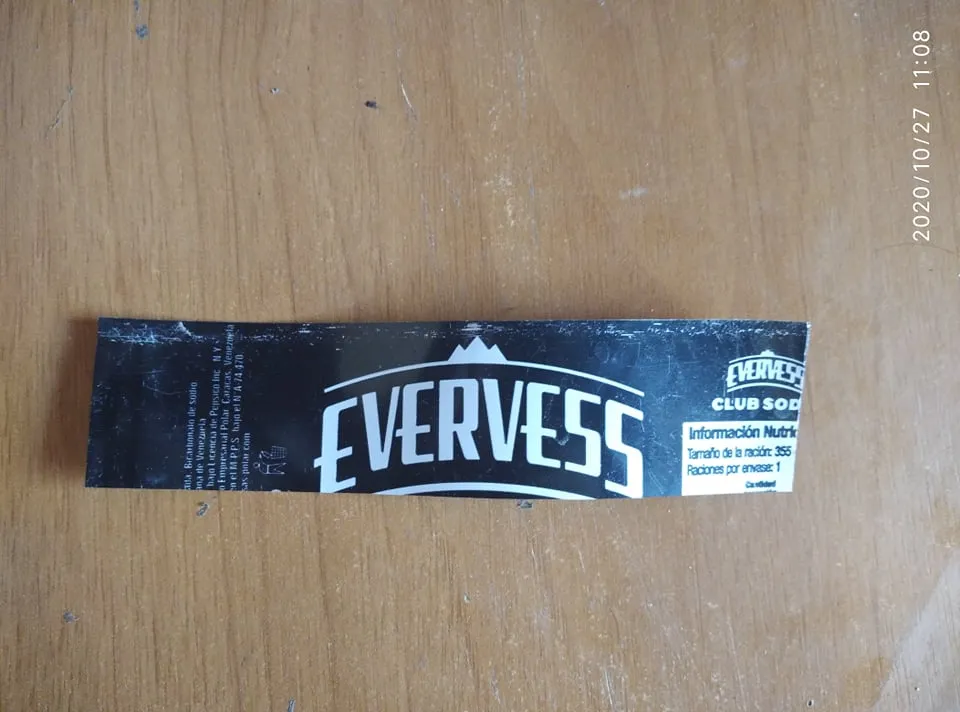
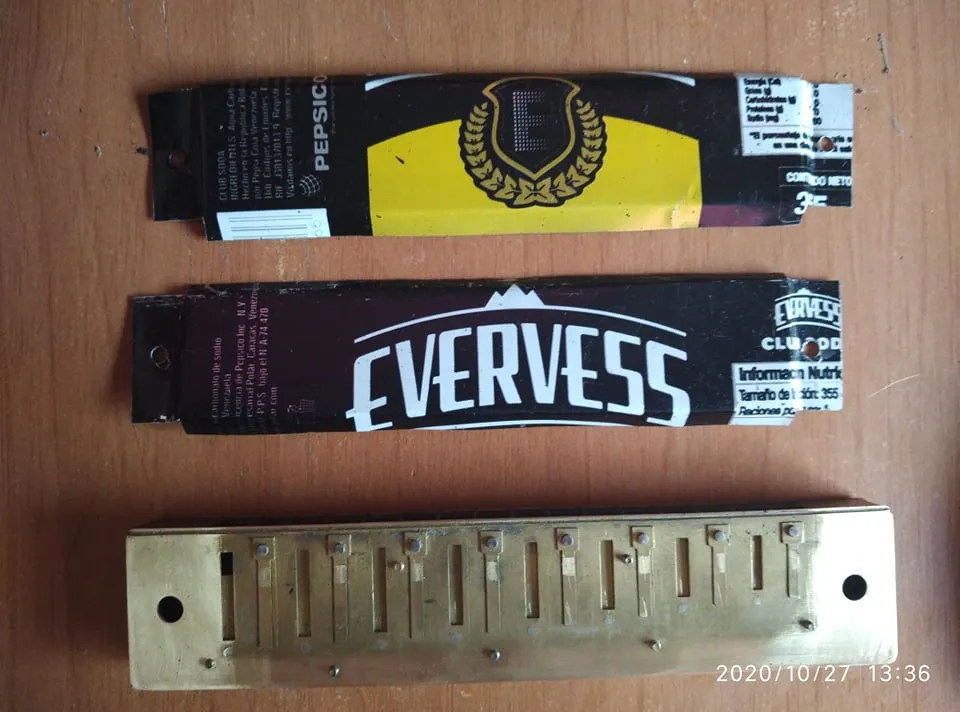
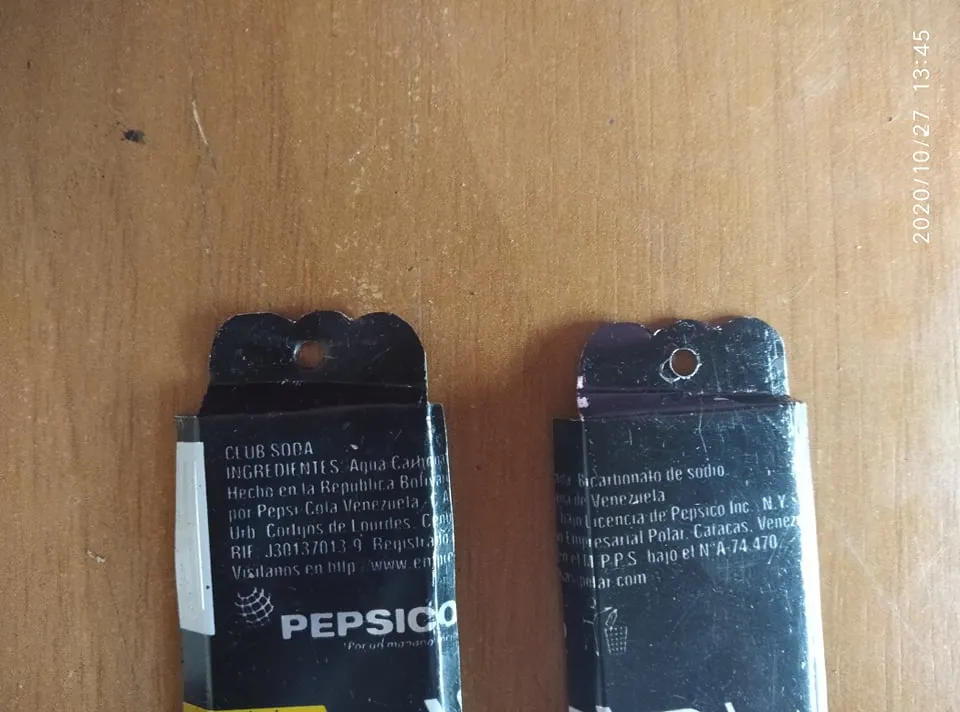
Since it was something where I wasn't going to need a lot of material to cut, I only used a can. However I was undecided which one I wanted to choose, in the end I decided to use the black can.
Como se trataba de algo donde no iba a necesitar mucho material que cortar solo utilicé una lata. Sin embargo estaba indeciso cual queria escoher, al final me decidi en utilizar la lata de color negro.
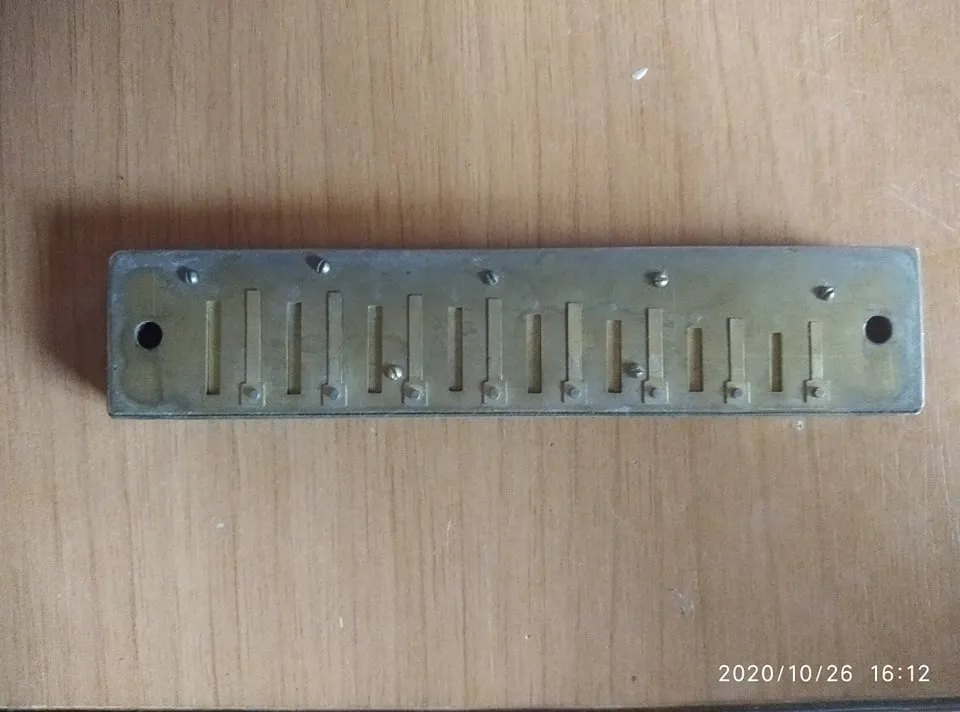
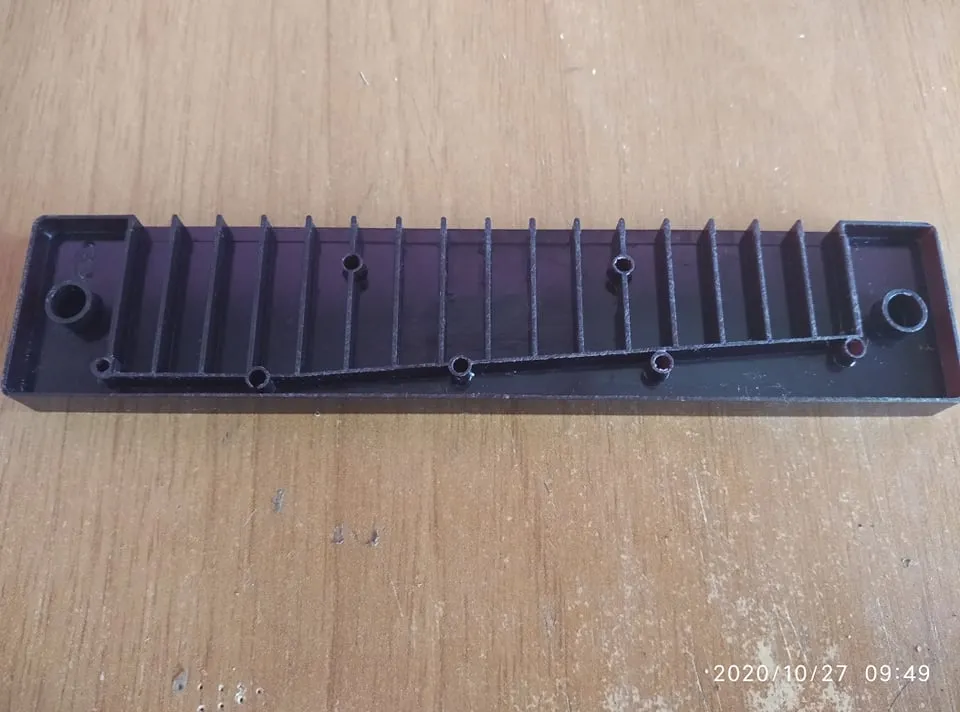
This was the state my harmonica was in, as you can see it was missing the side covers. They allow us to manipulate it and allow the air to escape through the cavities. If you look closely you can see inside the openings through which the air passes and causes the sound. This harmonica is tuned in C major. It had neither the covers nor the screws that held it.
Este era el estado en el que se encontraba mi armonica, como pueden ver le faltaban las cubiertas de los lados. Ellas nos permiten manipularla y permite salir el aire por las cavidades. Si observan con detenimiento puede verse en el interior las aberturas por las cuales pasa el aire y origina el sonido. Esta armonica esta afinada en Do mayor. No tenia ni las cubiertas ni los tornillos que la sujetaban.
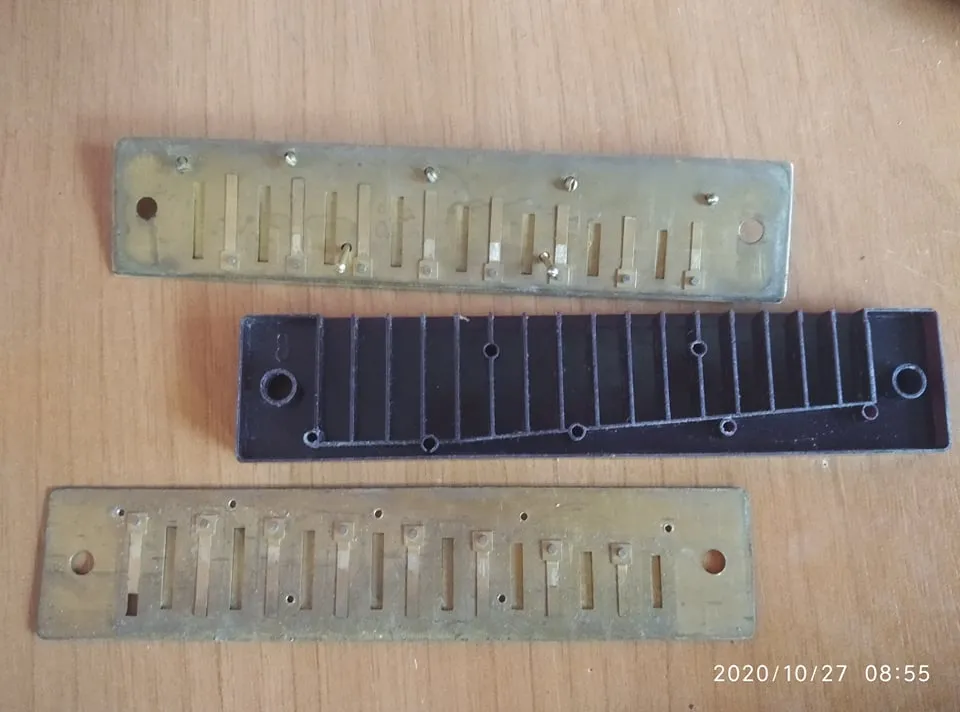
The first step was to remove the small screws that hold both metal plates. In the middle of both plates is the area where the air is blown so that it can sound. It is made of plastic. Other harmonicas of recognized and legendary brands have this part made of wood. Remove both layers for maintenance.
El primer paso fue retirar los tornillos pequeños que sujetan ambas placas de metal. En medio de ambas placas se encontra la zona por donde se sopla el aire para que pueda sonar. Esta hecha de plastico. Otras armonicas de marcas reconocidas y legendarias tienen esta parte hecha en madera. Retire ambas capas para hacerle mantenimiento.
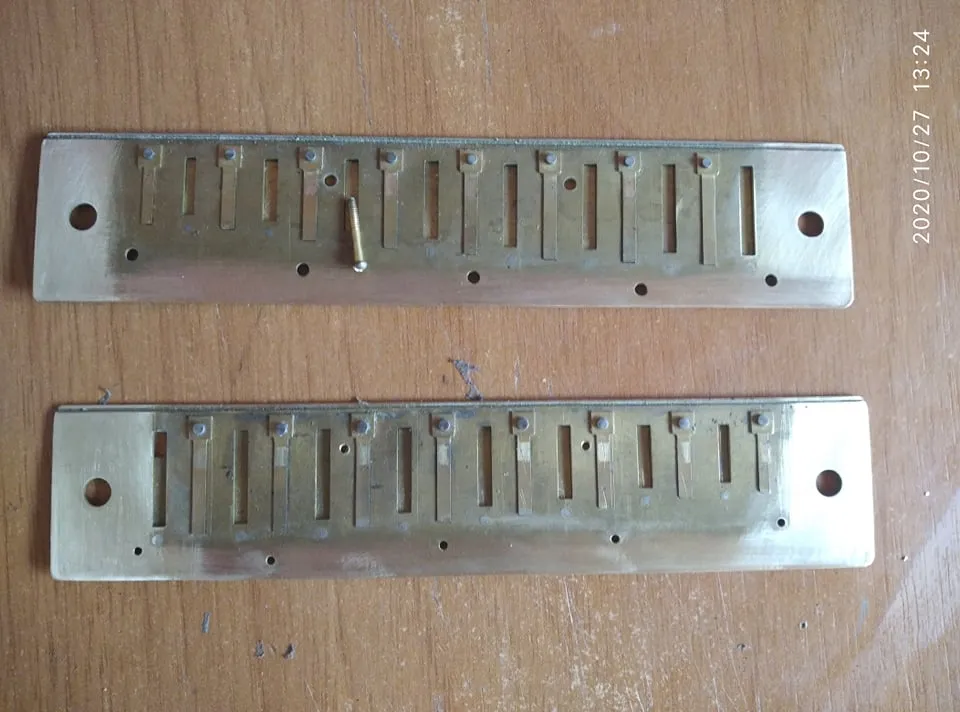
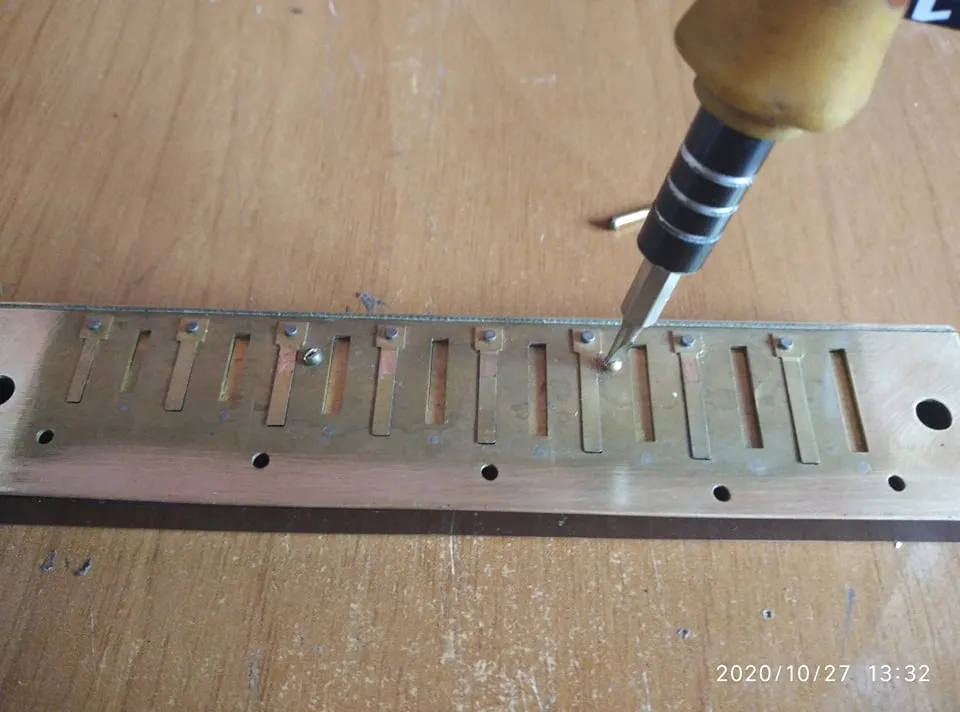
After cleaning the metal plates with a special liquid with a fine-grained sandpaper, clean the edges that were very dirty and also clean the internal part where the air circulates.
Luego de hacerle limpieza a las placas de metal con un liquido especial con una lija de grano fino limpie los bordes que estaban muy sucios y tambien limpie en la parte interna por donde circula el aire.
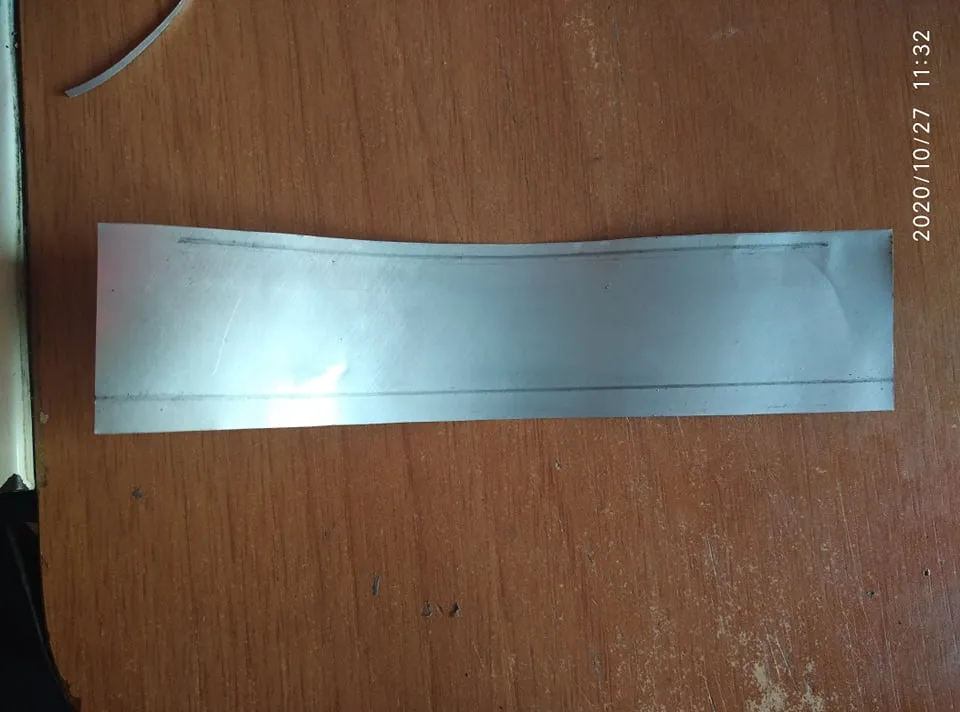
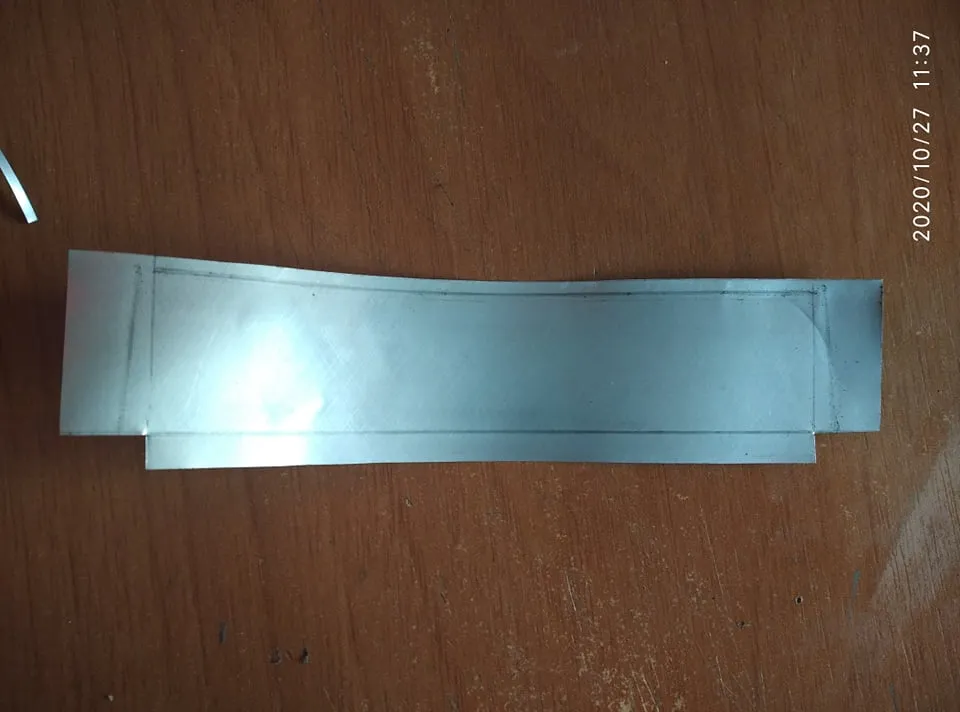
Then he proceeded to make the covers with aluminum cans. For that, take as a measure the metal plates of the sound and cut them. Then I was measuring the inner part to make some dubbing and thus shape them.
Despues procedi a hacer las cubiertas con latas de aluminio. Para eso tome como medida las placas de metal del sonido y las corte. Luego fui midiendo la parte internta para hacer unos doblajes y asi sacarles forma.

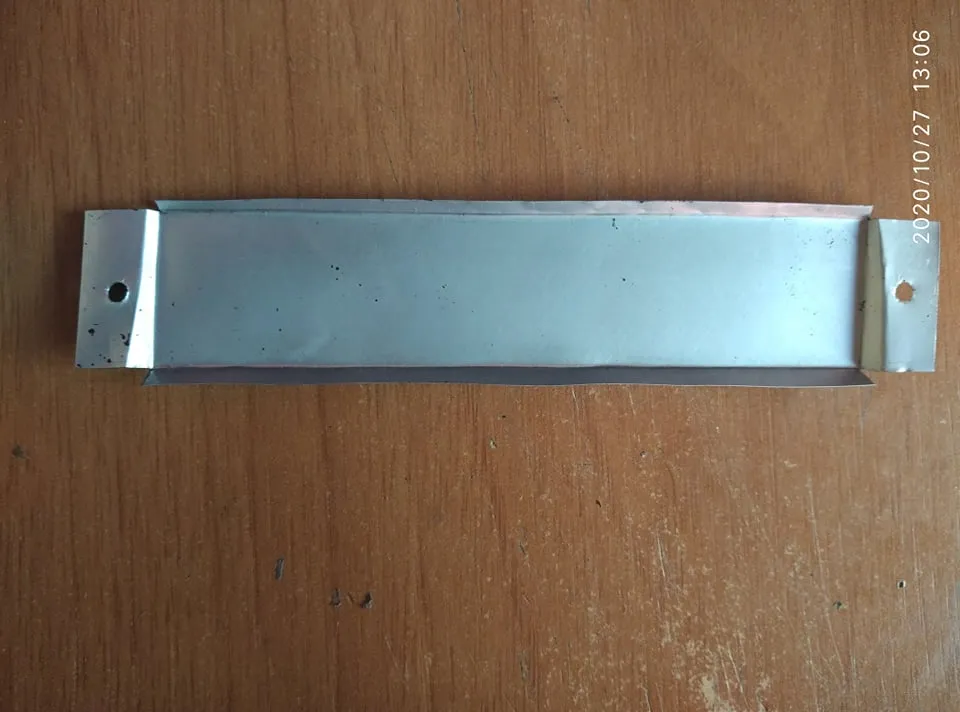
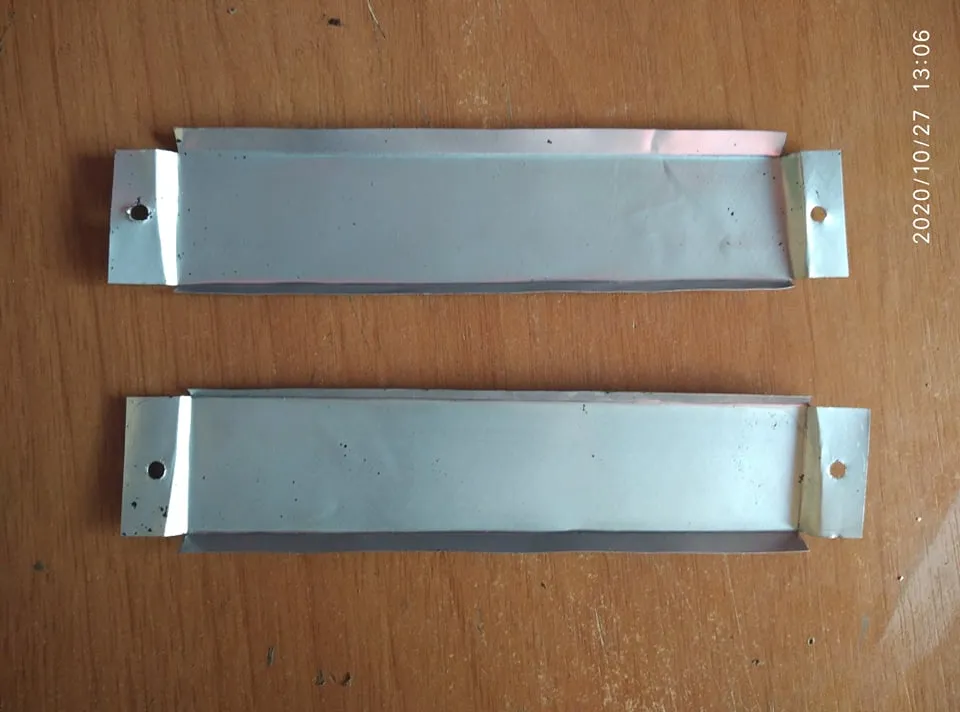
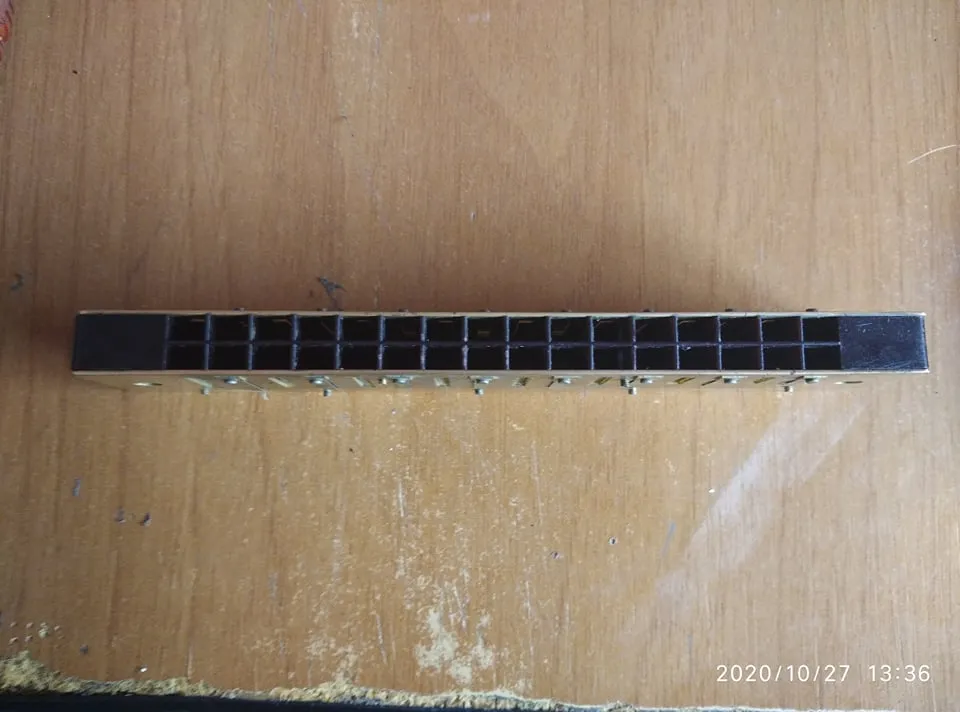
This is how I stayed when I was shaping it. The same process I used to remove the other layer and have the two lists.
Asi fue me quedando cuando iba dandole forma. El mismo proceso utilicé para sacar la otra capa y tener las dos listas.
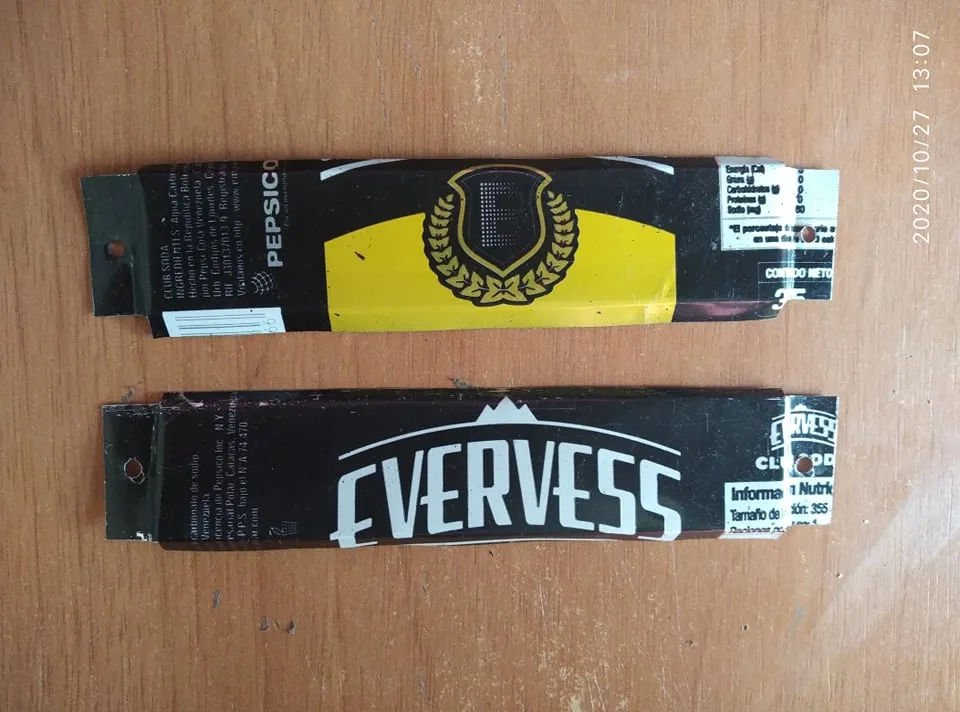
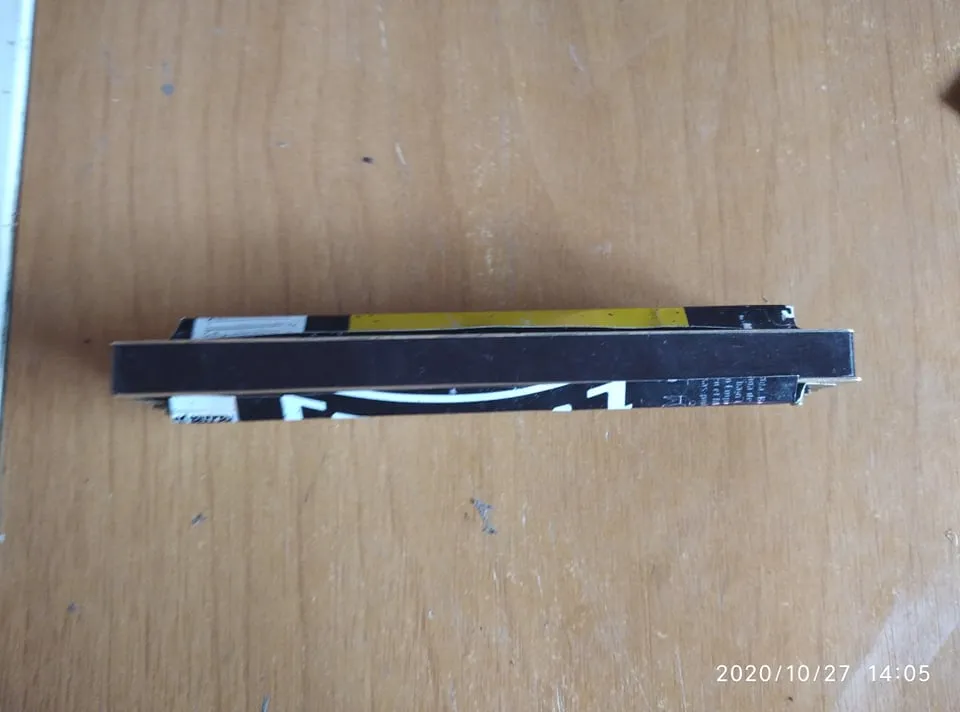
Then he proceeded to put the harmonica together again. First by placing both metal plates to the sides of the plastic part where the sound is emitted. Then I measured how the sheets I made with the can were left and in the end I decided to make a few small cuts on the edges so that I would not be left with such a simple design.
Despues procedi a armar la armonica otra vez. Primero colocando ambas placas de metal hacia los lados de la parte de plastico por donde se emite el sonido. Luego medi como quedaban las laminas que hice con lata y al final decidi hacerle unos pequeños cortes en los bordes para que no me quedara con un diseño tan simple.
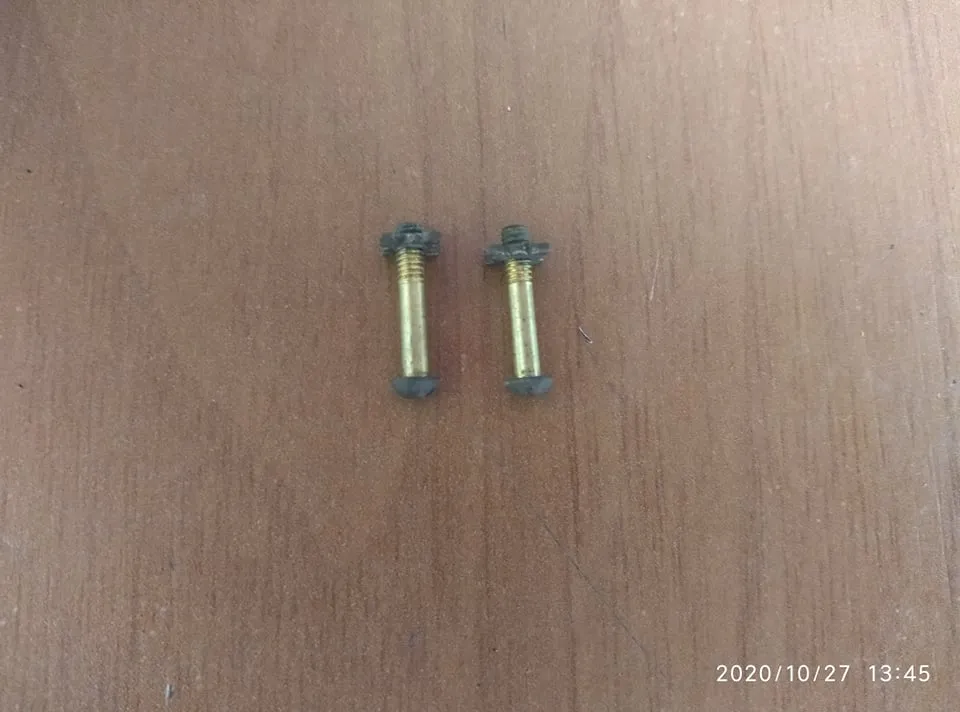
As I did not have screws to hold the aluminum layers because the originals were lost. I used these two screws that I took from an old, useless lamp. I cleaned and polished them and proceeded to place them on both sides.
Como no tenia tornillos como sujetar las capas de aluminio porque los originales se perdieron. Use estos dos tornillos que tomé de una vieja lampara inservible. Los limpie y los pulí y procedi a colocarlos en ambas partes.
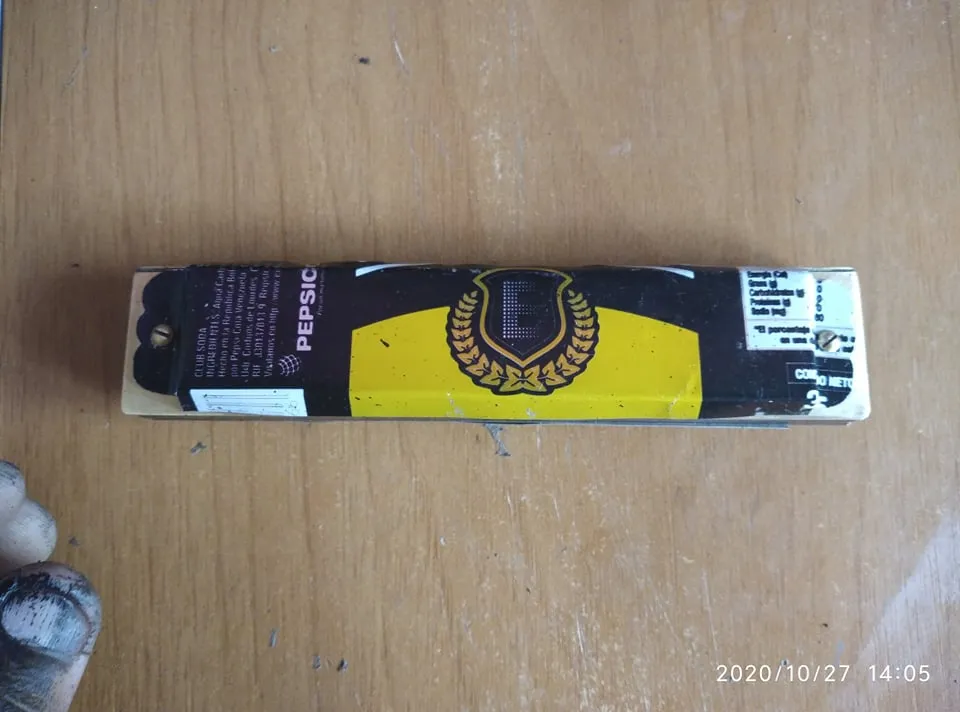
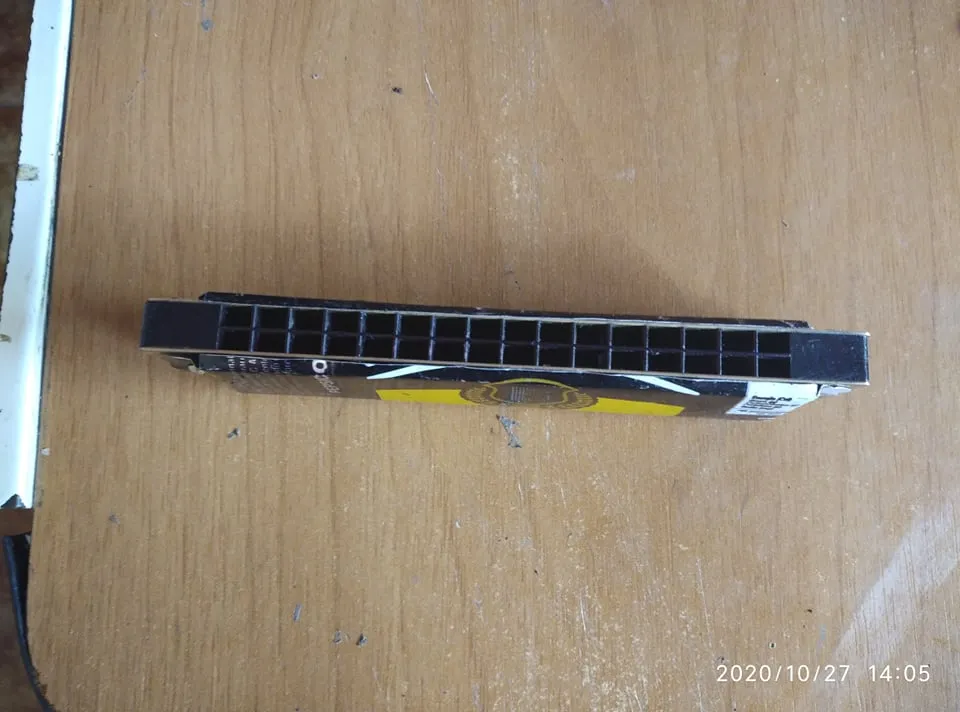
So we have the final finish. As you can see, it was very creative and I only used things that were simple and easy to achieve. In this way I was able to give a new opportunity to this instrument that I like so much its sound. I really liked it because the letters from the advertising that the cans remained, although I also would have liked to make a design with paintings. But it will be another time. I hope you liked it and leave me a comment, if you like you can follow me and see my other works. Greetings to all.
Asi nos queda el acabado final. Como pueden ver fue algo muy creativo y que solo se uso cosas simples y faciles de conseguir. De esta manera pude darle una nueva oportunidad a este instrumento que tanto me gusta su sonido. Me gusto mucho porque quedaron las letras de la publicidad que trae las latas aunque tambien me hubiera gustado hacerle un diseño con pinturas. Pero ya será en otra oportunidad. Espero que les haya gustado y me dejen un comentario, si gustan pueden seguirme y asi ver mis otros trabajos. Un saludo para todos.