

Hello beloved, craft fanatics.
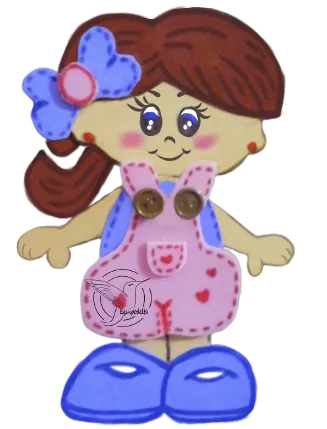
Hello dear craft lovers, I love these dolls, I made this tutorial of a simpler one, it is nice to decorate spaces, gifts, school things, among others.
I love these dolls, I have a lot of fun making them, they come out easily and naturally, I think it's thanks to the practice I have drawing.
I like them more because I decorate spaces in my house like fridge, kitchen, mirrors, but it turns out that when I finished this one, I gave it to my partner because he fell in love with it and has pasted it on his PC, one of the things I value about him is that he is a big fan of my work.
I hope you are encouraged to make it, involve the children in this project, it is ideal to spend the time of confinement at home.
A hug, I love you.

Hola queridos amantes de las manualidades, me encantan estas muñequitas, hice este tutorial de otra más sencilla, está linda para decorar espacios, regalar, cosas escolares, entre otros.
Me encantan estas muñequitas, me divierto mucho haciéndolas, me salen fácil y con naturalidad, creo que es gracias a la práctica que tengo dibujando.
Me gustan más porque decoro espacios en mi casa como nevera, cocina, espejos, pero resulta que cuando terminé esta, la regalé a mi pareja porque se enamoró de ella y la ha pegado en su PC, una de las cosas que valoro de él es, que es muy fan de mi trabajo.
Espero queridos que se animen a realizarla, involucren a los niños en este proyecto, está ideal para pasar el tiempo de encierro en casa.
Un abrazo, los quiero.
Paso a paso. / Step by Step
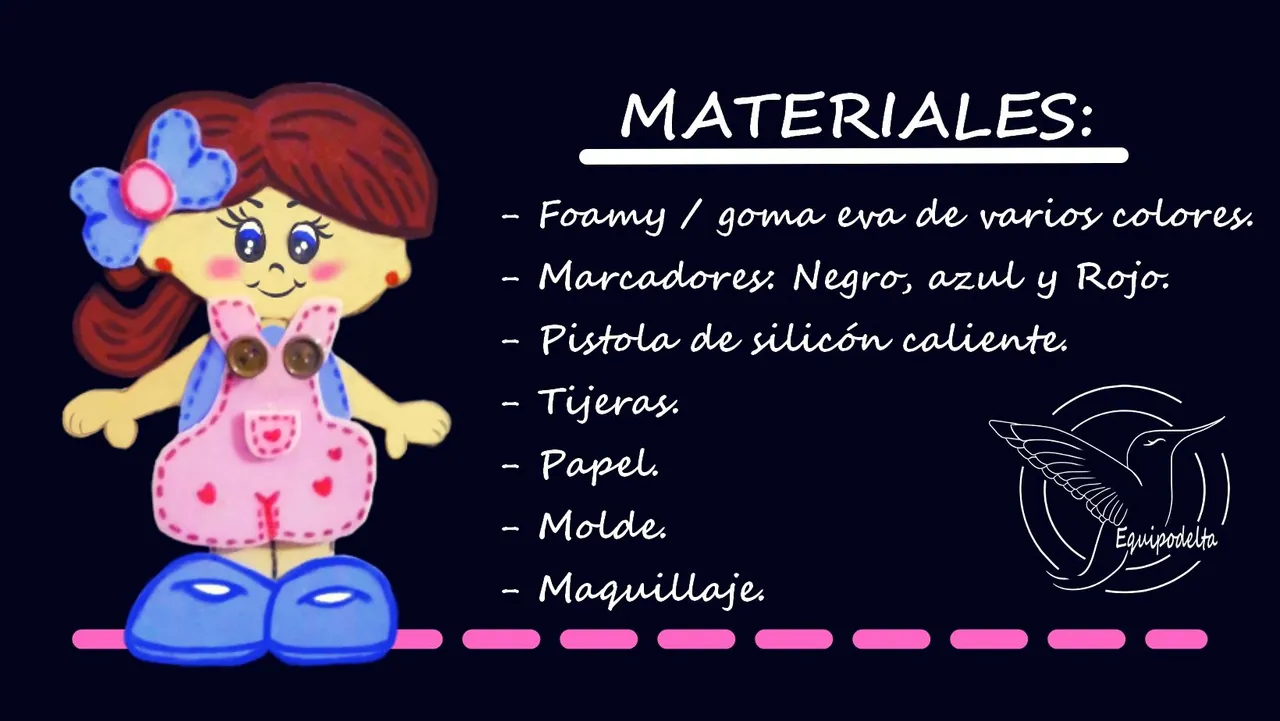
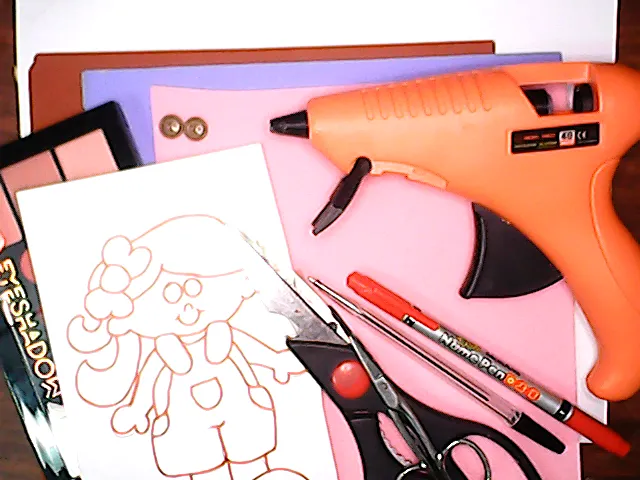
Materials:
- Foamy of various colors.
- Markers: Black, Blue and Red.
- Hot silicon gun.
- Scissors.
- Paper.
- Mold.
- Make-up.
Molde / Mold
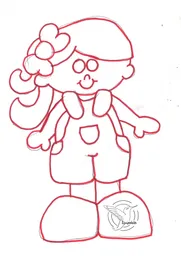
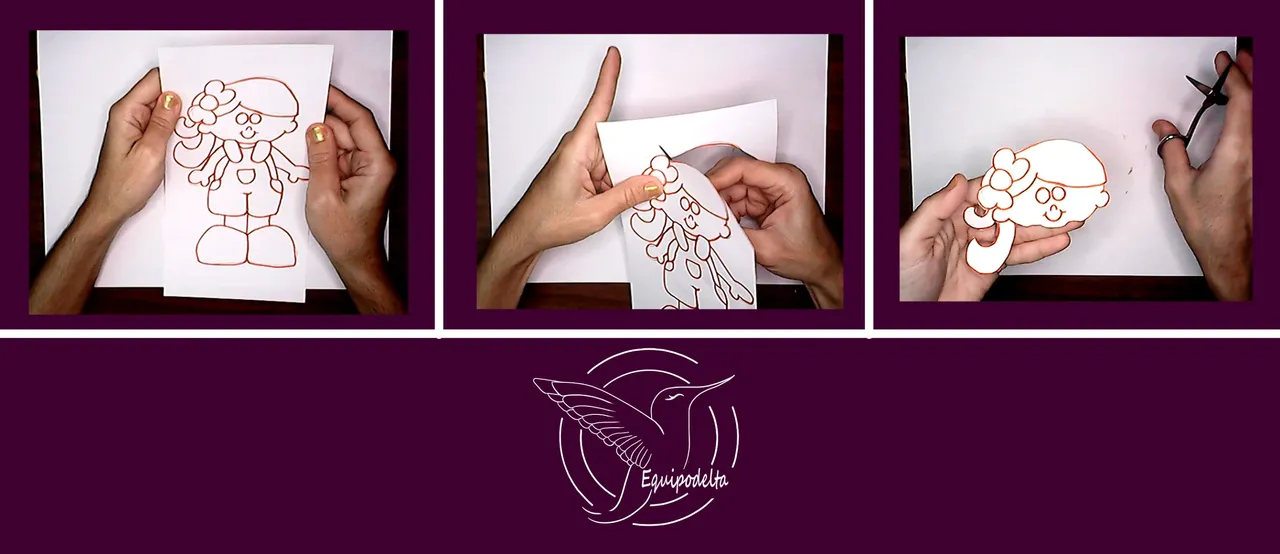
Step 1:
Take the mold and cut along the edge of the head, including the hair.
Paso 1:
Toma el molde y recorta por el borde de la cabeza, incluyendo el cabello.
Step 2:
Toma el molde y recorta por el borde de la cabeza, incluyendo el cabello.
Paso 2:
Take the mold and cut out the edge of the head, including the hair.
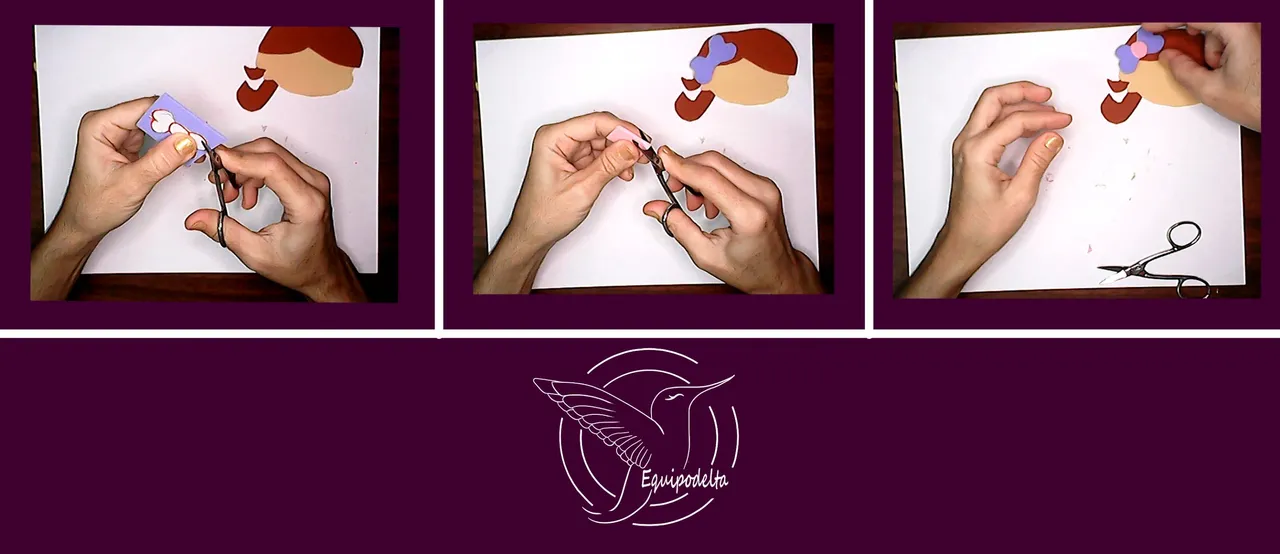
Step 3:
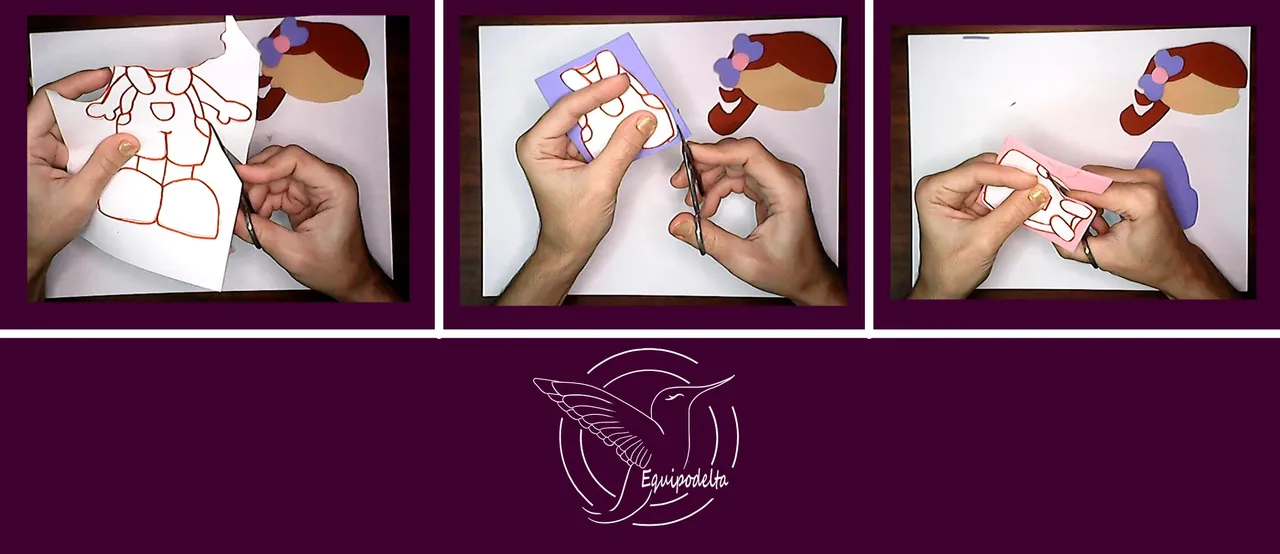
In this section we have to cut what is the hair ribbon, for this we use the blue foamy and the pink foamy for the center of the ribbon.
Work in an orderly manner, when you cut the pieces, go on assembling like a puzzle, it is also fun to discover the figure.
Paso 3:
En esta sección hay que cortar lo que es el lazo del cabello, para ello usamos el foamy color azul y el foamy rosa para el centro del lazo.
Trabaja de forma ordenada, cuando recortes las piezas, ve armando como un rompecabezas, además es divertido descubrir la figura.
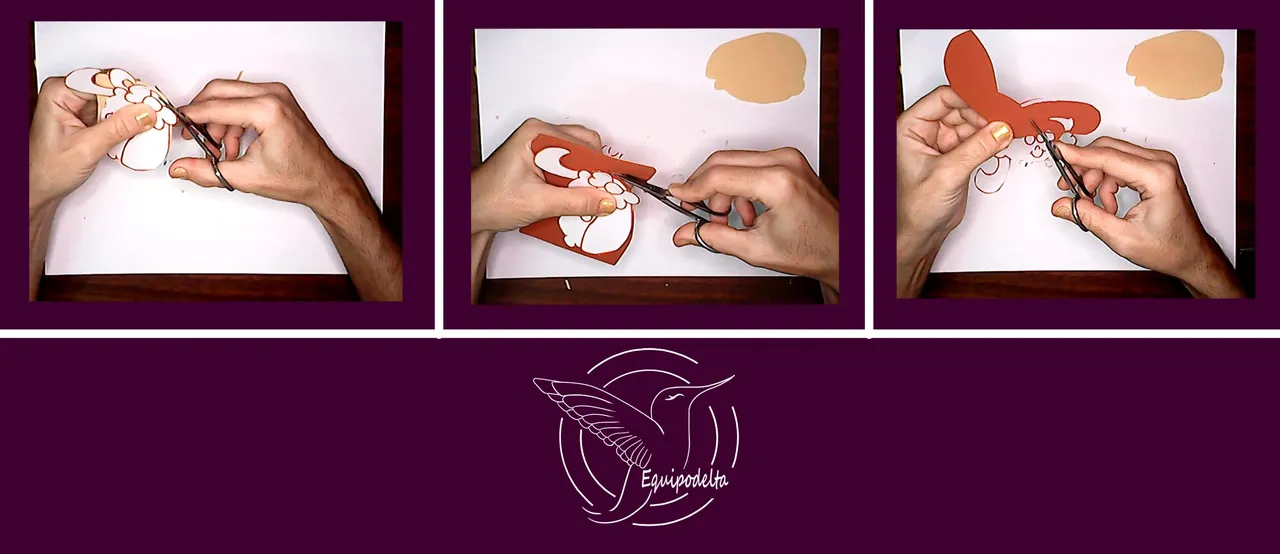
Step 4:
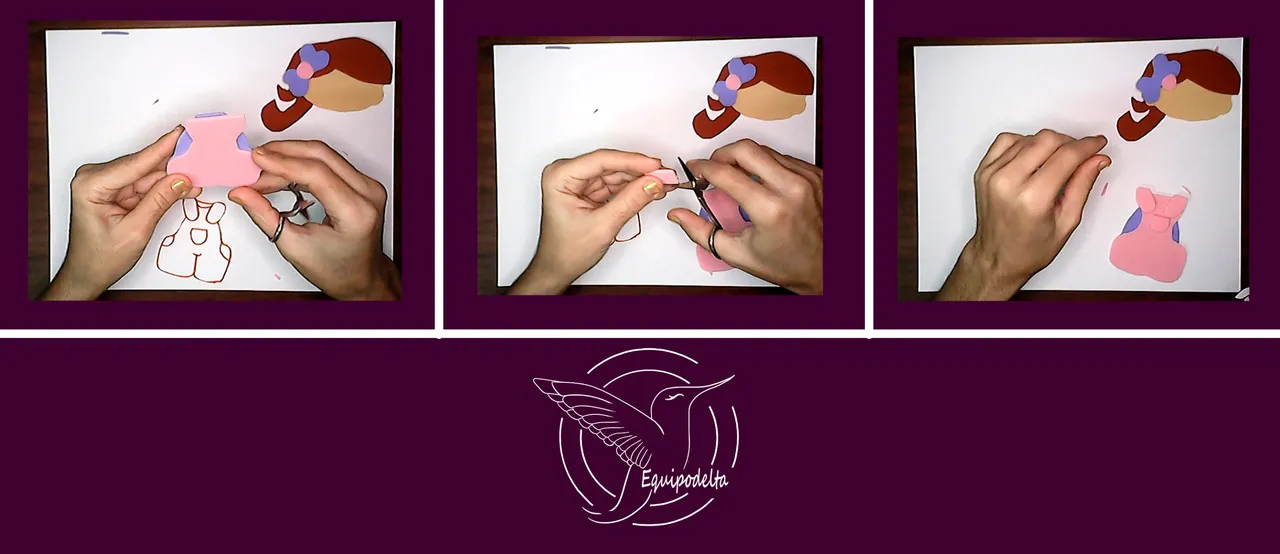
Cut out the mold of what corresponds to the clothes. Then place it on the blue foamy and cut it out, this will be the space for the shirt.
Now cut out the clothes, follow the line and cut out.
Don't forget to cut out the two straps, as shown in the picture.
Paso 4:
Recorta el molde de lo que corresponde la vestimenta. Luego colócalo sobre el foamy color azul y recorta, este será el espacio de la camisa.
Ahora corresponde recortar la braga, sigue la línea y recorta.
No olvides recortar los dos tirantes, como indica la foto.
Step 5:
Now cut out the legs, remember to leave some space for gluing, leave a small margin of about 0.5 centimeters, this piece goes under the clothes.
Then proceed to cut out the shoes.
Paso 5:
Ahora recorta las piernas, recuerda que debes dejar espacios para poder pegar, deja un pequeño marguen de 0.5 centímetros aproximadamente, esa pieza va debajo de la vestimenta.
Luego procede a recortar los zapatos.
Step 6:
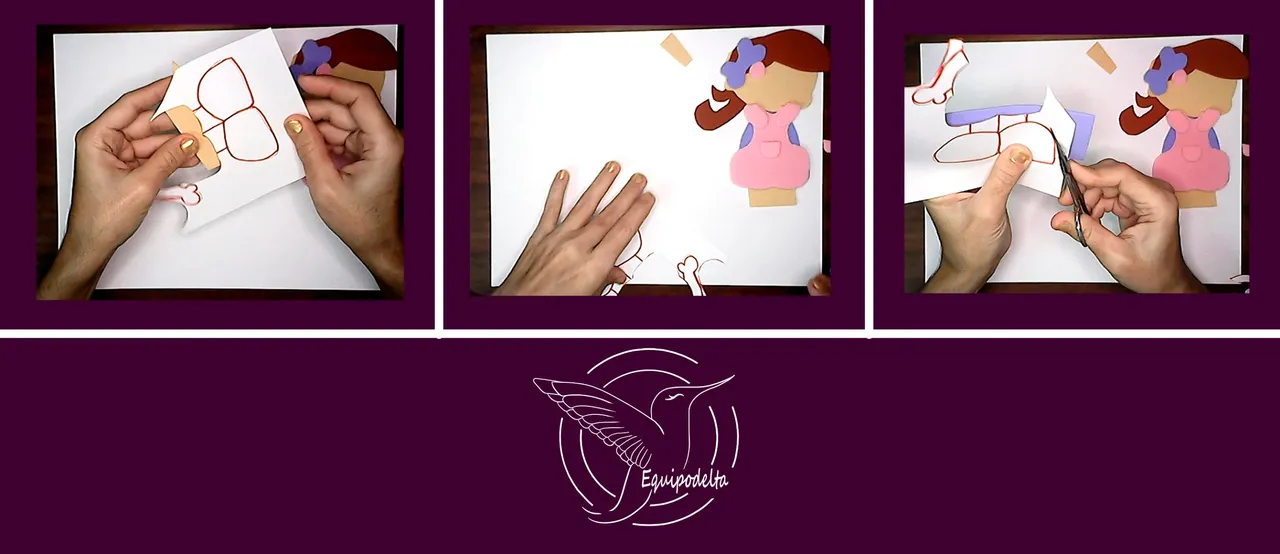
It is necessary to cut what will be the hands and arms. Use the mold as a guide.
We are done cutting out the pieces!
Paso 6:
Corresponde cortar lo que serán las manos y brazos. Utiliza el molde como guía.
¡Ya terminamos de recortar las piezas!
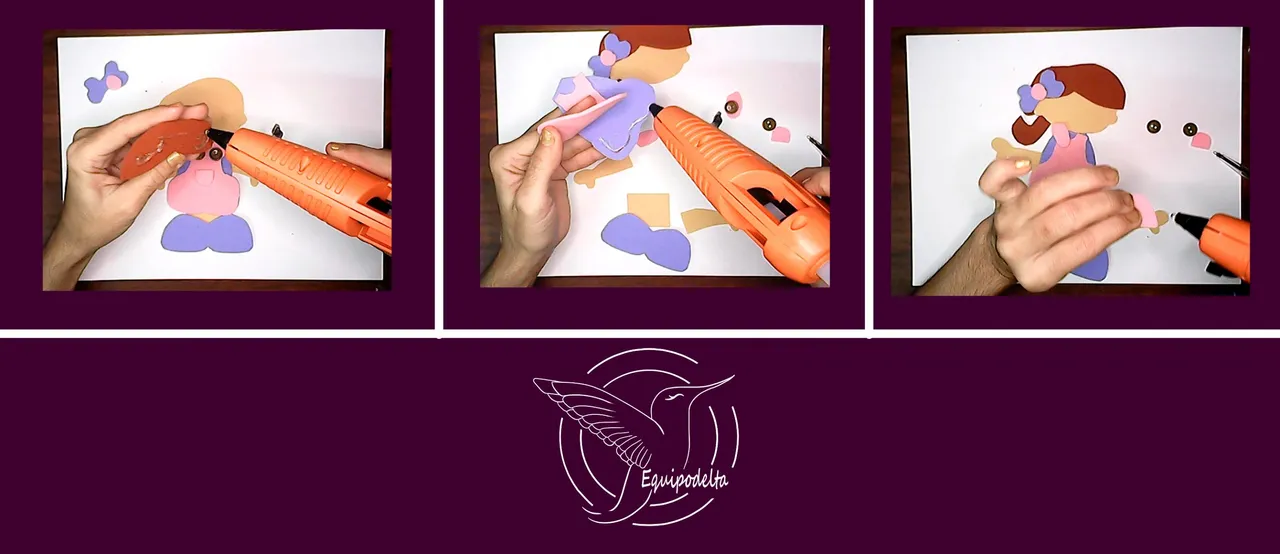

Step 7:
Now glue all the pieces together. It's a fun and relaxing practice.
Since you worked in an orderly fashion, you will see that every piece that gets in the way is the first piece you will glue, for example:
- Glue the hair on the face.
- Glue the bow on the hair.
- Glue the pants on the shirt.
- Glue the clothing to the back of the head. In this section you only glue the shirt from the back and the panties from the front, covering a small part of the face.
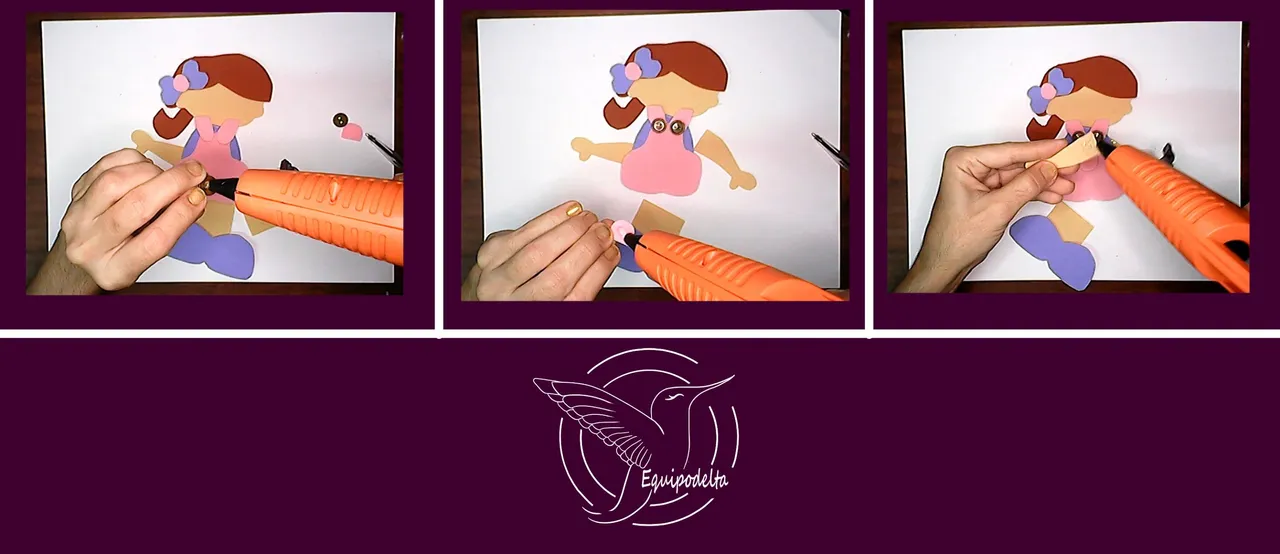
- Glue the straps of the pants.
- Glue the buttons to the straps.
- Glue the pocket in the center of the pants.
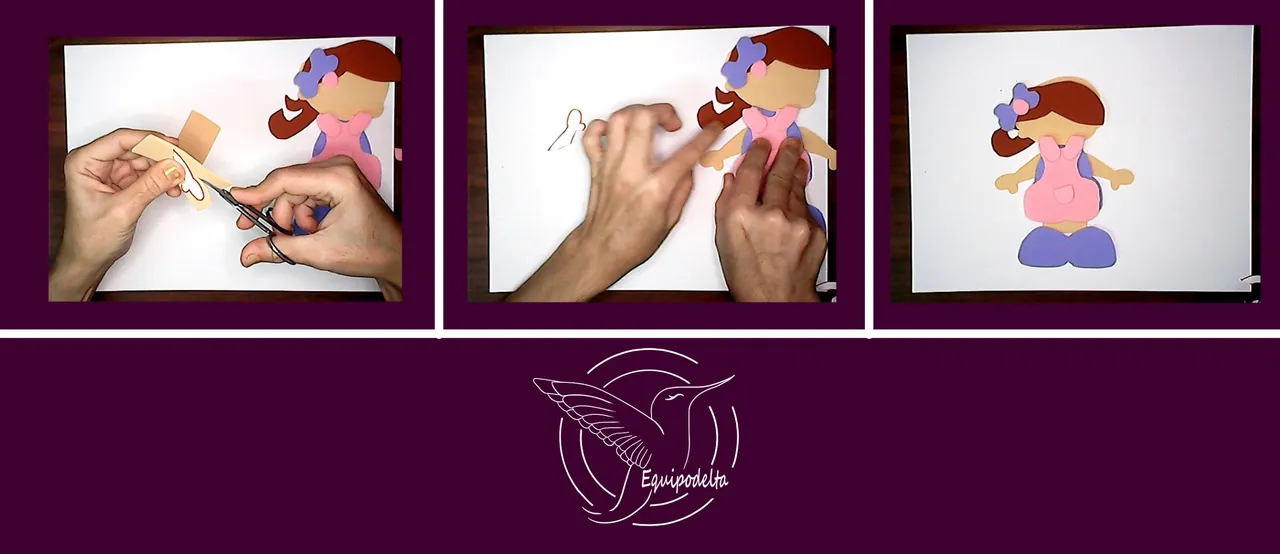
- Glue the arms, each in position behind the clothes.
- Glue the legs to the back of the clothes.
- Glue the shoes in front of the legs.
We're almost done!
Paso 7:
Ahora pega todas las piezas. Es una práctica divertida y relajante.
Como trabajaste de forma ordenada, verás que cada pieza que se interpone es la primera que pegarás, por ejemplo:
- Pega el cabello de la cara.
- Pega el lazo en el cabello.
- Pega la braga de la camisa.
- Pega la vestimenta por detrás de la cabeza. En esta sección solo pegas la camisa por detrás y la braga la pegas por delante, cubriendo una pequeñita parte de la cara.
- Pega los tirantes de la braga.
- Pega los botones a los tirantes.
- Pega el bolsillo en el centro de la braga.
- Pega los brazos, cada uno en su posición por detrás de la vestimenta.
- Pega las piernas por detrás de la vestimenta.
- Pega los zapatos delante de las piernas.
¡Ya casi terminamos!
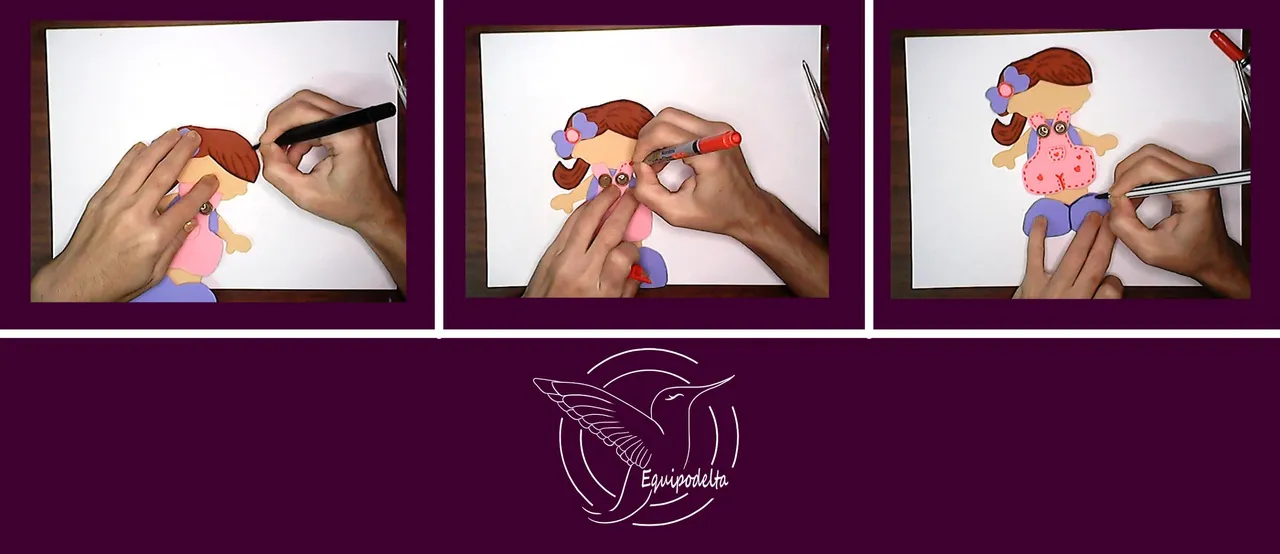
Step 8:
With the markers, perform the details in:
- Hair.
- The clothes.
- The shoes.
Paso 8:
Con los marcadores, realiza los detalles en:
- El cabello.
- La vestimenta.
- Los zapatos.
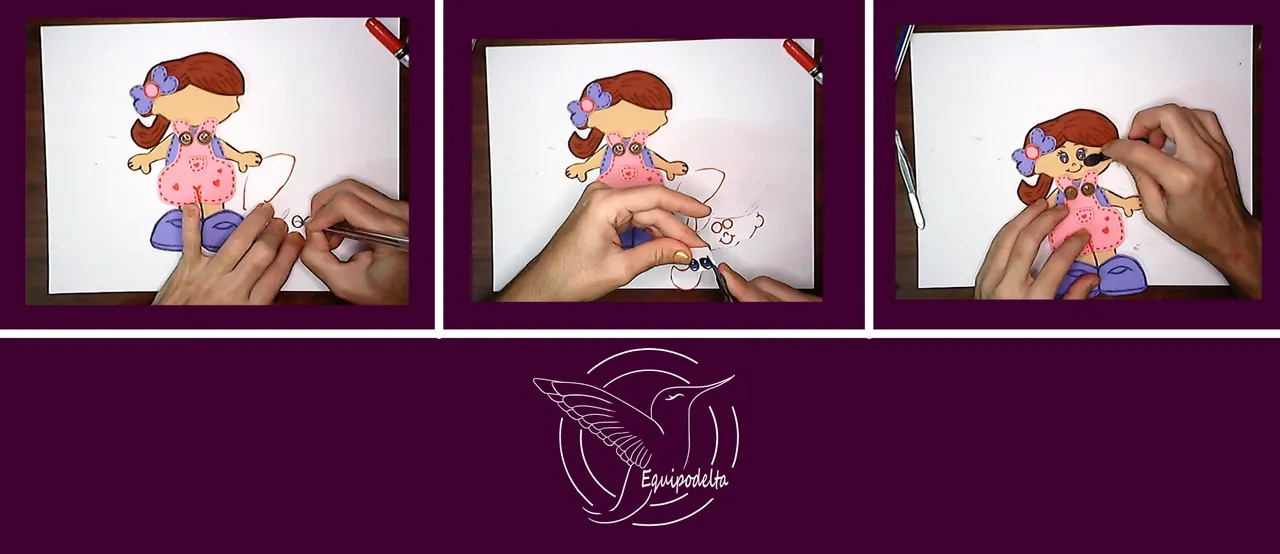
Step 9:
On the paper, make the eyes, then cut them out and glue them.
To finish, apply makeup, a touch of blush on the cheeks.
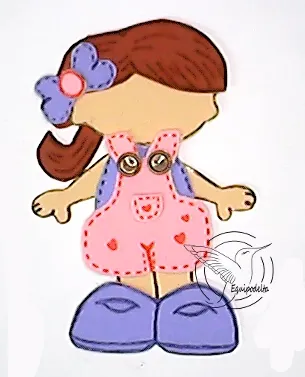
Great!
I hope you like this project and make it with a lot of joy.
See you in the next tutorial.
Remember that for your convenience, I have recorded my process on video, it's on my channel, visit it and give it love too.
Paso 9:
En el papel, realiza los ojos, luego los recortas y los pegas.
Para finalizar, aplica maquillaje, un toque de rubor en las mejillas.
¡Genial!
espero te guste este proyecto y lo realices con mucha alegría.
Nos vemos en el siguiente tutorial.
Recuerda que para tu comodidad, he grabado mi proceso en vídeo, está en mi canal, visítalo y dale cariño también.
Detalles Técnicos / Technical Details
Edition:
Program: MediBang Paint Pro.
Graphics tablet: Huion (Usb Pen Tablet). Model 420.
Used Medibang tools:
- Ajuste entrecruzado.
Music Video:
––––––––––––––––––––––––––––––
Track: Voyage — Lahar [Audio Library Release]
Music provided by Audio Library Plus
––––––––––––––––––––––––––––––
VIDEO TUTORIAL
Mi canal Youtube, tiene un montón de tutoriales muy útiles para ti.
My Youtube channel, has a lot of very useful tutorials for you.
![]() 👉
👉 ![]() 👉
👉 ![]() 👉
👉  👉
👉 ![]() 👉
👉