

Greetings lovers of crafts and recycling.
Today I am participating again in the weekly contest of this great and beautiful Build-It community.
I invite you to see the rules of this contest by clicking HERE.
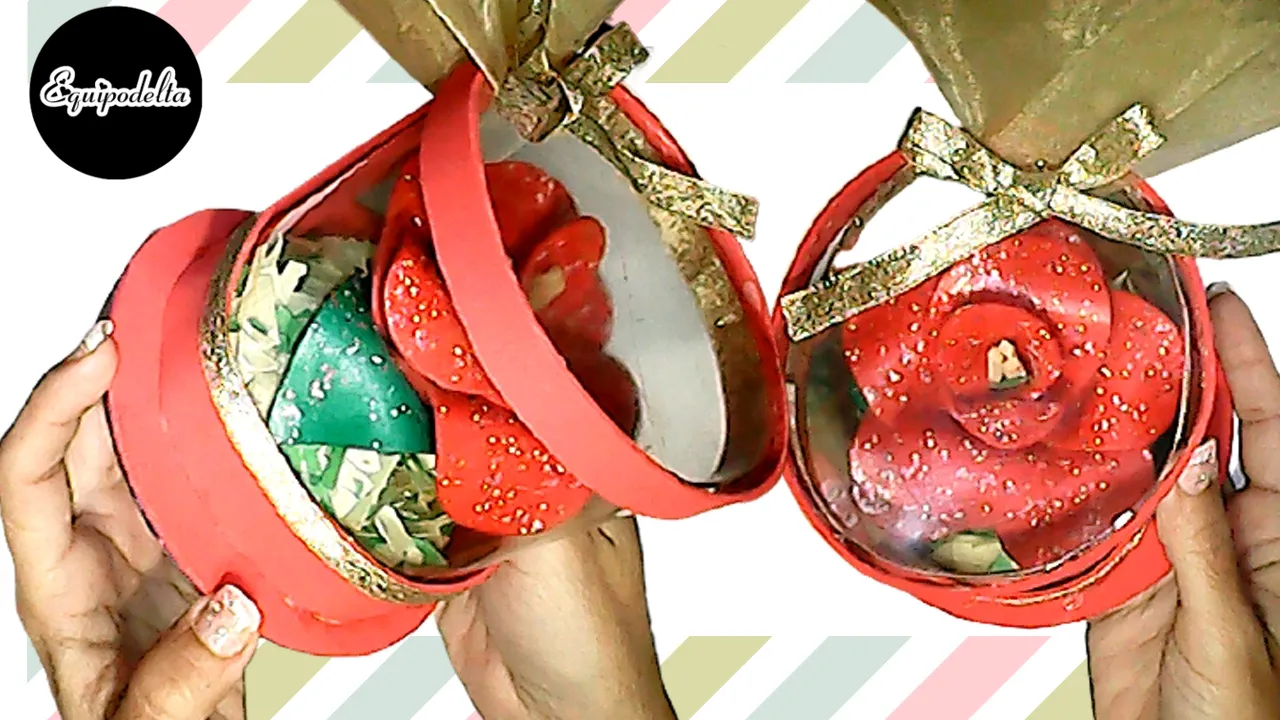
I show you how to make a beautiful acetate box with cylindrical shape made from recycled materials, a soda bottle and few materials are what you need to recreate this beautiful and practical wrapping, which can be useful to decorate or decorate your spaces, give natural or artificial roses, By the way, inside it I placed the thermoformed flower that I taught you how to make in THIS POST, you can also fill it with chocolates and candies, it is excellent to give it to mom on her day, on birthdays, even on this coming Valentine's Day or Valentine's Day this February 14.
Give the gift of love, give the gift of friendship, give the gift of nice things made by yourself.
Below is my step by step tutorial, I also invite you to watch the live video process that I recorded and is at the end of this post.

Saludos amantes de las manualidades y el reciclado.
Hoy participo nuevamente en el concurso semanal de este gran y hermosa comunidad de Build-It.
Te invito a ver las bases de este concurso, haciendo clic AQUÍ.
Te enseño cómo hacer una hermosa caja de acetato con forma cilíndrica hecha de materiales reciclados, una botella de refresco y pocos materiales son los que necesitas para recrear este bonito y práctico envoltorio, que puede ser de utilidad para adornar o decorar tus espacios, obsequiar rosas sean naturales o artificiales, por cierto, dentro de ella coloqué la flor termoformada que te enseñé a hacer en ESTE POST, también puedes llenarla de chocolates y dulces, está excelente para obsequiarlo a mamá en su día, en cumpleaños, incluso en este próximo día de San Valentín o el día de los enamorados este 14 de febrero.
Regala amor, regala amistad, regala cositas lindas hechas por ti mismo.
A continuación mi paso a paso explicado, de igual manera te invito a ver el vídeo proceso en vivo que grabé y está al final de este post.
PASO A PASO / STEP BY STEP
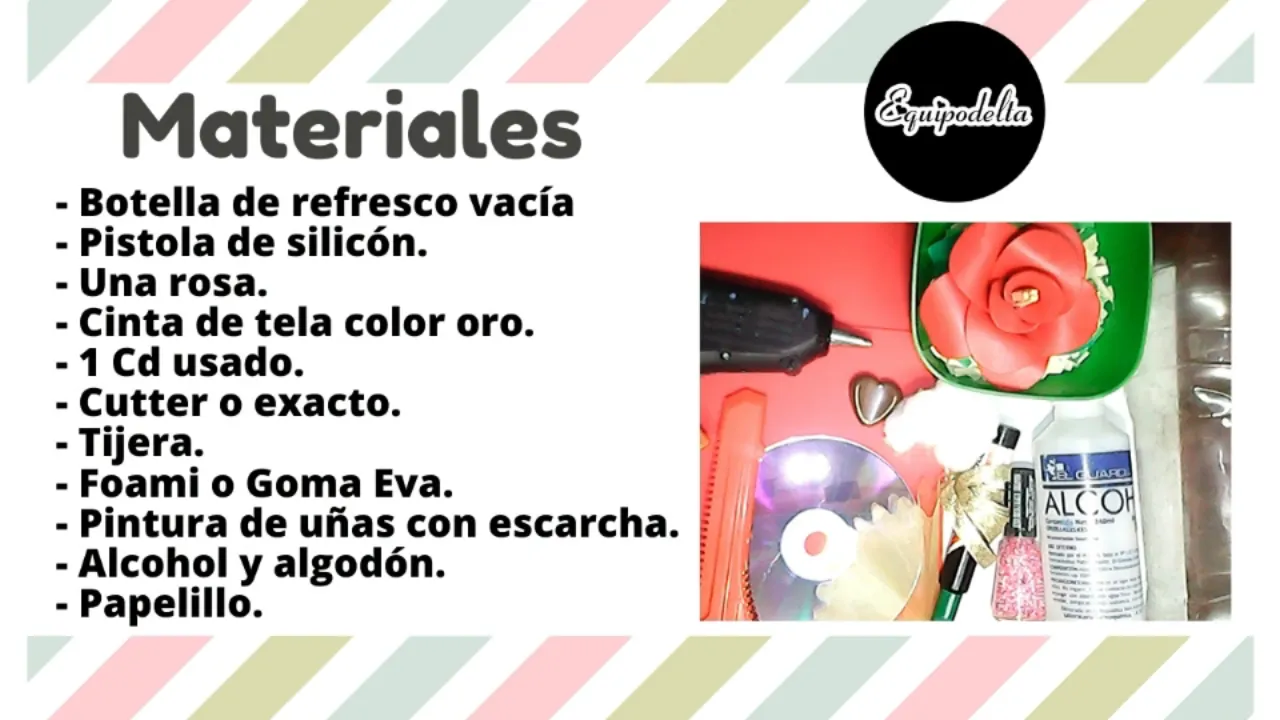
Materials:
- Empty soda bottle.
- Silicone gun.
- A rose.
- Gold colored cloth ribbon.
- 1 used CD.
- Cutter.
- Scissors.
- Foami or Goma Eva.
- Nail polish with glitter.
- Cotton and alcohol.
- Paper towel.
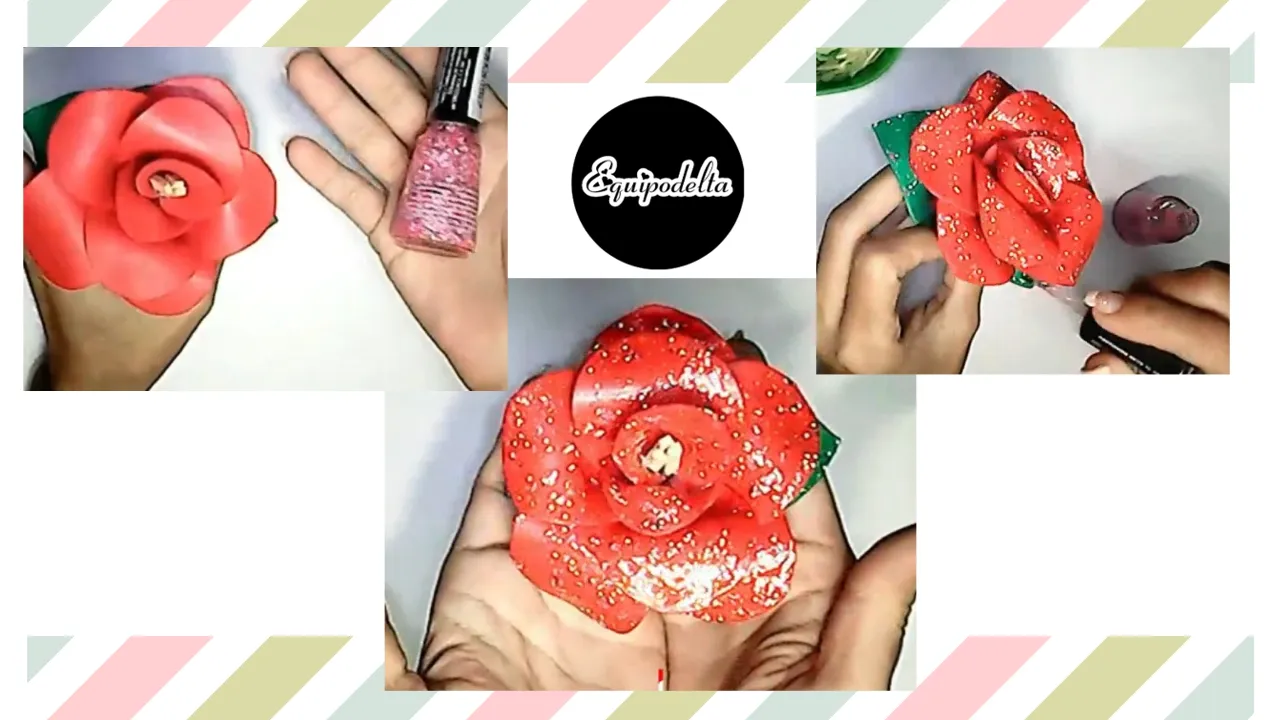
Step 1: Paint or varnish the flower with the glitter nail polish and let it dry.
Paso 1: Pinta o barniza la flor con la pintura de uñas escarchada y deja secar.

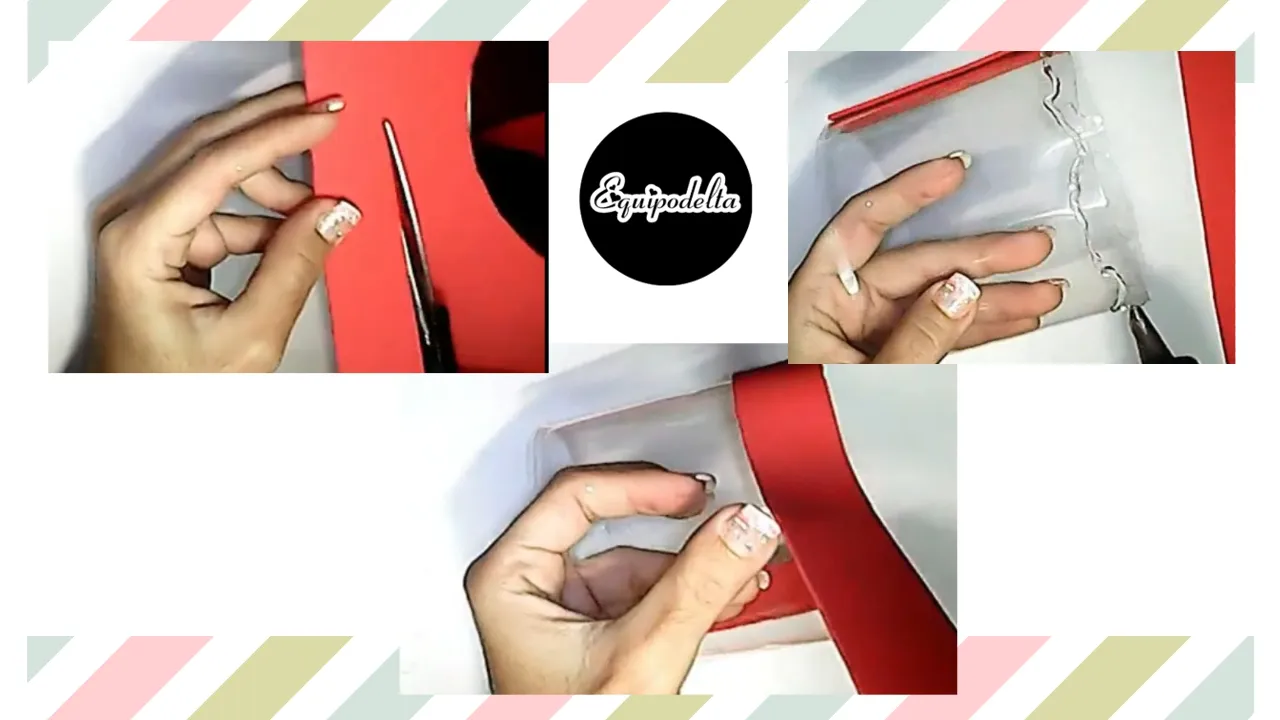
Step 2: With the help of the cutter, cut out the smooth part of the plastic bottle, then with the absorbent cotton and alcohol, clean the surface both inside and outside.
Paso 2: Con ayuda del cutter, recorta la parte lisa de la botella de plástico, luego con el algodón y el alcohol, limpia la superficie tanto dentro como afuera.
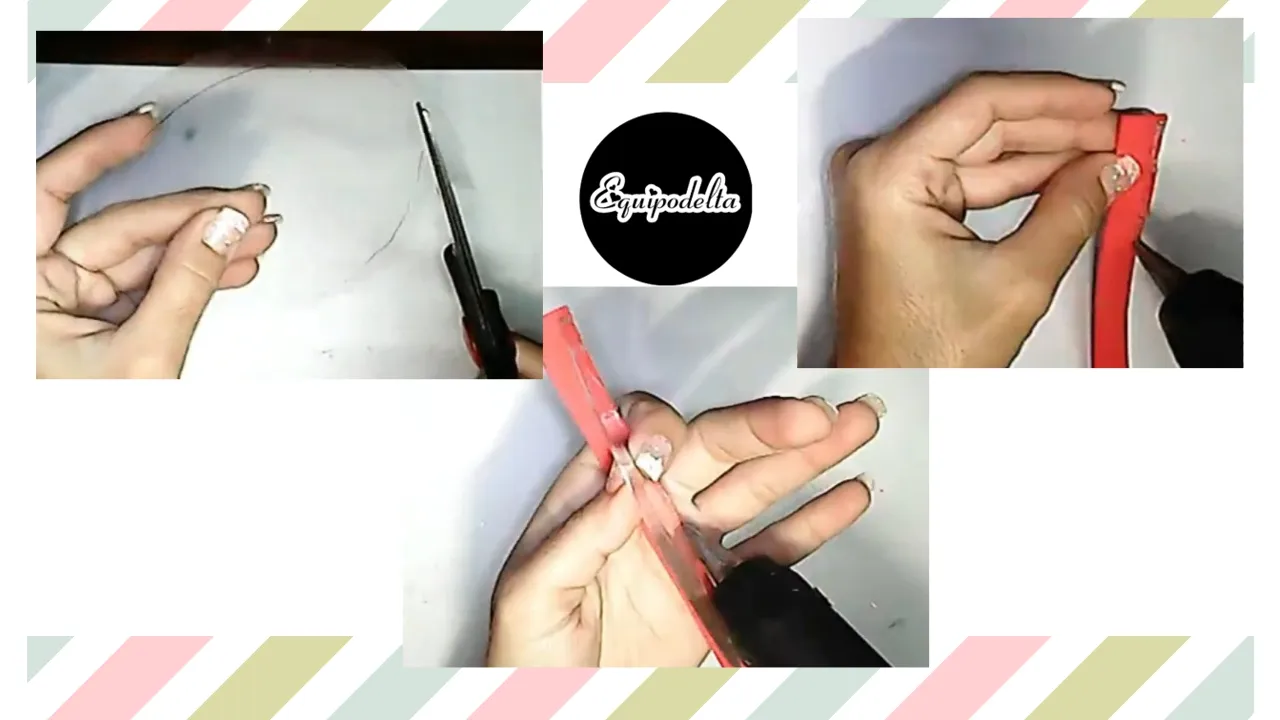
Step 3: Cut out two strips of foami and glue on the bottle both inside and outside if necessary you could not remove the glue completely, this is optional if you need to cover some flaws.
Paso 3: Recorta dos tiras de foami y pega en la botella tanto dentro como afuera si es necesario no pudiste eliminar la pega completamente, esto es opcional si necesitas cubrir algunas fallas.

Step 4: Glue the used, old and damaged Cd onto the foami and then cut out the outline.
Paso 4: Pega el Cd usado, viejo y dañado en el foami y luego recorta el contorno.
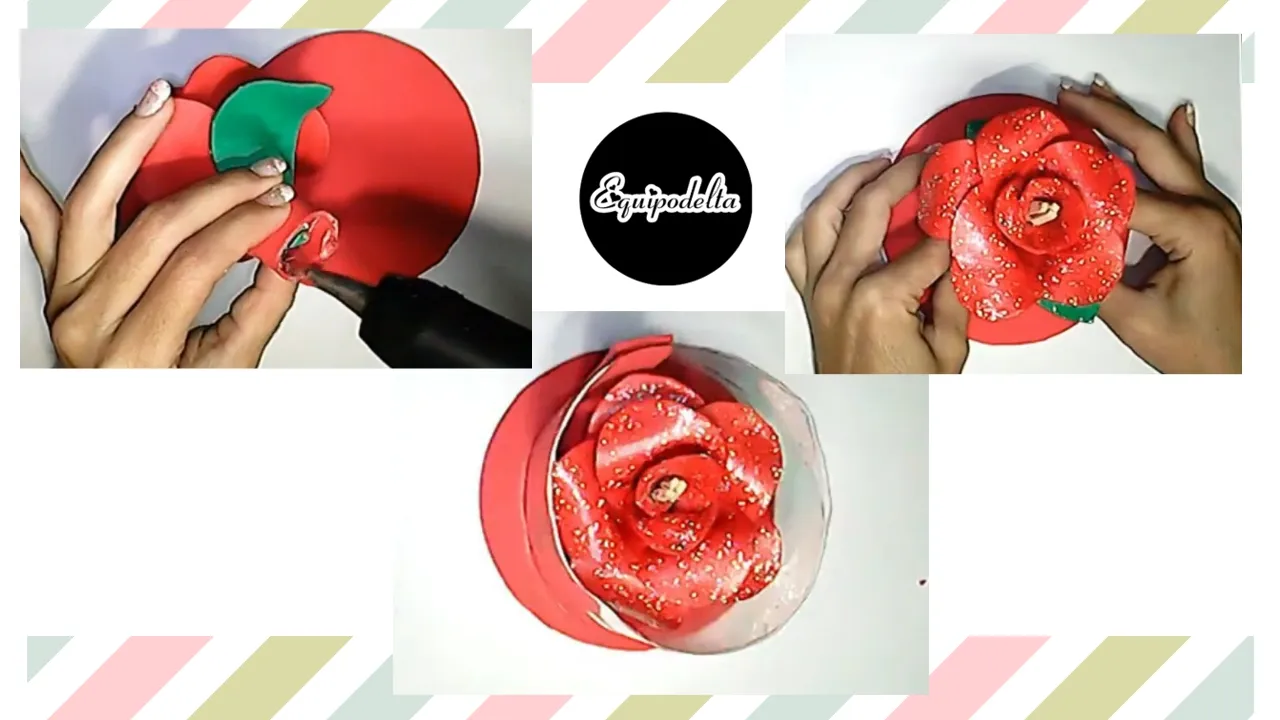
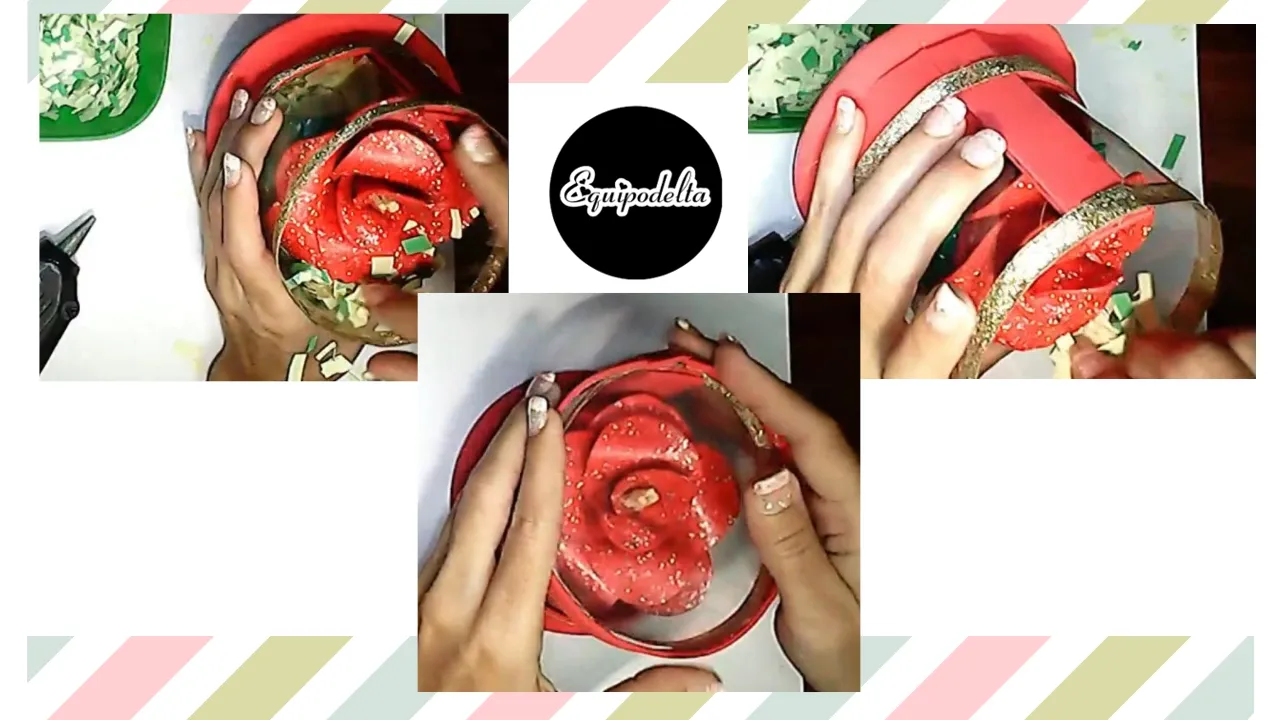
Step 5: Glue the flower in the center of the Cd base we just lined, then measure if the size of the cylinder fits perfectly.
Paso 5: Pega la flor en el centro de la base del Cd que acabamos de forrar, luego mide si el tamaño del cilindro ajusta perfectamente.
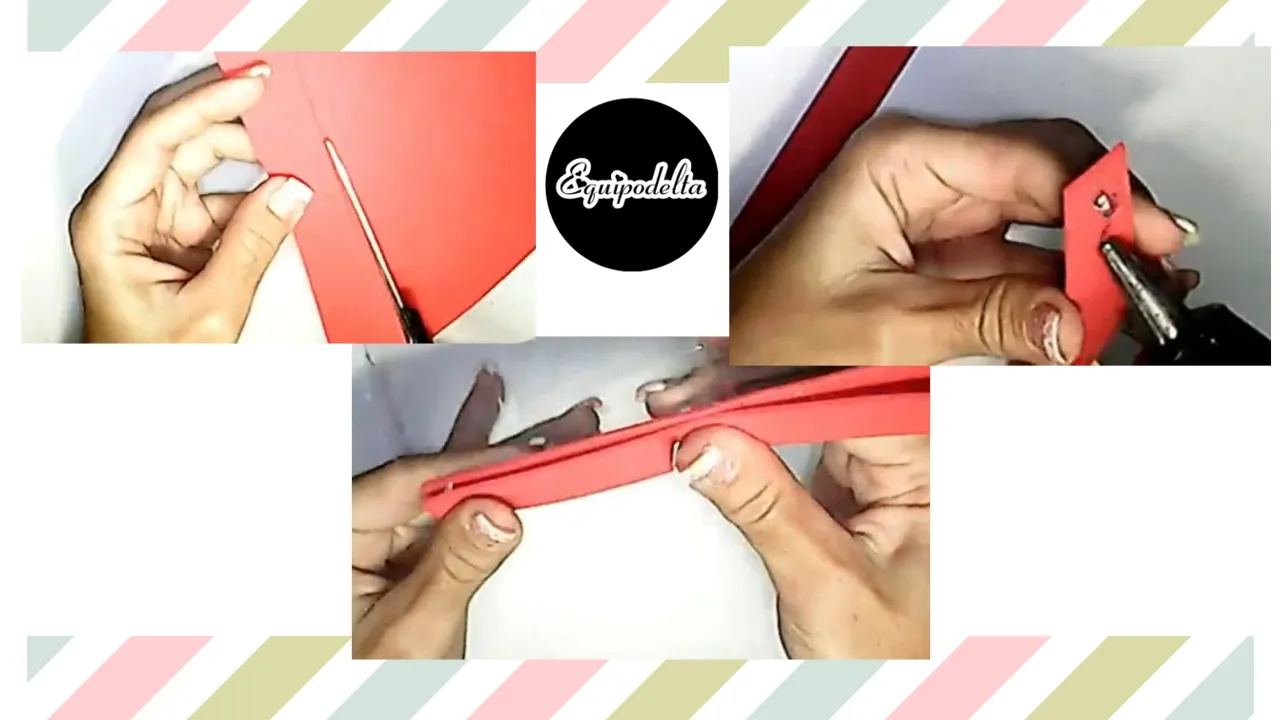
Step 6: Cut out a strip of foami, which will be used to cover the base of the bottom of the cylinder, then glue all around the edge and trim the excess.
Paso 6: Recorta una tira de foami, que servirá para cubrir la base del fondo del cilindro, luego pega por todo el borde y recorta el excedente.
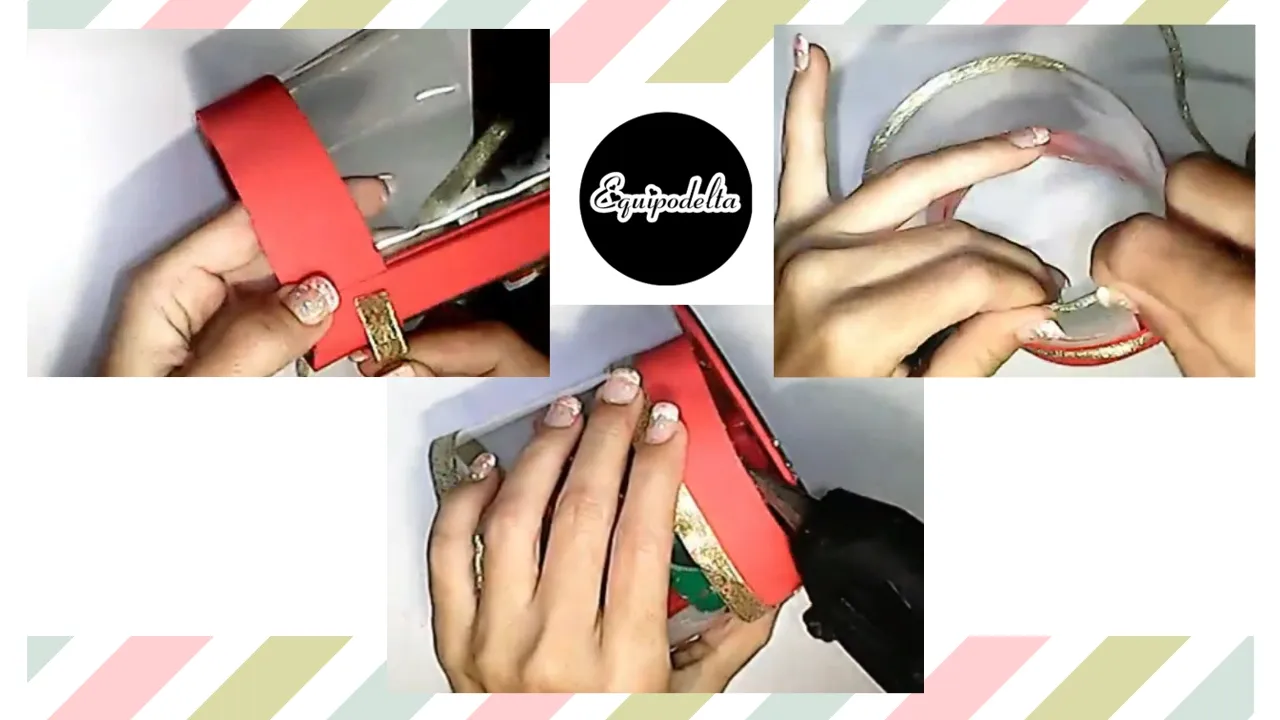
Step 7: Glue the fabric ribbon along the edge that we glued with foami, this is for decoration. Then glue the cylinder to the base of the CD. We are almost done.
Paso 7: Pega la cinta de tela por el borde que pegamos con foami, esto es para decorar. Luego pega el cilindro a la base del CD. Ya casi hemos terminado.
Step 8: Cut out a circle of acetate to the size of the cylinder shape, then cut out a thin strip of foami and glue along the edge of the circle you just cut out, this will be the cover.
Paso 8: Recorta un círculo de acetato con el tamaño de la forma del cilindro, luego recorta una tira delgada de foami y pega por el borde del círculo que acabas de recortar, esto será la tapa.
Step 9: Place the paper inside the cylinder, let it fall all around the edge, then put the cover on.
Paso 9: Coloca el papelillo dentro del cilindro, deja que caiga por todo el borde, luego coloca la tapa.

Step 10: It's time to decorate, place the ornaments you have available, this also works to cover some imperfections, I used some transparent fabrics I had and then I made a small bow with the gold colored fabric ribbon.
Ready, we now have our cylindrical acetate box made with recycled material.
Remember: I give you an idea, you improve it.
Paso 10: Es el momento de decorar, coloca los adornos que tengas disponibles, esto también funciona para cubrir algunas imperfecciones, yo usé algunas telas transparentes que tenía y luego hice un pequeño lazo con la cinta de tela color oro.
Listo, ya tenemos nuestra caja de acetato de forma cilíndrica hecha con material reciclado.
Recuerda: Yo te doy una idea, tú la mejoras.
Detalles Técnicos / Technical Details
Program: MediBang Paint Pro.
Graphics tablet: Huion (Usb Pen Tablet).
Pictures and vídeo of my own. Web Cam Omega.
Designs and images courtesy of Canva
Music Vídeo:
––––––––––––––––––––––––––––––
Campfire by Roa
Creative Commons — Attribution 3.0 Unported — CC BY 3.0
Music promoted by Audio Library
––––––––––––––––––––––––––––––
My Youtube Channel

Mi canal Youtube, tiene un montón de tutoriales muy útiles para ti.
My Youtube channel, has a lot of very useful tutorials for you.
![]() 👉
👉 ![]() 👉
👉 ![]() 👉
👉  👉
👉 ![]() 👉
👉 
