Hello fellow builders.
Last week I was showing in my "very interesting post" how I was building a chicken coop out of old oak wood scavenged, and this is the update and final chapter, before getting the hens in 2 weeks 😃
Last time, I spoke way too much in my post, this week, I am just gonna show you pretty pictures.
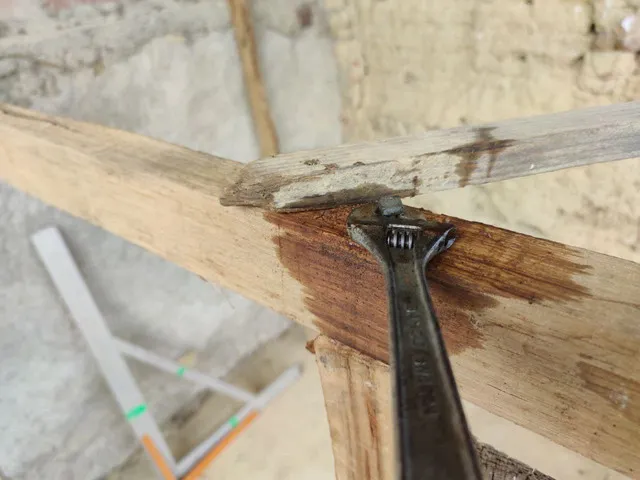
It's getting oily
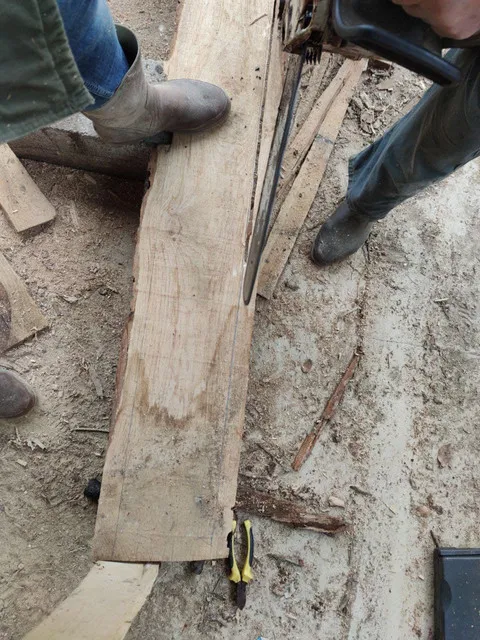
So what am I exactly doing in this picture?
Well, it's pretty obvious, I am using an oily "pull-bottom", that we call tire-fond in French, I don't exactly know what is the point of it, I think it's making a screwy hole, then pulling wood, it will allow us to take it out and add a screw instead. I think it was used back in the days where people didn't have driller, which we have but I think Robert was just showing of his mad carpentry skills.
Old people, they know shit. You gotta listen and most importantly, you gotta let them shine.
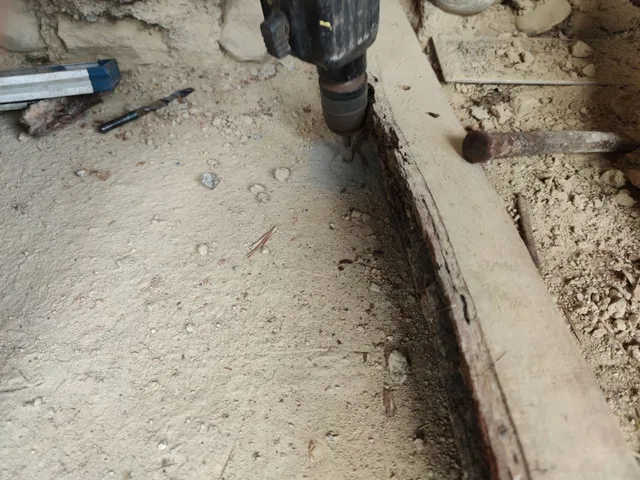
You don't use the same drill for going into the concrete, there is a different tip, and you gonna need a drill with a special "jackhammer" setting. Last week, I really thought I could nail the oak beams into the ground like a mad Viking, so there is a major improvement in term of managing my expectations.

Getting all sparky up on that bitch
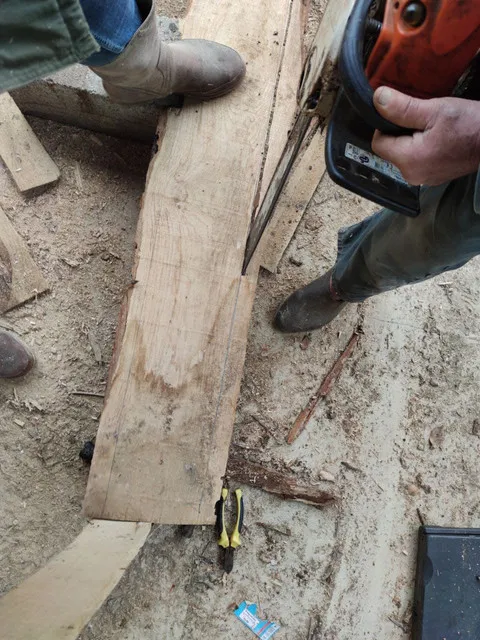
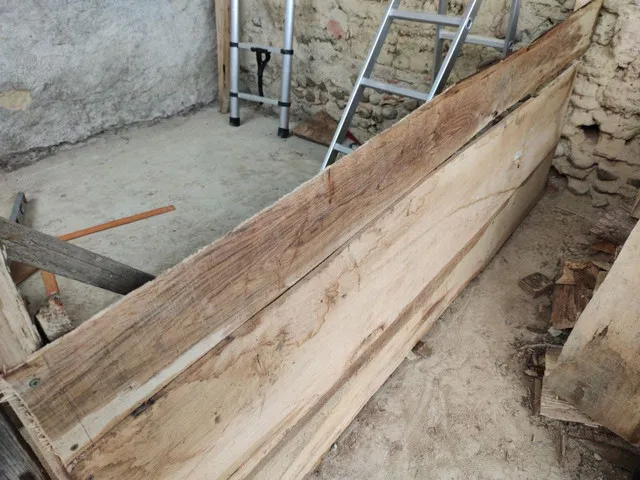
Get that wood straight
As much as most of the planks are quite straight, we still had to draw some lines on some of them and get a somewhat geometric form. We used a chainsaw and it was dope to see how it could be handled with precision, making some lines and all.
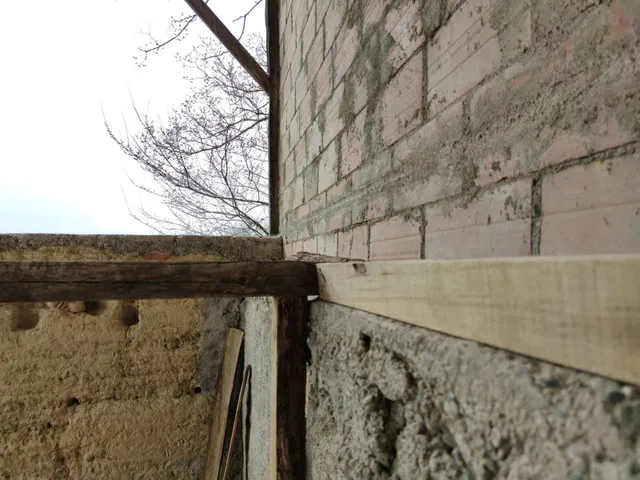
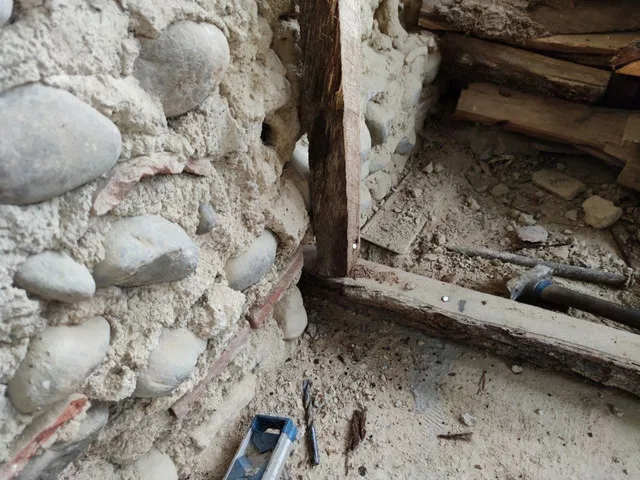
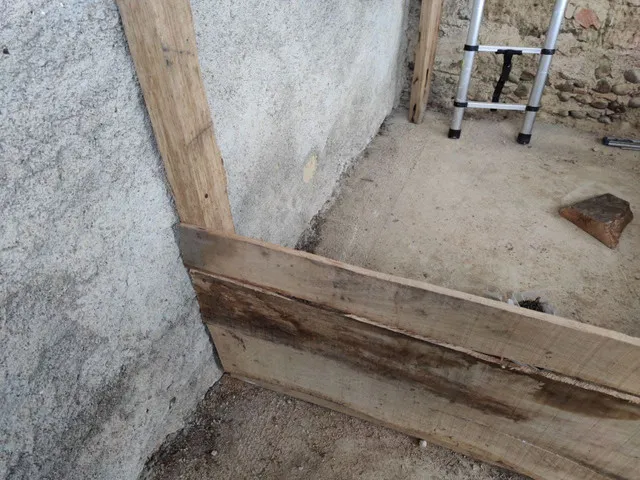
The Beam was fixed on the concrete with a metal pole

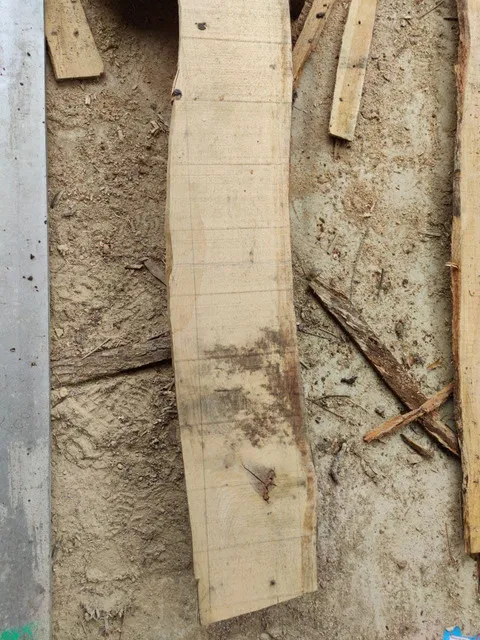
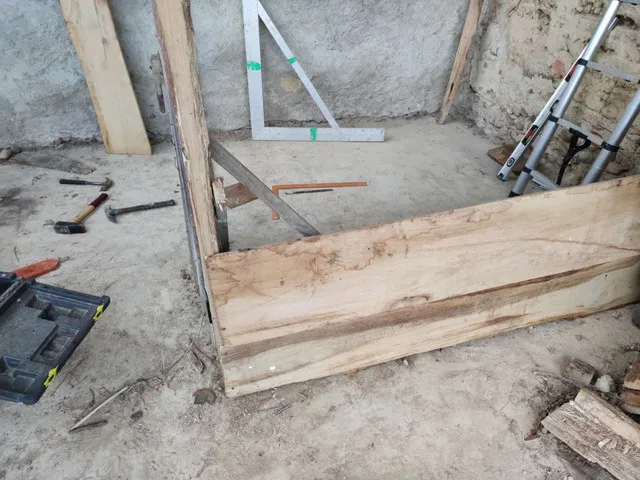
More Lines are being drawn. To make sure you have a somewhat straight plank, you need to calculate the parallel of the narrowest part of the plank, and cut out all the rest

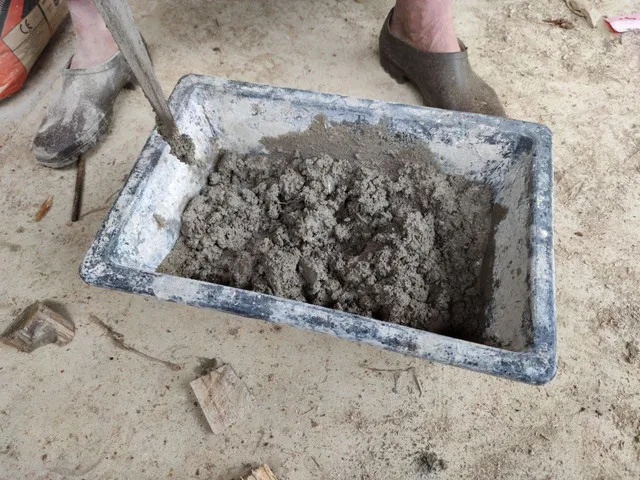
Going Solid
We added some concrete (mixed with sand) on some of the beams attached to the wall, also to prevent rats to go through in some parts, making concrete is always the fun part of the project, as it feels like we are playing with Play Dough.
Improvisation
We quickly realised that we won't have enough planks to fill up to the top, so we calculated roughly 70cm will not be covered and used the chicken fence instead. It was always the idea from the get go, and it worked like a charm. As I was explaining last week (I think), I purchased a fence with thin netting to make sure small birds don't come stealing the chicken food.


The project took roughly 7 days to be finished, this was day 6

The first time I used the metal saw, I nearly set the place on fire, I had no idea how much heat is generated when you cut metal.


Adding the fence was actually tricky, we nailed it to the beams and used also little hooks called "crampillons" in French. I had 10 meters of fence that I divided in 3 parts of 3,33 meters.
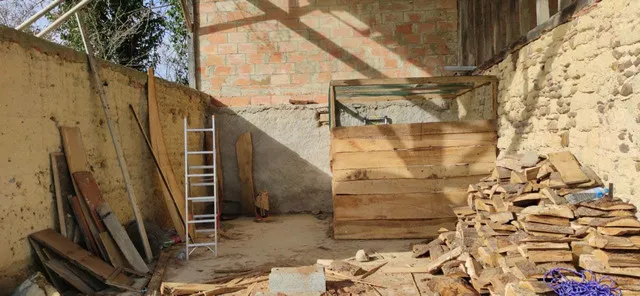
This is the final result, now we gonna get hay and a bench to suspend them. In a near future we would also like to build a little house for them inside the coop. I would have of course not be able to do much on my own, so I am very thankful to have a crafty neighbour with tons of knowledge. The first day, I had no idea what I was doing, but very quickly I started taking initiative while still making few mistakes there and there, it's a learning curve.
Cheers 🙂 thanks for reading