Hola amigos, reciban un cordial saludo.
Hoy comparto esta sencilla idea para decorar los lápices, les cuento que lo realicé pensando en una amiguita que retomará sus clases presenciales, por lo que quise hacer algo que la motive a disfrutar de sus actividades. A los niños les encantan estos detalles.
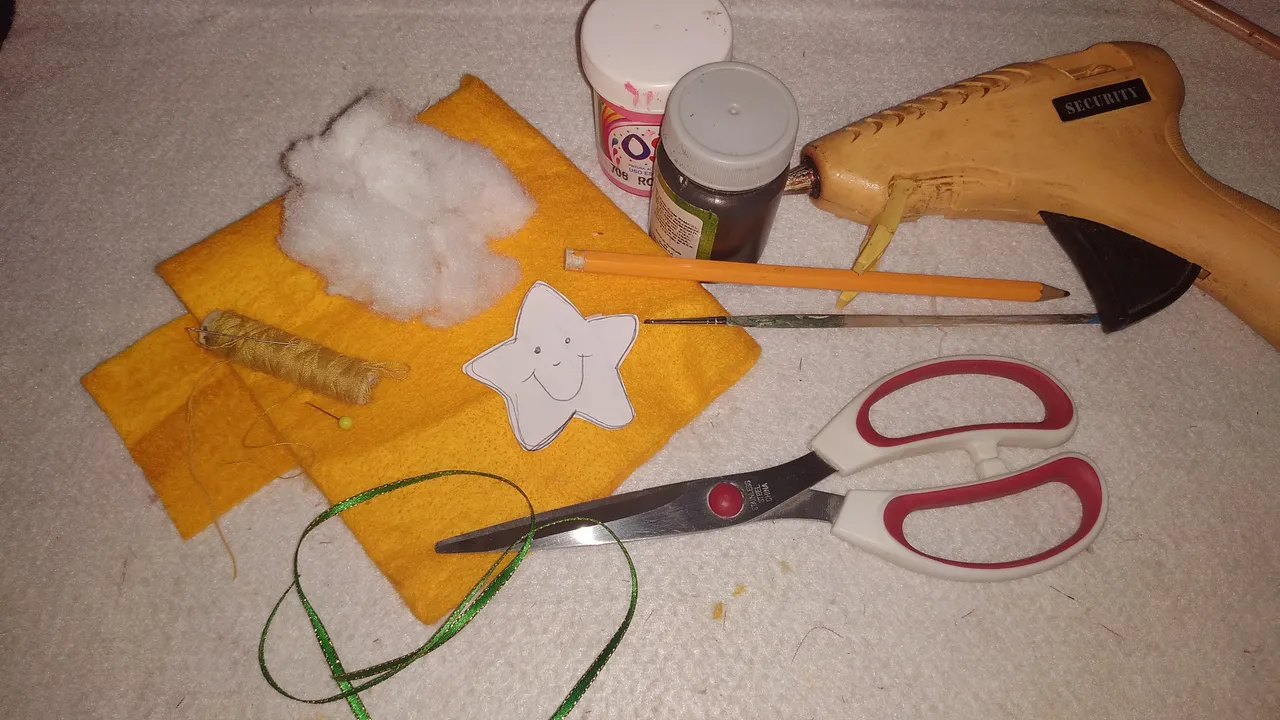
Materiales:
Tela de fieltro
Tijera
Hilo y aguja
Silicon
Cinta de raso
Pinturas al frío
Pinceles
Algodón de relleno
Un lápiz
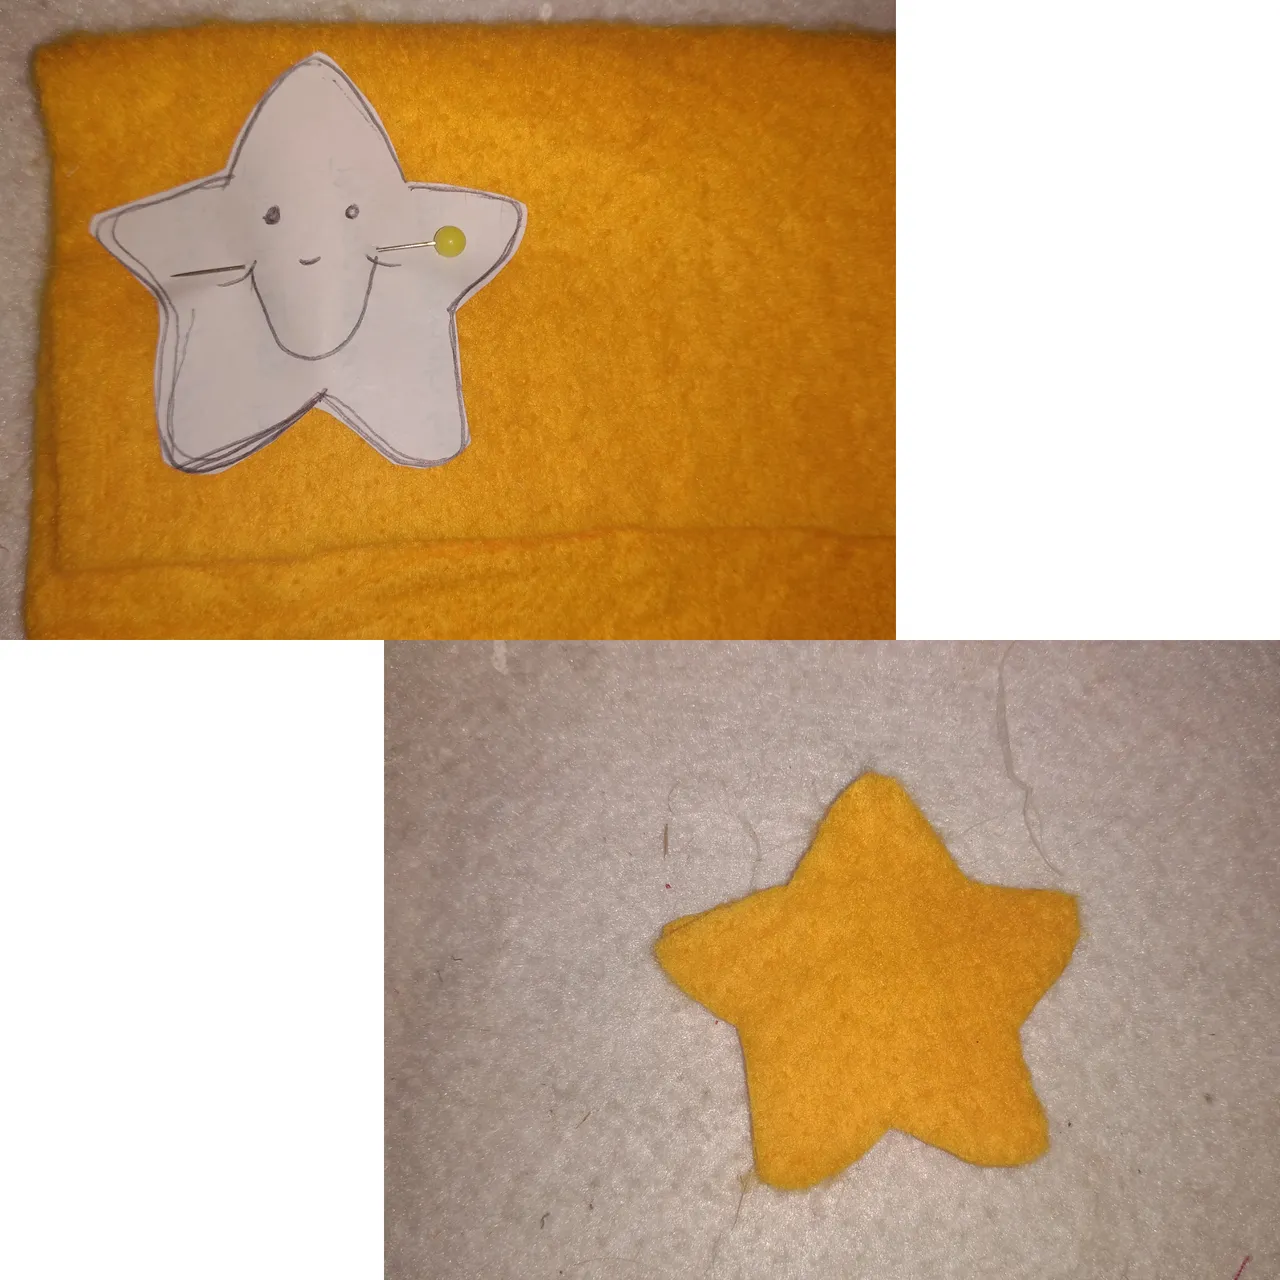
Paso 1.
Para decorar este lápiz comencé realizando un patrón de una estrella el cual coloqué sobre el fieltro al doblez y fijé con un alfiler para luego cortar, dejando un pequeño borde para la costura, para evitar así que disminuya mucho su tamaño.
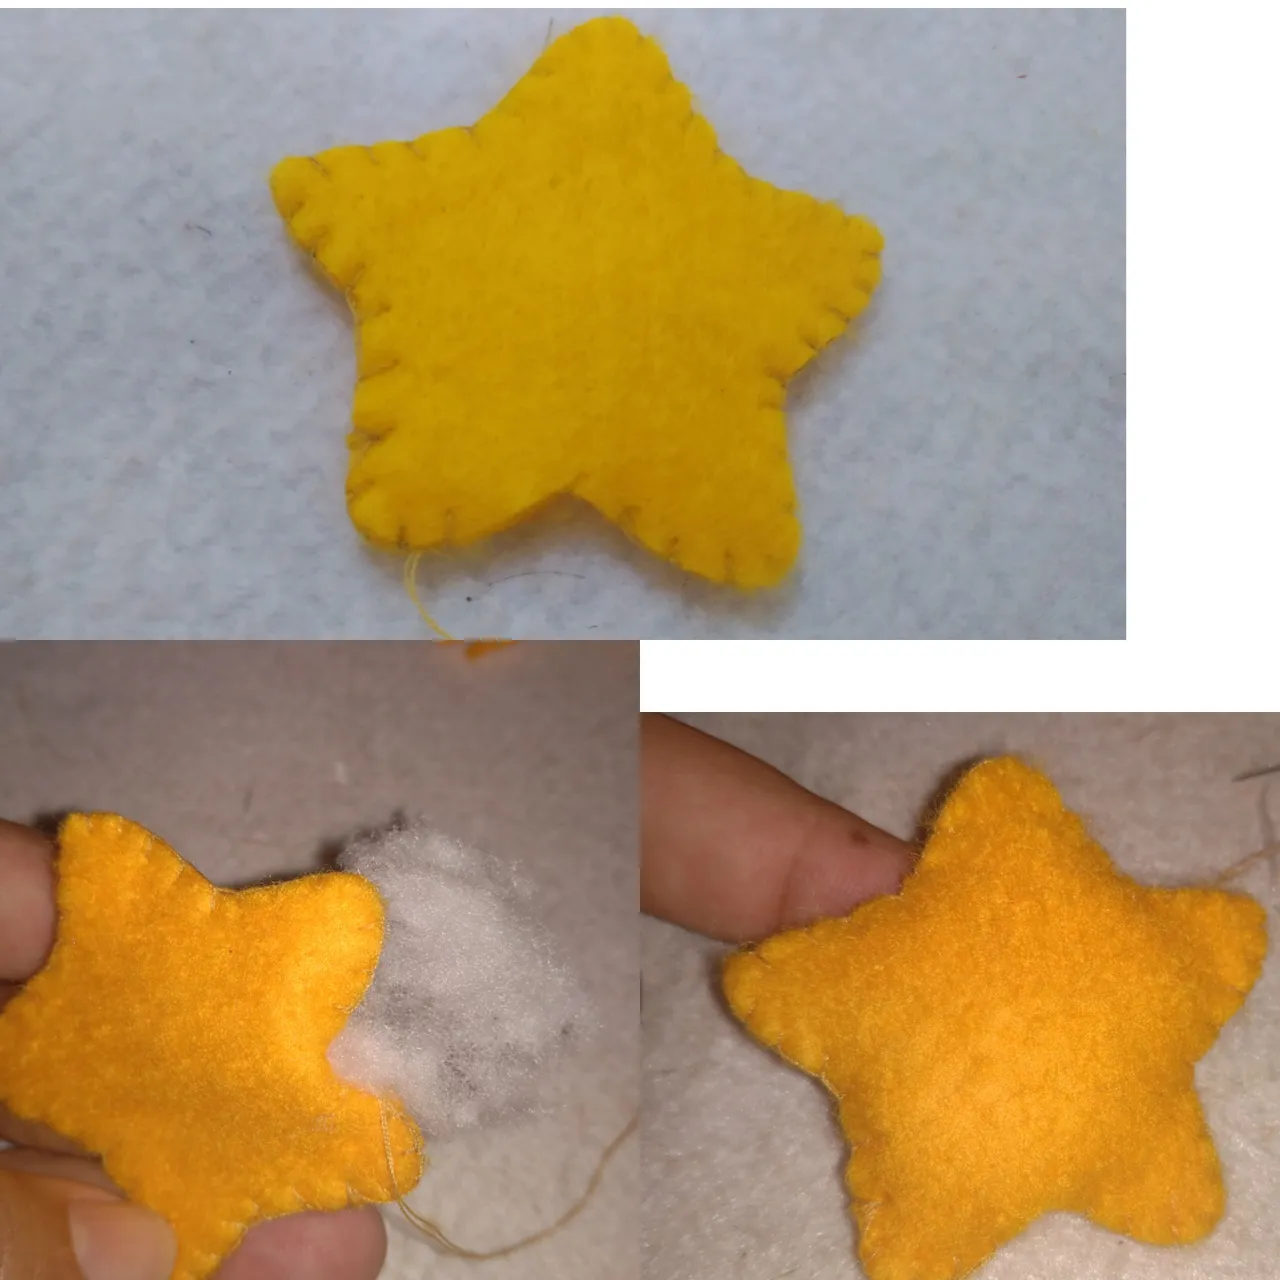
Paso 2.
Procedí a coser el borde de la estrella, luego sin retirar el hilo procedí a colocar el algodón de relleno.
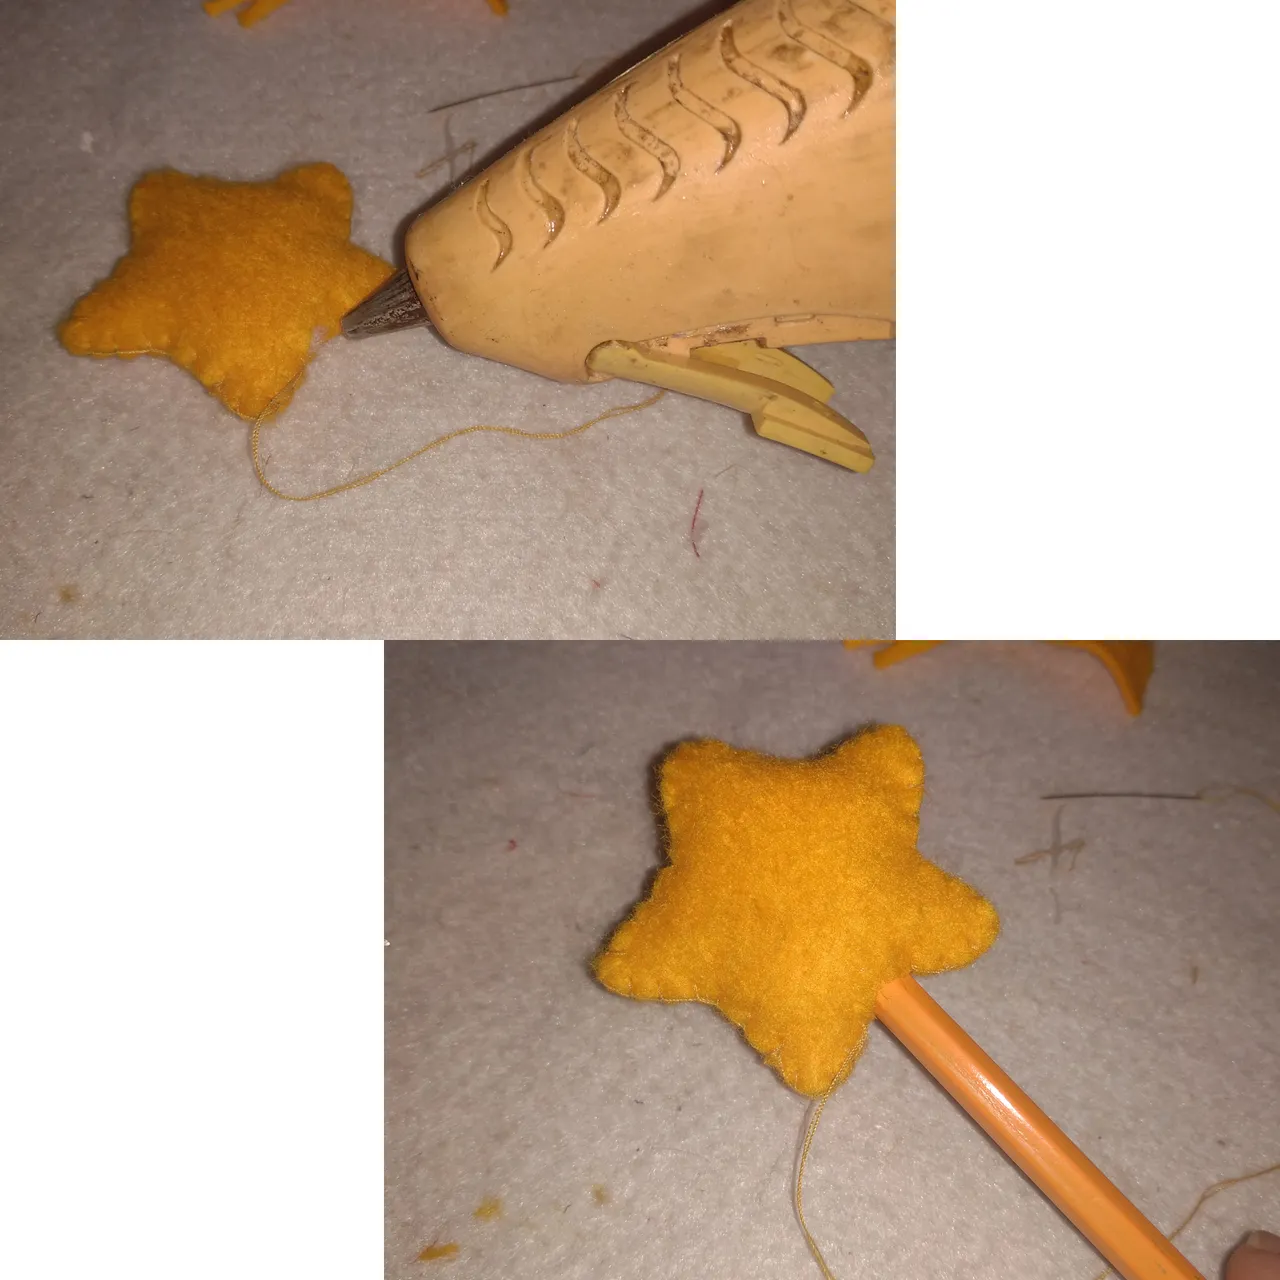
Paso 3.
Coloqué unas gotas de Silicon para luego introducir el lápiz y fijar, posteriormente realiza las puntadas finales para sujetar mejor el lápiz y rematar la costura.
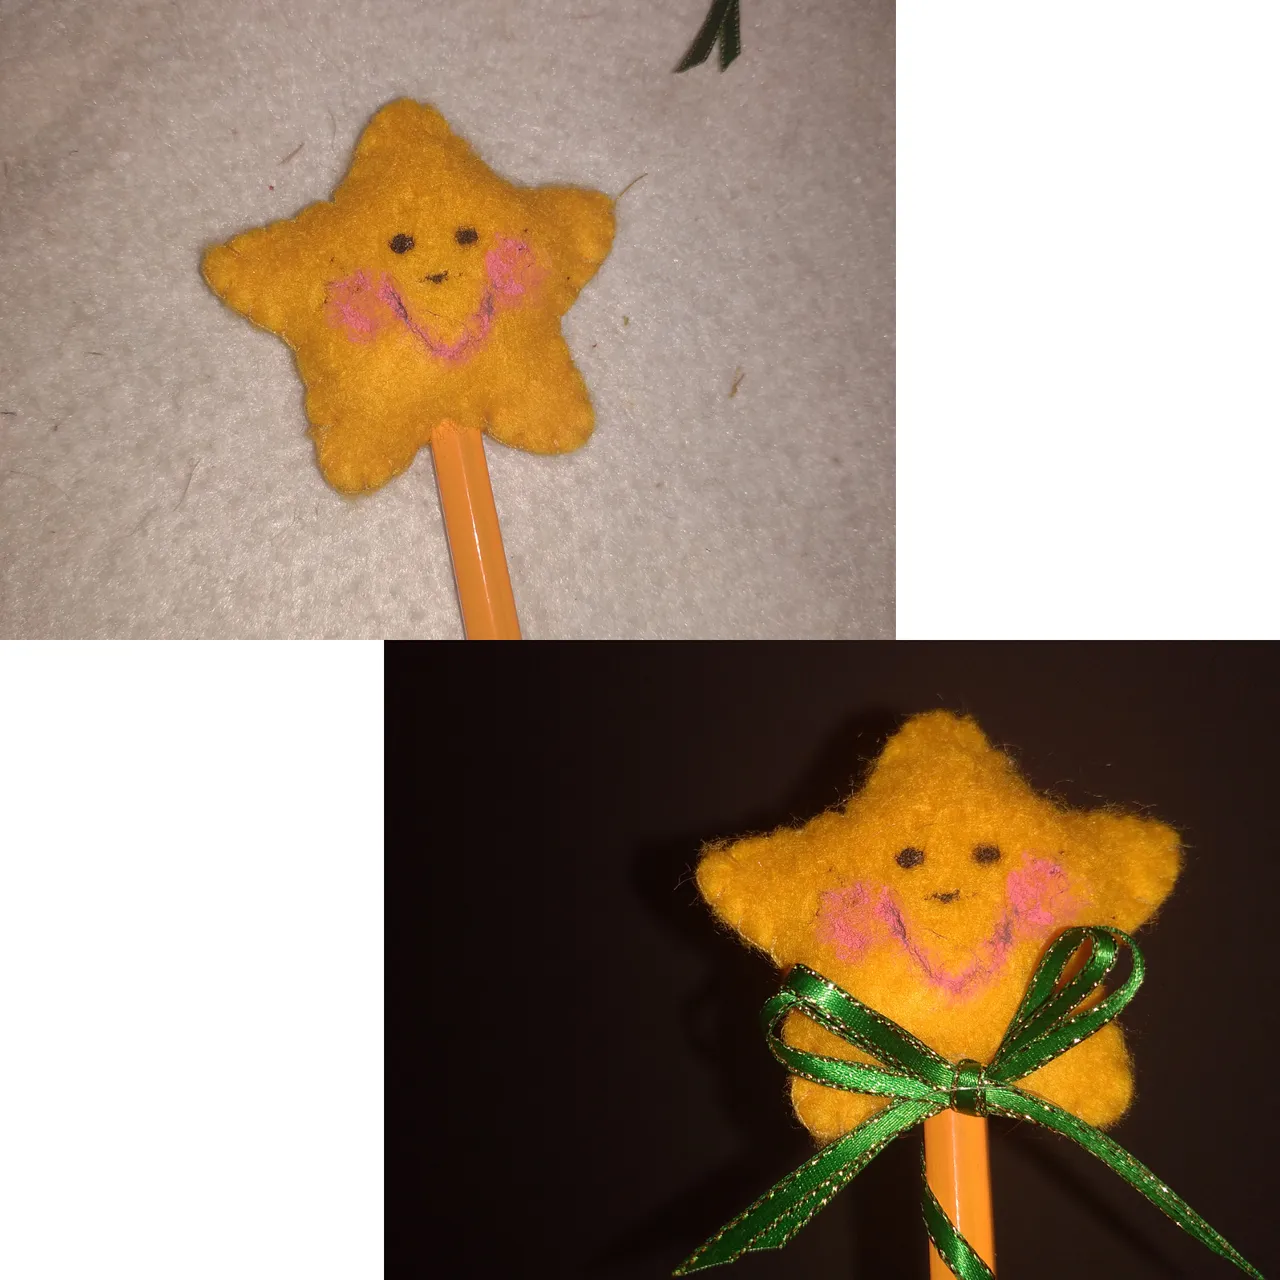
Paso 4.
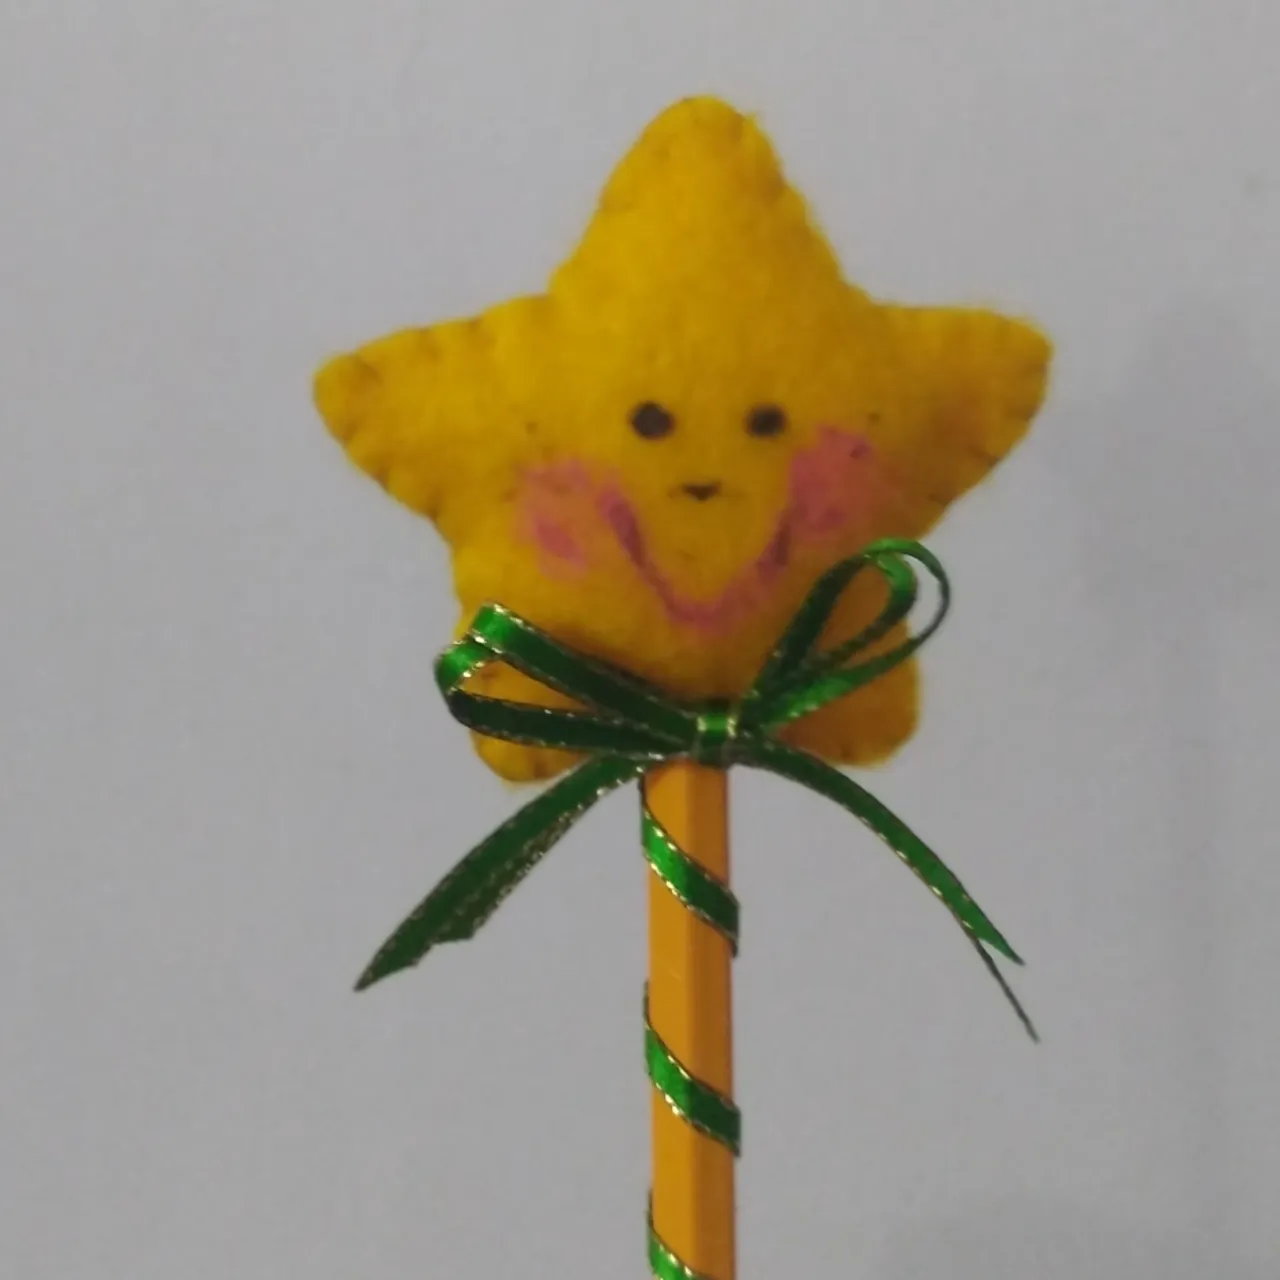
Para finalizar decoré la estrella, le realicé los trazos del rostro con pintura al frío, le realicé un lazo con la cinta de raso y procedí a pegar con unas gotas de silicon.
Está listo mi lápiz para obsequiar...

La Vida es Arte...
Gracias por leerme! Nos encontraremos en el próximo Post @dorada.
Nota: fotos de mi autoría capturadas con dispositivo móvil Redmi 8.
English Versión
Hello friends, receive a warm greeting.
Today I share this simple idea to decorate pencils, I tell you that I made it thinking of a little friend who will resume her classes, so I wanted to do something that motivates her to enjoy her activities. Kids love these details.
Materials:
Felt fabric
Scissors
Thread and needle
Silicon
Satin ribbon
Cold paints
Brushes
Stuffing cotton
A pencil
Step 1.
To decorate this pencil I started by making a pattern of a star which I placed on the felt to the fold and fixed with a pin and then cut, leaving a small border for the seam, to prevent it from decreasing too much in size.
Step 2.
I proceeded to sew the edge of the star, then without removing the thread I proceeded to place the stuffing cotton.
Step 3.
I placed a few drops of Silicon to then insert the pencil and fix, then make the final stitches to better hold the pencil and finish off the seam.
Step 4.
To finish I decorated the star, I made the strokes of the face with cold paint, I made a bow with satin ribbon and proceeded to glue with a few drops of silicone.
My pencil is ready to give away....
Life is Art...
Thanks for reading me!
I'll meet you in the next Post @dorada.
Note: photos of my authorship captured with Redmi 8 mobile device.