Hola queridos amigos de hive blog hoy les traigo un tutorial facil y practico en donde les voy a enseñar como hacer un portalapiz con tematica de tigre
Hello dear friends of hive blog today I bring you an easy and practical tutorial where I am going to teach you how to make a pencil holder with a tiger theme
Materiales:
⚫ Vaso plastico
⚫ Pintura naranjada
⚫ Lapiz
⚫ Lapiz de color naranja
⚫ Brocha
⚫ Tijera
⚫ Hoja de maquina
⚫ Pistola de silicon
Materials:
⚫ Plastic cup
⚫ Orange paint
⚫ Pencil
⚫ Orange pencil
⚫ Brush
⚫ Scissors
⚫ Machine sheet
⚫ Silicone gun

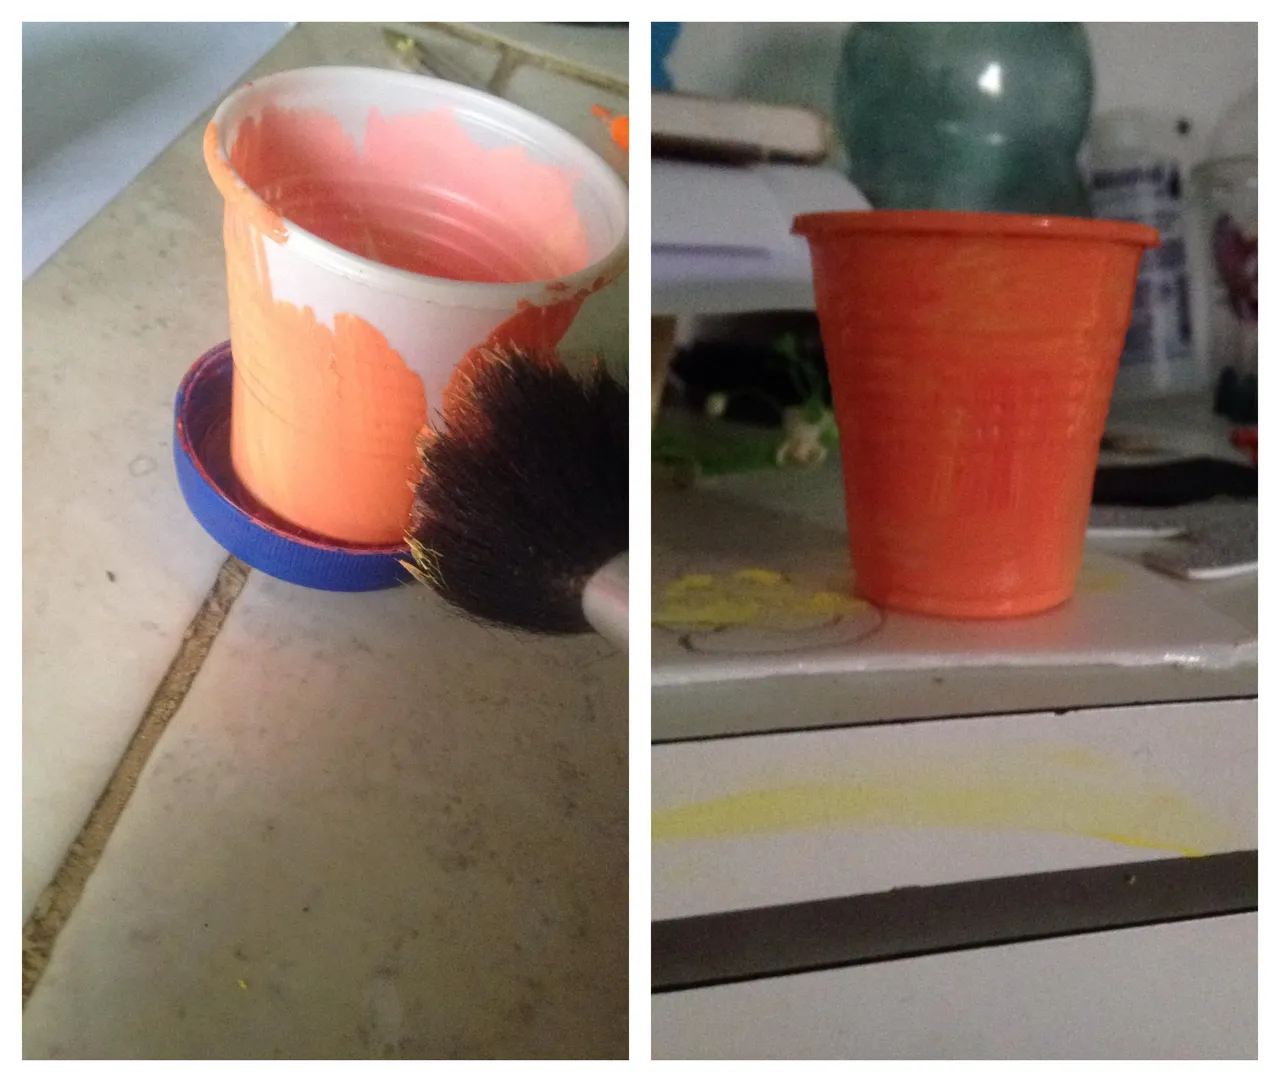
Paso 1
Como primer paso a seguir para empezar con este tutorial comenzaremos pintando nuestro vaso plastico de color naranja
Step 1
As the first step to follow to start this tutorial we will begin by painting our plastic cup orange
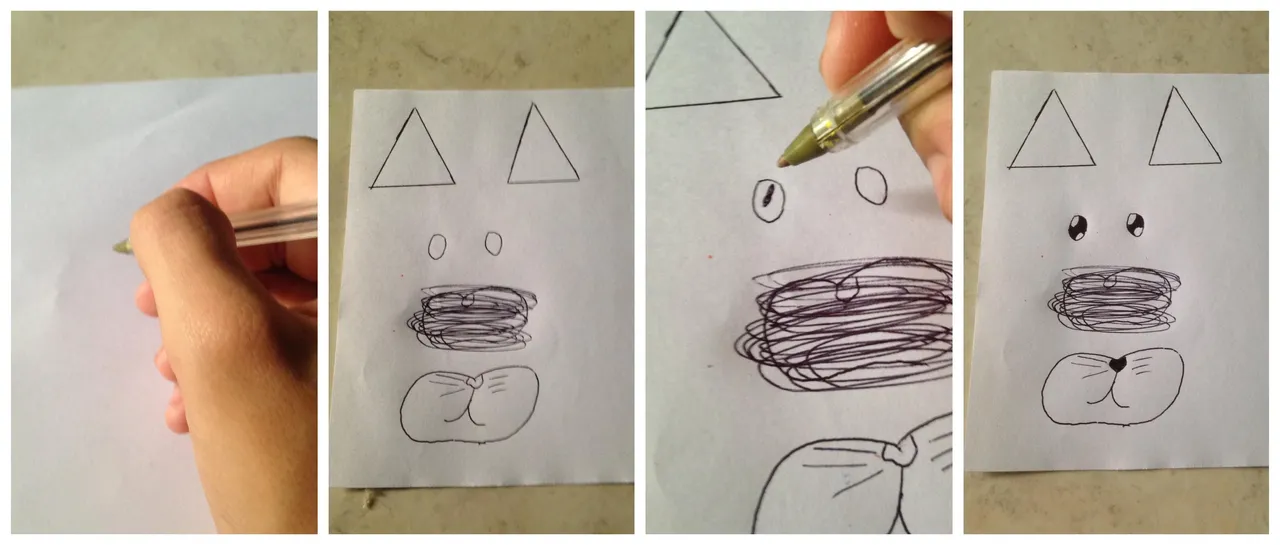
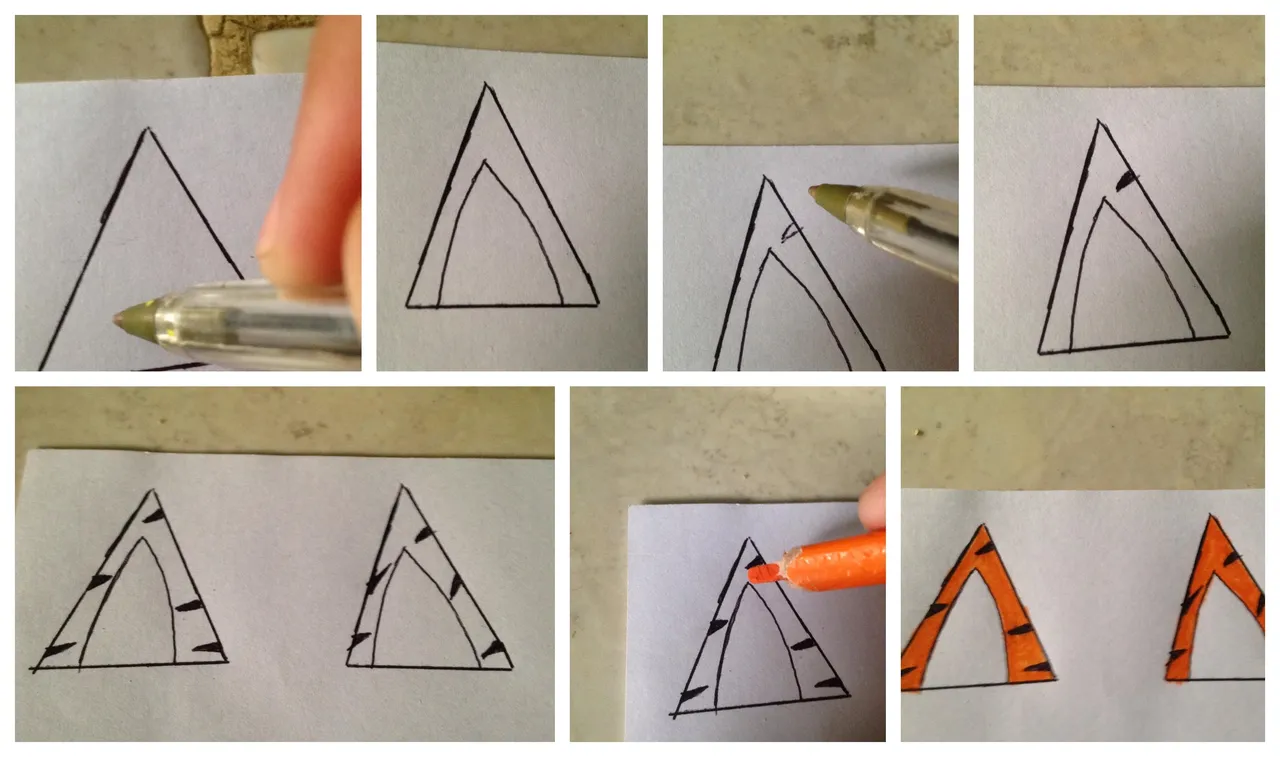
Paso 2
Luego con el lapiz dibujaremos en la hoja de maquina las orejas,los ojos y la boca de nuestro tigre,una vez ya hayamos dibujado las partes de nuestro tigre con el mismo lapiz pintaremos parte de los ojos de negro y la nariz tambien
Step 2
Then with the pencil we will draw on the machine sheet the ears, eyes and mouth of our tiger, once we have drawn the parts of our tiger with the same pencil we will paint part of the eyes in black and the nose as well
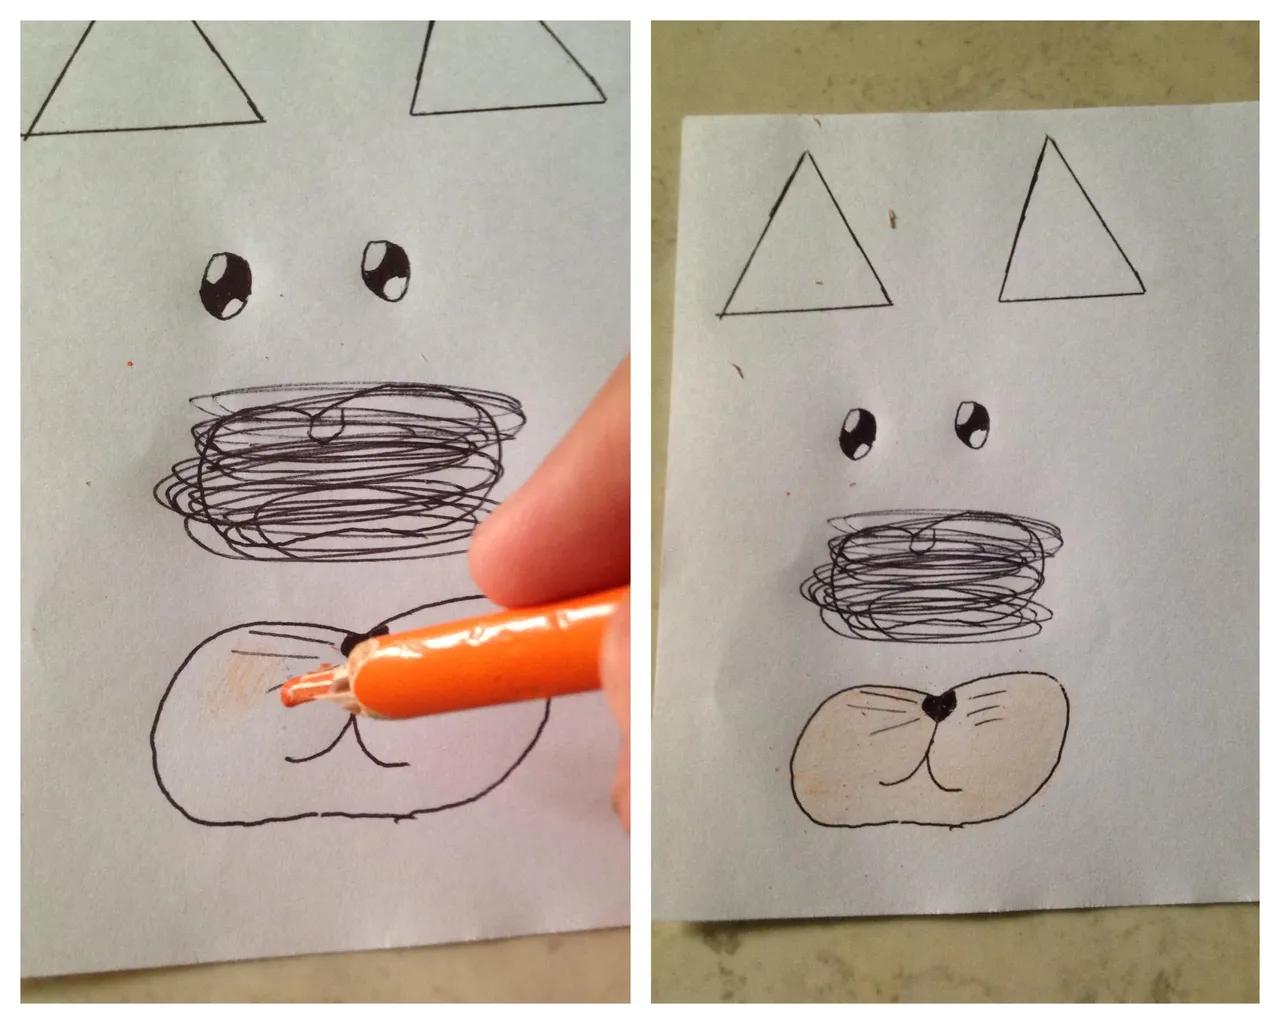
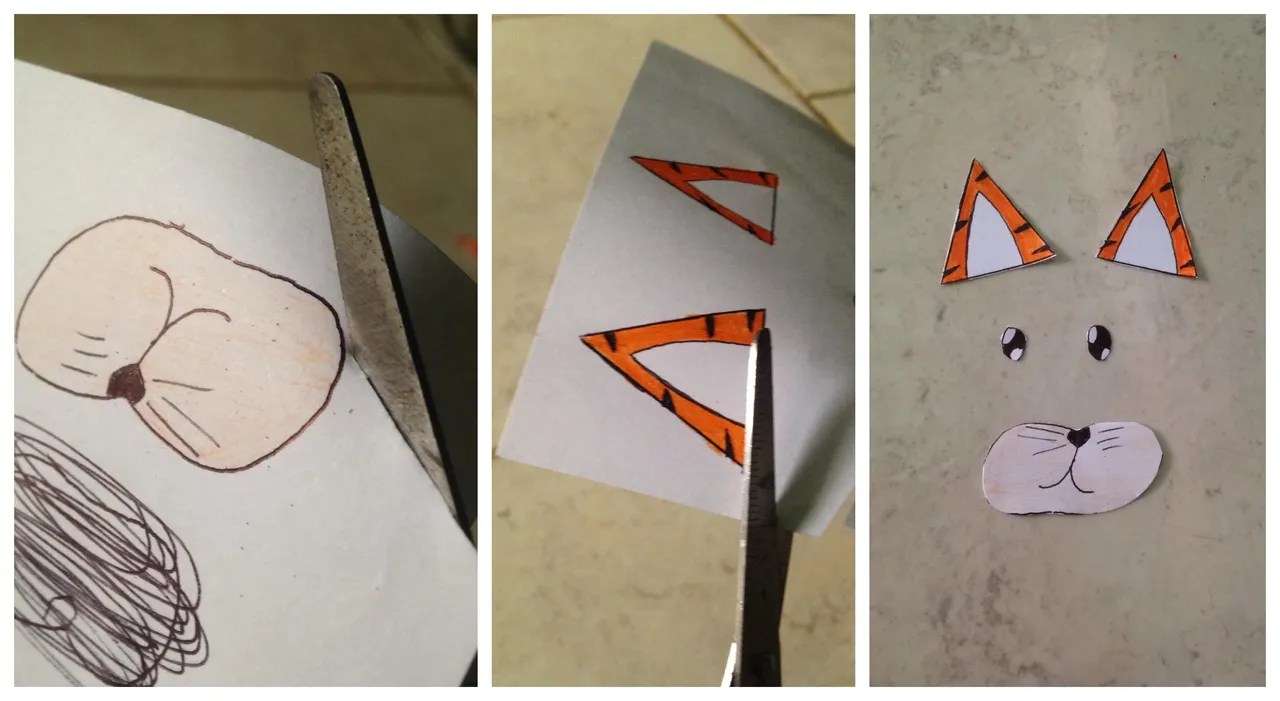
Paso 3
Despues colorearemos la boca con el lapiz de color naranja pero no lo afincaremos mucho tenemos que colorear la boca de forma delicada de modo que nos quede un color naranja claro
Step 3
Then we will color the mouth with the orange pencil but we will not refine it much we have to color the mouth delicately so that we have a light orange color
Paso 4
Luego dibujaremos la parte de adentro de las orejas asi como muestra la imagen y despues le haremos las rayas negras a nuestras orejas de tigre una vez hecho eso las colorearemos con el lapiz de color naranja
Step 4
Then we will draw the inside of the ears as shown in the image and then we will make the black stripes to our tiger ears once that is done we will color them with the orange pencil
Paso 5
Luego recortaremos los ojos,las orejas y la boca de nuestro tigre
Step 5
Then we will cut out the eyes, ears and mouth of our tiger
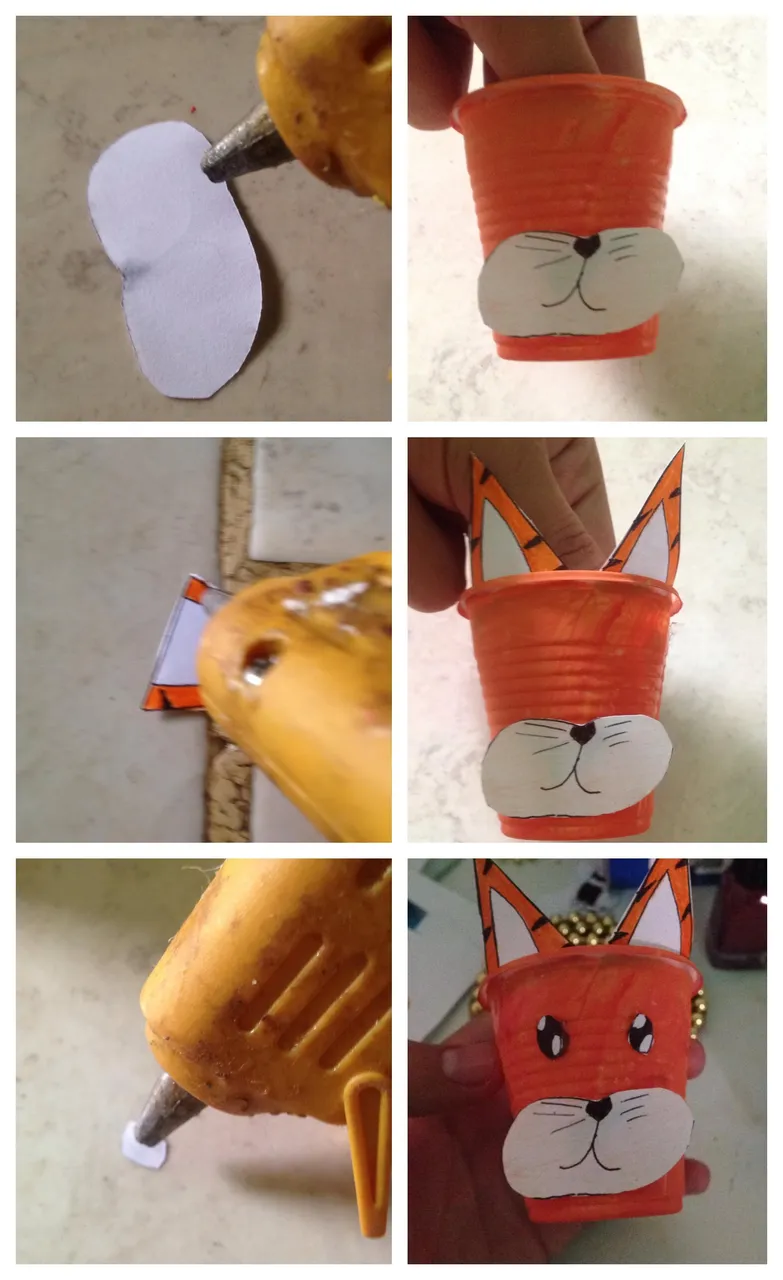
Paso 6
Despues pegaremos la boca de el tigre en la parte inferior de el vaso,luego pegaremos las oreja por la parte de arriba de el vaso pero las orejas deben ir pegadas por la parte de adentro de el vaso y por ultimo pegaremos los ojos arriba de la boca en el medio de el vaso
Step 6
Then we will glue the tiger's mouth on the bottom of the glass, then we will glue the ears on the top of the glass but the ears must be glued on the inside of the glass and finally we will glue the eyes on top of the mouth in the middle of the glass
Paso 7
Y como ultimo paso para finalizar con este tutorial con el lapiz dibujaremos ne la hoja de maquina tres rayas de color negra las recortaremos y se las pegaremos a nuestro tigre
Step 7
And as the last step to end this tutorial with the pencil we will draw three black stripes on the machine sheet, we will cut them out and we will stick them to our tiger
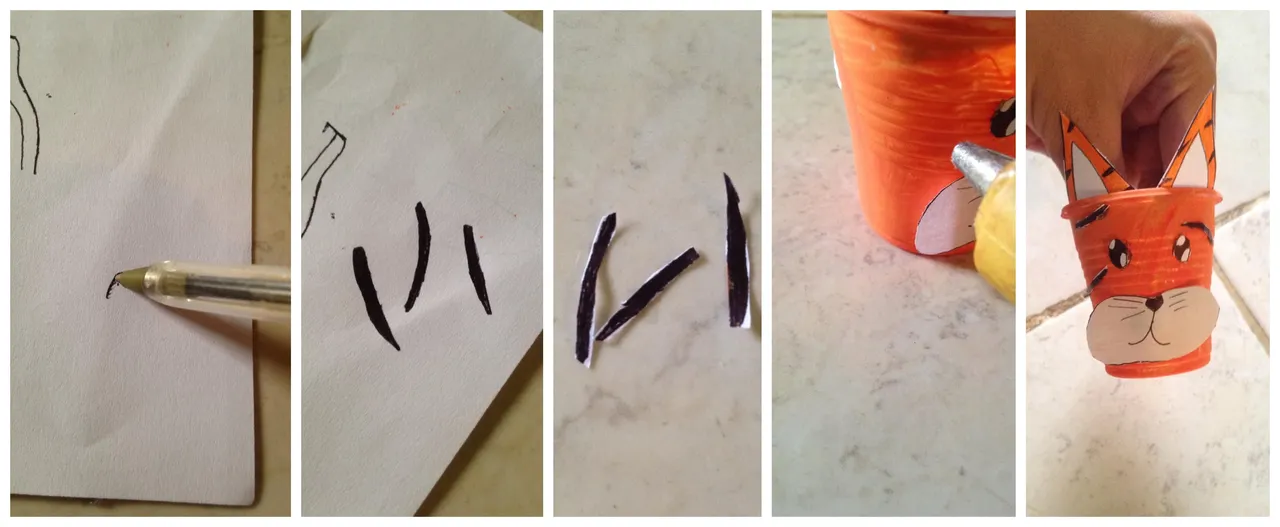
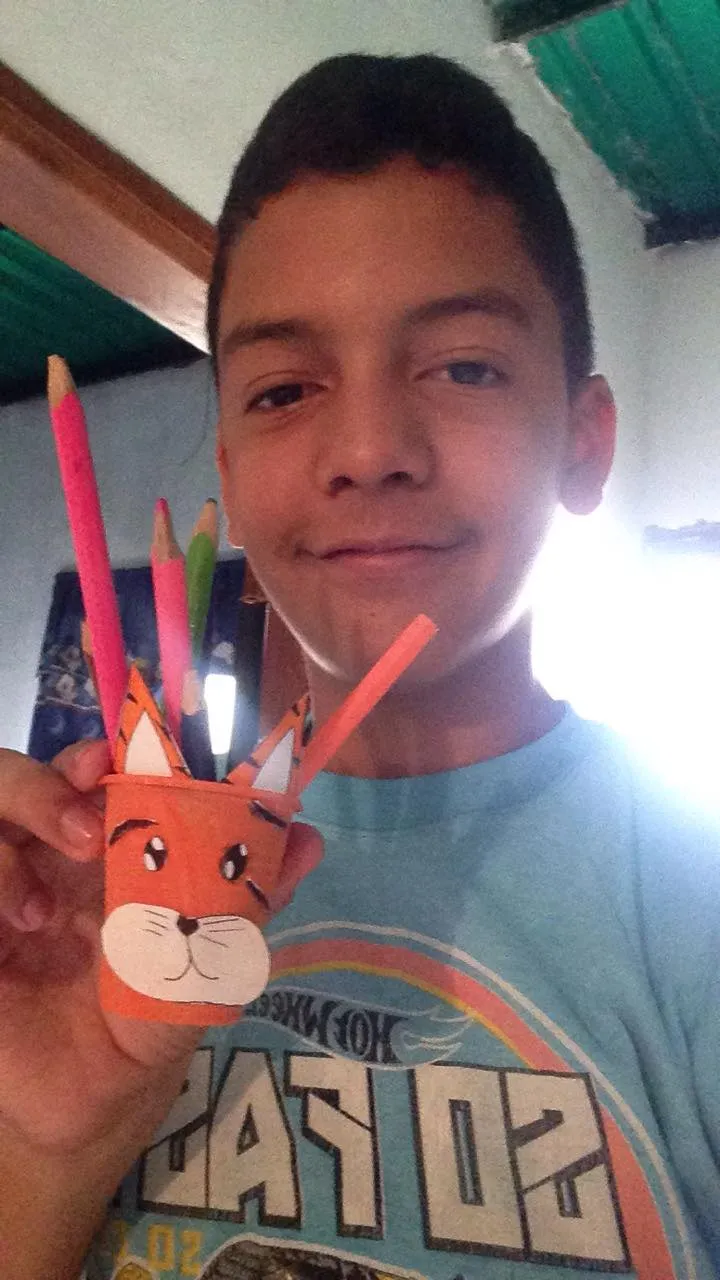
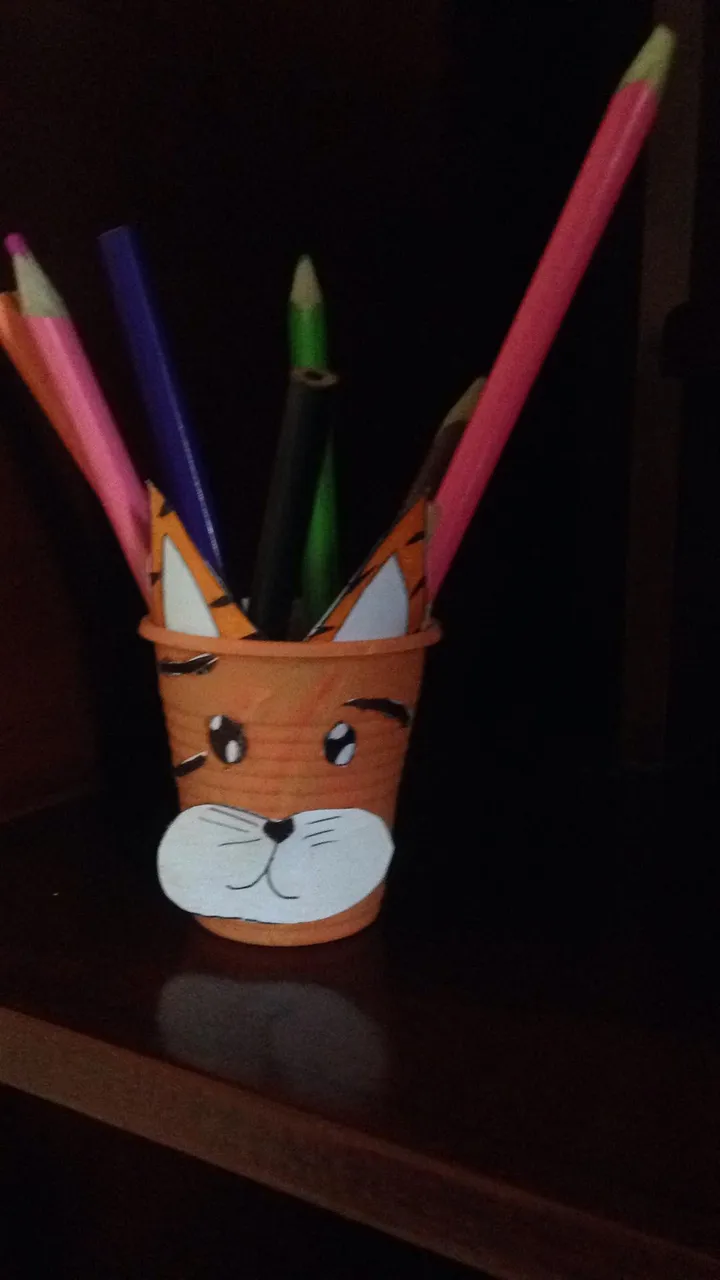
Y listo amigos de hive blog ya tenemos listo nuestro hermoso portalapiz con tematica de tigre y lo mejor de todo es que lleva materiales que podemos conseguir en casa espero les alla gustado este tutorial y sin nada mas que decir me despido
And ready friends of hive blog we already have our beautiful pencil holder with tiger theme ready and the best of all is that it has materials that we can get at home I hope you liked this tutorial and with nothing more to say I say goodbye
Gracias por visitar mi blog
Thank you for visiting my blog