Hola amigos de hive blog espero esten muy bien hoy les traigo un tutorial muy facil y practico en donde les enseñare como hacer una hermosa casa para pajaros con material reciclado
Hello friends of hive blog I hope you are very well today I bring you a very easy and practical tutorial where I will teach you how to make a beautiful house for birds with recycled material
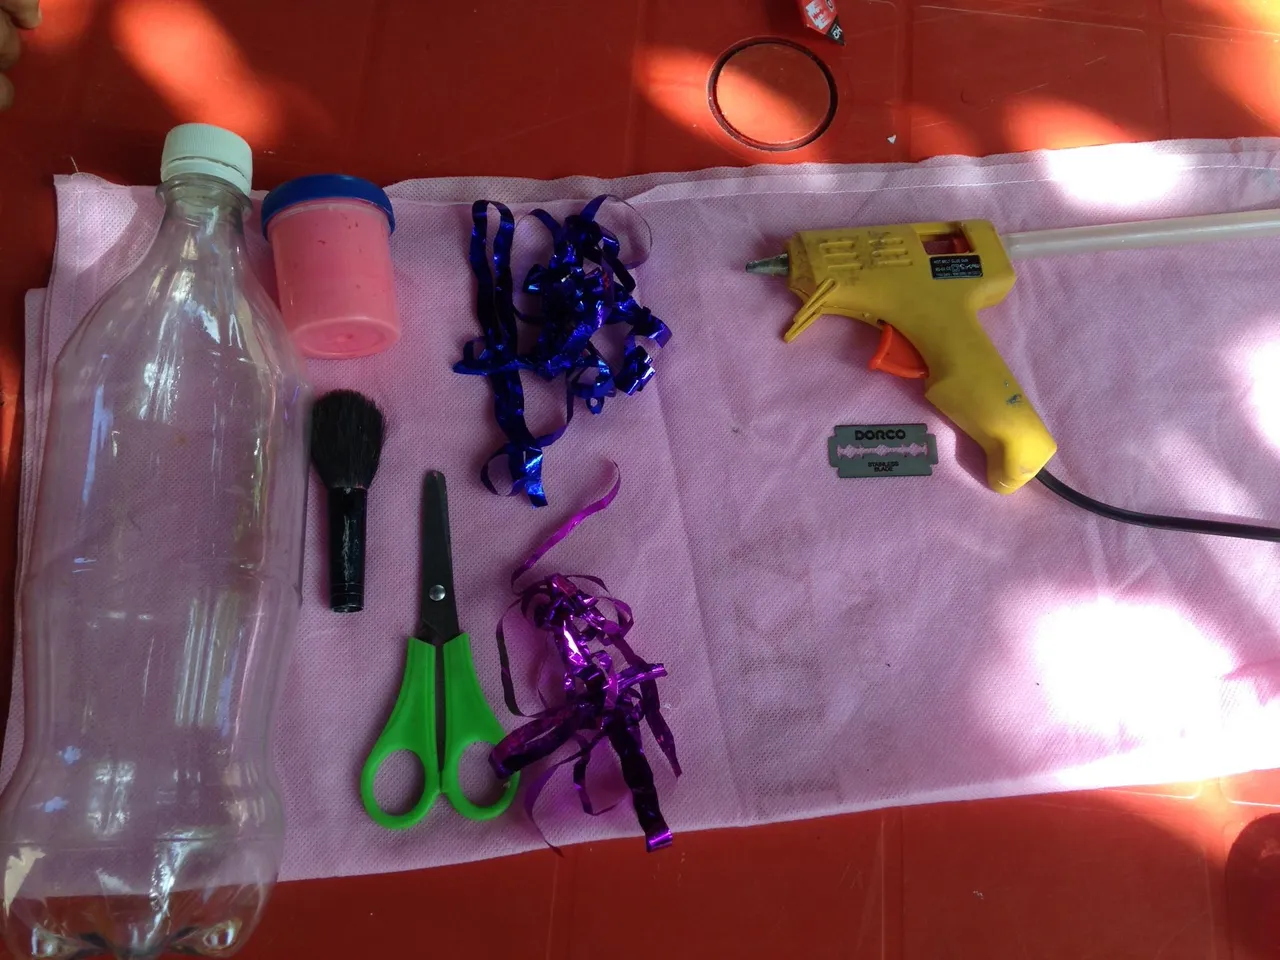
Materiales:
⚫ Botella de plastico
⚫ Pintura rosa
⚫ Brocha
⚫ Tijera
⚫ Confetti rosa
⚫ Confetti azul
⚫ Hojilla
⚫ Pistola de silicon
Materials:
⚫ Plastic bottle
⚫ Pink paint
⚫ Brush
⚫ Scissors
⚫ Pink confetti
⚫ Blue confetti
⚫ Blade
⚫ Silicone gun
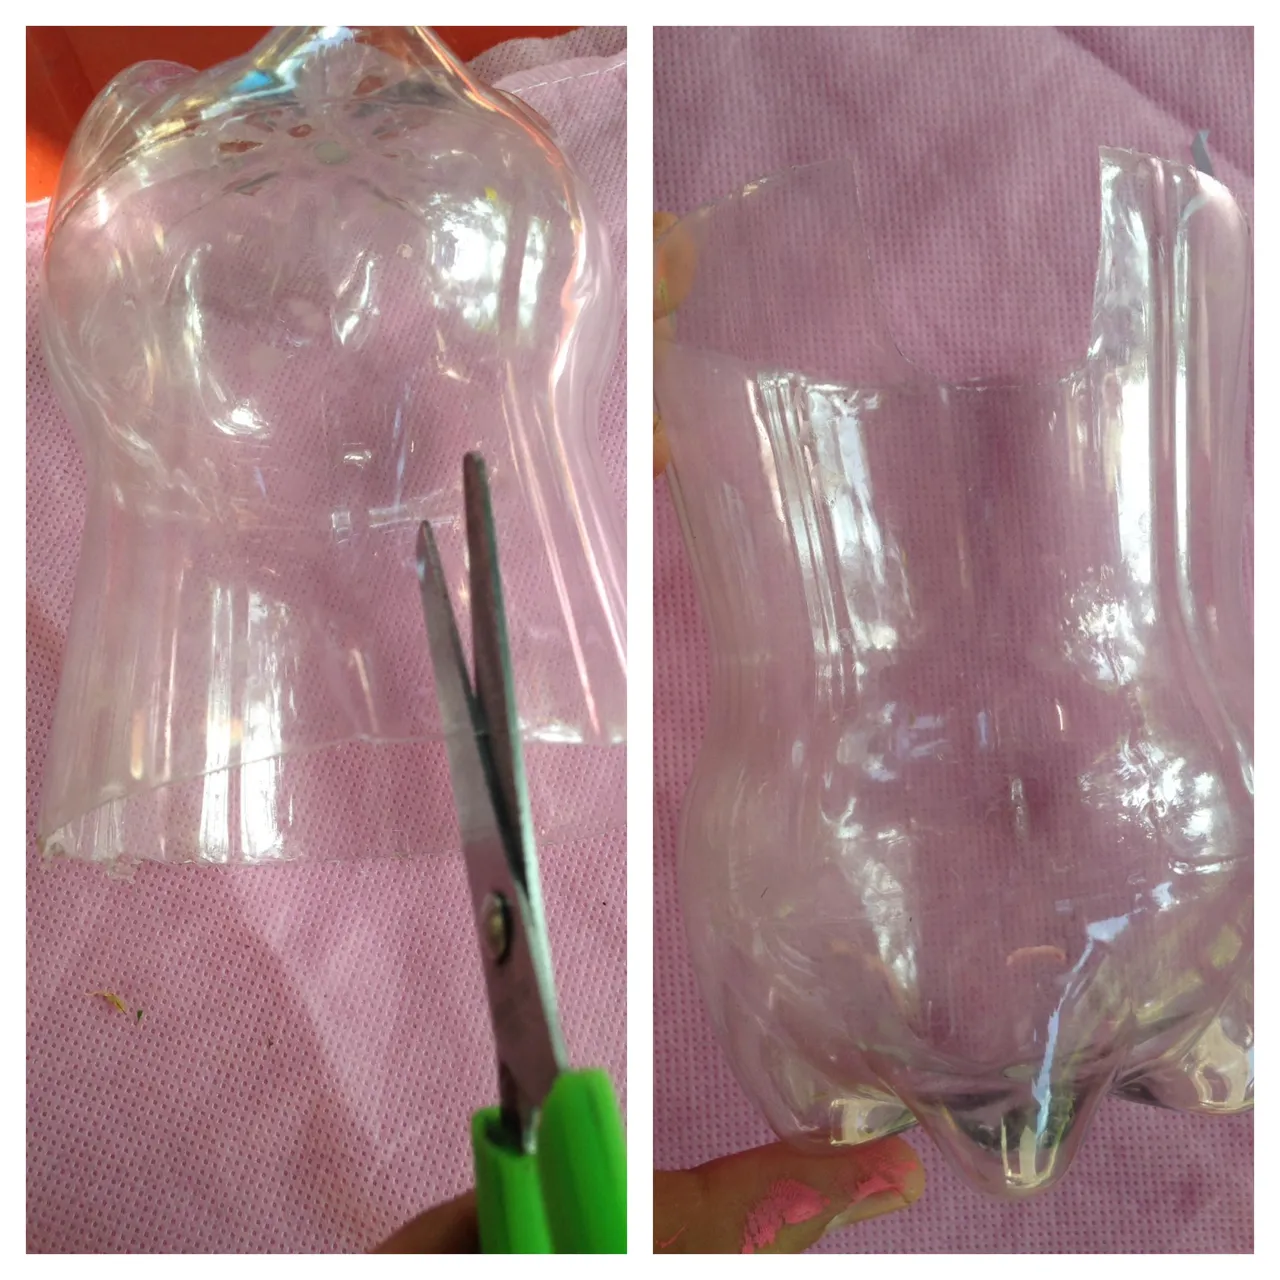
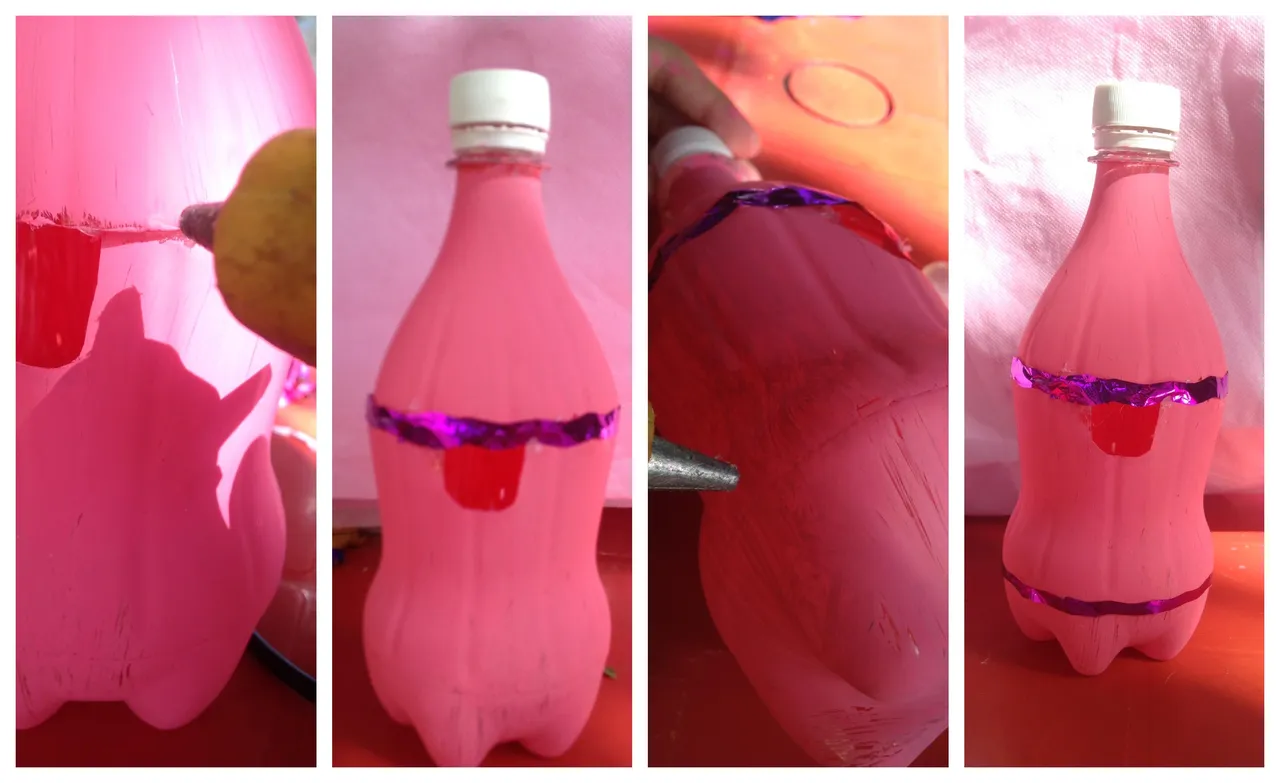
Paso 1
Como primer paso a seguir para empezar con este tutorial iniciaremos recortando con la hojilla el pico y la parte de abajo de la botella de plastico asi como muestra la imagen
Step 1
As the first step to follow to start this tutorial, we will start by cutting the spout and the bottom of the plastic bottle with the blade, as shown in the image

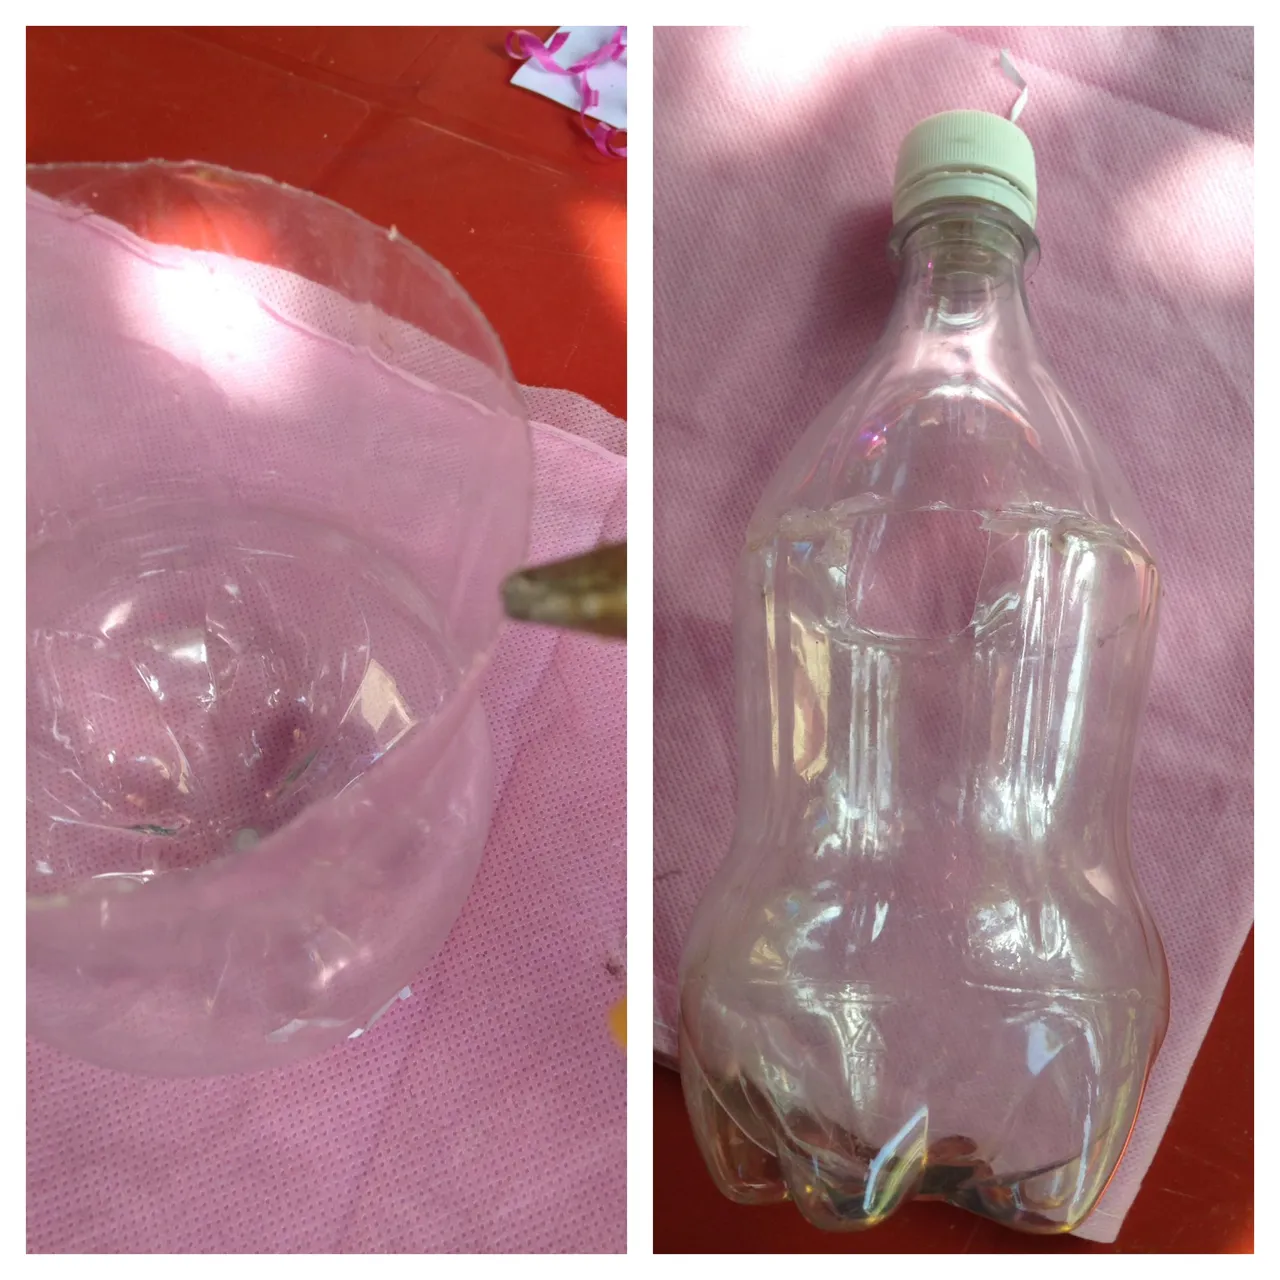
Paso 2
Luego la parte de abajo de la botella la recortaremos en forma de circulo asi como muestra la imagen
Step 2
Then we will cut the bottom of the bottle in the shape of a circle as shown in the image
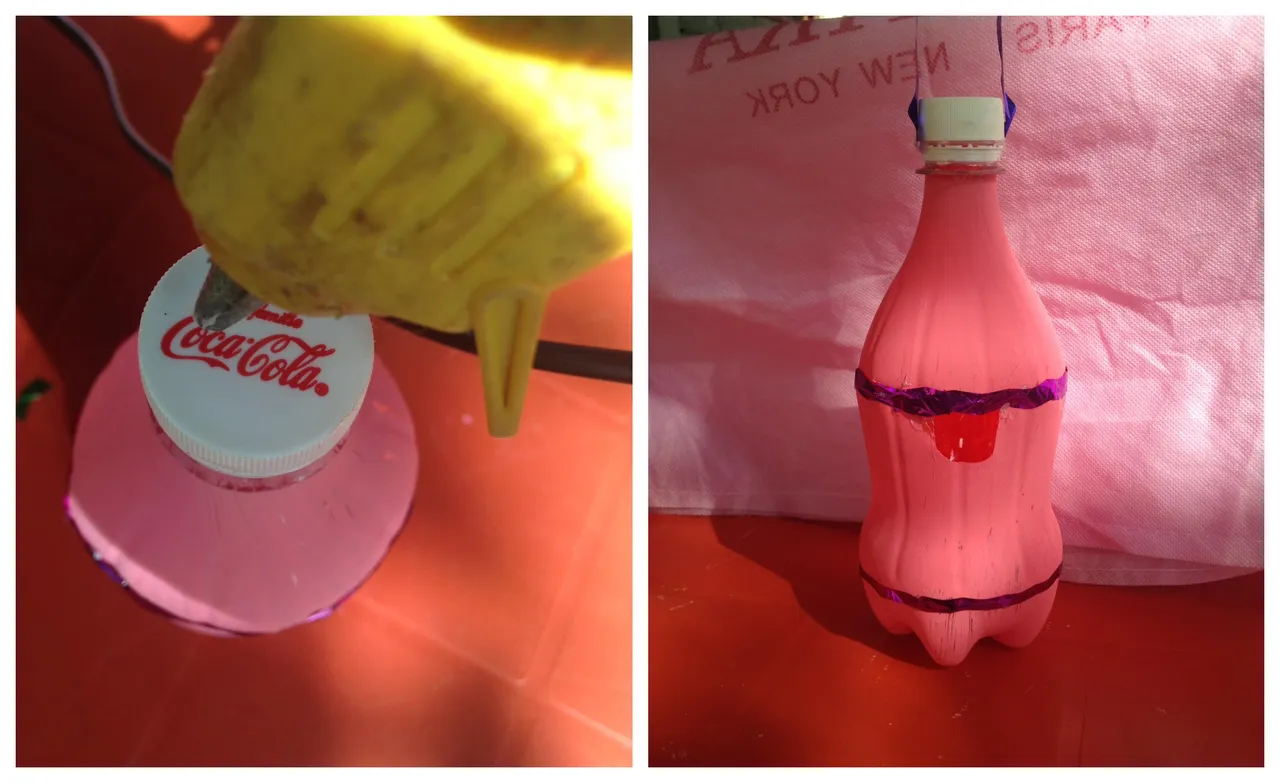
Paso 3
Despues pegaremos la parte de arriba y la parte de abajo de la botella
Step 3
Then we will glue the top and bottom of the bottle
Paso 4
Una vez ya pegada las dos partes de la botella,luego la pintaremos con la pintura rosa
Step 4
Once the two parts of the bottle are glued, then we will paint it with the pink paint

Paso 5
Despues pegaremos el confetti rosa por todo el centro de la botella arriba de el agujero asi como muestra la imagen y luego le pegaremos mas confetti rosa por abajo
Step 5
Then we will glue the pink confetti all over the center of the bottle above the hole as shown in the image and then we will glue more pink confetti below
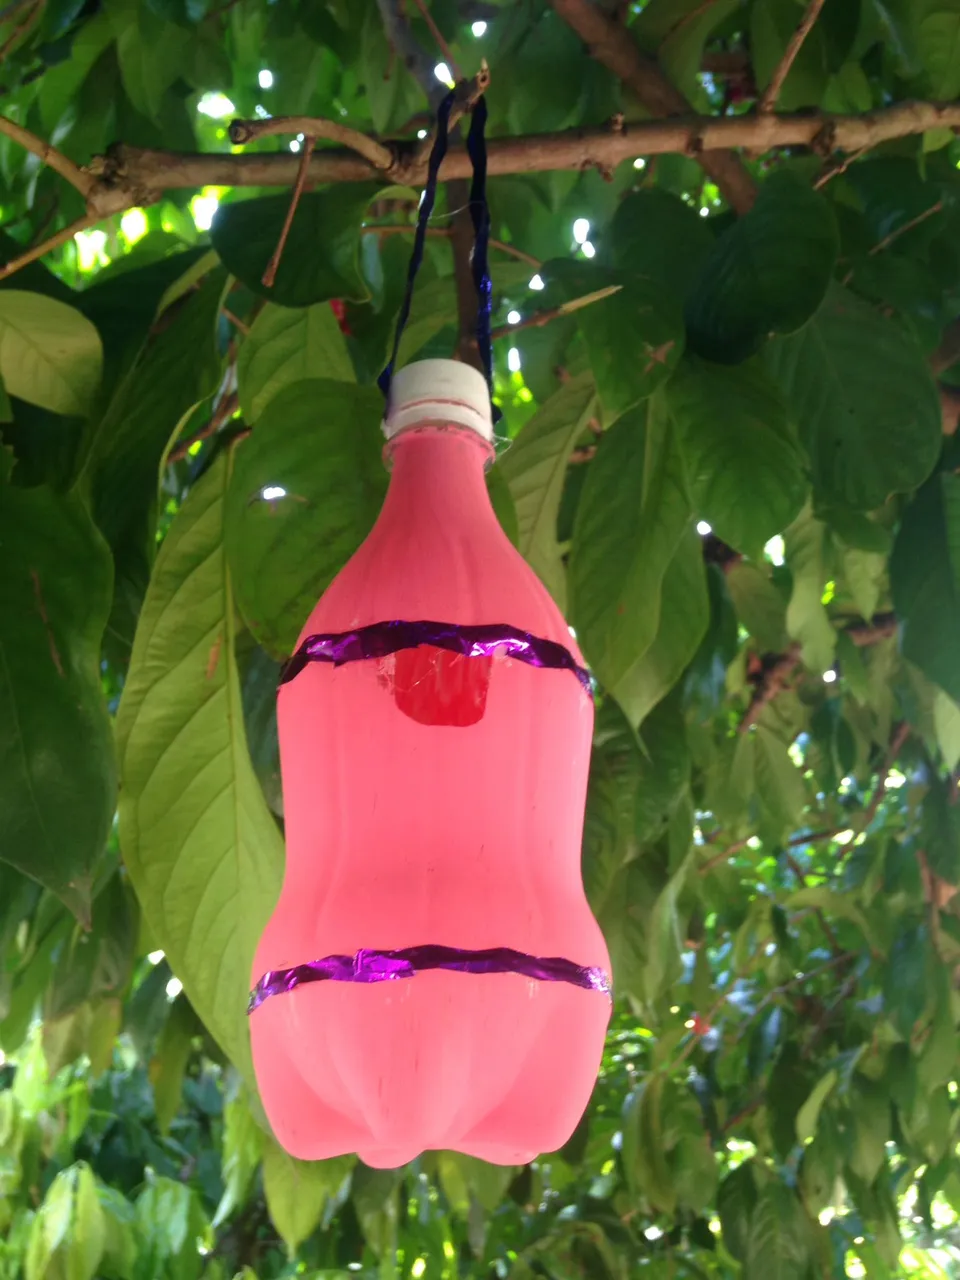
Paso 6
Y como ultimo paso para finalizar con este tutorial pegaremos por la tapa de la botella una tira de conffeti azul y eso nos ayudara para poder colgar la casita de pajaros en los arboles
Step 6
And as the last step to end this tutorial, we will stick a strip of blue confetti on the top of the bottle and that will help us to hang the birdhouse in the trees
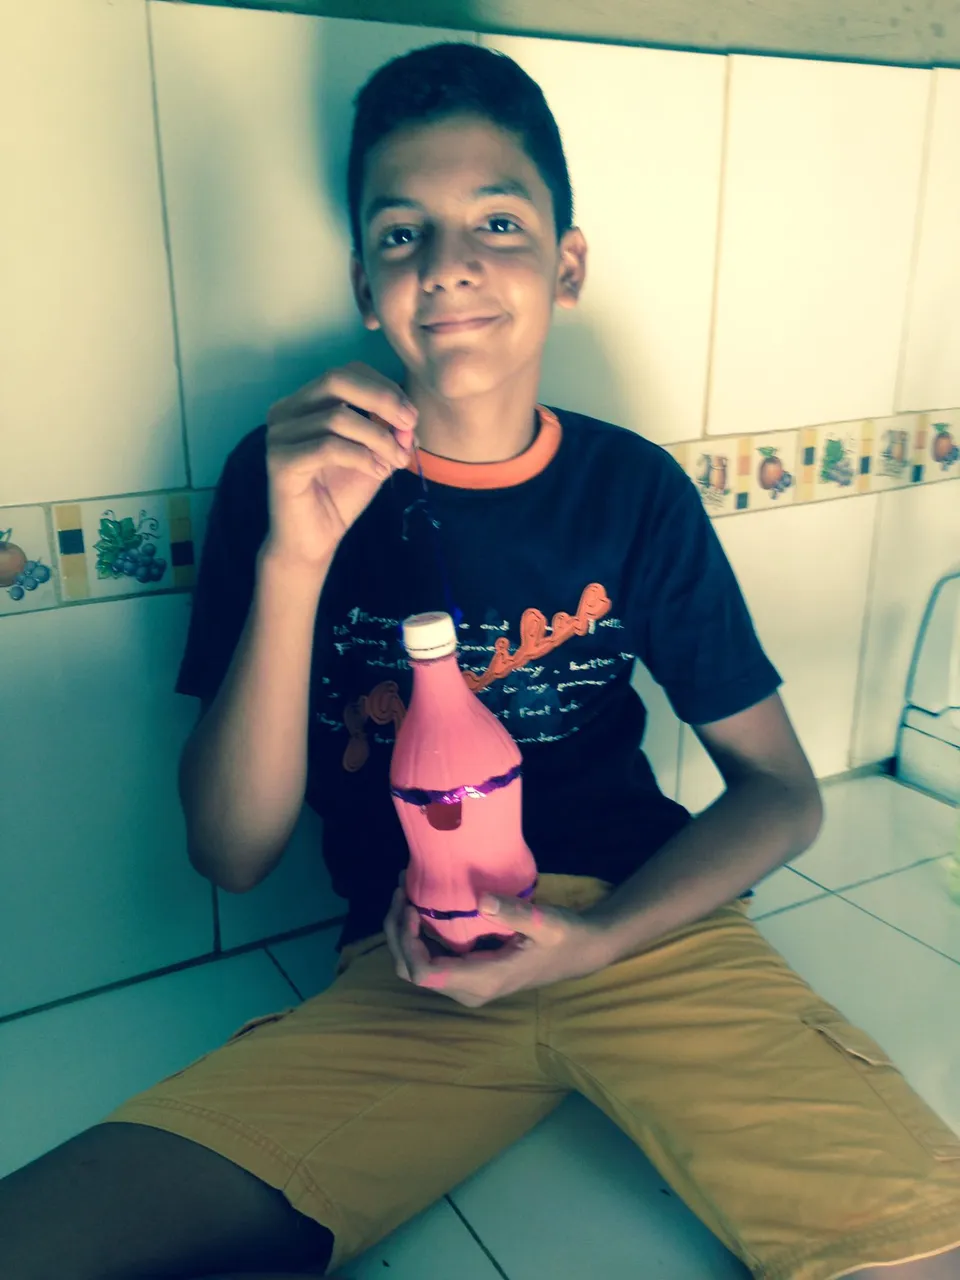
Y listo amigos este es el resultado final de nuestra casita para pajaro espero les alla gustado y ya sin nada mas que decir me despido
And ready friends this is the final result of our little house for bird I hope you liked it there and with nothing more to say I say goodbye
Gracias por visitar mi blog
Thank you for visiting my blog