Hi fellow DIY fans,
Today I have a fun DIY post, though I'm not entirely sure what to call it. Shoe box refers to something too small but it is literally a box for shoes.. lol It's just a lot bigger.

Honey-Do List
So one of the things I actually enjoy most of the time is the honey-do list that my wife has. Since our son and I built him a toy box, and probably a while before that now that I think of it, Siena has been asking me to build something to house all of the damn shoes that clutter up near the door. Normally people have a closet for that and we do have one but it's full of other stuff and even some shoes but not a whole lot of room. That closet is more where we store out of season shoes. Now that our son is older and can participate a lot more, I have way more fun doing all of the DIY things that I've been wanting to do! That means I get to play around and build things with wood a lot more often than I have in the last few years. For anyone with a wood building hobby, you know how fun that is!
So off to the hardware store my son and I went in search of wood. I had no idea I would fall in love with some awesome looking wood and have it be pretty inexpensive to boot!
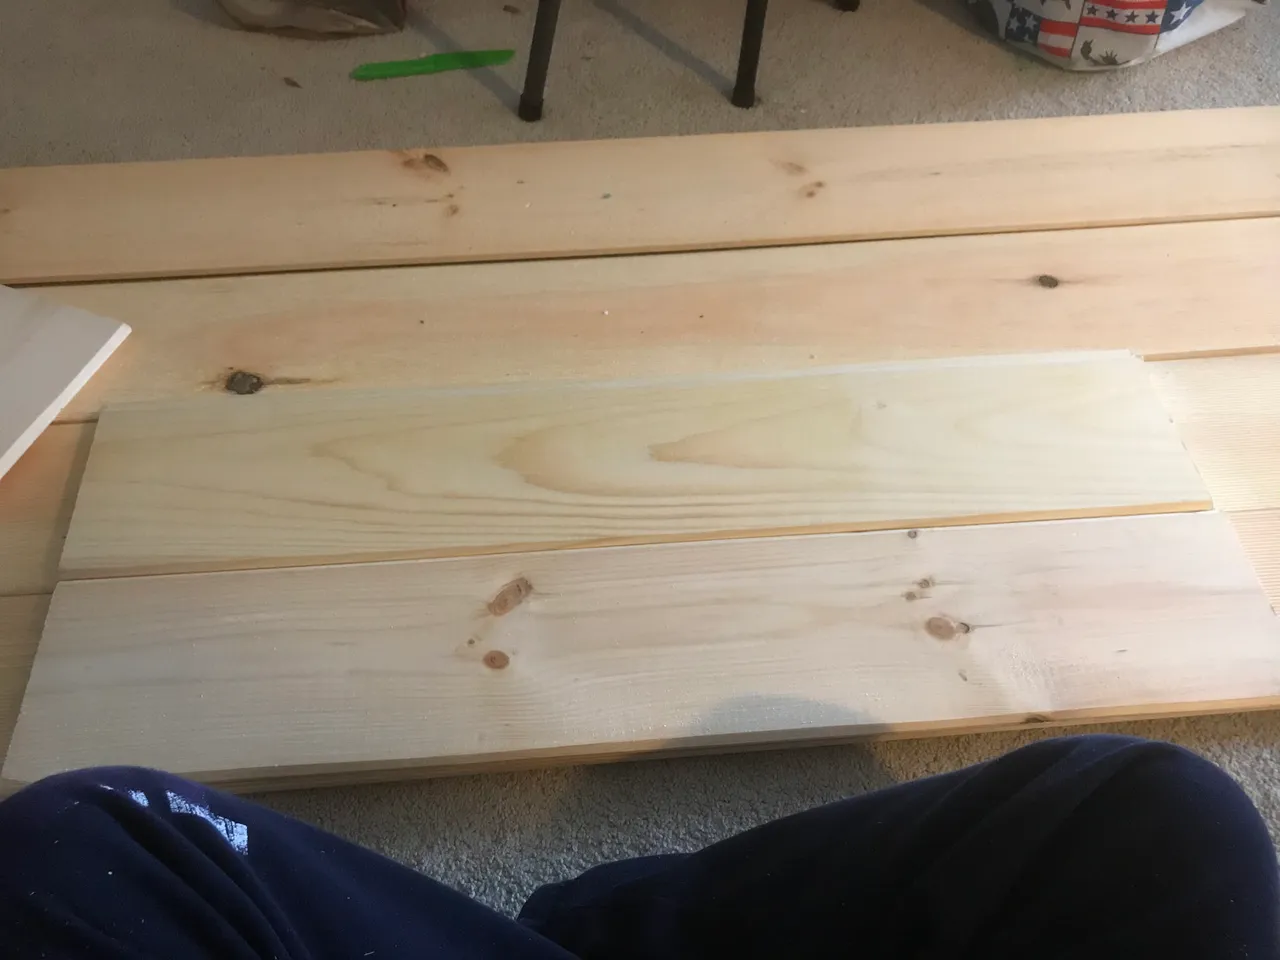
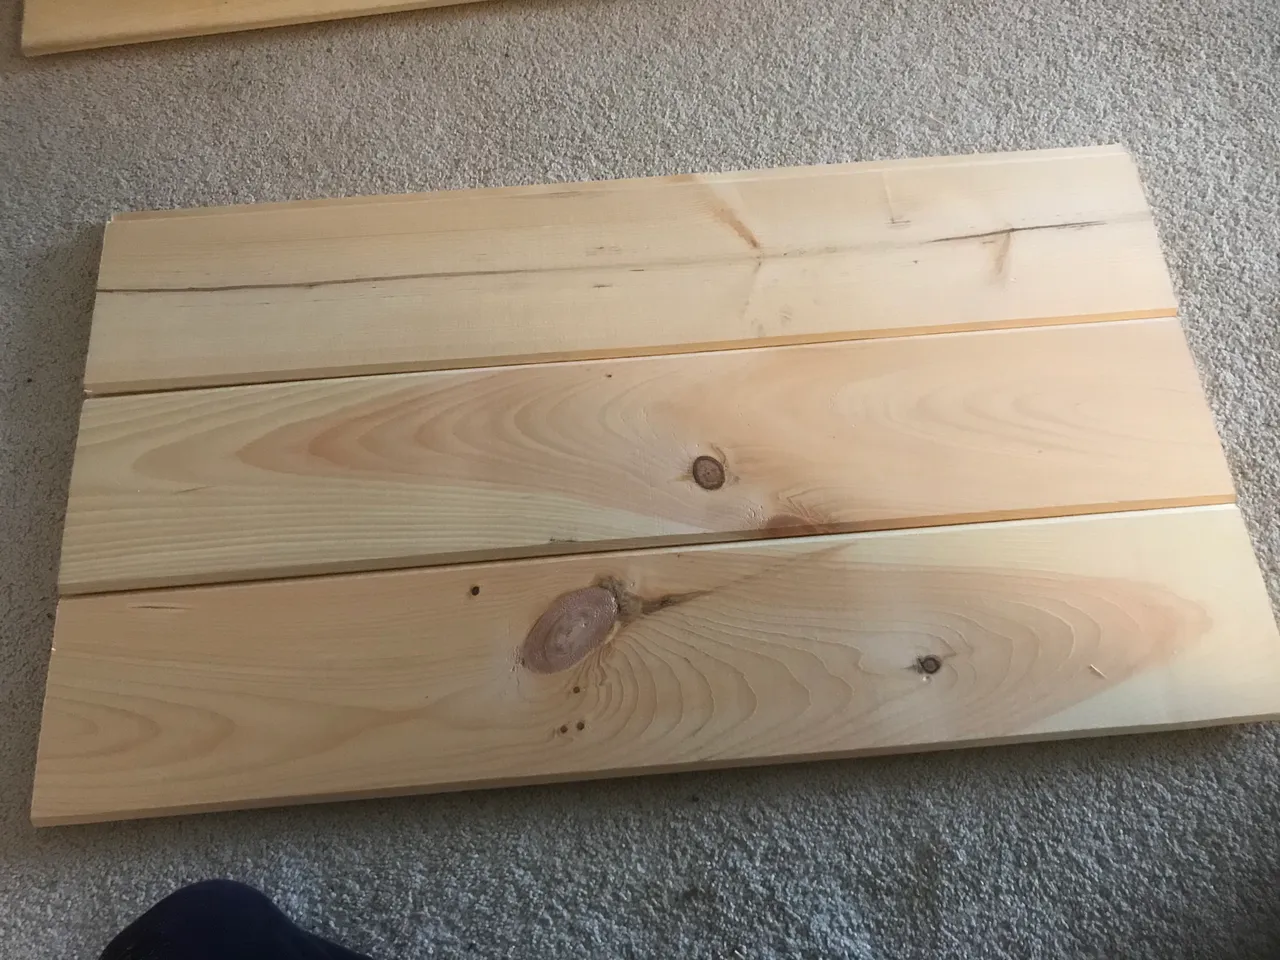
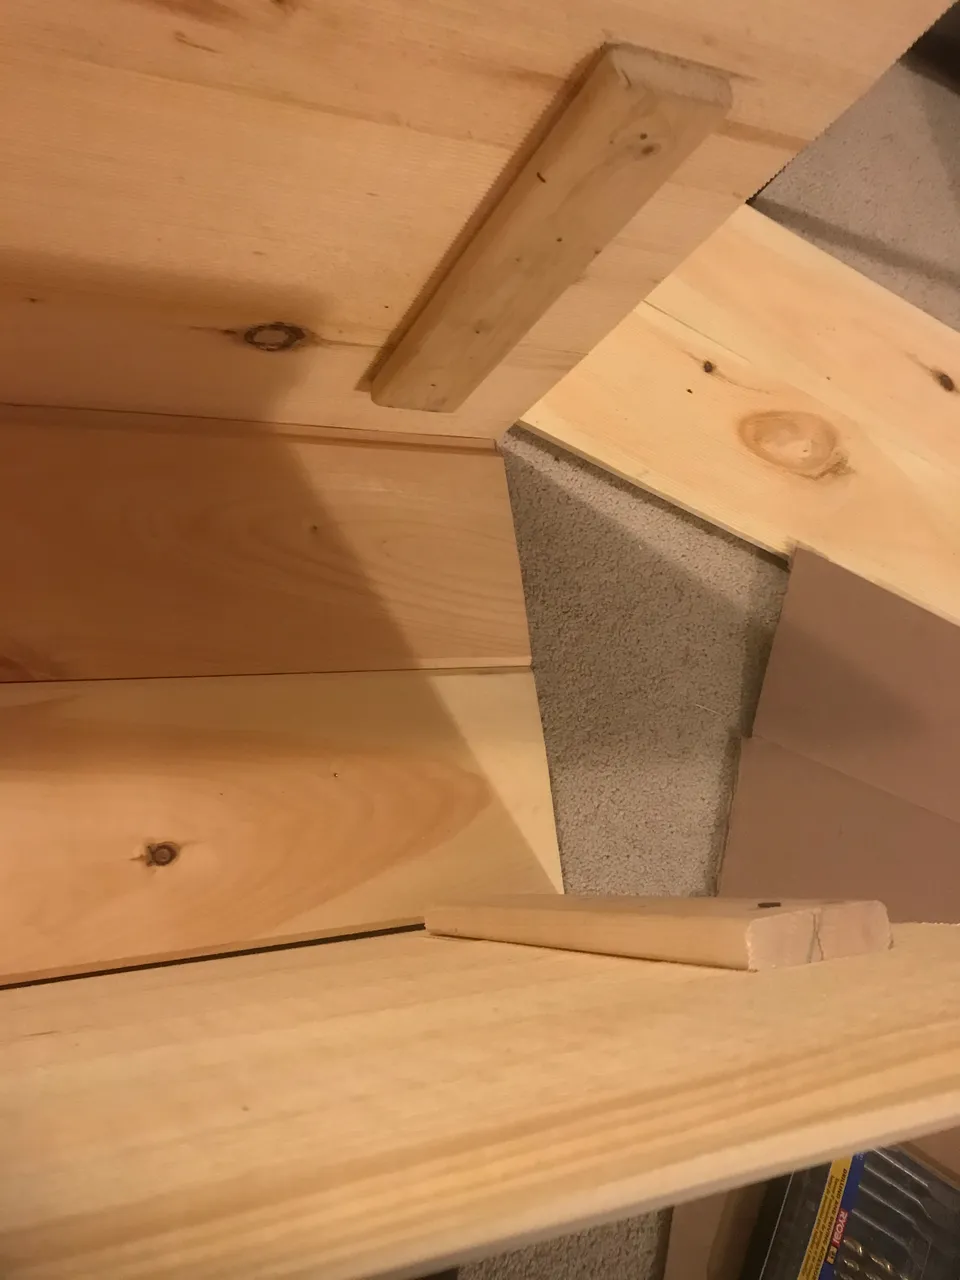
This wood here is called Shiplap. No idea why they call it that but the wood is really cool. It has an awesome tongue and groove to it and one side is smooth while the other side is textured. Makes for some really interesting different styles you can do with it! I will definitely be making more fun projects out of it, the stuff is pretty cheap as well! I think it was 5.75$ for a 6 foot by 8 inch (which actually really annoyed me, the thing was barely 7 inches and they say 8?!? assholes!) board. Give me 6 of them, thanks! It was also a bit of a whim thing. I sometimes draw up a design on a piece of paper and go to the store in search of what I need. I did not do that this time, purely by the seat of my pants lol oh well. Let's see how good or bad it works out in the end lol
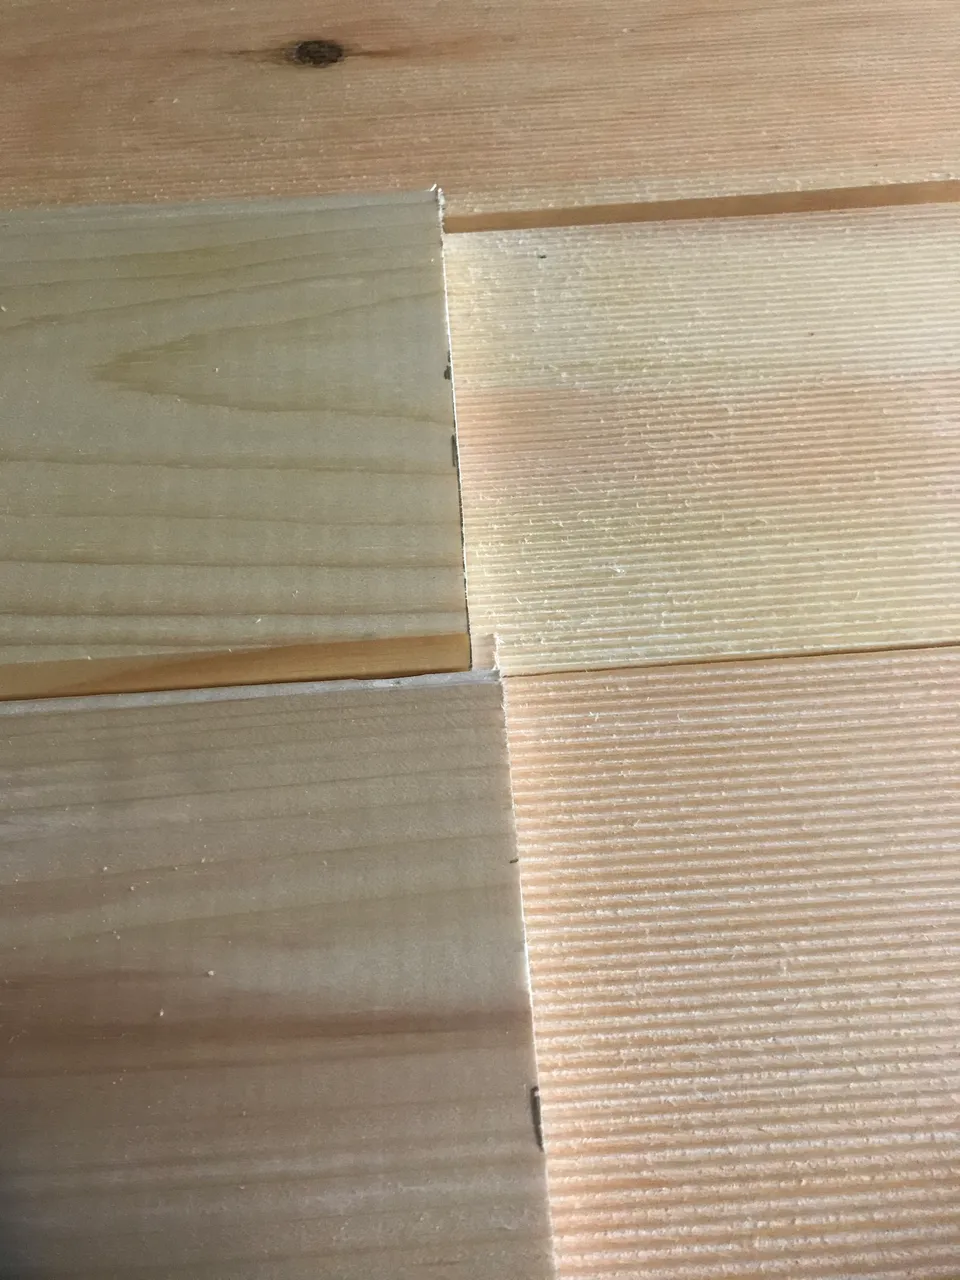
So I was just getting a rough idea of how it would all look. The tongue and groove aspect of it was great, I snugged them together and was easy to get some estimates of what it would look like. I wanted the textured side of it to face inward, there are certain designs that would look cool with the textured part outside but this shoe box I don't think is one of them lol.
They fit nicely together here! I do love the texture of it.
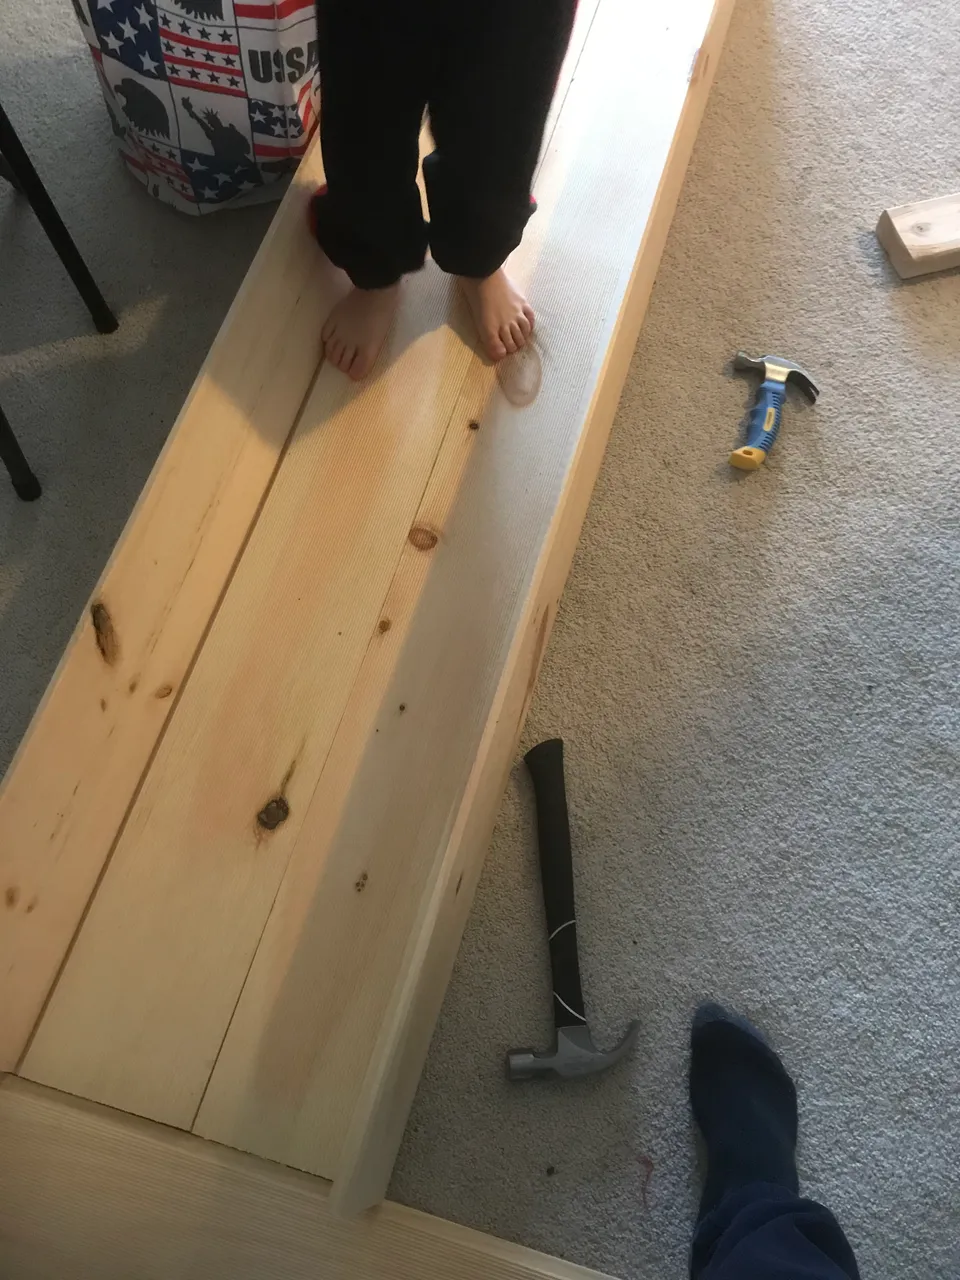
Alright so made my first cuts. I did do one thing to have an idea of what I want to do before we left the house: measure the space. We had roughly 3 feet in length to use and approximately 20 inches wide. I would have loved to use 16 inches in width but back to my earlier gripe on their lies about the size...
Wouldn't be a job without the little man there to help, of course! He had his little hammer ready to go pound in some nails. He fashioned himself a small boat, connected the shiplap together on the bottom and gave it some sides. Off to the lake he goes!
What job would be complete without the drawing skills of his? Not a job I want to partake in! This line wasn't that good but no lie he drew an excellent other line for me, I was very proud!
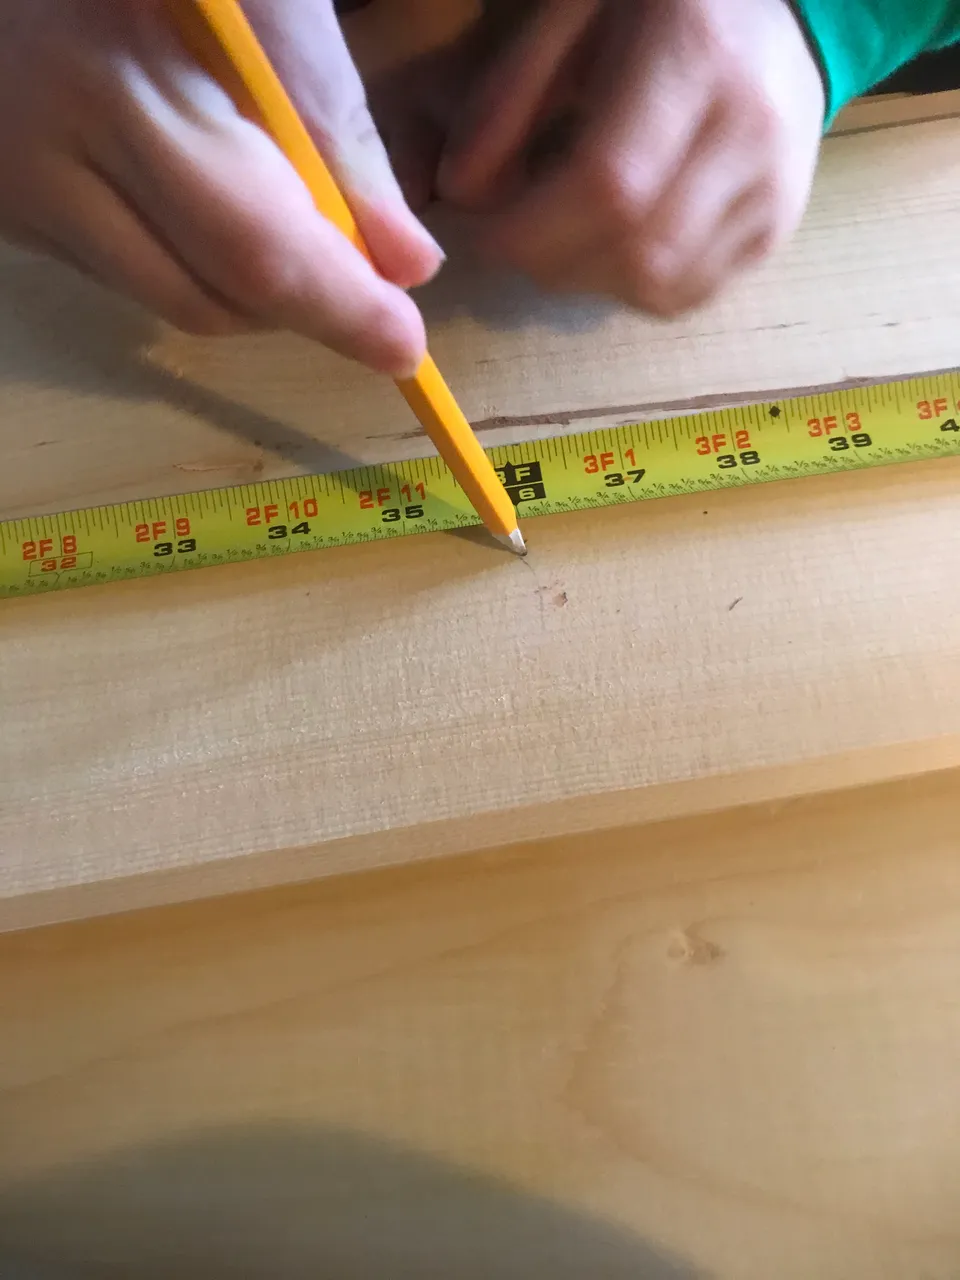
One thing I had to do when cutting the boards is just make sure they were even. After each board was cut in half I had to true them up and cut off the little extra off the board that sticks out.
I was pretty happy with the cuts overall! These were all free-hand cuts with a circular saw. I don't have a chop saw or a table saw. I'm glad that my circular saw skills are improving, they were pretty bad in the beginning lol
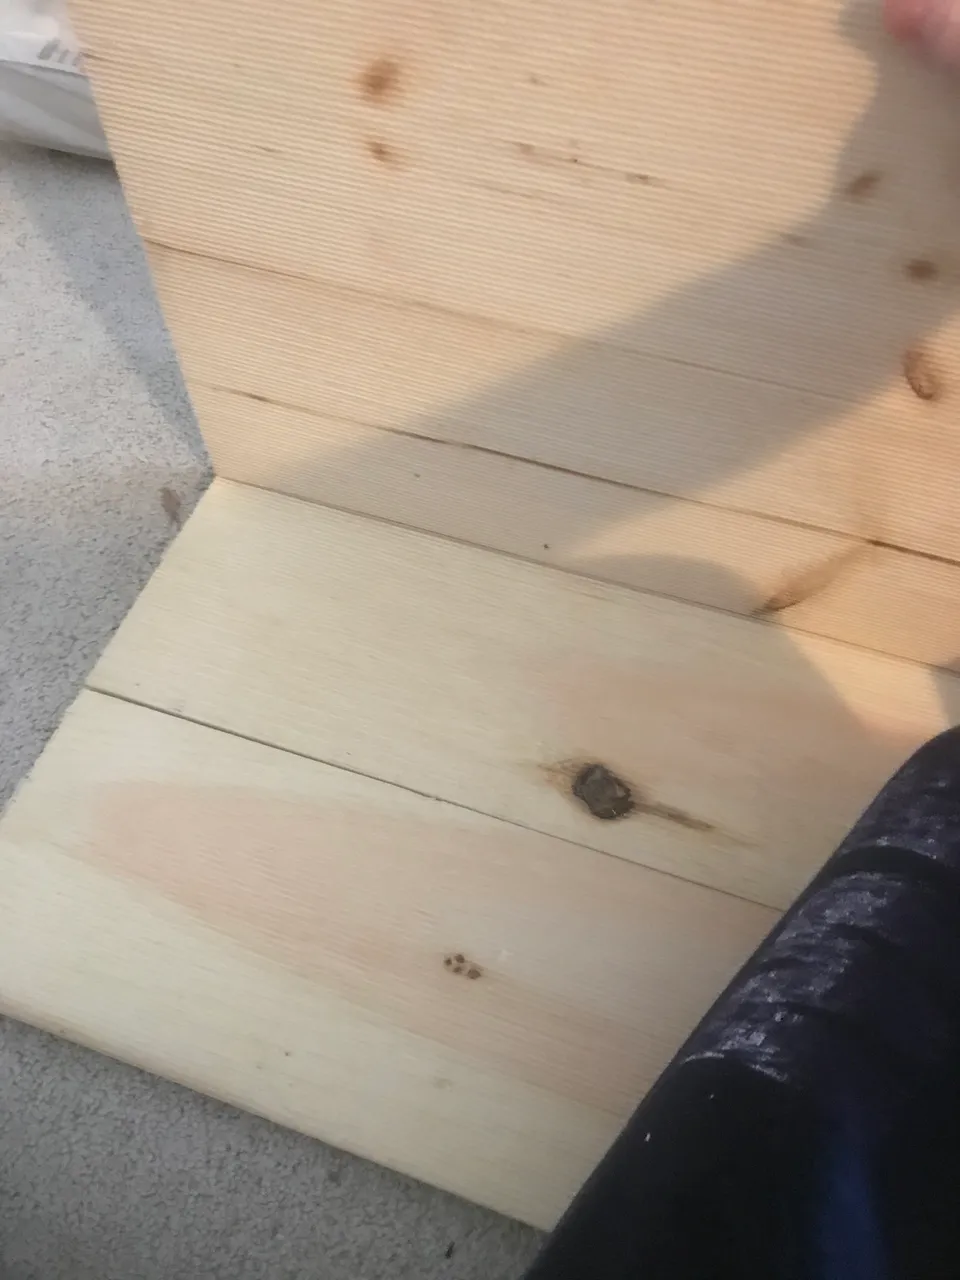
Alright so now the first complete set of boards is cut, time to roughly connect them and make sure it looks good. I think it came out alright! I love the look of the pine tongue and groove. I will surely be making something more out of this stuff. Accent wall?!
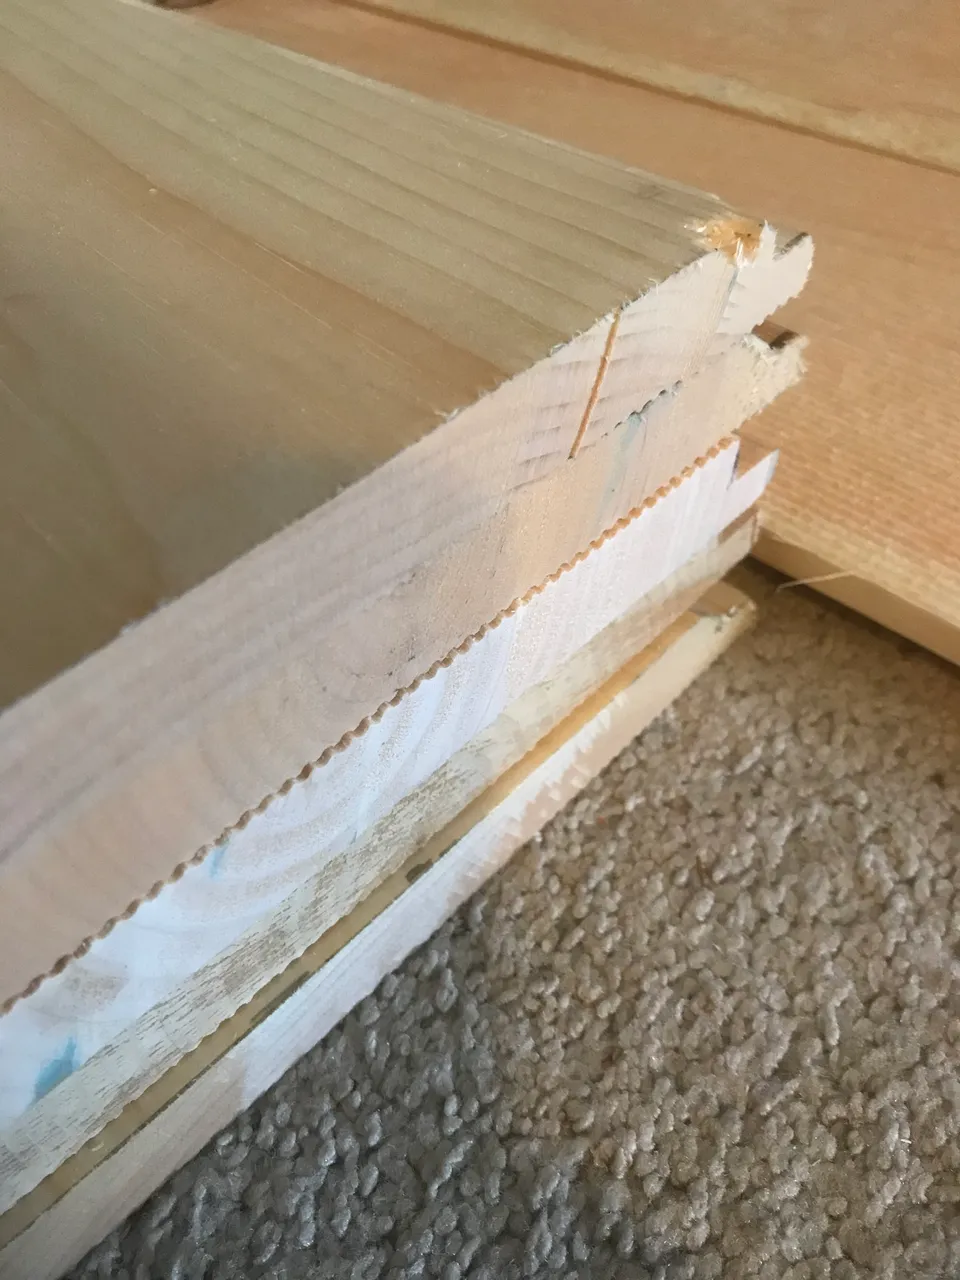
So not going to lie that this wasn't my best work here. This was supposed to be the bottom of the box and it came out pretty poorly, boards are nailed together crooked and all that. This was an active learning project though so no wasting wood or crying over spilled milk, or glue rather. This was thankfully the bottom portion of the project and I might face this down to the floor so you can't see the mistakes lol.
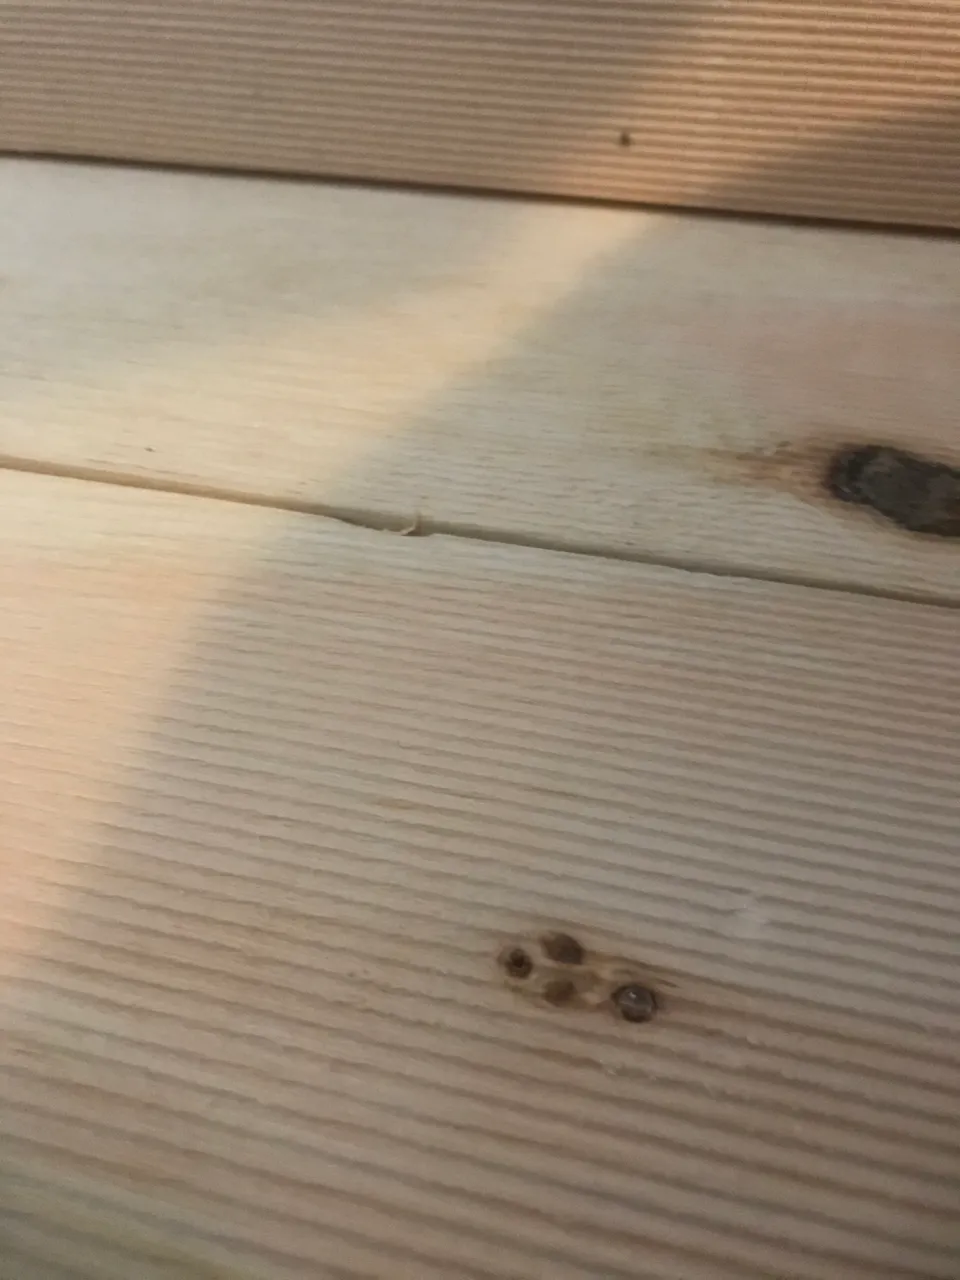
Alright so now onto the part that I learned from. I didn't drill pilot holes on the other ones but on this one I most certainly did. I drew some pilot holes so that my nails don't split the wood like the screws did that I used on one of the boards. Screws are a little too harsh for this type of work, so I really wish I had a nail gun at a time like this. Two small pilot holes drilled at the top and bottom!
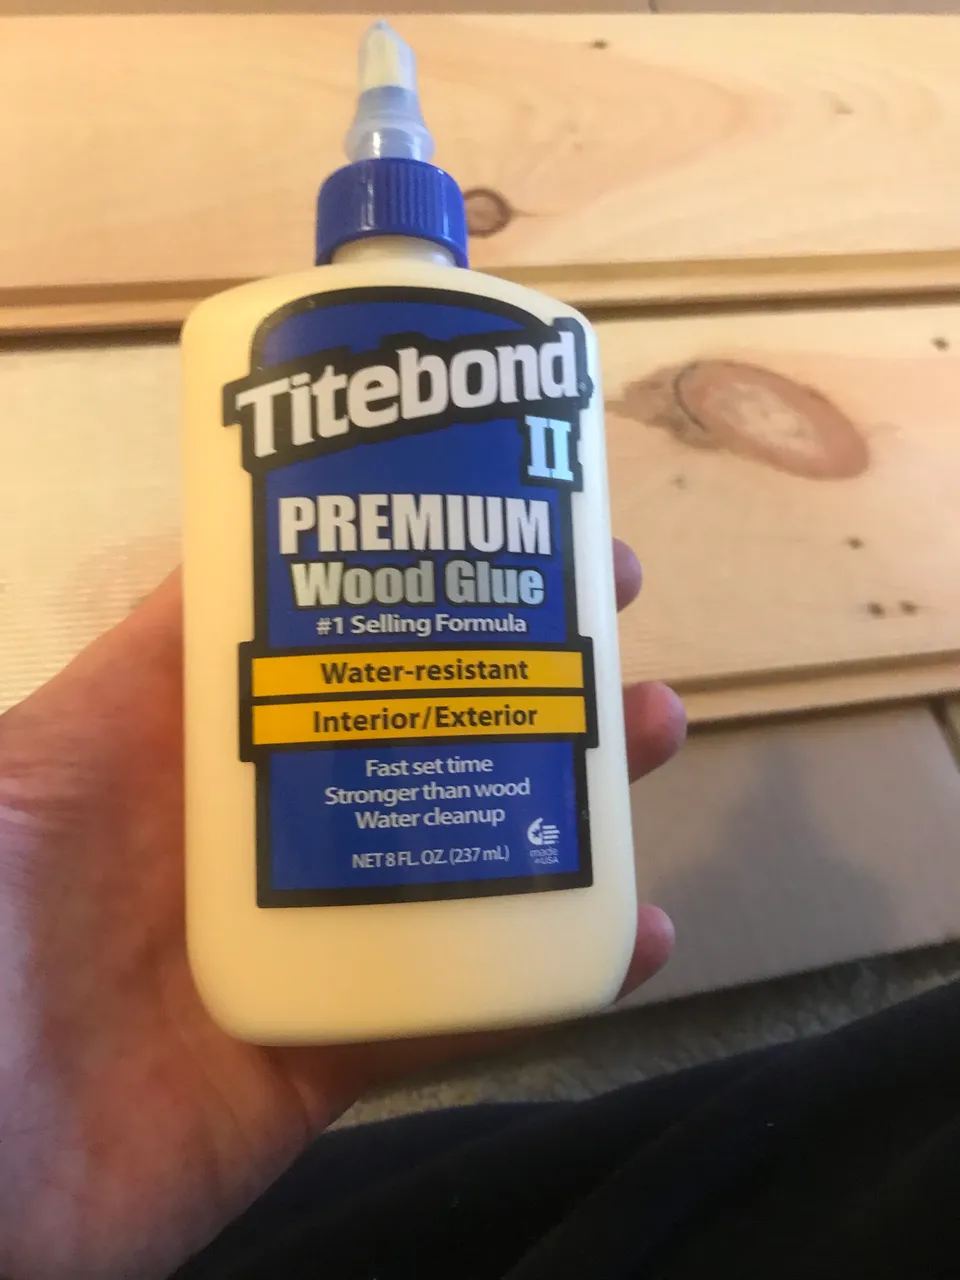
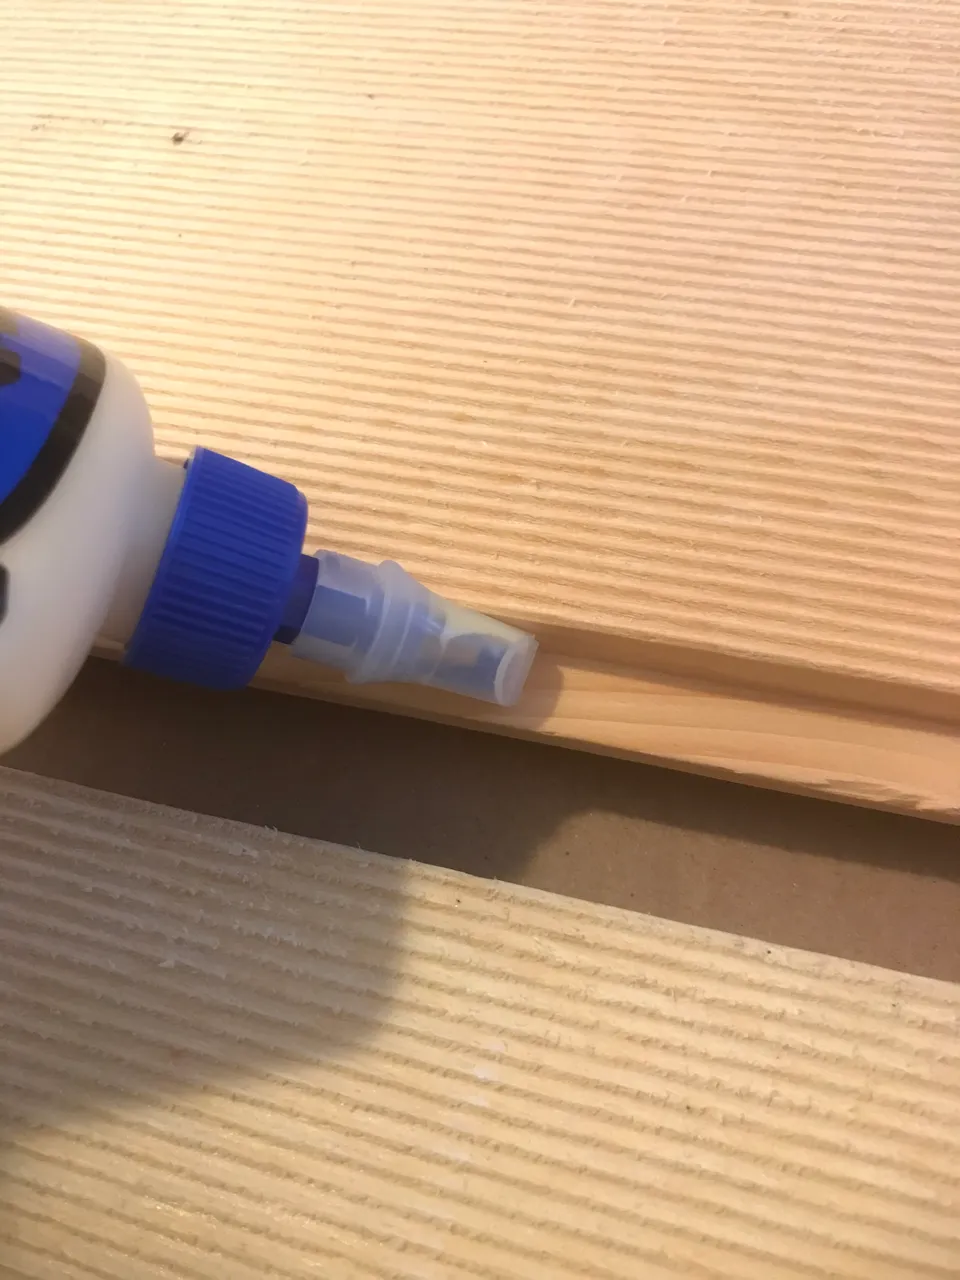
Now it's time for the fun stuff, the glue! This is some of the best stuff you can get for wood glue. Not too cheap but not incredibly expensive so it's perfect for a nice DIY project.
Once I had the plan set to glue, you have to put down some cardboard underneath it just in case any of the glue leaks out. Wood glue doesn't come up easily if you get some on the carpet or a floor so I just use some cheap stuff underneath it. In comes the Amazon boxes for ya! You want to use enough glue to leave a pretty good sized trail but not too much that it just leaks and shoots out everywhere when you push the pieces together.
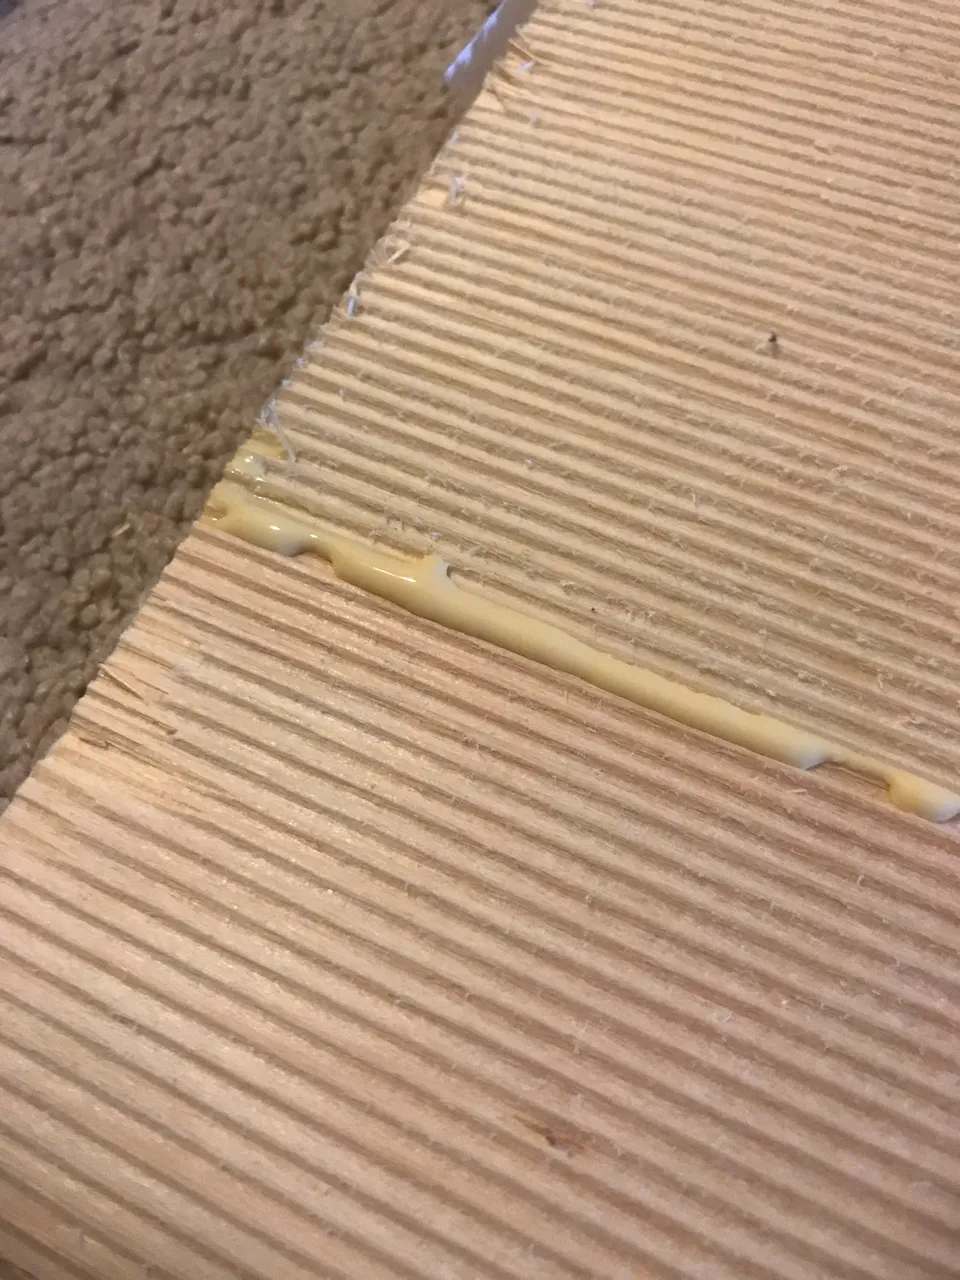
Over time I've learned that you really don't need to put an insane amount of pressure on the boards to squeeze them together. If you do that it just shoots the glue out everywhere and makes a mess but doesn't really make the thing you are gluing stronger. My personal thought is to join the pieces together in a strength between soft and firm if that makes sense. The pieces should be touching but you don't need to squeeze with all your might. A firm push is sufficient and just keep it together for a minute or two to let it start setting. This was a little too much force but you can't take it back so just clean up the excess glue.
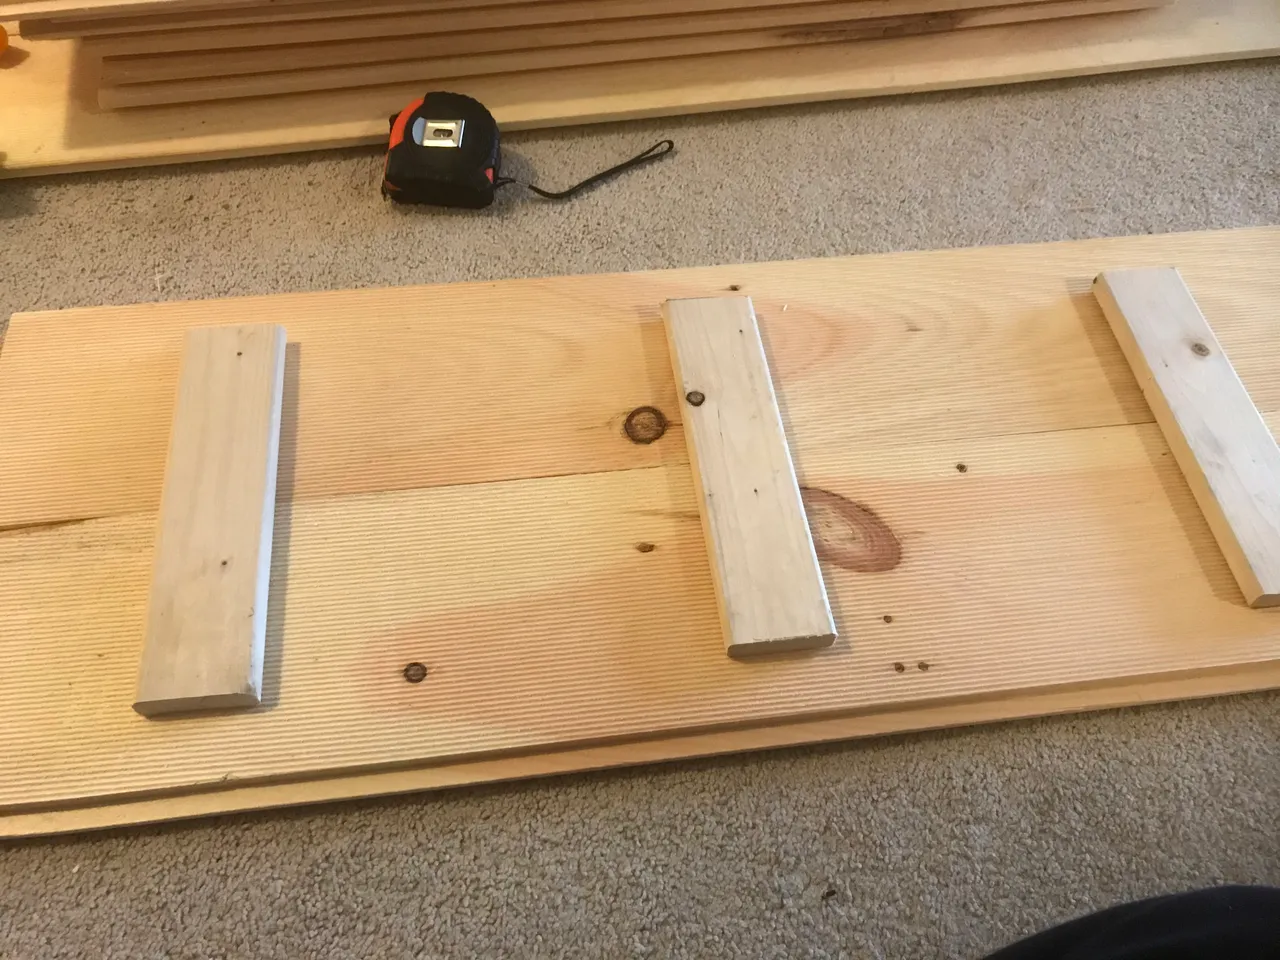
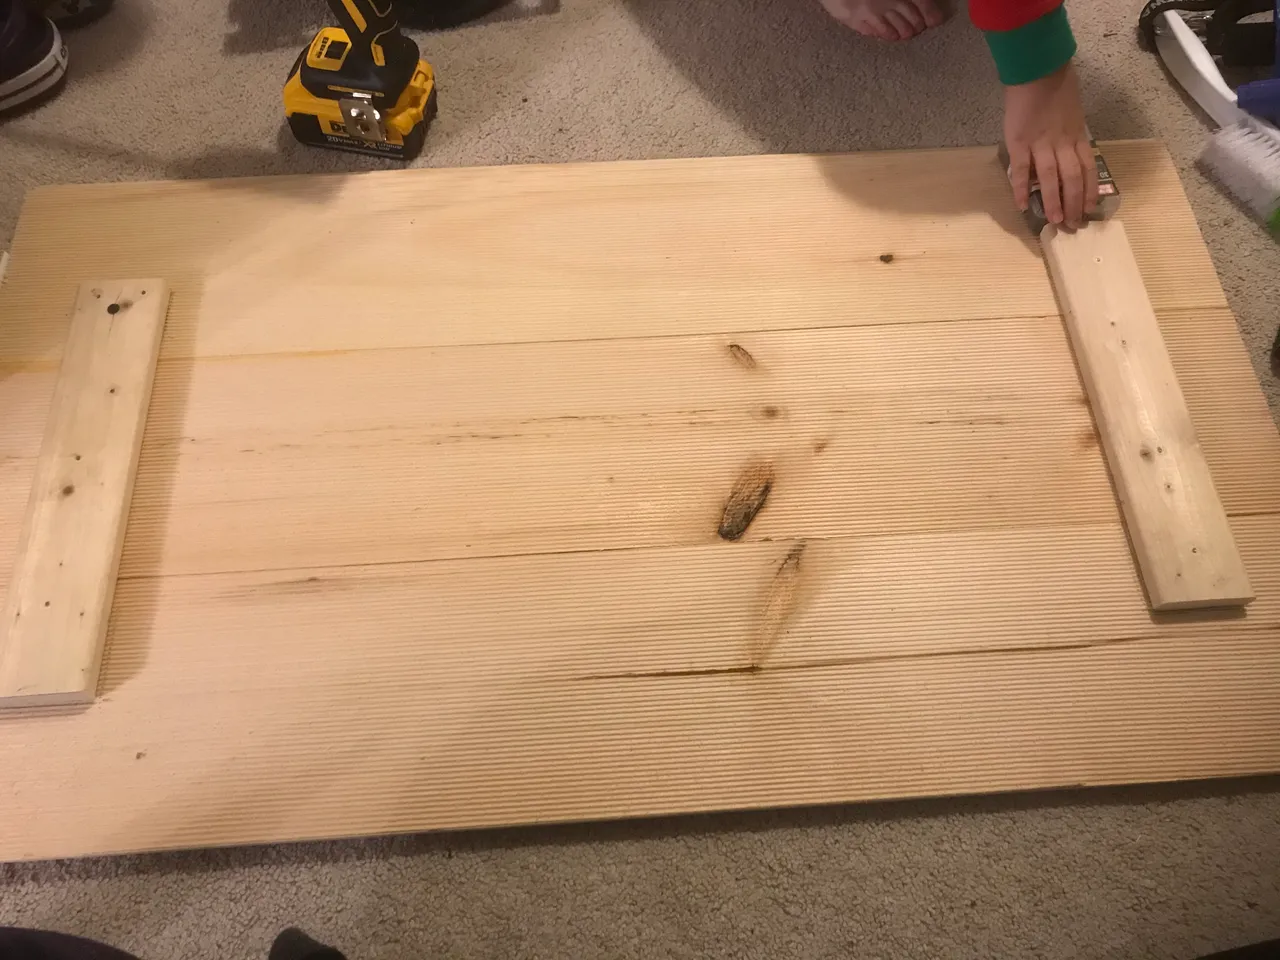
Alright now that the glue was set and drying on both sets of all three of the boards, I came back to the one I glued first. The glue takes about 30 minutes to set enough where you can move the boards gently around and not lose the bond if you're careful. I took some 1 inch by 4 inch strapping and used that as the brace between them. I used a pencil, made marks on the boards (which I didn't do on the one a few images above that is the bottom of the box lol oops) got it nice and lined up and then glued them and nailed them down on each side. These boards, stacked 3 high, come out to about 22 inches or so in height all-told. I chose to trim the strapping pieces down to 12 inches each and set them 6 inches up from the bottom and 3 and a half inches in from the side so that I had room to join other parts of the box together and make a nice strong joint.
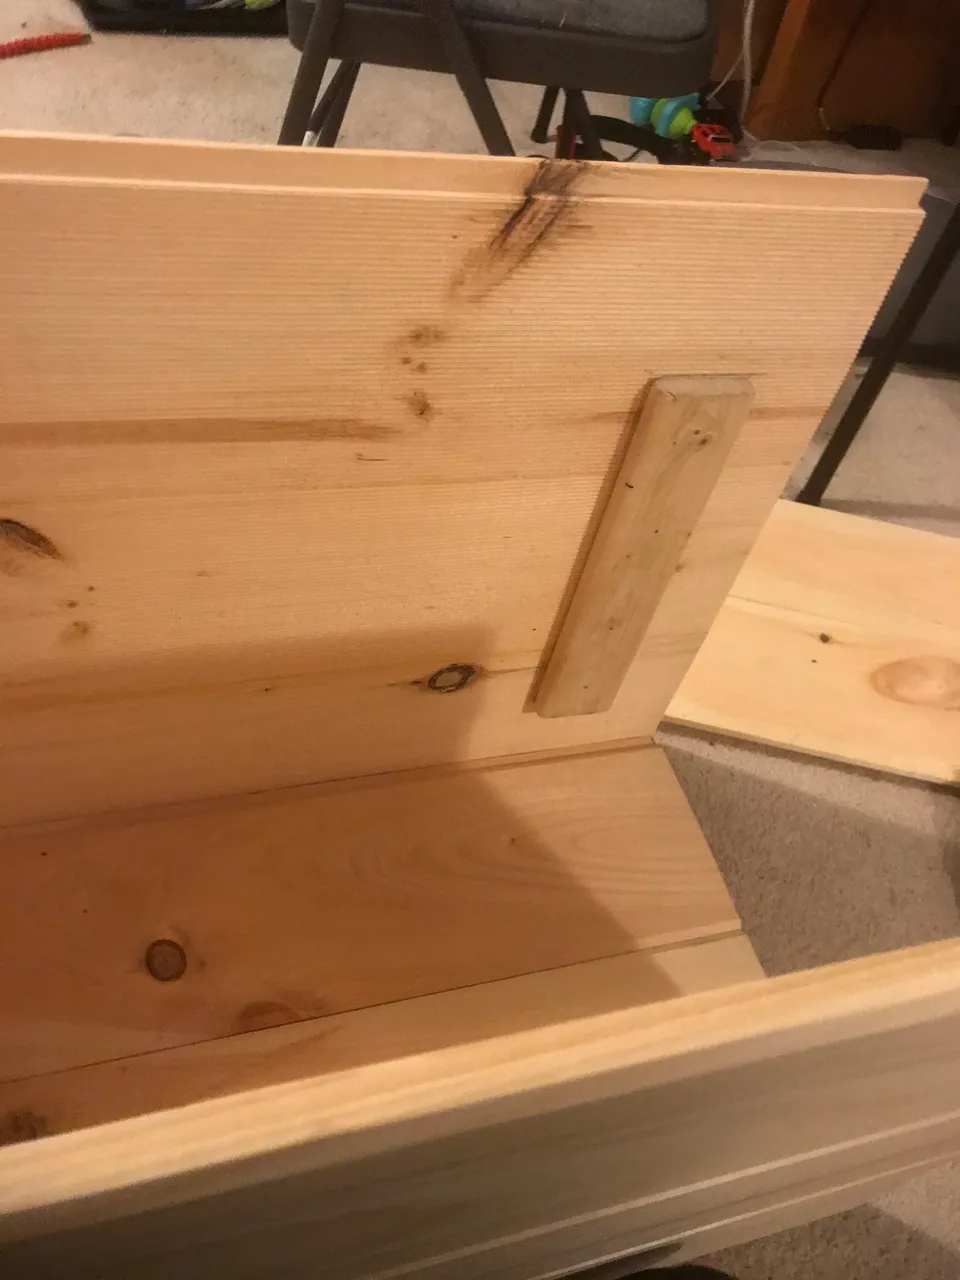
Now that that was taken care of for both sides of the walls, it was time to just put the pieces together and see how it looks and works out.
This is where we stopped on the project because we were running out of daylight. I will hopefully be able to finish the project this coming weekend if everything goes correctly!
This is my entry for the Build-It weekly contest for DIY content. You should join in if you have anything DIY on your mind! Just don't make it too good and beat me :D just kidding (sort of 🤣)
@build-it/build-it-weekly-contest-20-hive-s-2250-build-s-and-20-bro-tokens-up-for-grabs-qo4svo

Do you want to get paid, in crypto, for searching the internet? Try using and signing up for Presearch to earn some great crypto! I've currently got 2,181 PRE tokens, with a market value of $174.84. It doesn't sound like a lot but when you search using sites like Google you get paid $0! Join Presearch to break Google's stranglehold on the internet searches. If you'd like to sign up, use my referral link!
https://www.presearch.org/signup?rid=513043