Gran comunidad Hive, espero que tengan un excelente y provechoso día, en esta ocasión les traigo un DIY, fácil y útil, organizador en forma de barquilla, hecho con cartón.
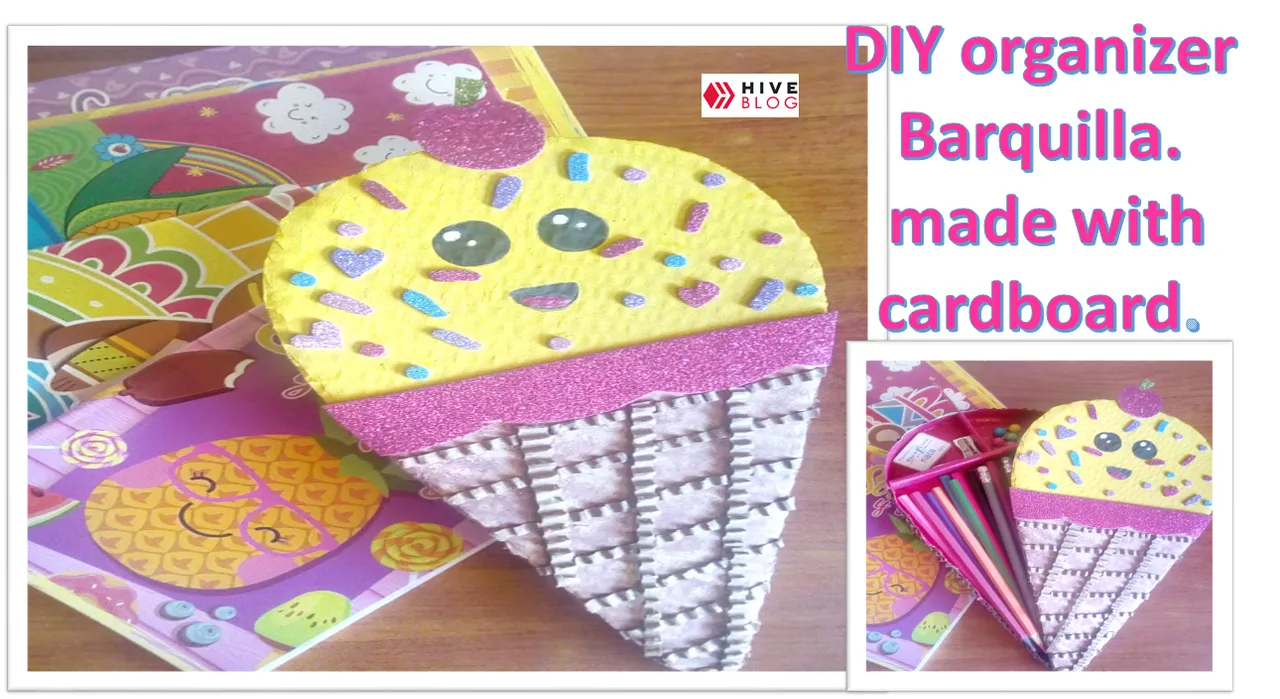
Siempre necesitamos un organizador en este caso para los materiales de dibujo como; lápices, crayones, borradores, sacapuntas, tachuelas y otros materiales que queremos tener organizados en un solo lugar y evitar perder cualquiera de estos.
Great Hive community, I hope you have an excellent and profitable day, this time I bring you a DIY, easy and useful, organizer in the form of a basket, made with cardboard.
We always need an organizer in this case for drawing materials such as; pencils, crayons, erasers, pencil sharpeners, tacks and other materials that we want to have organized in one place and avoid losing any
Para realizar esta dulce manualidad necesitamos:
- Cartón.
- Foami fucsia, morado, violeta y turquesa.
- Pintura amarilla, negra, blanca, marrón y rosada.
- Pegamento blanco o silicon liquido.
- Papel crepe fucsia
- Tachuela giratoria.
- palo de globo.
- Tijera
- Lápiz
To make this sweet craft we need:
- Cardboard.
- Fuchsia, purple, violet and turquoise Foami.
- Yellow, black, white, brown and pink paint.
- White glue or liquid silicone.
- Fuchsia crepe paper
- Rotating tack.
- Balloon stick.
- Scissors
- Pencil
Ahora manos a la obra
Now let's get down to work.
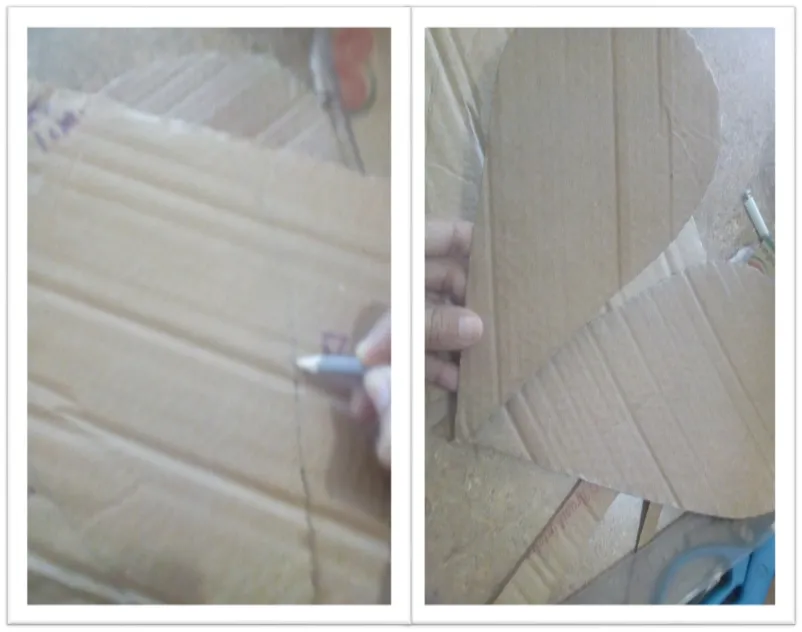
Traza dos silueta en forma de barquilla, de 28 cm de largo por 16 cm de ancho en el cartón, parte cónica se reduce a 9 cm y al final a 5 cm.
Draw two silhouettes in the shape of a basket, 28 cm long by 16 cm wide on the cardboard, the conical part is reduced to 9 cm and at the end to 5 cm.
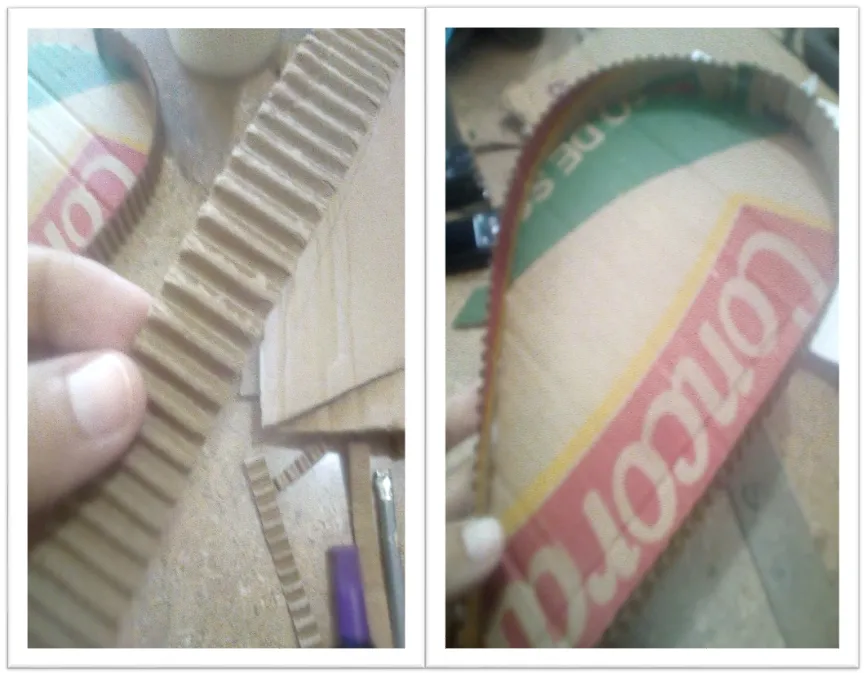
Traza un listón de 3 cm de ancho por 30 cm de largo, retira una de las capas del cartón, para descubrir la parte corrugada, pega este a una de las figuras en forma de barquilla, por todo el alrededor.
Draw a ribbon 3 cm wide by 30 cm long, remove one of the layers of cardboard to reveal the corrugated part, glue it to one of the figures in the shape of a basket, all around.
Recorta un listón de papel crepe fucsia de 3 cm por 30 cm de largo y pega por la orilla, dentro de la caja, recorta una figura de barquilla en el papel crepe de 27 cm de largo por 16 cm de ancho y pega en la parte de adentro de la caja.
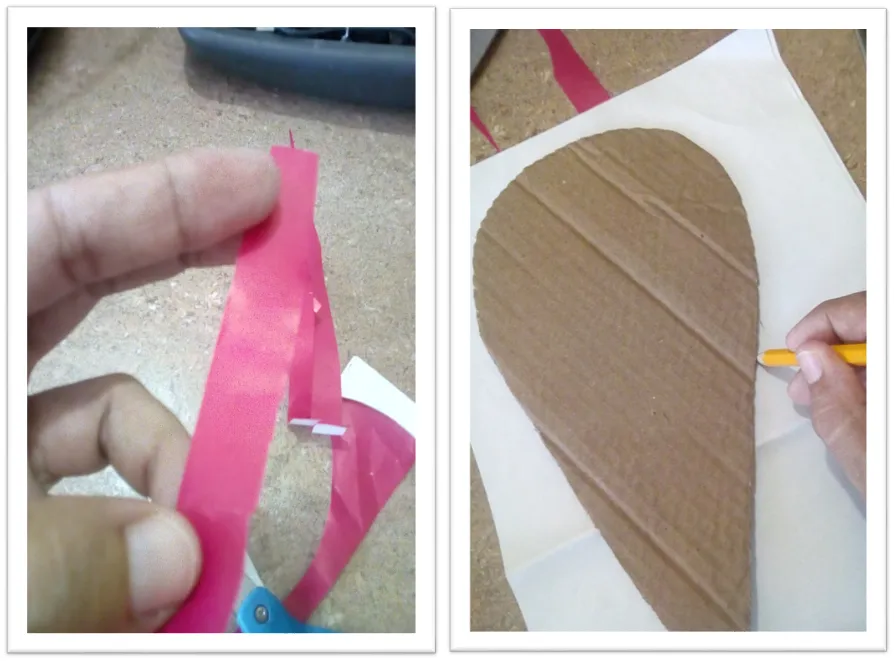
Cut a fuchsia crepe paper ribbon 3 cm long by 30 cm long and glue around the edge, inside the box, cut a basket shape out of the crepe paper 27 cm long by 16 cm wide and glue on the inside of the box.
Recorta dos trozos de cartón, uno de 15 cm de largo por 2 cm de ancho y otro de 2 cm de ancho por 2 cm de largo y pega en la parte de arriba de la figura para crear divisiones, con estos pasos ya tienes listo la parte de abajo del organizador.

Cut out two pieces of cardboard, one 15 cm long by 2 cm wide and the other 2 cm wide by 2 cm long and glue on the top of the figure to create divisions, with these steps you now have the bottom of the organizer ready.
Con ayuda de un lápiz, perfora la parte de arriba y de abajo al final en la parte cónica de la barquilla, introduce por el orificio la tachuela giratoria, coloca dentro del tubo plástico, el cual debes recortar a un largo de 2 cm, pasa la parte de abajo de la tachuela en la parte de abajo del organizador, fija y listo, ambas partes ya están unidas, la parte de arriba ya puede girar a ambos lados.
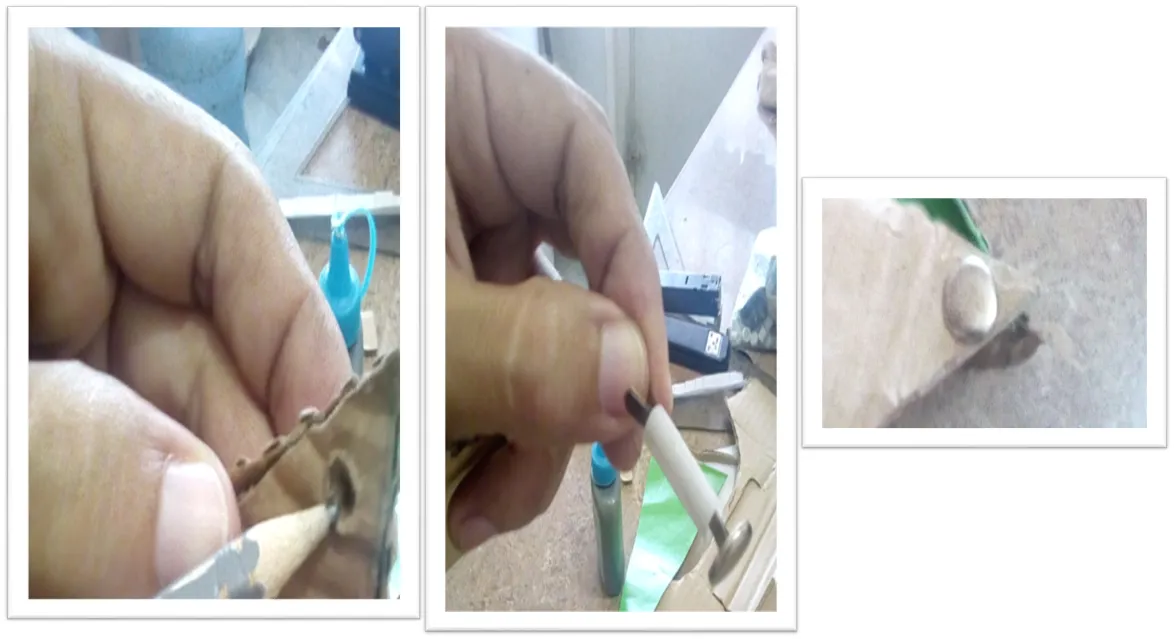
With the help of a pencil, pierce the top and bottom at the end in the conical part of the basket, insert through the hole the rotating tack, place inside the plastic tube, which you must cut to a length of 2 cm, pass the bottom of the tack in the bottom of the organizer, fix and ready, both parts are already joined, the top part can now rotate on both sides.
Para la parte de arriba o tapa, dibuja en la parte del medio, la forma del borde de la barquilla para dividir, pinta la parte de arriba de amarillo y la parte cónica pinta de marrón utilizando una esponja, deja secar.
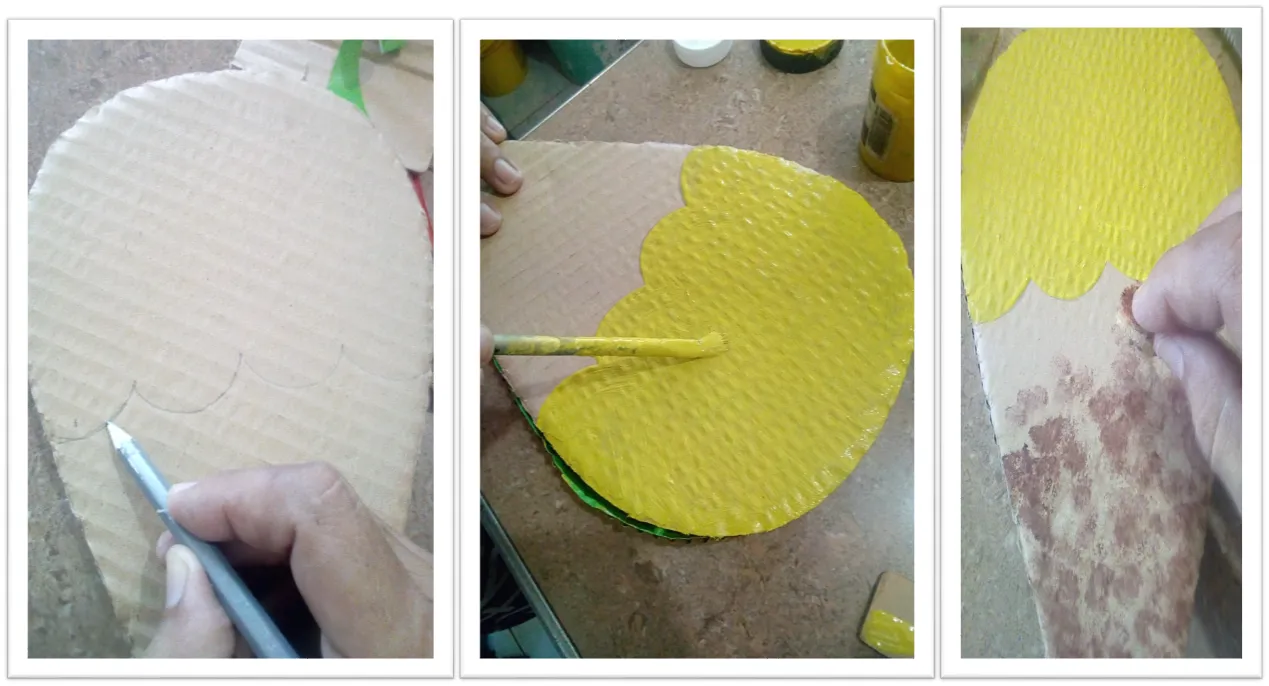
For the top part or lid, draw in the middle part, the shape of the edge of the basket to divide, paint the top part in yellow and the conical part in brown using a sponge, let it dry.
Dibuja los ojos y la boca en la parte amarilla de la figura, utiliza las pintura negra aplica a todo los ojos, deja secar y pinta dos pequeños círculos blancos en cada ojo, para la boca pinta una parte de negra y otra de rosado y listo ya tienes la carita de la barquilla.
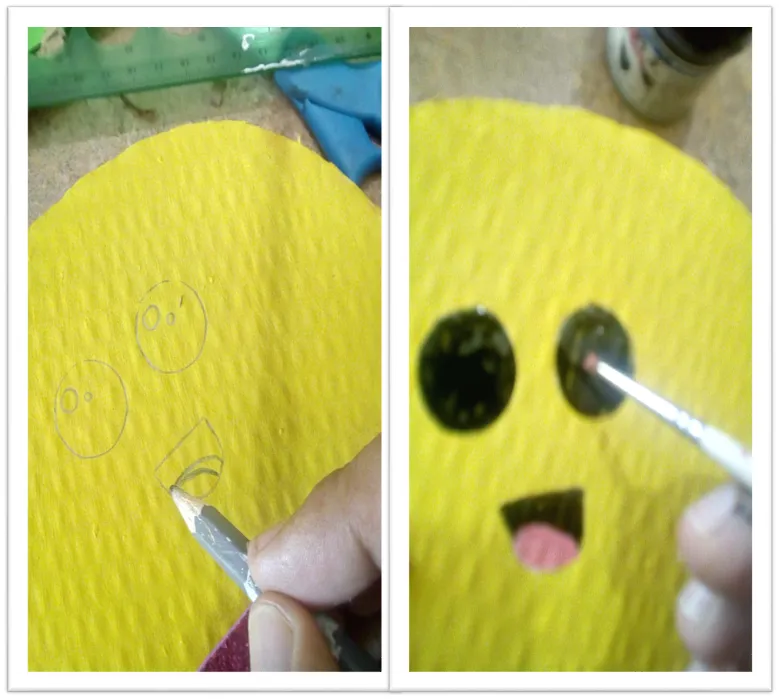
Draw the eyes and the mouth on the yellow part of the figure, use the black paint, apply it to the eyes, let it dry and paint two small white circles on each eye, for the mouth paint one part black and the other pink and you have the face of the little boat.
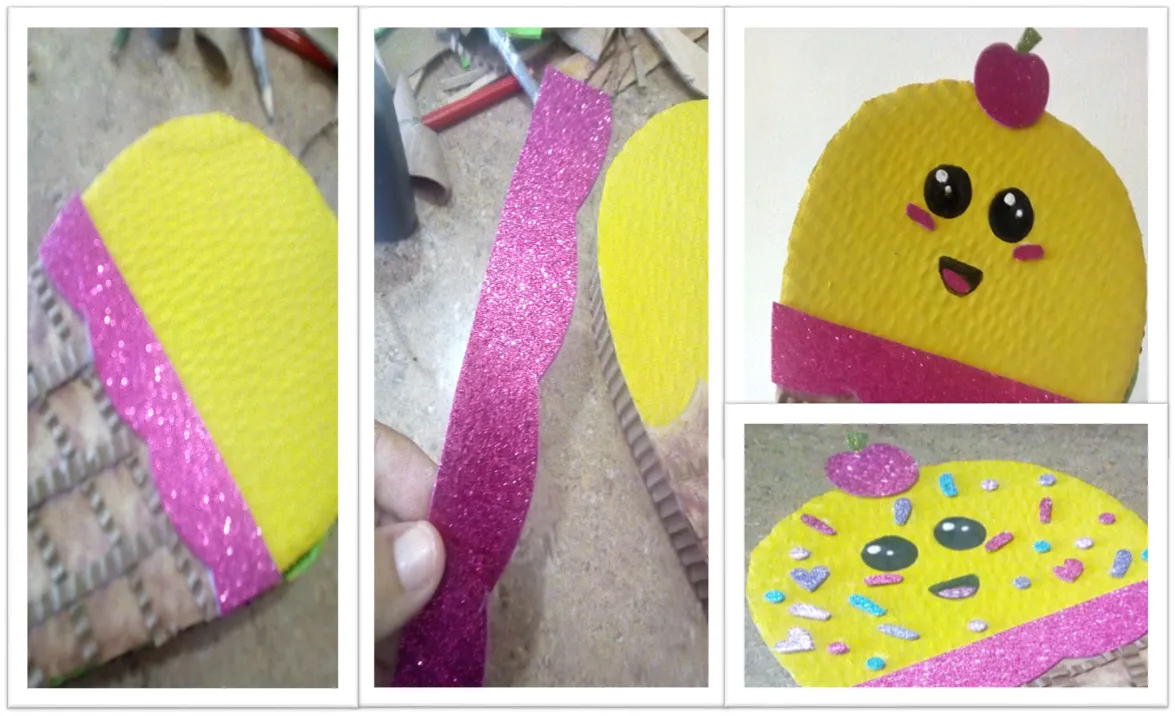
Para decorar recorta figuras como; corazones, círculos y coloca a todo la figura, traza y recorta la figura de una cereza, arma y pega en la parte de arriba de la barquilla, traza un listón de foami fucsia de 3 cm de ancho y 16 cm de largo, una de las partes recorta en forma de semi círculos y pega en la división de las dos partes.
To decorate cut out figures such as hearts, circles and place the whole figure, trace and cut out the figure of a cherry, assemble and glue on the top of the basket, trace a fuchsia foami ribbon 3 cm wide and 16 cm long, one of the parts cut in the form of half circles and glue in the division of the two parts.
Para la parte cónica, recorta listones pequeños y finos del cartón corrugado y pega horizontal y vertical, para crear el efecto rugoso de un cono de barquilla.
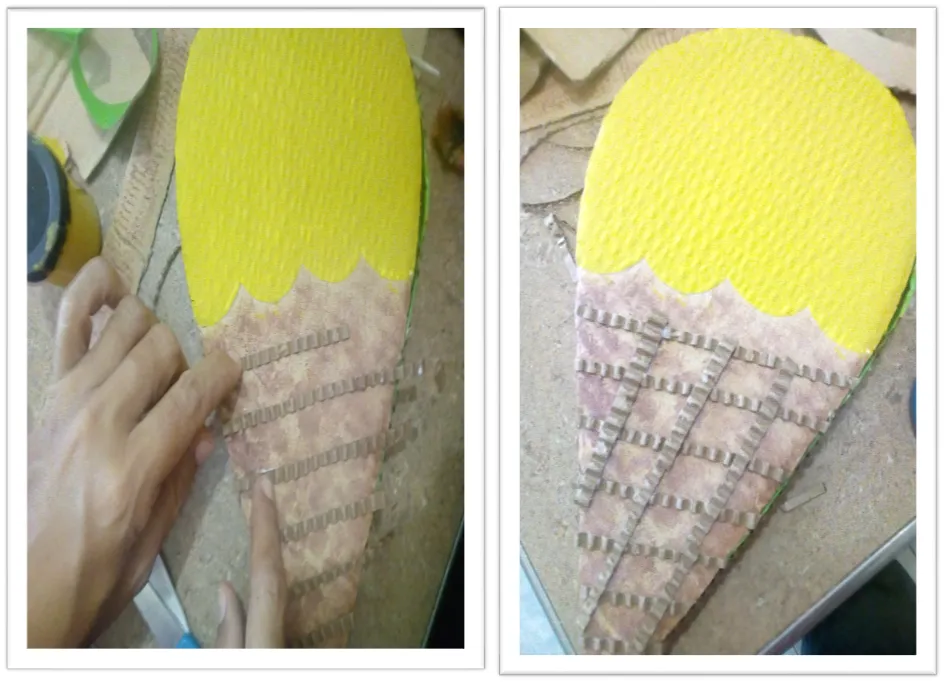
For the conical part, cut small, thin strips from corrugated cardboard and glue horizontally and vertically, to create the rough effect of a waffle cone.
Listo estos pasos ya tienes tu organizador, el cual no solo se vera delicioso sino sera muy útil para organizar el material de tu preferencia, si tienes niños en casa, de seguro les va ha encantar.
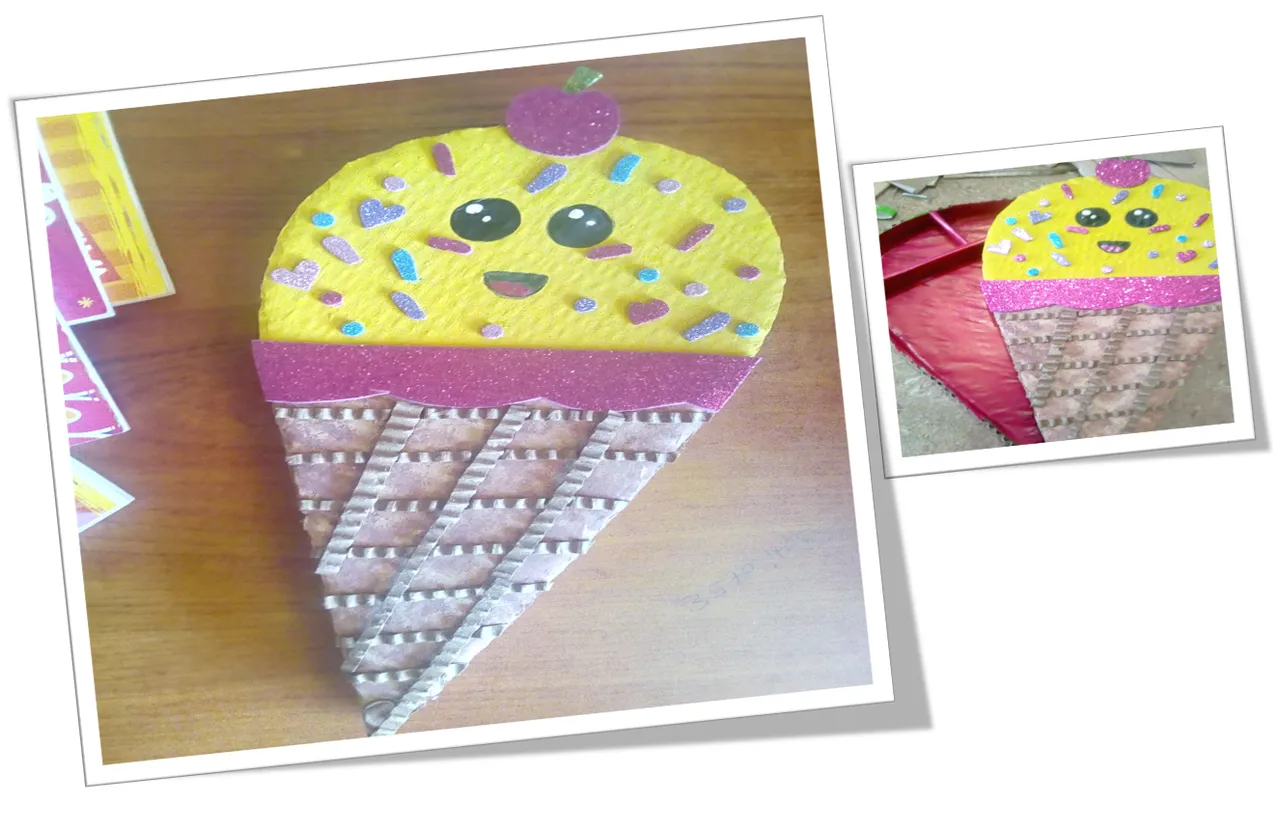
Ready these steps and you have your organizer, which will not only look delicious but will be very useful to organize the material of your choice, if you have children at home, surely they will love it.

Recuerda la creatividad nos hace infinitos. reciclar es sanar nuestro planeta.
Gracias por leerme.
Remember creativity makes us infinite. Recycling is healing our planet.
Thanks for reading.
Fotografías de mi álbum manualidades
Photographs from my handicrafts album
Traducido con https://www.deepl.com/