Hola mis amigos de Hive en especial la comunidad @build-it seguimos innovando, creando para todos ustedes nuevas y sencillas decoraciones para su hogar, en esta oportunidad elabore un adorno decorativo para la nevera una mariquita, les informare paso a paso para que puedan hacerlas y permitirse disfrutar de este bonito adorno con material de provecho.
Hello my friends of Hive especially the community @build-it we continue innovating, creating for all of you new and simple decorations for your home, this time I made a decorative ornament for the fridge a ladybug, I will inform you step by step so you can make them and allow you to enjoy this beautiful ornament with useful material.
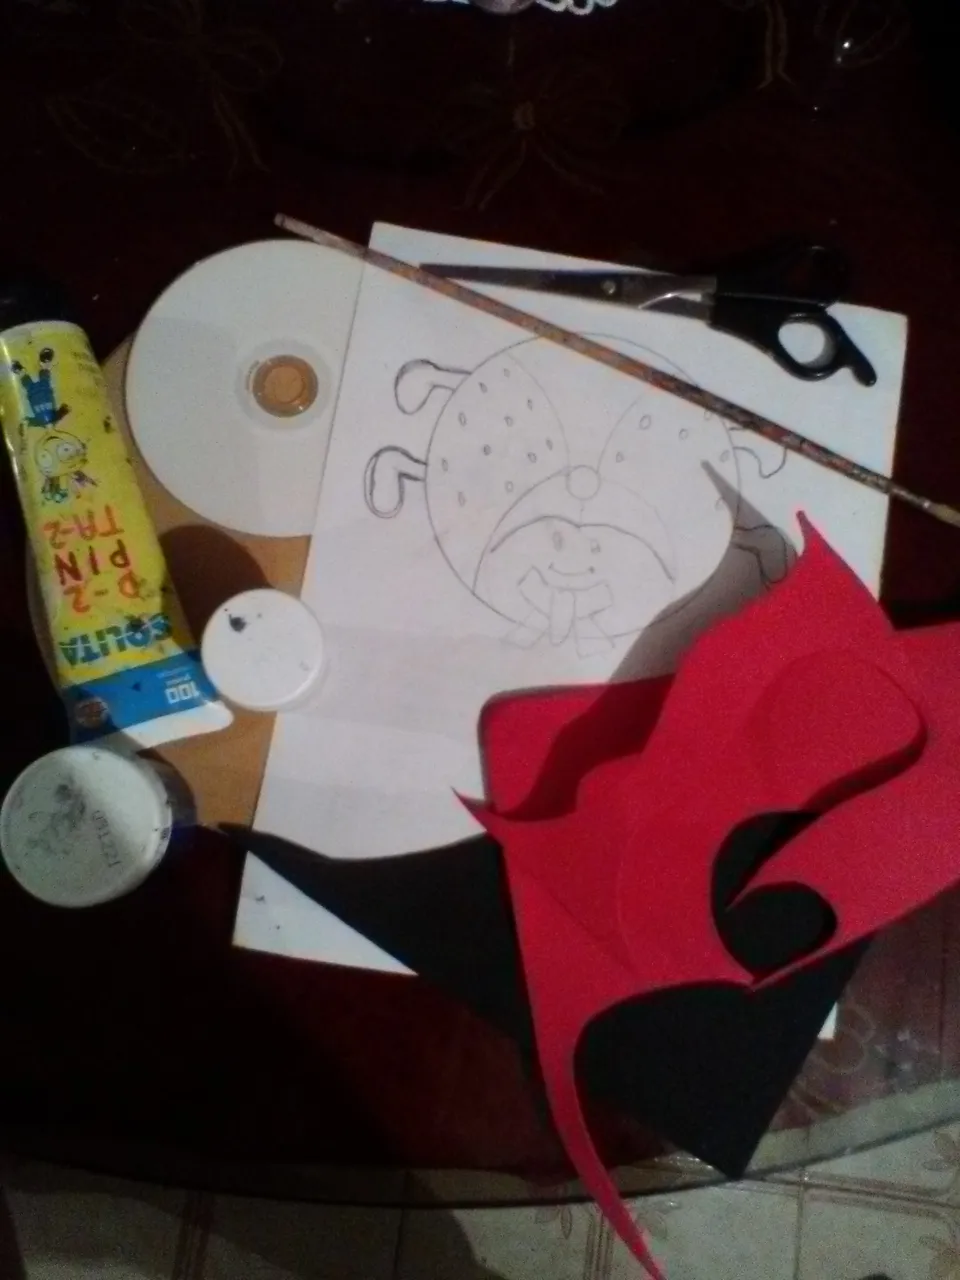
Materiales:
- Cd viejo
- retazos de foamis rojo, negro, blanco y verde
- tijera
- silicon
- pincel
- cartón
- pedacito de cinta estampada
- boceto del motivo
Materials:
- Old CD
- red, black, white, white and green foamis
- scissors
- silicon
- paintbrush
- cardboard
- piece of patterned ribbon
- sketch of the motif.
Pasos:
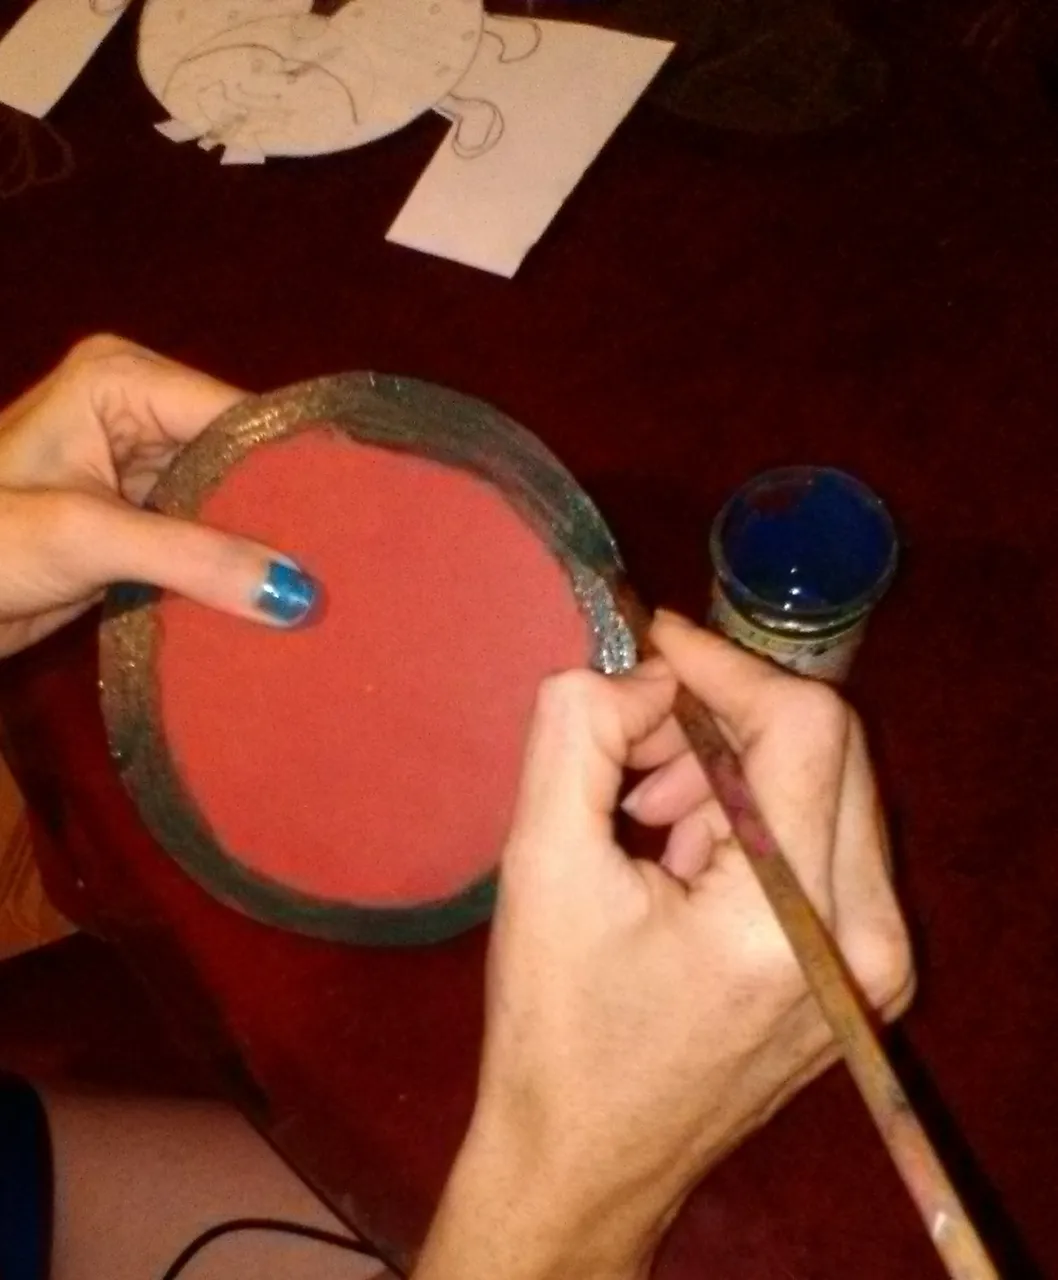
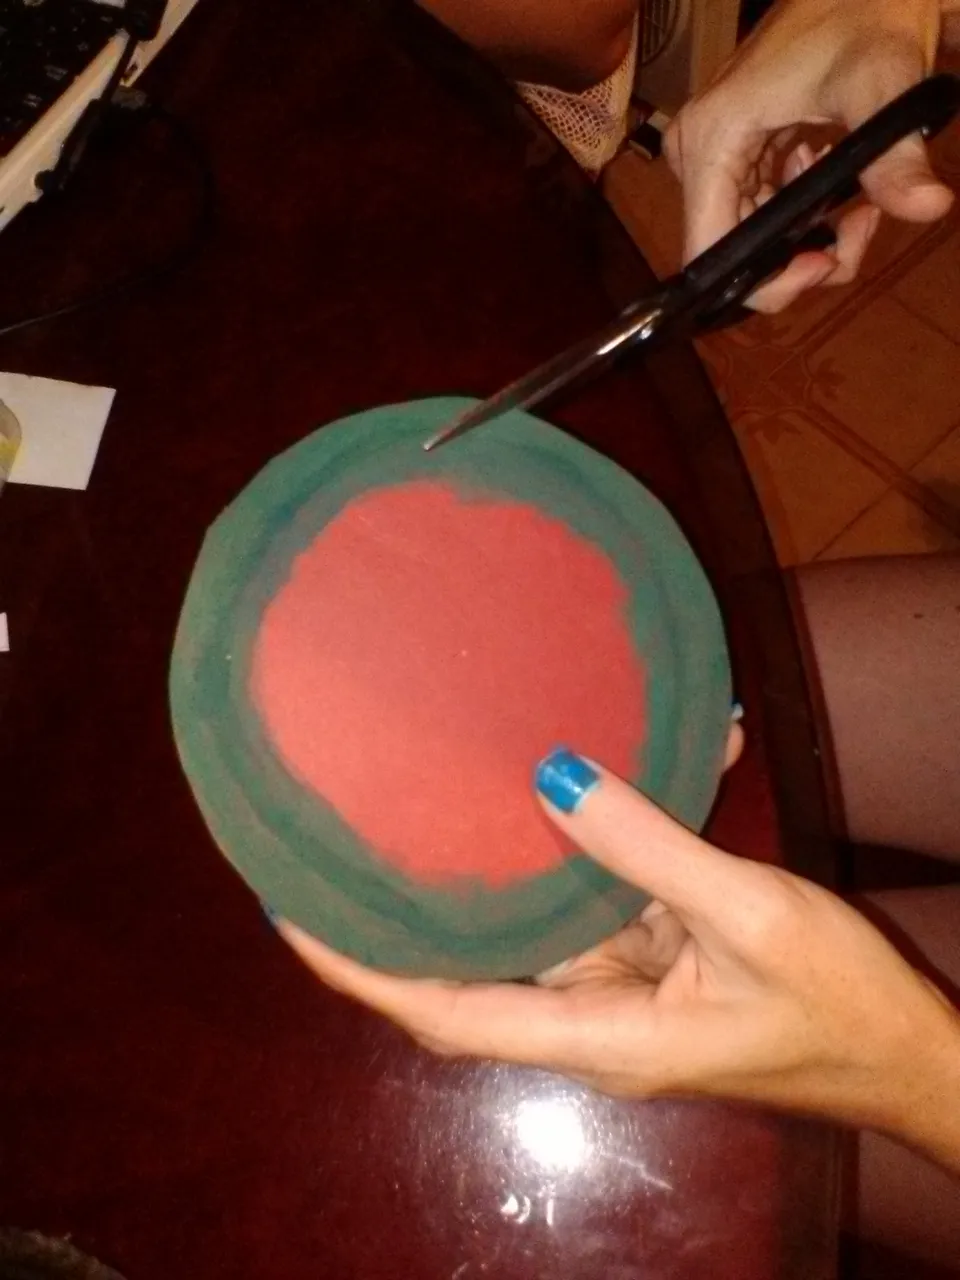
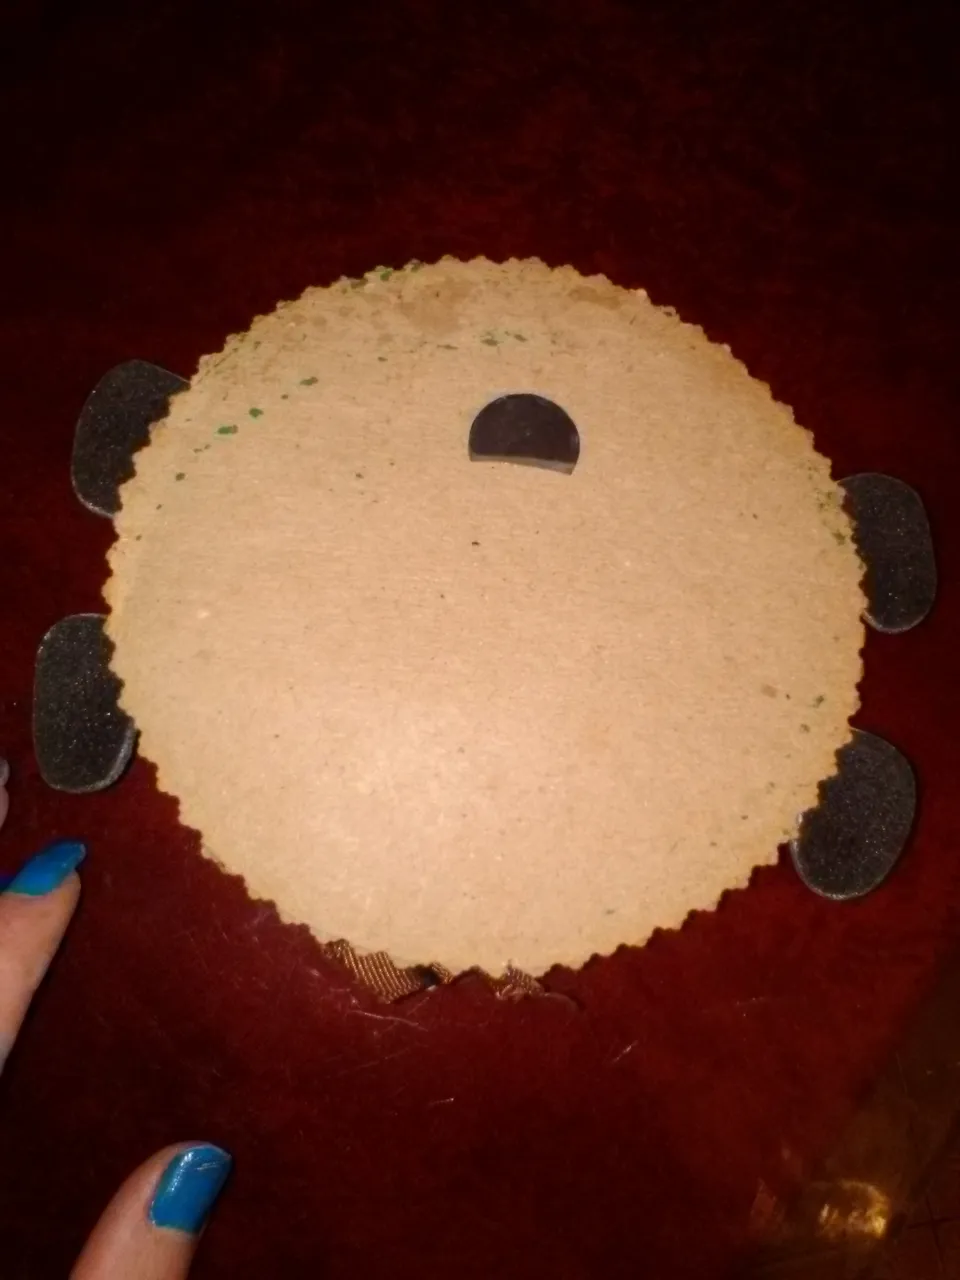
Marcar, recortar un circulo en cartón y pintar el borde de color verde.
Steps:
Mark, cut out a circle in cardboard and paint the border green.
Recortar el boceto, pegar en el cd y con el pincel pintamos de color negro la parte central superior de la mariquita.
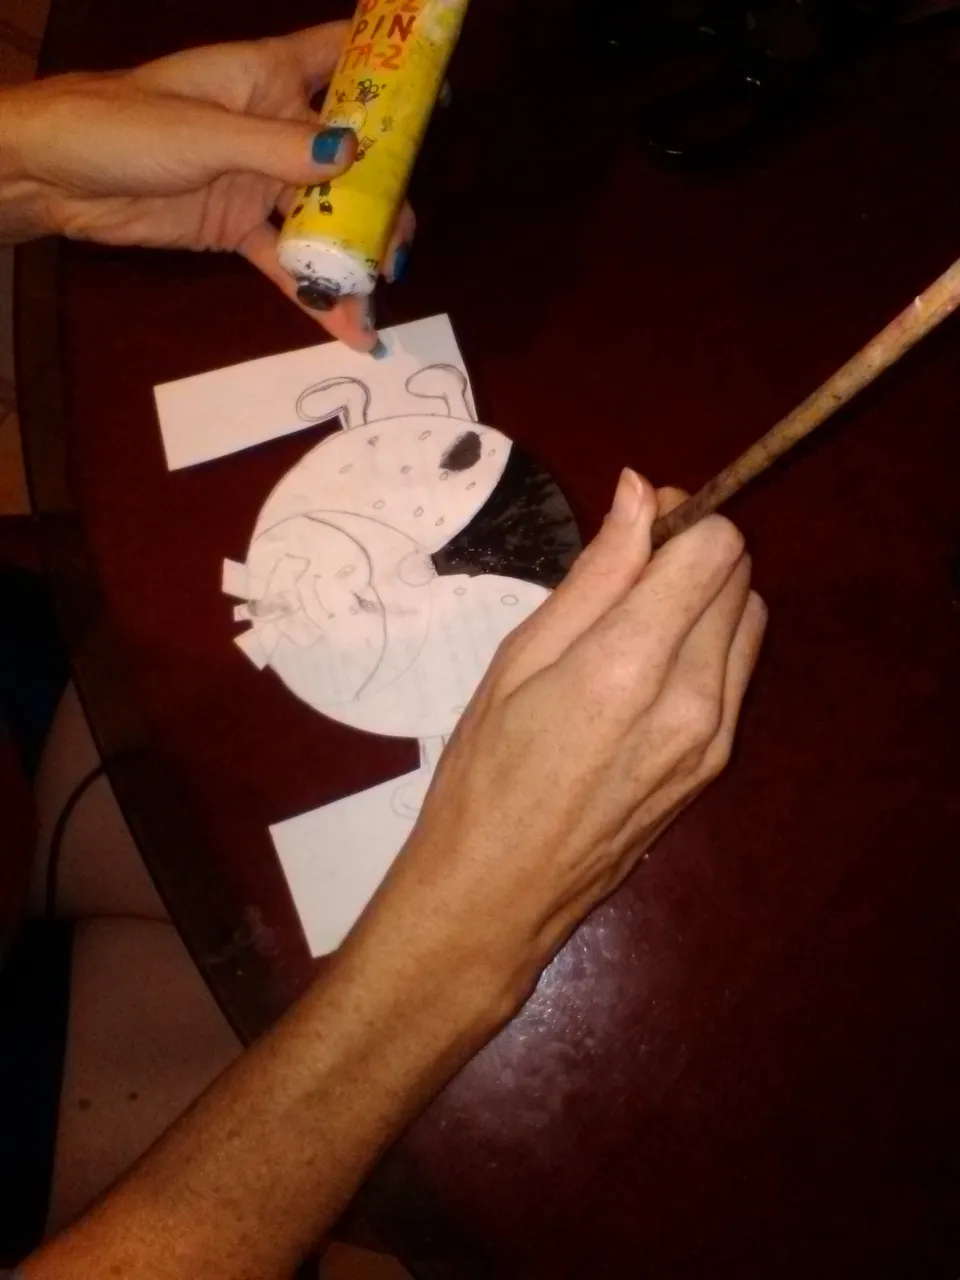
Cut out the sketch, paste it on the CD and with the brush we paint the upper central part of the ladybug in black.
Marcar, recortar el foami rojo para las alas de la mariquita.
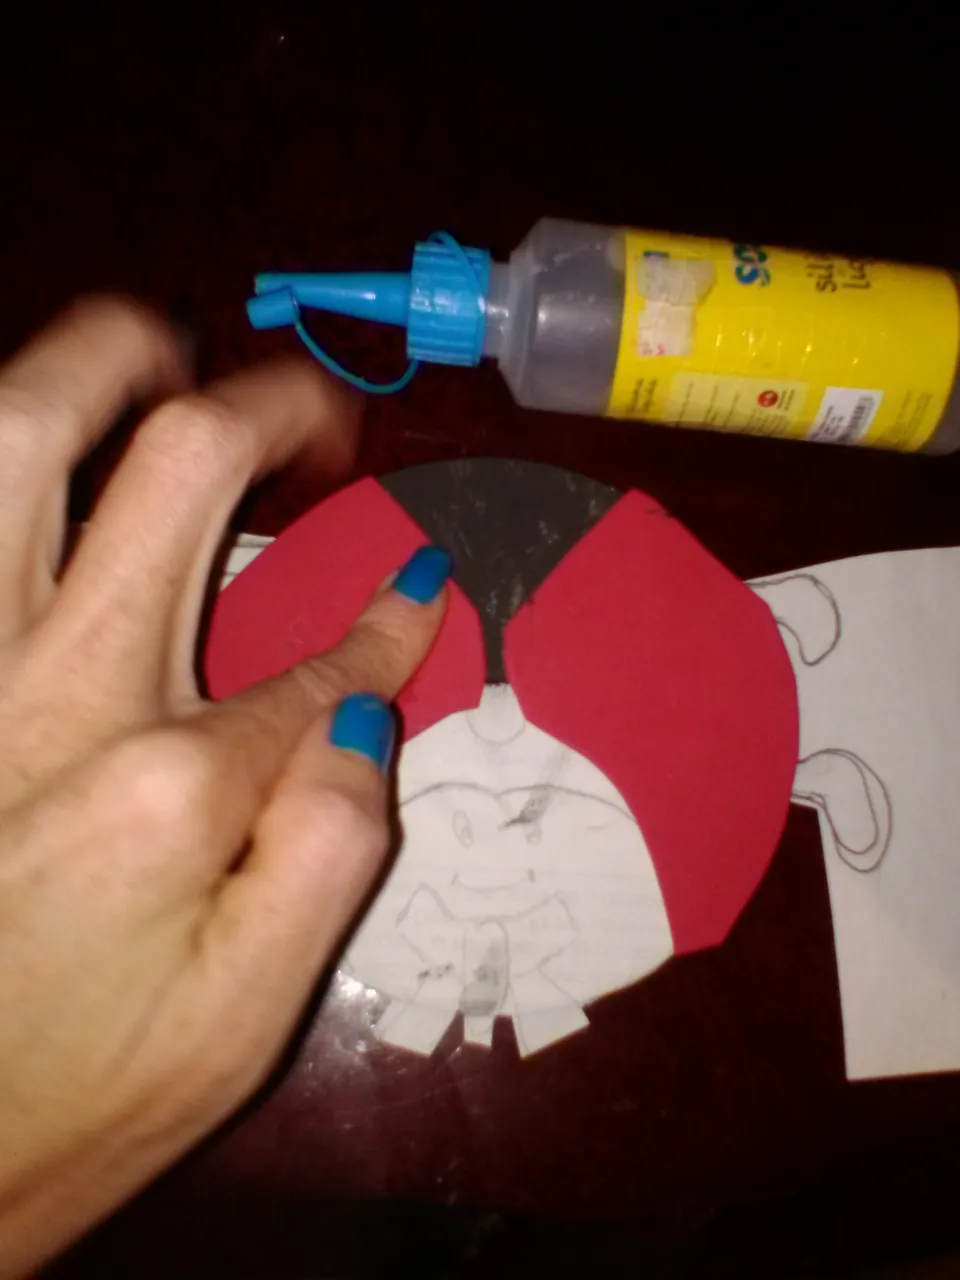
Mark, cut out the red foami for the ladybug's wings.
Para la cabeza hacemos un circulo y si tenemos foami de color carne mejor pero en este caso coloque el amarillo.
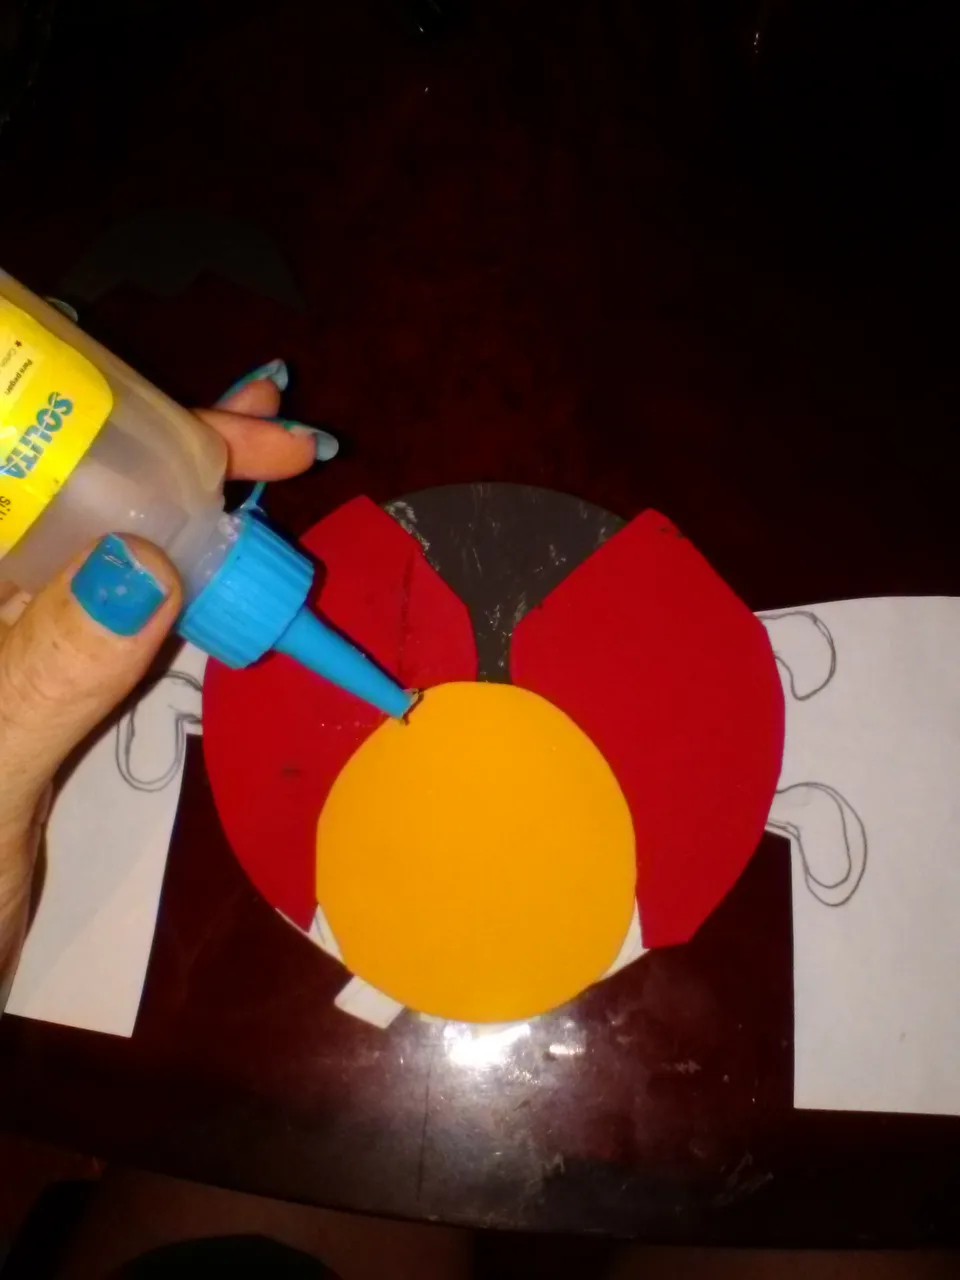
For the head we make a circle and if we have flesh-colored foami better but in this case I put the yellow one.
Seguidamente marcar y recortar el cabello con el foami negro, pegar a la cabeza y también las 4 patitas.
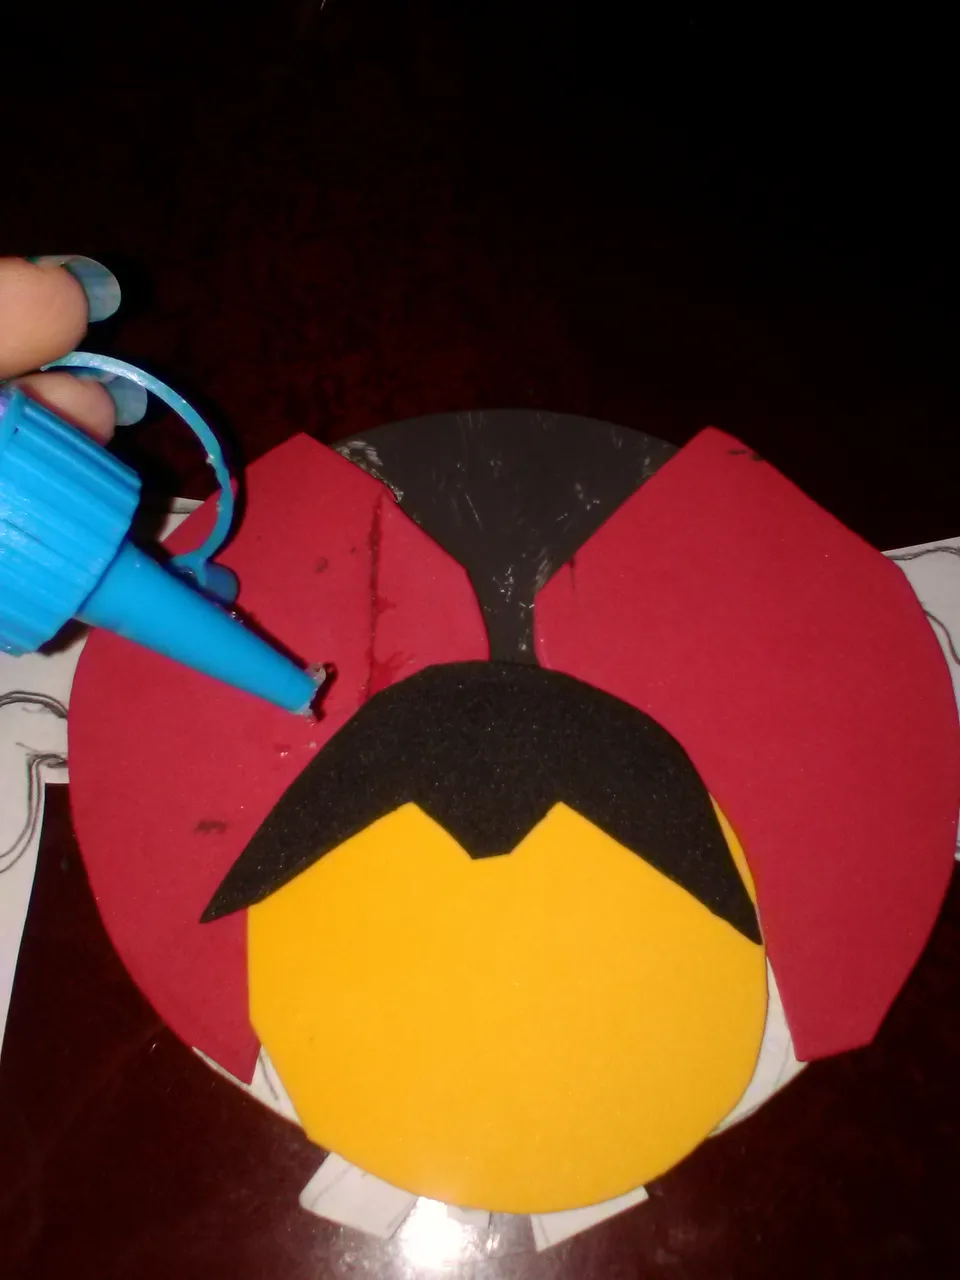
Then mark and cut out the hair with the black foami, glue it to the head and also the 4 little legs.
Con el filo del pincel lo mojamos con la pintura negra y seguidamente con la pintura blanca para hacer puntos dispersos en las alas de la mariquita.
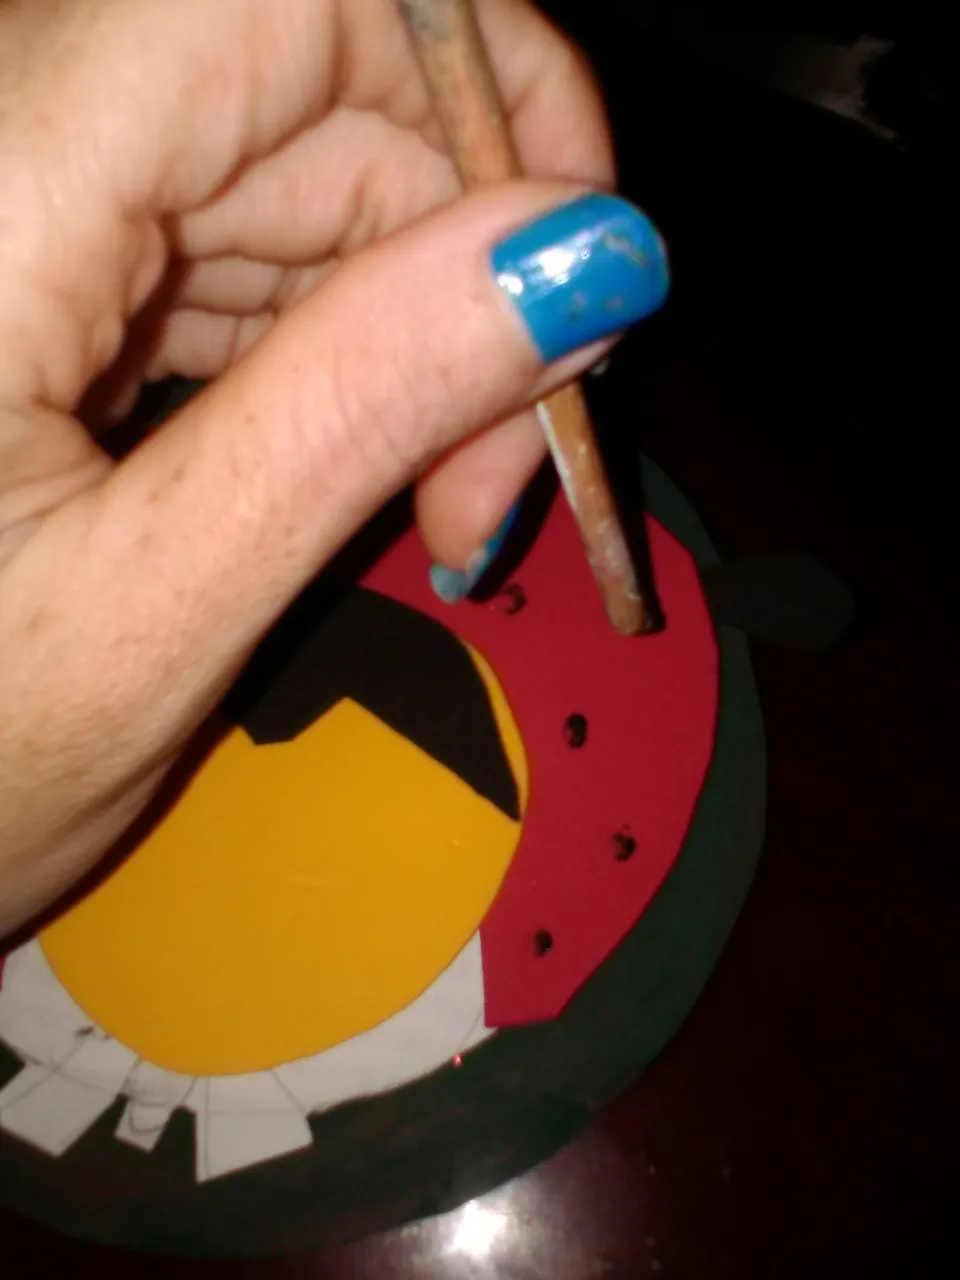
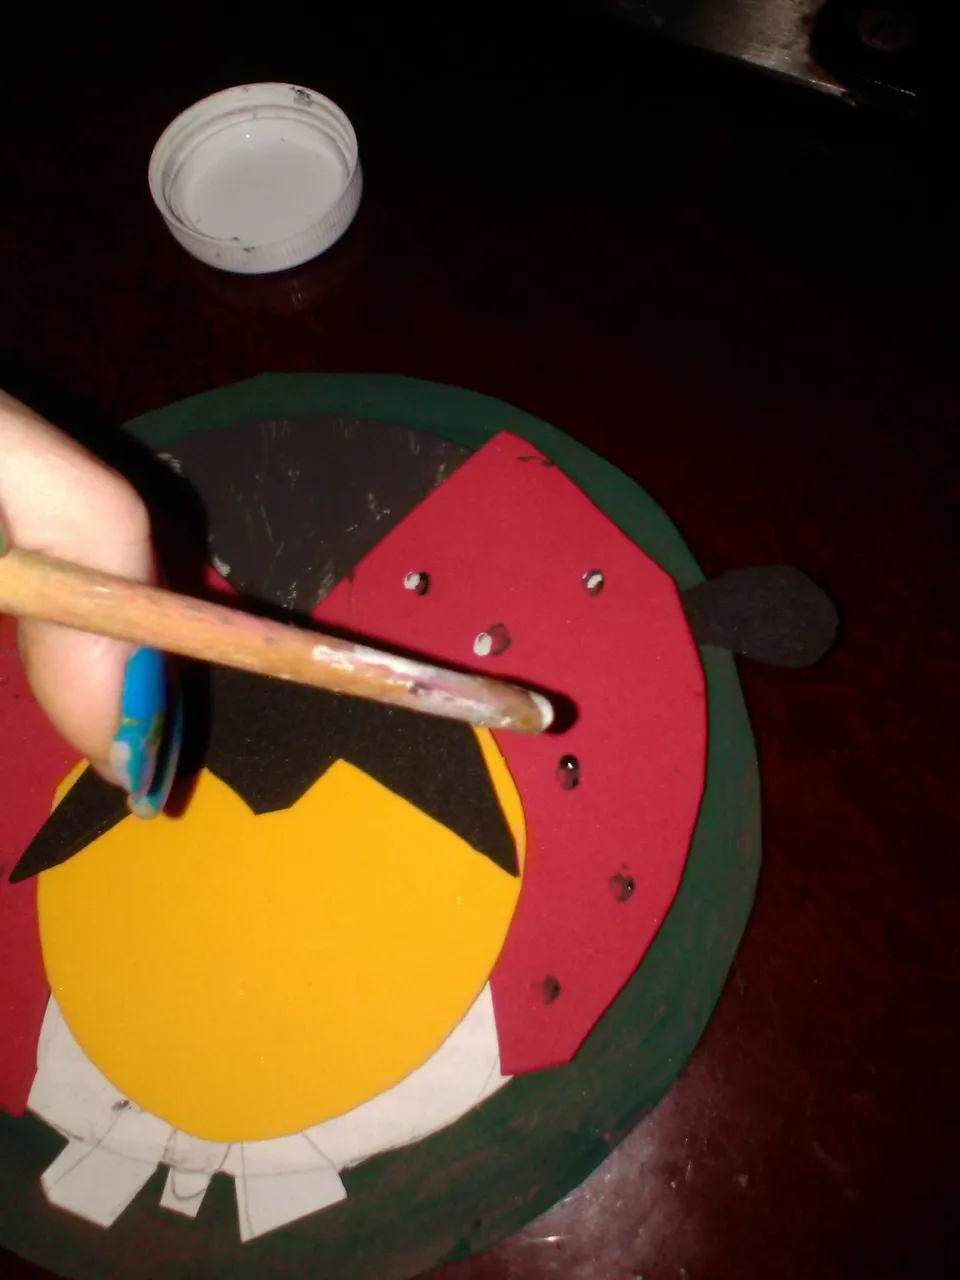
With the edge of the brush we wet it with the black paint and then with the white paint to make scattered dots on the wings of the ladybug.
Con la pintura blanca pintamos la cara del animalito de foami para darle un tono de color beige.
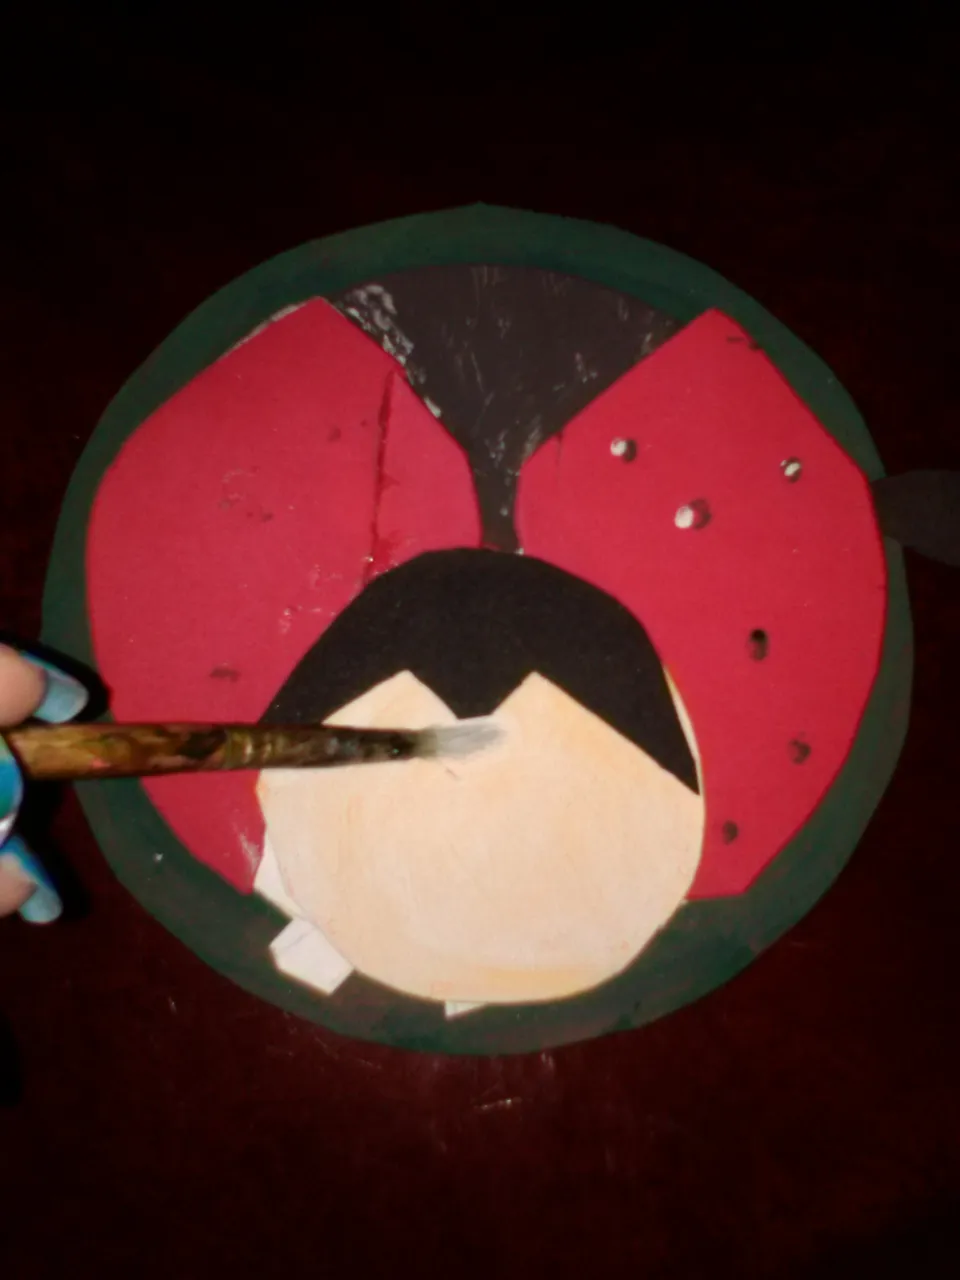
With the white paint we paint the face of the foami animal to give it a beige color tone.
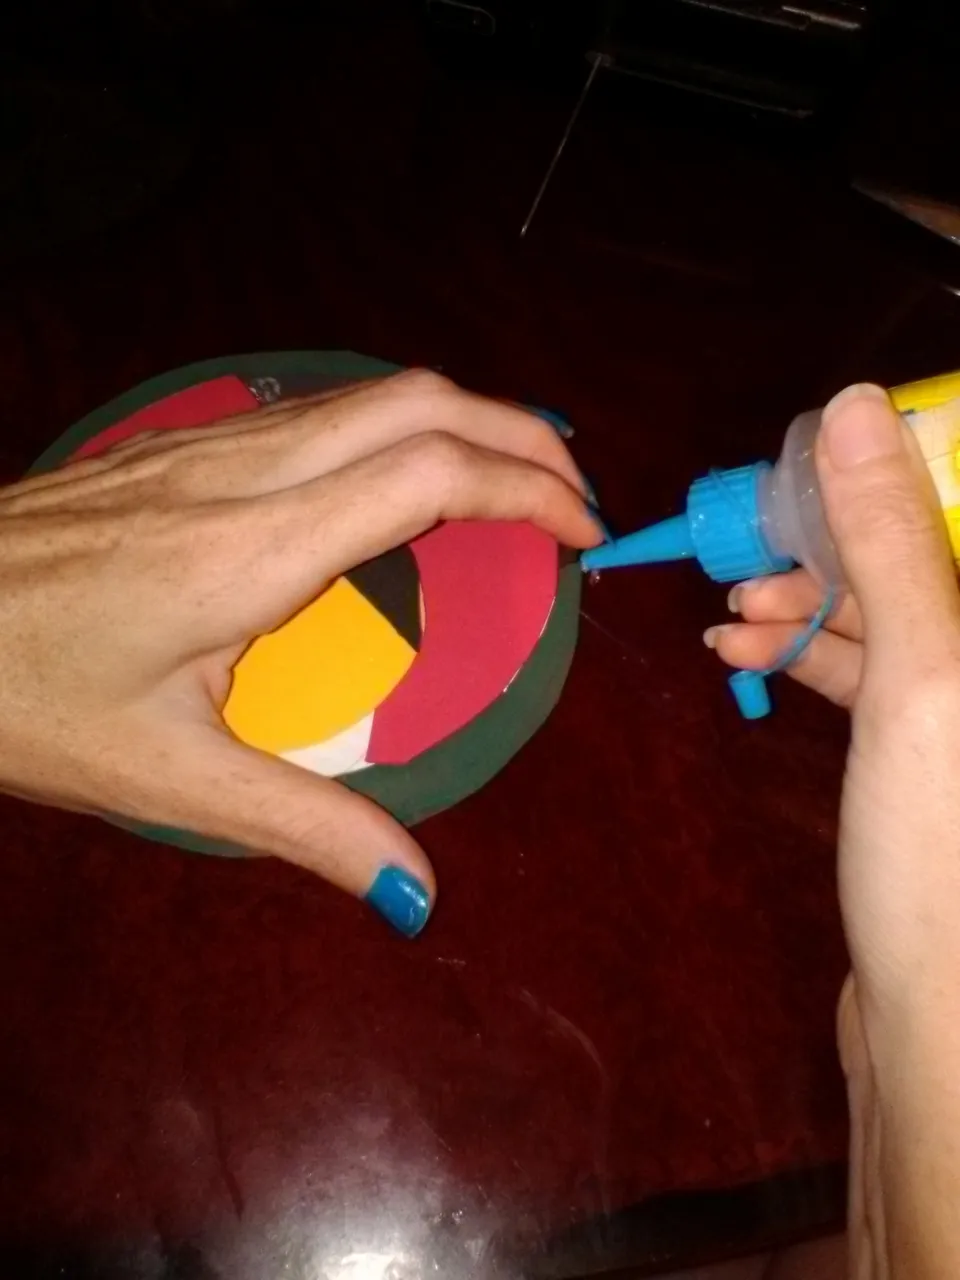
Con una tijera recortamos picos en el borde del cartón en forma de zigzag y pegar al cd, retocar nuevamente hasta lograr el color uniforme también con un poco de cinta estampada colocar un lazo de abordo luego se le pintara sus ojitos / boca y con un pincel muy delgado pintamos de color blanco finas lineas cortas para darle mas vistosidad y una mejor apariencia..
With a scissors we cut peaks on the edge of the cardboard in the form of zigzag and paste to the cd, retouch again to achieve uniform color also with a little tape stamped place a bow on board then we will paint his eyes / mouth and with a very thin brush paint white colored short thin lines to give it more colorful and better appearance.
Por la parte de atrás se le pega un pedacito de imán, para fijar en la nevera.
A small piece of magnet is glued on the back to attach it to the refrigerator.
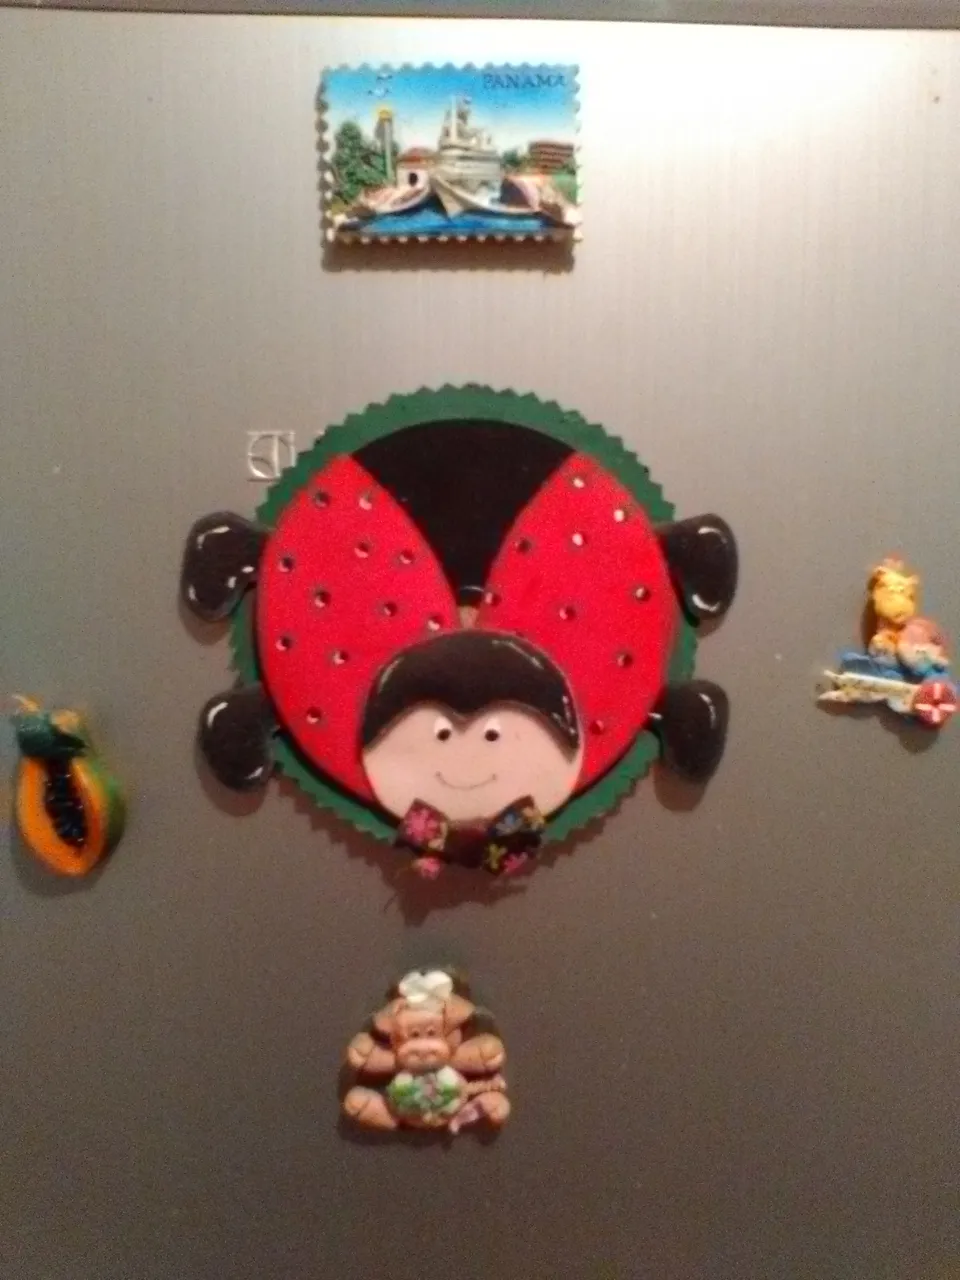
Presentación final del porta nevera.
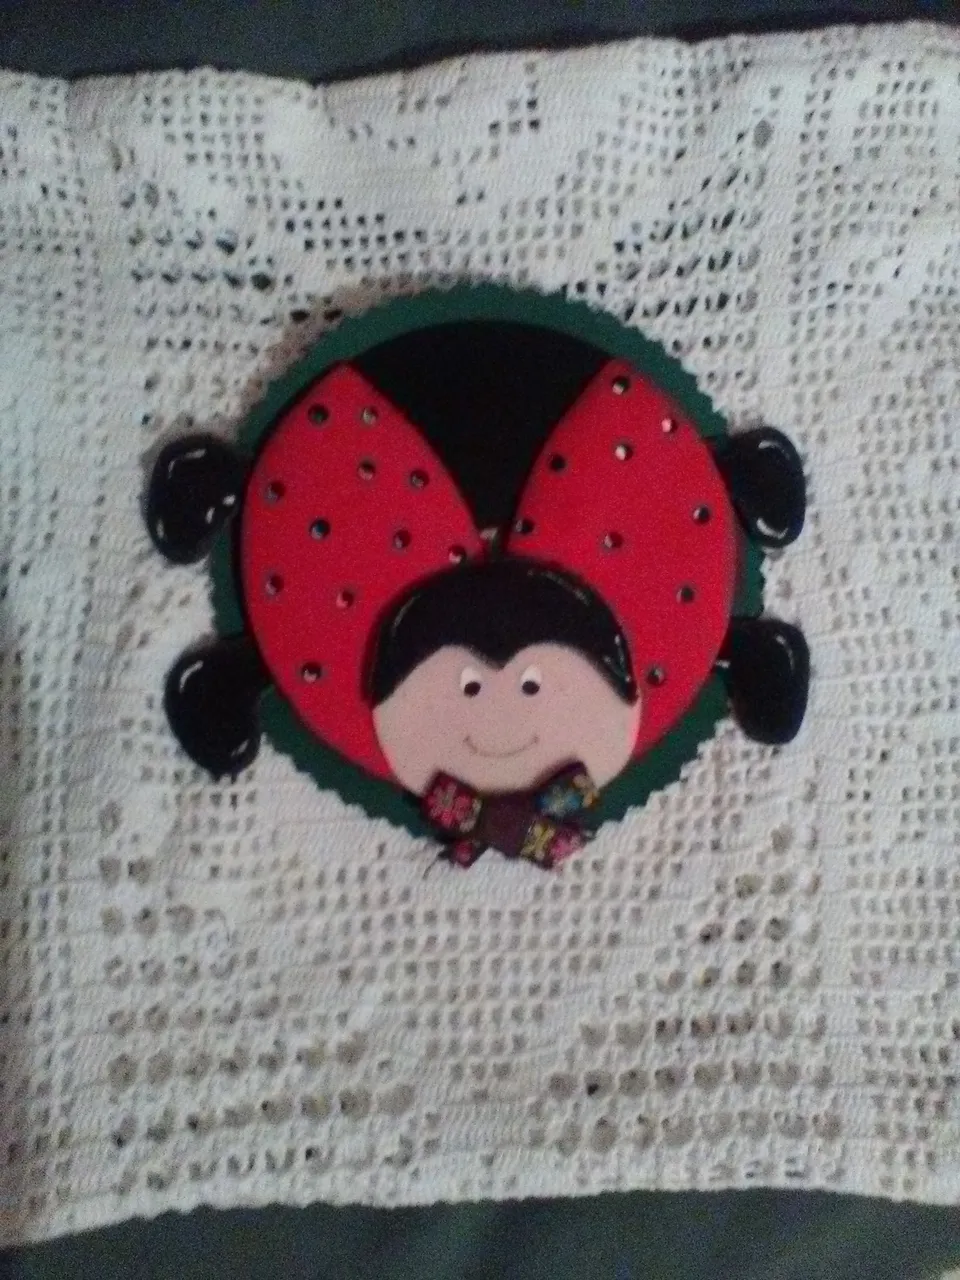
Final presentation of the refrigerator holder.