Esta noche quiero enseñarles a realizar un cuadro decorativo que podrás colocar en cualquier lugar de tu hogar, dando un toque de elegancia y color haciendo agradable tu vista.
Tonight I want to show you how to make a decorative painting that you can place anywhere in your home, giving a touch of elegance and color making your eyes look pleasant.
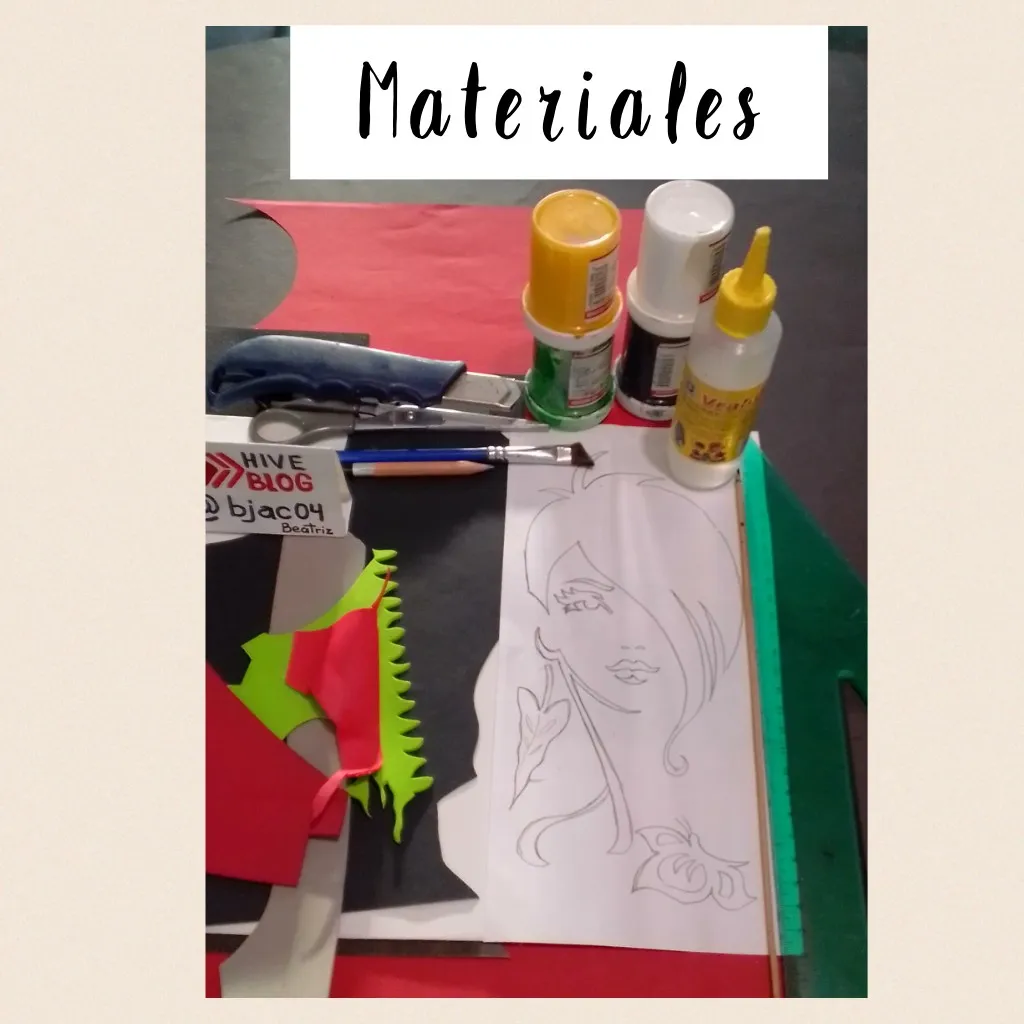
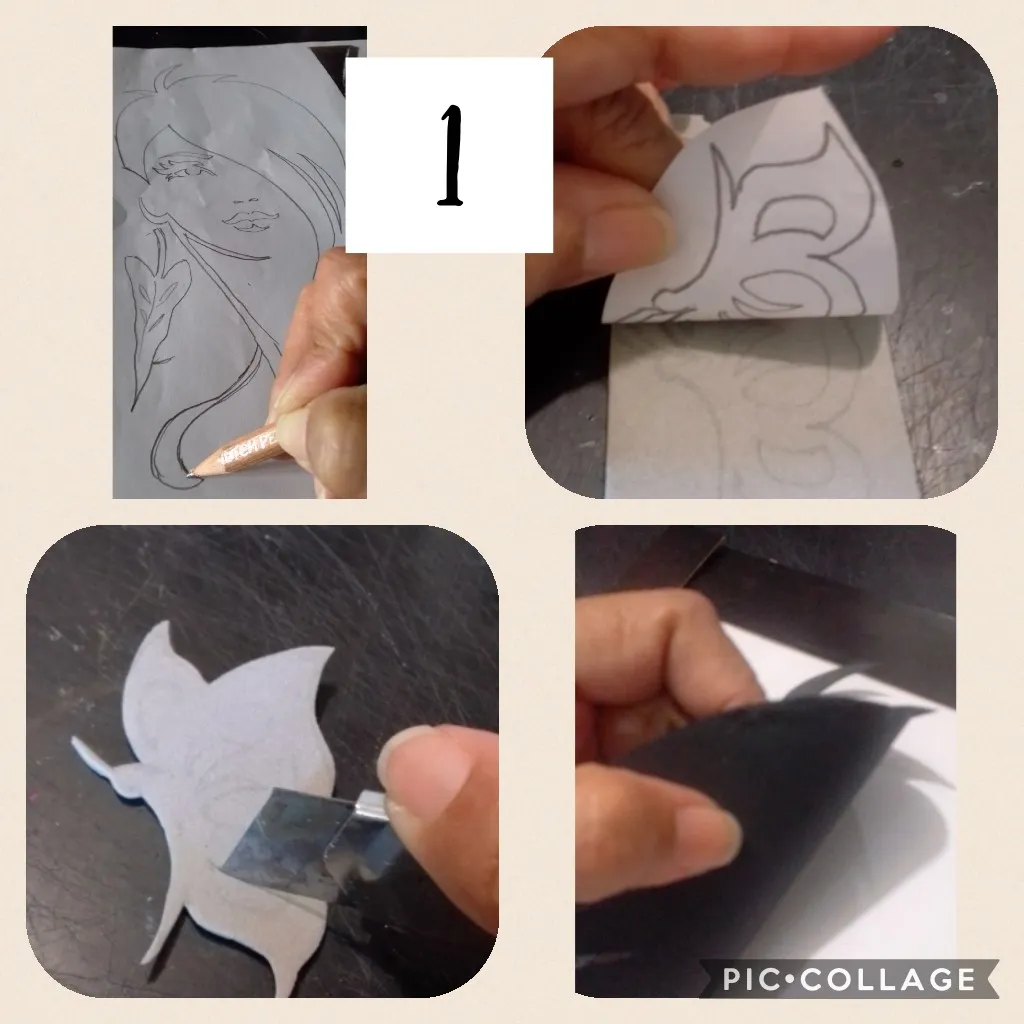
Dibujamos el rostro y repasamos para luego ir transfiriendo cada una de las piezas a recortar en el foami.
Cabello, boca, parte del rostro y cuello, zarcillo, y mariposa.
We draw the face and review it and then transfer each of the pieces to cut into the foami.
Hair, mouth, part of the face and neck, tendril, and butterfly.
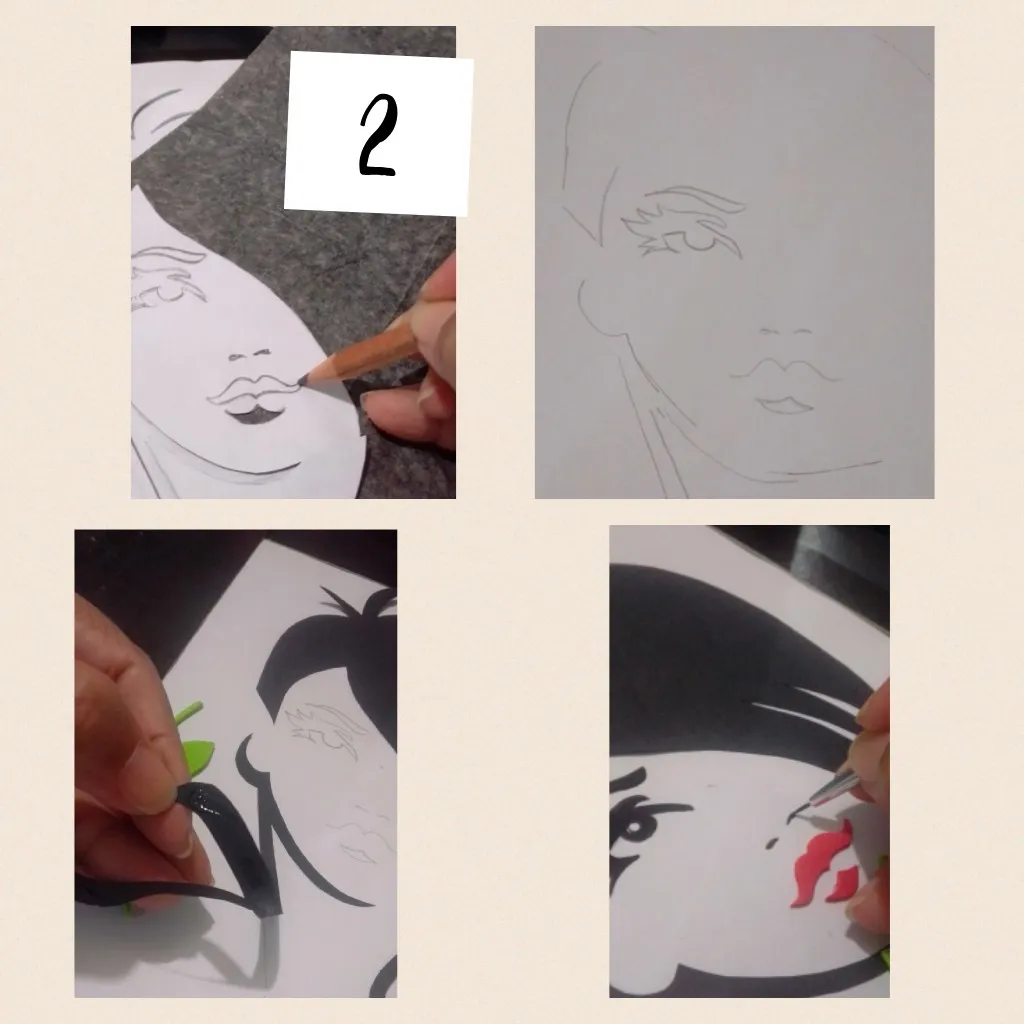
Transferimos el rostro al foami blanco, procedemos a pegar las piezas recortadas y pintamos ojos y naríz con pincel, también puedes hacerlo con marcadores punta fina, si no sabes trabajar bien con pincel...
We transfer the face to the white foami, we proceed to glue the cut pieces and paint eyes and nose with a brush, you can also do it with fine-tip markers, if you don't know how to work well with a brush ...
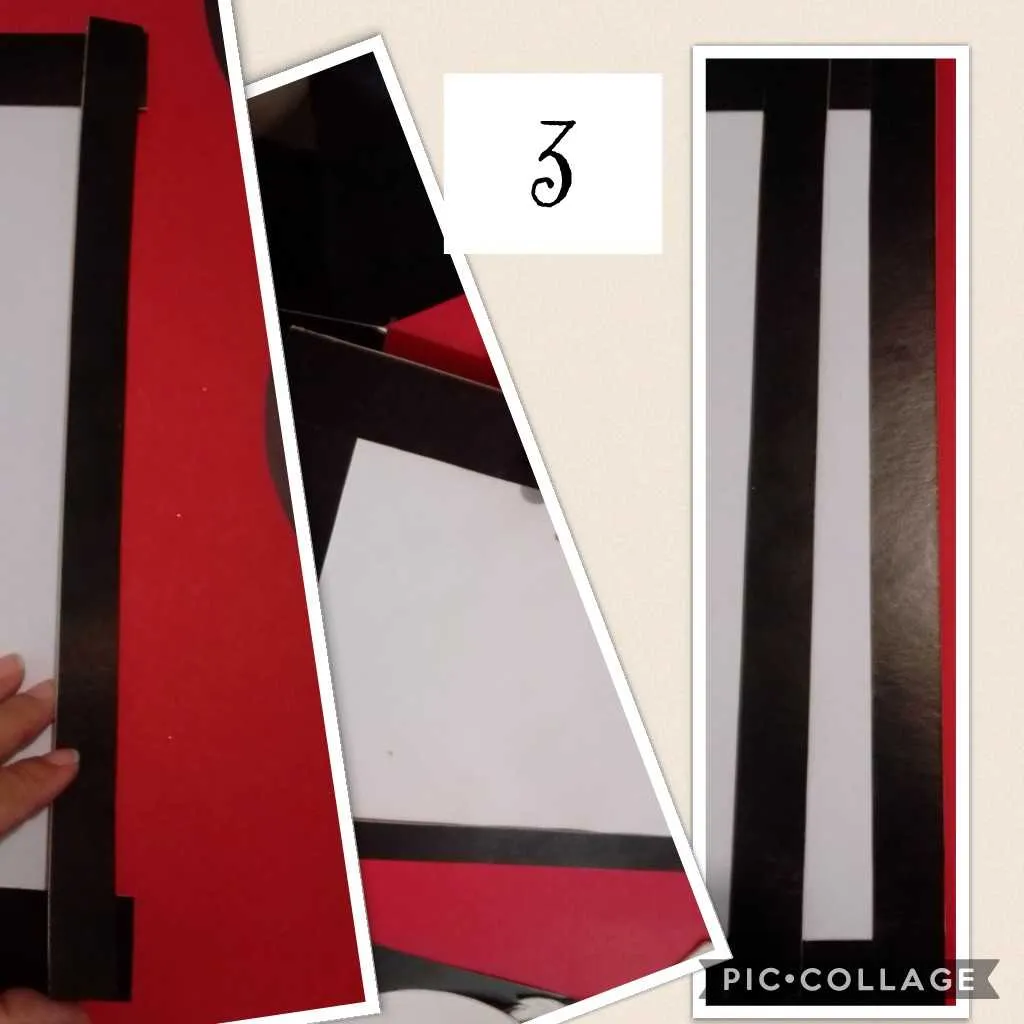
Aquí recortamos cuatro (4) tiras de cartulina para armar el marco del cuadro.
Here we cut out four (4) cardboard strips to assemble the picture frame.
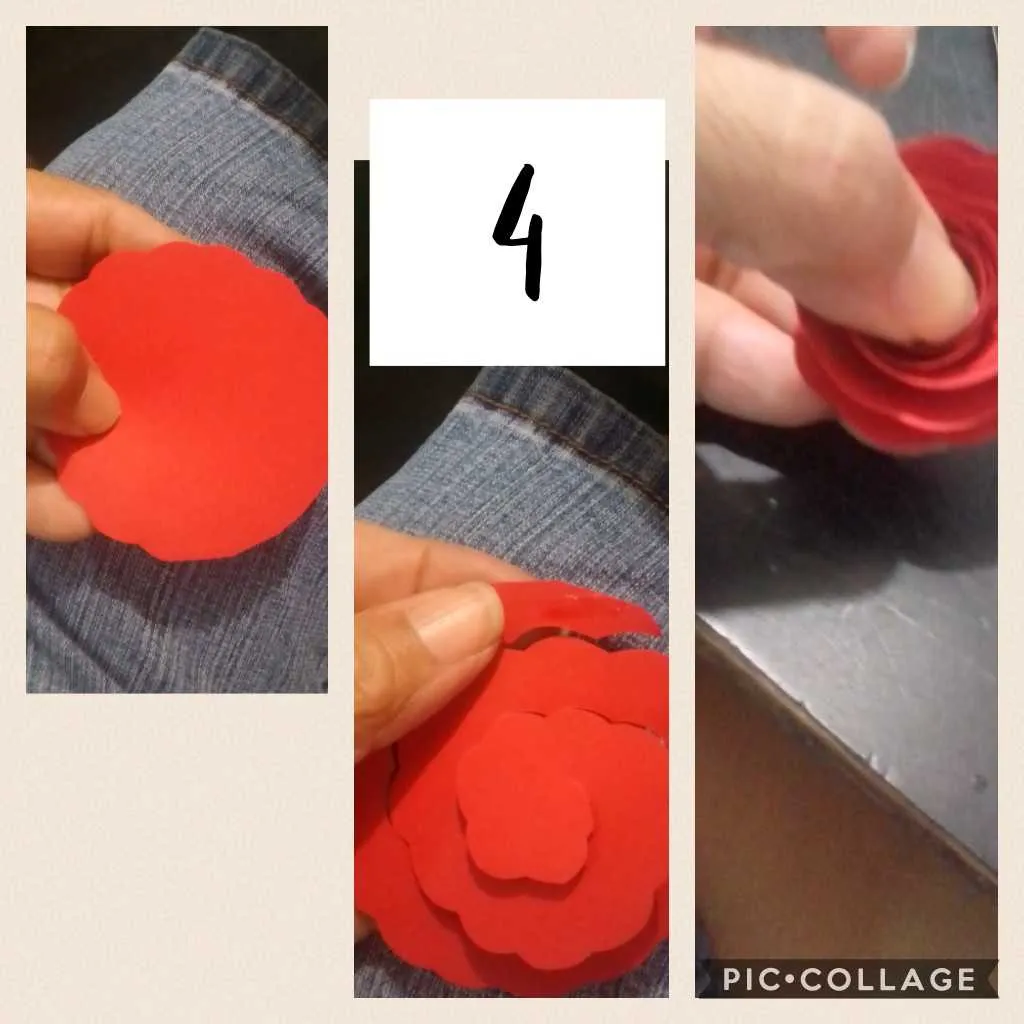
En cartulina roja cortamos un circulo y hacemos ondas en forma de espiral para armar la rosa... (en mis publicaciones anteriores está la explicación del paso a paso de las rosas..)
In red cardboard we cut a circle and make spiral waves to assemble the rose ... (in my previous posts there is an explanation of the step by step of the roses ..)
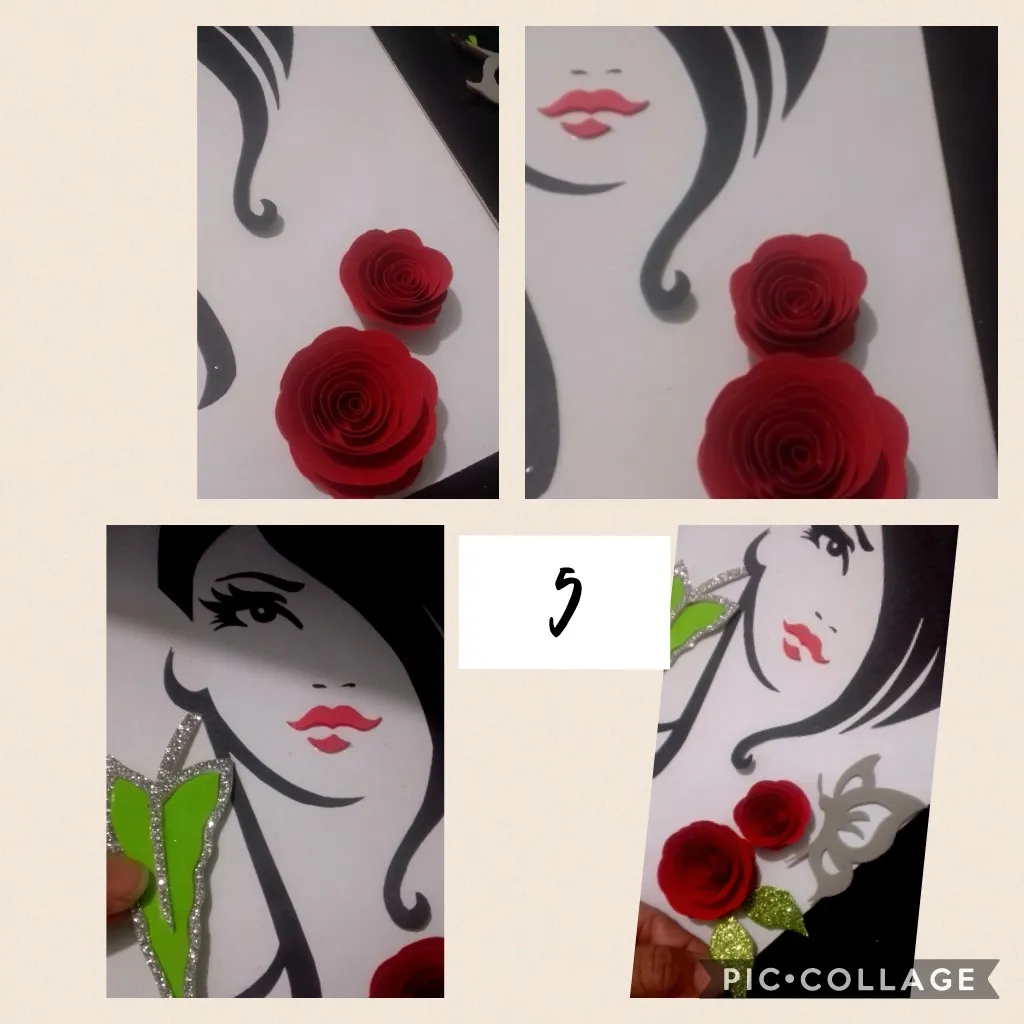
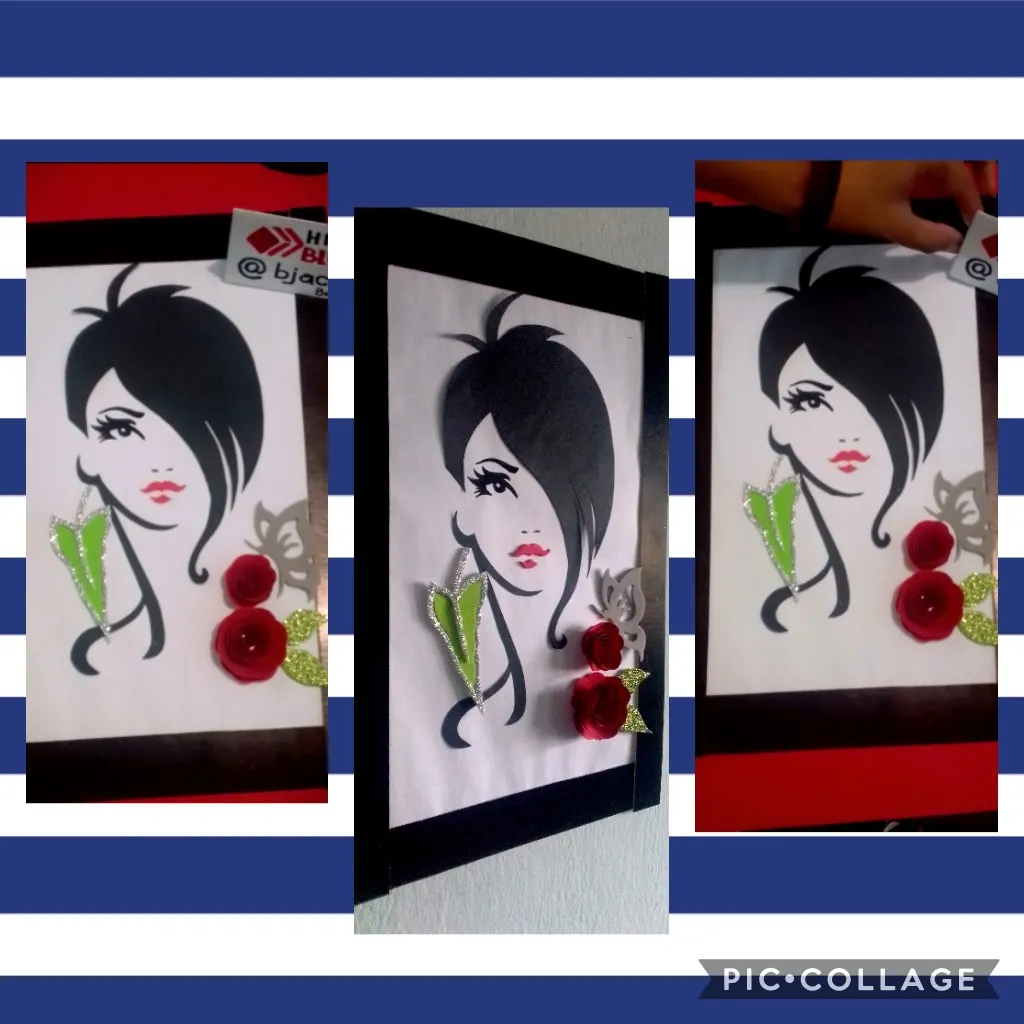
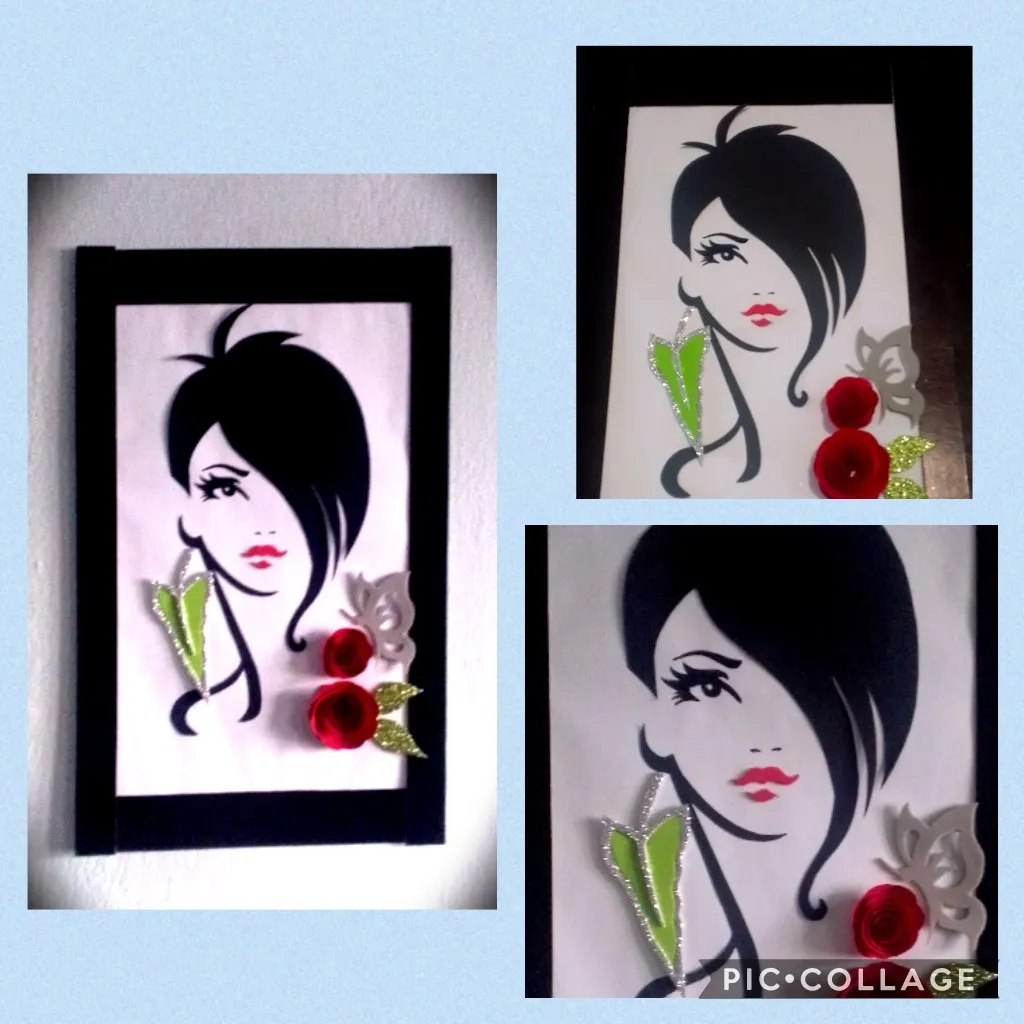
Pegamos las rosas con las hojas, el zarcillo y la mariposa para terminar el cuadro.
We glue the roses with the leaves, the tendril and the butterfly to finish the painting.
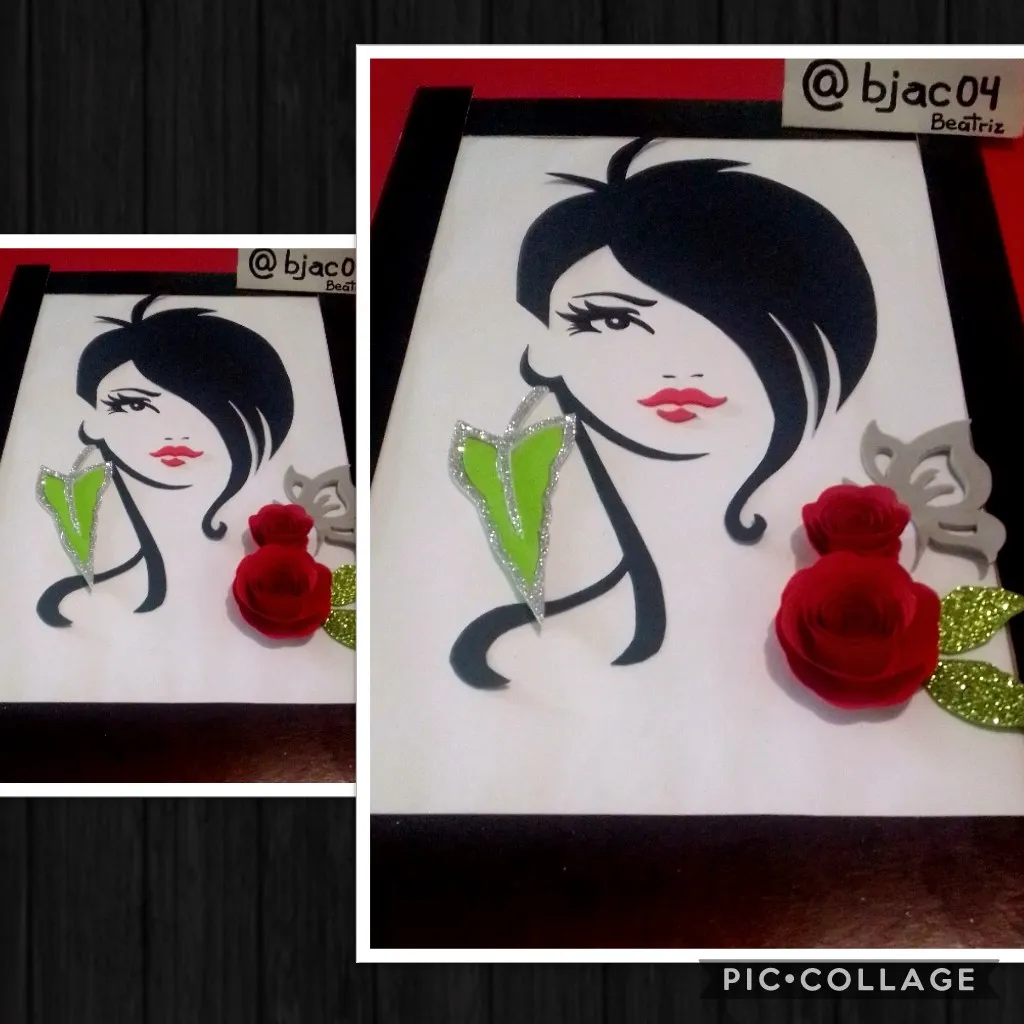
Ya listo este bonito, sencillo pero elegante cuadro, lo pondremos a decorar el lugar que más te gusta igualmente espero te entusiasmes y hagas uno a tu gusto, pero partiendo de está idea.
Cómo siempre les digo, aprendamos a realizar algún trabajo manual, te ayudará de mil maneras y más en estos tiempos donde vivimos estresados a veces sin saber en que ocupar tu tiempo libre y bueno manos a la obra!
SIEMPRE ES BUENO APRENDER Y EMPRENDER!
Now this beautiful, simple but elegant painting is ready, we will decorate the place that you like the most. I also hope you get excited and make one to your liking, but starting from this idea.
As I always tell you, let's learn to do some manual work, it will help you in a thousand ways and more in these times where we live stressed sometimes without knowing what to do with your free time and well get to work!
IT IS ALWAYS GOOD TO LEARN AND UNDERTAKE!