Hello, dear readers
Today, we continue the steps in the making of Embla, my first Venezuelan cuatro. If you found this story in this entry, please go and check the previous one here.
Buen día, estimados lectores.
Hoy continuaremos viendo los pasos en la construcción de Embla, mi primer cuatro venezolano. Si acabas de encontrar esta publicación, te sugiero que des click aquí para ver la primera parte.
This is the last entry in the series. Thanks a lot for following it through.

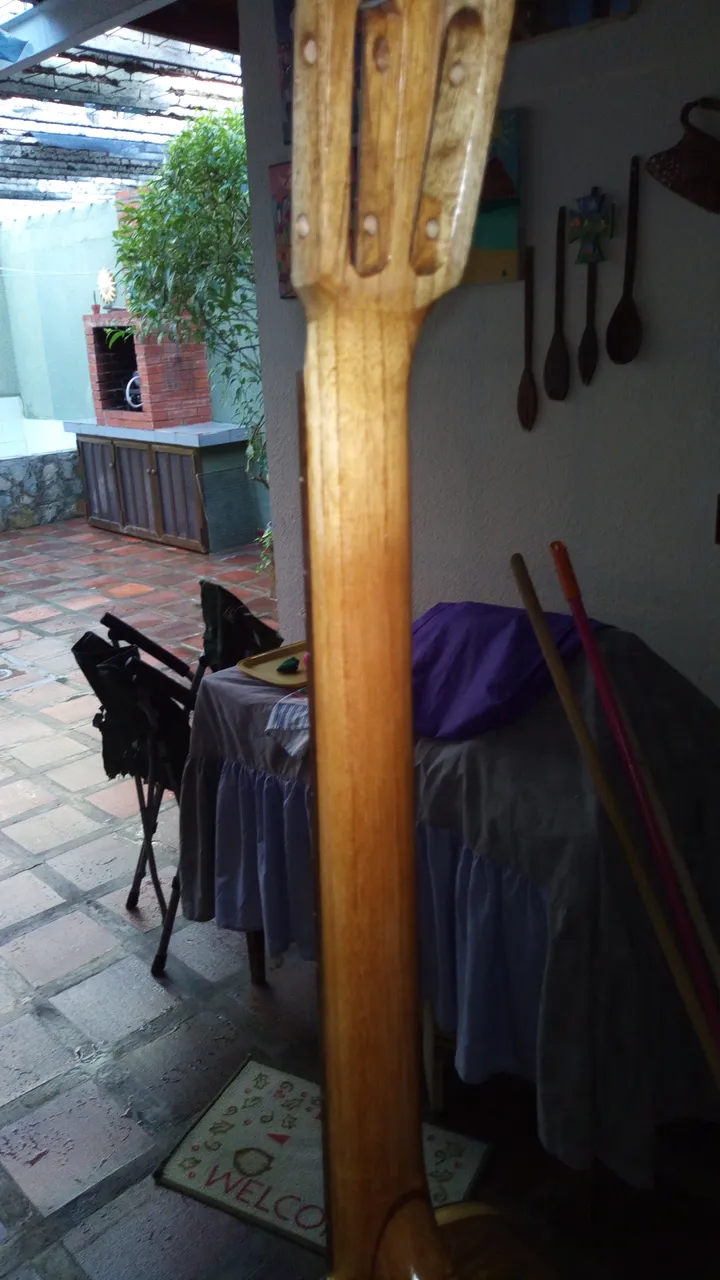
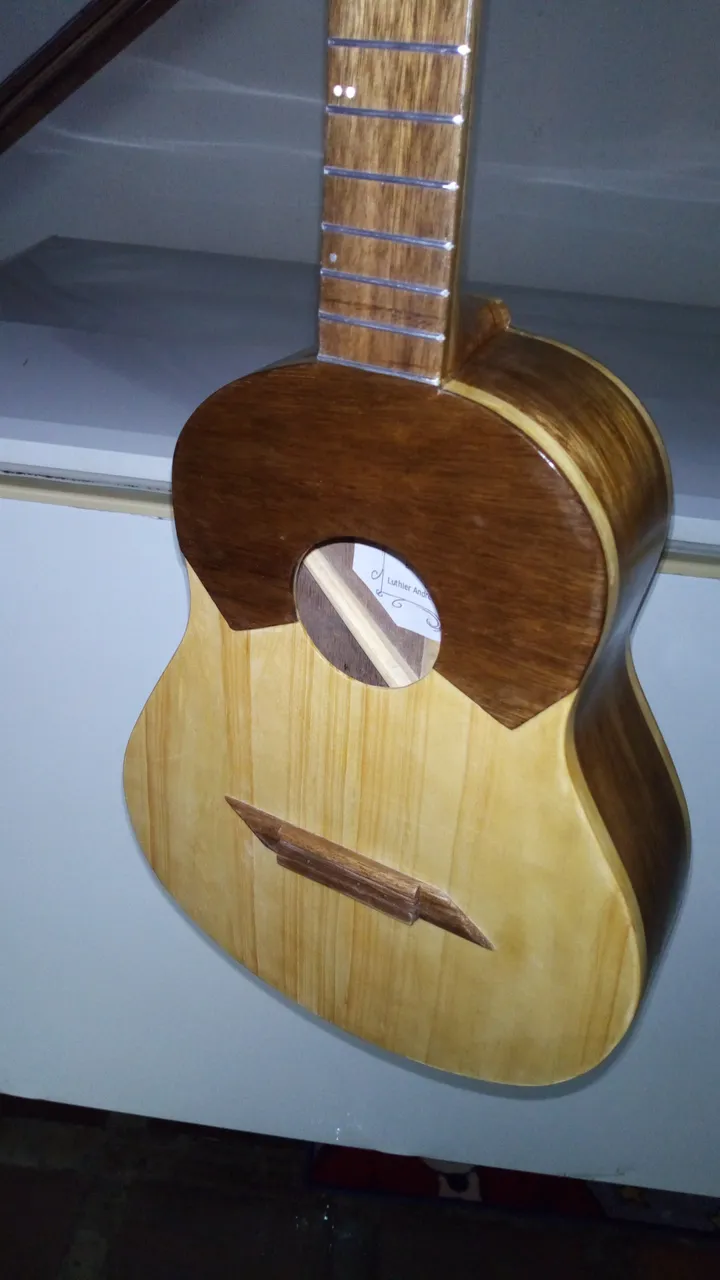
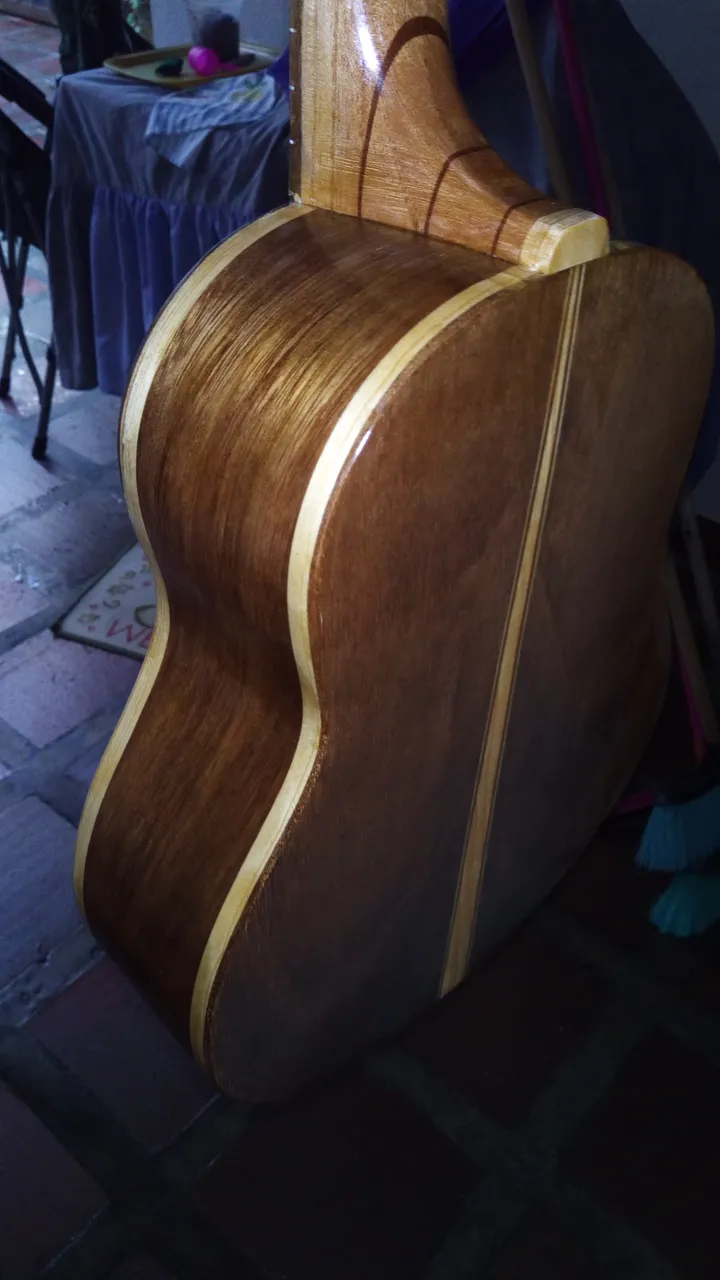
You’ll see the cuatro is not in the workshop. After applying the first hand of sealant, my teacher told me to get it home. You need to give sealant some drying time. Then, you have to double it for each time you want to apply a new hand. What’s more, you also need to sand each hand of sealant in order to make them even before applying a new one. It is a very long process. It basically reads like this: apply sealant, give 4 hours to dry, sand; apply sealant, give 8 hours to dry, sand; and it goes on and on until you decide it is enough.
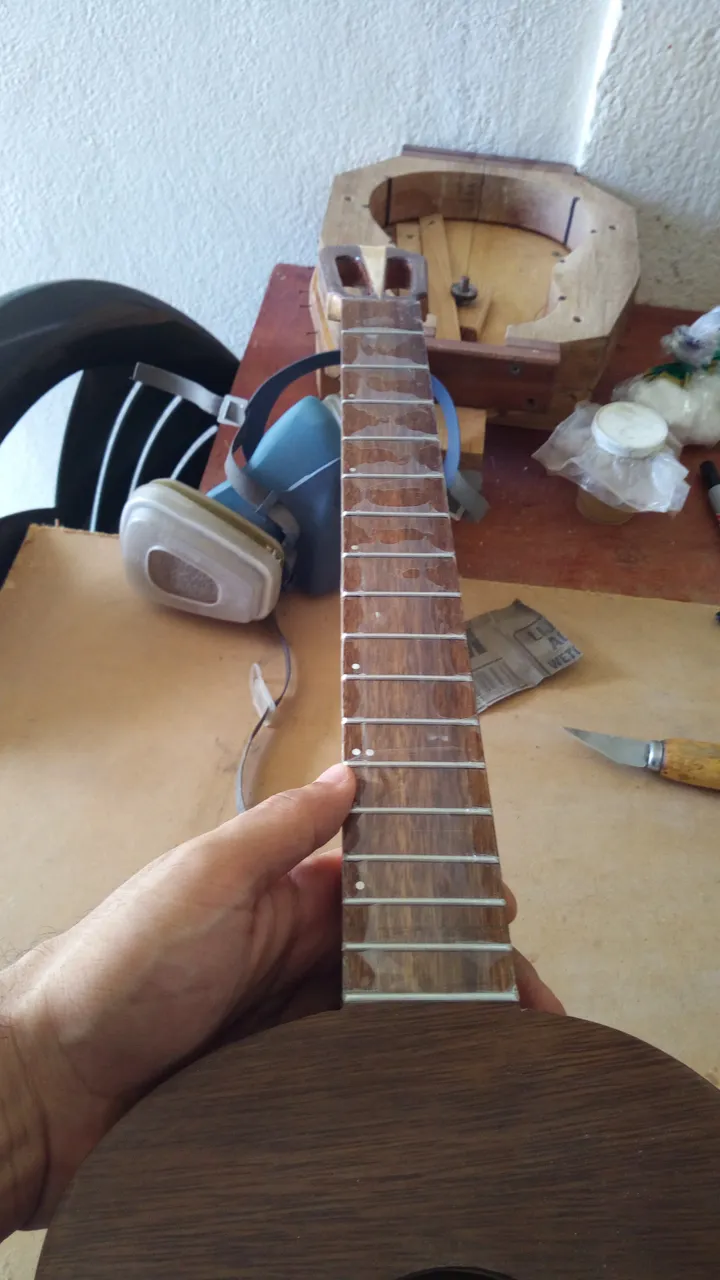
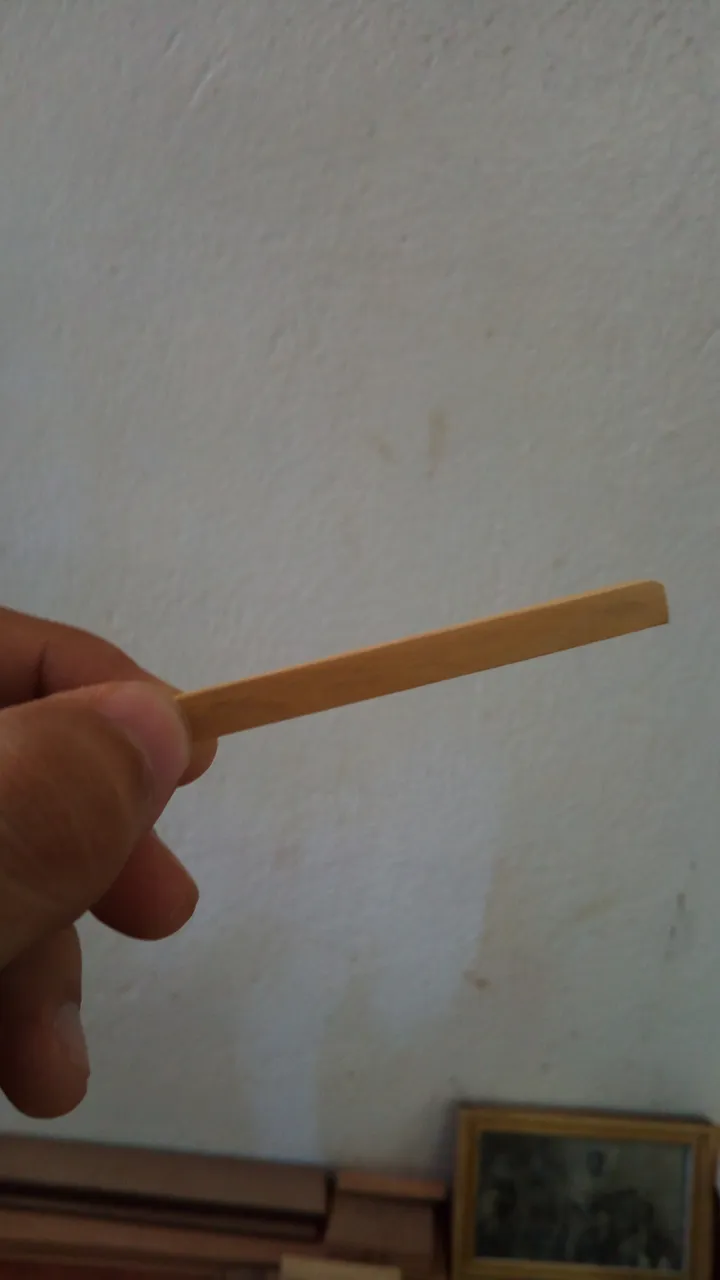
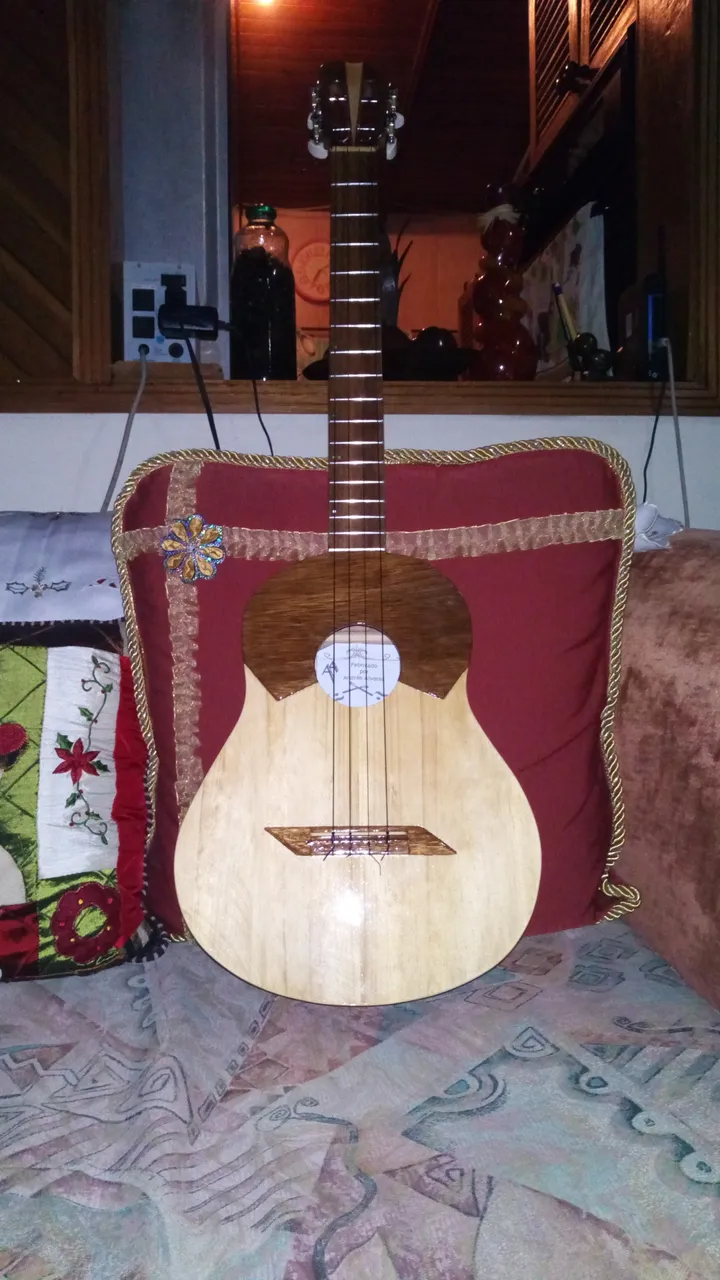
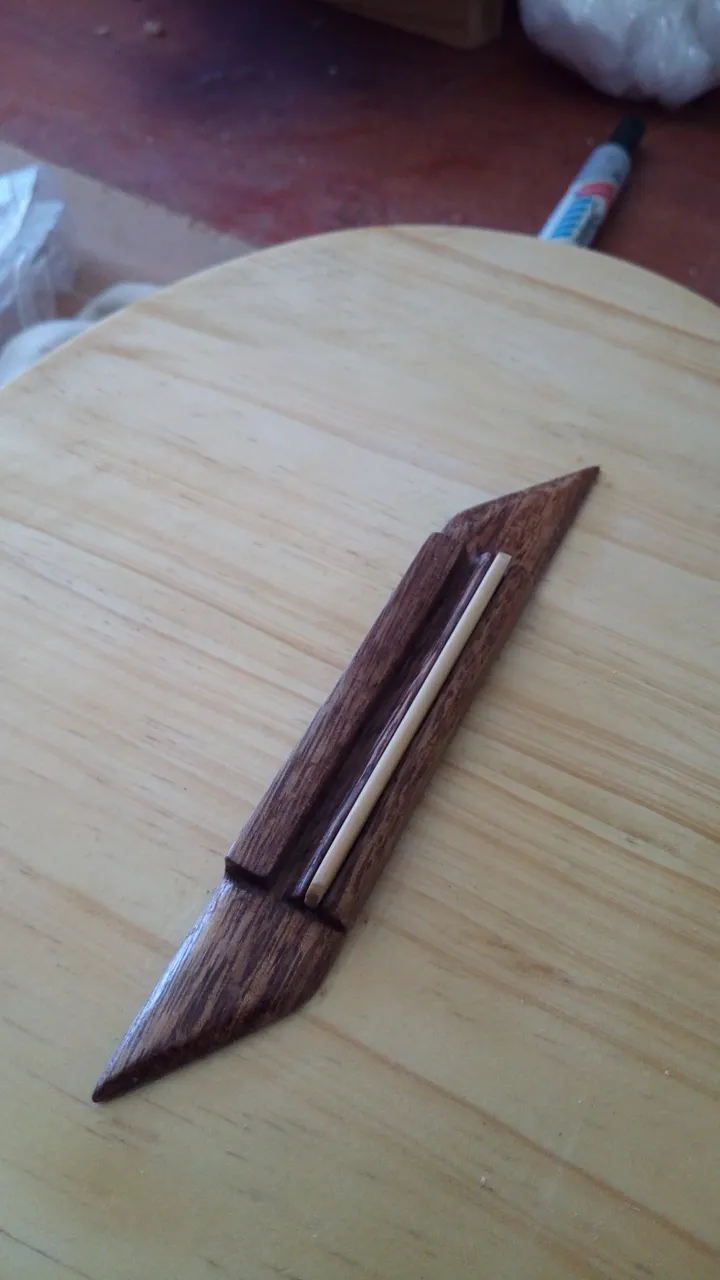
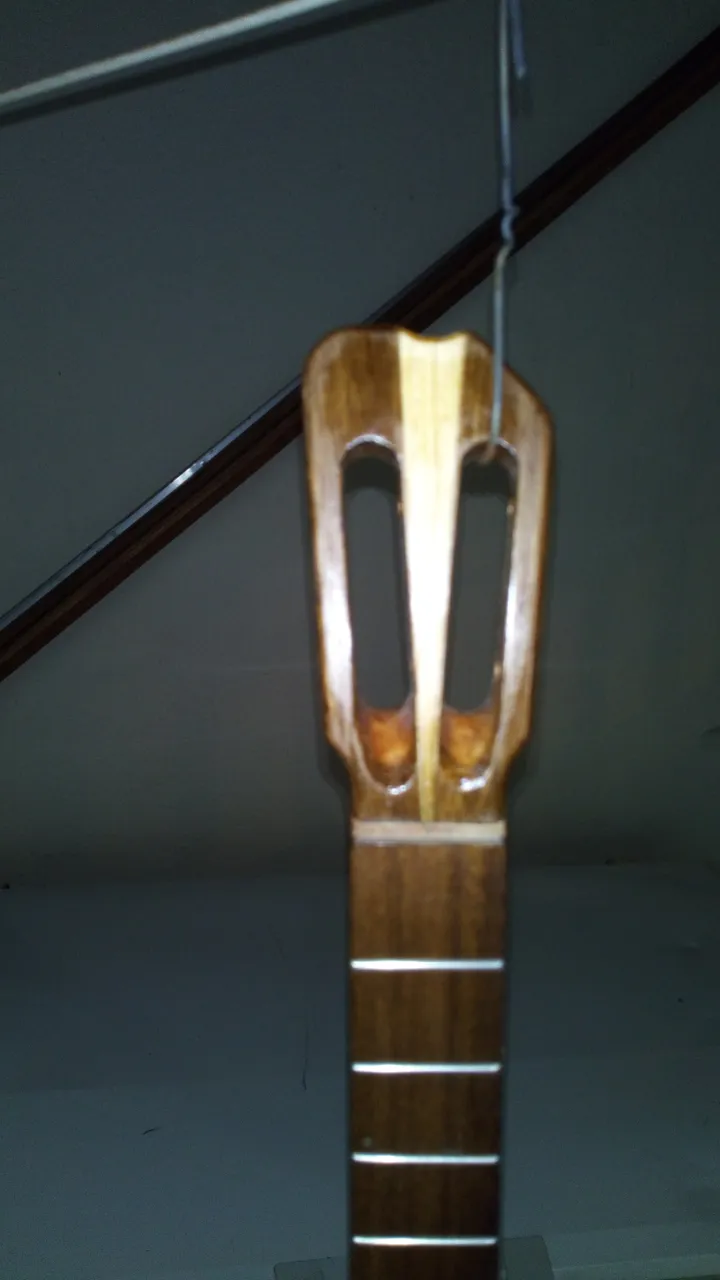
My last visit to the workshop was to make two little pieces: the nut and saddle. These are the ones in charge of keeping the action or action of the stings. With these, strings are kept above the fretboard and top. Along with placing these, it was also time to put the tuning pegs in place. With all this ready, it was time to mount the strings. And finally, after some weeks of work, Embla sounded its first notes. And let me tell you, I couldn’t be happier with the result.
Este es el último post en la serie. Gracias por seguirla hasta este punto.
Como te habrás dado cuenta, el cuatro no está en el taller. Después de aplicar la primera mano de sellador, o llevé a casa. El sellador necesita tiempo para secar. Luego, por cada mano que apliques, debes darle el doble de tiempo. Además, tienes que emparejar cada mano de sellador que apliques. Es un proceso largo. Este transcurre de la siguiente manera: aplicar sellador, dejar secar por 4 horas, lijar; aplicar sellador, dejar secar por 8 horas, lijar; repetir las veces que sea necesario.
Mi última visita al taller fue para la elaboración de dos piezas pequeñas: la cejilla y la cejuela. Estas son las encargadas de regular la altura de las cuerdas sobre el diapasón y la tapa. Adicionalmente, se colocaron las clavijas. Con todas las piezas en su lugar, llegó la hora de montar las cuerdas. Y finalmente, después de semanas de trabajo, Embla entonó sus primeras notas. Y déjenme decirles que no podría estas más satisfecho con los resultados.
Some last thoughts about the process:
Hello, I wanted to finish this series reflecting a little about the activity. I think the experience of building something out of some parts and the whole process you have to carry on its gratifying. This has been without a doubt one of the best experiences of my life. And something I hope I can continue doing when I get the way to kickstart my own workshop.
That is all for this entry. Thanks a lot for reading.
Eso es todo por esta ocasión. Gracias por leer.
All the pictures used in these posts are either mine or from my teacher Andrés Rodríguez. He doesn’t mind me using these.