Greetings friends, today I share how I improvised from recycled materials a headlight for my son's bike.
Saludos amigos, hoy comparto como improvise a partir de materiales reciclados un faro para la bicicleta de mi hijo.

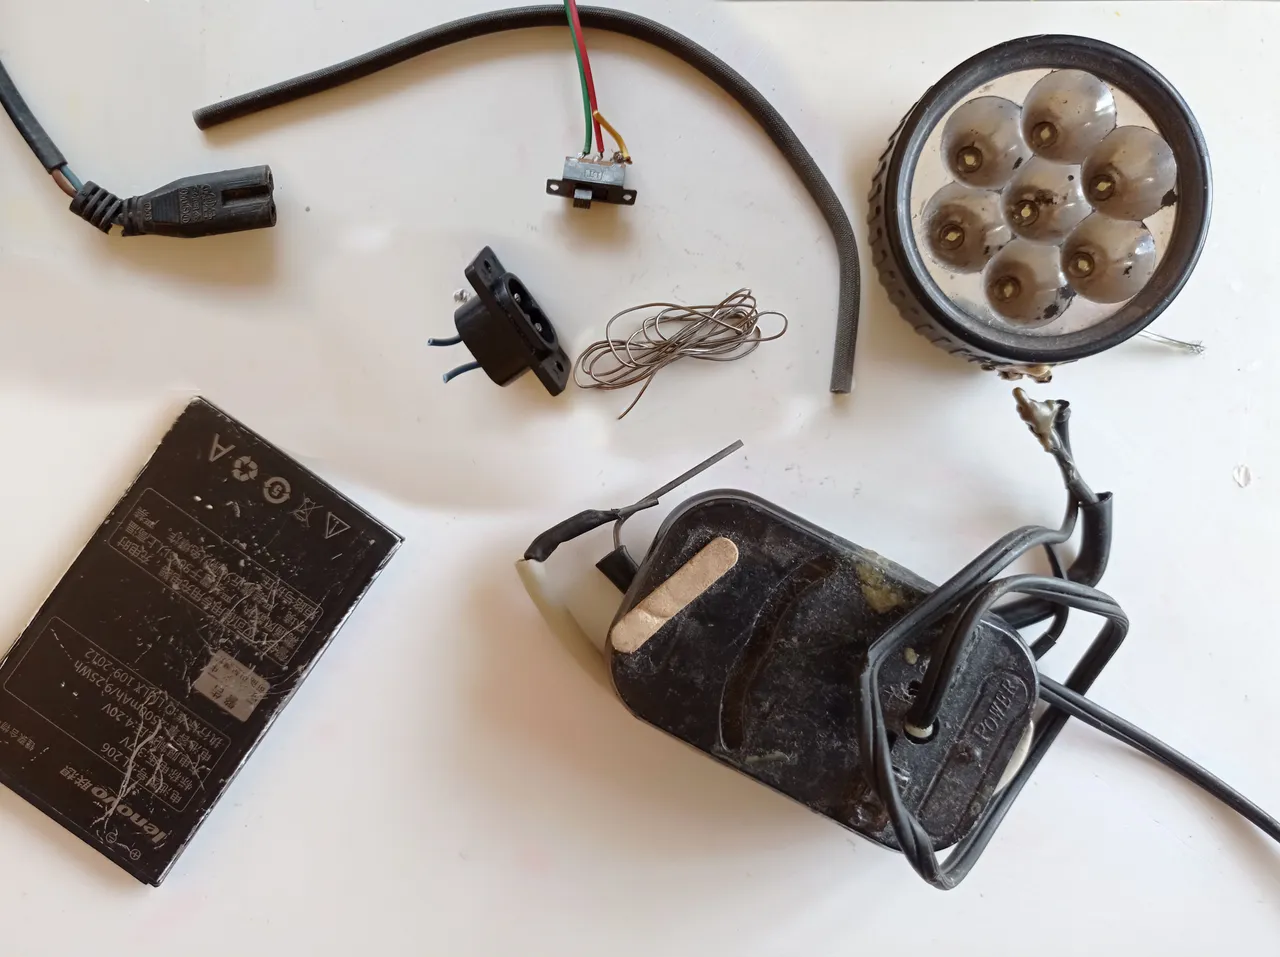
To make this project use the following materials:
- LEDs from a damaged flashlight.
- An old universal cell phone battery charger.
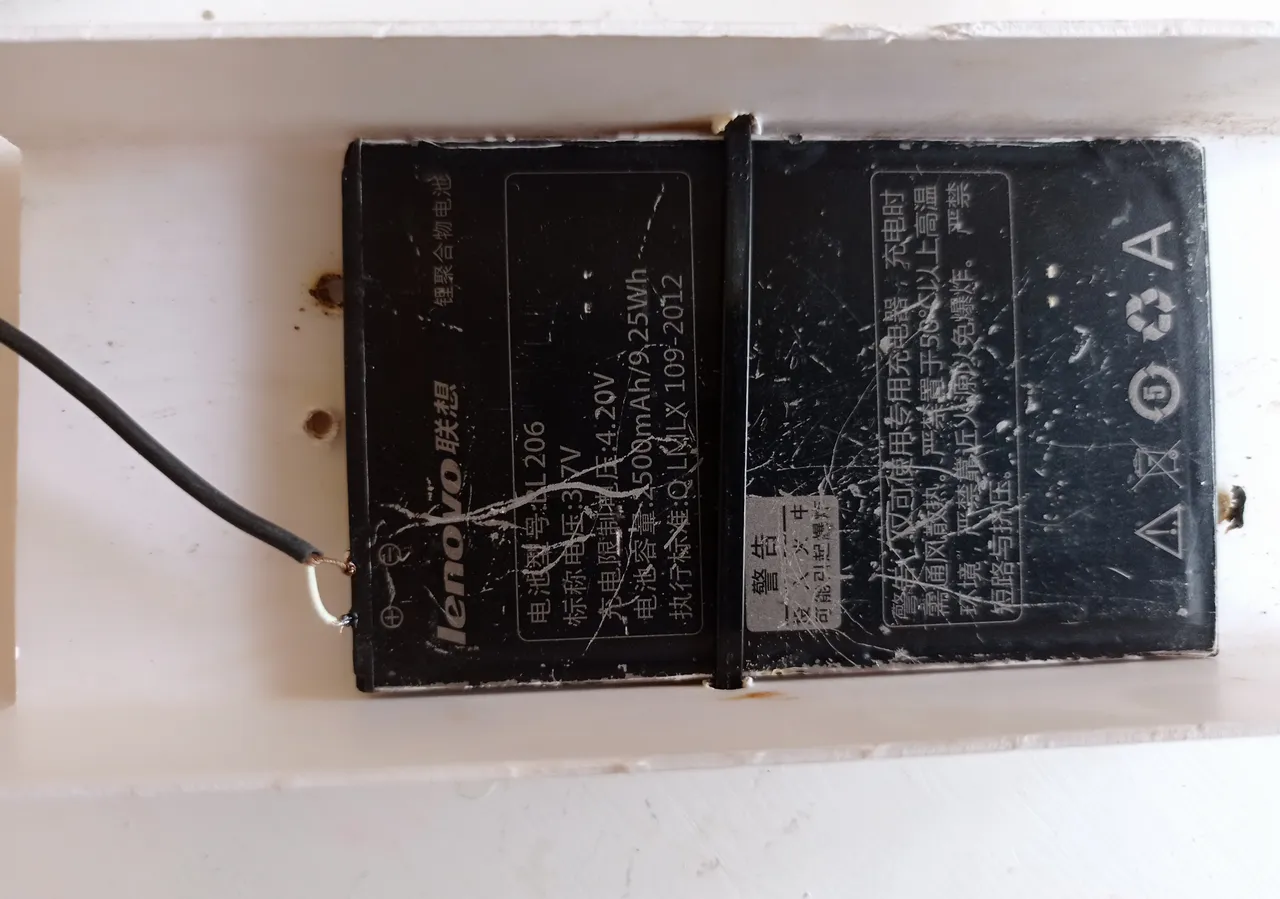
- A 3.7v cell phone battery.
- A swicht that I extracted from a power supply.
- Type "8" power cable.
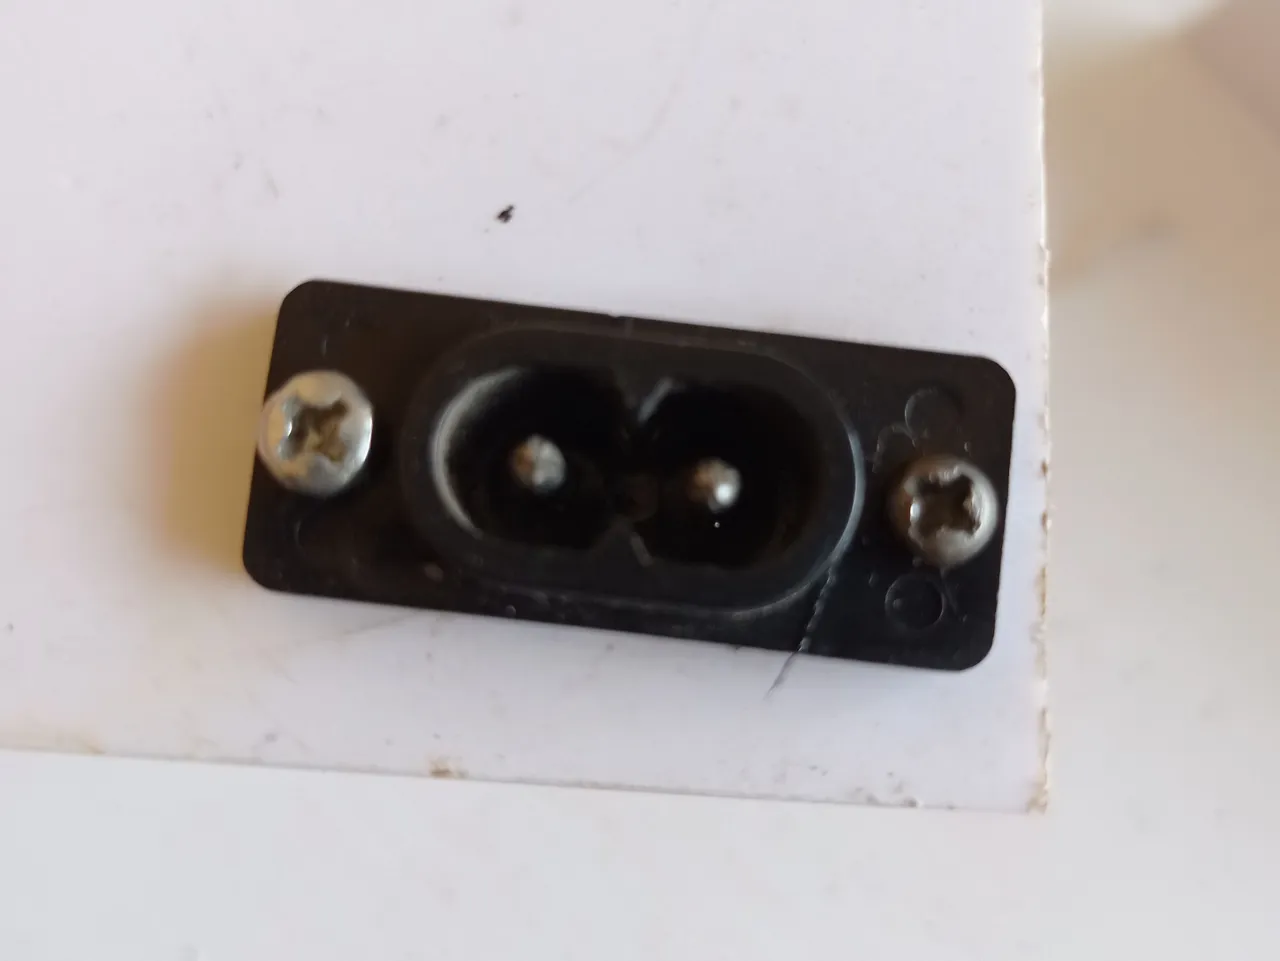
- Input connector for type "8" cable that I extracted from a sound player.
- Tin.
- Heat shrink tubing for cables.
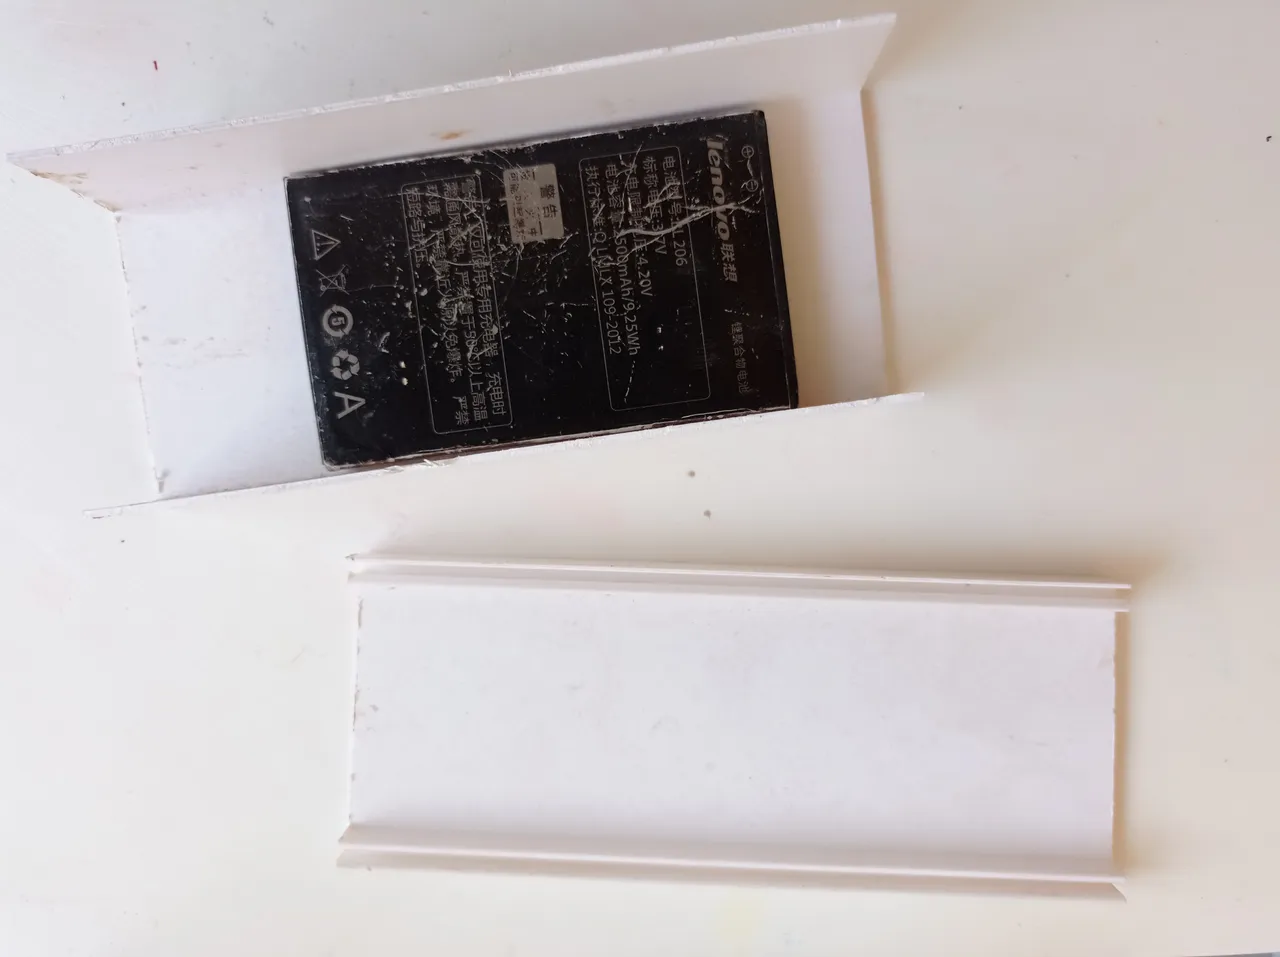
- A piece of plastic conduit for cables of approximately 15cm.
- Small screws.
- Tie rod.
- Soldering iron.
- Screwdriver.
- Recycled cables.
Para realizar este proyecto utilice los siguientes materiales:
- Los leds de una linterna dañada.
- Un viejo cargador universal para baterías de teléfonos celulares.
- Batería de celular de 3.7v.
- Un swicht que extraje de una fuente de alimentación .
- Cable de alimentación tipo "8".
- Conector de entrada para cable tipo "8" que extraje de un reproductor de sonido.
- Estaño.
- Tubo termoencogible para cables.
- Un trozo de canaleta plásticas para cables de 15cm aproximados.
- Tornillos pequeños.
- Tirraje.
- Cautin.
- Destornillador.
- Cables reciclados.
I begin to assemble the pieces:
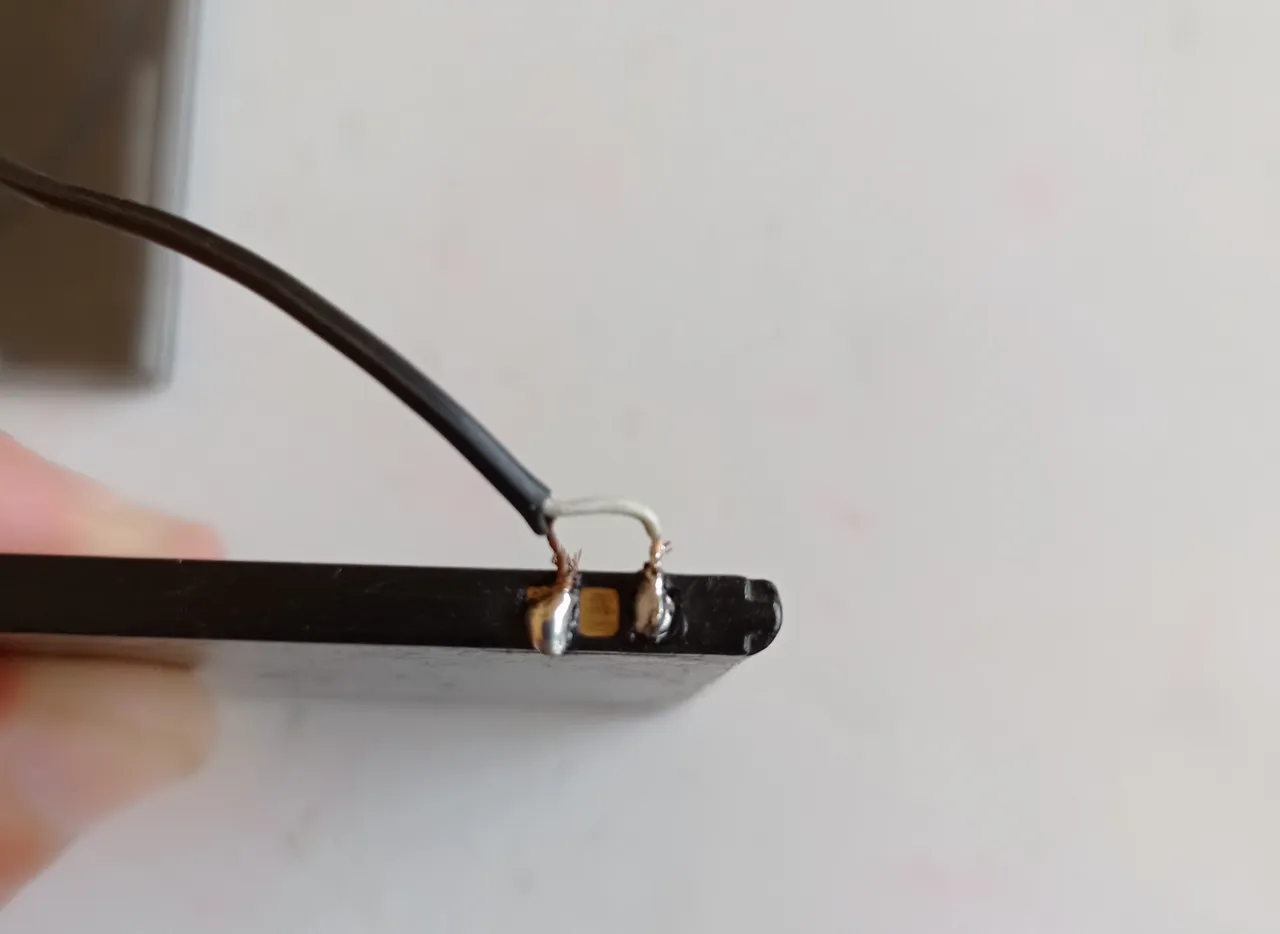
- I begin soldering with the soldering iron and tin a piece of 10cm cable to the battery a line of the cable to each pole (+) and (-).
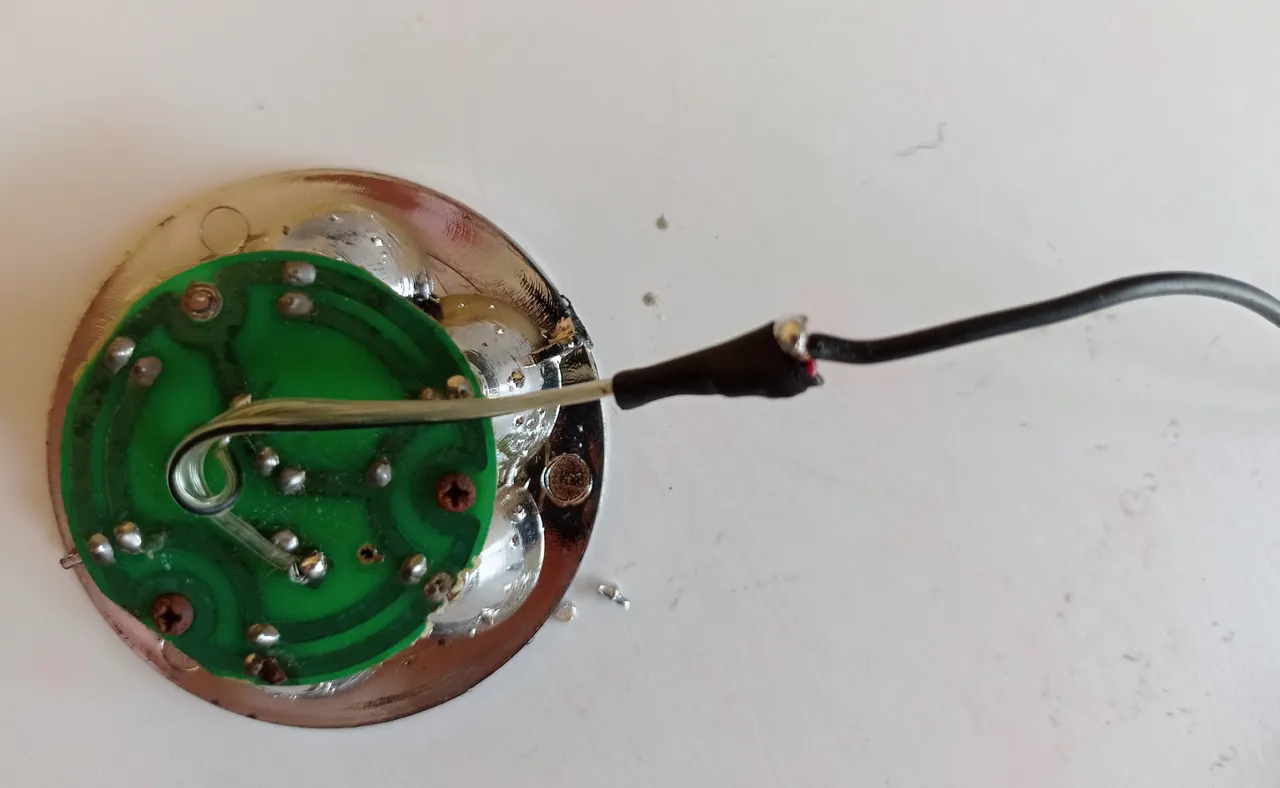
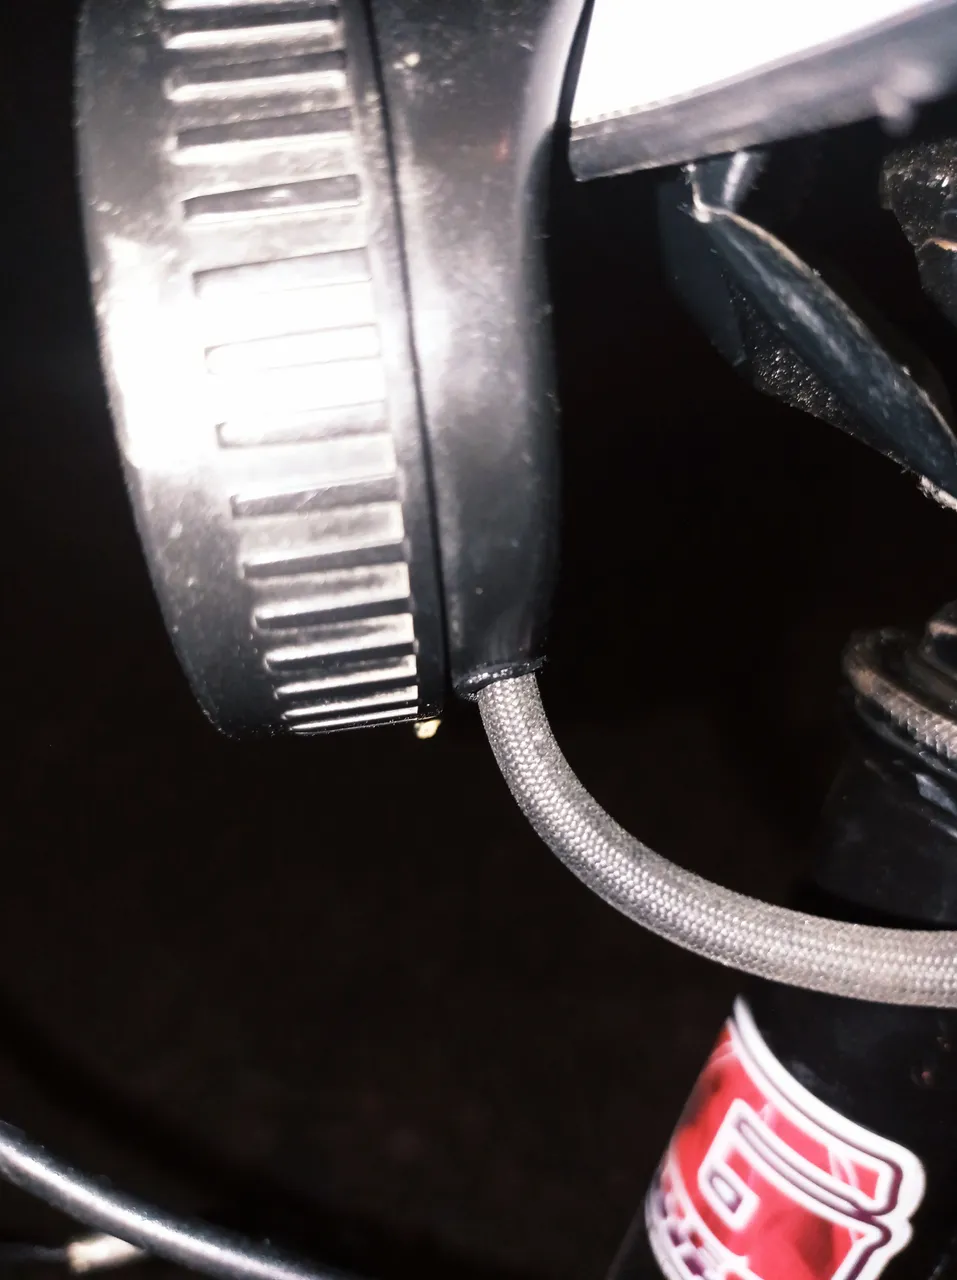
- Equally I solder a piece of cable of 30cm in the leds of lamp fixing me which is positive and which negative, and covering with thermoencogible the cable joint.
Empiezo a ensamblar las piezas:
- Comienzo soldando con el cautin y estaño un trozo de cable de 10cm a la batería una linea del cable a cada polo (+) y (-).
- Igualmente soldo un trozo de cable de 30cm en los leds de lampara fijandome cual es positivo y cual negativo, y cubriendo con termoencogible el empalme de cable.
- I proceed to splice the cable connector type "8" to the voltage output cable of the universal charger and I cover with heat shrink the splices to avoid short circuit.
- Procedo a empalmar el cable de conector tipo "8" a el cable de salida de voltaje del cargador universal y cubro con termoencogible los empalmes para evitar cortocircuito.
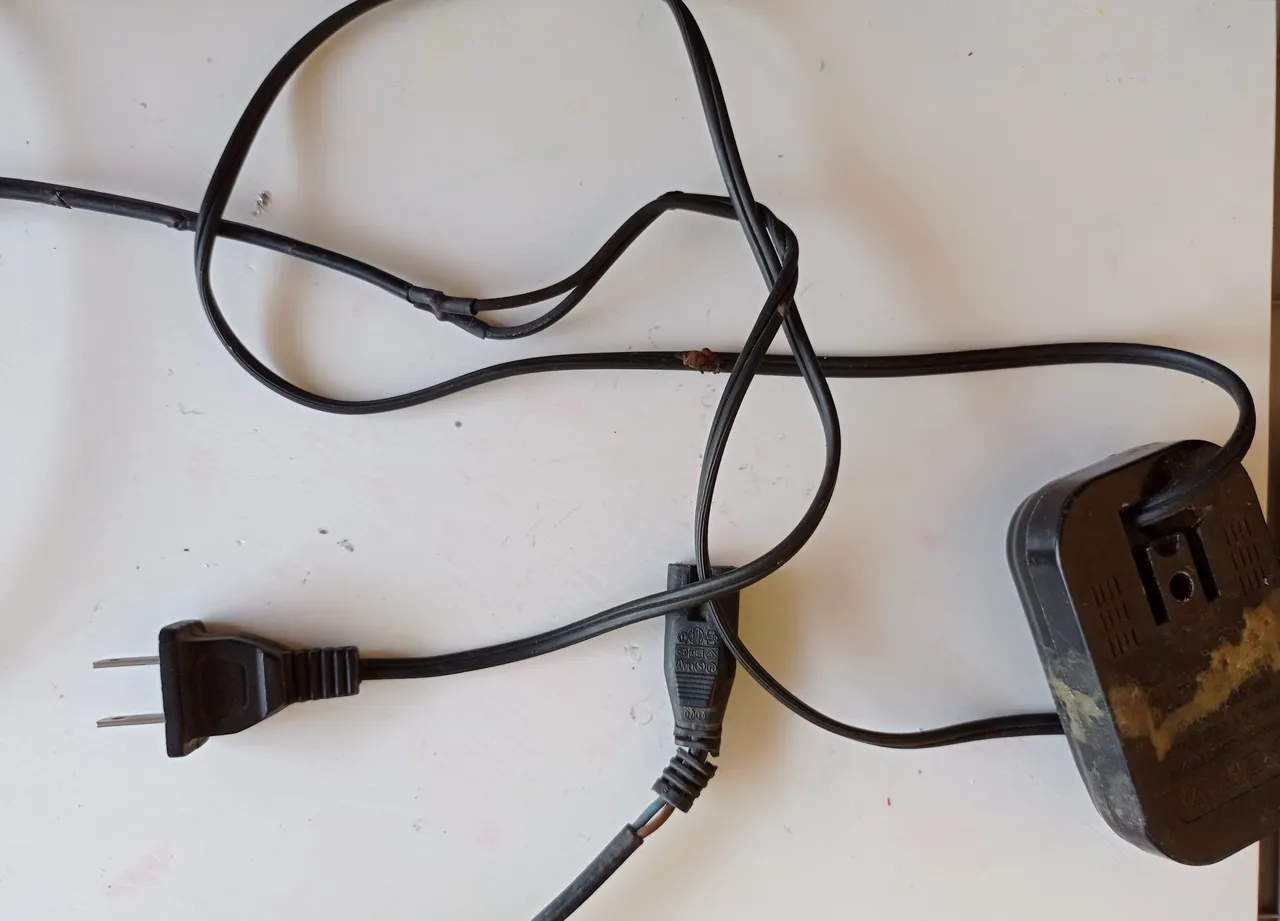
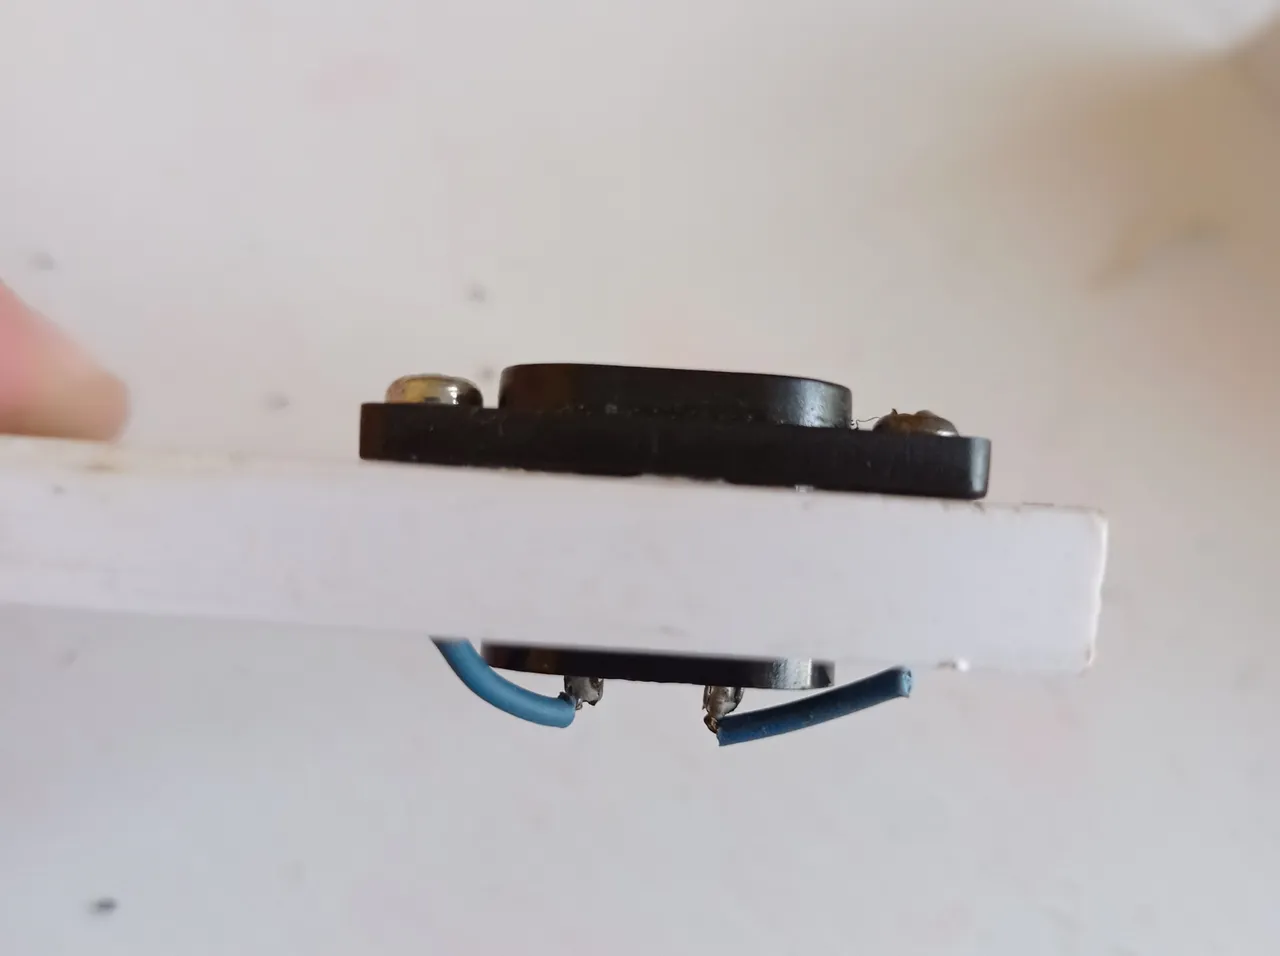
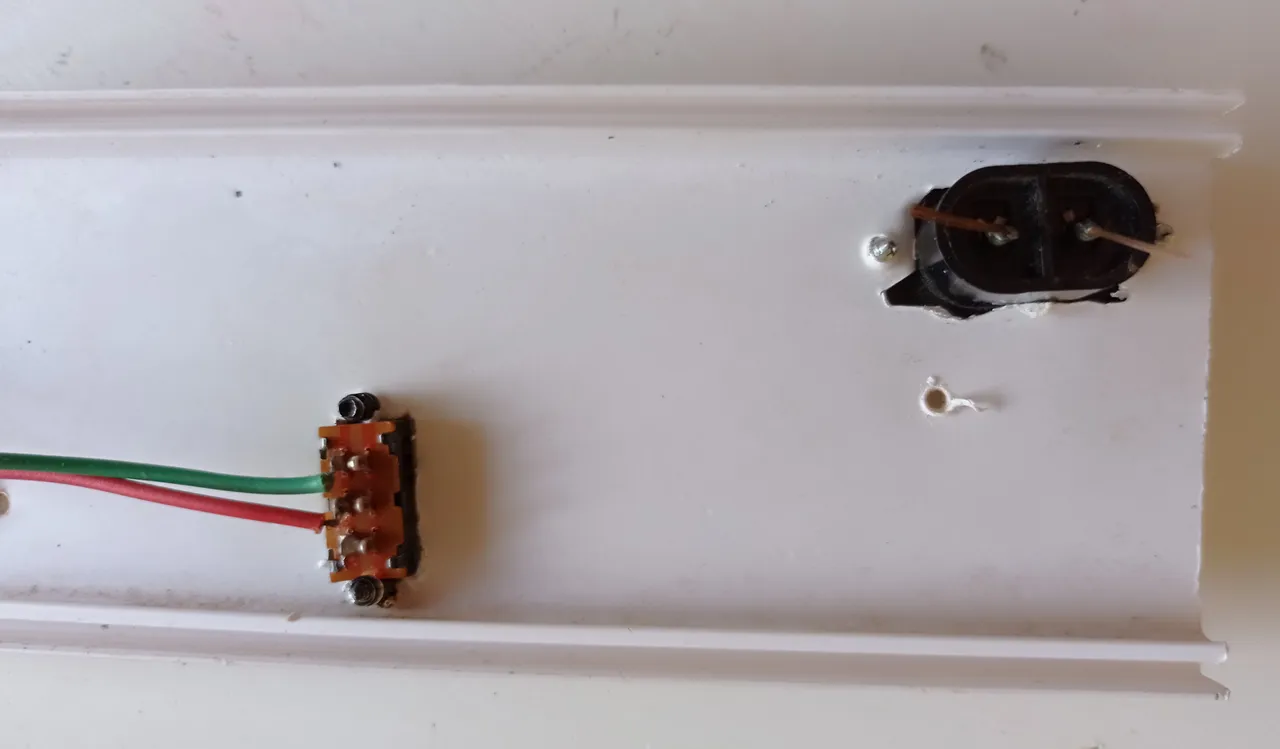
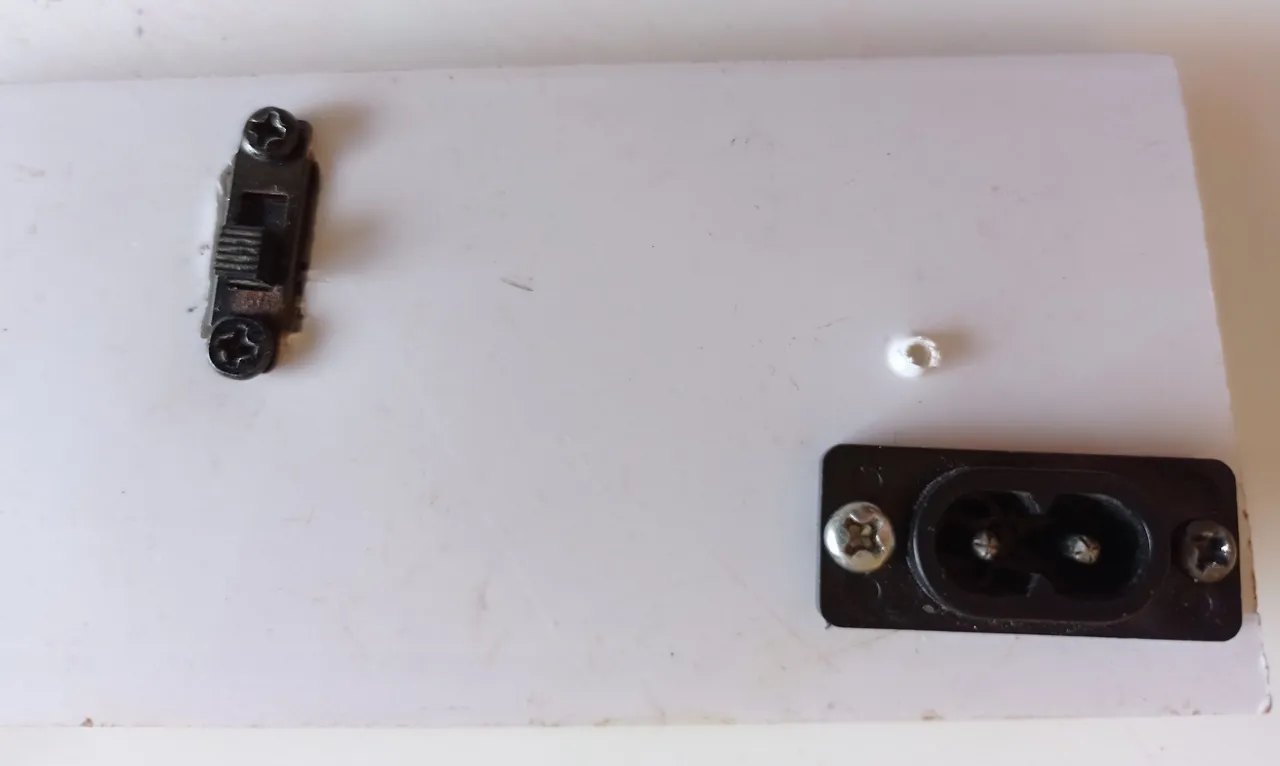
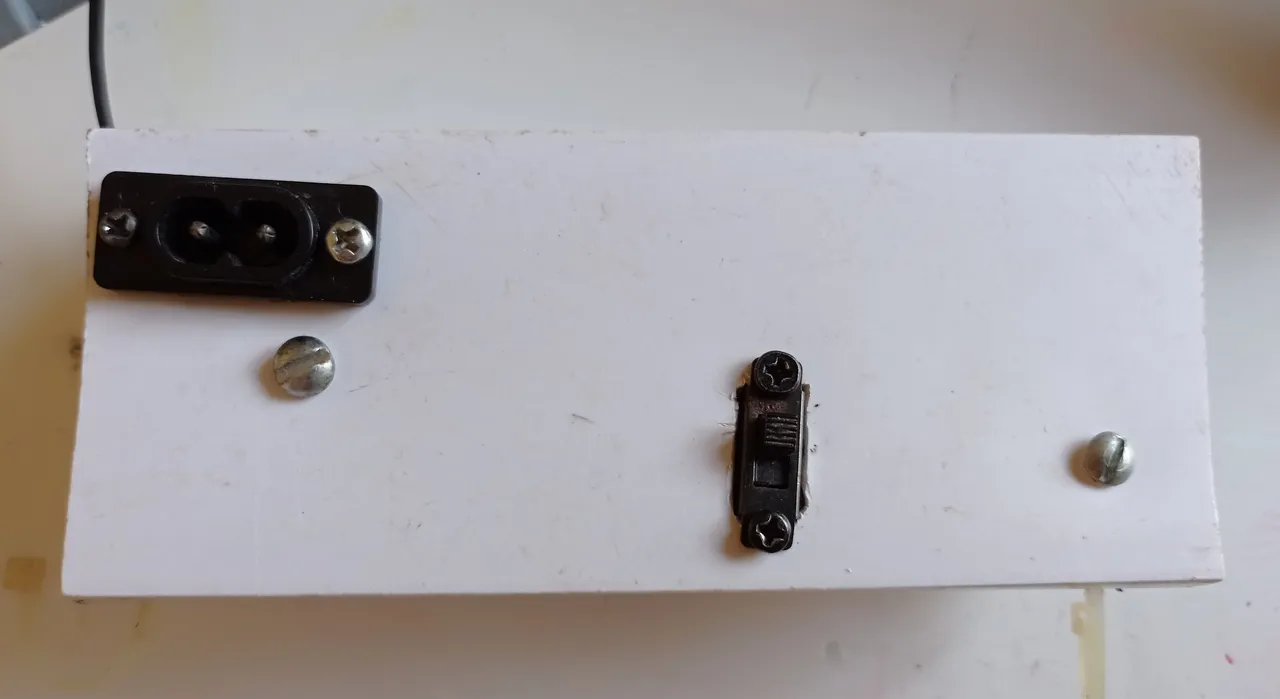
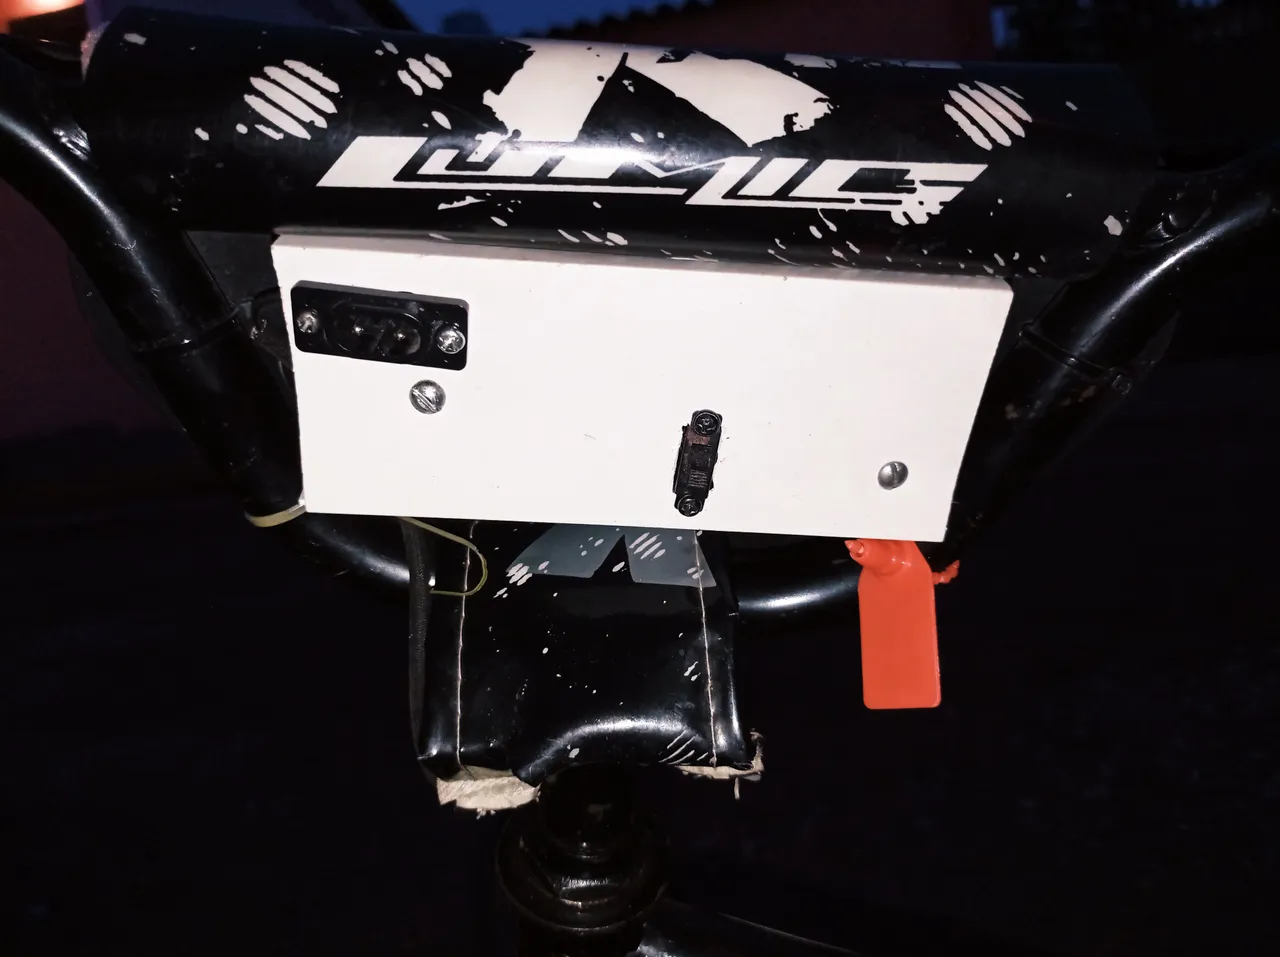
- With the use of the soldering iron, drill holes in the cover of the channel to insert the "8" type cable input connector where the battery will receive the power supply through the universal charger. Also to insert the switch that will turn on and off the lamp.
- Con la ayuda del cautin perfore la tapa de la canaleta para introducir el conector de entrada para cable tipo "8" por donde la batería recibirá la alimentación de corriente mediante el cargador universal. igualmente para introducir el swicht que se encargara de encender y apagar la lampara. y ambos los asegure con tornillos.
- Drill two holes in the trough base to secure the battery with straps.
- En la base de canaleta perfore dos agujeros para asegurar la batería con tirrajes.
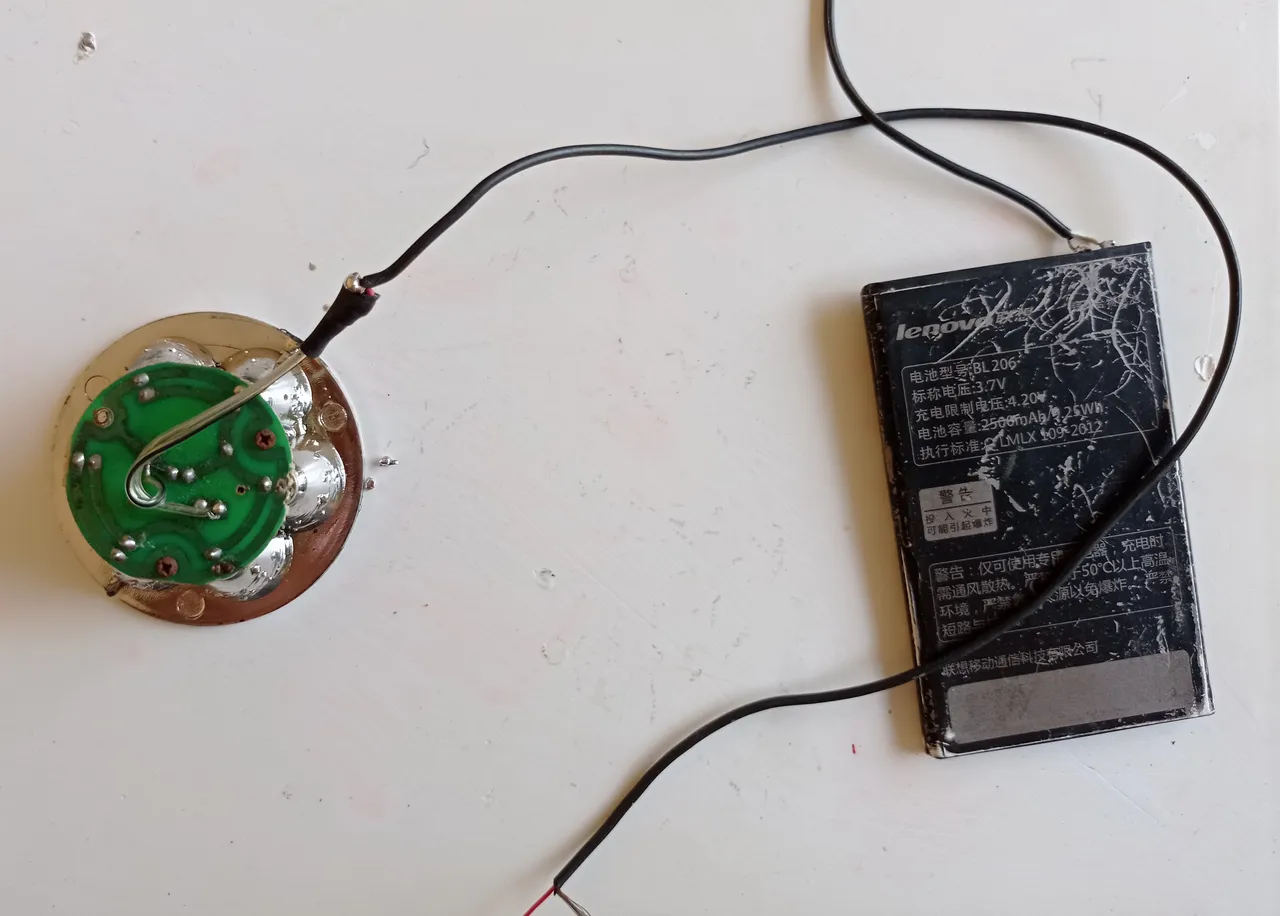
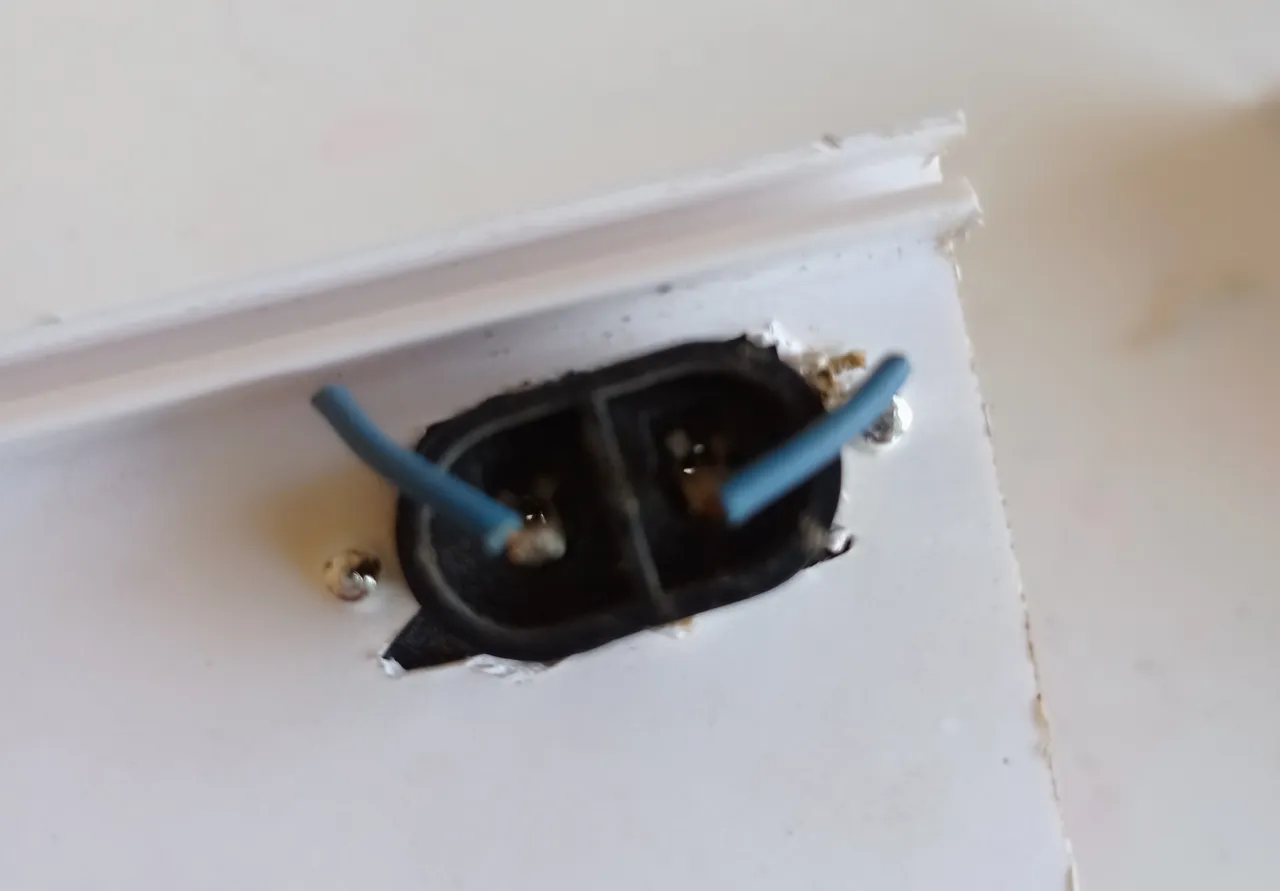
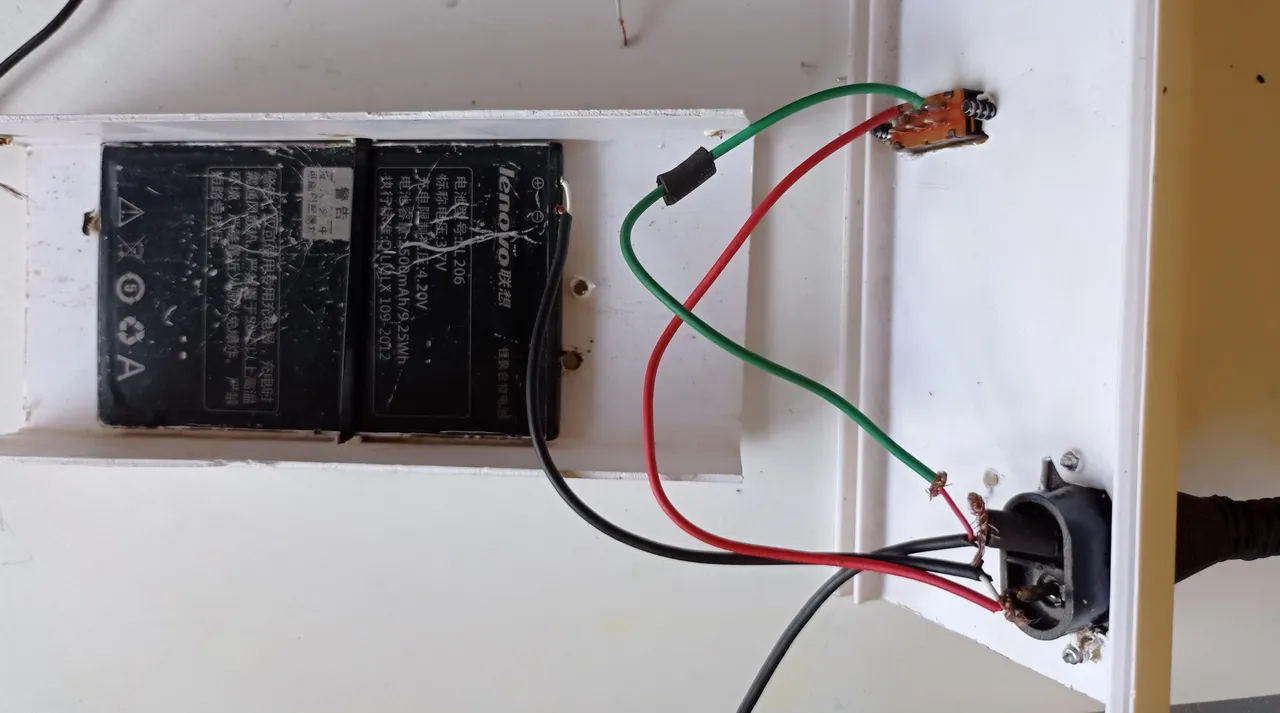
- I proceed to make the wiring connection respecting the polarity of the cables.
I connect the cables of the battery to the cable input connector type "8".
I connect the line of the negative cable of the lamp to the negative line of the input connector type "8".
I connect the positive line of the lamp cable to the swicht, and from the other end of the swicht I connect a cable to the positive line of the input connector type "8".
- Procedo a realizar la conexión de el cableado respetando la polaridad de los cables.
Conecto los cables de la batería al conector de entrada de cable tipo "8".
Conecto la linea del cable negativo de la lampara a la linea negativa del conector de entrada tipo "8".
Conecto la linea positiva del cable de la lampara al swicht, y del otro extremo del swicht conecto un cable a la linea positiva de el conector de entrada tipo "8".
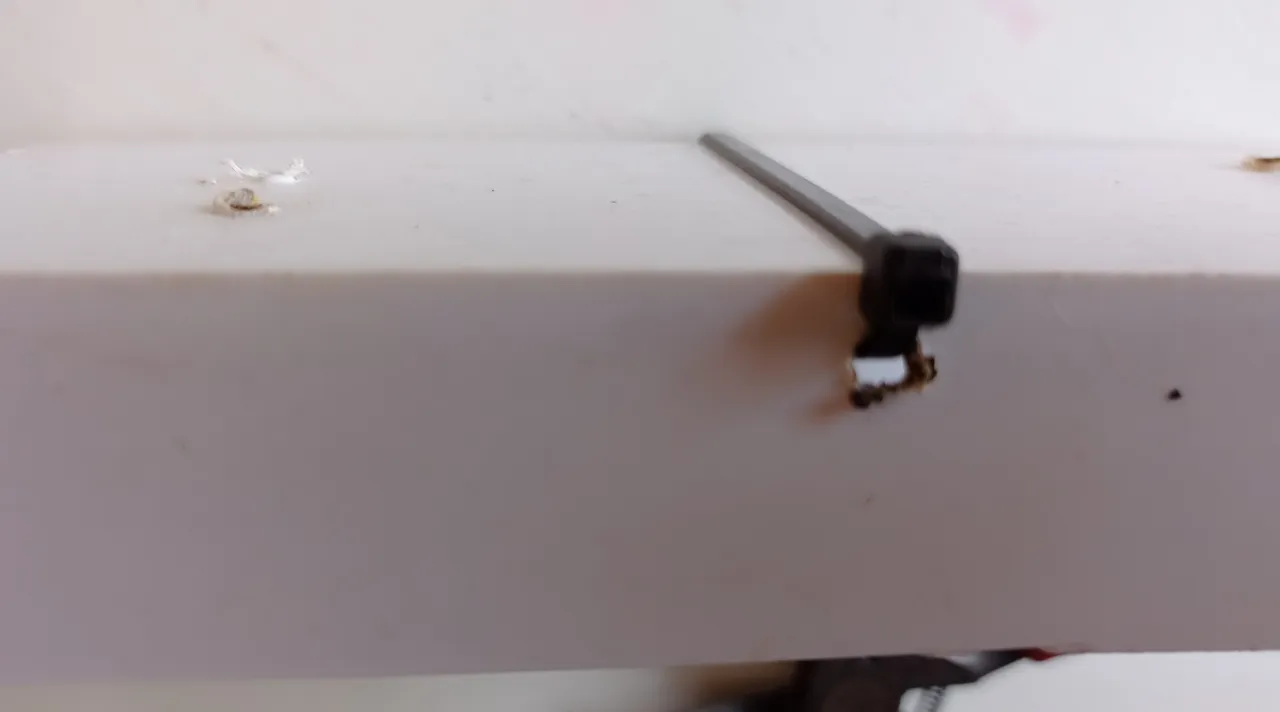
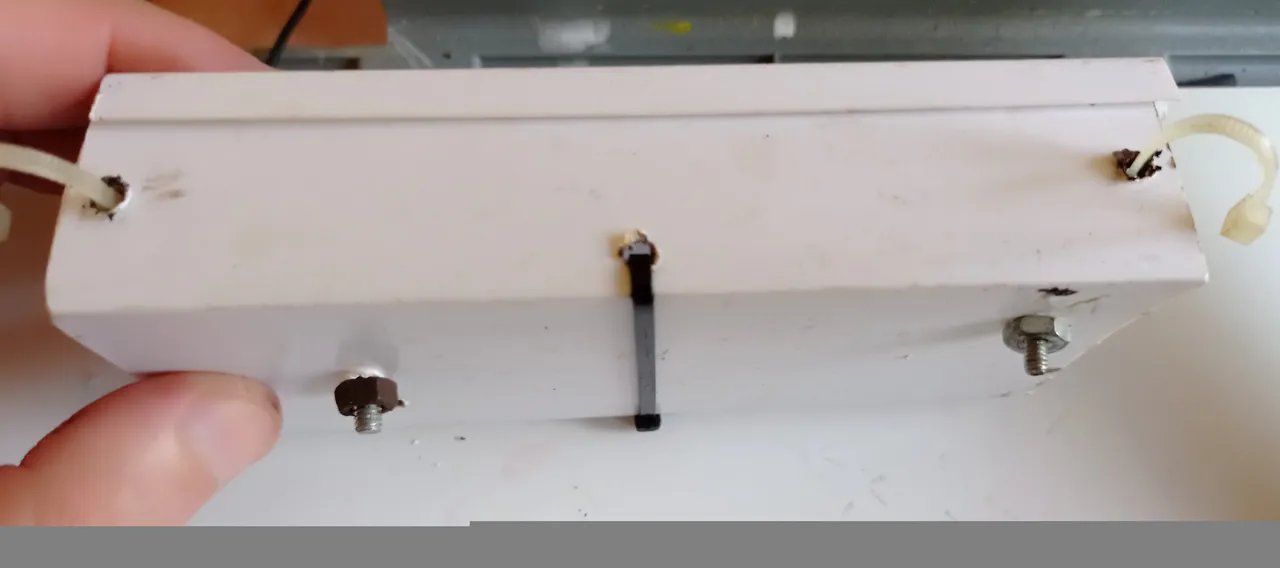
- Using a soldering iron, drill two holes in each piece of the channel to close it and secure it with bolts and nuts.
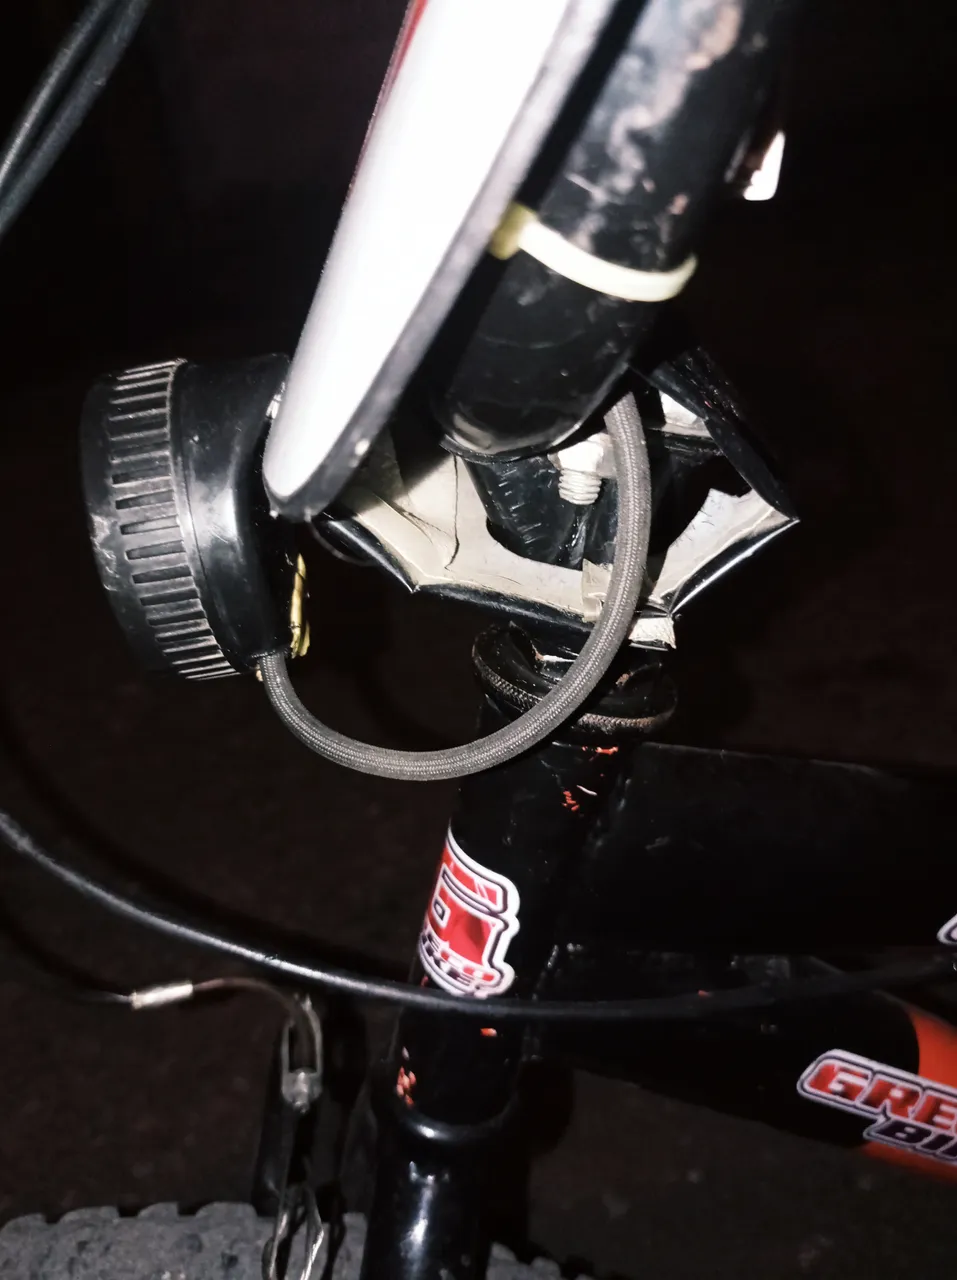
- Drill a hole on each side of the trough to insert straps on each side to secure the trough to the bike.
- Con el cautin perfore dos agujeros en cada pieza de la canaleta para cerrarla y asegurarla con tornillos con tuercas.
- Perfore un agujero a cada lado de la canaleta para introducir tirrajes a cada lado para aferrar la canaleta a la bicicleta.
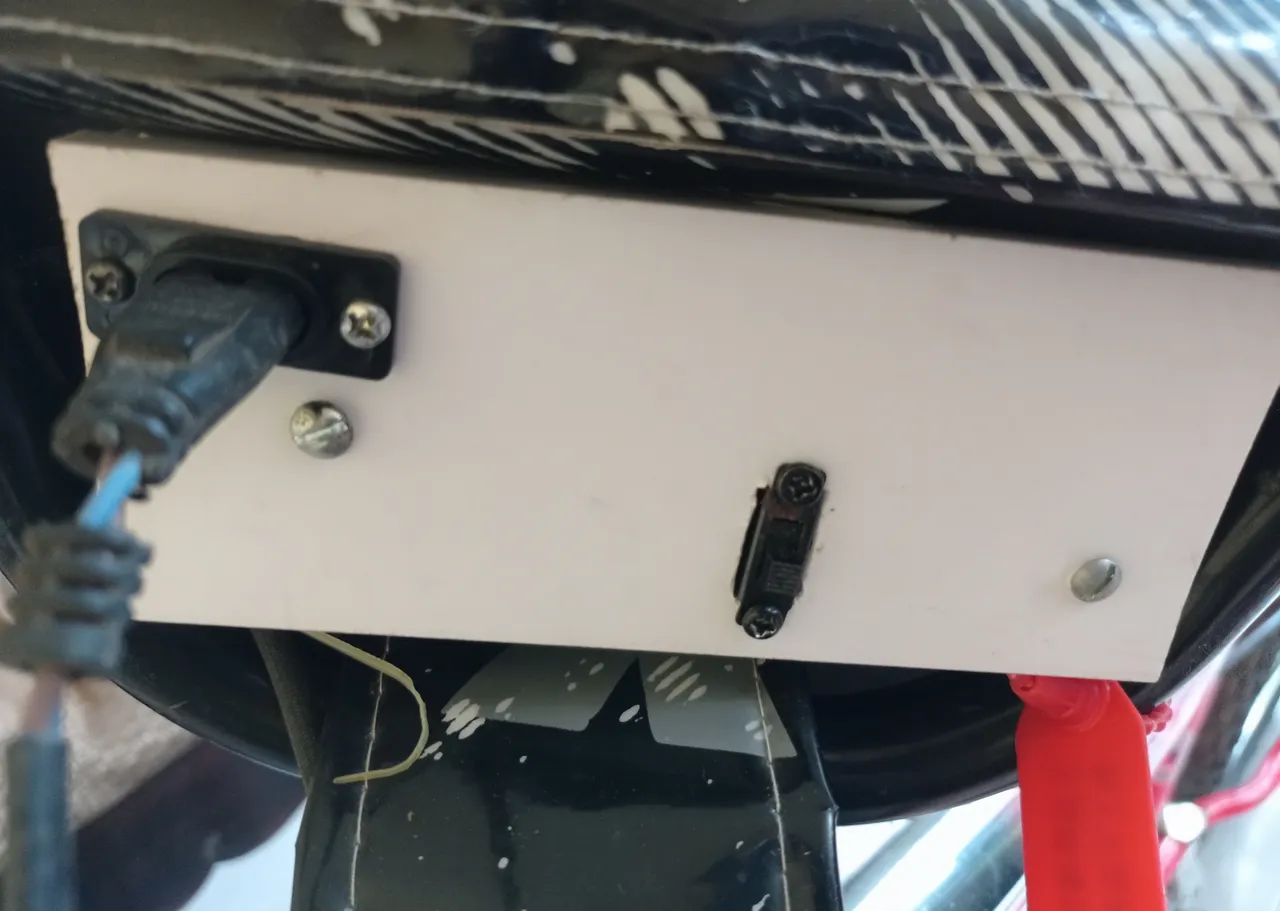
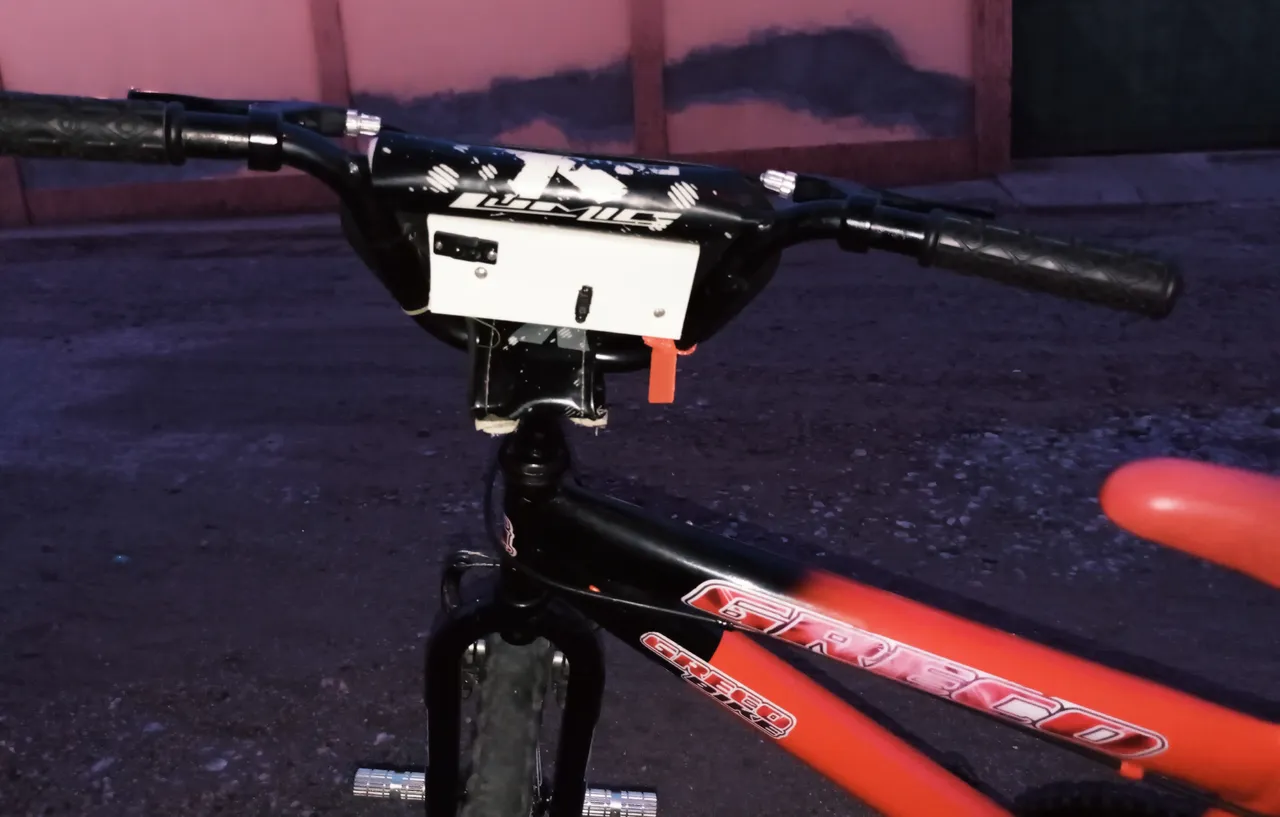
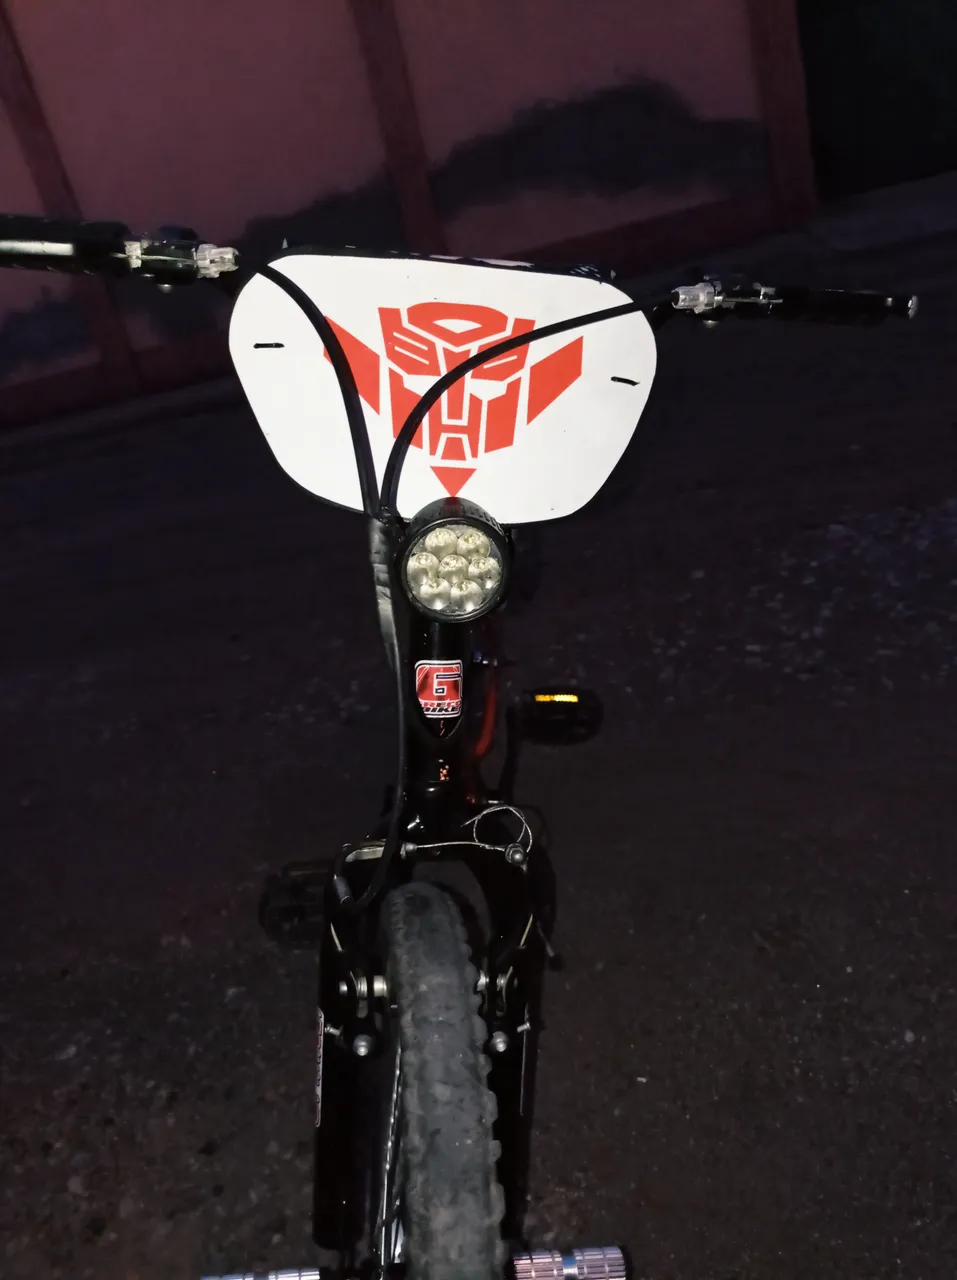
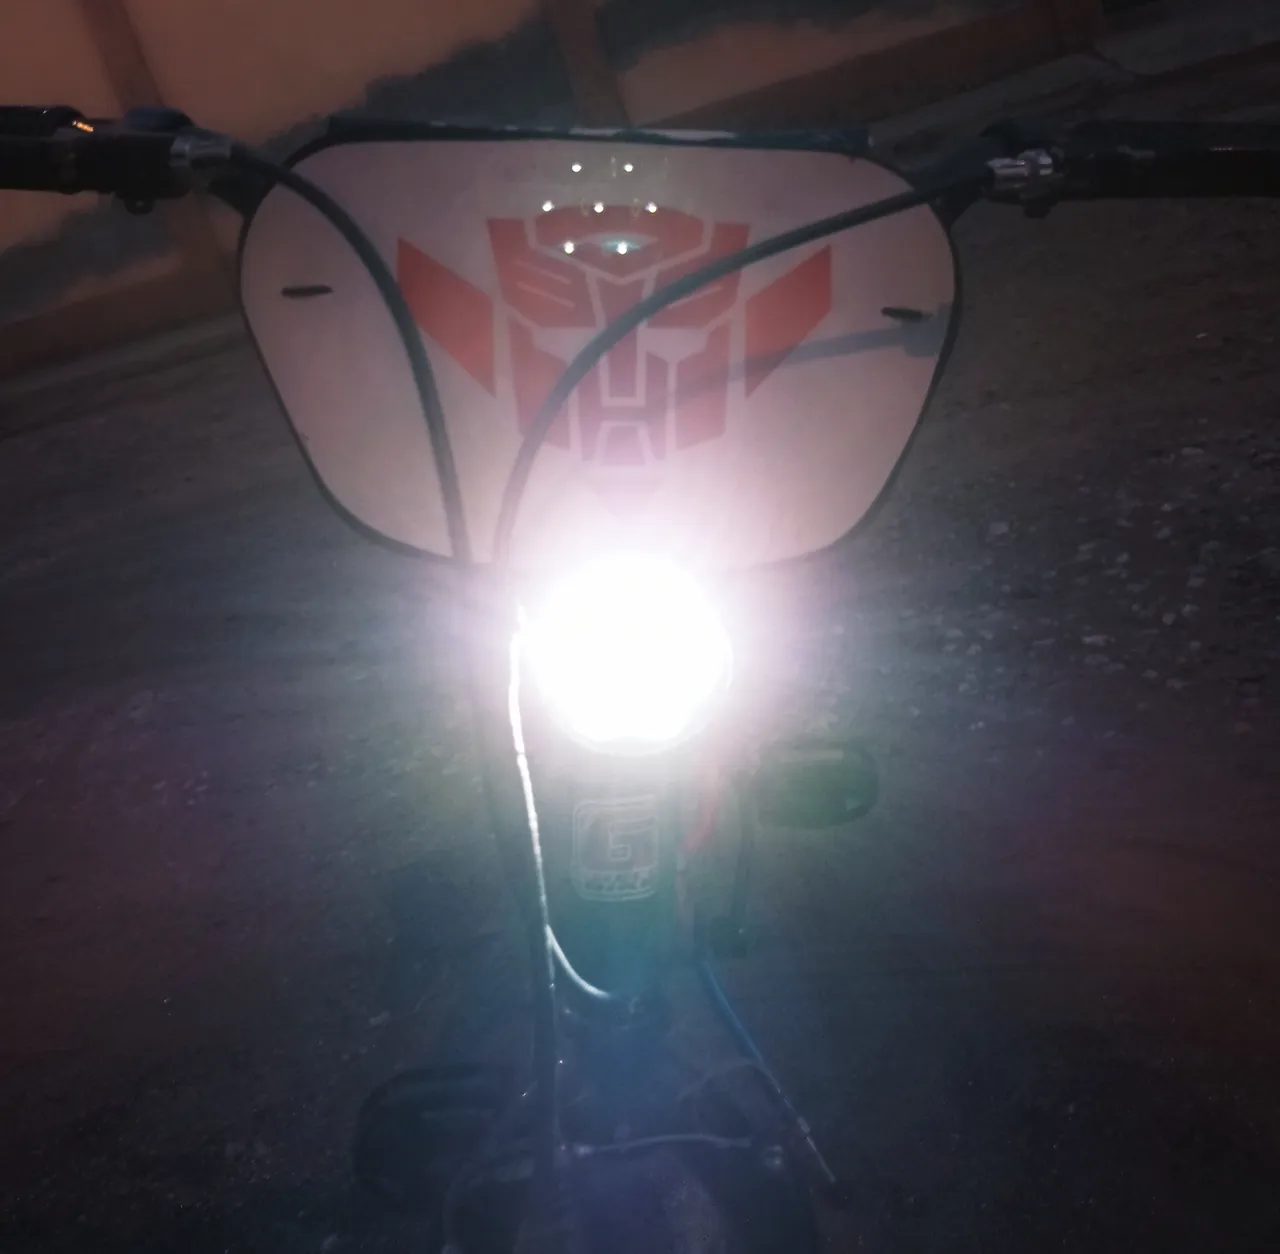
Now my son can ride his bike at night with this light illuminating his path, and he is not so exposed to the strong rays of the sun during the day.
Ya mi hijo puede andar tranquilo en su bici por la noche con esta luz iluminando su camino, y así no se expone tanto a los fuertes rayos de sol del día.